Ocarina of Time Bottle Locations: All 4 Empty Bottles and What to Put in Them
Most players finish Ocarina of Time with two bottles because two of the four are handed out by farm animals. Here is every bottle location, the full Big Poe spawn list, what belongs in each slot, and the sell prices that turn a bottle into a money printer.
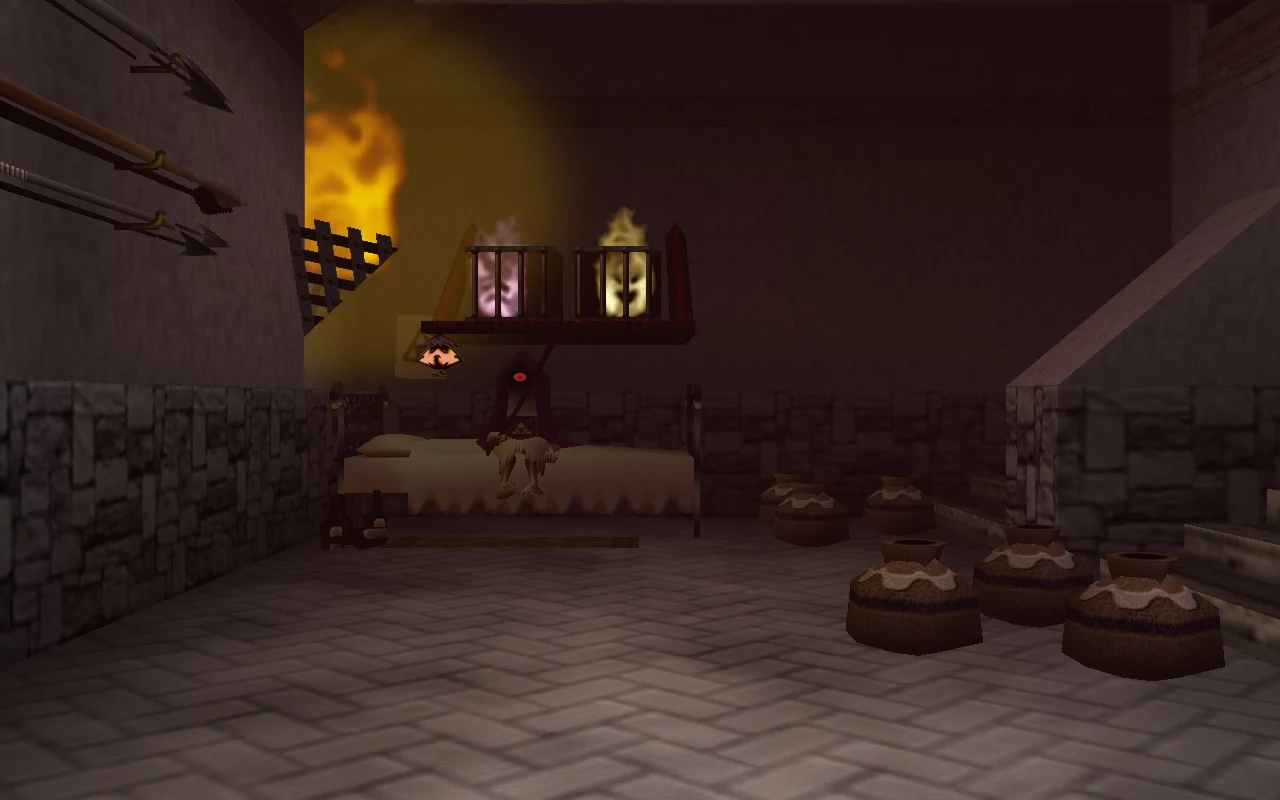
Most players finish Ocarina of Time with two bottles. One of them is unmissable because the plot physically hands it over, and the second gets picked up by accident while chasing chickens around a village. The other two need you to go looking, and the last one is a horseback hunt across the entire overworld.
That is a bad way to play this game, because bottles are the closest thing Ocarina of Time has to an options menu. A bottled fairy is a free continue. Blue Fire is a hard progression requirement. Bugs are how you dig half the Gold Skulltulas out of the ground. Four bottles is not a completionist flex — it is the difference between walking into Ganon's Castle with four safety nets and walking in with one.
Here is where all four are, what each one costs you, the full Big Poe spawn list, and the part most "missable items" lists get flat wrong.
Four bottles, and the game only makes you get one
Three of the four bottles belong to child Link. The fourth only exists after Ganondorf wrecks Hyrule Castle Town. That layout has produced a decade of forum posts insisting you can permanently lose bottles by pulling the Master Sword too early.
You cannot. The Pedestal of Time sends you back to the child era any time you want, and the child era does not change based on anything you do as an adult — Talon is still asleep in the ranch house, the Cuccos are still loose in Kakariko, the lakebed still has a bottle on it. Nothing on this list is permanently missable in a normal playthrough.
What it is is easy to postpone into a problem. The Big Poe quest needs empty bottles to carry Big Poe Souls, so the fourth bottle is gated by how many of the first three you bothered to collect. Show up with one bottle and you are riding back to the Ghost Shop nine extra times.
All four bottles at a glance
| Bottle | Where | Era | What it takes |
|---|---|---|---|
| Ruto's Letter | Lake Hylia lakebed, by the underwater tunnel to Zora's Domain | Child | Silver Scale, then hand the letter to King Zora |
| Lon Lon Milk | Talon's house, Lon Lon Ranch | Child | 10 Rupees and a round of Talon's Chicken Game |
| Cucco Lady's bottle | Kakariko Village | Child | Round up all seven escaped Cuccos |
| Ghost Shop bottle | Hyrule Castle Town ruins | Adult | Sell all 10 Big Poes for 1,000 points |
Two of the four arrive full — one with a letter you have to give away, one with milk you have to drink. The bottle is the prize in both cases.
The three bottles you get as a kid
Lake Hylia: the letter in a bottle
The freebie. This one is baked into the main path, because you cannot enter Zora's Fountain without it.
Win the diving game at the top of the waterfall in Zora's Domain for the Silver Scale, then take the underwater tunnel at the bottom of the Domain that dumps you out in Lake Hylia. Dive down near where you surface and there is a bottle sitting on the lakebed with a note inside. The message is short and extremely Ruto: help me, I am inside Lord Jabu-Jabu's belly, and do not tell my father.
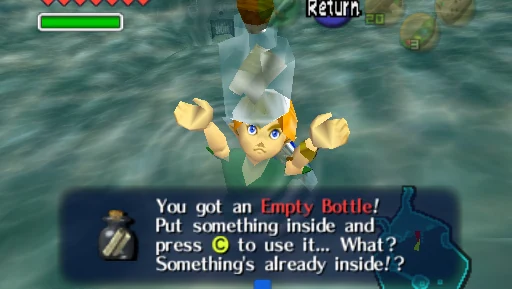
Take it back to King Zora and show him. He immediately shuffles aside to open the path to Lord Jabu-Jabu, and — the part people forget — he keeps the letter and lets you keep the bottle. His exact words are that he will hold onto the letter and you should take the bottle respectfully.
Funny footnote for anyone who has played this twice: when you finally meet Ruto inside Jabu-Jabu, she flatly denies writing it.
Lon Lon Ranch: Talon's Chicken Game
Wake Talon up at Hyrule Castle first, or he is not at the ranch to play with. Once he is home, go into the house on the left at Lon Lon Ranch and talk to him. Ten Rupees buys a round of what Zelda Wiki files as Talon's Chicken Game: he tosses three Super Cuccos into a flock of ordinary ones and gives you a timer to pick out the three.
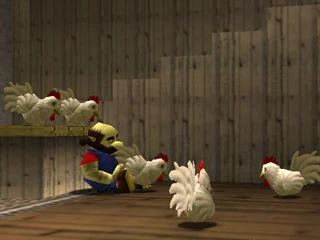
There is no visual tell. A Super Cucco and a regular Cucco are the same model, so grabbing birds at random is a coin flip you will usually lose.
The fix is embarrassingly simple: before you talk to Talon, pick up every normal Cucco in the room and dump them behind his desk. Cucco positions do not reset when the game starts, so once he throws his three in, the only birds standing in open floor are the ones you want. It turns a genuine minigame into a formality.
Win and he hands over a bottle of Lon Lon Milk, congratulates you on your cowboy potential, and jokes about you marrying Malon. Drink the milk and the bottle is yours.
Worth knowing for the rest of the run: Talon sells a milk refill for 30 Rupees, but replaying the Chicken Game costs 10 and fills a bottle just the same. If you are buying milk from this man you are paying triple.
Kakariko Village: the Cucco Lady's seven runaways
Zelda Wiki and the official Encyclopedia call her the Cucco Lady; most walkthroughs call her Anju after the Majora's Mask character who wears her face. Whatever you call her, she is standing near an empty pen in Kakariko Village, allergic to her own livestock, and every one of her birds has escaped.
There are seven Cuccos and they are scattered up and down the village's vertical layout. A few are on the ground near the pen and the village entrance, one is stuffed in a crate you have to roll into, one is up by the Death Mountain Trail gate, and the awkward ones are on ledges — the walkway near the House of Skulltula and the grass by the windmill. You reach those the way you reach everything in this game: grab a Cucco, jump off something high, and glide.
Throw all seven in the pen, talk to her, and she hands you a bottle with a line about it being fine glass. Round them up a second time and the reward downgrades to a Purple Rupee, which is the game politely telling you the sidequest is over.
Come back as an adult and she has moved on entirely: she gives you the Pocket Egg that kicks off the Biggoron's Sword trade instead.
The fourth bottle: ten Big Poes and a man who likes Ganondorf
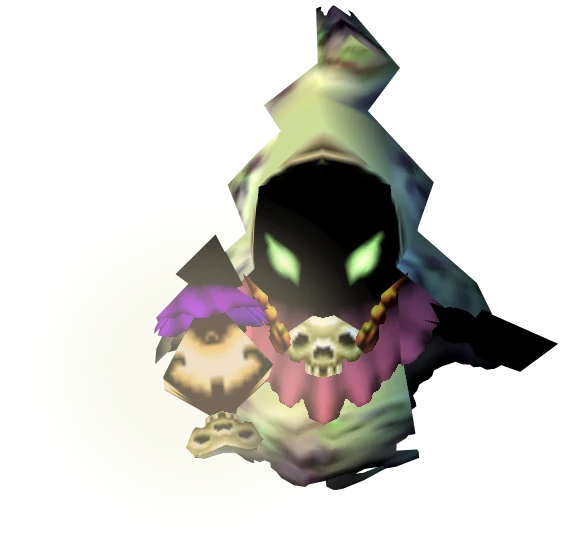
The Guardhouse between Hyrule Field and the Market is a ruin in the adult era, and something has moved in. The Ghost Shop is run by the Poe Collector, a hooded figure who sits under a rack of caged spirits and openly says business has never been better since Ganondorf took over, and that he hopes the world gets worse.
He runs a points card. A normal Poe sells for 10 Rupees. A Big Poe is worth 50 Rupees and 100 points, and at 1,000 points — all ten Big Poes — he hands over your fourth bottle and calls you a genuine ghost hunter.
Two prerequisites, both hard. You need Epona, because Big Poes spawn when you ride past their point — cross it on foot and you will usually trigger an ordinary Poe instead. And you need the Fairy Bow from the Forest Temple, because arrows are how you put them down before they drift out of range.
The fight is quick once you understand the trick to it: a Big Poe appears directly in front of Epona regardless of which way she is facing, then immediately starts running. Two arrows in fast succession put it down. Then dismount, because Link only scoops the Big Poe Soul into a bottle on foot.
That is the real reason to have three bottles before you start. Ten souls, three empty bottles, and you are making four round trips to the Ghost Shop. With one bottle it is ten. Empty everything before you ride out.
The whole hunt pays 500 Rupees, which is exactly one full Giant's Wallet. And when you cash in the tenth, he tells you he is overstocked and stops buying Poes from you permanently — so if you were treating Poes as income, that faucet closes the moment you take the prize.
Every Big Poe spawn point
All ten live in Hyrule Field, and six of the ten are described relative to Lon Lon Ranch, which makes the ranch the obvious hub to loop around:
- The signpost pointing toward Lon Lon Ranch, just outside the Market entrance.
- The tree beside the entrance to Lon Lon Ranch.
- The bushes by the river in the open area west of the Market entrance.
- The fork in the road heading toward Gerudo Valley, southwest of Lon Lon Ranch.
- The lone tree west of Lon Lon Ranch, near the Gerudo Valley entrance.
- A cluster of bushes in the stand of trees south of the Kokiri Forest entrance.
- Next to the lone brown boulder in that same stand of trees.
- The lone grey boulder east of Lon Lon Ranch, near the fences.
- The middle of the V-shaped brick wall northeast of Lon Lon Ranch.
- The platform over the river beside the Kakariko Village entrance.
If you run dry on arrows mid-hunt, the plants at the Zora's River entrance respawn when you leave and re-enter the area, and they drop arrows.
What actually belongs in your bottles
A bottle is also a net — you swing it at things to catch them, no separate tool required. Here is what is worth the slot:
- Fairy. The single best thing you can carry. It auto-releases when you fall in battle and revives you, so a full loadout is four extra lives. Free at any Fairy Fountain, or 50 Rupees as a Fairy's Spirit at the Potion Shop.
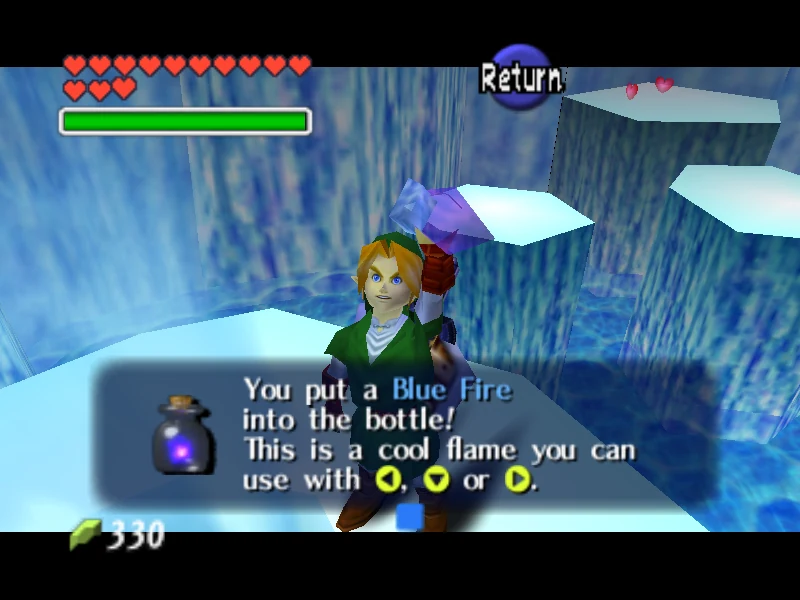
- Blue Fire. Not optional. You need it to melt Red Ice, which means finishing the Ice Cavern for the Iron Boots the Water Temple demands, and thawing King Zora out for the Zora Tunic — or, if you would rather, melting the Red Ice over the Zora Shop door and just buying the tunic. Scoop it off pedestals in the Ice Cavern and Ganon's Castle.
- Fish. Required to open Lord Jabu-Jabu's mouth in the child-era dungeon run. Free to scoop out of the water at Zora's Domain. The shop wants 200 Rupees for one, which is robbery.
- Bugs. Three per bottle. Found under small rocks and in bushes. Drop them on a patch of soft soil and they burrow in, which is how a chunk of the Gold Skulltula hunt works.
- Lon Lon Milk. Two servings per bottle — the icon switches to a half-full bottle after the first drink. Any cow will refill you for free if you play Epona's Song at it, and there are cows in Secret Grottos as well as at the ranch.
- Poe Soul. Drinking one is a slot machine: it either drains a heart, restores a heart, or restores three. It will never take you to zero, so it is safe, just useless.
- Nothing at all. An empty bottle is a legitimate combat tool — see the boss guide for what it does to Phantom Ganon.
Bottles are the best money printer in Hyrule
There is a character called the Buyer — Hyrule Castle Town while you are a child, Kakariko Village once you are an adult — who exists to buy bottled goods. His rates:
| Item | The Buyer pays | The Potion Shop charges |
|---|---|---|
| Bottle of Bugs | 50 Rupees | 50 Rupees |
| Fish | 100 Rupees | 200 Rupees |
| Blue Fire | 150 Rupees | 300 Rupees |
He will not touch Poe Souls, potions, milk, or fairies.
Read that table the right way and the loop is obvious. Bugs are free — they are under rocks and in bushes all over Hyrule, three come out every time you release a bottle, so you can re-catch and keep the supply going forever. Free bugs in, 50 Rupees out, repeat. Fish are free at Zora's Domain and worth double that.
Read it the wrong way and you lose money in both directions. Buying Blue Fire at 300 to sell at 150 halves your Rupees. Worse, the Potion Shop will happily sell you a Poe Soul for 30 Rupees that the Poe Collector buys back for 10. There is a shop in this game selling ghosts at a 200% markup over the only guy who wants them.
N64, 3DS, and Master Quest
None of the four bottle quests change between versions. The Chicken Game, the Cuccos, the lakebed letter, and the Big Poe hunt are identical on Nintendo 64, GameCube, and 3DS.
What changes is how many bottles you can keep hot. On N64 you have three C-buttons for your entire item loadout — bottles, the Bow, the Hookshot, the Lens of Truth, and the three goddess spells all fighting over three slots. Ocarina of Time 3D moves items to the X and Y buttons plus two touch-screen slots, takes the Ocarina out of the item slots entirely, and lets you drag items around a grid. Four bottles suddenly stop being a pause-menu tax. It is one of the remake's genuinely better decisions.
The 3DS also adds Boss Challenge and, once you have cleared every boss, a Boss Gauntlet that runs them back to back — and between fights, bottled items are your only way to restore health. That mode is a bottle-management test with a boss rush attached.
Master Quest reworks dungeon interiors and leaves the overworld sidequests alone, so all four bottles are exactly where they always were. The one Master Quest wrinkle worth logging: Blue Fire also turns up in the Gerudo's Training Ground there, which is not true of the standard game.
Quick Action Checklist
- Win the Zora's Domain diving game for the Silver Scale, take the underwater tunnel to Lake Hylia, and grab the bottle off the lakebed. King Zora keeps the letter, you keep the bottle.
- Wake Talon at Hyrule Castle, then pay 10 Rupees at Lon Lon Ranch for the Chicken Game. Throw every normal Cucco behind his desk first.
- Round up all seven of the Cucco Lady's birds in Kakariko Village into the pen. A second round-up only pays a Purple Rupee.
- Get Epona and the Fairy Bow before starting the Big Poe hunt, and empty every bottle before you ride out.
- Big Poes spawn directly in front of Epona no matter which way she faces. Two fast arrows, then dismount to bottle the soul.
- Ten Big Poes equals 1,000 points equals bottle number four — and after that the Poe Collector stops buying.
- Keep a fairy in every spare bottle before Ganon's Castle. Free continues.
- Sell bottled bugs and fish to the Buyer for 50 and 100 Rupees. Never buy Blue Fire or Poes to resell; both are guaranteed losses.
Frequently Asked Questions
How many bottles are in Ocarina of Time?
Can you permanently miss a bottle in Ocarina of Time?
How do you win Talon's Super Cucco game?
Where are the 10 Big Poes in Ocarina of Time?
What should you keep in your bottles in Ocarina of Time?
How much are bottled items worth in Ocarina of Time?
Keep Reading
- Zelda Wiki — Empty Bottle, the four Ocarina of Time bottles and how each is obtained
- Zelda Wiki — Letter in a Bottle, Ruto's Letter and King Zora handing over the bottle
- Zelda Wiki — Talon's Chicken Game rules, 10 Rupee cost, and Lon Lon Milk prize
- Zelda Wiki — Ghost Shop, Poe Collector point card and the 1,000-point bottle
- Zelda Wiki — Poe Soul drink effects and the ten Big Poe spawn locations
- Zelda Wiki — the Buyer and his prices for bottled Bugs, Fish, and Blue Fire
- Zelda Wiki — Blue Fire locations, Red Ice uses, and the Master Quest addition
Related Guides
Ocarina of Time Lost Woods: Route, Upgrades and Hearts
Take the wrong doorway in the Lost Woods and the game just puts you back in Kokiri Forest. Here is the seven-turn route to the Sacred Forest Meadow, how to find it by ear instead, and everything the route walks past: two Pieces of Heart, five capacity upgrades, four Gold Skulltulas and two shortcuts out.
Ocarina of Time Gerudo's Fortress: Free All 4 Carpenters
The Gerudo do not want you dead. They want you in a cell. Here is how to cross Gerudo Valley, get through the fortress, beat the four Gerudo Thieves guarding the carpenters, and walk out with the Gerudo Token — plus the collectibles on the grounds.
Ocarina of Time Masks: The Full Trading Sequence
The Happy Mask Shop does not sell you anything — it loans you stock and expects the money back, and one of the four masks is a guaranteed loss. Here is the full chain, every buyer, and the flag bug that quietly deletes a capacity upgrade from your file.
Ocarina of Time Fishing Pond Guide: Golden Scale, Sinking Lure, and the Hylian Loach
The Fishing Pond looks like a throwaway 20-Rupee diversion, but it gates a required-adjacent item, hides an illegal lure with four spawn points, and stocks a secret fish most players never see. Here is the actual record math, every lure spot, and the Hylian Loach recipe.
Ocarina of Time Dungeon Order: The Full Route, Explained
Ocarina of Time looks like an open adventure and plays like a corridor. Eight required dungeons, three side dungeons, and exactly one place where the game genuinely lets you pick. Here is the whole route with the reasons behind each lock.

Ocarina of Time Great Fairy Locations: All 6 Fountains and the Order to Get Them
Six Great Fairy Fountains, six blessings, and one of them is gated behind an item you can only find inside the final dungeon. Here is every location, every unlock requirement, and the order that actually makes the rewards useful when you get them.