Tears of the Kingdom Intact Weapons: Break These 31 First
Intact weapons are not loot you find. They are loot you unlock, one broken decayed weapon at a time, and the game never says so. Here is the full 31-pair table, the unlock rule, the one way of breaking a weapon that does not count, and how a Spectral Figure actually picks what it is holding.
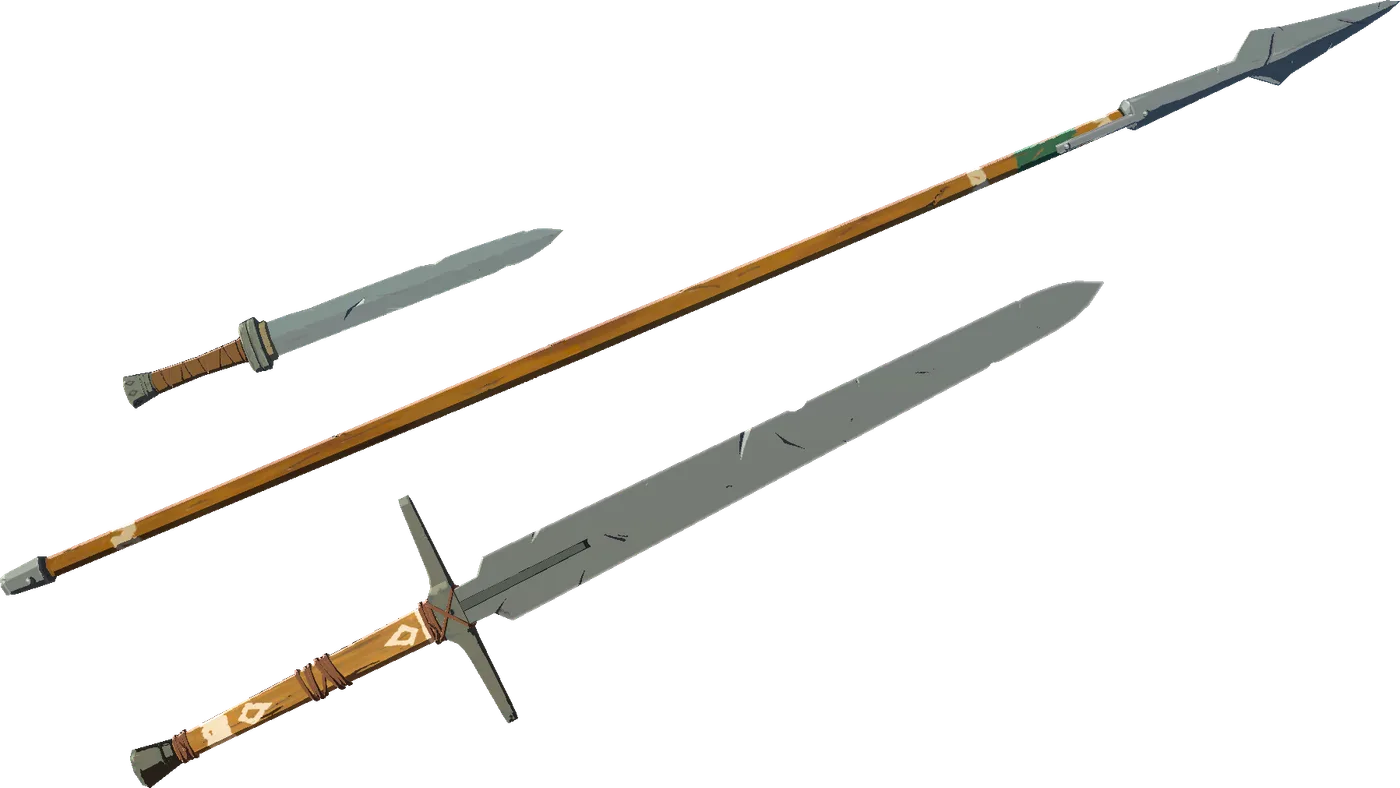
An intact Royal Claymore hits for 34. The decayed one you have been swinging since Lookout Landing hits for 14.
Plus-20 attack is the largest gain of the 31 decayed-to-intact weapon pairs tabulated below, and the game does almost nothing to tell you the upgrade exists, let alone how to trigger it. The Tips and Tricks entry says you "can sometimes find weapons that haven't decayed around the Depths" and stops there. What it leaves out is that the Depths will not hand you a weapon you have not already destroyed.
This is a guide to the unlock system behind intact weapons: the 31 decayed-to-intact pairs and what each one gains, the rule that governs which ones a Spectral Figure is allowed to spawn with, the one method of breaking a weapon that silently fails to unlock anything, and the odds maths that makes unlocking an entire weapon pool worse for targeted farming than unlocking only the weapon you want.
Intact weapons are unlocked, not found
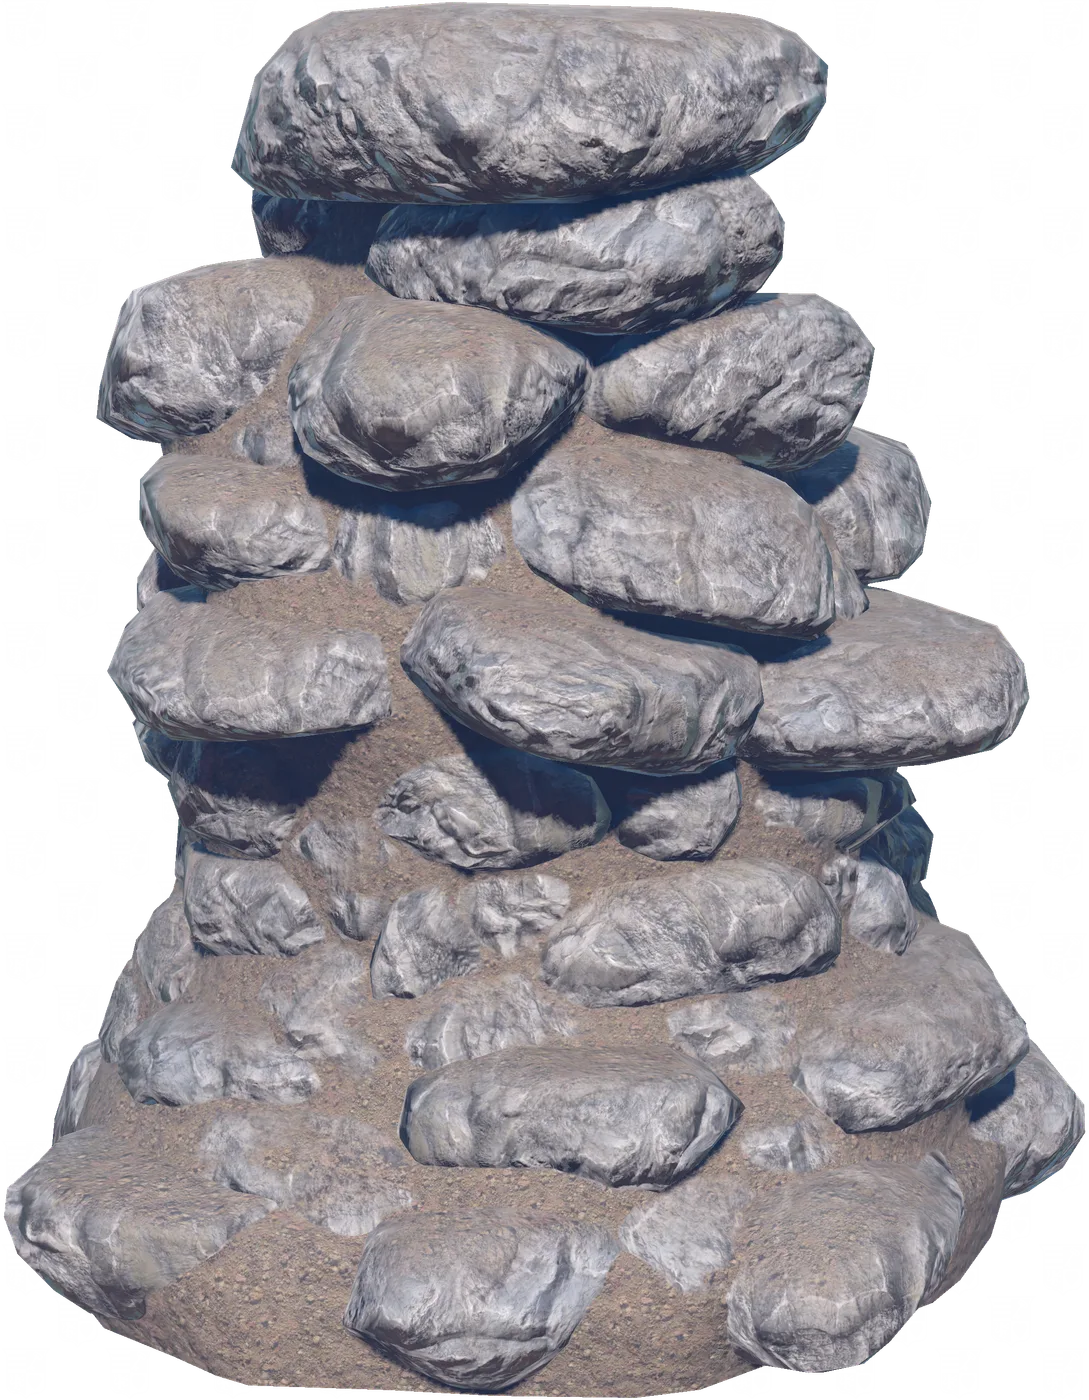
Start with what a Spectral Figure is. Zelda Wiki counts 679 Spectral Figures in the Depths, standing on cairn-like Rock Piles, appearing as silhouettes of Hyrulean soldiers. Each holds one intact weapon. Take it and the figure disappears, respawning after the next Blood Moon. Each figure is locked to a single weapon class — it will only ever hold one-handed weapons, or two-handed weapons, or spears, never a mix — and the pool it draws from is loosely tied to the Depths region it stands in.
Here is the part that changes how you play. Per Zelda Wiki's Spectral Figure page:
At the start of Tears of the Kingdom, only the Traveler's Gear is unlocked.
Everything else is locked. To make a Royal Claymore eligible to appear on a Spectral Figure, you must break a decayed Royal Claymore at least once. The unlock is permanent, it applies immediately with no Blood Moon required, and breaking a second one does nothing further. Whether the weapon had anything fused to it when it shattered is irrelevant.
Which inverts the obvious instinct. Hoarding a good decayed weapon and never letting it break keeps its intact version locked out of the Depths forever. The decayed weapon is a key; spending it is how you open the door.

The one way of breaking a weapon that does not count
There is exactly one documented exception, and it happens to be the quickest way to get rid of a weapon you no longer want:
Breaking a Decayed Weapon by throwing it against terrain will not unlock its Intact version for Spectral Figures. Any other method of breaking the Weapon will unlock its Intact version, whether it is used against an Enemy or not.
Read that second sentence carefully, because it is generous. You do not need to kill anything. You do not need to land the final swing on an enemy. Chopping trees, smashing ore deposits, hitting a wall with a normal attack — any of it counts, as long as the weapon shatters from use rather than from being hurled into the scenery. Throwing it at an enemy is a use; throwing it at a rock face is not.
If you have been clearing inventory by lobbing junk weapons at cliffs, none of that work registered.
All 31 decayed-to-intact pairs
Thirty-one weapons have both a decayed Surface version and an intact Depths counterpart. All 31 are listed below, sorted by how much the attack stat multiplies. Every one of them gains on both attack and durability — you can check that claim against the two right-hand columns, which is why it is stated as a fact rather than a feeling.
| Weapon | Type | Attack (decayed to intact) | Attack multiplier | Durability (decayed to intact) |
|---|---|---|---|---|
| Eightfold Longblade | Two-handed | 8 to 23 | x2.88 | 18 to 25 |
| Throwing Spear | Spear | 3 to 8 | x2.67 | 20 to 26 |
| Knight's Broadsword | One-handed | 7 to 18 | x2.57 | 18 to 27 |
| Royal Halberd | Spear | 7 to 18 | x2.57 | 30 to 50 |
| Eightfold Blade | One-handed | 6 to 15 | x2.50 | 16 to 26 |
| Soldier's Spear | Spear | 4 to 10 | x2.50 | 25 to 35 |
| Feathered Spear | Spear | 4 to 10 | x2.50 | 25 to 35 |
| Royal Claymore | Two-handed | 14 to 34 | x2.43 | 20 to 40 |
| Royal Broadsword | One-handed | 10 to 24 | x2.40 | 20 to 35 |
| Knight's Halberd | Spear | 6 to 14 | x2.33 | 26 to 40 |
| Forest Dweller's Spear | Spear | 6 to 14 | x2.33 | 24 to 35 |
| Forest Dweller's Sword | One-handed | 7 to 16 | x2.29 | 17 to 27 |
| Gerudo Claymore | Two-handed | 10 to 22 | x2.20 | 10 to 14 |
| Knight's Claymore | Two-handed | 11 to 24 | x2.18 | 18 to 30 |
| Feathered Edge | One-handed | 6 to 13 | x2.17 | 18 to 27 |
| Gerudo Scimitar | One-handed | 8 to 17 | x2.12 | 10 to 14 |
| Zora Longsword | Two-handed | 8 to 17 | x2.12 | 20 to 30 |
| Giant Boomerang | Two-handed | 11 to 23 | x2.09 | 18 to 40 |
| Soldier's Broadsword | One-handed | 6 to 12 | x2.00 | 17 to 23 |
| Zora Sword | One-handed | 6 to 12 | x2.00 | 20 to 27 |
| Soldier's Claymore | Two-handed | 8 to 16 | x2.00 | 17 to 25 |
| Gerudo Spear | Spear | 6 to 12 | x2.00 | 15 to 20 |
| Zora Spear | Spear | 6 to 11 | x1.83 | 26 to 40 |
| Royal Guard's Spear | Spear | 15 to 24 | x1.60 | 14 to 15 |
| Cobble Crusher | Two-handed | 9 to 14 | x1.56 | 18 to 30 |
| Traveler's Claymore | Two-handed | 6 to 9 | x1.50 | 16 to 20 |
| Traveler's Sword | One-handed | 5 to 7 | x1.40 | 16 to 20 |
| Royal Guard's Sword | One-handed | 22 to 30 | x1.36 | 10 to 12 |
| Boomerang | One-handed | 6 to 8 | x1.33 | 16 to 18 |
| Traveler's Spear | Spear | 3 to 4 | x1.33 | 24 to 30 |
| Royal Guard's Claymore | Two-handed | 32 to 39 | x1.22 | 11 to 12 |
Attack and durability figures are Zelda Wiki's own columns from the Tears of the Kingdom weapon list (Compendium 329 to 439). The multiplier column is arithmetic on those two numbers, not a stat the game displays.
Three things fall straight out of the table. The Eightfold Longblade nearly triples, 8 to 23, the largest relative jump in the table above. The Royal Halberd is the only pair in the table whose intact version reaches 50 durability, and it more than doubles its own attack getting there. And the three Traveler's-tier pairs at the bottom barely move — which matters, because Traveler's Gear is the tier you already have unlocked by default.
The Royal Guard's paradox
Sort the table by multiplier and the Royal Guard's line lands at the wrong end of it. Royal Guard's Claymore: x1.22. Royal Guard's Sword: x1.36. Royal Guard's Spear: x1.60. All three sit in the bottom third of the multiplier column, and the family with the highest decayed attack stats owns the single smallest upgrade in the table.
That is not a flaw, it is the design. A decayed Royal Guard's Claymore already swings for 32 — higher than an intact Knight's Claymore at 24, and 10 points clear of the next-strongest decayed weapon in the table, the Royal Guard's Sword at 22. There is simply less headroom above it. The intact version reaches 39, the highest attack of all 31 intact weapons, but it climbs from an unusually high floor.
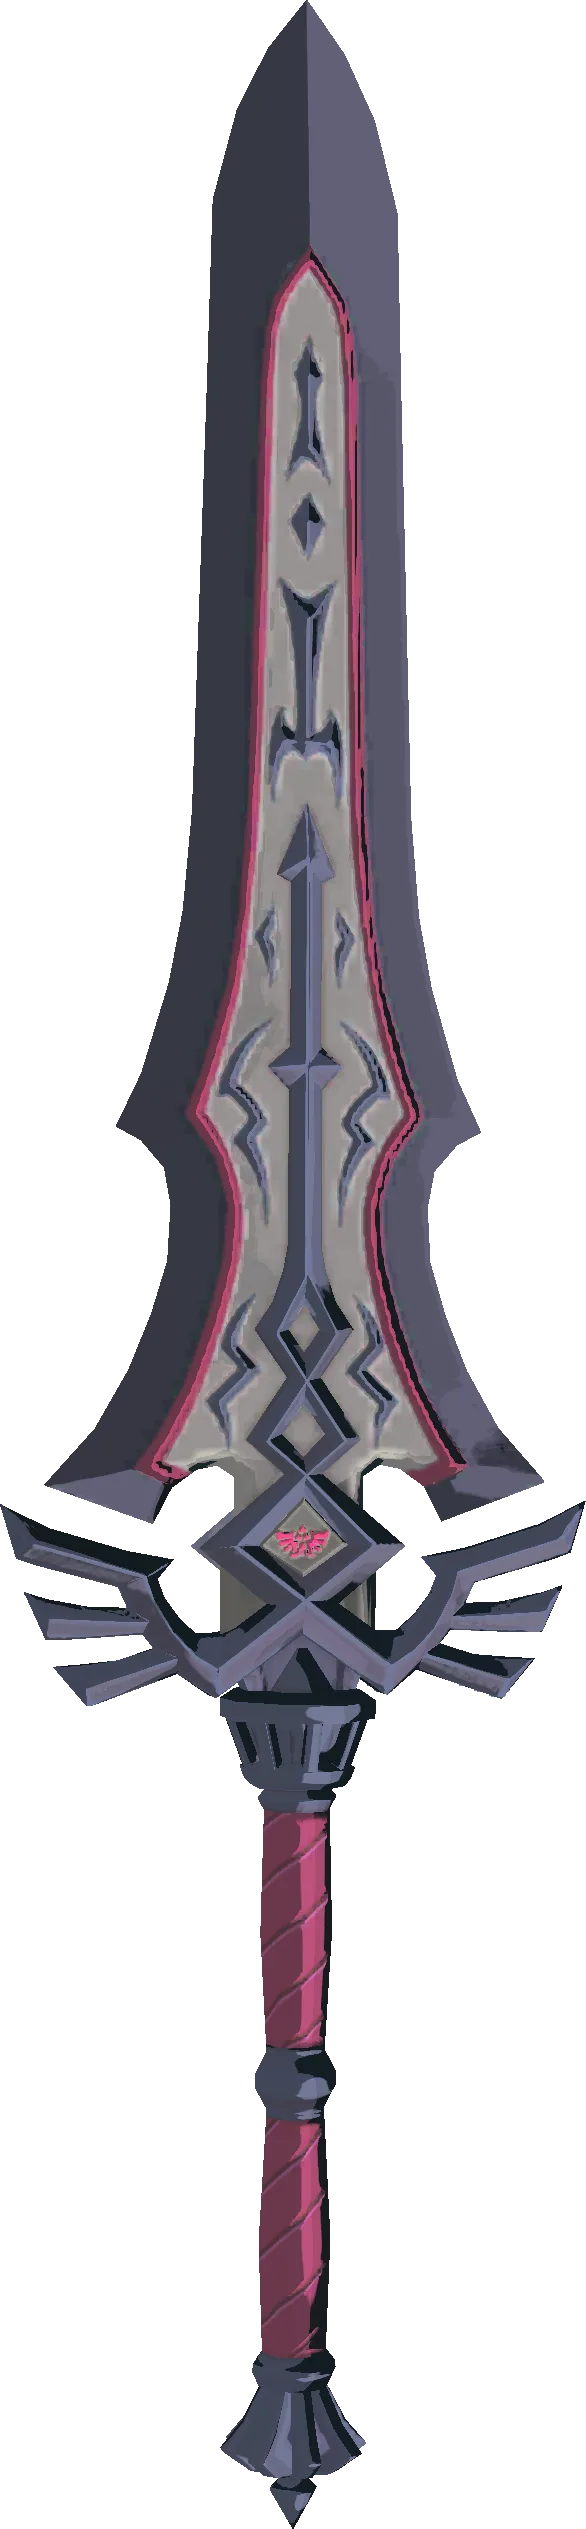
The practical read: if you are deciding which decayed weapons to deliberately spend early, the Royal Guard's family is the worst use of a break, because its decayed form is already one of the strongest weapons you own and its intact form is only a few points better. Break the Knight's and Royal lines first. Those roughly double.
Attack times durability reshuffles the top of the list
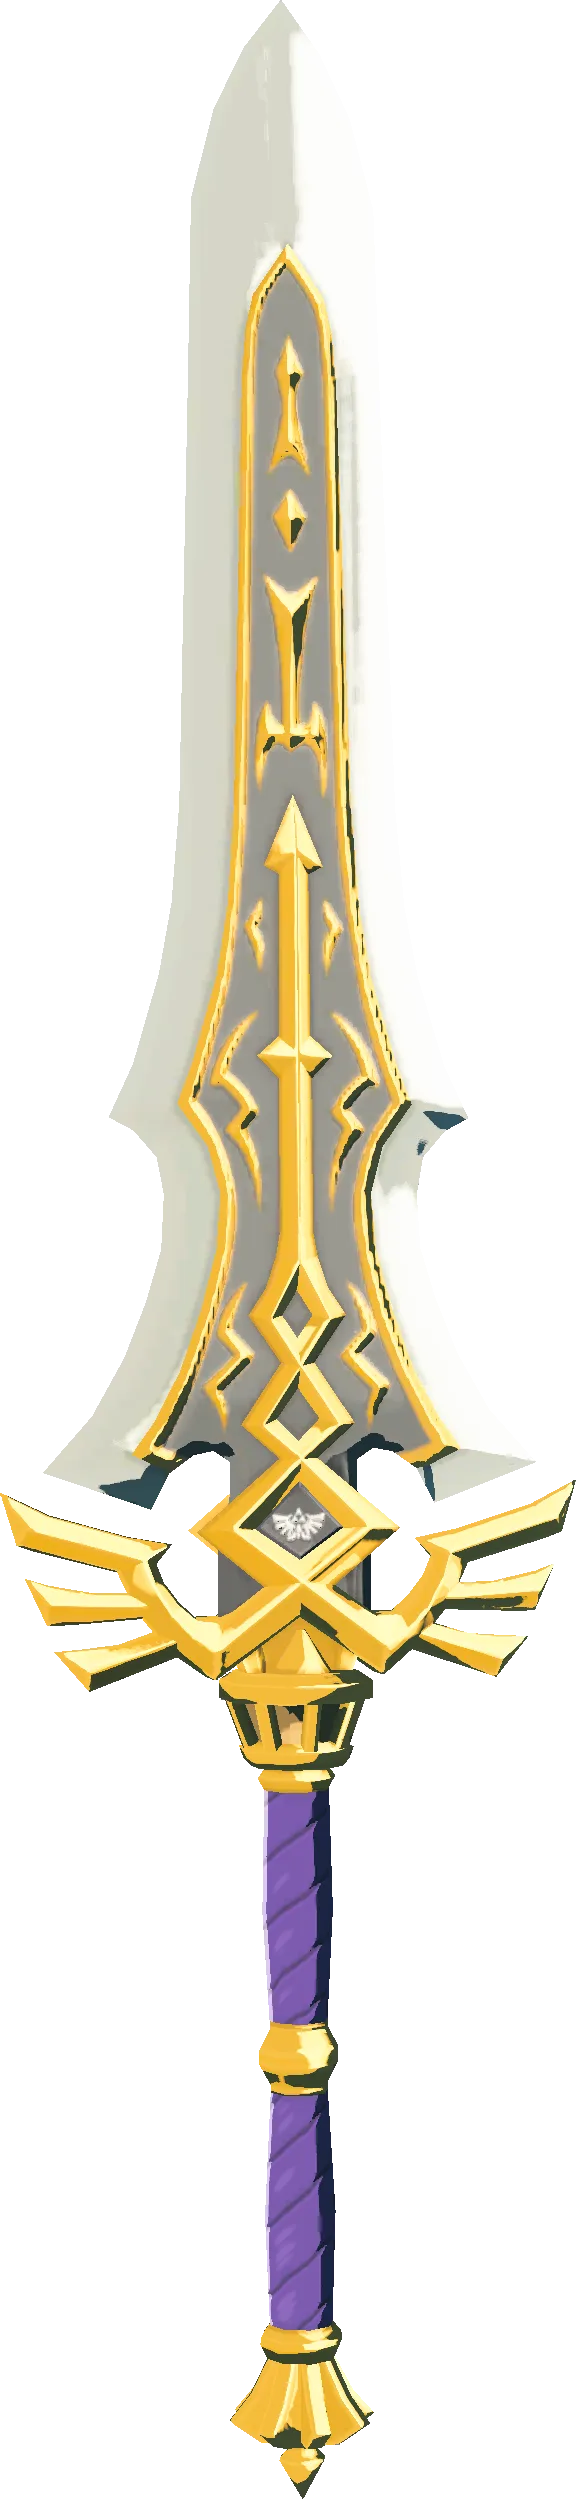
Attack alone ranks the Royal Guard's Claymore first among intact weapons at 39. It also has 12 durability. Zelda Wiki defines durability as a limited number of uses before equipment shatters, so multiplying the two gives a rough ceiling on how much total damage a single copy can deliver before it is gone.
To be clear about what this number is: it is my arithmetic on the wiki's two published columns, not a game statistic. It ignores Fuse entirely, which changes both inputs — fused materials add attack power and many add bonus durability — and it ignores charged attacks, which consume more than one use. Treat it as a way of seeing the durability trade-off, not as a damage prediction.
| Intact weapon | Attack | Durability | Attack x durability |
|---|---|---|---|
| Royal Claymore | 34 | 40 | 1,360 |
| Giant Boomerang | 23 | 40 | 920 |
| Royal Halberd | 18 | 50 | 900 |
| Royal Broadsword | 24 | 35 | 840 |
| Knight's Claymore | 24 | 30 | 720 |
| Eightfold Longblade | 23 | 25 | 575 |
| Knight's Halberd | 14 | 40 | 560 |
| Zora Longsword | 17 | 30 | 510 |
| Forest Dweller's Spear | 14 | 35 | 490 |
| Knight's Broadsword | 18 | 27 | 486 |
The Royal Claymore takes the top of this ranking by a wide margin: 34 attack across 40 uses, which is 1,360, against the Royal Guard's Claymore's 468 from 39 across 12. Five more points of attack, and barely a third of the total output. If you are picking one intact weapon to chase and you are not building around a specific Fuse material, the Royal Claymore is the one that keeps working.
How a Spectral Figure decides what it is holding
The generation rules are specific enough to plan around:
- The figure picks its weapon when it loads in, not when you take it. Get close enough for it to render and the choice is locked.
- Once locked, it holds that weapon until you take it and a Blood Moon passes. If you walk away without taking it, the figure will not respawn on the next Blood Moon and will not reroll.
- Every unlocked weapon in that figure's pool has an equal chance. Two available weapons is 50/50, three is 33% each, five is 20% each.
- Looking at a Spectral Figure through the Camera makes it vanish temporarily, leaving the weapon floating in midair. Members of the Yiga Clan who have explored the Depths are unable to see Spectral Figures.
There are two separate rerolls, and they need saves made at different moments. To reroll which weapon appears, load a save made before you moved close enough to the figure. To reroll the Weapon Bonus on a weapon you like, load a save made after it generated. Bonuses on these weapons are tied to the World Level system, the same hidden progression that governs enemy ranks and chest contents.
The substitution rule that makes partial unlocking worse
This is the piece that turns the unlock system into an actual decision, and it is unintuitive enough to be worth walking through with the wiki's own worked example.
When a Spectral Figure's pool contains weapons you have not unlocked, the first locked weapon is replaced by its Traveler's Gear equivalent, and every further locked weapon is dropped from the odds entirely.
Take a spear figure whose pool is Royal Halberd, Knight's Halberd, Throwing Spear, Soldier's Spear, Royal Guard's Spear.
- Everything unlocked: five entries, 20% each.
- Everything unlocked except the Royal Halberd: it becomes a Traveler's Spear, still five entries, still 20% each.
- Only the Throwing Spear and Soldier's Spear unlocked: the Royal Halberd, Knight's Halberd and Royal Guard's Spear collapse into a single Traveler's Spear. Three entries, 33% each.
And the pools that already contain a Traveler's weapon by default get a second copy of it, which counts separately. The wiki's example: a pool of Traveler's Spear, Throwing Spear, Soldier's Spear with the Soldier's Spear locked ends up as Throwing Spear 33%, Traveler's Spear 33%, Traveler's Spear 33% — a 66% chance of pulling a Traveler's Spear.
The consequence is a genuine trade-off rather than a straight "unlock everything" answer. Unlocking more weapons in a pool raises the floor of what you can pull, but it also dilutes the odds on the single weapon you actually want. If you are farming one specific intact weapon, a narrow unlock list in that pool gives you better odds on it than a wide one.
Seven Huge Rock Piles, and the landmark above each
Seven locations in the Depths carry a Huge Rock Pile: the oversized variety that Zelda Wiki describes as bearing multiple Spectral Figures, three of them, one for each weapon class. One climb covers one-handed, two-handed and spear.
You do not need Depths coordinates to find them. Every Huge Rock Pile sits directly beneath a Memorial on the Surface: monuments Zelda had erected where significant Great Calamity battles took place, each topped with a Silent Princess. There are exactly seven Memorials and exactly seven Huge Rock Piles, which is the cross-check that makes the "directly below" rule usable as a map.
| Memorial | Surface coordinates | Where it is |
|---|---|---|
| Hyrule Castle Town Ruins Memorial | -0240, 0360, 0022 | Hyrule Castle Town Ruins |
| Maritta Exchange Ruins Memorial | -1668, 1614, 0115 | Maritta Exchange Ruins |
| Gatepost Town Ruins Memorial | -0580, -1504, 0020 | Gatepost Town Ruins |
| Rauru Settlement Ruins Memorial | 0716, 1246, 0034 | Rauru Settlement Ruins |
| Akkala Highlands Memorial | 3052, 1372, 0286 | North of Akkala Span |
| West Necluda Memorial | 0760, -1880, 0015 | West of the Dueling Peaks |
| Fort Hateno Memorial | 2316, -1825, 0013 | Fort Hateno |
Mark the Memorial on the Surface map, drop through the nearest chasm, and head for the matching point below. If you are still filling in the map down there, the Lightroot network mirrors Surface shrines, so a Surface landmark and a lit Depths map get you most of the way.
The weapons that never decayed at all
Decay affects most handheld weapons — one-handed, two-handed and spears — and Zelda Wiki names the exceptions:
- Boulder Breaker, Lightscale Trident and Scimitar of the Seven are never decayed, including the copies the Sages carry. The Champions' weapons sit outside the system entirely.
- One intact Eightfold Blade can be found on the Surface.
- An intact Eightfold Longblade is a one-time reward from the Side Adventure "The Yiga Clan Exam," given by a Yiga Blademaster at the Yiga Blademaster Station after you make mighty banana offerings at all five Yiga-marked frog statues in Gerudo Canyon. A Ruby comes with it.
- Intact weapons can also arrive as amiibo rewards.
And the class rule worth remembering when you compare this guide to the other two equipment lists on this site: shields and bows are not susceptible to decay. That is why the bow list and the shield list have no decayed-and-intact axis at all. The unlock economy described here applies only to melee.
Weapon Traits — the special properties printed in teal on item descriptions, like the Royal Broadsword's stronger flurry rush or the Zora Sword's wet-weather attack boost — behave identically on intact weapons and their decayed versions. You are buying stats, not new behaviour.
The Master Sword is not on this list
Zelda Wiki's weapons page groups the Master Sword under its "Intact Weapons" heading, and the Decayed Master Sword under "Decayed Weapons." That grouping is about the blade's state, not about this system: the dedicated Intact Weapon page lists 31 weapons and the Master Sword is not one of them. No Spectral Figure will ever hand you one, and breaking the decayed version is not how you restore it.
The Master Sword is healed by its time with the Light Dragon and is recovered through a different chain entirely — covered in the Master Sword guide. Do not go looking for it on a Rock Pile.
Quick Action Checklist
- Stop hoarding decayed weapons. Breaking one unlocks its intact version for Spectral Figures permanently, immediately, with no Blood Moon required.
- Never break a weapon by throwing it at terrain. That is the one method that unlocks nothing. Throwing it at an enemy is fine; so is chopping wood until it shatters.
- Spend Knight's and Royal weapons first. Those lines roughly double (Knight's Broadsword x2.57, Royal Claymore x2.43). The Royal Guard's family multiplies worst of the three tiers (x1.22 to x1.60, all bottom-third of the table) and is already strong decayed.
- Chase the Royal Claymore if you want one intact weapon that lasts: 34 attack across 40 uses, nearly triple the total output of the higher-attack Royal Guard's Claymore.
- Farm the seven Huge Rock Piles under the seven Surface Memorials — three Spectral Figures each, one per weapon class.
- Save before you get close if you want to reroll which weapon spawns; save after it generates if you only want to reroll the bonus.
- Take the weapon, or the figure will not reset. A Spectral Figure you walked away from stays locked to the weapon it already chose.
Frequently Asked Questions
How do you get intact weapons in Tears of the Kingdom?
Does throwing a decayed weapon unlock its intact version in Tears of the Kingdom?
Which intact weapon is the strongest in Tears of the Kingdom?
How many Huge Rock Piles are in the Tears of the Kingdom Depths?
Do shields and bows decay in Tears of the Kingdom?
Is the Master Sword an intact weapon in Tears of the Kingdom?
Keep Reading
- Zelda Wiki — 679 Spectral Figures in the Depths, one weapon class each, region-based pools, Blood Moon respawn, the Camera trick, the seven Huge Rock Piles below Surface memorials, the unlock rule (break the decayed version once; terrain throws do not count), the equal-chance odds, the locked-weapon Traveler's substitution with worked examples, and the two separate save-scum reroll timings
- Zelda Wiki — the list of exactly 31 intact weapons paired to their decayed counterparts (Master Sword absent), their greater strength and durability, the Spectral Figure source, amiibo BigHit rewards, the Eightfold Longblade from "The Yiga Clan Exam", and Weapon Traits functioning identically on intact and decayed versions
- Zelda Wiki — decay affects one-handed weapons, two-handed weapons and spears; Boulder Breaker, Lightscale Trident and Scimitar of the Seven are exempt including the Sages' copies; one intact Eightfold Blade exists on the Surface; shields and bows do not decay
- Zelda Wiki — the full Tears of the Kingdom weapon data table, Compendium 329 to 439, with attack and durability for every decayed and intact weapon plus the teal Weapon Trait text in each item description
- Zelda Wiki — all seven Tears of the Kingdom Memorials with Surface coordinates, Zelda erecting them at Great Calamity battle sites, and the statement that a Huge Rock Pile sits in the Depths below every Memorial
- Zelda Wiki — Huge Rock Piles found in the Depths beneath Surface Memorials, each carrying three Spectral Figures holding intact weapons
- Zelda Wiki — durability defined as a count of uses before equipment shatters, the basis for the attack-times-durability comparison in this guide
- Zelda Wiki — the World Level system that determines item quality and Weapon Bonus strength, which Spectral Figure weapon bonuses are drawn from
- Zelda Wiki — "The Yiga Clan Exam" Side Adventure: given by a Yiga Blademaster at the Yiga Blademaster Station, five mighty banana offerings at Yiga-marked frog statues in Gerudo Canyon, rewarding an intact Eightfold Longblade and a Ruby
Related Guides
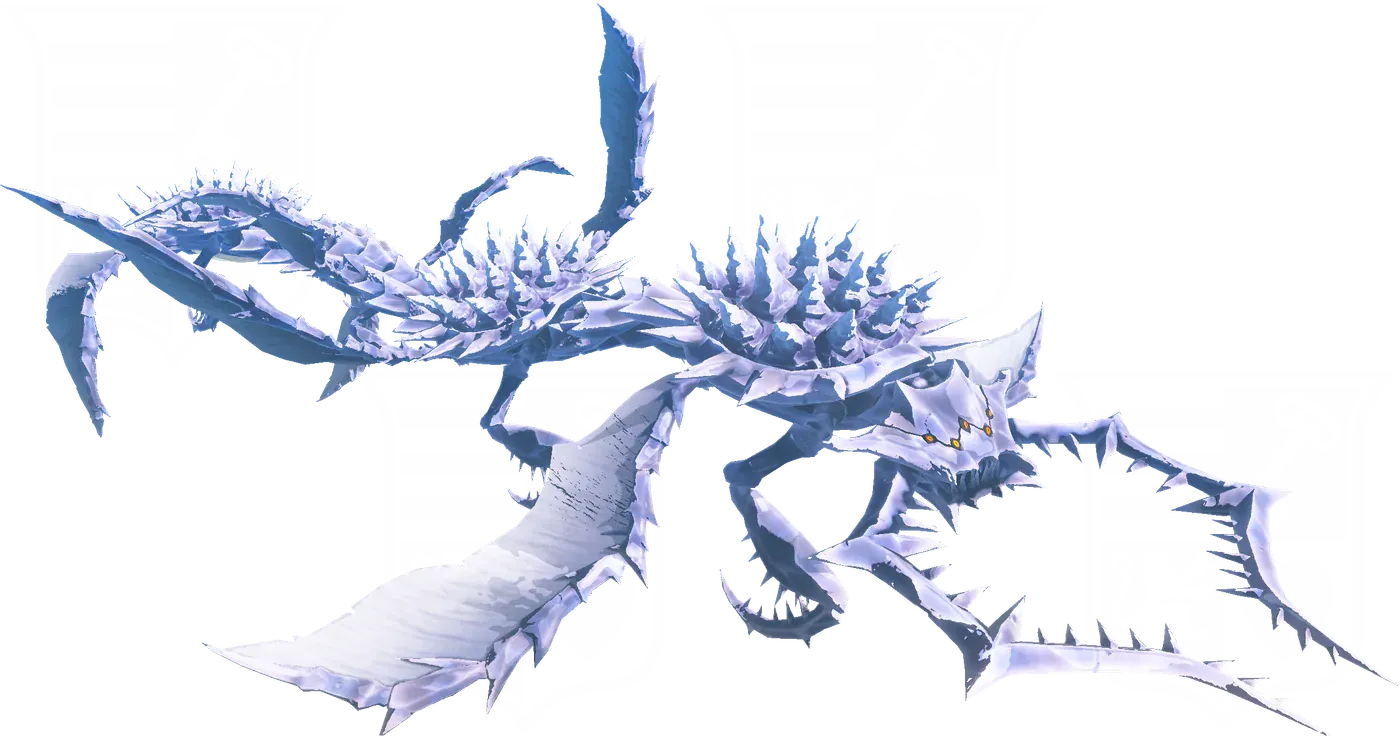
Tears of the Kingdom Boss Guide: Every Weak Point
Our sages guide already told you how much HP these bosses carry depending on turn order. It never told you how to actually hit them. Three of the four regional bosses cannot be damaged at all until you trigger a specific counter on them — and one boss hits harder in its optional rematch than it ever does in a real playthrough.
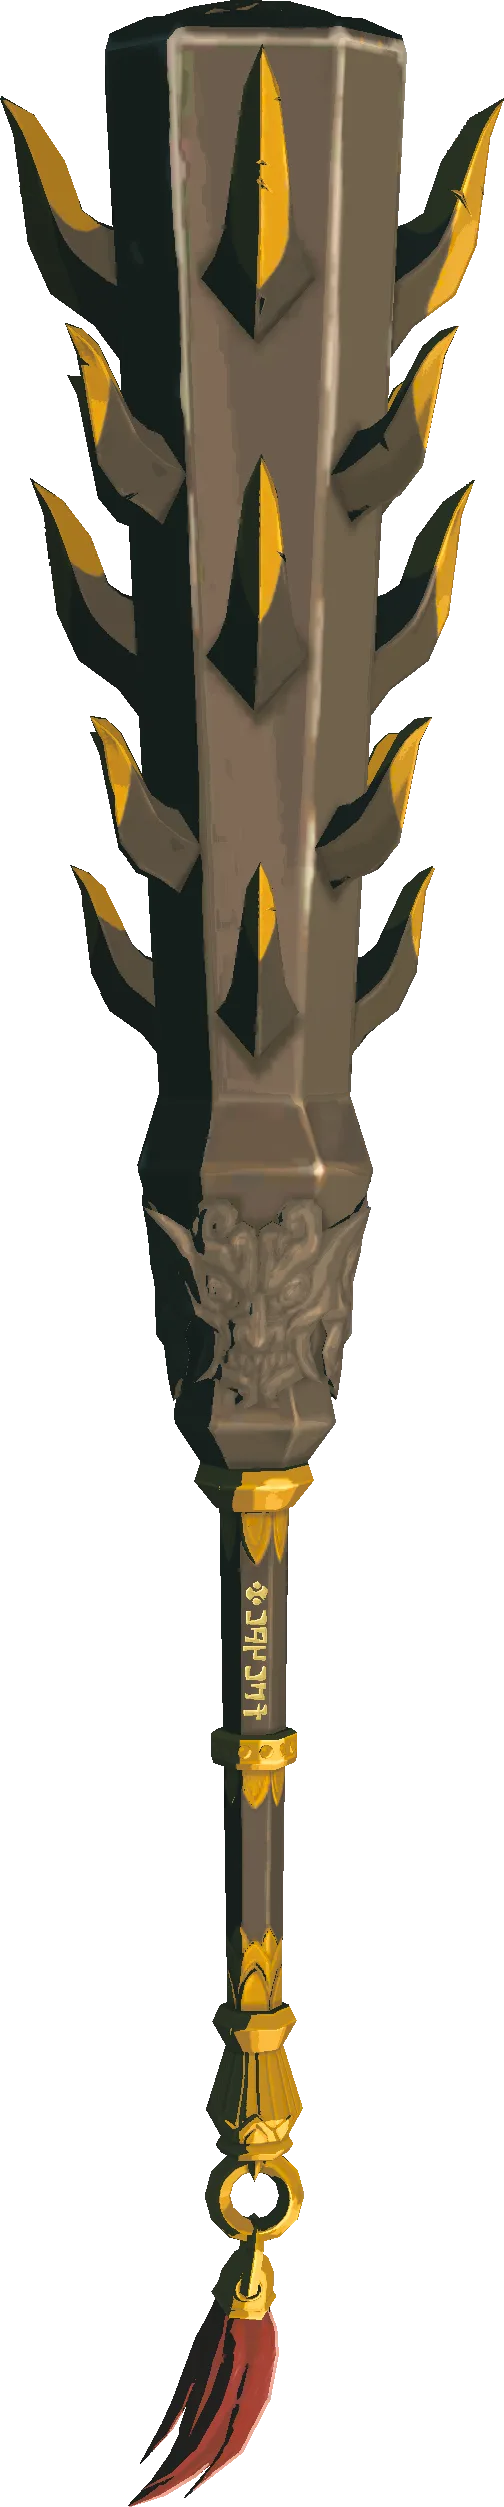
Tears of the Kingdom Best Weapon: The Untouched Tier
The 31-pair decayed-to-intact table tops out at 39 attack. It was never the whole game. Forty-eight more weapons never had a decayed state to begin with — Zelda Wiki calls them Untouched — and they include the three Champion weapons, the entire Zonaite line, and the three Gloom weapons that outdamage everything else in Tears of the Kingdom. Here is where they all come from, what locks their numbers in place, and the one that doesn't.
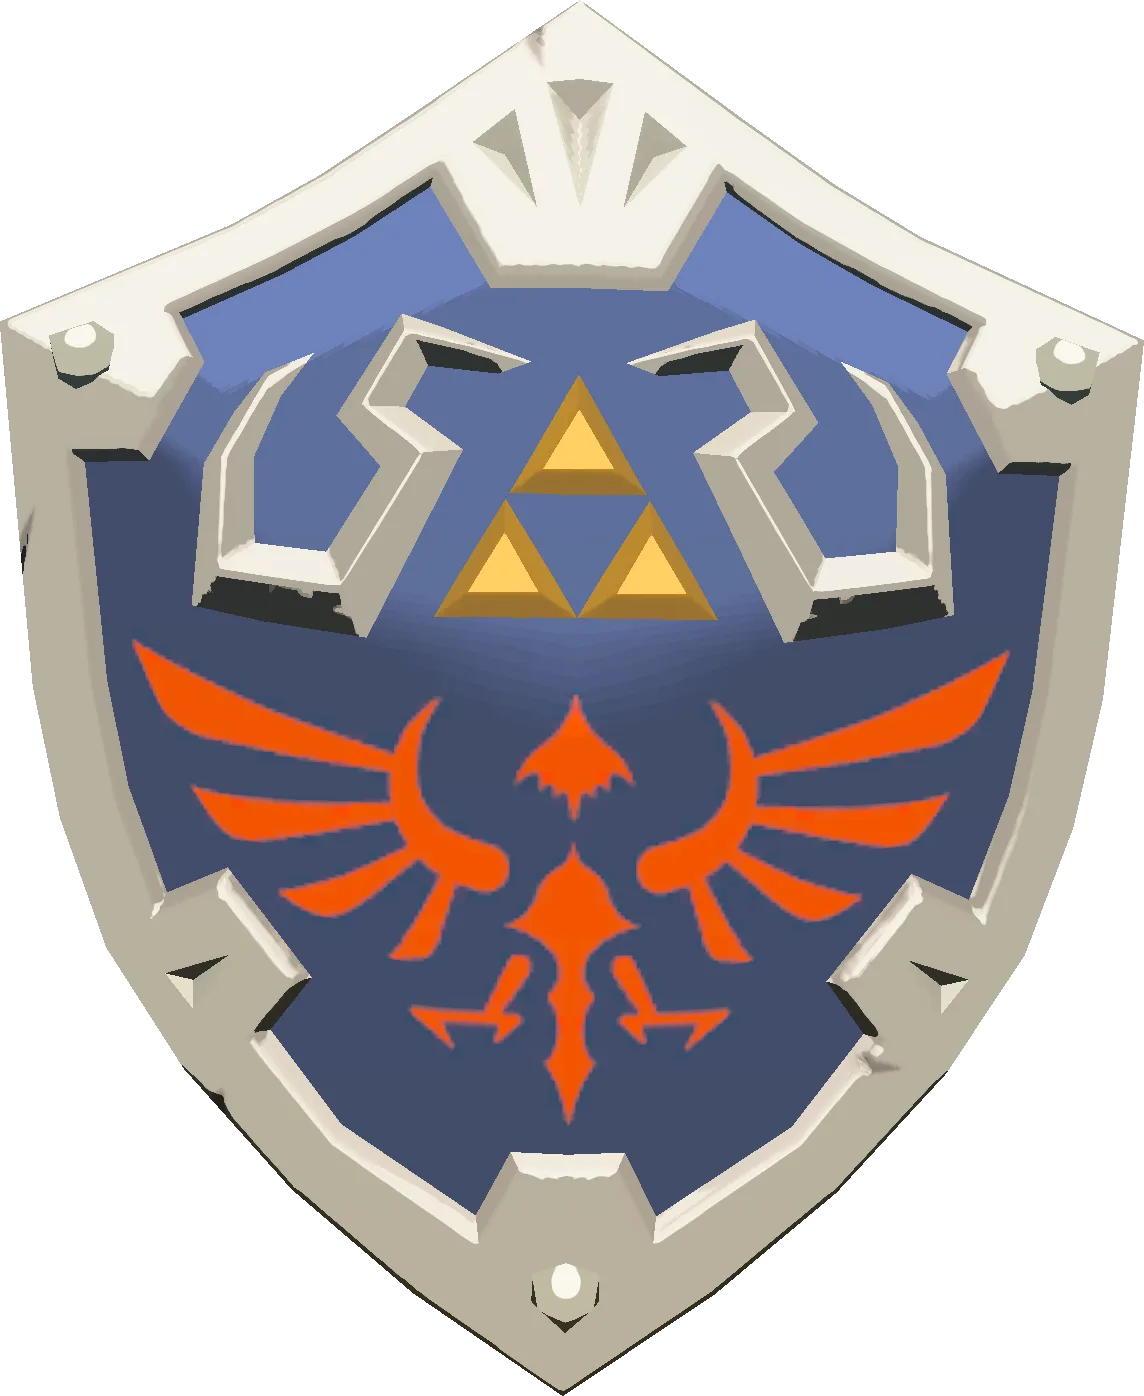
Tears of the Kingdom Best Shield: All 33 Ranked
Tears of the Kingdom has 33 shields, and nowhere does the game, or Zelda Wiki, say what a point of Shield Guard actually blocks. Here is the full stat table, why the two numbers cannot be multiplied into one ranking, and the four bows-style oddities the shield list has of its own.
Tears of the Kingdom Best Bow: All 30 Ranked by Damage
Tears of the Kingdom has 30 bows, and the attack power printed on six of them is per arrow, not per shot. Here is the full stat table, the volley damage the game never adds up for you, and the three bows you are stuck with exactly as you found them.
Tears of the Kingdom Beginner Guide: Great Sky Island and Your First 10 Hours
Tears of the Kingdom hands you four abilities in two hours and then refuses to explain how they interact. Here is what the Great Sky Island is actually teaching, what it skips, and the systems that decide whether hour ten feels powerful or exhausting.
Tears of the Kingdom Dragon Parts: The 101-Part Armor Bill
Four dragons, twenty parts, and a full armor tree that wants 101 of them. Here is what each part does when you fuse it, what it sells for, exactly how many the Great Fairies take, and why 45 of the 101 cost you nothing but a landing.