Tears of the Kingdom Dragon Parts: The 101-Part Armor Bill
Four dragons, twenty parts, and a full armor tree that wants 101 of them. Here is what each part does when you fuse it, what it sells for, exactly how many the Great Fairies take, and why 45 of the 101 cost you nothing but a landing.
Fully upgrading every piece of armor in Tears of the Kingdom that asks for a dragon part costs 101 dragon parts. Not 101 waits, though — 45 of them come off a dragon's back with no cooldown at all. The other 56 come one at a time, on a clock.
That split is the whole subject, and it is the thing worth knowing before you start rather than after. Everything below is checked against Zelda Wiki's Tears of the Kingdom item pages: the Fuse attack power and sell price of all twenty parts, the exact quantity every Great Fairy upgrade takes, and the three side quests that want a claw and never give it back.
Dragon parts are rationed by a clock
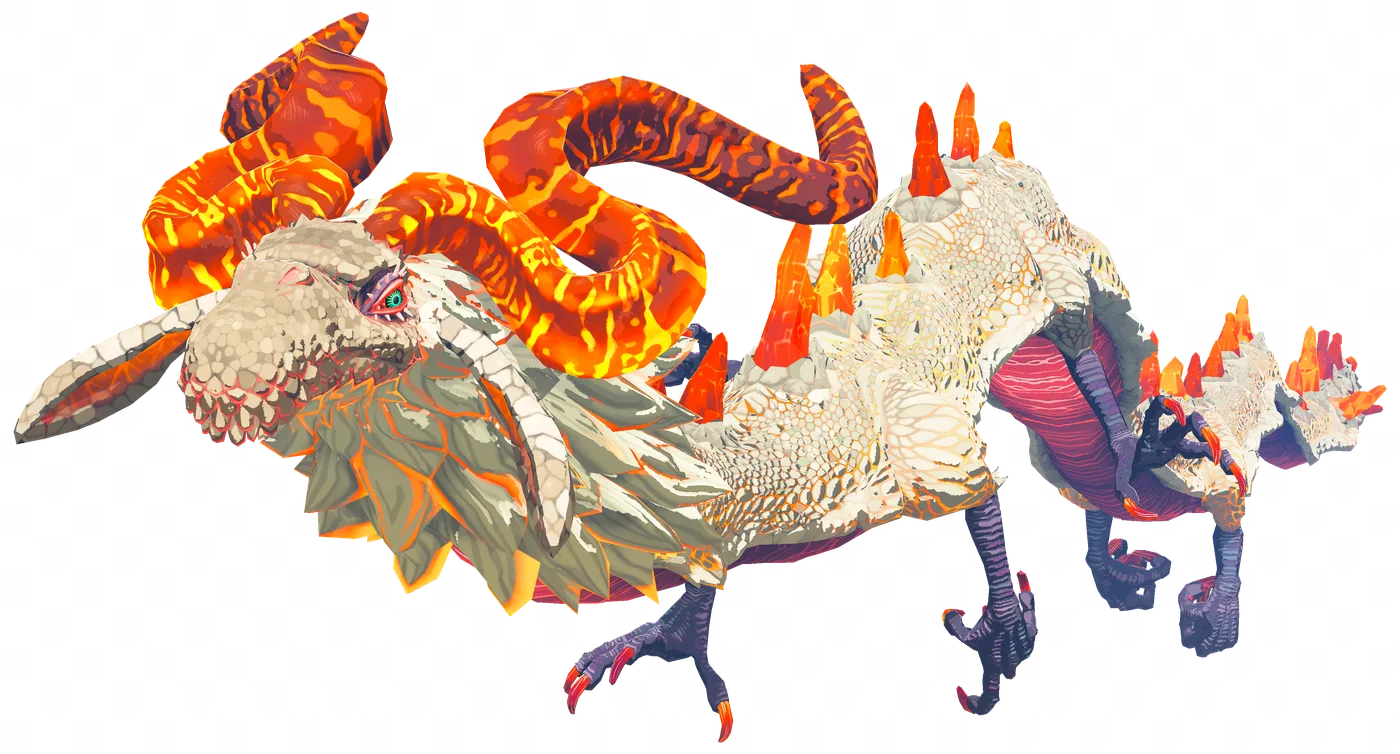
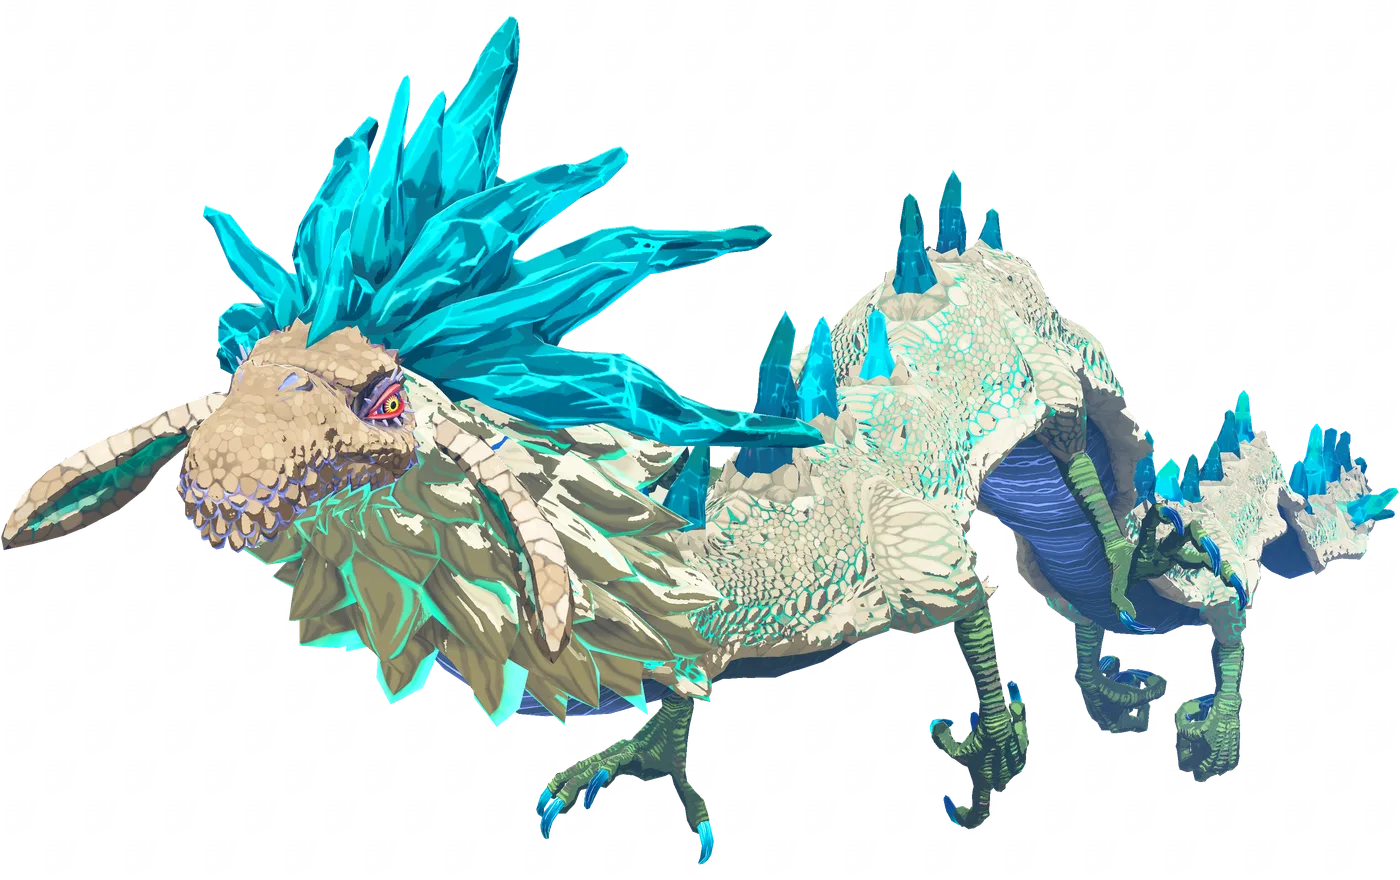
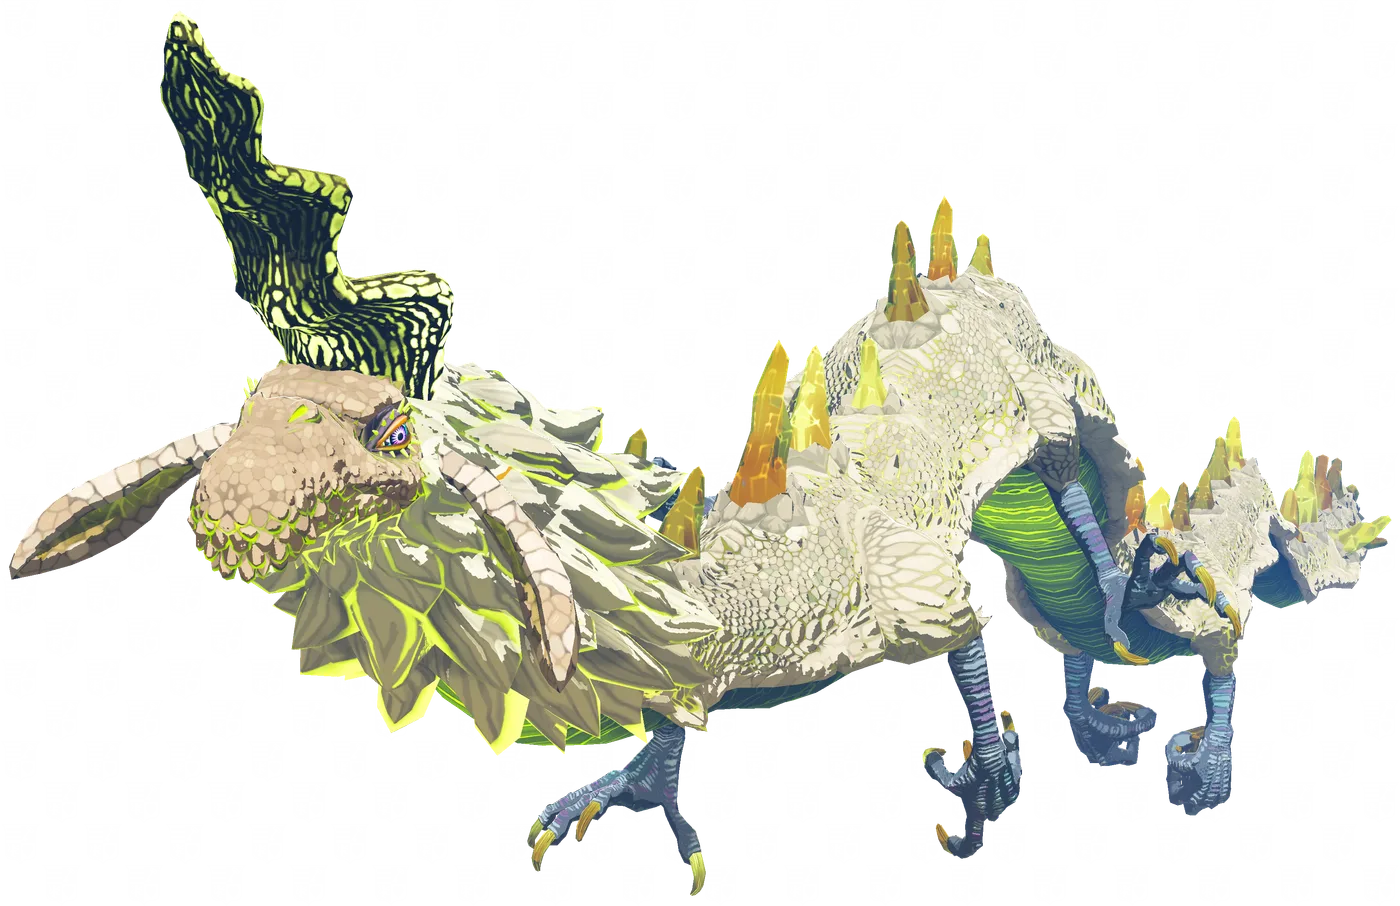
Four dragons carry parts in Tears of the Kingdom: Dinraal (fire), Naydra (ice), Farosh (shock) and the Light Dragon (healing). Each carries the same five kinds of material — a scale, a claw, a fang shard, a horn and spike shards — and the horn is the one Zelda Wiki puts a number on. Dinraal's Horns, it says, come from shooting or striking her horns once every ten minutes.
Ten minutes is a wait, not a skill check. And because it applies to the horn — the most-demanded part that is actually on the timer, at 18 across the game — it is the number that decides how long the whole project takes.
Plenty changed since Breath of the Wild. The Light Dragon exists. Spike shards exist — Zelda Wiki lists them as a Tears of the Kingdom item with no Breath of the Wild entry. The horn is a whole horn rather than a shard of one, and the wiki carries a hatnote separating this game's Dinraal's Horn from the last game's Shard of Dinraal's Horn. And the spring quests want a claw where Breath of the Wild's wanted a scale, which is its own section below. Every number in this post is a Tears of the Kingdom value; if you learned this loop in the last game, the Breath of the Wild dragon farming guide still has the routes and clock times that game published, but the Fuse column below has no counterpart there at all.
All twenty parts, in one table
Each dragon carries five materials. The elemental three — Dinraal, Naydra, Farosh — carry identical stat lines to each other; only the element differs. The Light Dragon's are a separate tier, and worse in one specific way.
| Part | Elemental Fuse Atk | Light Dragon Fuse Atk | Sells for | Comes from |
|---|---|---|---|---|
| Scale | 16 | 12 | 150 rupees | The dragon's body |
| Claw (Talon on the Light Dragon) | 18 | 14 | 180 rupees | The dragon's claws |
| Fang shard | 20 | 16 | 250 rupees | The fangs |
| Horn | 26 | 20 | 300 rupees | The horns |
| Spike shard | 16 | 12 | 30 rupees | Picked up off the back |
Two things jump out of that table. The first is the horn: 26 Fuse attack power is a serious number for a material you attach to a stick, and it comes with an element attached. Zelda Wiki is explicit that Dinraal's Horn turns the fused weapon into a Fire-based elemental weapon; the in-game compendium names the element behind each of the three, calling Dinraal's horn "the crystallized power of fire itself", Naydra's of ice and Farosh's of electricity.
The second is the sell column. A horn fetches 300 rupees and a spike shard 30 — a ten-to-one gap between two parts that fuse for almost the same damage. On rupees alone the horn is the obvious thing to sell, and it is the wrong one: the horn is also the timed part the armor tree wants most, at 18, and every one you hand a shopkeeper is another ten-minute window to earn back. The Fuse guide has the wider material comparison if you want to know where 26 sits against the rest of the game.
The Light Dragon charges you damage for healing
Line the two columns up and the Light Dragon's parts are 4 to 6 Fuse attack power below their elemental equivalents, at every single tier — 12 against 16, 14 against 18, 16 against 20, 20 against 26, 12 against 16. The sell prices are identical. You are not paying rupees for the healing effect; you are paying damage.
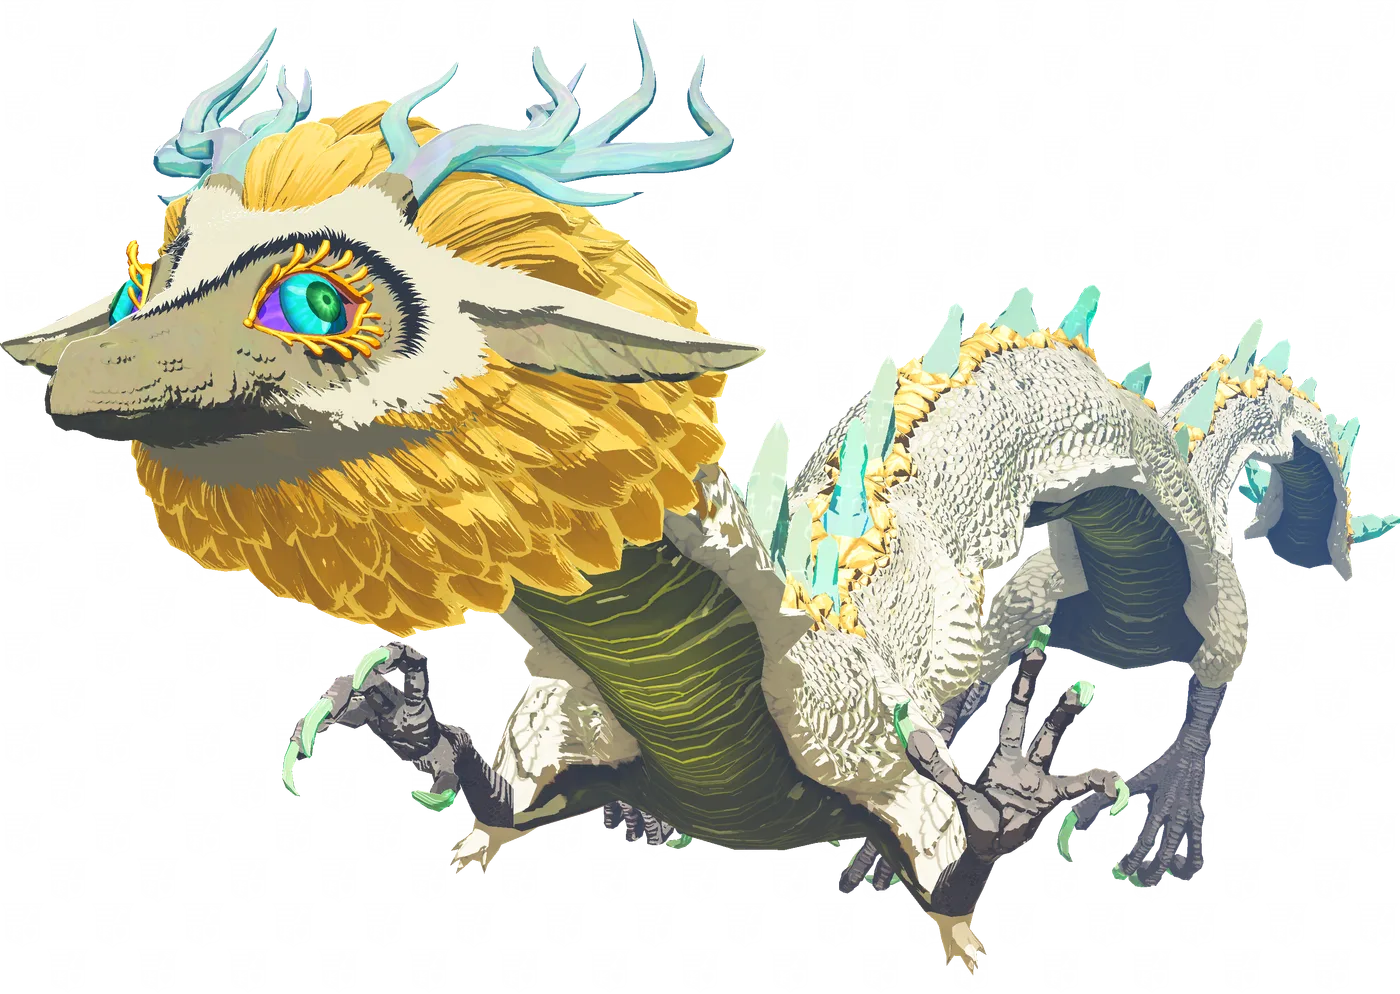
What you get for the trade is a weapon that heals Link as it lands hits. Zelda Wiki describes Light Dragon's Scales as bearing "a healing power familiar to Link", which causes weapons they are fused to to heal him when used on enemies or objects, and the compendium entry for her horn calls it "a mysterious healing power when attached to a weapon". The Master Sword guide covers her flight and what else you can take off her while you are standing on it.
The horn gap is the one worth planning around: a Dinraal's Horn on a claymore hits for six more than a Light Dragon's Horn on the same claymore, and it sets things on fire. Take the healing when the fight is long, not when it is hard.
Spike shards are the exception that breaks the timer
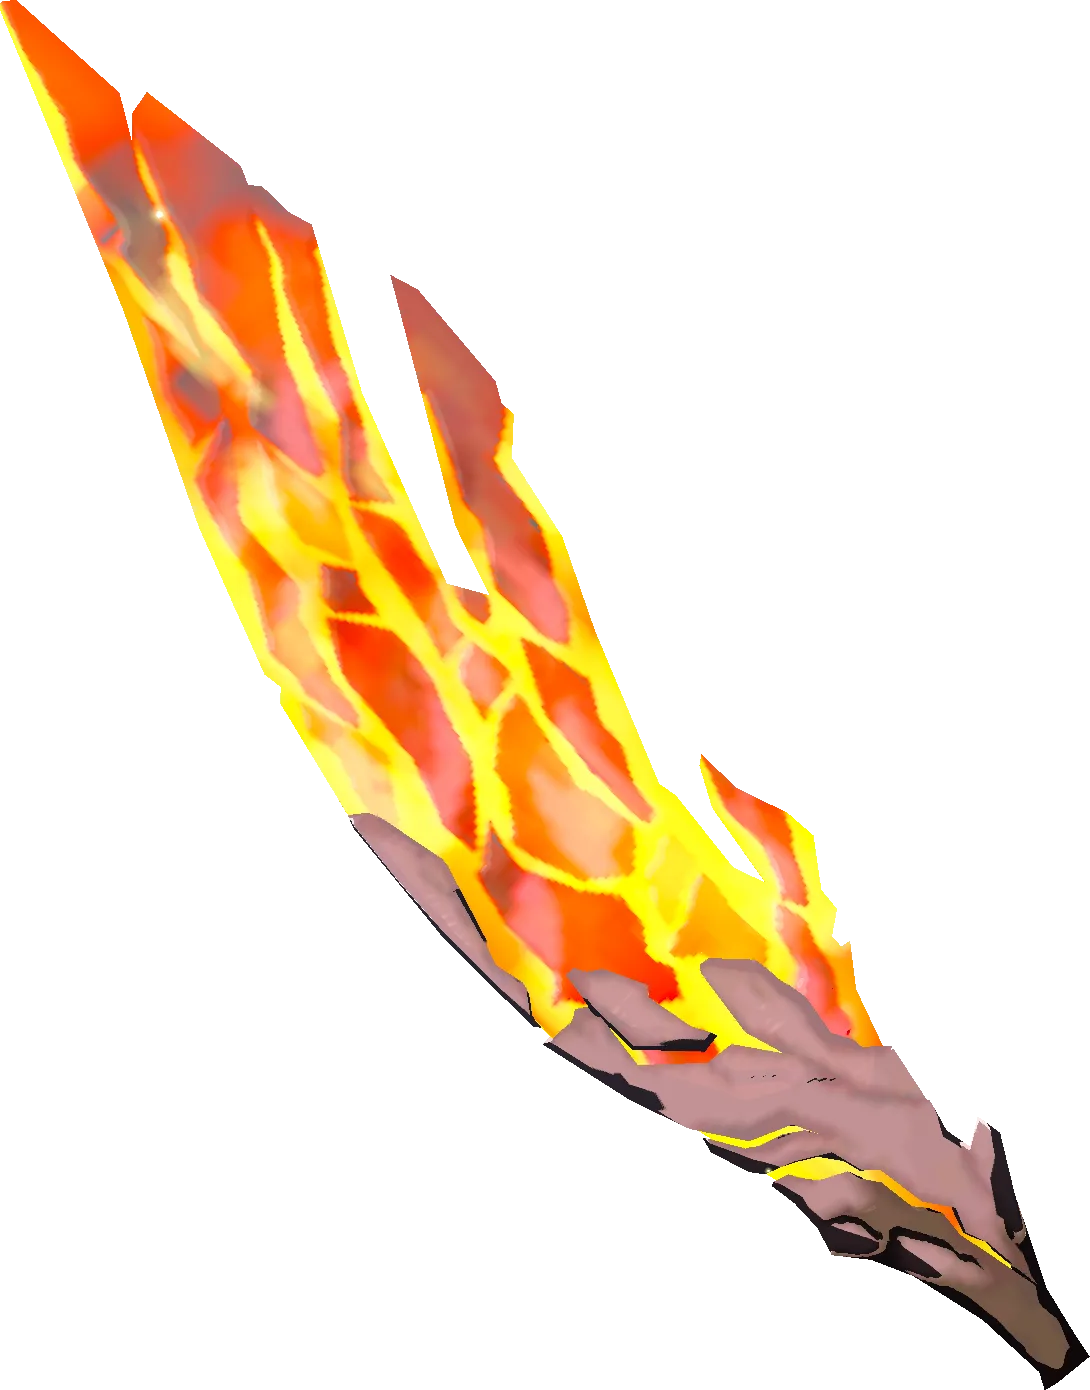
Zelda Wiki's Spike Shard page states it plainly: unlike every other dragon material, spike shards can simply be picked up and do not require Link to hit the dragon with a weapon, or wait for the dragon to glow again before more can be obtained. They are growths around the spikes running down the back — you land on the dragon and collect.
That reframes the whole grind. Of the 101 parts the armor tree wants, 45 are spike shards with no timer attached to them at all — which means 45 of the 101 are gated by how often you can get onto a dragon's back, not by how long you have to wait once you are there. Fused, they grant the weapon Crushing properties on top of the element they carry; the compendium calls a shard "very destructive when fused to a weapon".
The armor tree wants 101 dragon parts
Here is every dragon part a Great Fairy will ask for across the whole game, totalled from Zelda Wiki's per-item upgrade tables:
| Dragon | Scales | Claws / Talons | Fang shards | Horns | Spike shards | Total |
|---|---|---|---|---|---|---|
| Dinraal | 3 | 3 | 3 | 5 | 15 | 29 |
| Naydra | 5 | 3 | 3 | 5 | 15 | 31 |
| Farosh | 3 | 3 | 3 | 5 | 15 | 29 |
| Light Dragon | 3 | 3 | 3 | 3 | 0 | 12 |
| Total | 14 | 12 | 12 | 18 | 45 | 101 |
Naydra is the outlier at 31, and the reason is a boot: the four-star Snow Boots upgrade takes 2 Naydra's Scales alongside 20 Swift Violets. Everything else is symmetrical.
The Light Dragon is the cheap one at 12, and she is cheap because of the one gap in the table: Shards of Light Dragon's Spike are the only part in the list above that no armor upgrade asks for. Zelda Wiki lists their use as fusing to weapons and nothing else. Every shard you take off her back is for a weapon or for selling.
The nine pieces that ask for them
Nine armor pieces in the whole game are funded by dragons. Here is the complete set, with everything each one takes across all four upgrade levels:
| Armor piece | Dragon it taxes | Dragon parts across all four levels |
|---|---|---|
| Fierce Deity Mask | Dinraal | 1 scale, 1 claw, 1 fang shard, 1 horn |
| Fierce Deity Armor | Naydra | 1 scale, 1 claw, 1 fang shard, 1 horn |
| Fierce Deity Boots | Farosh | 1 scale, 1 claw, 1 fang shard, 1 horn |
| Trousers of the Wild | Dinraal | 2 scales, 2 claws, 2 fang shards, 2 horns, 15 spike shards |
| Tunic of the Wild | Naydra | 2 scales, 2 claws, 2 fang shards, 2 horns, 15 spike shards |
| Cap of the Wild | Farosh | 2 scales, 2 claws, 2 fang shards, 2 horns, 15 spike shards |
| Champion's Leathers | Light Dragon | 2 scales, 2 talons, 2 fang shards, 2 horns |
| Tunic of Memories | All four | 1 LD scale, 1 LD talon, 1 LD fang shard, 1 LD horn, 2 Farosh horns, 2 Naydra horns, 2 Dinraal horns |
| Snow Boots | Naydra | 2 scales (four-star level only) |
A few things fall out of that list.
The Of the Wild set is where the spike shards go. Each of the three pieces takes 5 shards at three stars and 10 more at four, alongside 2 fang shards and then 2 horns plus 3 Star Fragments. That is the 45. The armor guide makes the case for whether the set is worth it; this is the invoice.
The Fierce Deity set is the cheap dragon commitment. One of each part, per piece, per dragon — four parts each, twelve in total, no spike shards, no Star Fragments. If you want a dragon-funded set without the Of the Wild grind, this is it. The mask itself is in Skull Lake Cave.
Tunic of Memories is the awkward one. It wants a Light Dragon part at every tier and two elemental horns at three of them, which means it alone accounts for 7 of the 18 horns in the table — 2 Farosh at two stars, 2 Naydra at three, and 2 Dinraal plus 1 Light Dragon's Horn at four. It is bought from Bargainer Statues for 400 Poes, so it is gated behind the Depths before it is gated behind dragons. Worth knowing before you commit seven horns to it: Zelda Wiki lists its effect as allowing Link to shoot Master Sword beams at any health — the same effect the Champion's Leathers carries, and the Leathers has the higher defense ceiling (32 against 28).
Champion's Leathers is eight parts for the game's highest defense ceiling. Two Light Dragon's Scales, two Talons, two Shards of Light Dragon's Fang and two Horns — no spike shards, no Star Fragments — and the piece tops out at 32 defense, which Zelda Wiki calls the highest potential defense of any armor in the game, while granting Master Sword Beam Always Available. It sits in a chest in the Throne Room of Hyrule Castle rather than behind a fight.
Three more claws that never reach a Great Fairy
On top of the 101, three side quests each want a claw offered into a sacred spring. These are new in the sense that Breath of the Wild's spring quests asked for a scale; Tears of the Kingdom's ask for a claw, which is a more expensive part and one more shot-off part apiece.
| Spring | The statue asks for | Reward |
|---|---|---|
| Spring of Power | Dinraal's Claw | Ruby |
| Spring of Wisdom | Naydra's Claw | Sapphire |
| Spring of Courage | Farosh's Claw | Topaz |
Each begins by praying at the spring's Goddess Statue, who cannot sense the Mother Goddess Statue "in the vast canyon" — the Forgotten Temple — and asks you to check on it. You report back that it has been toppled, she asks for the offering, and you drop the claw into the water. Finish all three and they chain into the side quest The Mother Goddess Statue.
One warning the quest text carries explicitly: if your pouch is full when you make the offering, the statue cannot hand over the gemstone, and you have to return once you have made room.
What 101 parts costs in real time
Take the two numbers together. 101 parts for the armor tree, plus 3 claws for the springs, is 104 dragon parts. 45 of them are spike shards you pick up freely. That leaves 59 parts that have to be shot or struck off a dragon, each on the ten-minute cadence Zelda Wiki gives for horns.
At one part per ten-minute window, 59 parts is 590 minutes — nine hours and fifty minutes of clock — but only if you work one dragon at a time. Zelda Wiki gives the cadence on each dragon's own page rather than as a global rule ("shooting or striking her horns once every ten minutes", and waiting "for the Dragon to glow again before more can be obtained"), so 590 is a ceiling, not a floor: how far under it you land depends on how many of the four you can reach inside a single window. What the wiki does not say anywhere is whether that ten minutes is per part type or shared across the whole dragon, so treat the per-dragon figure as the bound rather than the schedule. None of it counts travel, and none of it counts the Star Fragments, Silent Princesses and Sundelions those same upgrades want alongside.
Two conclusions follow, and they are the reason to read the tables above before you start:
- Do the spike shards first and do them in bulk. They are 45 of the 104 and they cost nothing but a landing. Getting them out of the way turns the remaining project from "101 parts" into "59 waits", which is a much more honest picture of what you signed up for.
- Decide which of the nine pieces you actually want before you farm a single horn. Horns are 18 of the 59, they are the priciest part on the list at 300 rupees apiece, and seven of them go to a tunic whose signature effect the Champion's Leathers already gives you.
The despawn radius trick
One quirk worth knowing before you go collecting: Zelda Wiki notes that dragon parts have a much longer despawn radius than most other items, and that if you attach one to another item or object with Ultrahand, the resulting creation inherits that property. A shard fused onto something you are building will stay loaded from much further away than the same object would on its own. The Ultrahand guide covers what else you can do with attachment rules like that.
Quick Action Checklist
- Full armor tree cost: 101 dragon parts — 29 Dinraal, 31 Naydra, 29 Farosh, 12 Light Dragon.
- 45 of the 101 are spike shards, which are picked up off the dragon's back with no timer. Farm those first and in bulk.
- The remaining 56, plus 3 spring-quest claws, are shot or struck off on the ten-minute cadence the horn page gives.
- Elemental Fuse attack power: scale 16, claw 18, fang shard 20, horn 26, spike shard 16.
- Light Dragon Fuse attack power: scale 12, talon 14, fang shard 16, horn 20, spike shard 12 — 4 to 6 lower at every tier, for healing.
- Sell prices are the same across all four dragons: 150 / 180 / 250 / 300 / 30 rupees.
- Horns are the choke point: 18 of them, more than any other timed part, and 7 go to the Tunic of Memories alone.
- Naydra needs 5 scales, not 3, because four-star Snow Boots takes 2 of them.
- Shards of Light Dragon's Spike are the one part no armor upgrade wants — weapons and rupees only.
- Springs want claws in Tears of the Kingdom, not scales: Dinraal at Power (Ruby), Naydra at Wisdom (Sapphire), Farosh at Courage (Topaz). Empty a pouch slot first.
- Fused dragon parts inherit a long despawn radius — useful on anything you build with Ultrahand.
Frequently Asked Questions
How many dragon parts do you need in Tears of the Kingdom?
What is the Fuse attack power of dragon parts in TOTK?
How often can you take a dragon part in Tears of the Kingdom?
Which armor needs dragon parts in Tears of the Kingdom?
What do the springs want in Tears of the Kingdom?
Keep Reading
- Zelda Wiki — Dinraal's Horn: 26 Fuse Attack Power, 300 rupees, the ten-minute rule, the fire elemental conversion, and the long despawn radius
- Zelda Wiki — spike shards are picked up rather than shot off, need no glow cycle, and grant Crushing plus the dragon's element
- Zelda Wiki — Dinraal's Scale: 16 Fuse Attack Power, 150 rupees, and the 3 required across Fierce Deity Mask and Trousers of the Wild
- Zelda Wiki — Dinraal's Claw: 18 Fuse Attack Power, 180 rupees, and the extra claw the Goddess Statue of Power takes
- Zelda Wiki — fang shards: 20 Fuse Attack Power and 250 rupees
- Zelda Wiki — spike shards: 16 Fuse Attack Power, 30 rupees, and the 15 the Of the Wild pieces take
- Zelda Wiki — Naydra's Scale and the 5 required, including 2 for four-star Snow Boots
- Zelda Wiki — Naydra's Horn: 26 Fuse Attack Power and the 5 across Fierce Deity Armor, Tunic of the Wild and Tunic of Memories
- Zelda Wiki — Farosh's Horn and the 5 across Cap of the Wild, Fierce Deity Boots and Tunic of Memories
- Zelda Wiki — Light Dragon's Scale: 12 Fuse Attack Power and the healing effect on fused weapons
- Zelda Wiki — Light Dragon's Horn: 20 Fuse Attack Power against the elemental dragons' 26
- Zelda Wiki — the one dragon part with no armor upgrade use, listed for fusing to weapons only
- Zelda Wiki — Champion's Leathers: 32 maximum defense, Master Sword Beam Always Available, and the Throne Room chest
- Zelda Wiki — Tunic of Memories: 400 Poes at Bargainer Statues and its mixed-dragon upgrade path
- Zelda Wiki — the Fierce Deity Mask in Skull Lake Cave and its Dinraal upgrade path
- Zelda Wiki — the Spring of Power side quest, the Dinraal's Claw offering, the Ruby reward, and the full-pouch failure state
- Zelda Wiki — the Spring of Wisdom side quest, Naydra's Claw, and the Sapphire
- Zelda Wiki — the Spring of Courage side quest, Farosh's Claw, and the Topaz
Related Guides
Tears of the Kingdom Intact Weapons: Break These 31 First
Intact weapons are not loot you find. They are loot you unlock, one broken decayed weapon at a time, and the game never says so. Here is the full 31-pair table, the unlock rule, the one way of breaking a weapon that does not count, and how a Spectral Figure actually picks what it is holding.
Tears of the Kingdom Cooking Guide: The Buff Math the Game Hides
One Dragon's Horn turns any dish into a 30-minute buff. A 2-rupee Gibdo Guts guarantees a critical bonus. And two effects in the game cannot be cooked past level one no matter what you do. Here is the arithmetic behind Tears of the Kingdom's cooking pot.

Tears of the Kingdom Fuse Guide: The Damage Numbers Nobody Shows You
A Traveler's Sword hits for 5. A Silver Lynel Saber Horn adds 55. Tears of the Kingdom quietly made the stick irrelevant and the thing on the end of it everything — here are the actual Fuse numbers and the durability system hiding behind them.
Tears of the Kingdom Rupee Farming: What to Sell and Keep
A Ruby sold for 210 rupees in Breath of the Wild. In Tears of the Kingdom it sells for 110. Six of the eight ores the two games share lost 42 to 71 percent of their value, which quietly broke the old money playbook. Here is what actually pays now, what the Great Fairies will want back, and the real math on feeding Luminous Stones to a Dondon.
Tears of the Kingdom Beginner Guide: Great Sky Island and Your First 10 Hours
Tears of the Kingdom hands you four abilities in two hours and then refuses to explain how they interact. Here is what the Great Sky Island is actually teaching, what it skips, and the systems that decide whether hour ten feels powerful or exhausting.
Tears of the Kingdom Boss Guide: Every Weak Point
Our sages guide already told you how much HP these bosses carry depending on turn order. It never told you how to actually hit them. Three of the four regional bosses cannot be damaged at all until you trigger a specific counter on them — and one boss hits harder in its optional rematch than it ever does in a real playthrough.