Tears of the Kingdom Beginner Guide: Great Sky Island and Your First 10 Hours
Tears of the Kingdom hands you four abilities in two hours and then refuses to explain how they interact. Here is what the Great Sky Island is actually teaching, what it skips, and the systems that decide whether hour ten feels powerful or exhausting.
Link walks into Tears of the Kingdom with a thirty-heart life bar. He keeps it for roughly one cutscene. Ganondorf's gloom catches the Master Sword and Link's right arm under Hyrule Castle, and the counter collapses to three — the number every Zelda game starts you on. That is the entire design thesis delivered as an injury: the sequel confiscates the character you built and hands back a toolkit that works nothing like the old one.
If you came here off the Breath of the Wild beginner guide, throw out half of it. Magnesis, Stasis, Cryonis, Remote Bombs, the Sheikah Slate, Sheikah Towers — all gone. What replaces them is weirder and far more permissive, but only if you understand what the Great Sky Island is actually teaching and what it leaves you to figure out.
You lose 27 hearts in the opening cutscene
Three hearts is not a soft start, it is a hard floor, and unlike the Plateau there is no Old Man handing you a warm shirt. Your first real defensive upgrade is armor you buy or find on the surface, which is why the best armor sets in Tears of the Kingdom matter more in hour eight than any heart container does.
The gloom also degrades most of Hyrule's weapon stock. Swords, spears, and long swords on the surface are coated in it, weakening them in both durability and strength. That is not flavor text — it is why every weapon you find looks like garbage. Fuse is the fix.
Great Sky Island is not the Great Plateau
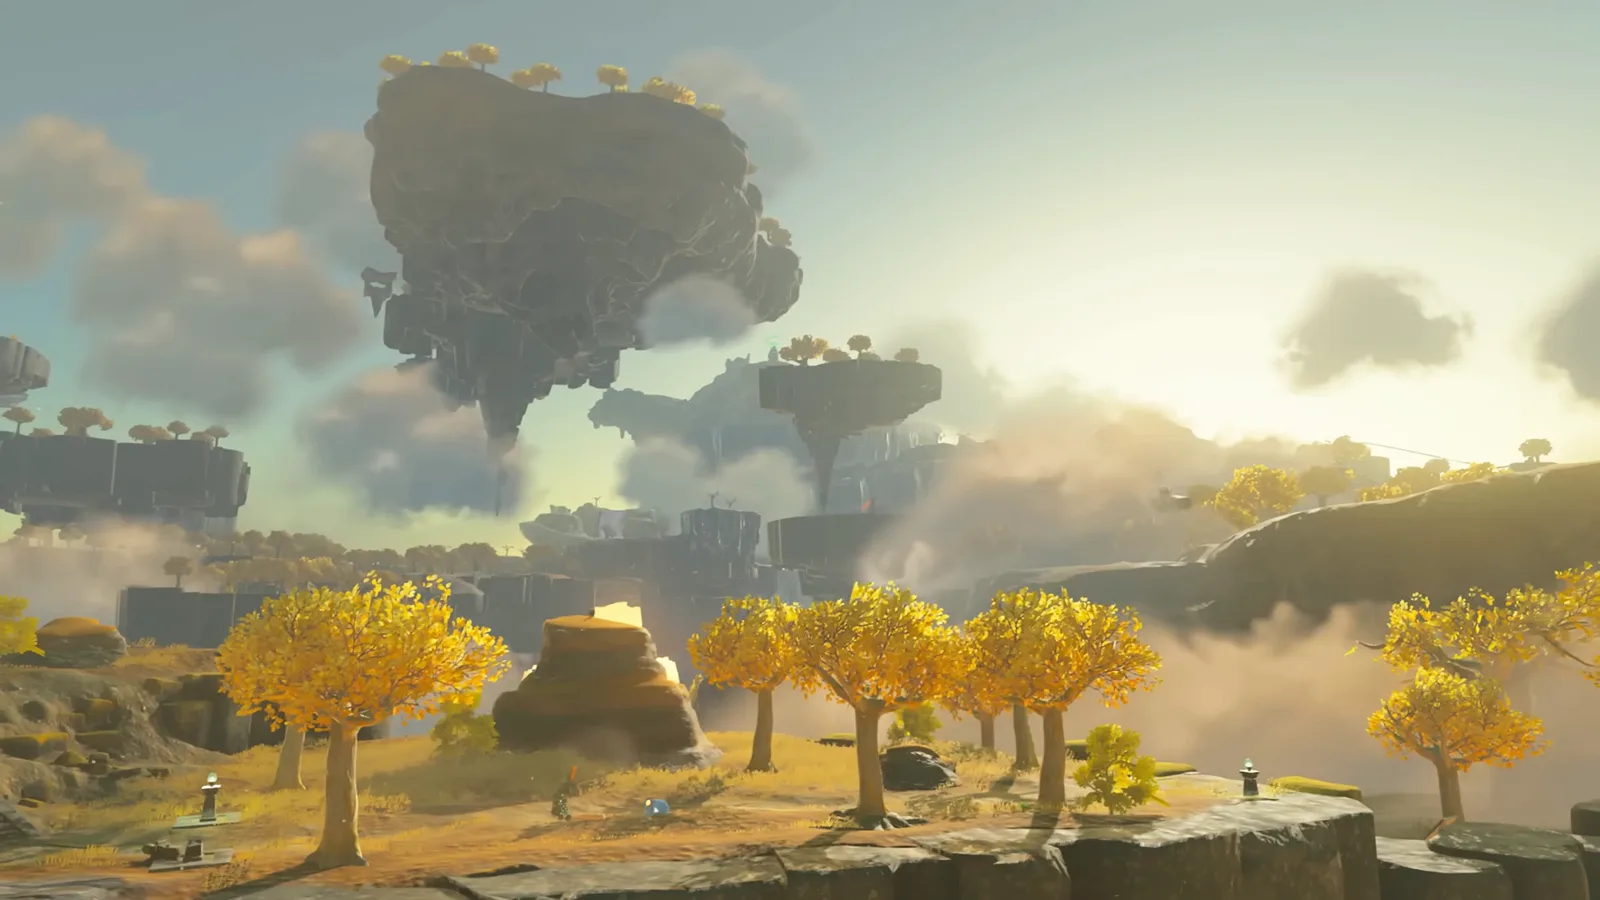
Structurally they rhyme: isolated tutorial zone, a small cluster of shrines, one way out. Functionally they are opposites. The Plateau was a locked box with a paraglider-shaped key. Great Sky Island's exit is falling off it — you walk to the edge and dive, no item required.
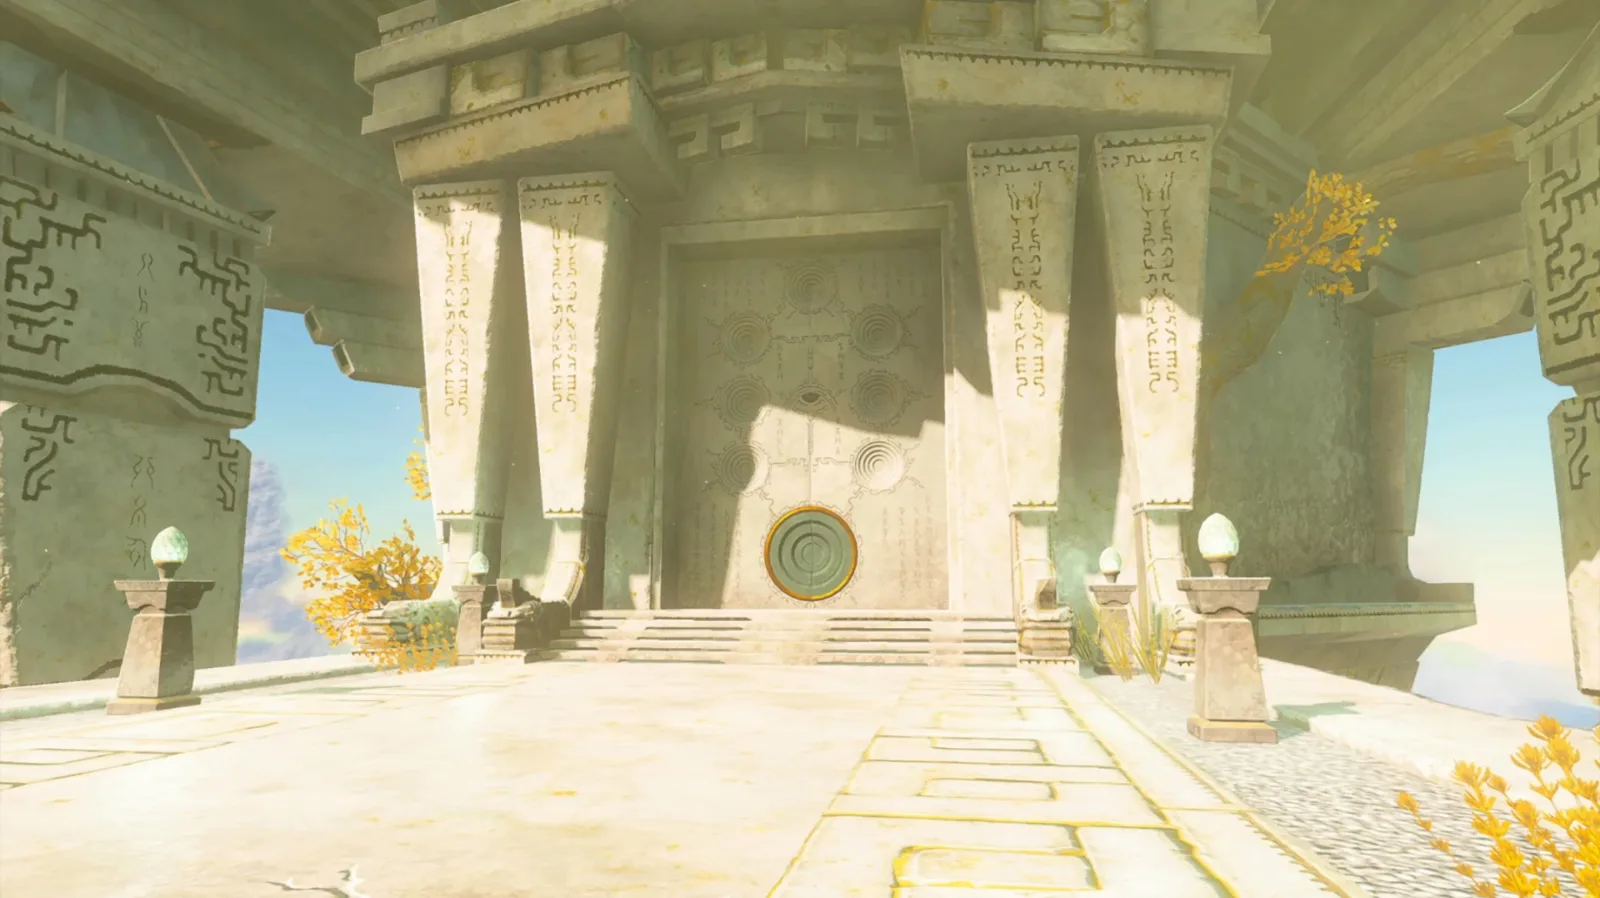
The island is built around the ruined Temple of Time, with the shrines scattered around it. Three things to grab before you leave:
- The Purah Pad, handed to you by a Steward Construct outside the Room of Awakening. It is the Sheikah Slate's replacement — map, scope, Hyrule Compendium — with one key difference: your abilities do not live in the Pad. They live in Rauru's arm.
- The Energy Cell, given by another Steward Construct. This is your Zonai device battery, and it quietly caps everything you build for the first twenty hours.
- Zonaite from the Mining Cave. The island has trace deposits; the real supply is in the Depths. Take what you find — Zonaite is the currency behind every battery upgrade.
Also worth knowing: aiming the Purah Pad's scope in midair slows time without draining stamina, unlike Breath of the Wild's bow-aim slowdown, which bled the wheel dry.
Three shrines, three abilities
Everyone remembers "four abilities on the tutorial island." Only three of them come from shrines. Here is the accurate breakdown.
| Shrine | Trial name | What you get |
|---|---|---|
| Ukouh | The Ability to Create | Ultrahand |
| In-isa | The Ability to Combine | Fuse |
| Gutanbac | The Ability to Rise | Ascend |
| Nachoyah | The Ability to Rewind | Nothing new — it tests Recall |
Ukouh Shrine: Ultrahand
East of the Temple of Time. Ultrahand grabs, moves, and rotates almost anything, and — the part that matters — glues objects together permanently. It is not Magnesis with a bigger net: Magnesis only touched metal and moved it with more force, while Ultrahand touches nearly everything and lets you build. Every raft, bridge, and cursed flying machine on the internet starts in this shrine.
Do not try to master it in hour one. Learn one habit: rotate before you commit, and shake a bad glue job loose by grabbing the same piece again. The deep version — device combos, steering, what actually flies — lives in our Ultrahand and Zonai devices guide.
In-isa Shrine: Fuse
The Ability to Combine. Fuse magically attaches a material to your weapon, shield, or arrow, changing its damage, its durability, and often its behavior. The shrine seeds you with the exact props to learn it — a Rusty Claymore, an Old Wooden Bow, arrows, and a pile of Fire Fruit — because the lesson is "the junk in your pouch is ammunition."
Two facts the tutorial does not spell out: fused gear gets renamed based on the material, so your inventory tells you what you built, and fused parts can be detached again from the inventory screen. You are not locked into a bad combination.
Gutanbac Shrine: Ascend
Eastern side of the island, near the Bottomless Cave. Ascend lets Link swim upward through a ceiling and pop out on top of it, which sounds like a novelty and is in fact the single biggest change to how you traverse Hyrule.
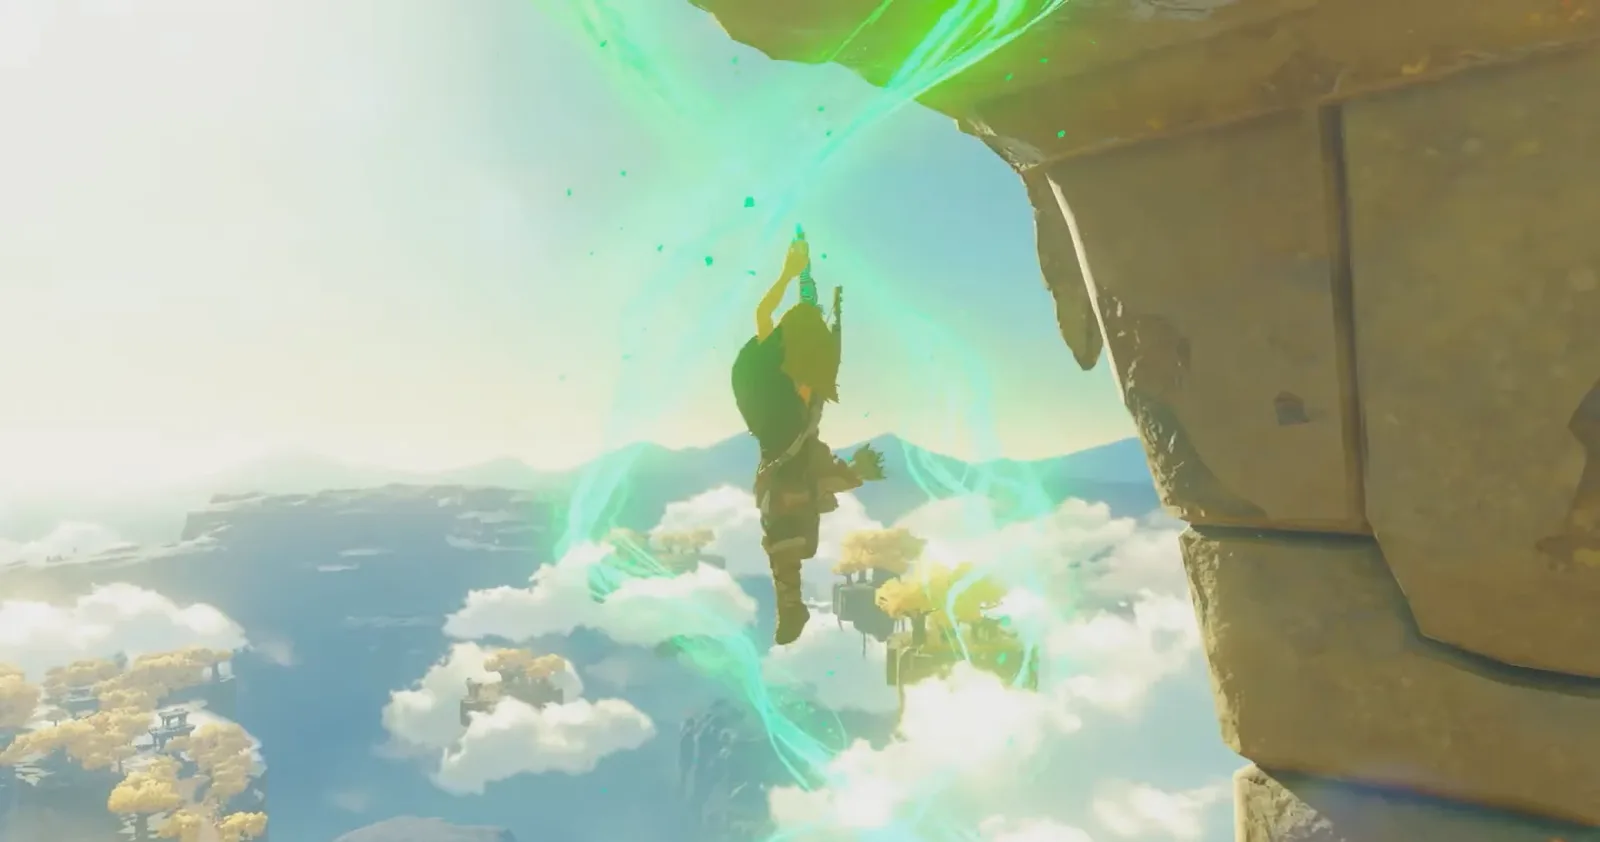
The rules are readable once you know what to look at. Aim upward and a grid appears with a dot in the middle: green means the ceiling is flat enough to pass through, red means it is not. After you surface you get thirty seconds of frozen-world camera time to check the landing zone before you are ejected automatically. Use those seconds — ascending into a Lynel camp is a real way to die.
The habit to build: in any cave, mountain, or building, look up before you climb. Ascend quietly deletes about a third of the climbing in this game.
Recall comes from the Temple of Time, not a shrine
This is the one people get wrong. Recall is handed to you in the main room of the Temple of Time by an ethereal manifestation of Zelda. Nachoyah Shrine, sitting just outside the Room of Awakening in the south of the island, is the trial that makes you use it.
Recall reverses an object's movement along the exact path it travelled, and it behaves unlike your other three abilities:
- Time freezes while you are selecting. No pressure, no aim penalty.
- Range is near-infinite, far beyond Ultrahand's reach.
- The highlighted object's rewind path is drawn as a transparent yellow line, so you see where it will go before committing.
The beginner use is riding a fallen sky rock back up to where it fell from — free altitude, no stamina cost. The intermediate use is bouncing enemy projectiles back at whatever threw them.
Fuse is the answer to the durability complaint
Weapon breakage was the loudest complaint about Breath of the Wild. Tears of the Kingdom does not remove breakage — it makes the broken weapon the least interesting part of the equation.
A gloom-decayed sword is a handle. What you bolt onto it decides the damage. Fusing raises attack power and durability at once, and specific materials add effects on top:
- Rocks and heavy monster parts turn a rusted blade into a hammer that shatters ore deposits.
- Elemental fruit makes weapons and arrows that ignite, freeze, or shock — how you handle armored and clustered enemies without a good weapon.
- A Keese Eyeball on an arrow makes it home in on a target. That is one eyeball and a bow, available in your first hours.
- Brightbloom Seeds have a Fuse attack power of 1. They are not weapons, they are portable lighting for caves and the Depths, and they are the reason you should never sell them.
Shields fuse too, and the enemies know it. Captain Constructs fuse their own weapons to nearby objects mid-fight — the tell is a laser-like whip animation that gives you time to react.
Zonai devices and the battery you keep emptying
Zonai devices — fans, wings, rockets, carts, emitters — come from gacha-style Device Dispensers scattered around the world, which trade Zonai Charges for a random device from that dispenser's pool. Zonai Charges themselves drop from Soldier Constructs, and can also be eaten directly to top up your Energy Cell in a pinch.
Your Energy Cell is the wall you will hit constantly. The upgrade path is not optional and it is not obvious:
- Mine Zonaite in the Depths.
- Take it to a Forge Construct to process it into Zonai Charges and crystallized charges.
- Take 100 crystallized charges to a Crystal Refinery to add another cell to your battery.
Once your Energy Cell is fully upgraded, the Steward Construct at a Crystal Refinery starts selling Zonai devices outright — three crystallized charges each, thirty for a big battery. Which reframes every Depths mining run as battery progress rather than a detour.
Diving to the surface: Lookout Landing and the Paraglider
You do not get the Paraglider on the tutorial island. You dive without one, land in Hyrule Field, and walk to Lookout Landing — the settlement built in front of the Hyrule Castle Town ruins, and the first town in the game.
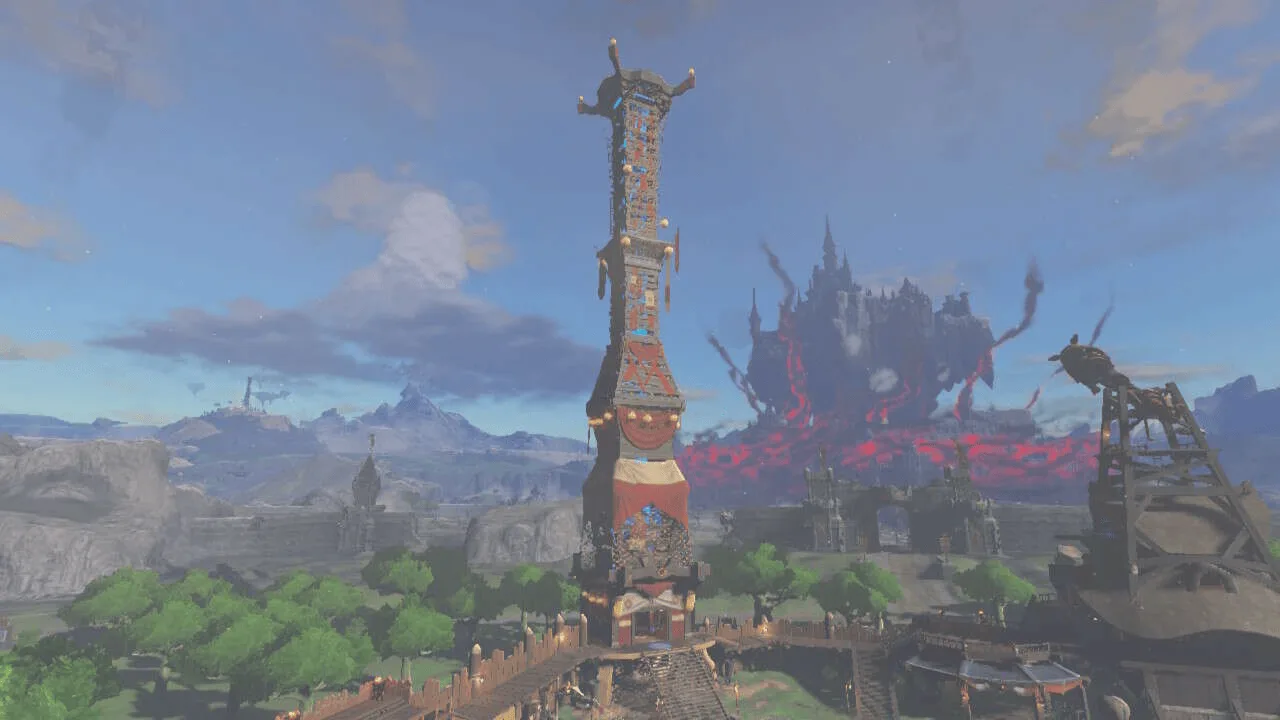
Purah hands over the Paraglider right before launching you out of the Lookout Landing Skyview Tower. That is the sequence. Talk to Purah, she enables the Skyview Tower network, you activate the tower inside Lookout Landing first, and it reveals Central Hyrule plus its sky archipelago.
Skyview Towers are not Sheikah Towers with a new coat of paint. You do not climb them. Mechanical arms plug the Purah Pad into the tower and fire Link into the sky, scanning terrain at the apex before dropping you into a free skydive. Once unlocked, a tower can be re-launched any time, which makes towers the fastest long-distance travel in the game.
Most towers outside Central Hyrule have a small problem blocking them: a locked door, a frozen mechanism, a missing operator. Solve it, launch, repeat. Tower, launch, skydive, land on whatever you spotted on the way down — that is the correct rhythm for hours three through ten.
Lights of Blessing: hearts or stamina
Shrines of Light award a Light of Blessing instead of a Spirit Orb. Four of them traded at a Goddess Statue buys one Heart Container or one Stamina Vessel. There are 152 Lights of Blessing in the game, which works out to exactly 38 upgrades across an entire playthrough — eight more than Breath of the Wild's 30.
For a first run: put your first three or four into stamina. The argument is stronger here than in the last game, because this world is stacked vertically in three layers and stamina governs climbing, gliding, and how far a tower launch carries you. Hearts protect you from mistakes; stamina buys access. Once your glide is comfortable, split the rest toward hearts and lean on armor for survivability.
The Depths are a trap and a shortcut
Beneath Hyrule sits a pitch-black mirror of the surface. Go there early and you will die confused. Go there early with a plan and you will out-scale the game.
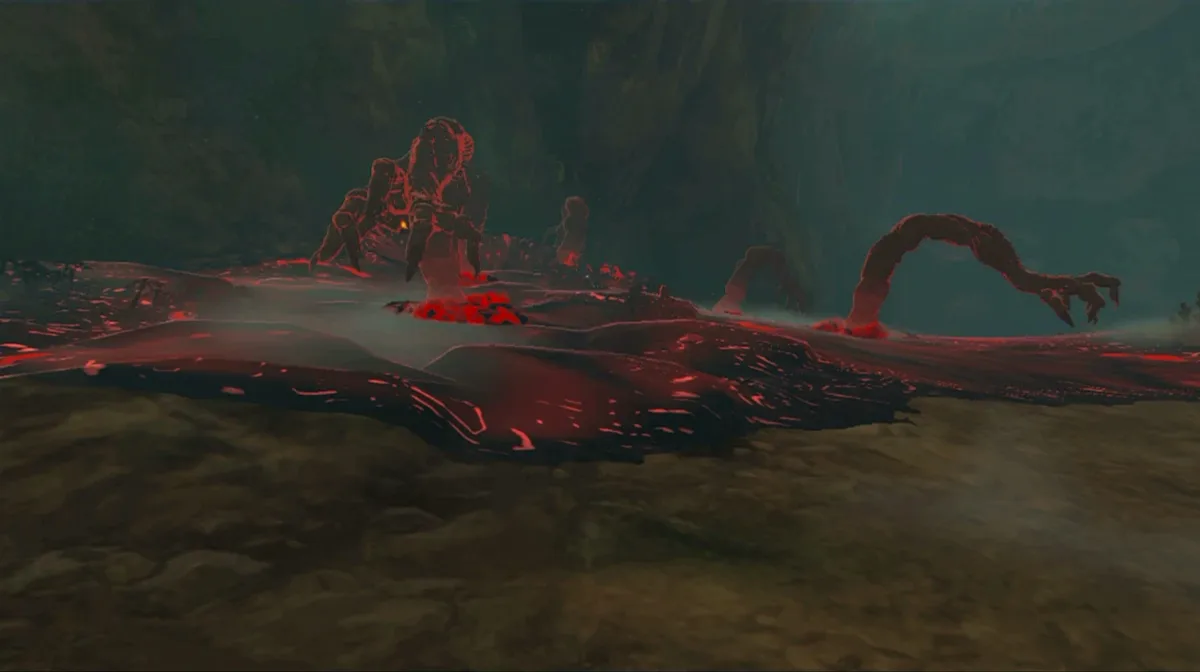
The rules that make it survivable:
- Gloom damage locks hearts rather than just draining them. You get them back by activating or fast-travelling to a Lightroot, by eating something with the sunny effect, or by staying out of the Depths long enough — all at one heart per second.
- Sundelions are the sunny ingredient. Each one used in a dish restores three gloom-locked hearts. They grow mainly on sky islands, plus Eldin Canyon and Hyrule Field. Cook before you descend.
- Lightroots sit directly beneath surface shrines, at matching coordinates, with their names spelled backwards. Each one reveals map, creates a fast-travel point, and clears a wide radius of darkness. Know a shrine up top, know a Lightroot below.
- Brightbloom Seeds are your flashlight between Lightroots. Fuse them to arrows and shoot the ceiling.
- Poes are the Depths currency. Bargainer Statues trade them for materials — Dark Clumps at 10 Poes, Muddle Buds, Puffshrooms, and Bomb Flowers at 16 each — and eventually full armor sets. The first is the quiet statue in Josha's research hut at Lookout Landing, which stays silent until you progress her questline.
What actually carries over from Breath of the Wild
Enough that veterans get overconfident, and little enough that they get punished for it.
Still true: cooking solves environmental hazards, armor defense beats heart count, Koroks expand your inventory through Hestu, and horses work much like the last game's horse system.
Changed: there are now 1,000 Korok Seeds, but you only need 421 to max your weapon, bow, and shield slots — fewer than Breath of the Wild's 441 despite the bigger total, so the completionist gap is even wider than in the old Korok hunt. Shrines are Shrines of Light. Towers launch instead of being climbed. And Autobuild — the ability that saves and re-summons your Ultrahand creations — is not on the tutorial island at all. It waits in the Depths behind a quest, stores your last 30 builds with 8 favorite slots, and replicates missing parts out of Zonaite.
More coverage sits on the Tears of the Kingdom hub, and everything else we write lives on the Mythras blog.
Mistakes that cost new players hours
- Hoarding weapons instead of fusing. An unfused pristine sword is worse than a fused rusty one.
- Selling Zonaite. It is battery progress, and the battery gates the fun half of this game.
- Climbing before checking for a ceiling. Ascend beats climbing nearly every time it is legal.
- Descending without sunny food. Gloom-locked hearts do not return on their own while something is chasing you.
- Treating Recall as a puzzle-only tool. It is a mobility ability first — falling debris is free elevation.
- Assuming the Plateau rules apply. No Old Man, no warm doublet handout, no four-rune gate.
Quick Action Checklist
- Take the Purah Pad and the Energy Cell from the Steward Constructs before wandering off.
- Clear Ukouh, In-isa, and Gutanbac for Ultrahand, Fuse, and Ascend.
- Get Recall in the Temple of Time, then use Nachoyah Shrine as its practice range.
- Fuse a rock to a rusty weapon immediately and stop caring about durability.
- Mine every Zonaite deposit, including the island's Mining Cave.
- Dive off the island, walk to Lookout Landing, take the Paraglider from Purah.
- Activate the Lookout Landing Skyview Tower and make launches your main travel.
- Put your first three or four Lights of Blessing into stamina.
- Cook Sundelion dishes before any Depths trip, and light Lightroots on sight.
- Bank Poes for Bargainer Statue trades instead of writing them off as loot noise.
Frequently Asked Questions
What are the four abilities in Tears of the Kingdom and where do you get them?
How do you get the Paraglider in Tears of the Kingdom?
Should I put Lights of Blessing into hearts or stamina first?
Why are all the weapons in Tears of the Kingdom so weak?
How do I upgrade my Zonai battery in Tears of the Kingdom?
How do I heal hearts lost to gloom?
How many Korok Seeds does Tears of the Kingdom have?
Is Tears of the Kingdom a good starting point if I never played Breath of the Wild?
Keep Reading
- Zelda Wiki — Lights of Blessing, Heart Containers, and Stamina Vessels
- Zelda Wiki — Zonai devices, Device Dispensers, and the Energy Cell
- Zelda Wiki — Gloom, gloom-locked hearts, and weapon decay
- Zelda Wiki — Skyview Towers and Lookout Landing
- Zelda Wiki — Autobuild, the 30-build history, and the 8 favorite slots
Related Guides
Tears of the Kingdom Best Armor: Sets Worth Upgrading
Tears of the Kingdom locks every armor upgrade behind a band of missing musicians and then charges you rupees on top of materials. Here is which sets are worth that toll and which ones you can leave in the pouch.
Tears of the Kingdom Purah Pad Upgrades and the Compendium
The Purah Pad you take off a Steward Construct is missing half its features. The Camera and Hyrule Compendium wait on a Main Quest in the Depths, and the Sensor, Sensor +, Hero's Path Mode and three Travel Medallions come one Side Adventure at a time from Robbie. Here is what unlocks each one, what Robbie charges for Compendium pictures, and which boss entries have no rematch, so they are best photographed mid-fight.
Tears of the Kingdom Master Kohga: All Four Mine Fights
The two researchers who watch you get Autobuild are Yiga, and their boss wants it back. That fight at the Great Abandoned Central Mine is only the first of four. Here is how to reach each Abandoned Mine Master Kohga runs to, how to knock him off each of his four vehicles, and what the whole chase pays.
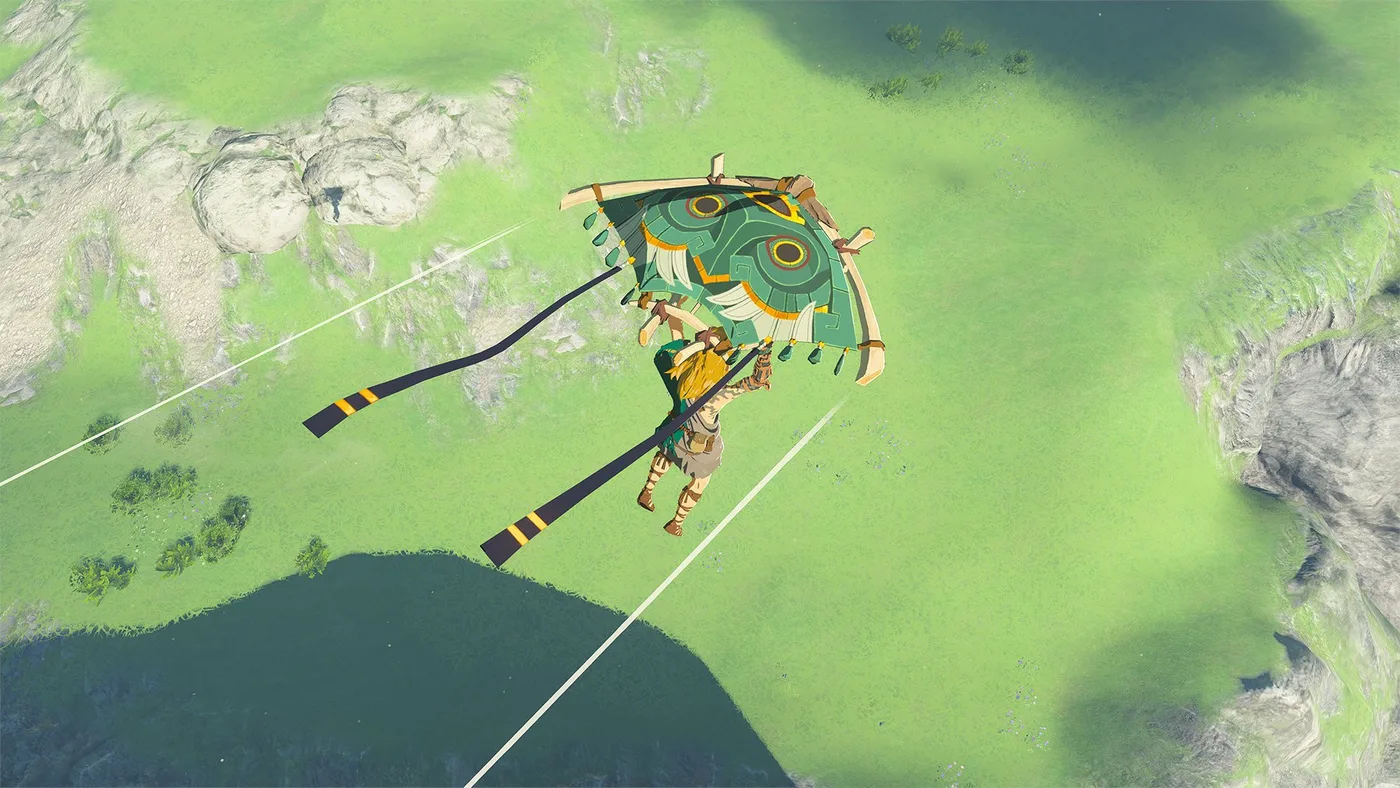
Tears of the Kingdom Paraglider Fabrics: All 57 Sources
Mineru's Construct amiibo went on sale September 17, 2026, and its one exclusive drop is a paraglider skin. That makes 29 fabrics you can only get from a figure, against 28 you earn by playing. Here is where every one comes from, which figure drops which, and the per-scan odds from Zelda Wiki's datamined tables.
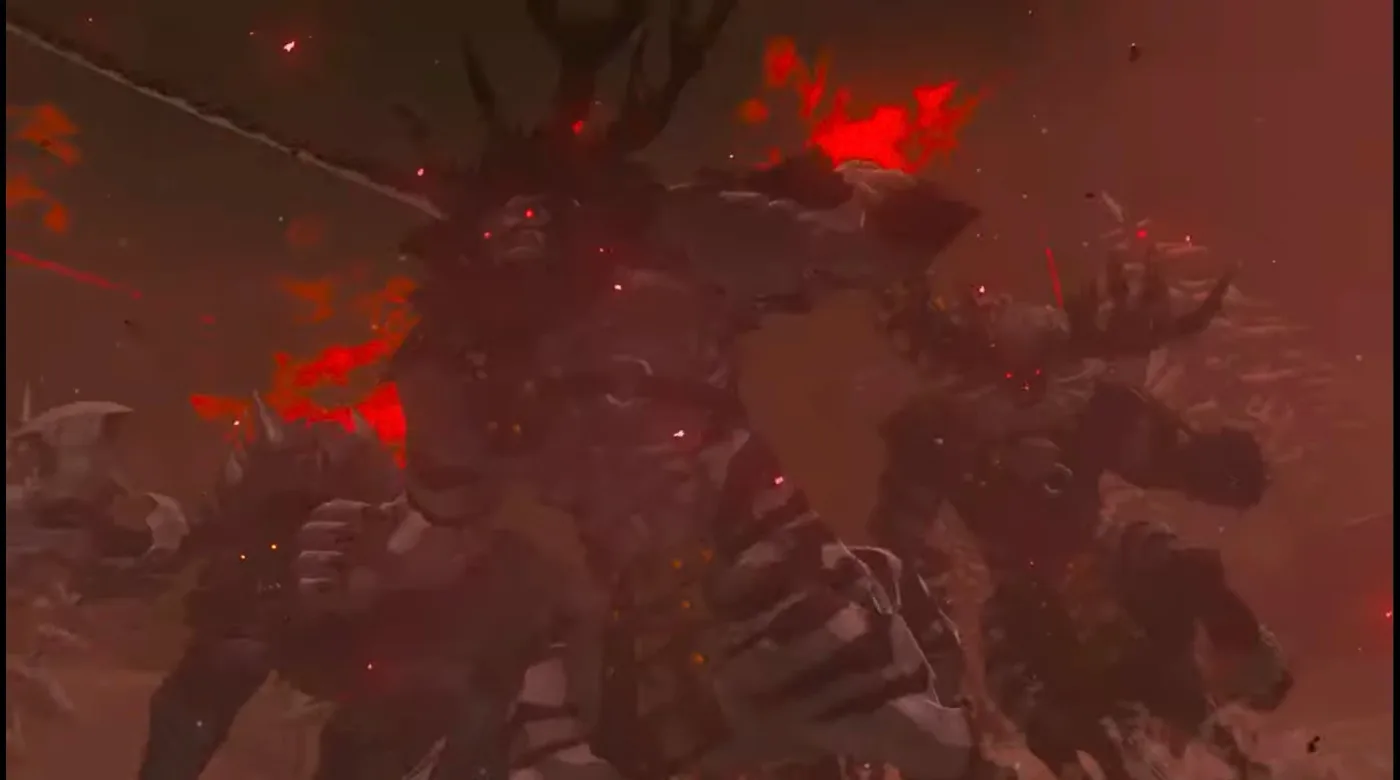
Tears of the Kingdom Lynels: All 34 Locations and HP
Breath of the Wild had 22 Lynels. Tears of the Kingdom has 34, and 19 of them are in the Depths, including every Silver Lynel on Thonky's list. There is no Monster Medal for them, so here is the full list by variant, what each one can take, what changed in the fight, and the 111 Lynel parts the Great Fairies will eventually ask you for.
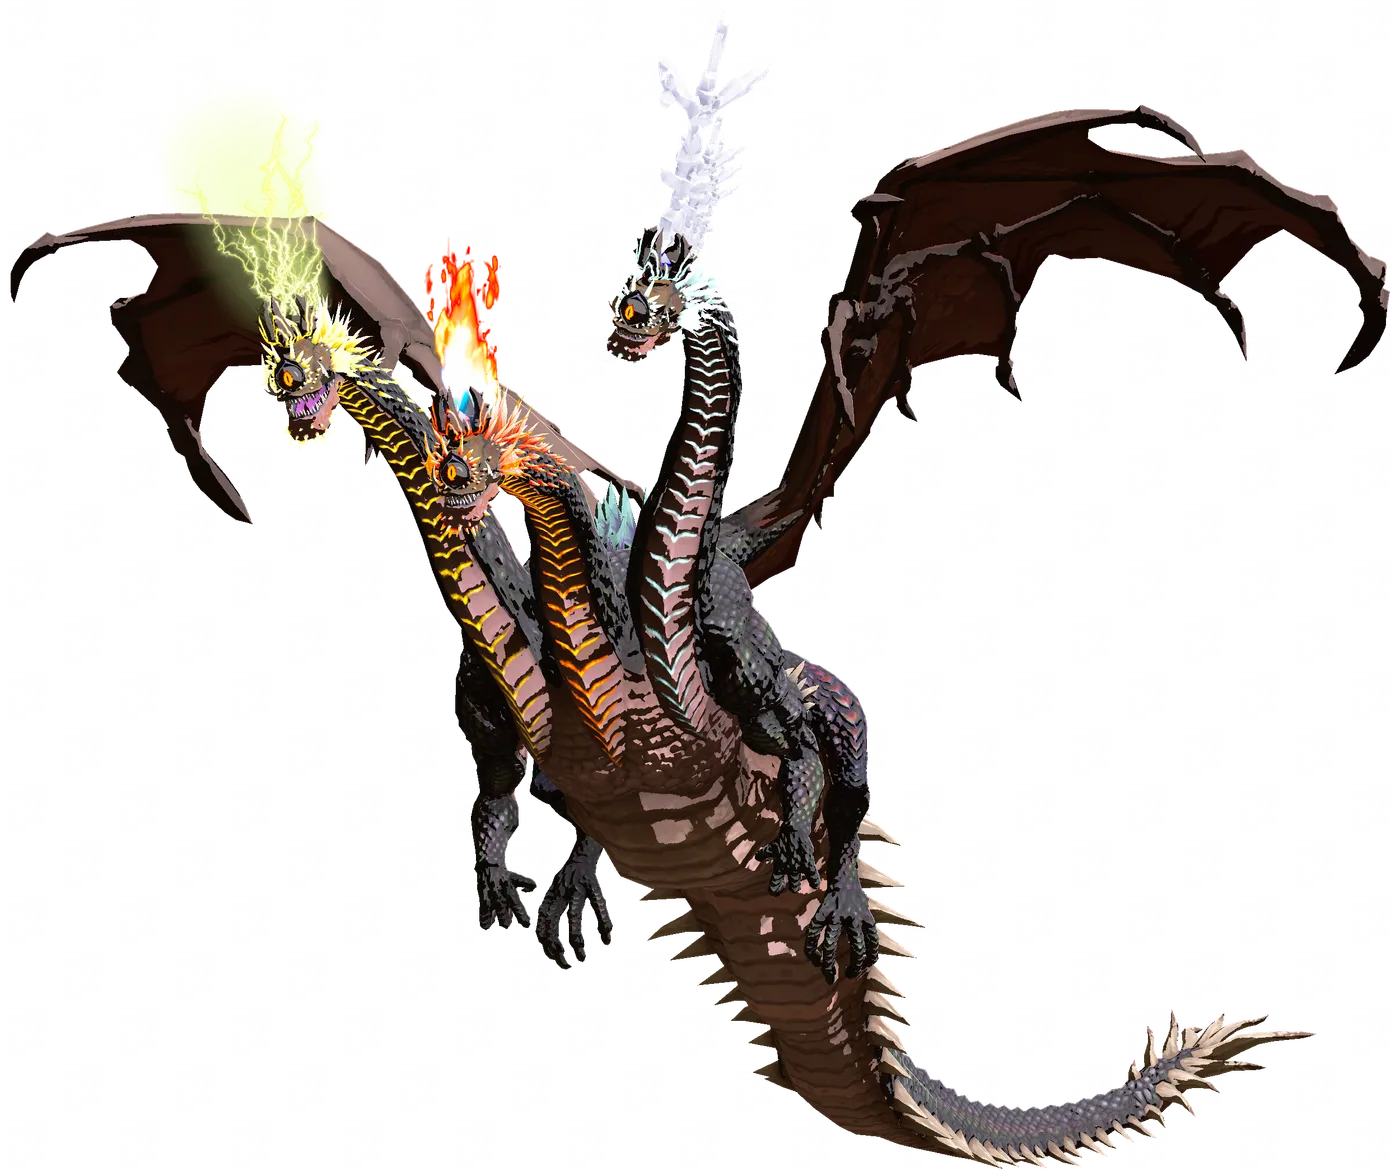
Tears of the Kingdom Monster Medals: Sub-Boss Counts and HP
Breath of the Wild had three Medals of Honor and 84 kills behind them. Tears of the Kingdom has six Monster Medals, a six-quest gate in front of them, and a Gleeok tier where an ordinary Flame Gleeok carries more health than the Demon Dragon's main body. Here is how the hunt unlocks, how many of each monster Gralens counts, and what every variant can take.