Tears of the Kingdom Master Sword Guide: Catching the Light Dragon
The strongest sword in Tears of the Kingdom spends the entire game tangled in the mane of a dragon that never lands. Here is the route the game shows you, the faster route it barely mentions, and the stamina check that decides whether you claim the blade or get flung into open sky.
Tears of the Kingdom opens by handing you the Master Sword and then shredding it in front of you. Ganondorf's Gloom eats the blade under Hyrule Castle, and when you wake up on the Great Sky Island you are carrying the Decayed Master Sword — base attack 1. The wiki-verified punchline: it is literally weaker than a Tree Branch. The legendary blade that seals the darkness has been reduced to the worst weapon in your inventory, and then the game takes even that away, dissolving it into light at the Temple of Time before you leave the tutorial.
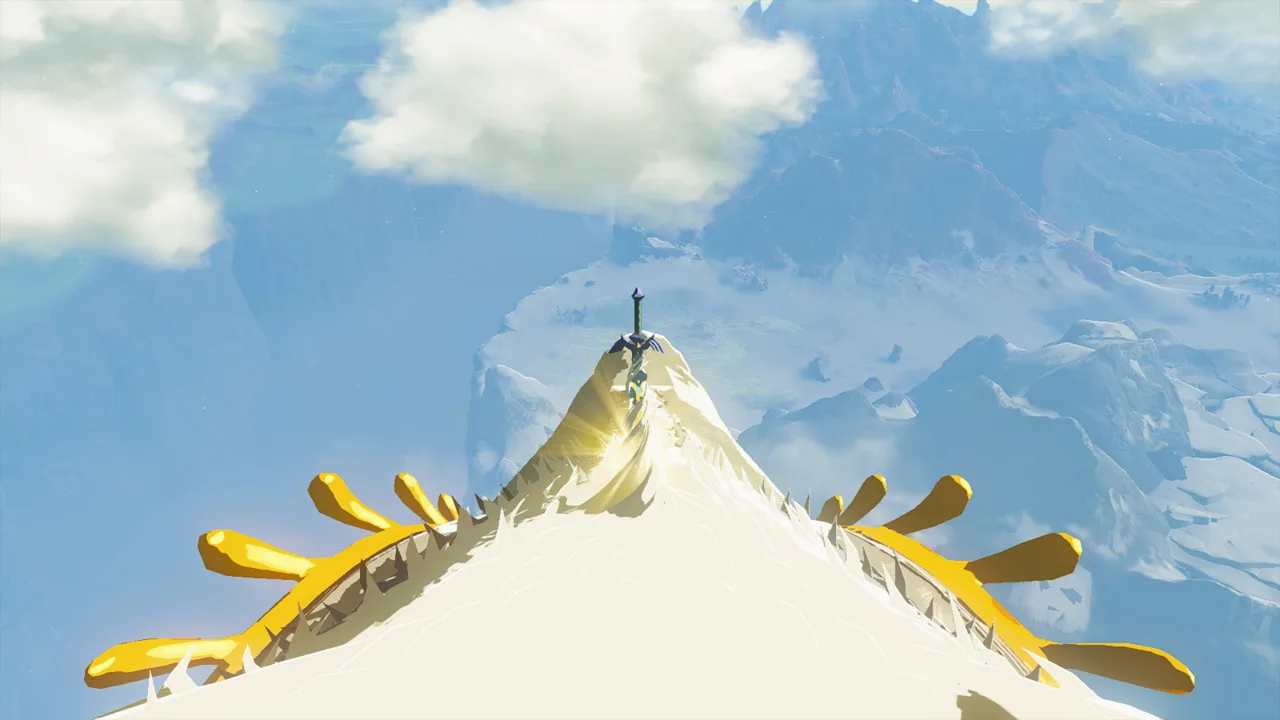
From that point on, the real Master Sword is somewhere above you. Specifically, it is embedded in the head of the Light Dragon — a white dragon circling the skies of Hyrule for the entire runtime of the game — and getting it back is a genuinely great questline that the game is weirdly quiet about. There are two ways to reach her, one hard stamina gate, and a pile of numbers on the restored blade that make the trip worth it. All of it below, checked against Zelda Wiki's Tears of the Kingdom pages.
The sword they hand you is a corpse
The Decayed Master Sword you carry off the Room of Awakening is a tutorial prop. Its base strength is 1, it looks like it was dredged out of a bog, and it exists so the opening hours can teach you Fuse with a weapon you feel bad about. When Link places it into the light above the altar at the Temple of Time, it vanishes — sent back through time, where Zelda recovers it in Hyrule's ancient past.
That is the setup for the entire sword hunt: Zelda has the blade, Zelda becomes the Light Dragon to restore it, and the Light Dragon has been flying laps over your head since the moment you skydived off the Great Sky Island. You can see her from the tutorial. The game just never stops to tell you that the white dragon in the distance is carrying your sword.
If you are still down in those opening hours, the Tears of the Kingdom beginner guide covers the Great Sky Island and the ability shrines. This guide picks up where that one ends.
Two full stamina wheels or she throws you off
Here is the gate, and it is a hard one: pulling the Master Sword from the Light Dragon's head requires at least two full Stamina Wheels. Try it with less and she roars, writhes in pain, and flings Link off into open sky. No partial credit, no white-knuckle button mash to compensate. The pull drains stamina continuously, and if the wheel empties before the fur releases the blade, you are paragliding home empty-handed.
That number sets your prep. You start with one wheel, and Stamina Vessels run four Lights of Blessing each at any Goddess Statue — so building the full second wheel vessel by vessel is a twenty-blessing project, the take from twenty Shrines of Light. The beginner guide's Lights of Blessing breakdown covers the economy; the short version is that the game gives you 152 blessings total, so spending 20 on stamina early is nowhere near as reckless as it feels. You were going to want the stamina anyway — this world is stacked three layers deep, and the sword is parked in the top one.
Route one: follow the geoglyphs
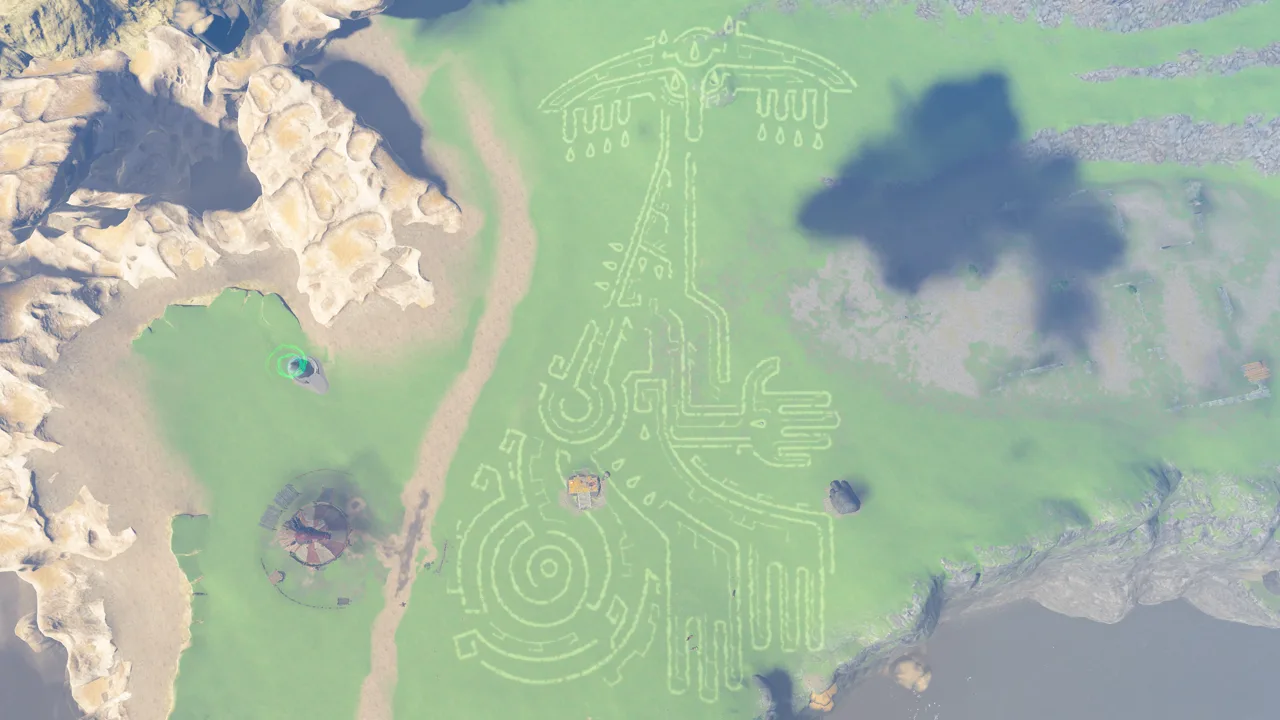
The intended route runs through the Dragon's Tears questline, and it is the best-written thread in the game. It starts at New Serenne Stable, where Impa is stuck with a broken hot-air balloon during the "Impa and the Geoglyphs" quest. Fix her balloon, ride it over the enormous picture stamped into North Hyrule Plain, and find the Dragon's Tear resting inside it — a crystallized teardrop that plays one of Zelda's memories from the ancient past when you touch it.
Impa then points you to the Forgotten Temple at the bottom of a Hebra canyon, which kicks off "The Dragon's Tears" proper. Inside, past the Mother Goddess Statue, is the Floor Map — an ancient map of Hyrule with all eleven geoglyph locations marked, flanked by murals of the geoglyphs themselves. Examining it pins the remaining ten to your Purah Pad, and from there the quest is an open-world scavenger hunt across every corner of the surface.
Two things worth knowing before you commit. First, the memories tell Zelda's entire story in the past, and they are numbered — the Forgotten Temple murals give you the intended viewing order, and jumping around will spoil the biggest reveal in the game out of sequence. Second, the geoglyphs are not just flavor: the Light Dragon herself flies over each geoglyph in chronological order as she circles Hyrule. Learn the order and you can predict where she is headed. The quest is secretly teaching you her flight path.
Every Dragon's Tear, in order
All twelve tears, with the memory each one unlocks. The first eleven sit inside or beside their geoglyphs; the coordinates on the Purah Pad match the list on Zelda Wiki's Dragon's Tear page.
| # | Memory | Location |
|---|---|---|
| 1 | Where Am I? | North Hyrule Plain, Hyrule Field |
| 2 | An Unfamiliar World | Tabantha Hills, Tabantha Frontier |
| 3 | Mineru's Counsel | Trilby Valley, Eldin Canyon |
| 4 | The Gerudo Assault | East Batrea Lake, West Necluda |
| 5 | A Show of Fealty | Sapphia's Table, Gerudo Highlands |
| 6 | Zelda and Sonia | Illumeni Plateau, Tabantha Frontier |
| 7 | Sonia Is Caught by Treachery | Gogobi Shores, East Necluda |
| 8 | Birth of the Demon King | North Tabantha Snowfield, Tabantha Tundra |
| 9 | The Sages' Vow | Talus Plateau, Lanayru Great Spring |
| 10 | A King's Duty | Mount Faloraa, Faron Grasslands |
| 11 | A Master Sword in Time | Deplian Badlands South, Eldin Mountains |
| 12 | Tears of the Dragon | Rist Peninsula, Akkala |
The twelfth tear
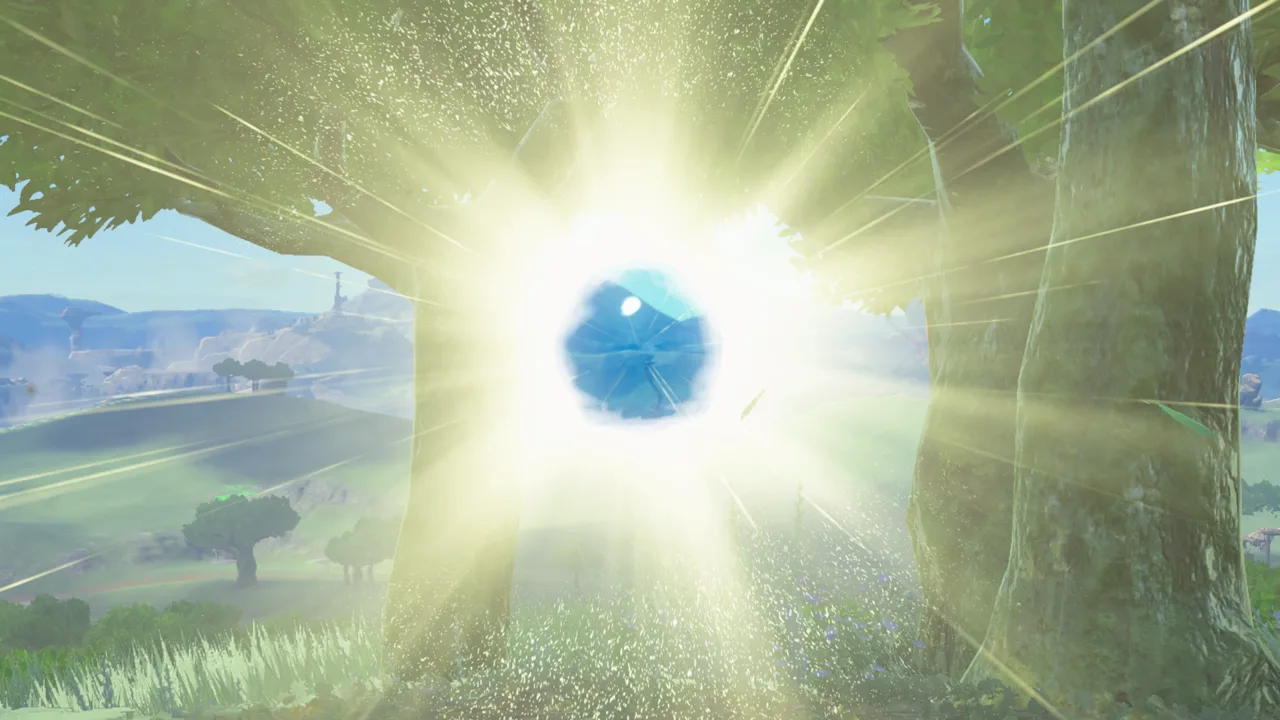
Finish all eleven and the Light Dragon roars directly overhead, sheds a final tear, and the quest log points you at the tip of Rist Peninsula — the spiral of land on Akkala's east coast. That twelfth tear plays "Tears of the Dragon," the memory that shows you exactly what Zelda did and why the dragon above Hyrule is carrying the Master Sword. When it ends, Silent Princesses have bloomed around the spot where it landed, the Light Dragon roars one more time, and the questline closes with you knowing precisely where your sword is.
Route two: ask the Deku Tree
You do not need a single geoglyph to get the sword. The second route runs through Korok Forest: reach the Great Deku Tree — which means clearing the Phantom Ganon fight festering under his roots first — and once the forest is saved, he senses the Master Sword directly and marks its position on your Purah Pad. His confused delivery is one of the better line reads in the game: the sword's presence is strong, but it seems to be... moving.
That conversation starts "Recovering the Hero's Sword," and the quest comes with a real mechanical upgrade: the map marker now tracks the Master Sword in real time as the Light Dragon flies, and she drops to a lower altitude for as long as the quest is active. That altitude change is the practical reason to do this even if you are also doing the tears — an un-quested Light Dragon cruises high enough that reaching her is a project, while a quested one can be caught from a good Skyview Tower launch or a tall sky island along her route.
On paper this quest follows "Trail of the Master Sword," but the wiki confirms you can trigger it early just by saving Korok Forest and talking to the Deku Tree. Speedrunners take a third path and skip all of it — with enough stamina food and a tower launch you can physically reach the dragon whenever you like — but for a normal playthrough, quest-first is simply less fighting with the altitude.
The pull itself
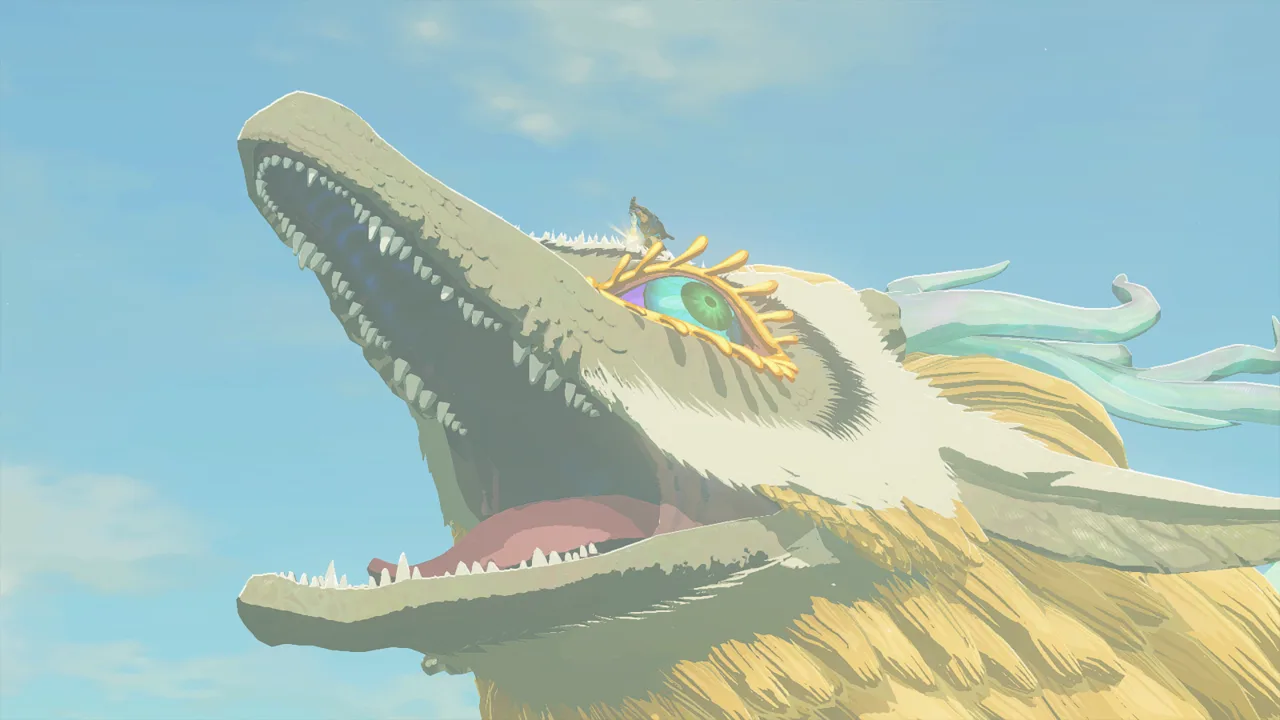
Land on the Light Dragon's head and grab the hilt. The moment you do, she roars and starts flying erratically — this is the two-wheel stamina check, and it plays out as a sustained grip while she tries to shake you. Hold on and she calms, climbs higher into the sky, and the fur pinning the blade recedes on its own. The sword comes free, the "Zelda's Wish" memory plays, and she drops you off at the Temple of Time on the Great Sky Island — a quiet full-circle landing at the exact spot where the decayed version dissolved.
One prep note: this is a stamina check, not a combat check. Nothing on her back hurts you. Go in with two real wheels, walk up her spine, and the worst case is scenery.
What the restored sword actually does
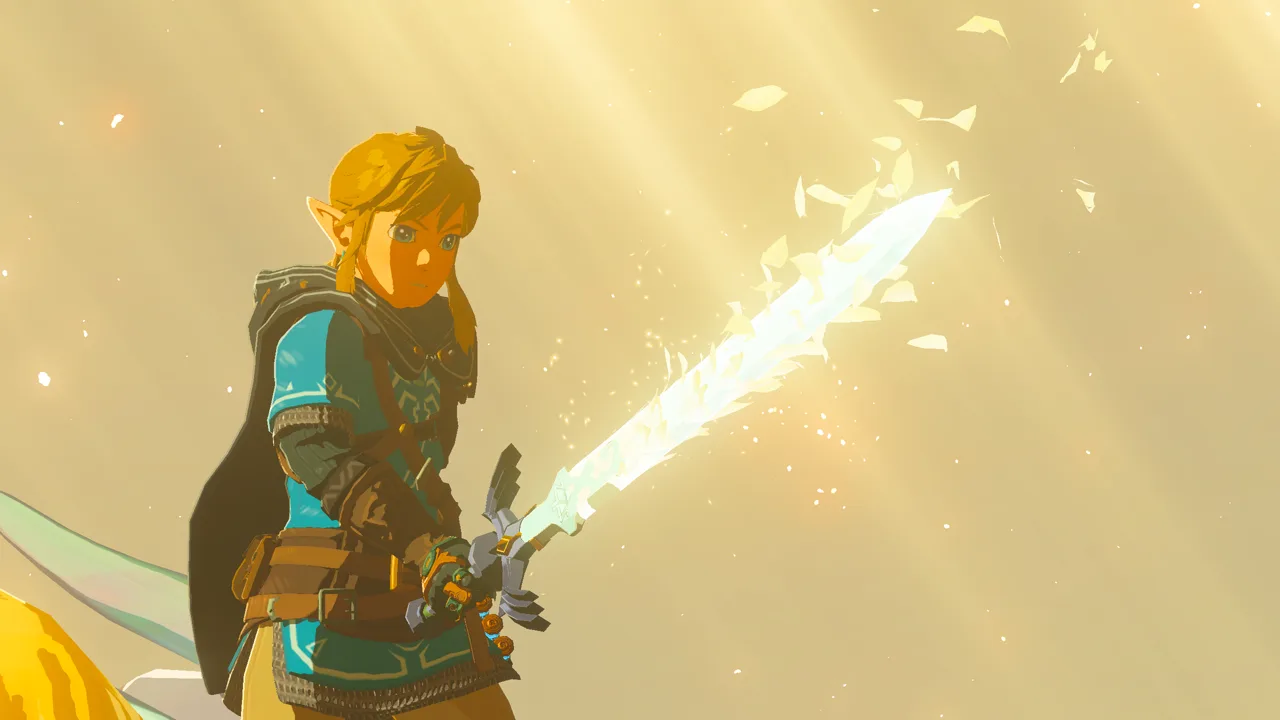
The restored blade is the best conditional weapon in the game, and every condition is a number:
- Base attack 30. Respectable, not spectacular — by design, since Fuse stacks on top of it.
- 45 against Gloom-wreathed enemies. The sword powers up in the presence of the corruption it was built to fight.
- 60 against Phantom Ganon and Demon King Ganondorf — and while those two are on screen, it takes no durability loss at all.
- Durability 40, plus the standard 25 bonus durability when something is fused to it.
- When it does run dry, it is not broken — it goes inert for 10 real-time minutes, then recharges its base durability. The one permanent scar: the 25-point fuse bonus never comes back once spent, a quirk covered in depth in the Fuse guide.
- It cannot be thrown. Throw input at full health fires a sword beam instead — base 10 damage, 15 near Gloom-wreathed enemies, 20 against Phantom Ganon or the Demon King, with travel distance that scales with your maximum hearts.
- Fused materials render as ghostly silhouettes that vanish when the sword is sheathed, so it never looks like a rock on a stick. The trade: Pelison in Tarrey Town cannot separate anything from it, so whatever you fuse is a permanent commitment.
The failsafe the game never mentions
If you reach the endgame without ever chasing the dragon, the game quietly hands you the sword anyway: Link pulls it automatically just before the Demon Dragon fight, no stamina requirement attached. It is a graceful failsafe, and it also means the Master Sword is technically optional — you can walk into the final battle without it. But getting it early means dozens of hours with a self-repairing weapon that hard-counters the final boss, versus receiving it thirty seconds before the credits. Chase the dragon.
Farming the dragon that carries your sword
The Light Dragon is also a resource, and she is the only dragon in the game whose parts heal you. Shoot her with an arrow and she drops materials depending on where you hit: Light Dragon's Scales (12 Fuse attack power, 150 rupees), Light Dragon's Talons, Shards of Light Dragon's Fang, and — from her head — Light Dragon's Horns (20 Fuse attack power, 300 rupees). Shards of Light Dragon's Spike can be picked up along her back while you are up there anyway. Every one of them, fused to a weapon or shield, heals Link as he lands hits — a lifesteal effect nothing else in the game replicates.
The three returning elemental dragons — Dinraal, Naydra, and Farosh — drop the same part families with fire, ice, and shock payloads instead of healing, and Tears of the Kingdom adds spike shards to their drop tables too. Their parts also feed armor upgrades at the Great Fairies, which is where most of your dragon farming budget actually goes — the armor guide covers which sets are worth it. The dragons even have their own shrine-quest hooks now: the spring statues ask for offerings from their patron dragons, like Dinraal's Claw at the Spring of Power. If you learned dragon-farming rhythm in the last game, the Breath of the Wild dragon farming guide still maps well here; the big TOTK differences are the fifth dragon, the spike shards, and the fact that one of them is carrying your sword.
And no — shooting parts off the Light Dragon does not endanger the Master Sword. She carried it for thousands of years. She can survive your arrows.
More Hyrule breakdowns live on the Tears of the Kingdom hub, and everything else we are playing is on the Mythras blog.
Quick Action Checklist
- The Decayed Master Sword is a 1-attack tutorial prop — weaker than a Tree Branch. Do not build around it.
- Bank two full Stamina Wheels before touching the Light Dragon: five Stamina Vessels at four Lights of Blessing each.
- Run the Dragon's Tears quest from New Serenne Stable, then the Forgotten Temple Floor Map to mark all eleven geoglyphs.
- View the memories in mural order — out-of-order tears spoil the story's biggest reveal.
- The Light Dragon flies over the geoglyphs in chronological order. The quest is teaching you her route.
- Faster route: save Korok Forest, talk to the Great Deku Tree — the sword gets a live map marker and the dragon flies lower.
- Restored sword: 30 base attack, 45 versus Gloom-wreathed enemies, 60 versus Phantom Ganon and the Demon King with zero durability loss.
- The sword never breaks permanently — it recharges over 10 real-time minutes.
- Pull it early. The endgame failsafe hands it to you anyway, but only right before the final fight.
- While you are up there: spike shards off her back, and every Light Dragon part fused to a weapon heals you on hit.
Frequently Asked Questions
How do you get the Master Sword in Tears of the Kingdom?
How much stamina do you need for the Master Sword in TOTK?
Where is the Light Dragon in Tears of the Kingdom?
What are all the Dragon's Tear locations in TOTK?
What are the Master Sword's stats in Tears of the Kingdom?
Can you finish Tears of the Kingdom without the Master Sword?
What do Light Dragon parts do in TOTK?
Keep Reading
- Zelda Wiki — Master Sword stats, durability, beam values, and acquisition in Tears of the Kingdom
- Zelda Wiki — the Light Dragon, her flight behavior, and her droppable parts
- Zelda Wiki — The Dragon's Tears main quest, the Forgotten Temple Floor Map, and all memory locations
- Zelda Wiki — all eleven Tears of the Kingdom geoglyphs with locations and coordinates
- Zelda Wiki — Recovering the Hero's Sword quest and the two-Stamina-Wheel requirement
- Zelda Wiki — Tears of the Kingdom dragon parts, spike shards, and the Light Dragon's healing fusions
Related Guides
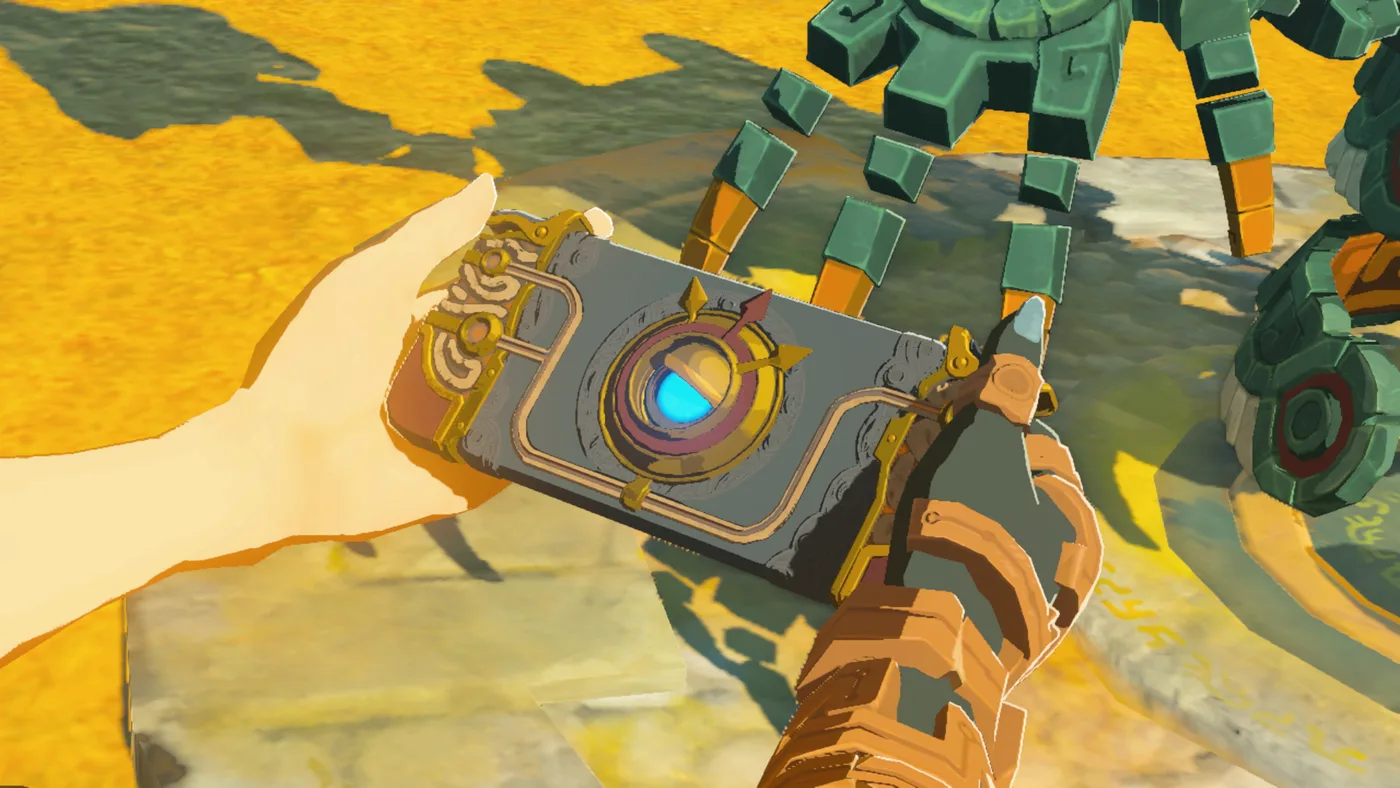
Tears of the Kingdom Purah Pad Upgrades and the Compendium
The Purah Pad you take off a Steward Construct is missing half its features. The Camera and Hyrule Compendium wait on a Main Quest in the Depths, and the Sensor, Sensor +, Hero's Path Mode and three Travel Medallions come one Side Adventure at a time from Robbie. Here is what unlocks each one, what Robbie charges for Compendium pictures, and which boss entries have no rematch, so they are best photographed mid-fight.
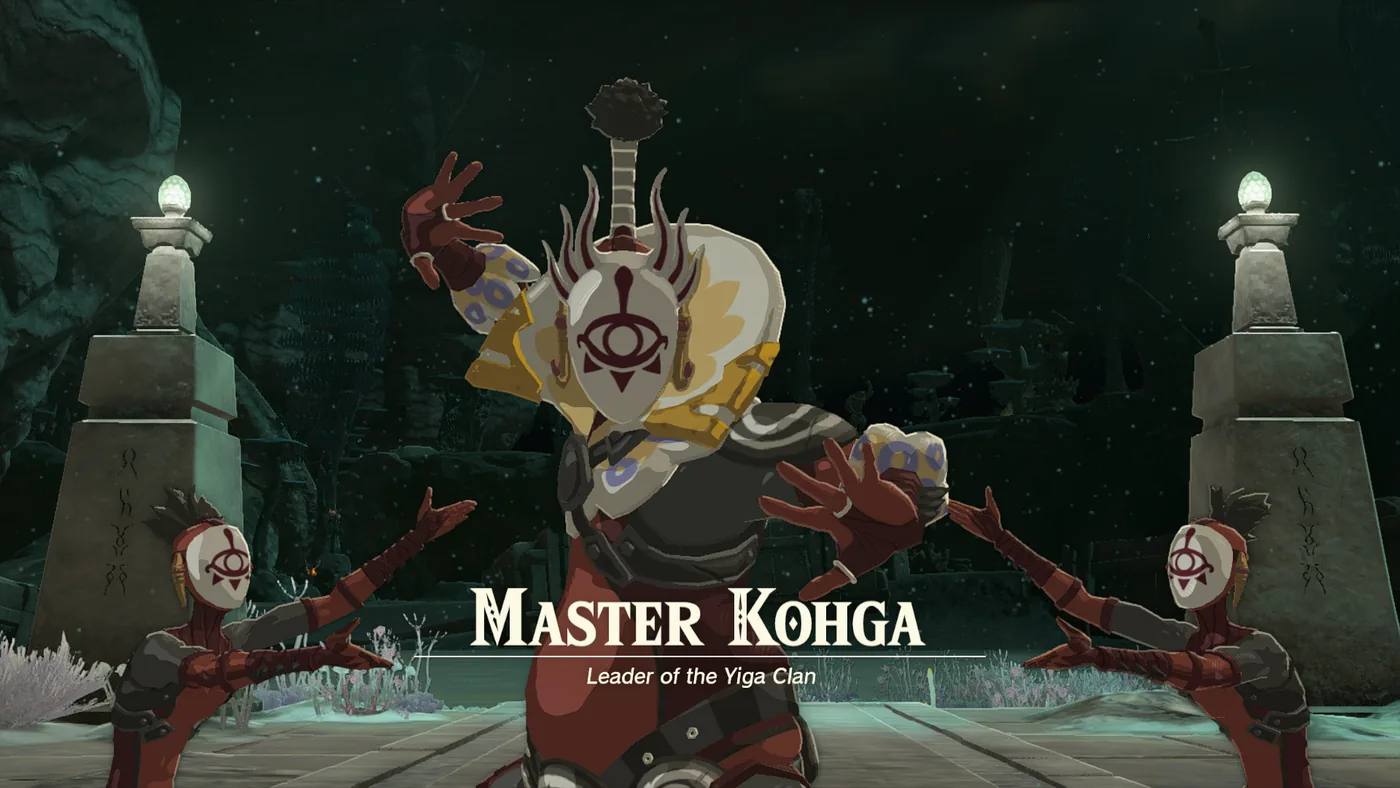
Tears of the Kingdom Master Kohga: All Four Mine Fights
The two researchers who watch you get Autobuild are Yiga, and their boss wants it back. That fight at the Great Abandoned Central Mine is only the first of four. Here is how to reach each Abandoned Mine Master Kohga runs to, how to knock him off each of his four vehicles, and what the whole chase pays.
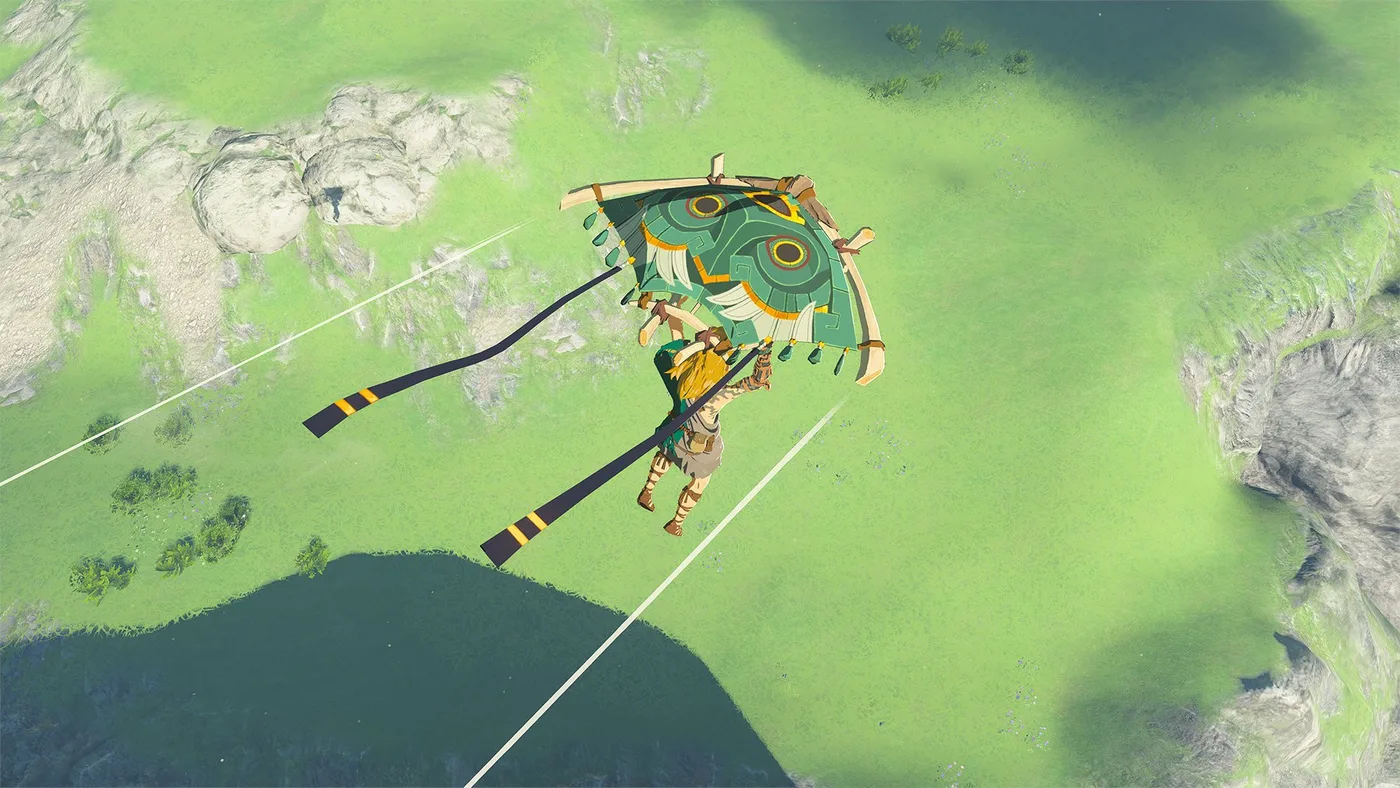
Tears of the Kingdom Paraglider Fabrics: All 57 Sources
Mineru's Construct amiibo went on sale September 17, 2026, and its one exclusive drop is a paraglider skin. That makes 29 fabrics you can only get from a figure, against 28 you earn by playing. Here is where every one comes from, which figure drops which, and the per-scan odds from Zelda Wiki's datamined tables.
Tears of the Kingdom Lynels: All 34 Locations and HP
Breath of the Wild had 22 Lynels. Tears of the Kingdom has 34, and 19 of them are in the Depths, including every Silver Lynel on Thonky's list. There is no Monster Medal for them, so here is the full list by variant, what each one can take, what changed in the fight, and the 111 Lynel parts the Great Fairies will eventually ask you for.
Tears of the Kingdom Beginner Guide: Great Sky Island and Your First 10 Hours
Tears of the Kingdom hands you four abilities in two hours and then refuses to explain how they interact. Here is what the Great Sky Island is actually teaching, what it skips, and the systems that decide whether hour ten feels powerful or exhausting.
Tears of the Kingdom Monster Medals: Sub-Boss Counts and HP
Breath of the Wild had three Medals of Honor and 84 kills behind them. Tears of the Kingdom has six Monster Medals, a six-quest gate in front of them, and a Gleeok tier where an ordinary Flame Gleeok carries more health than the Demon Dragon's main body. Here is how the hunt unlocks, how many of each monster Gralens counts, and what every variant can take.