Tears of the Kingdom Shrines: 51 of 152 Have No Puzzle
Tears of the Kingdom has 152 Shrines of Light, and a third of them contain nothing to solve. Here is the full census — every shrine sorted by trial type and by region, what the 51 blessing chests actually hold, and why the puzzle moved outside the door.
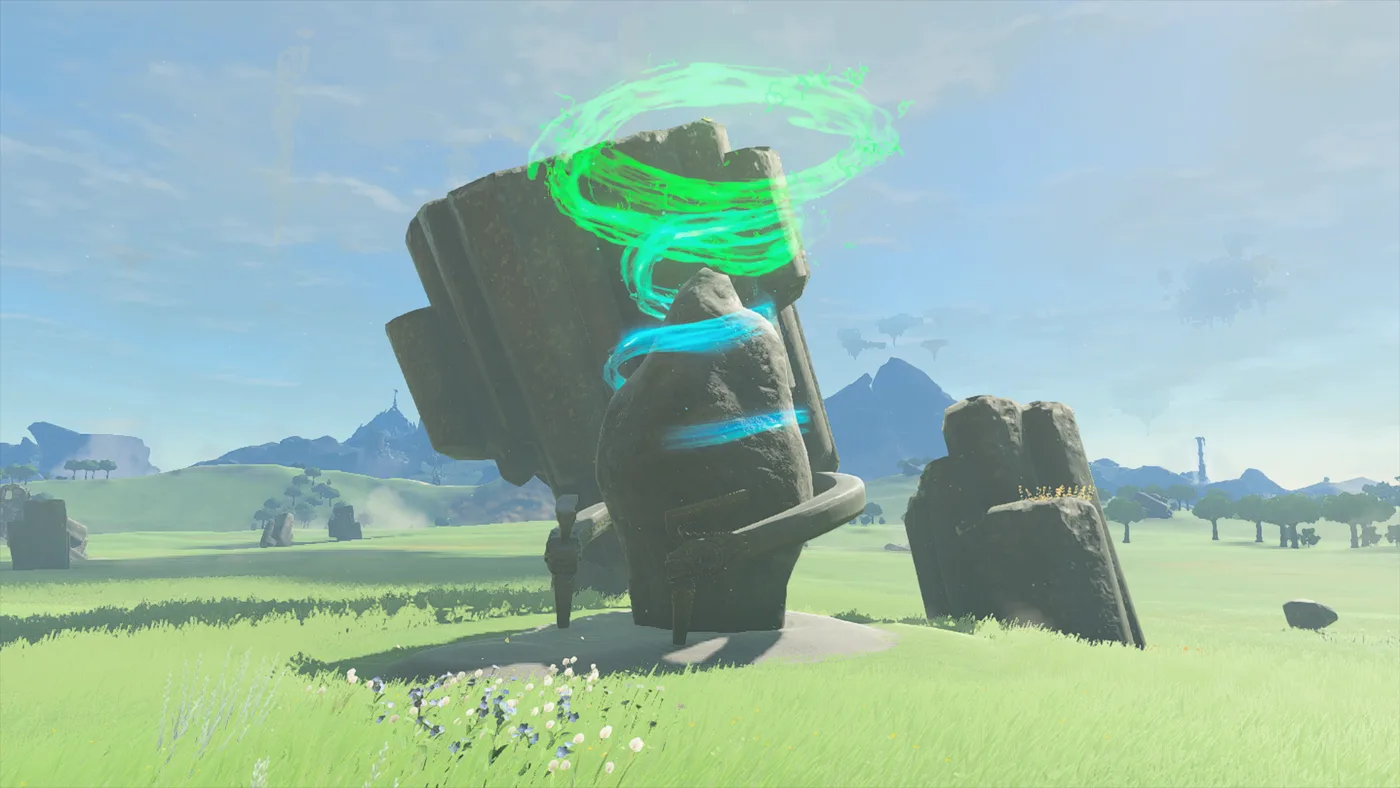
Tears of the Kingdom has 152 Shrines of Light, and 51 of them contain nothing to solve. Walk in, open a chest, take the Light of Blessing, walk out.
That is not a bug and it is not laziness. It is a design decision that moved a third of the game's shrine puzzles out of the shrine and into the overworld, and it changes what "I found a shrine" is worth depending on which kind you found. Below is the full census, built by counting every row of Zelda Wiki's Shrine of Light list: how the 152 split across four trial types, how they split across the sky and the eight surface regions, and what the 51 no-puzzle shrines pay you for turning up.
Four kinds of trial, and one of them is not a trial
Every shrine carries a trial name — the line the game prints when you walk through the portal. Sorting all 152 by that name produces four families:
| Trial family | Shrines | Share | What happens inside |
|---|---|---|---|
| Named puzzle trials | 79 | 52% | A mechanic to solve, one per shrine |
| Rauru's Blessing | 51 | 34% | No puzzle, no enemies — a chest and the Light |
| Proving Grounds | 15 | 10% | Combat against Constructs |
| Combat Training | 7 | 5% | Directed practice against a training dummy |
| Total | 152 |
The 79 named trials are the shrines people picture: Turbine Power, Alignment of the Circles, Shape Rotation, A Well-Timed Bounce, one bespoke idea each. The other 73 are something else.
Rauru's Blessing is the big one. Zelda Wiki's Shrine Quest page states it flatly: these shrines "contain no puzzle nor Enemies, instead containing only a reward for gaining entry to the Shrine." The trial is getting to the door.
That count is 51, and it is worth showing the working, because the wiki's own pages disagree with each other. Zelda Wiki's Shrine of Light summary table prints 52 rows carrying the trial name Rauru's Blessing. Its standalone Rauru's Blessing page names 51 shrines. The odd one out is Siyamotsus Shrine, at the entrance to South Lomei Castle Top Floor in the Gerudo Highlands Sky — and Siyamotsus Shrine's own page, citing the in-game map, gives its trial name as Unlit Blessing, not Rauru's Blessing. It also describes a room that is not empty: it opens like a blessing shrine, then the statue moves away to reveal unlit torches, and lighting them shifts the chest platform and exposes a catapult you ride to the exit. Checked shrine by shrine against the summary table, Siyamotsus is the row where the two disagree. This post counts it as a puzzle, which is why every table below reads 51 and 79 rather than the summary table's 52 and 78.
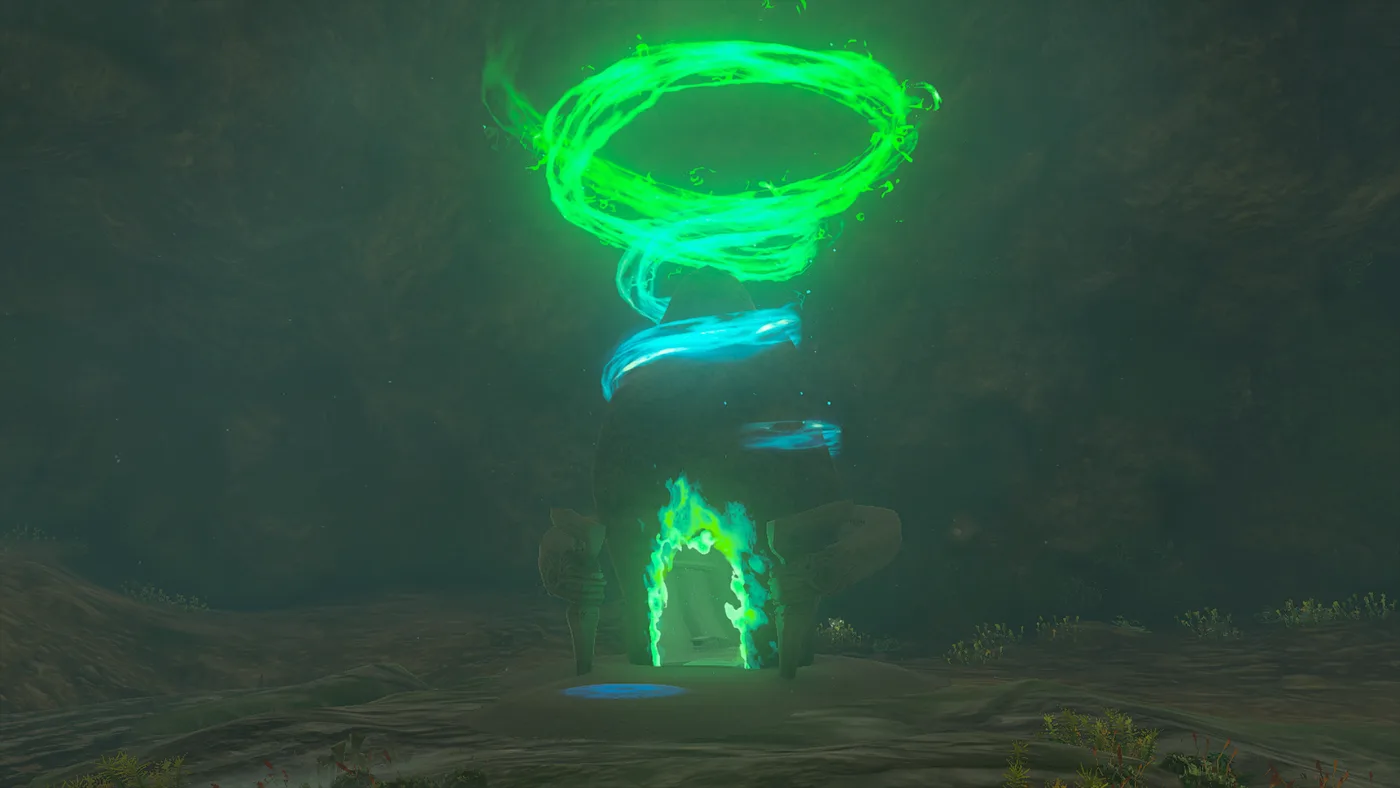
So the honest framing of the shrine count is not "152 puzzles." It is 79 puzzles, 22 combat rooms, and 51 receipts.
Where the 152 actually sit
The split by layer is clean and the wiki states it outright: 120 on the surface, 32 in the sky, and none in the Depths. What the Depths hold instead are the 120 Lightroots that mirror the 120 surface shrines at matching coordinates with reversed names — sky shrines have no Lightroot counterpart at all, which is why the Depths map fills in at 120 and stops.
The surface: 120 shrines across eight regions
| Region | Shrines | Puzzle | Blessing | Proving Grounds | Combat Training |
|---|---|---|---|---|---|
| Central Hyrule | 33 | 20 | 7 | 2 | 4 |
| Hebra | 17 | 10 | 4 | 3 | 0 |
| Gerudo | 16 | 9 | 6 | 1 | 0 |
| Eldin | 14 | 7 | 4 | 3 | 0 |
| Necluda | 14 | 4 | 8 | 1 | 1 |
| Lanayru | 13 | 7 | 5 | 1 | 0 |
| Akkala | 10 | 6 | 2 | 1 | 1 |
| Faron | 3 | 2 | 1 | 0 | 0 |
| Total | 120 | 65 | 37 | 12 | 6 |
Three things fall out of that table.
Central Hyrule holds 33 of the 120 — more than a quarter of the surface count, and exactly as many as Hebra's 17 and Gerudo's 16 put together. It also holds 4 of the 7 Combat Training shrines, which makes sense for the region you land in first after diving off the sky island.
Faron has three. Not three per area — three in the whole region. If you are sweeping the map for shrine count, the jungle is the cheapest region on the board to clear and the easiest to write off.
Necluda is the anomaly. Only 4 of its 14 shrines are puzzle trials; 8 are Rauru's Blessings. It is the one surface region where the no-puzzle shrines outnumber the puzzles, and by two to one.
The sky: 32 shrines, and nearly half are blessings
| Sky region | Shrines | Puzzle | Blessing | Proving Grounds | Combat Training |
|---|---|---|---|---|---|
| Central Hyrule Sky | 8 | 4 | 2 | 1 | 1 |
| Hebra Sky | 7 | 3 | 4 | 0 | 0 |
| Lanayru Sky | 4 | 3 | 1 | 0 | 0 |
| Necluda Sky | 4 | 0 | 3 | 1 | 0 |
| Akkala Sky | 3 | 1 | 2 | 0 | 0 |
| Gerudo Sky | 3 | 2 | 1 | 0 | 0 |
| Faron Sky | 2 | 0 | 1 | 1 | 0 |
| Eldin Sky | 1 | 1 | 0 | 0 | 0 |
| Total | 32 | 14 | 14 | 3 | 1 |
Gerudo Sky is the region that carries Siyamotsus Shrine, counted in the puzzle column here for the reason given above.
14 of the 32 sky shrines are Rauru's Blessings — 44%, against 31% on the surface. The sky is where the ratio tips hardest toward "the journey was the puzzle," which is consistent with what the sky actually is: an archipelago you have to build or glide your way across. Eight of those 32 sit in Central Hyrule Sky, and four of the eight are the Great Sky Island tutorial shrines covered in the beginner guide.
Eldin Sky is a single shrine. Faron Sky is two.
A blessing shrine bills you outside the door
Here is the mechanism that explains the 51. Tears of the Kingdom logs 31 Shrine Quests — overworld puzzles with an Adventure Log entry, a giver, and a shrine at the end of them. Cross-referencing that list against the trial names shows where they land:
| Shrine Quest leads to | Count |
|---|---|
| A Rauru's Blessing shrine | 28 |
| A shrine with a real trial | 3 |
| Total Shrine Quests | 31 |
And 21 of the 31 are the same quest — the green crystal runs, each given by a "Mysterious Voice," each asking you to haul a crystal across terrain to a shrine at the far end. The Lake Hylia Crystal, The Gerudo Canyon Crystal, The Sky Mine Crystal, and eighteen more. Twenty of those 21 finish at a shrine with nothing inside it, so for those the carrying is the trial; the one exception, The South Lanayru Sky Crystal, is covered below. En-oma Shrine in the Lake Hylia Whirlpool Cave is a clean example: a Rauru's Blessing shrine, gated behind The Lake Hylia Crystal, paying out a Mighty Zonaite Sword from a stone chest.
The three quests that end at a genuine trial are worth naming, because they break the pattern: The White Bird's Guidance leads to Wao-os Shrine (Lever Power), The South Lanayru Sky Crystal leads to Mayanas Shrine (The Ice Guides You), and The High Spring and the Light Rings leads to Zakusu Shrine (Proving Grounds: Ascension). Zelda Wiki's Shrine Quest page names only the first two as exceptions, but Zakusu Shrine's own page lists both the Shrine Quest and the Proving Grounds trial name, so the count from the tables is three, not two.
Twenty-three blessings with no quest attached
Now subtract. There are 51 blessing shrines and 28 Shrine Quests that lead to one. That leaves 23 Rauru's Blessing shrines with no logged quest at all — no Adventure Log entry, no giver, no crystal. Those are shrines whose only barrier is that they are somewhere awkward, and the game never tells you a barrier existed.
This is the practical takeaway for anyone hunting the last few markers: just under half the no-puzzle shrines will never appear in your quest log, so a completed Shrine Quest list is not a map to them.
Blessing shrines hide underground
The location column makes the same point numerically. Counting shrines whose listed location is a named cave or a well:
| Trial family | Shrines | In a named cave | In a well |
|---|---|---|---|
| Rauru's Blessing | 51 | 13 | 2 |
| Named puzzle trials | 79 | 5 | 0 |
| Proving Grounds | 15 | 4 | 0 |
| Combat Training | 7 | 0 | 0 |
Both wells in that column are blessing shrines: Tenmaten Shrine in the Elma Knolls Well and Susub Shrine in the Deya Village Ruins Well.
15 of the 51 blessing shrines are underground, against 5 of the 79 puzzle trials. A blessing shrine is more than four times as likely to be down a hole. Necluda takes it furthest: 7 of its 8 blessing shrines sit in a cave or a well — Mount Dunsel Cave, Retsam Forest Cave, Eventide Island Cave, Oakle's Navel Cave, Tobio's Hollow Cave, Lanayru Road East Cave and the Deya Village Ruins Well. If you are missing shrines in Necluda, you are missing caves, and the cave guide has the 147-entrance sweep that finds them.
What is actually in the 51 chests
Every one of the 51 blessing shrines carries exactly one treasure, and the pool is narrower than you would guess — 20 distinct items across 51 chests:
| What you get | Chests | Notes |
|---|---|---|
| Large Zonai Charge | 10 | Sells for 10 rupees; 3 Fuse attack power; feeds armor upgrades |
| Diamond | 9 | 500 rupees each — 4,500 rupees across the nine |
| Big Battery | 7 | Zonai energy item |
| Topaz | 4 | 80 rupees each |
| Ruby | 2 | |
| Sapphire | 1 | |
| Zonaite and Construct weapons, shields, bows | 9 | Mighty Zonaite Sword, Shield, Spear, Longsword, Zonaite Bow and similar |
| Magic Staff, Scepter, Rod, Star-Fragment Staff | 6 | The caster drops |
| Elixirs | 2 | One Enduring, one Hearty |
| Star Fragment | 1 | |
| Total | 51 | One chest per shrine |
The nine Diamonds are the real money in there. Everything else is refill: Zonai charges you will burn on the armor tree, batteries, and Zonaite gear that is fine and is not going to survive your next fight.
Proving Grounds takes your gear off you
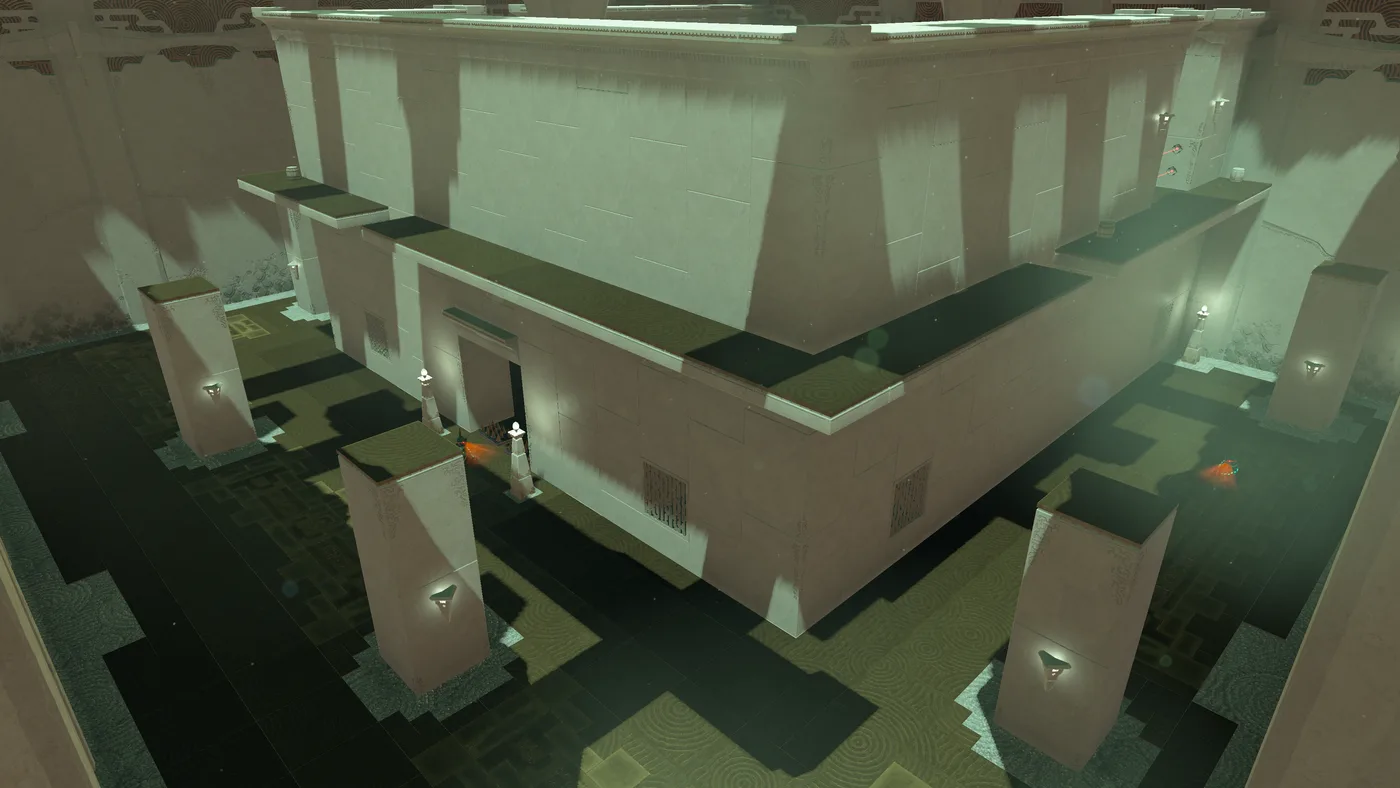
Fifteen shrines carry the Proving Grounds prefix, and the format is the one thing in the shrine system that can genuinely wreck a run you were not expecting. Zelda Wiki describes the inside of five of the fifteen; the other ten have no write-up at all. Four of those five take your gear:
- Eutoum Shrine (Proving Grounds: Infiltration) — "all of Link's equipment is removed (except for his Paraglider and Ancient Powers)," and you are handed a Long Stick, a Wooden Stick and an Old Wooden Shield to clear the room with.
- Otak Shrine (Proving Grounds: Traps) — inventory removed on entry, and the objective is to kill the Constructs using the traps in the room rather than anything you brought.
- Yansamin Shrine (Proving Grounds: Low Gravity) — stripped on entry, given an equipment hall to re-arm from, and told your gear is coming back once every enemy is down. The room itself runs at low gravity.
- Joku-usin Shrine (Proving Grounds: Short Circuit) — inventory removed, clear the Constructs with what the shrine supplies, inventory returned at the end.
The fifth is the one that stops "Proving Grounds means you get stripped" from being a rule. Mayachideg Shrine (Proving Grounds: The Hunt) is written up at length — three chambers, Soldier Constructs behind two portcullises, Homing Carts and Shock Emitters to use on them — and the description never removes your equipment. It puts weapon supply spots on two of the three levels instead. So the strip is the common case in what the wiki documents, not a guarantee, and the ten undocumented shrines could go either way.
Eutoum adds a wrinkle worth knowing before you drop in: if a Construct spots you, it raises an alarm, the rest come running, and a boss bar appears. Your equipment comes back when the room is cleared.
Here is the full list so you know which doors to open on purpose:
| Shrine | Trial | Where |
|---|---|---|
| Kamizun Shrine | Proving Grounds: Beginner | Forest of Time, Central Hyrule |
| Nouda Shrine | Proving Grounds: Intermediate | Kopeeki Drifts Cave, Hebra |
| Eutoum Shrine | Proving Grounds: Infiltration | Goflam's Secret Hot Spring, Hebra |
| Otak Shrine | Proving Grounds: Traps | Icefall Foothills Cave, Hebra |
| Kimayat Shrine | Proving Grounds: Smash | Gut Check Rock, Eldin |
| Isisim Shrine | Proving Grounds: In Reverse | YunoboCo HQ East Cave, Eldin |
| Mayachideg Shrine | Proving Grounds: The Hunt | Eldin Canyon, Eldin |
| Jojon Shrine | Proving Grounds: Rotation | Crenel Peak Cave, Central Hyrule |
| Rasitakiwak Shrine | Proving Grounds: Vehicles | Kaepora Pass, Akkala |
| Miryotanog Shrine | Proving Grounds: Lure | Toruma Dunes, Gerudo |
| Zakusu Shrine | Proving Grounds: Ascension | Naydra Snowfield, Lanayru |
| Sifumim Shrine | Proving Grounds: Flow | Lurelin Village, Necluda |
| Simosiwak Shrine | Proving Grounds: Lights Out | Bravery Island, Central Hyrule Sky |
| Joku-usin Shrine | Proving Grounds: Short Circuit | Thunderhead Isles, Faron Sky |
| Yansamin Shrine | Proving Grounds: Low Gravity | Zonaite Forge Island, Necluda Sky |
Twelve on the surface, three in the sky. Eldin and Hebra carry three apiece, which is six of the fifteen in two regions.
Combat Training is the tutorial you skipped
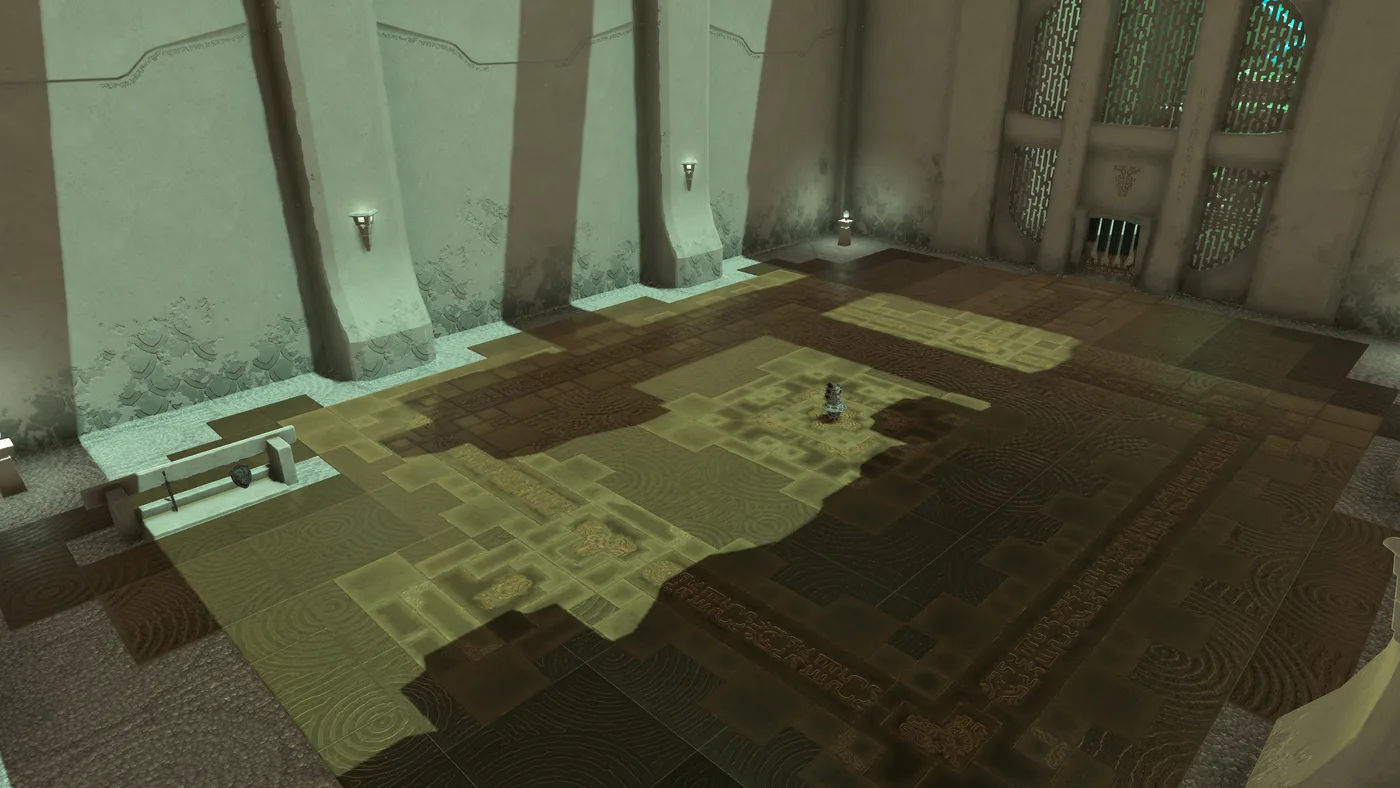
Seven shrines run directed combat drills, which makes Combat Training the smallest of the four trial families in the table above. Kyononis Shrine in the Hyrule Castle Town Ruins is the base one, simply called Combat Training: it walks you through Side Hops, Backflips, Perfect Guards and Charged Attacks against a Training Construct that cannot be destroyed until the Charged Attack step. Clear it and the portcullises open onto a Rauru and Sonia Statue, a Light of Blessing, and a stone chest holding a Zonaite Sword.
The other six specialise: Combat Training: Archery at Makurukis Shrine and Taunhiy Shrine, Throwing at Teniten Shrine and Yamiyo Shrine, Sneakstrike at Sinatanika Shrine, and Shields at Eshos Shrine by the Dueling Peaks. Six of the seven are on the surface, and four of those six are in Central Hyrule.
If dodge timing and Perfect Guards are the part of this game you have been avoiding, that is a seven-shrine curriculum with a Light of Blessing attached to each lesson. It is the cheapest structured practice in Hyrule.
Every one of the 152, whichever family it belongs to, pays the same single Light of Blessing at the end — the currency you trade four at a time at a Goddess Statue for a Heart Container or a Stamina Vessel. A Rauru's Blessing shrine and a Proving Grounds shrine are worth exactly the same to your health bar. What differs is what the game made you do to get there.
Quick Action Checklist
- 152 Shrines of Light: 120 on the surface, 32 in the sky, none in the Depths.
- 79 named puzzle trials, 51 Rauru's Blessings, 15 Proving Grounds, 7 Combat Training. A third of the shrine count has nothing to solve inside.
- Central Hyrule holds 33 of the 120 surface shrines and 4 of the 7 Combat Training rooms. Faron holds 3.
- Necluda is puzzle-poor: 8 of its 14 shrines are blessings, and 7 of those 8 are in a cave or a well.
- The sky skews blessing-heavy: 14 of 32 versus 37 of 120 on the surface.
- 31 Shrine Quests exist; 28 end at a blessing shrine. 21 of the 31 are green-crystal deliveries from a Mysterious Voice.
- 23 blessing shrines have no Shrine Quest attached — clearing your quest log does not find them.
- Blessing chests: one item each, 10 Large Zonai Charges and 9 Diamonds leading the pool. The nine Diamonds are 4,500 rupees.
- Proving Grounds usually strips your equipment on entry — four of the five shrines the wiki describes inside, handing you sticks or a supply hall instead. Mayachideg is the documented exception. Do not walk in mid-fight.
- All 152 pay one Light of Blessing. Four buy one Heart Container or Stamina Vessel, whatever the trial was.
Frequently Asked Questions
How many shrines are in Tears of the Kingdom?
What is a Rauru's Blessing shrine in Tears of the Kingdom?
Which Tears of the Kingdom region has the most shrines?
What happens in a Proving Grounds shrine in Tears of the Kingdom?
Do Tears of the Kingdom shrine quests always lead to an empty shrine?
What is inside the chests in Tears of the Kingdom blessing shrines?
Keep Reading
- Zelda Wiki — Shrine of Light: the 152 total, the 120/32 Surface-Sky split, the Lightroot mirroring rule, and the full per-region list of every shrine with its trial name, location and treasure
- Zelda Wiki — Rauru's Blessing: the standalone list naming the 51 shrines that carry the trial name, one fewer than the Shrine of Light summary table
- Zelda Wiki — Siyamotsus Shrine: designated Unlit Blessing on the in-game map, not Rauru's Blessing, with the unlit-torch and catapult sequence that makes it a puzzle shrine
- Zelda Wiki — Shrine Quest: 31 Shrine Quests in Tears of the Kingdom, the statement that blessing shrines contain no puzzle nor enemies, and the full quest-to-shrine mapping
- Zelda Wiki — Light of Blessing: awarded at the end of each Shrine of Light, four exchanged at a Goddess Statue for a Heart Container or Stamina Vessel
- Zelda Wiki — Eutoum Shrine: the Proving Grounds equipment strip, the Long Stick / Wooden Stick / Old Wooden Shield loadout, the alarm and boss bar, and the Sapphire chest
- Zelda Wiki — Otak Shrine: inventory removed on entry and the traps-only objective, the second documented Proving Grounds
- Zelda Wiki — Yansamin Shrine: stripped of all equipment on entry, an equipment hall to re-arm from, low gravity, and gear returned once every enemy is defeated
- Zelda Wiki — Joku-usin Shrine: inventory removed on entry, Constructs cleared with what the shrine supplies, inventory returned afterwards
- Zelda Wiki — Mayachideg Shrine: the fully written-up Proving Grounds whose description supplies weapons inside rather than removing Link's equipment
- Zelda Wiki — Kyononis Shrine: the Combat Training curriculum (Side Hop, Backflip, Perfect Guard, Charged Attack) and the Zonaite Sword chest
- Zelda Wiki — Zakusu Shrine: both the Shrine Quest "The High Spring and the Light Rings" and the Proving Grounds: Ascension trial name, the third quest-to-trial exception
- Zelda Wiki — En-oma Shrine: a Rauru's Blessing shrine in the Lake Hylia Whirlpool Cave gated behind "The Lake Hylia Crystal", with a Mighty Zonaite Sword in a stone chest
- Zelda Wiki — Diamond: 500 rupees in Tears of the Kingdom
- Zelda Wiki — Large Zonai Charge: 10 rupees, 3 Fuse attack power, and its use in Great Fairy armor upgrades
- Zelda Wiki — Topaz: 80 rupees in Tears of the Kingdom
Related Guides
Tears of the Kingdom Cave Guide: 147 Bubbulfrogs, Koltin, and 58 Wells
Skyview Towers map the surface. Lightroots map the Depths. Nothing maps the 147 caves — you find those by walking into them. Here is what each one is hiding, what the frog inside is worth, and why the merchant who buys the gems only opens after 9 PM.
Tears of the Kingdom Lynels: All 34 Locations and HP
Breath of the Wild had 22 Lynels. Tears of the Kingdom has 34, and 19 of them are in the Depths, including every Silver Lynel on Thonky's list. There is no Monster Medal for them, so here is the full list by variant, what each one can take, what changed in the fight, and the 111 Lynel parts the Great Fairies will eventually ask you for.
Tears of the Kingdom Monster Medals: Sub-Boss Counts and HP
Breath of the Wild had three Medals of Honor and 84 kills behind them. Tears of the Kingdom has six Monster Medals, a six-quest gate in front of them, and a Gleeok tier where an ordinary Flame Gleeok carries more health than the Demon Dragon's main body. Here is how the hunt unlocks, how many of each monster Gralens counts, and what every variant can take.
Tears of the Kingdom Rupee Farming: What to Sell and Keep
A Ruby sold for 210 rupees in Breath of the Wild. In Tears of the Kingdom it sells for 110. Six of the eight ores the two games share lost 42 to 71 percent of their value, which quietly broke the old money playbook. Here is what actually pays now, what the Great Fairies will want back, and the real math on feeding Luminous Stones to a Dondon.
Tears of the Kingdom Beginner Guide: Great Sky Island and Your First 10 Hours
Tears of the Kingdom hands you four abilities in two hours and then refuses to explain how they interact. Here is what the Great Sky Island is actually teaching, what it skips, and the systems that decide whether hour ten feels powerful or exhausting.
Tears of the Kingdom Switch 2 Edition: What It Adds
Breath of the Wild's Switch 2 Edition got eight of the nine Zelda Notes features. Tears of the Kingdom gets the ninth — Autobuild Sharing, QR codes for Ultrahand builds — plus a Voice Memory count nearly double its predecessor's and an amiibo rule that quietly breaks the Weapon Bonus system the rest of this vertical has been mapping for weeks.