Tears of the Kingdom Cave Guide: 147 Bubbulfrogs, Koltin, and 58 Wells
Skyview Towers map the surface. Lightroots map the Depths. Nothing maps the 147 caves — you find those by walking into them. Here is what each one is hiding, what the frog inside is worth, and why the merchant who buys the gems only opens after 9 PM.
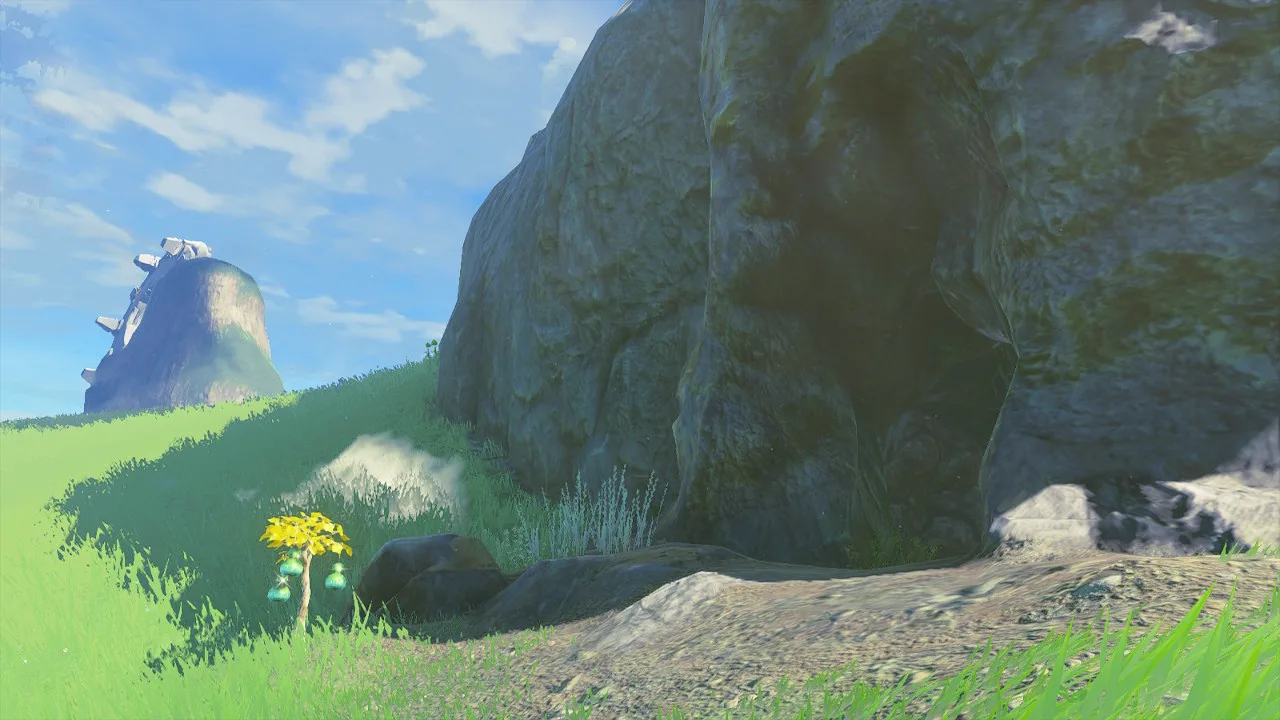
There are 147 caves in Tears of the Kingdom, and the game will not tell you where one of them is.
That is not an oversight. Skyview Towers scan the surface and the sky into your map. Lightroots fill in the Depths. Caves get nothing — no tower, no root, no reveal. They appear on the Purah Pad after you personally walk up to a hole in the ground, and every one of them has a glowing frog in it that is worth something.
Everything below is checked against Zelda Wiki's Tears of the Kingdom pages, including the full cave list, Koltin's trade table, and the buff math on the armor he sells.
The third map nobody fills in for you
The Purah Pad map has three layers — Sky, Surface, Depths — and you switch between them with the D-pad. Sky and Surface unlock through Skyview Towers. The Depths unlock through Lightroots. Caves are not a fourth layer; they are icons punched into the surface layer, and they only exist once you have found an entrance.
That matters more than it sounds, because plenty of caves have several entrances. Take the Bubbul Gem out of a cave and every entrance you have already discovered gets a checkmark on the map. So the checkmark is your completion tracker: an unticked cave icon means the frog is still in there, and a cave with no icon at all means you have not found the door yet.
Worth knowing before you start ticking them off: the 147 includes locations that do not read as caves. The Shrine of Resurrection — yes, that one — is on the list, along with the Royal Hidden Passage, the Cucco Hideaway and the Yiga Clan Maritta Branch. If you are hunting the last few, stop picturing rock arches in hillsides.
147 caves, 147 Bubbulfrogs, one gem each
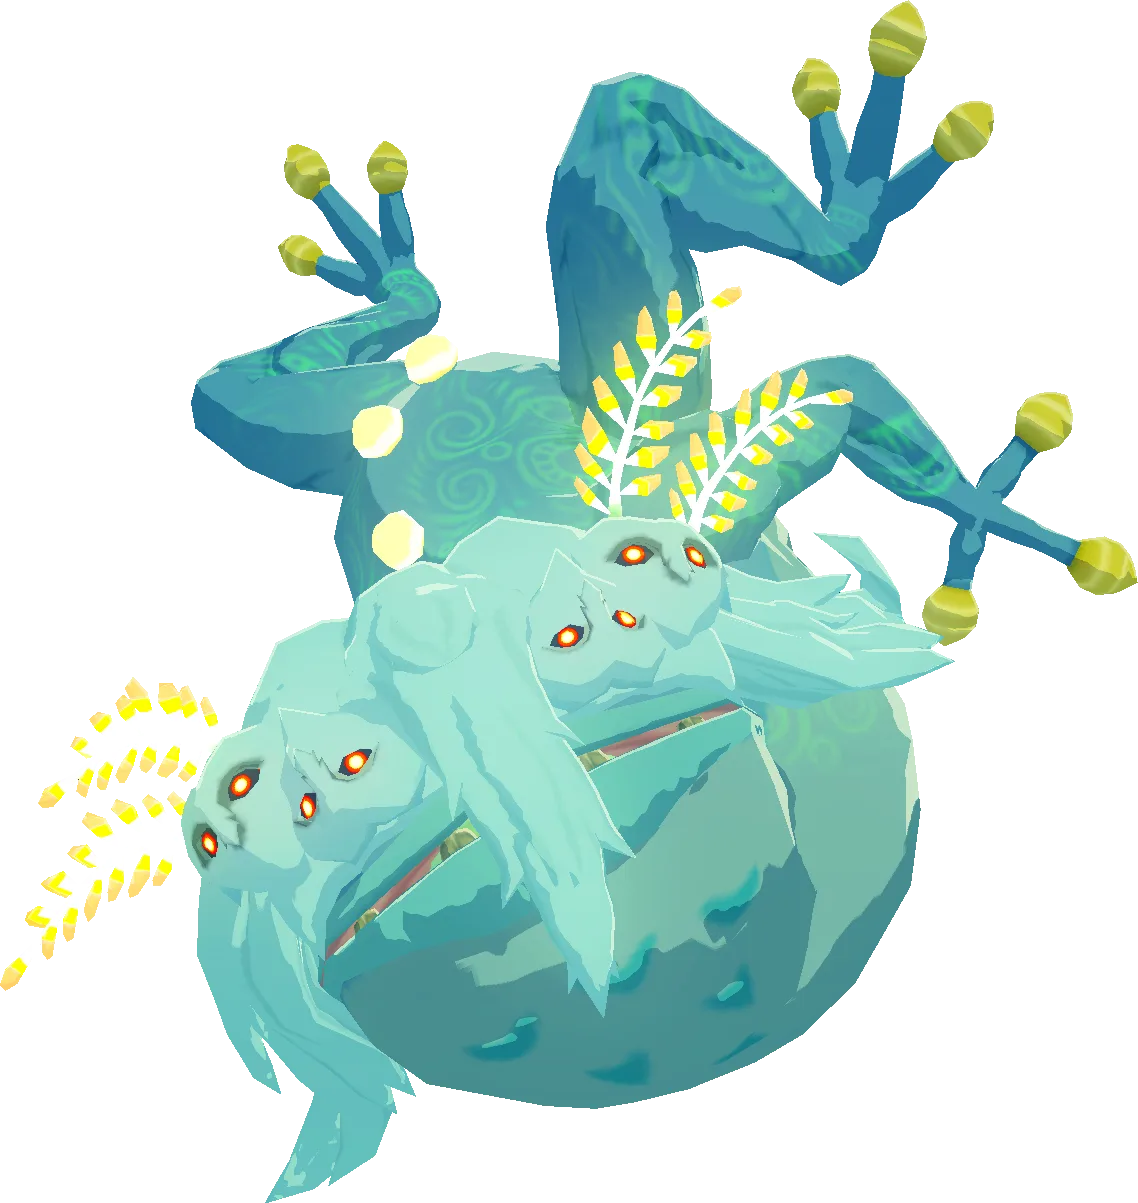
The game's own Tips and Tricks screen says it plainly: every cave is home to a Bubbulfrog. There are 147 of them, one per cave, and each one drops exactly one Bubbul Gem.
Bubbulfrogs are not a fight. They are pale blue, horned, and related in design to Blupees and the Satori. They cling to walls and ceilings, they run, and the only thing they throw at you is harmless bubbles you can pop. Hit one enough and its body rises and fades out, leaving a Bubbul Gem behind — and a Blupee.
The one rule that costs people gems: if you leave the area before picking the gem up, the frog comes back. Killing it does not bank anything. Only the gem in your pocket does, and once it is there that Bubbulfrog is gone for good. So do not knock one off a ceiling into a pit, shrug, and warp away.
Bubbul Gems are Key Items, so they never compete with your material slots and there is no reason to hold back.
The four you can get before Hyrule
Four of the 147 are on the Great Sky Island, which means you can be four gems deep before you ever touch the surface.
The Mining Cave on the southern side of the island — the Zonaite tunnel with the Forge Construct and the Mining Constructs in it — has a Bubbulfrog. So does the Bottomless Cave running under the Gutanbac Shrine, which is also where two Like Likes lurk and a stone chest holds a Flame Emitter, with a second chest of Amber at the end of a thin walkway. Pit Cave is on the southeastern side just south of that one, and the cracked wall near its lower entrance hides a rare ore deposit that always drops a Ruby. Pondside Cave is the fourth, in the southwest, northwest of the Mining Cave.
You cannot spend them up there. The merchant who buys them is in Eldin Canyon and does not exist yet. Take them anyway.
Koltin only trades at night
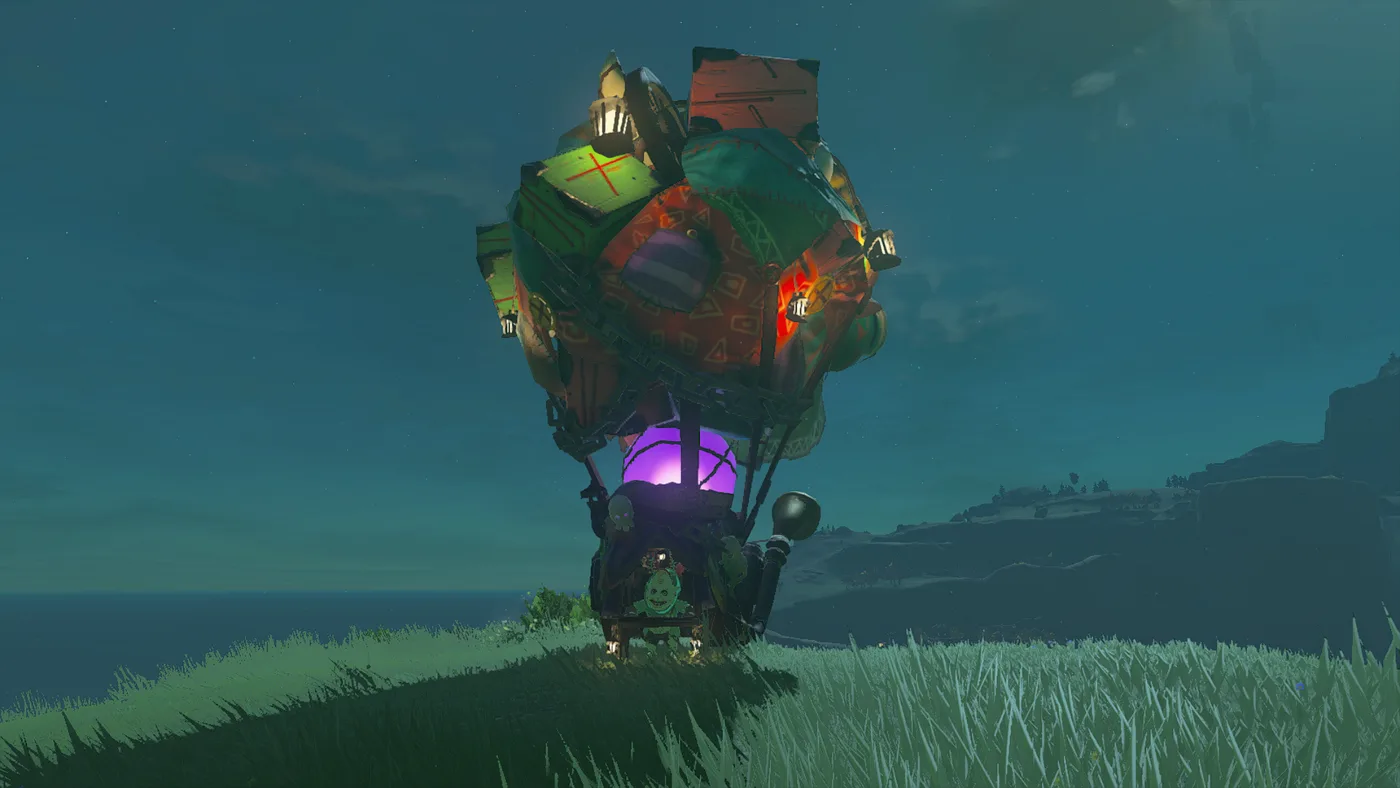
The gem economy runs through Koltin, Kilton's younger brother, who wants to eat enough Bubbul Gems to turn into a Satori. That is his entire motivation and he is completely serious about it.
You meet both brothers outside the Pico Pond Cave in the western reach of Eldin Canyon, north of Pico Pond and northeast of Woodland Stable. Talking to them starts the Side Adventure "The Hunt for Bubbul Gems!" — go in, beat the frog, bring Koltin the gem, get a Bokoblin Mask. He then eats the gem, fails to transform, concludes he needs to swallow a great many at once, and leaves on a shopping trip. That starts "The Search for Koltin," which is complete the moment you find his stall anywhere in Hyrule. Kilton settles in Tarrey Town and will point you at his brother if you get stuck.
Two things about the stall are non-obvious and both waste time if you learn them the hard way:
- It only appears between 9:00 PM and 5:00 AM. Turn up at noon and there is nothing at the coordinates. Sit at a cooking fire until night.
- His Bubbulfrog radar is capped. Koltin will point you at caves whose gems you have not taken, but only five preset caves per stall location. Seven locations, five hints each — that is 35 of the 147. The other 112 are on you.
All seven stall locations
| Location | Area | Coordinates |
|---|---|---|
| Passeri Greenbelt | Hyrule Field | -0324, -0162, 0023 |
| South Tabantha Snowfield | Hebra Mountains | -1531, 2383, 0246 |
| Darunia Lake | Eldin Canyon | 1436, 3093, 0398 |
| Ulri Mountain | Akkala Highlands | 3665, 2062, 0169 |
| Gerudo Desert Gateway | Gerudo Highlands | -2785, -2424, 0201 |
| Cliffs of Quince | East Necluda | 2526, -1714, 0109 |
| Farosh Hills | Faron Grasslands | 0587, -2678, 0113 |
The Passeri Greenbelt stall sits along the unmarked road between Lookout Landing and the Hyrule Field Chasm, which makes it the convenient one early. The Gerudo Desert Gateway stall is on a plateau south of Gerudo Canyon Stable. Visit all seven at least once purely to drain the cave hints.
The price list, in fixed order
Here is the part that changes how you plan: Koltin's stock unlocks in a fixed sequence. Each reward has to be traded for before the next one appears. You cannot save up 46 gems and buy the Mystic Headpiece on your first night — you have to walk the whole ladder, monster parts included.
| Reward | Cost | Total gems spent |
|---|---|---|
| Bokoblin Mask | 1 | 1 |
| Moblin Mask | 2 | 3 |
| Hinox Toenail x3 | 2 | 5 |
| Mystic Robe | 3 | 8 |
| Fire Keese Eyeball x8 | 3 | 11 |
| Lizalfos Mask | 3 | 14 |
| Ice-Breath Lizalfos Tail x5 | 3 | 17 |
| Mystic Trousers | 4 | 21 |
| White-Maned Lynel Mace Horn | 4 | 25 |
| Horriblin Mask | 4 | 29 |
| Gleeok Wing x2 | 4 | 33 |
| Lynel Mask | 4 | 37 |
| Gleeok Thunder Horn x3 | 4 | 41 |
| Mystic Headpiece | 5 | 46 |
| Koltin's Fabric | 101 | 147 |
46 gems clears the catalogue. Everything Koltin owns is yours at that point, and he says so — he then asks for the remaining 101 anyway, with nothing left to trade. Hand over all 147 and he gives you Koltin's Fabric, a paraglider fabric with a Satori design, transforms into a Blupee and vanishes. Tell Kilton in Tarrey Town afterwards and he moves the stall to the cherry-blossom tree on Satori Mountain, where it stands at any hour.
So the honest read on the back half: gems 47 through 147 buy one paraglider skin. The first 46 buy five monster masks and a three-piece armor set. Plan accordingly.
The monster parts scattered through the ladder are the same materials you can farm off the enemies themselves — Gleeok horns sit on the top-shelf damage table in the Fuse guide. They are toll booths on the way to the gear, not the reason to be here.
What the monster masks actually do
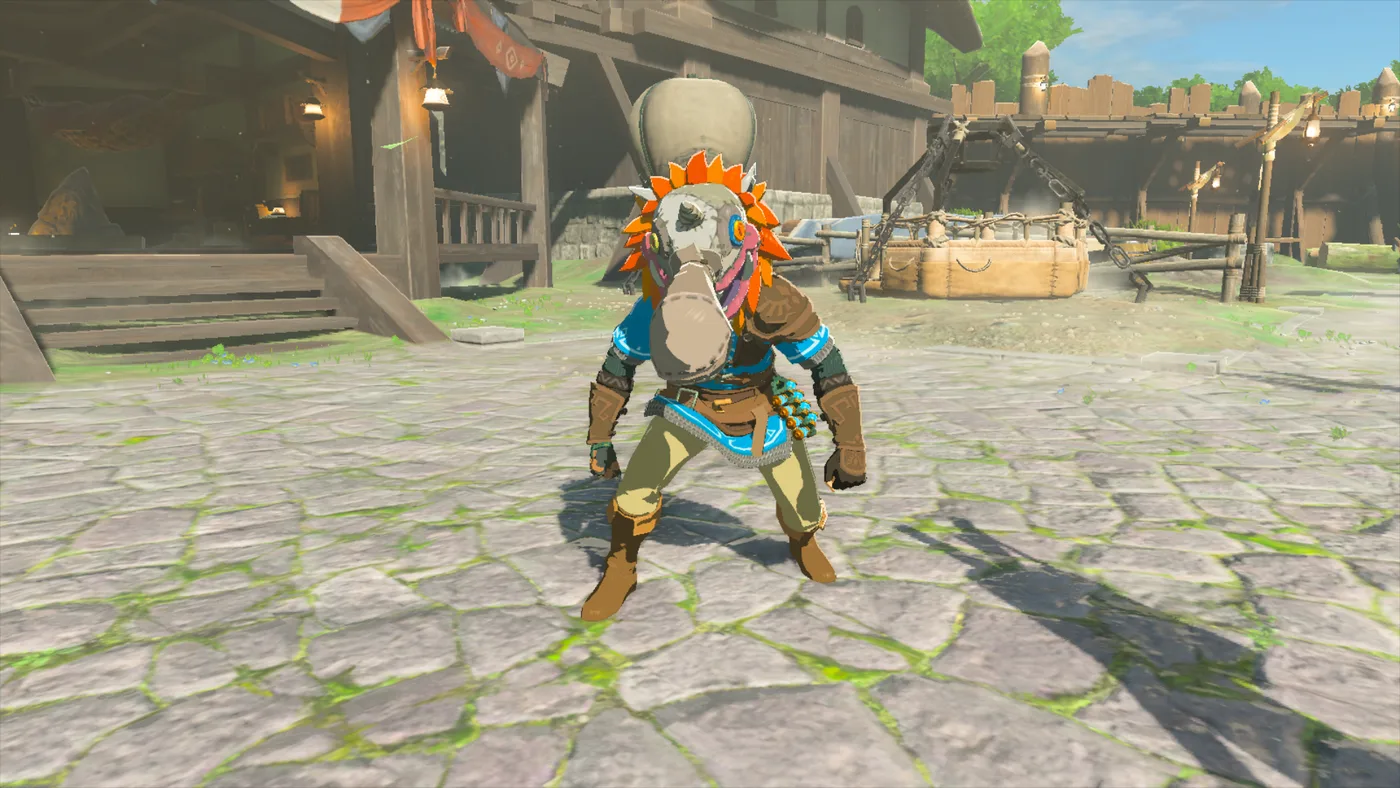
All five masks grant the Disguise effect, and Disguise is narrower than the name suggests. A mask makes its own monster type ignore you. It does nothing about anything else in the camp — wear the Bokoblin Mask into a mixed camp and the Bokoblins shrug while the Horriblin on the ceiling drops a boulder on your head. They also carry only 3 defense, make quiet monster noises as you move, and give Link a new idle pose.
The Horriblin Mask is the one that pays for itself in caves. With it on, even a Silver Horriblin stays passive — it will wander over, tilt its head and sniff you. Lose the disguise or anger it and it slams the ground and draws its weapon.
The Lynel Mask is the caveat case. Lynels work it out eventually and attack anyway, and the Lynels in the Floating Coliseum are scripted to come at you the moment you walk in, disguise or not. If you were planning to wear one into the coliseum to skip five waves, that door is closed — the Depths guide covers what is actually waiting in there.
One safety net: if you sell or lose a mask, Cece will sell you a replacement for 4,000 rupees. Expensive, but it is not gone forever.
The Mystic set is the real prize
Three pieces — Mystic Robe at 3 gems, Mystic Trousers at 4, Mystic Headpiece at 5 — for 12 gems total, spread across the ladder so the full set lands at 46.
What they grant is Rupee Padding, and the math is worth reading properly, because "you lose rupees instead of hearts" undersells it in one direction and oversells it in another.
- Your defense is subtracted from the incoming hit first. Rupee Padding then eats what is left.
- Each level of the effect absorbs up to 12 damage points, and a damage point is a quarter heart. That is 3 hearts per level.
- Absorbed damage costs 10 rupees per point — so a full 3 hearts eaten costs you 120 rupees.
- Armor effects stack one level per piece carrying them, so the full three-piece set runs at level three: 9 hearts, up to 360 rupees.
- Blow past that threshold in a single hit and the remainder lands on your hearts as normal.
The catch is the one that matters most for where you will be wearing it: Rupee Padding does nothing against gloom, environmental or enemy. So this is not a Depths answer. Down there you still want the Of the Depths set, and the full upgrade path for that is in the armor guide.
On the surface, though, 360 rupees is cheaper than a fairy and far cheaper than a run back to a Great Fairy for a re-upgrade. Rupees are the resource you stop caring about; hearts are not.
What lives in the dark
Two things in caves will actually ruin a run, and both have specific counters.
Horriblins cling to the ceiling. The base version has 35 HP and a 5-damage attack and is a non-event; the Silver Horriblin has 840 HP and hits for 24. They fight by stabbing with spears and tearing boulders out of the ceiling to throw, and Recall sends those boulders straight back up at them. Three more things worth knowing:
- Knock one off the ceiling and it bounces around in pain for a few seconds, completely defenseless. That is your damage window.
- They cannot swim. Deep water drowns them.
- Bright light — a Dazzlefruit, or a mirror — makes a Silver Horriblin drop its weapon and flail at its own eyes.
Like Likes are the other one, and they play by inverted rules. Attacking the body does minimal damage, like hitting a Gibdo. The tongue is the weak point: it comes out just before the thing lunges, hits there stun it, and attacks on the tongue always land as critical hits. If it swallows you it steals your equipped weapon — which it hands back when you kill it, alongside a Like Like Stone and an iron chest holding a random weapon or shield. Feed one a Bomb Flower and it detonates inside for heavy damage plus a stun.
Do not bother with a Dazzlefruit here. Like Likes have no eyes, so the flash does nothing. There are five variants beyond the base — Rock, Fire, Ice and Shock Likes, plus the Sludge Like sub-boss, whose sludge coating washes off with water.
The materials that grow in the dark
Caves and wells share an ingredient list you will not turn up walking around open Hyrule.
- Brightcap. Cook it and you glow. More usefully, fuse it to a weapon and you get the Bouncy property — struck enemies get launched backwards. It works fused to arrows, and on a shield it launches whatever hits you. Roast one in fire or a scorching climate for a Toasty Brightcap. If you would rather buy than spelunk, the Spore Store in Korok Forest stocks them.
- Glowing Cave Fish. Purple, bioluminescent, living in pools of water in caves, wells and the Depths. Cooked into food they make you glow; raw they restore one heart. Easiest catch in the game: drop an edible or roasted mushroom in the water and the nearby ones swim straight to it. Electricity kills them outright and floats them to the surface.
- Sticky Frog and Sticky Lizard. Both cling to cave and well walls. Cook either with a monster part into a Sticky Elixir and you can climb wet walls in the rain — the consumable version of what the Froggy set does permanently.
All four turn up on Great Fairy upgrade lists later, which is the real reason to hoover them up on the way past rather than doing a dedicated farming run at 3 stars. The cooking guide has the rules on how elixirs differ from meals.
58 wells and the woman counting them
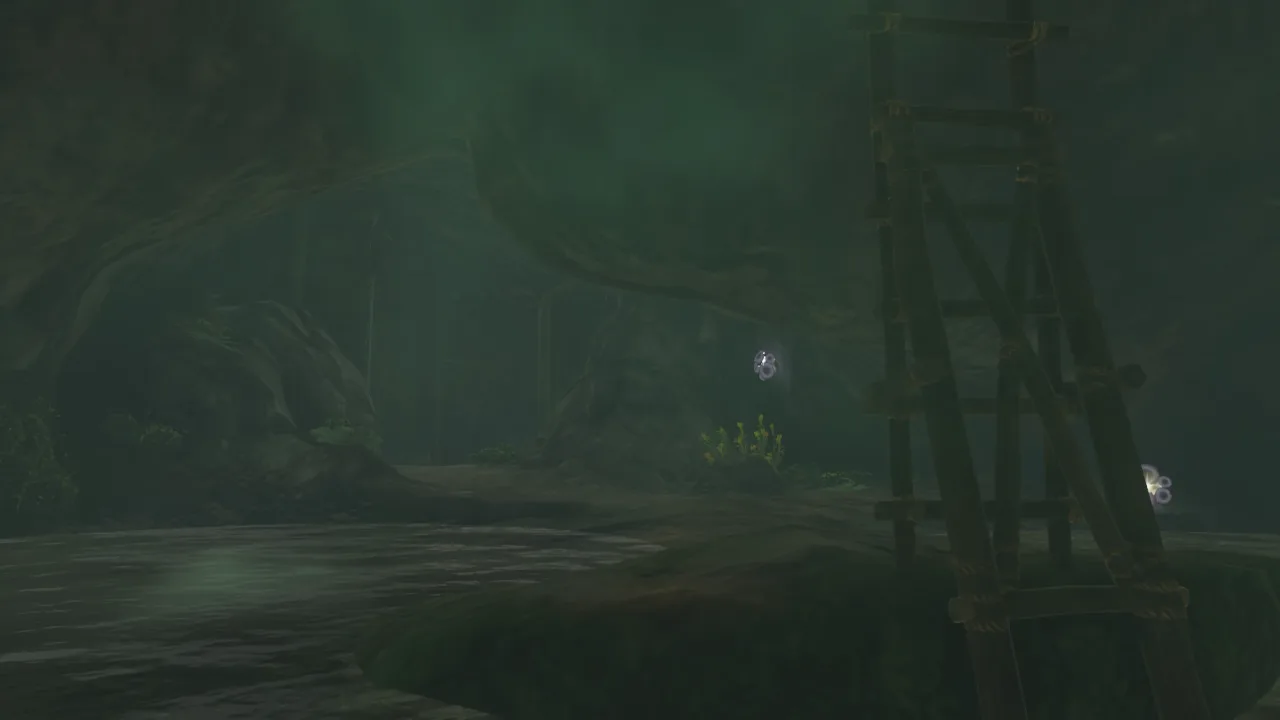
Wells are the cave system's smaller sibling and they are easy to write off. There are 58 of them, 32 returning from Breath of the Wild, and unlike in the last game you can climb down inside. They cluster around settlements, ruins and stables, which means you walk past most of them constantly.
Three reasons to actually go down:
- They carry the same cave ecosystem — brightcaps, glowing cave fish, sticky frogs and lizards.
- Most well interiors are Stable Climates. No weather damage while you are inside, so a well is free shelter from Hebra cold or Gerudo heat without swapping a single piece of armor.
- Three of them double as chasms straight into the Depths.
There is also a quest attached. Fera is a well enthusiast who wants to visit all 58, and she cannot get started until Karson finishes building the Lookout Landing Well — which itself waits on you having Scorpis open the Emergency Shelter. After that she surfaces in nine stable wells, and "Where Are the Wells?" pays 10 rupees for every well you locate for her, ending in the All's Well: a model of a well sealed in a glass sphere. It is a trophy, not a tool, and it is the correct reward for a quest about liking wells.
One well on that list is doing double duty. Zelda's Secret Well in Hateno Village is where her diary sits, and reading it starts the chain that ends with the Champion's Leathers — the highest single-piece defense in the game, covered in the armor guide.
A route that works
- Take all four Great Sky Island gems — Pondside Cave, Mining Cave, Pit Cave, Bottomless Cave — before you dive. Four banked, 143 to go.
- Get to Pico Pond Cave in western Eldin Canyon early and clear "The Hunt for Bubbul Gems!" That is one gem, one Bokoblin Mask, and the whole economy switched on.
- Find any Koltin stall between 9 PM and 5 AM to close "The Search for Koltin" and turn the stall into a shop.
- Visit all seven stall coordinates and drain the cave hints — 35 free cave locations.
- Trade in order. You cannot skip the monster parts, so buy them as you can afford them and keep climbing to 46.
- Wear the Horriblin Mask while you clear caves. It turns the ceiling problem, Silver Horriblins included, into scenery.
- Sweep wells alongside caves. Same materials, no weather, and Fera pays you per find.
More Hyrule sits on the Tears of the Kingdom hub, and everything else we are playing is on the Mythras blog. If you are early enough that half of this is still locked, start with the beginner guide.
Quick Action Checklist
- 147 caves, 147 Bubbulfrogs, one Bubbul Gem each. Nothing on the map reveals a cave — you find the entrance yourself.
- Leaving the area before you pick up the gem respawns the frog. Collecting it retires that cave permanently, and discovered entrances get a checkmark.
- Four caves are on the Great Sky Island: Pondside Cave, the Mining Cave, Pit Cave and the Bottomless Cave.
- Koltin starts at Pico Pond Cave in Eldin Canyon. His stall only opens between 9:00 PM and 5:00 AM.
- Seven stall locations, five cave hints each — 35 of 147.
- Rewards unlock in a fixed order. 46 gems buys everything he owns; the last 101 buy Koltin's Fabric.
- Masks grant Disguise against their own monster type only. Cece resells them at 4,000 rupees.
- Mystic set: 12 gems for three pieces. Rupee Padding absorbs 12 damage points per level at 10 rupees each — 9 hearts and 360 rupees at level three. Useless against gloom.
- Silver Horriblin: 840 HP, 24 damage, drops its weapon in bright light, drowns in deep water.
- Like Like: hit the tongue for guaranteed criticals, or feed it a Bomb Flower. Dazzlefruit does nothing — no eyes.
- Brightcaps fuse for Bouncy. Glowing cave fish come to dropped mushrooms. Sticky frogs and lizards cook into Sticky Elixirs.
- 58 wells, 32 of them returning from Breath of the Wild, most with Stable Climate interiors, three doubling as chasms.
Frequently Asked Questions
How many caves are in Tears of the Kingdom?
Do Bubbulfrogs respawn in TOTK?
Where is Koltin in Tears of the Kingdom?
What do you get for all 147 Bubbul Gems?
What does the Mystic armor do in TOTK?
Do monster masks stop enemies attacking you?
How many wells are in Tears of the Kingdom?
Keep Reading
- Zelda Wiki — the full Tears of the Kingdom cave list, 147 entries
- Zelda Wiki — 147 Bubbulfrogs, one per cave, and their respawn rule
- Zelda Wiki — Bubbul Gems, the map checkmark, and the 46-gem catalogue
- Zelda Wiki — all seven stall locations with coordinates, cave hints, and the full reward order
- Zelda Wiki — Koltin, the two Side Adventures, and the Satori transformation
- Zelda Wiki — Rupee Padding potency, the 12-damage-point cap, and the gloom exclusion
- Zelda Wiki — Silver Horriblin health, damage, and the light and disguise counters
- Zelda Wiki — Like Like weak points, weapon theft, drops, and variants
- Zelda Wiki — all 58 wells, the Stable Climate interiors, and the three that are chasms
- Zelda Wiki — Brightcaps, the Bouncy fuse property, and where they grow
Related Guides
Tears of the Kingdom Shrines: 51 of 152 Have No Puzzle
Tears of the Kingdom has 152 Shrines of Light, and a third of them contain nothing to solve. Here is the full census — every shrine sorted by trial type and by region, what the 51 blessing chests actually hold, and why the puzzle moved outside the door.
Tears of the Kingdom Purah Pad Upgrades and the Compendium
The Purah Pad you take off a Steward Construct is missing half its features. The Camera and Hyrule Compendium wait on a Main Quest in the Depths, and the Sensor, Sensor +, Hero's Path Mode and three Travel Medallions come one Side Adventure at a time from Robbie. Here is what unlocks each one, what Robbie charges for Compendium pictures, and which boss entries have no rematch, so they are best photographed mid-fight.
Tears of the Kingdom Master Kohga: All Four Mine Fights
The two researchers who watch you get Autobuild are Yiga, and their boss wants it back. That fight at the Great Abandoned Central Mine is only the first of four. Here is how to reach each Abandoned Mine Master Kohga runs to, how to knock him off each of his four vehicles, and what the whole chase pays.
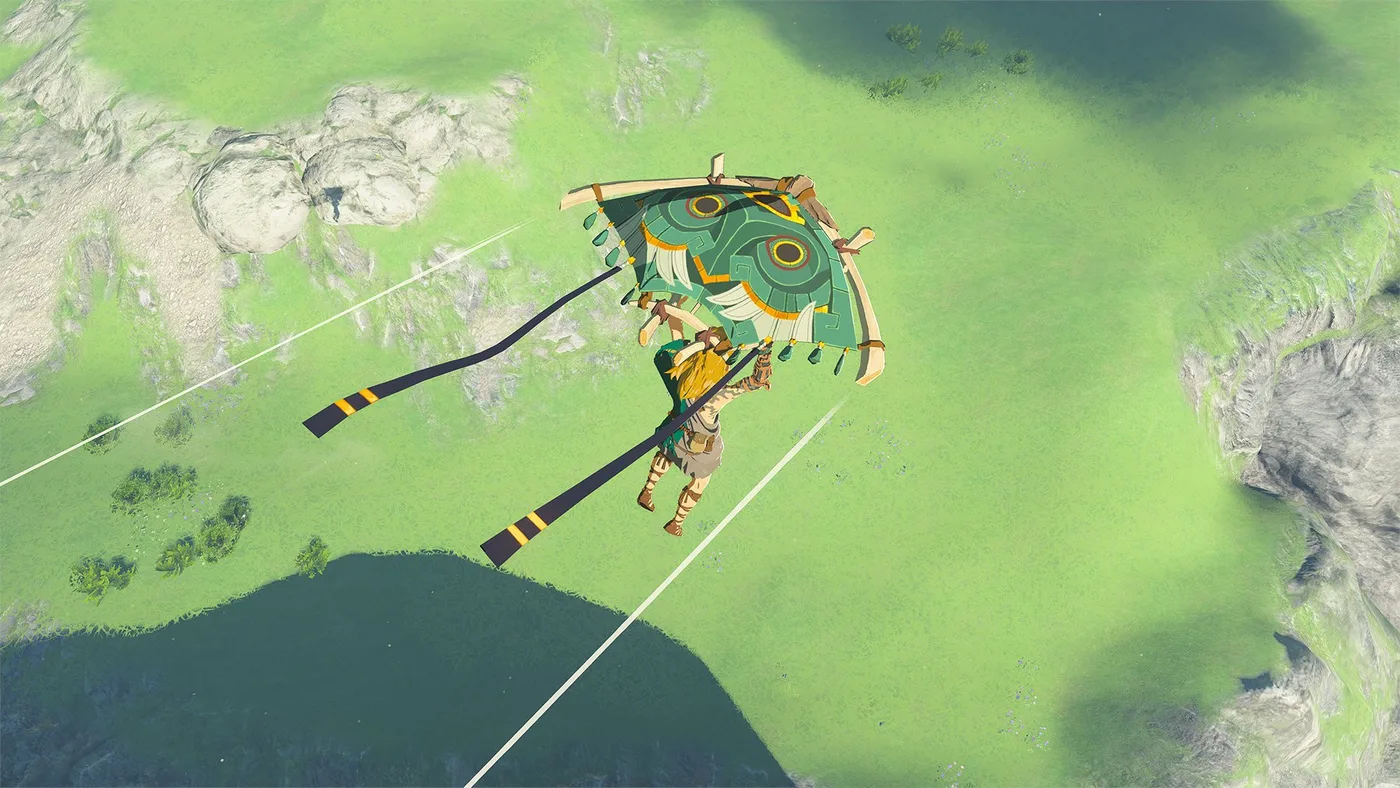
Tears of the Kingdom Paraglider Fabrics: All 57 Sources
Mineru's Construct amiibo went on sale September 17, 2026, and its one exclusive drop is a paraglider skin. That makes 29 fabrics you can only get from a figure, against 28 you earn by playing. Here is where every one comes from, which figure drops which, and the per-scan odds from Zelda Wiki's datamined tables.
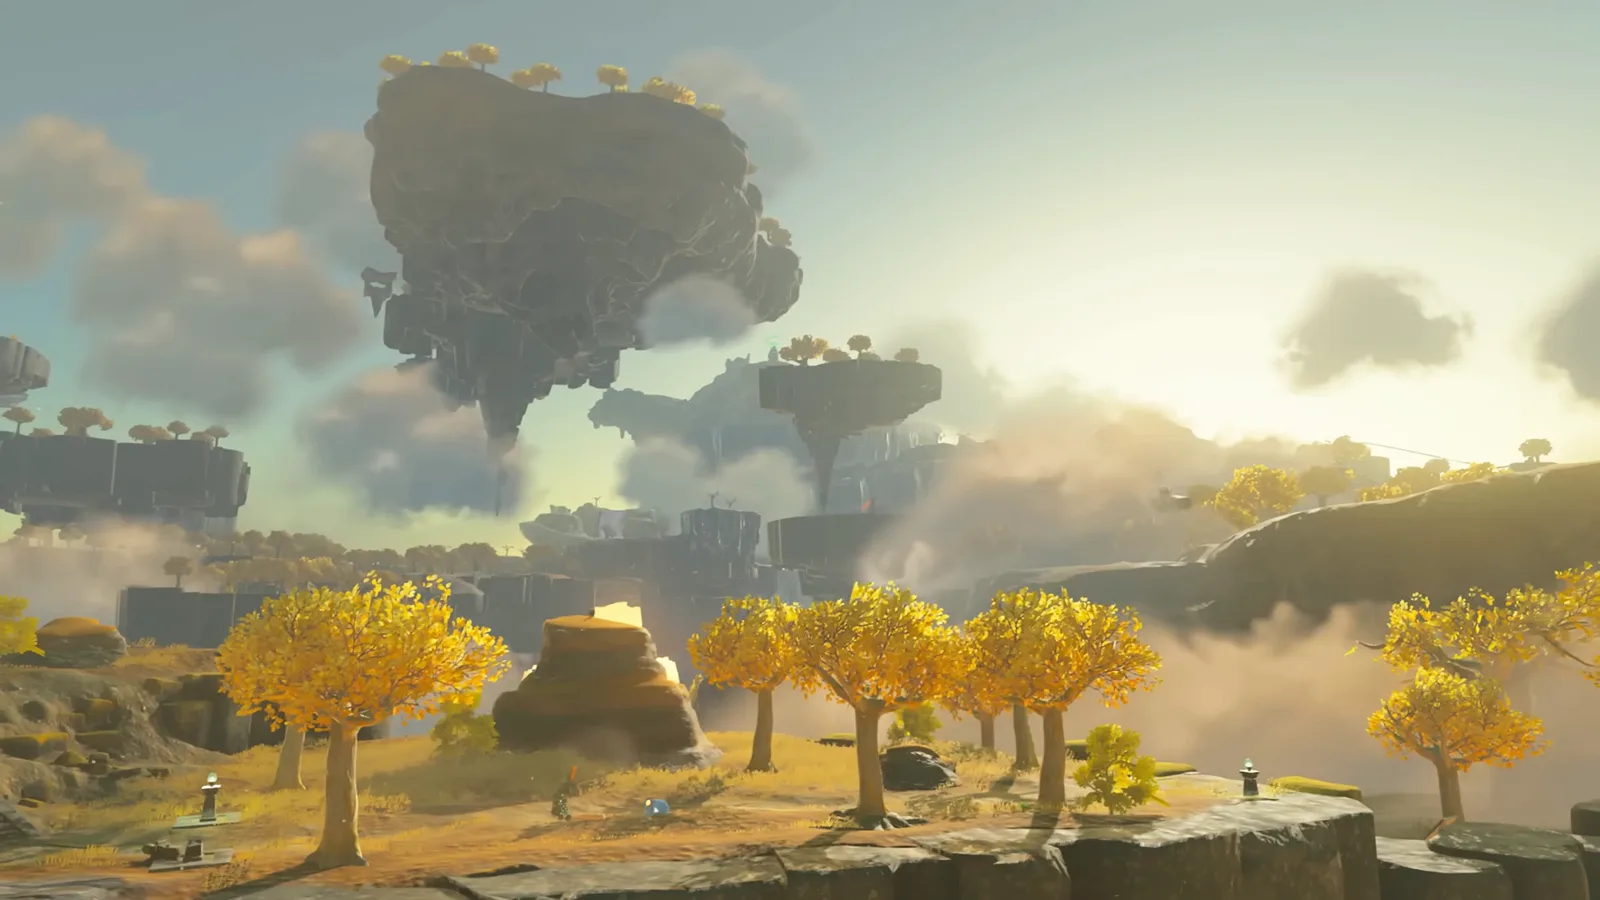
Tears of the Kingdom Beginner Guide: Great Sky Island and Your First 10 Hours
Tears of the Kingdom hands you four abilities in two hours and then refuses to explain how they interact. Here is what the Great Sky Island is actually teaching, what it skips, and the systems that decide whether hour ten feels powerful or exhausting.
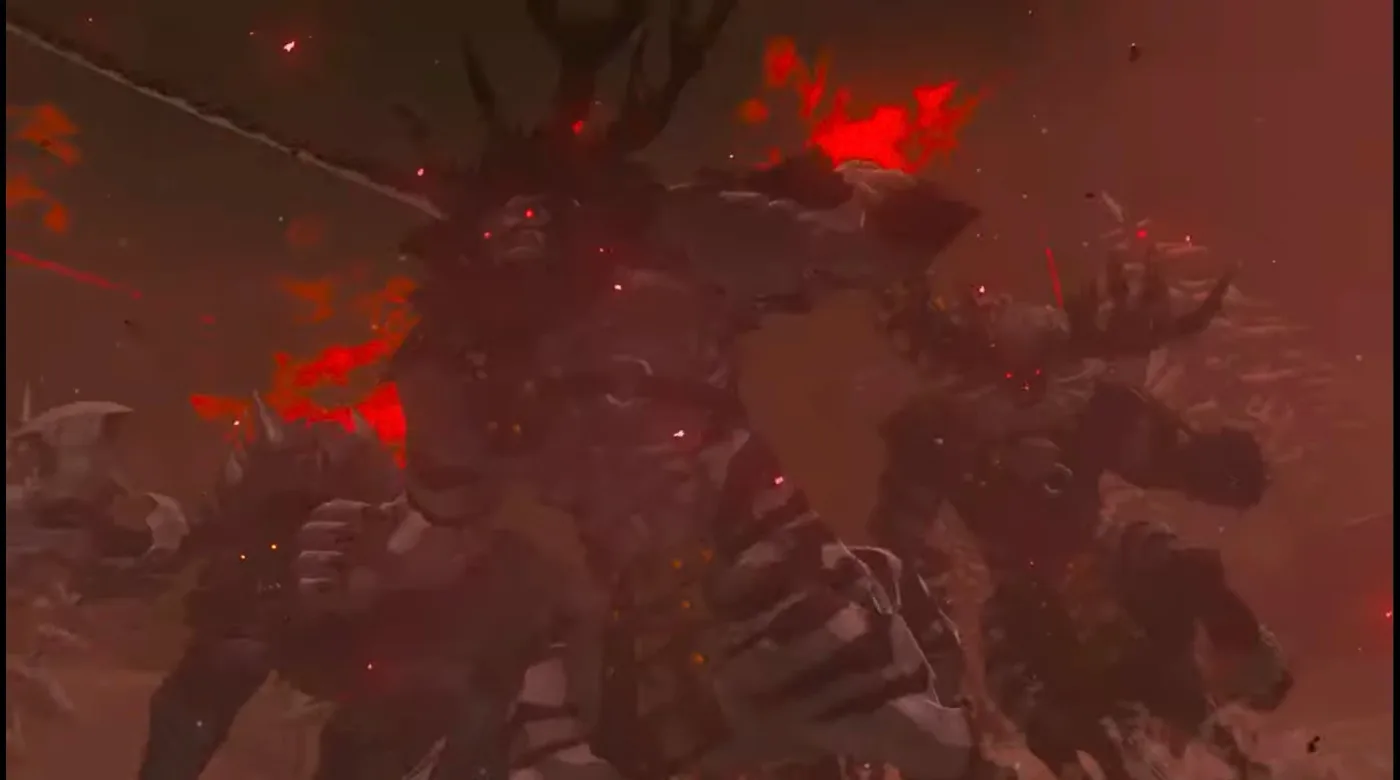
Tears of the Kingdom Lynels: All 34 Locations and HP
Breath of the Wild had 22 Lynels. Tears of the Kingdom has 34, and 19 of them are in the Depths, including every Silver Lynel on Thonky's list. There is no Monster Medal for them, so here is the full list by variant, what each one can take, what changed in the fight, and the 111 Lynel parts the Great Fairies will eventually ask you for.