Tears of the Kingdom Yiga Schematics: All 34 Locations
Each of the 34 guarded Yiga Relay Bases in the Depths keeps one Autobuild schematic in a storehouse, next to a Large Crystallized Charge. Here are all 34 bases by region with map coordinates, the seven Relay Bases that hold no schematic, and what all 46 Autobuild designs are made of and cost in zonaite.
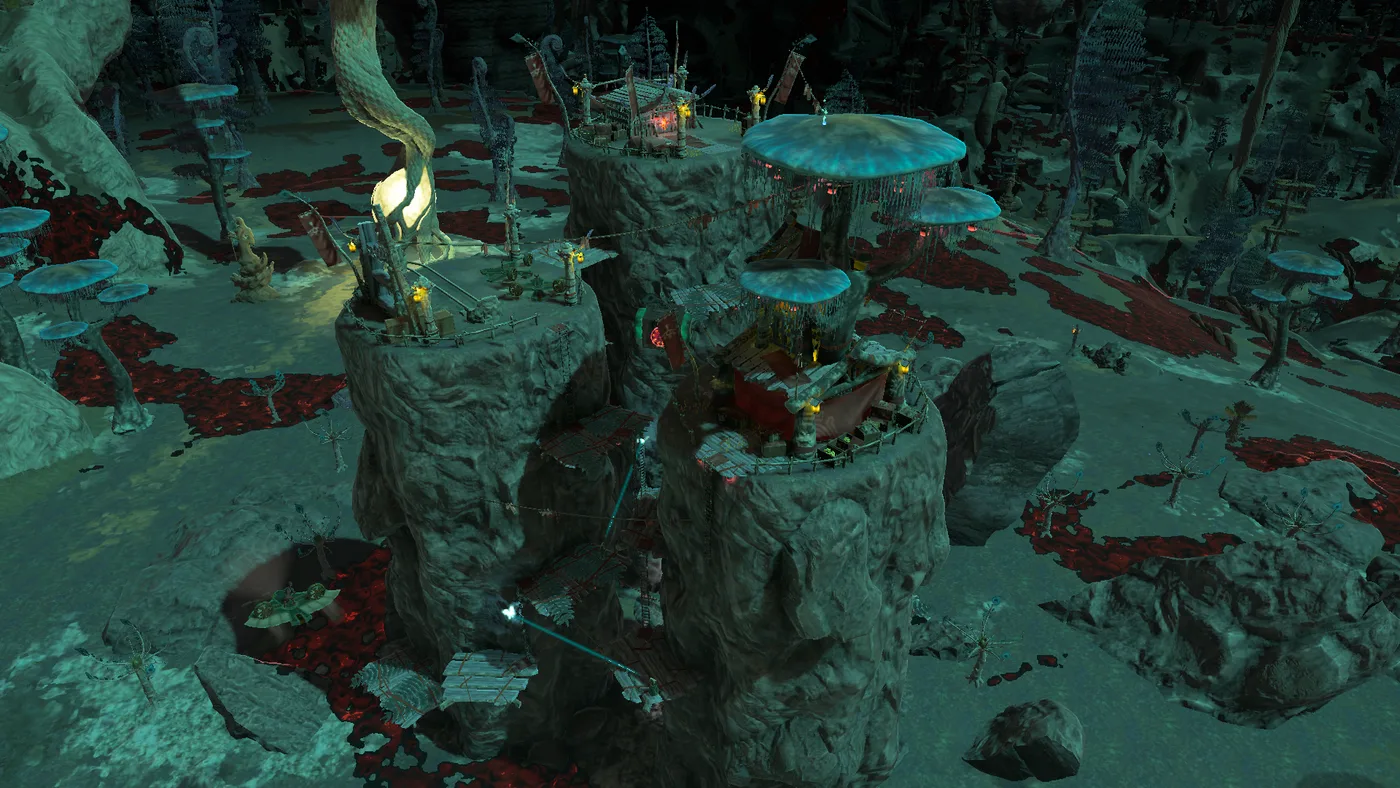
A Yiga Footsoldier drives a Tank around one of the clan's bases in the East Necluda Depths, and the blueprint for that Tank is locked in the storehouse at the same base. Zelda Wiki records the same thing at the Big Rig's base in Eldin Canyon. That is how Tears of the Kingdom hands out most of its premade Autobuild designs: 34 Yiga Schematics, one at each of 34 guarded Relay Bases, each behind a Yiga Footsoldier.
Our Ultrahand and Zonai devices guide gives the count and moves on. This guide is the map: all 34 bases by Depths region with coordinates, the seven Relay Bases that hold no schematic, and what every one of the 46 Autobuild designs is made of and costs in zonaite.
Base locations, part lists and zonaite costs come from Zelda Wiki. I checked all 34 base coordinates against the datamined object map at radar-totk.zeldamods.org. Each lands within 65 map units of a Yiga storehouse chest holding a schematic, no two bases share a chest, and a second chest sits two units from every one of them. The compass directions in the big table are recomputed from that datamine. That sharpened several of the wiki's directions and reversed one, which is flagged below.
How a Relay Base pays out
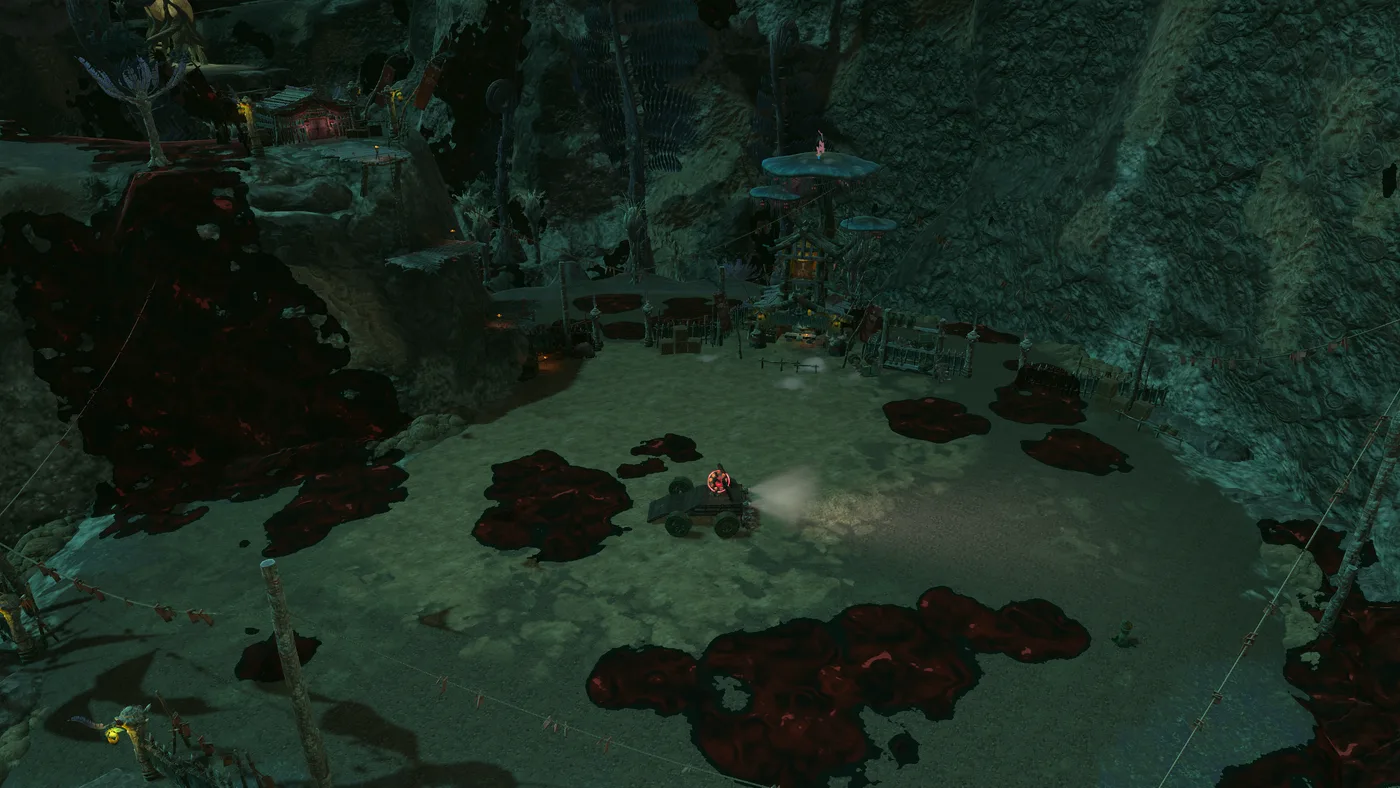
Zelda Wiki's Relay Base page describes the setup. Every guarded base is staffed by Footsoldiers driving vehicles, and one of them is assigned to keep the storehouse sealed. Beat that one and the storehouse opens. Inside are two Stone Chests: a Large Crystallized Charge and a Yiga Schematic. The datamine agrees on the pairing: every one of the 34 schematic chests has a second chest two map units away.
Three more things the wiki notes about the bases themselves:
- Some are trapped. A few bases have defences built from Zonai devices that you have to disable or get around. The Beam Turret's base in the Gerudo Desert uses a Beam Turret as part of its defences, and Beam Spinners hang above the base that holds the Beam Spinner schematic.
- Some of the vehicles are previews. Footsoldiers ride Monocycles at several bases and use Headlight Rafts around the bases built over water.
- Every base has at least one Yiga Clan Notebook. One is a construction manual telling the clan to lock its crystallized charges in the storehouse and put a single guard on it, which is exactly the setup you are breaking into.
The charges are worth the trip on their own. The game's own item text, which Zelda Wiki quotes, says a Large Crystallized Charge equals 20 normal ones. Thirty-four of them is 680 crystallized charges. A Crystal Refinery's Steward Construct wants 100 per Energy Well, so clearing every base pays for six Energy Wells with 80 charges toward a seventh, by my arithmetic. At a Forge Construct's rate of 3 zonaite per charge, that is 2,040 zonaite you do not have to mine. Our Master Kohga guide adds up the other 460 charges the Kohga chase pays.
Get Autobuild first. It is in the Great Abandoned Central Mine, which our Depths guide covers, and a schematic is an inventory item and nothing more until you have it.
All 34 Relay Bases, by Depths region
Sorted by region, as Zelda Wiki sorts them. "Map X, Y" is Zelda Wiki's coordinate for the base, in the same X and Y the in-game map shows. Every Lightroot is listed with the Shrine of Light it corresponds to on the Surface, per Zelda Wiki. The names are the same word reversed, which is how the Depths guide finds Lightroots from the surface map.
| Depths region | Schematic | Where | Map X, Y |
|---|---|---|---|
| Akkala Highlands | Wagon | West of Akinatanis Lightroot (Sinatanika Shrine) | 3637, 2295 |
| Akkala Highlands | Triple Cannon | South-southwest of Sisinatag Lightroot (Gatanisis Shrine) | 4372, 613 |
| Central Hyrule | Cargo Carrier | West of Netamnet Lightroot (Tenmaten Shrine), south-southwest of Uoyoyuik Lightroot (Kiuyoyou Shrine) | -1328, 1471 |
| Central Hyrule | Instant Kitchen | North of Crenel Canyon Mine | 1150, 632 |
| Deep Akkala | Headlight Raft | The region's northeast corner, in the middle of the leftmost lake | 4129, 3224 |
| Deep Akkala | Assault Cart | North of the Akkala House of Bones | 3265, 3697 |
| East Necluda | Liftoff Glider | Between Taran Canyon Mine and Ebon Canyon Mine | 2997, -2564 |
| East Necluda | Tank | Between Canyon of Awakening Mine and the Naydra Snowfield Chasm | 3238, -1412 |
| East Necluda | Scatter Trap | North of Bubinga Grove | 2090, -1603 |
| Eldin Canyon | Big Rig | Between Nipahsom Lightroot (Moshapin Shrine) and Anonisik Lightroot (Kisinona Shrine) | 2656, 1641 |
| Eldin Canyon | Rainmaker | Southeast of Uihcoke Lightroot (Ekochiu Shrine) | 1545, 739 |
| Eldin Mountains | Charged Charger | North-northeast of the Gleeok Den | 661, 3690 |
| Faron Grasslands | Water Freezer | Southwest of Kohsustu Lightroot (Utsushok Shrine) | 409, -3693 |
| Gerudo Desert | Raiding Plane | West of Rasinaduk Lightroot (Kudanisar Shrine) | -4506, -2163 |
| Gerudo Desert | Beam Turret | South of Amakawis Lightroot (Siwakama Shrine) | -2414, -3526 |
| Gerudo Desert | Shock Trap | Northwest of the East Gerudo Chasm | -2733, -2906 |
| Gerudo Desert | Vertical Escape | East of the Gerudo Underground Cemetery | -3302, -3777 |
| Gerudo Highlands | Fanboat | Between Umamustor Lightroot (Rotsumamu Shrine) and Kawiraus Lightroot (Suariwak Shrine) | -3092, -1572 |
| Gerudo Highlands | Monocycle | West of Faloraa Canyon Mine | -1242, -2649 |
| Gerudo Highlands | Smoke Rocket | South of Mustuto Lightroot (Otutsum Shrine) | -4491, -1003 |
| Great Hyrule Forest | Fishing Trawler | Directly below the Elma Knolls Chasm | -390, 1775 |
| Great Hyrule Forest | Aerial Cannon | Southwest of the Gleeok Den | 109, 2843 |
| Hebra Mountains | Excavator | Northeast of the Sturnida Lavafalls (see note) | -3673, 3113 |
| Hebra Mountains | Whirling Basher | North-northwest of Muihcoro Lightroot (Orochium Shrine) | -1746, 3127 |
| Hebra Mountains | Sprinkler System | East of Aduon Lightroot (Nouda Shrine) | -1908, 2143 |
| Hebra Mountains | Floodlights | West of Hebra Canyon Mine | -2868, 2881 |
| Hyrule Ridge | Three Wheeler | South of Napanos Lightroot (Sonapan Shrine) | -1862, -727 |
| Hyrule Ridge | Flamethrower Balloon | West-northwest of Rhoam Canyon Mine | -2855, 890 |
| Hyrule Ridge | Bomb Bouquet | South-southwest of Kawakanis Lightroot (Sinakawak Shrine) | -1586, 233 |
| Lanayru Great Spring | Icebreaker | Southwest of Kegopa Lightroot (Apogek Shrine) | 3627, -563 |
| Lanayru Great Spring | Super Spring | East of Takaruk Lightroot (Kurakat Shrine) | 2555, -510 |
| Tabantha Frontier | All-Purpose Raft | Southeast of Koro-nui Lightroot (Iun-orok Shrine) | -3379, 655 |
| Tabantha Frontier | Instant Scaffold (five-slab) | East of Kawakarut Lightroot (Turakawak Shrine) | -3362, -239 |
| West Necluda | Beam Spinner | Directly below the Hills of Baumer Chasm | 225, -2127 |
Where the bases cluster. Gerudo Desert and Hebra Mountains Depths hold four bases each. East Necluda, Gerudo Highlands and Hyrule Ridge hold three. Eldin Mountains, Faron Grasslands and West Necluda hold one apiece, and the other seven regions two each.
The Excavator note. Zelda Wiki puts that base northwest of the Sturnida Lavafalls. Its own coordinates for the base, set against the datamined position of the lavafalls under Sturnida Secret Hot Spring, put the base about 570 map units to the northeast. Trust the coordinates.
Two shortcuts off routes you may already be on. If you are following the statue trail to the Abandoned Gerudo Mine from our Kohga guide, the Beam Turret base is about 185 map units south of Amakawis Lightroot, one of that trail's stops. And the Floodlights base sits right beside Hebra Canyon Mine, whose gazebo chest near the bottom of the mine holds the Sea-Breeze Boomerang, per Zelda Wiki. Our untouched weapons guide has its numbers.
Seven Relay Bases with no schematic
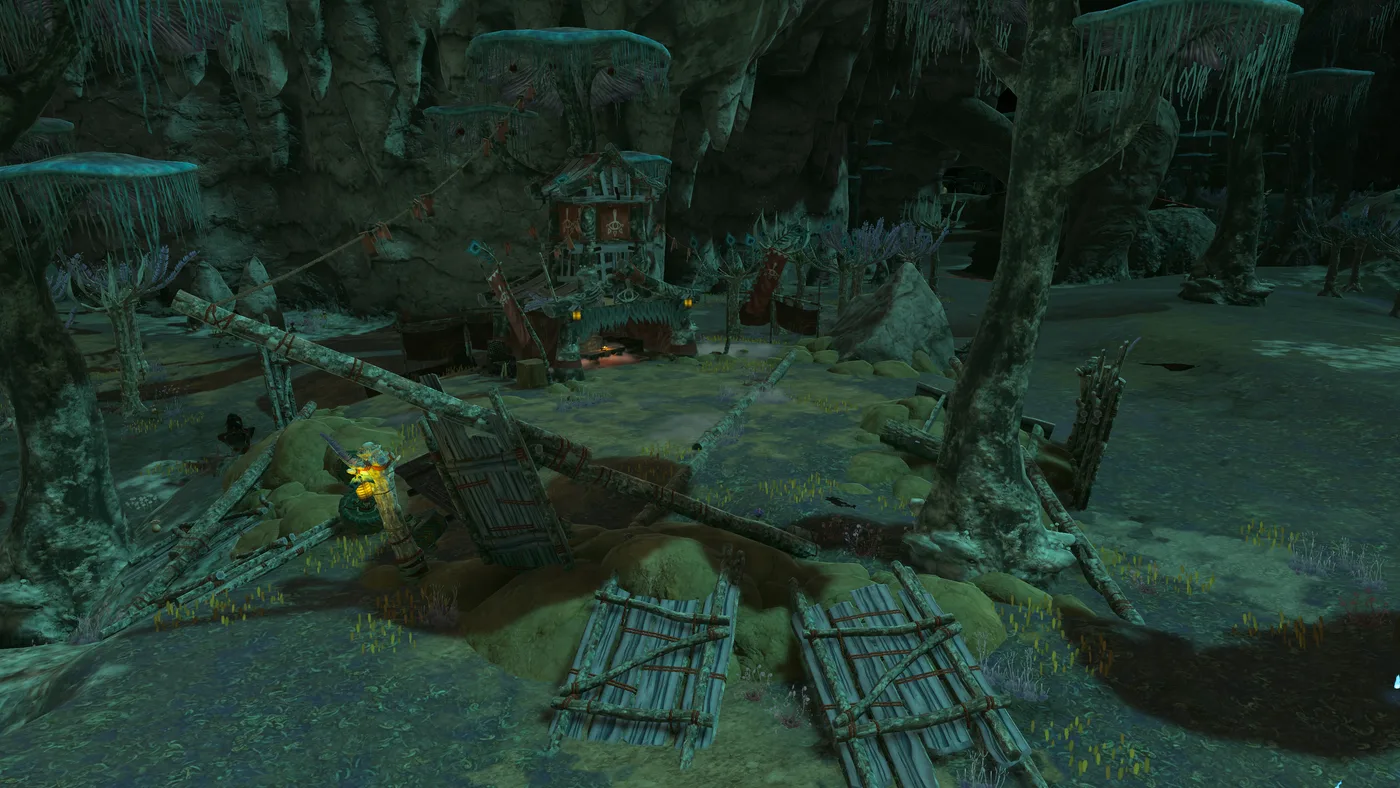
Zelda Wiki lists 41 Relay Bases. Only 34 have a storehouse worth breaking into.
The six at Abandoned Mines. The Gerudo, Hateno, Hebra, Kakariko, Lanayru and Lurelin mines each have a smaller Relay Base on site. Zelda Wiki says they are not patrolled and contain no Treasure Chests, though they have Yiga Clan Notebooks and abandoned vehicles you can use. It also warns that a Researcher often stands nearby and turns out to be a Footsoldier who attacks when you talk to him. Those mines' schematics come from Steward Constructs as Schema Stones, covered at the end of this guide.
The empty one. North of the Great Abandoned Central Mine is a run-down Relay Base with no Footsoldiers, no storehouse and no chests. The only thing left is a Tattered Notebook. What survives of its text suggests Master Kohga warned the guards something was about to happen there.
What each schematic builds, in menu order
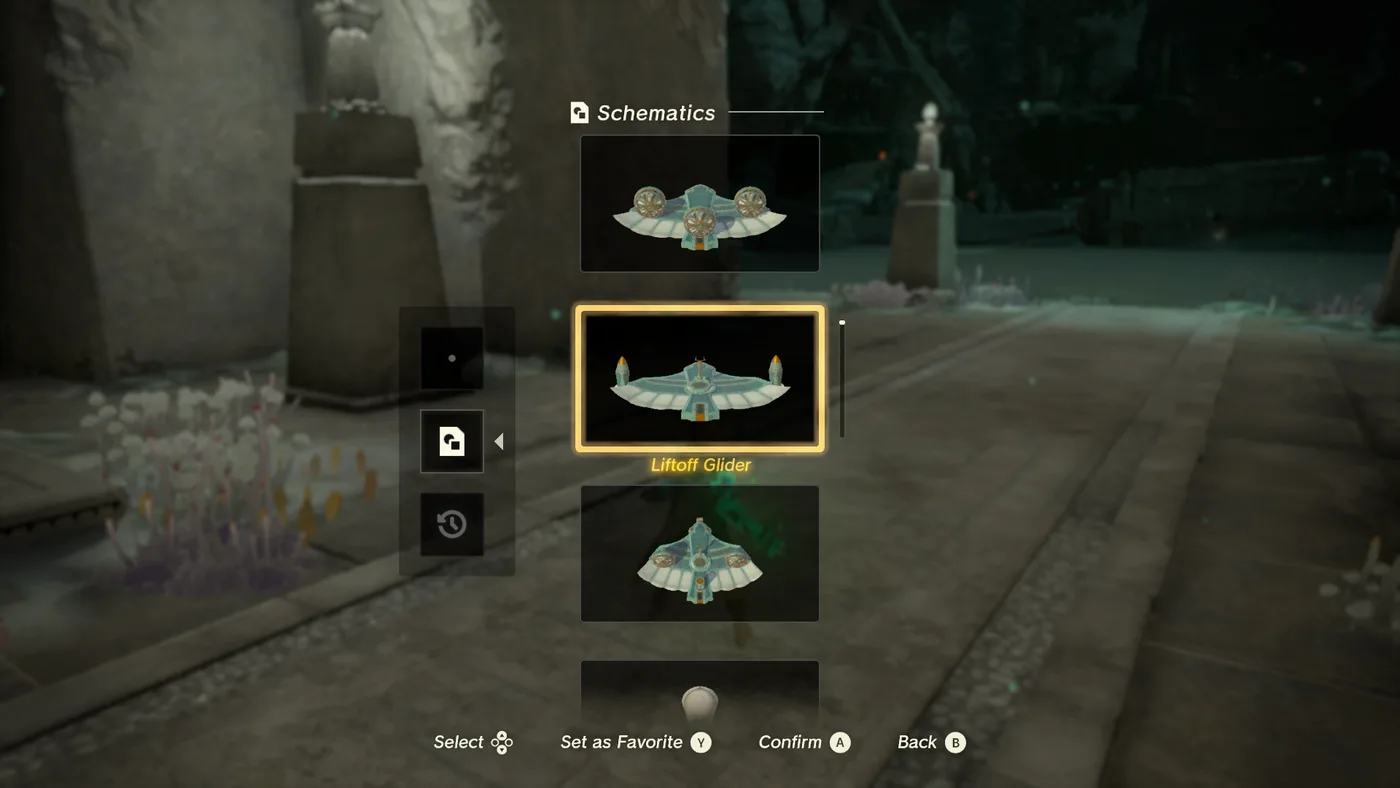
Schematics sit in their own section of the Autobuild menu, separate from the designs Autobuild remembers from your own builds, per Zelda Wiki. You can mark up to eight designs as Favorites. The list runs in a fixed order, which Zelda Wiki records, and it comes in rough blocks: aircraft first, then boats, then land vehicles, and so on. The tables below follow that order. The group names are mine, not the game's.
"Zonaite" is Zelda Wiki's figure for building the design with none of its parts nearby. "Yiga" means a Relay Base schematic, with its region. "Stone" means a Schema Stone, with where you get it.
Flying: five designs
| Schematic | From | Parts | Zonaite |
|---|---|---|---|
| Fanplane | Stone: Great Abandoned Central Mine | Wing, 3 Fans | 12 |
| Liftoff Glider | Yiga: East Necluda | Wing, Steering Stick, 2 Rockets | 12 |
| Raiding Plane | Yiga: Gerudo Desert | Wing, Steering Stick, Battery, Cart, Flame Emitter, 2 Fans | 27 |
| Hot-Air Balloon | Stone: Josha, Lookout Landing | Balloon, Basket | 6 |
| Dirigible | Stone: Abandoned Lurelin Mine | Stone Slab, 2 Balloons, 2 Flame Emitters, 2 Torches | 21 |
The Liftoff Glider is a launcher, not a plane. Zelda Wiki describes it as a way to get a Wing into the air, and its Rocket page says a Rocket burns out after a few seconds.
Water: six designs
| Schematic | From | Parts | Zonaite |
|---|---|---|---|
| Fanboat | Yiga: Gerudo Highlands | Steering Stick, 2 Fans, 2 small Boards, 1 large Board | 21 |
| Hovercraft | Stone: Abandoned Gerudo Mine | Sled, Steering Stick, Light, Fan | 15 |
| Bolt Boat | Stone: Abandoned Lanayru Mine | Sled, Board, Steering Stick, Fan, Lumber, Shock Emitter | 18 |
| Fishing Trawler | Yiga: Great Hyrule Forest | Steering Stick, Fan, 3 small Boards, 2 large Boards | 24 |
| Headlight Raft | Yiga: Deep Akkala | Raft, Steering Stick, 2 Fans, 2 Lights | 18 |
| All-Purpose Raft | Yiga: Tabantha Frontier | 2 Boards, 6 Lumber, Portable Pot, Sail | 30 |
The Headlight Raft is the one Master Kohga fights you from under Zora's Domain. The All-Purpose Raft is the second-priciest Yiga design at 30 zonaite, for ten parts: two Boards, six pieces of Lumber, a Sail and a Portable Pot.
Land: nine designs
| Schematic | From | Parts | Zonaite |
|---|---|---|---|
| Monocycle | Yiga: Gerudo Highlands | Small Wheel, Stabilizer, Steering Stick, 2 Lights | 15 |
| Beam Cycle | Stone: Shrine of Resurrection | Beam Emitter, Steering Stick, 2 Small Wheels, 2 Lumber | 18 |
| Three Wheeler | Yiga: Hyrule Ridge | 3 Big Wheels, 3 Boards, Steering Stick, Light | 21 |
| Cargo Carrier | Yiga: Central Hyrule | Steering Stick, Small Wheel, 2 Wheels, large Board, 2 Lumber | 21 |
| Big Rig | Yiga: Eldin Canyon | Unique base, 4 Big Wheels, 2 Iron Poles, Steering Stick | 24 |
| Wagon | Yiga: Akkala Highlands | A Wagon | Not listed |
| Excavator | Yiga: Hebra Mountains | Metal Plate, 3 Big Wheels, Spikes, Stabilizer, Steering Stick | 21 |
| Assault Cart | Yiga: Deep Akkala | Cart, Spikes, Steering Stick, Rocket | 12 |
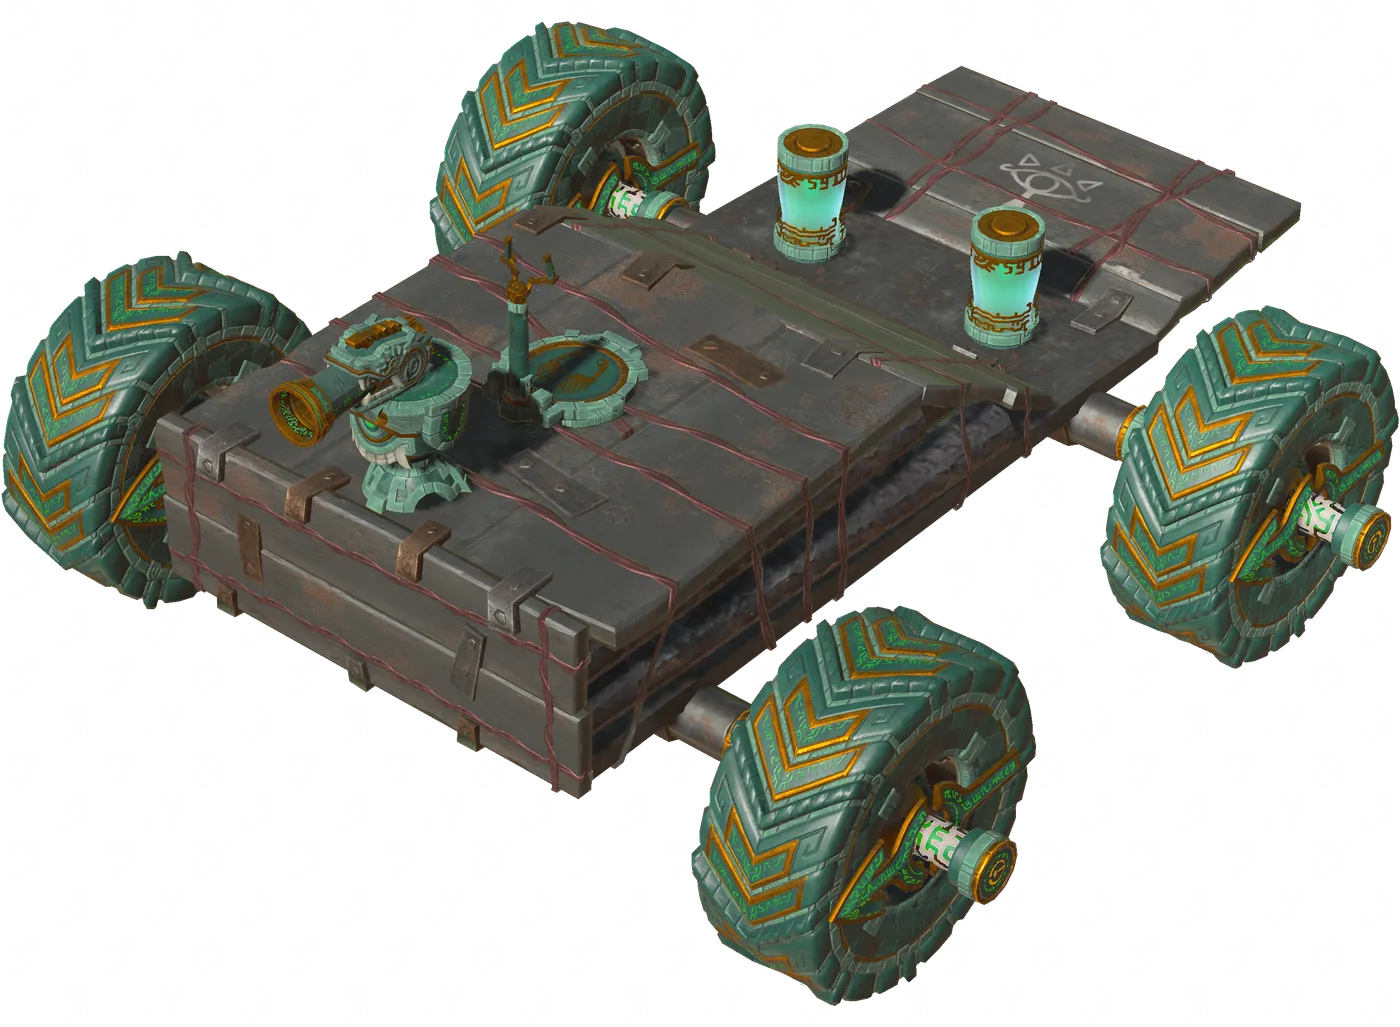
| Tank | Yiga: East Necluda | Unique base, 4 Big Wheels, 2 Batteries, Steering Stick, Construct Head, Cannon | 41 |
The Wagon is the odd one. Zelda Wiki gives no part list or zonaite figure for it, only that Wagons also turn up among the Hyrule Restoration Materials and that you can rebuild one to carry Passengers behind your horse. Zelda Wiki's Towing Harness page names Wagons as the main thing you attach to that harness, and our horse guide covers how to earn it.
Structures: five designs
| Schematic | From | Parts | Zonaite |
|---|---|---|---|
| Bridge | Stone: Abandoned Hateno Mine | 6 Stone Slabs | 18 |
| Instant Scaffold (four-slab) | Stone: Abandoned Kara Kara Mine | 4 rectangular Stone Slabs | 12 |
| Rocket Platform | Stone: Abandoned Hebra Mine | Hover Stone, Battery, Rocket | 15 |
| Instant Scaffold (five-slab) | Yiga: Tabantha Frontier | 5 square Stone Slabs, Stake | 18 |
| Instant Kitchen | Yiga: Central Hyrule | 2 Stone Slabs, 2 Boards, Stake, Portable Pot | 18 |
Two designs share the name Instant Scaffold, which is why Zelda Wiki tags the Yiga one "[2]". Both are for climbing or Ascending somewhere high.
Combat: fourteen designs
| Schematic | From | Parts | Zonaite |
|---|---|---|---|
| Automated Ally | Stone: Abandoned Eldin Mine | Homing Cart, Construct Head, Flame Emitter | 9 |
| Icebreaker | Yiga: Lanayru Great Spring | Lumber, Homing Cart, Spiked Iron Ball, Frost Emitter | 12 |
| Charged Charger | Yiga: Eldin Mountains | Homing Cart, Hydrant, Shock Emitter | 9 |
| Beam Turret | Yiga: Gerudo Desert | Stabilizer, Construct Head, Beam Emitter | 9 |
| Beam Spinner | Yiga: West Necluda | Hover Stone, Big Wheel, Beam Emitter | 9 |
| Whirling Basher | Yiga: Hebra Mountains | Stake, 2 Big Wheels, 2 Boulders | 15 |
| Flamethrower Balloon | Yiga: Hyrule Ridge | Big Wheel, Balloon, 2 Flame Emitters | 12 |
| Shock Trap | Yiga: Gerudo Desert | 4 small Metal Plates, 1 large Metal Plate, Shock Emitter | 18 |
| Bomb Bouquet | Yiga: Hyrule Ridge | 4 Bomb Flowers | 12 |
| Instant Cannon | Stone: Abandoned Tarrey Mine | Stake, 2 Cannons | 9 |
| Triple Cannon | Yiga: Akkala Highlands | Metal Plate, Iron Pole, 3 Cannons | 15 |
| Aerial Cannon | Yiga: Great Hyrule Forest | Hover Stone, Rocket, Cannon, 2 Batteries | 27 |
| Scatter Trap | Yiga: East Necluda | 2 Dazzlefruit, 3 Muddle Buds | 15 |
| Smoke Rocket | Yiga: Gerudo Highlands | Rocket, Time Bomb, Puffshroom | 9 |
This is the biggest block in the menu: 14 of the 46 designs, and 12 of the 34 Yiga ones. Zelda Wiki's descriptions of a few: the Charged Charger hunts down enemies and shocks them, with its Hydrant's spray stretching the shock's reach. The Aerial Cannon rockets into the air, hangs there and fires on its own. The Scatter Trap stuns or confuses whatever is nearby. Two of them contain no Zonai devices at all. The Bomb Bouquet is four Bomb Flowers, and the Scatter Trap is fruit and buds, which shows Autobuild will copy materials as well as devices.
Utility: seven designs
| Schematic | From | Parts | Zonaite |
|---|---|---|---|
| Launch Pad | Stone: Abandoned Kakariko Mine | Stone Slab, Board, Spring | 9 |
| Super Spring | Yiga: Lanayru Great Spring | 3 Springs, Stake | 12 |
| Vertical Escape | Yiga: Gerudo Desert | Spring, 2 Time Bombs | 9 |
| Sprinkler System | Yiga: Hebra Mountains | Stake, Iron Pole, 3 Hydrants | 15 |
| Rainmaker | Yiga: Eldin Canyon | Hover Stone, Big Wheel, Rocket, Battery, 2 Hydrants | 24 |
| Water Freezer | Yiga: Faron Grasslands | Big Wheel, Board, Lumber, 2 Frost Emitters | 15 |
| Floodlights | Yiga: Hebra Mountains | Stake, Board, 2 Lights | 12 |
Per Zelda Wiki, the Rainmaker lifts off, spins and drops water on the ground below, and the Water Freezer spins and lays sheets of ice over nearby water.
What a schematic actually costs you
The zonaite column is a worst case. Zelda Wiki says Autobuild spends zonaite only on parts it cannot find in your surroundings, and pulls in nearby objects for the rest. So drop the Zonai devices you already carry next to the spot before you build. The Tank is mostly devices: four Big Wheels, two Batteries, a Steering Stick, a Construct Head and a Cannon, plus its own base.
One catch, from Zelda Wiki: a zonaite-made part comes out a synthetic green, and it is destroyed if you detach it from the build. Pull one off to reposition it and the zonaite is gone.
Across the 33 Yiga designs with a figure, the costs run from 9 zonaite to 41:
| Zonaite with no parts nearby | Yiga Schematics |
|---|---|
| 9 | Beam Spinner, Beam Turret, Charged Charger, Smoke Rocket, Vertical Escape |
| 12 | Assault Cart, Bomb Bouquet, Flamethrower Balloon, Floodlights, Icebreaker, Liftoff Glider, Super Spring |
| 15 | Monocycle, Scatter Trap, Sprinkler System, Triple Cannon, Water Freezer, Whirling Basher |
| 18 | Headlight Raft, Instant Kitchen, Instant Scaffold (five-slab), Shock Trap |
| 21 | Cargo Carrier, Excavator, Fanboat, Three Wheeler |
| 24 | Big Rig, Fishing Trawler, Rainmaker |
| 27 | Aerial Cannon, Raiding Plane |
| 30 | All-Purpose Raft |
| 41 | Tank |
Every other figure Zelda Wiki lists, across all 45 designs that have one, is a multiple of 3. The Tank's 41 is the only exception, so treat it as approximate. The cheapest design overall is a Schema Stone, the Hot-Air Balloon at 6.
Five worth the detour
My picks, with the reasoning, if you are not going to clear all 34.
- Excavator (Hebra Mountains Depths, -3673, 3113). Zelda Wiki says driving it breaks through Hard Sediment and Ore Deposits quickly. Its Hard Sediment page says one variant, found only in the Depths, yields zonaite when broken. A vehicle that digs through the rock zonaite comes out of is my first pick of the 34.
- Monocycle (Gerudo Highlands Depths, -1242, -2649). Five parts and 15 zonaite. Zelda Wiki says the Stabilizer is mainly there to stop vehicles with fewer than three wheels falling over, which is what makes a one-wheeled bike work.
- Raiding Plane (Gerudo Desert Depths, -4506, -2163). It carries its own Battery. Zelda Wiki's Battery page says connected devices draw on a Battery before they touch your Energy Cell, so the plane spends its own power first.
- Floodlights (Hebra Mountains Depths, -2868, 2881). Two Lights on a Stake for 12 zonaite, which is a portable lamp for the dark. The base is beside Hebra Canyon Mine, so the Sea-Breeze Boomerang chest is on the same trip.
- Instant Kitchen (Central Hyrule Depths, 1150, 632). It is built around a Portable Pot. Zelda Wiki says a Portable Pot cooks without a fire, works in the rain, and makes one meal before it is used up. Our cooking guide has what to put in it.
Our ultrahand guide counted the Tank among "the fun ones". It also carries the highest zonaite figure Zelda Wiki lists for any design, so build it next to devices you have already dropped.
The other 12: Schema Stones
Schema Stones are the other way into the Schematics menu. Zelda Wiki says most come from Steward Constructs at the Abandoned Mines, which also hand you the parts to build the design on the spot. At most mines, that build helps you reach a treasure chest. A Steward Construct will not give you its stone before you have Autobuild. Until then it tells you to visit the Great Abandoned Central Mine first.
Ten of the twelve come from mine constructs: Fanplane (Great Abandoned Central), Dirigible (Lurelin), Hovercraft (Gerudo), Bolt Boat (Lanayru), Bridge (Hateno), Instant Scaffold (Kara Kara), Rocket Platform (Hebra), Automated Ally (Eldin), Instant Cannon (Tarrey) and Launch Pad (Kakariko). The four at the Kohga mines (Central, Gerudo, Lanayru and Hebra) are in our Master Kohga guide with the fights that come with them. Two come from outside the mines. Josha gives the Hot-Air Balloon stone for finishing "A Mystery in the Depths". The Beam Cycle stone comes from a Steward Construct in the Shrine of Resurrection, once you beat the Yiga Footsoldiers who have taken it over.
The Hovercraft is the one I would not skip. Zelda Wiki says it drives over water, sand and snow and crosses quicksand without sinking.
If you play the Switch 2 Edition, Autobuild Sharing in Zelda Notes turns designs into QR codes you can swap with other players. Our Switch 2 Edition guide covers it.
More Hyrule lives on the Tears of the Kingdom hub, and everything else we are playing is on the Mythras blog.
Quick Action Checklist
- 34 Yiga Schematics, one per guarded Depths Relay Base. Beat the Footsoldier guarding the storehouse and open both chests: a schematic and a Large Crystallized Charge.
- The 34 Large Crystallized Charges add up to 680 crystallized charges, enough for six Energy Wells with 80 toward a seventh.
- Get Autobuild first, from the Great Abandoned Central Mine.
- Skip the seven Relay Bases with no schematic: the six at Abandoned Mines and the run-down one north of the Great Abandoned Central Mine.
- Go by coordinates. The Excavator base is northeast of the Sturnida Lavafalls, not northwest.
- Gerudo Desert and Hebra Mountains Depths hold four bases each, the densest regions to clear in one trip.
- Drop the devices you carry before you Autobuild. Zonaite only pays for parts missing from the area, and a zonaite part breaks if you detach it.
- First picks: Excavator, Monocycle, Raiding Plane, Floodlights, Instant Kitchen.
- 12 Schema Stones make 46 designs in all. Ten come from mine Steward Constructs, one from Josha and one from the Shrine of Resurrection.
Frequently Asked Questions
How many Yiga Schematics are in Tears of the Kingdom?
How do you get a Yiga Schematic in Tears of the Kingdom?
Where is the Tank schematic in Tears of the Kingdom?
Where is the Excavator schematic in Tears of the Kingdom?
Where is the Monocycle schematic in Tears of the Kingdom?
How much zonaite does Autobuild cost in Tears of the Kingdom?
Which Relay Bases have no Yiga Schematic?
Keep Reading
- Zelda Wiki — Relay Base: all 34 Depths bases with location, coordinates and schematic, the guarded storehouse with a Large Crystallized Charge and a Yiga Schematic, traps, notebooks, the six Abandoned Mine bases with no chests, and the empty base north of the Great Abandoned Central Mine
- Zelda Wiki — Schematic: 46 schematics (12 Schema Stones, 34 Yiga Schematics) with in-game order and locations
- Zelda Wiki — Yiga Schematic: found in Relay Base chests in the Depths, 34 in total
- Zelda Wiki — Schema Stone: Steward Construct sources, the Josha and Shrine of Resurrection exceptions, and the Great Abandoned Central Mine requirement
- Zelda Wiki — Autobuild: nearby objects used first, zonaite for missing parts, green replicas destroyed when detached, up to eight Favorites
- Object Map (radar-totk.zeldamods.org) — datamined Yiga storehouse chests in the Depths: 34 holding Yiga Schematics, each two units from a second chest
- Zelda Wiki — Large Crystallized Charge: equal to 20 normal crystallized charges
- Zelda Wiki — Crystallized Charge: one costs three Zonaite at a Forge Construct
- Zelda Wiki — Big Rig: a Yiga Footsoldier drives one at the Relay Base holding its schematic
- Zelda Wiki — Headlight Raft: Footsoldiers use them around Relay Bases over water; Master Kohga uses them at the Abandoned Lanayru Mine
- Zelda Wiki — Beam Turret: its Relay Base uses one as part of its defenses
- Zelda Wiki — Beam Spinner: Beam Spinners are found above the Relay Base holding its schematic
- Zelda Wiki — Crystal Refinery: 100 crystallized charges per Energy Well
- Zelda Wiki — Lightroot: each corresponds to a Shrine of Light whose name is its own reversed
- Zelda Wiki — Tank: parts, 41 zonaite, and the Footsoldier driving one at its Relay Base
- Zelda Wiki — Excavator: parts, 21 zonaite, breaks Hard Sediment and Ore Deposits, placed northwest of the Sturnida Lavafalls
- Object Map (radar-totk.zeldamods.org) — datamined position of the Sturnida Lavafalls in the Hebra Mountains Depths
- Zelda Wiki — Hard Sediment: the zonaite variant appears only in the Depths and yields zonaite
- Zelda Wiki — Monocycle: parts, 15 zonaite, and Footsoldiers riding Monocycles at several Relay Bases
- Zelda Wiki — Stabilizer: keeps vehicles with fewer than three wheels upright
- Zelda Wiki — Rocket: powerful thrust that burns out after a few seconds
- Zelda Wiki — Towing Harness: an attachment point for Wagons and similar cargo on Link's horse
- Zelda Wiki — Raiding Plane: parts including a Battery, 27 zonaite
- Zelda Wiki — Battery: connected devices use a Battery's energy before the Energy Cell
- Zelda Wiki — Floodlights: Stake, Board and two Lights, 12 zonaite, Relay Base near the Hebra Canyon Mine
- Zelda Wiki — Hebra Canyon Mine: the Relay Base to its west and the Sea-Breeze Boomerang chest in the gazebo
- Zelda Wiki — Instant Kitchen: two Stone Slabs, two Boards, a Stake and a Portable Pot, 18 zonaite
- Zelda Wiki — Portable Pot: cooks one meal anywhere, without fire and in the rain
- Zelda Wiki — Hovercraft: drives over water, sand and snow and crosses quicksand
- Zelda Wiki — Beam Cycle: Schema Stone from the Shrine of Resurrection Steward Construct after defeating the Yiga Footsoldiers there
- Zelda Wiki — Wagon: Hyrule Restoration Material, horse-drawn passenger cart, Yiga Schematic west of Akinatanis Lightroot
- Zelda Wiki — Instant Scaffold: the four-slab Schema Stone version and the five-slab Yiga version
Related Guides
Tears of the Kingdom Master Kohga: All Four Mine Fights
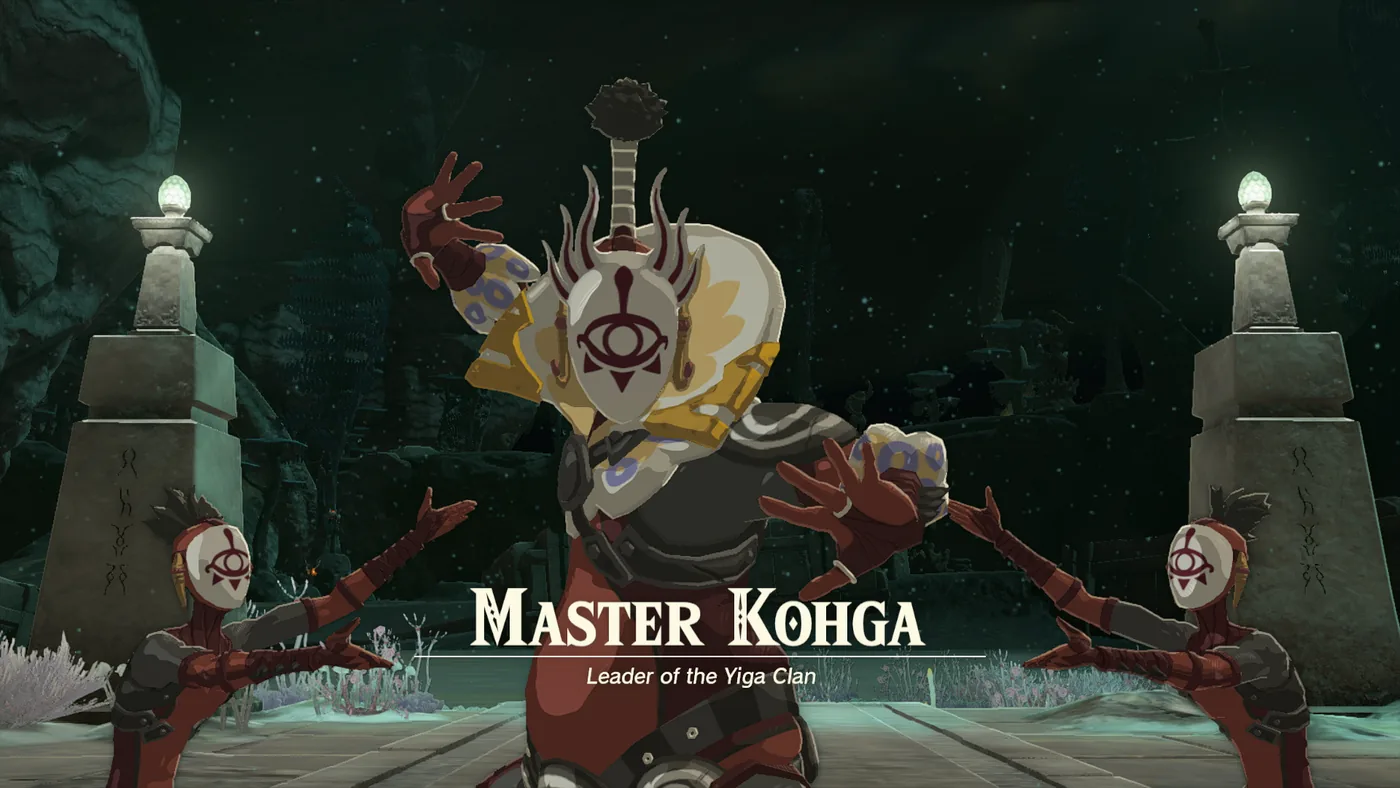
The two researchers who watch you get Autobuild are Yiga, and their boss wants it back. That fight at the Great Abandoned Central Mine is only the first of four. Here is how to reach each Abandoned Mine Master Kohga runs to, how to knock him off each of his four vehicles, and what the whole chase pays.
Tears of the Kingdom Lynels: All 34 Locations and HP
Breath of the Wild had 22 Lynels. Tears of the Kingdom has 34, and 19 of them are in the Depths, including every Silver Lynel on Thonky's list. There is no Monster Medal for them, so here is the full list by variant, what each one can take, what changed in the fight, and the 111 Lynel parts the Great Fairies will eventually ask you for.
Tears of the Kingdom Depths Guide: Lightroots, Poes, and What Is Actually Down There
The Depths has no towers, no weather, and no landmarks you can see past twenty feet. It also has a complete map you already filled in on the surface without realizing it. Here is how to read it, what gloom actually does to your hearts, and every reason to be down there in the first place.
Tears of the Kingdom Best Armor: Sets Worth Upgrading
Tears of the Kingdom locks every armor upgrade behind a band of missing musicians and then charges you rupees on top of materials. Here is which sets are worth that toll and which ones you can leave in the pouch.
Tears of the Kingdom Beginner Guide: Great Sky Island and Your First 10 Hours
Tears of the Kingdom hands you four abilities in two hours and then refuses to explain how they interact. Here is what the Great Sky Island is actually teaching, what it skips, and the systems that decide whether hour ten feels powerful or exhausting.
Tears of the Kingdom Ultrahand and Zonai Devices Guide: Building Things That Work
Ultrahand caps you at 21 parts, most powered Zonai devices run 30 minutes, and one Energy Well costs 300 zonaite. Here is the actual ruleset behind Tears of the Kingdom's building system, with the numbers the game never puts on screen.