Tears of the Kingdom Purah Pad Upgrades and the Compendium
The Purah Pad you take off a Steward Construct is missing half its features. The Camera and Hyrule Compendium wait on a Main Quest in the Depths, and the Sensor, Sensor +, Hero's Path Mode and three Travel Medallions come one Side Adventure at a time from Robbie. Here is what unlocks each one, what Robbie charges for Compendium pictures, and which boss entries have no rematch, so they are best photographed mid-fight.
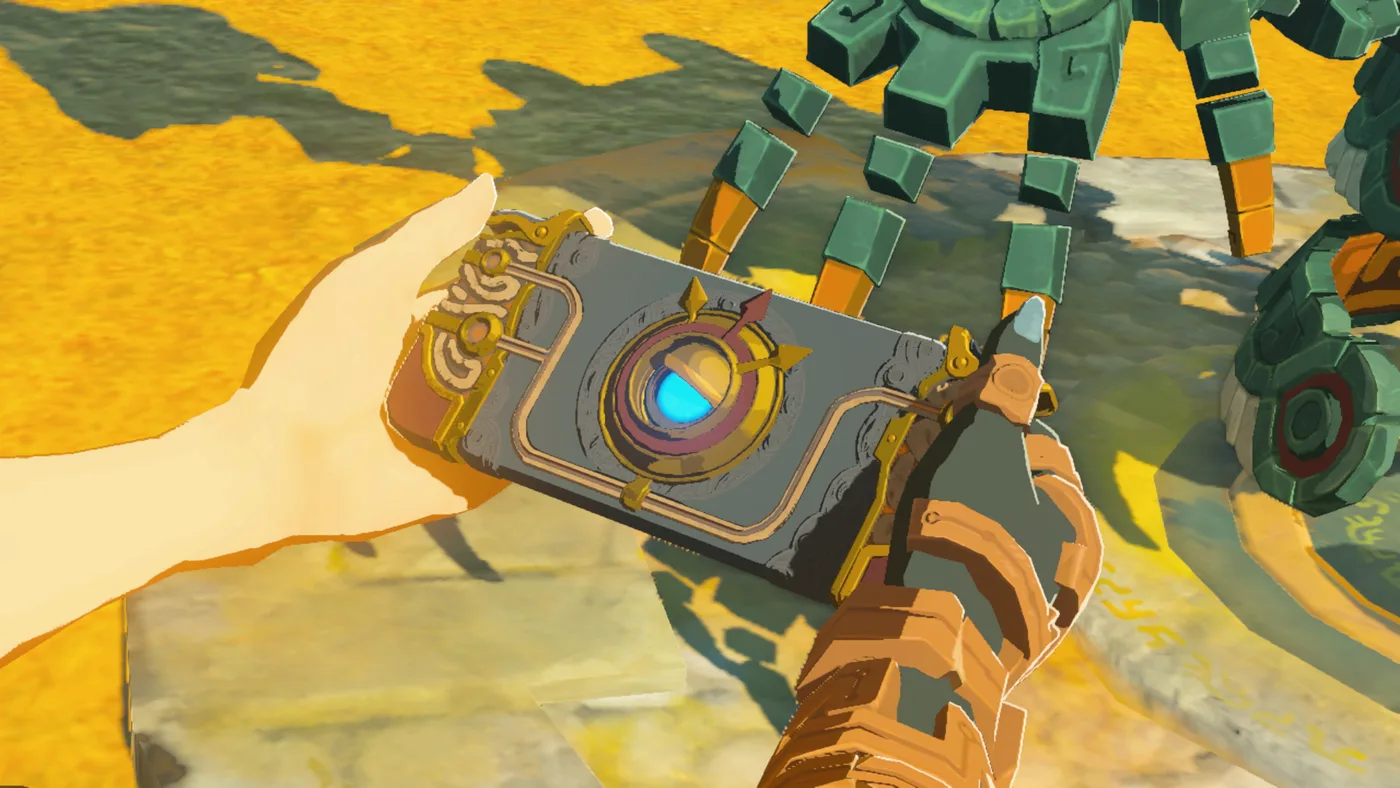
The Purah Pad a Steward Construct hands you on the Great Sky Island is not finished. Open its Camera or Hyrule Compendium and the screen says the feature is not yet available, and it stays that way until a Main Quest in the Depths. The Sensor, Sensor +, Hero's Path Mode and the Travel Medallion come later still, one Side Adventure at a time, from Robbie's lab outside Hateno Village.
The order matters, two of those upgrades want a good chunk of the map explored first, and the Compendium they all feed has 509 entries. Robbie will sell you the ones you miss, at 100 rupees a picture. This guide covers the whole chain: what unlocks each feature, what each one asks for, what filling the Compendium costs, and which boss entries have no rematch, so they are best photographed mid-fight. Quest steps and in-game text come from Zelda Wiki. Its Tears of the Kingdom pages for several of these quests are still stubs, so Thonky, GamerGuides, Game8 and GameWith fill specific gaps, and each is credited where it is used.
Every upgrade and what it asks for
| Feature | Quest | Given by | What it asks for |
|---|---|---|---|
| Camera and Hyrule Compendium | "Camera Work in the Depths" (Main Quest) | Josha, Lookout Landing | Photograph a Statue That Points the Way at Iayusus Lightroot |
| Sensor | "Hateno Village Research Lab" | Robbie, Lookout Landing | Finish "A Mystery in the Depths", then find the shrine below his lab |
| Travel Medallion, first | "Presenting: The Travel Medallion!" | Robbie, Hateno Ancient Tech Lab | Bring back the prototype from the Akkala Ancient Tech Lab |
| Travel Medallions, second and third | Same quest | Robbie | Map 10 regions, then 15 |
| Hero's Path Mode | "Presenting: Hero's Path Mode!" | Robbie | Data from 15 shrine locations |
| Sensor + | "Presenting: Sensor +!" | Robbie | Register five kinds of monster |
| Picture shop | "Filling Out the Compendium" | Robbie's database machine | Opens after Sensor + |
Finish all three "Presenting" quests and Robbie declares the Purah Pad perfect, then extends the verdict to you, per the line Zelda Wiki quotes.
Camera Work in the Depths unlocks the camera
Josha's Main Quest opens once you have started "Regional Phenomena." She wants to go down a chasm herself to look for more of the figure pictured on a slate fragment the Zonai Survey Team brought up. Robbie won't let her, and volunteers to go instead with you as his bodyguard. Josha hands you 10 Brightbloom Seeds and five arrows before you leave.
The route, per Zelda Wiki: drop into the Hyrule Field Chasm south of Lookout Landing, where Ponnick is waiting at the bottom having lost track of Robbie. A note at Nisoij Lightroot sends you west to Iayusus Lightroot, where Robbie is waiting by a campfire near a Statue That Points the Way. He asks for the Pad, finds the Camera and the Compendium both locked, and unlocks them. Photograph the statue, show the picture to Josha back at Lookout Landing, and she pays you five Zonaite.
Two things to know. The Compendium switches on at the same moment as the Camera, so any creature, monster, material, piece of equipment or treasure you photograph from then on registers, per the "Filling Out the Compendium" Adventure Log text. And if you are playing a cartridge that has never been updated, patch it first: Nintendo's Ver. 1.1.2 notes list a fix for this quest, where players could not progress beyond a certain point.
The statue also sets up the next Main Quest. Once you have cleared one temple, Josha's "A Mystery in the Depths" sends you along a chain of these statues to Autobuild and the first Master Kohga fight, which our Master Kohga guide covers.
Robbie moves to Hateno, and the Sensor comes first
Zelda Wiki puts the trigger in one sentence: once you have finished one of the four "Regional Phenomena" quests and repaired Robbie's Hot-Air Balloon during "A Mystery in the Depths", Robbie goes back to the Hateno Ancient Tech Lab. The Adventure Log calls it the Purah Pad Research Lab. It is on the hill past Hateno Village, at the edge of East Necluda.
Talk to him at Lookout Landing first to start "Hateno Village Research Lab," then meet him at the lab. He installs the Sensor, which Zelda Wiki says beeps louder as you move toward a nearby Shrine of Light and tells you when the shrine is directly above or below you. His test target is Mayahisik Shrine, inside Retsam Forest Cave at the bottom of the hill. Thonky puts the cave's north entrance at 3750, -2028, 0191. It is a Rauru's Blessing shrine with a Magic Scepter in its chest, per Zelda Wiki, and one of the underground Necluda blessings our shrines guide counts. Report back and Robbie offers three more upgrades.
The three Presenting quests
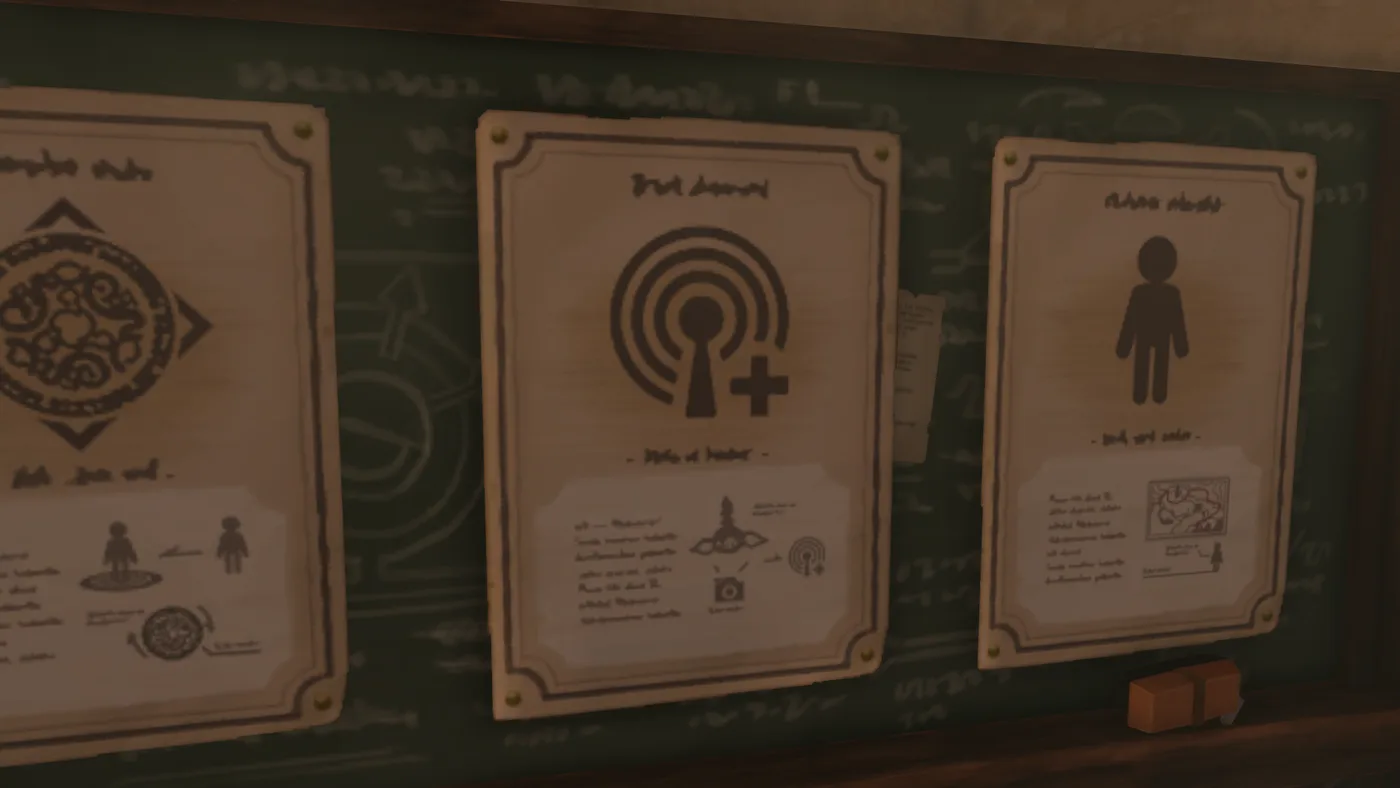
All three come from Robbie and can run in parallel. Thonky notes that Robbie puts up a poster of instructions as upgrades go in, and the screenshot above shows three of them pinned to the lab's chalkboard.
Travel Medallion: a Yiga-guarded chest in Akkala
Ask about this one first. Thonky notes that doing so adds the Hateno lab as a warp point, and Zelda Wiki quotes Robbie saying he has activated a travel gate outside the lab. Every later trip back to him is then one warp.
Robbie left the prototype at the Akkala Ancient Tech Lab, and the Adventure Log passes on a rumour that the lab has been taken over by intruders. Jochi-iu Shrine sits between East Akkala Stable and the lab, per Zelda Wiki, and GamerGuides calls it the closest warp. At the door a Yiga Footsoldier and a Yiga Blademaster stop you. Beat both and go in.
Inside is Konba, whom Zelda Wiki lists as one of three Cece fans the Yiga Clan kidnapped and forced to sew for them. He hands you the Yiga Armor he was making and mentions that the full Yiga Clan Attire lets you blend in with the clan. That chest piece is one of the three you need for the Side Adventure "Infiltrating the Yiga Clan", and it is the same disguise our paraglider fabrics guide needs for the Yiga Fabric from Yiga Clan Training. The prototype is in a chest beside Robbie's desk there, in Robbie's own words as Zelda Wiki quotes them.
Back at Hateno, Robbie finishes it. The Travel Medallion is a Key Item, and its description says you place it by opening your inventory and registering your current location as a travel gate.
The quest is not over when you get the first one. The Adventure Log text, which Zelda Wiki reproduces, lays out the rest:
| Travel Medallions | Unlocks when |
|---|---|
| 1 | You bring Robbie the prototype |
| 2 | 10 regions have been mapped |
| 3 | 15 regions have been mapped |
Zelda Wiki counts 15 Skyview Towers, and GamerGuides reads "regions mapped" as towers activated, so the third medallion means activating all 15. In Breath of the Wild the Travel Medallion was DLC, from The Master Trials, and held one location, per Zelda Wiki. Three portable warp points in a game with a sky layer and a Depths layer is the upgrade I would chase first.
Hero's Path Mode: 15 shrines of data
Robbie wants "data from 15 shrine locations." Thonky reads that as visiting at least 15 shrines. Once it is installed, the game's prompt tells you to press X on the map screen to see your journey's path so far.
That sounds like a novelty, and for a completionist it is the opposite. Turn it on during a Korok or cave sweep and the gaps in your path are the parts of a region you have never walked through.
Sensor +: five monsters, then it finds anything
Robbie needs "data from five types of monsters". Thonky's version is to photograph five different monsters and come back. Sensor + then pinpoints anything registered in your Hyrule Compendium. In the Compendium screen, "Target with Sensor" sits on the Y button, visible in the screenshot below.
The catch is the word registered. Sensor + only finds things you have already photographed or bought. One picture of a Luminous Stone Deposit turns it into a finder for the rest, which matters if you are feeding Dondons as our rupee guide describes.
The Compendium is 509 entries in five tabs
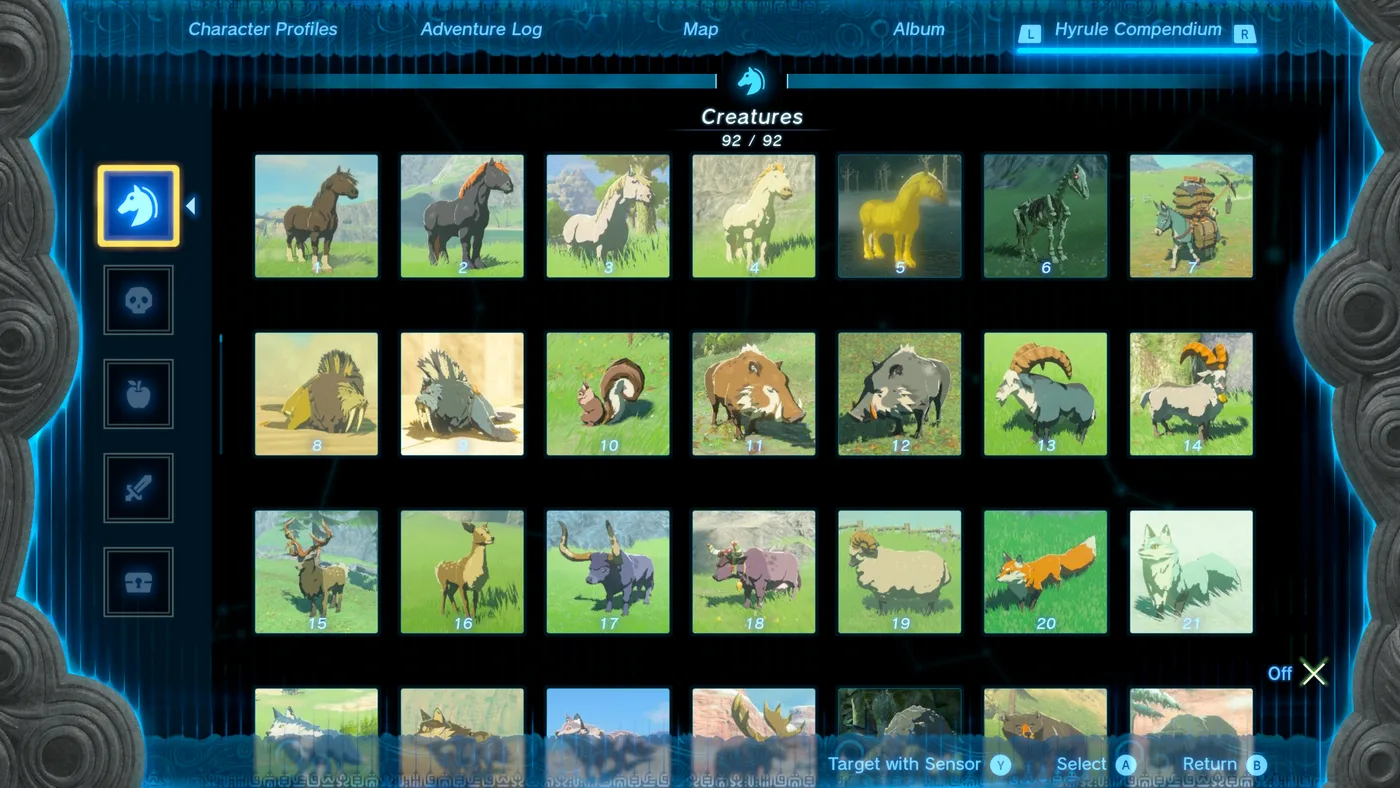
Zelda Wiki counts 509 entries. Counting its list by tab gives this:
| Tab | Numbers | Entries |
|---|---|---|
| Creatures | 001 to 092 | 92 |
| Monsters | 093 to 202 | 110 |
| Materials | 203 to 328 | 126 |
| Equipment | 329 to 503 | 175 |
| Treasure | 504 to 509 | 6 |
| Total | 509 |
Equipment is over a third of the book. It opens with the Master Sword at 329 and runs through the weapons, the Arrow at 440, the 30 bows at 441 to 470 and the 33 shields at 471 to 503, which our bows and shields guides list in full. Treasure is the smallest tab at six: Treasure Chest, Ore Deposit, Rare Ore Deposit, Luminous Stone Deposit, Zonaite Deposit and Well. The Monsters tab ends with the four dragons and the story bosses, 188 to 202.
Finishing all 509 earns Robbie's Fabric, the reward our paraglider fabrics guide lists among its four collection fabrics. If you finished the last game's version, our Breath of the Wild Compendium guide covers how Symin ran the same shop there.
Robbie sells the gaps at 100 rupees a picture
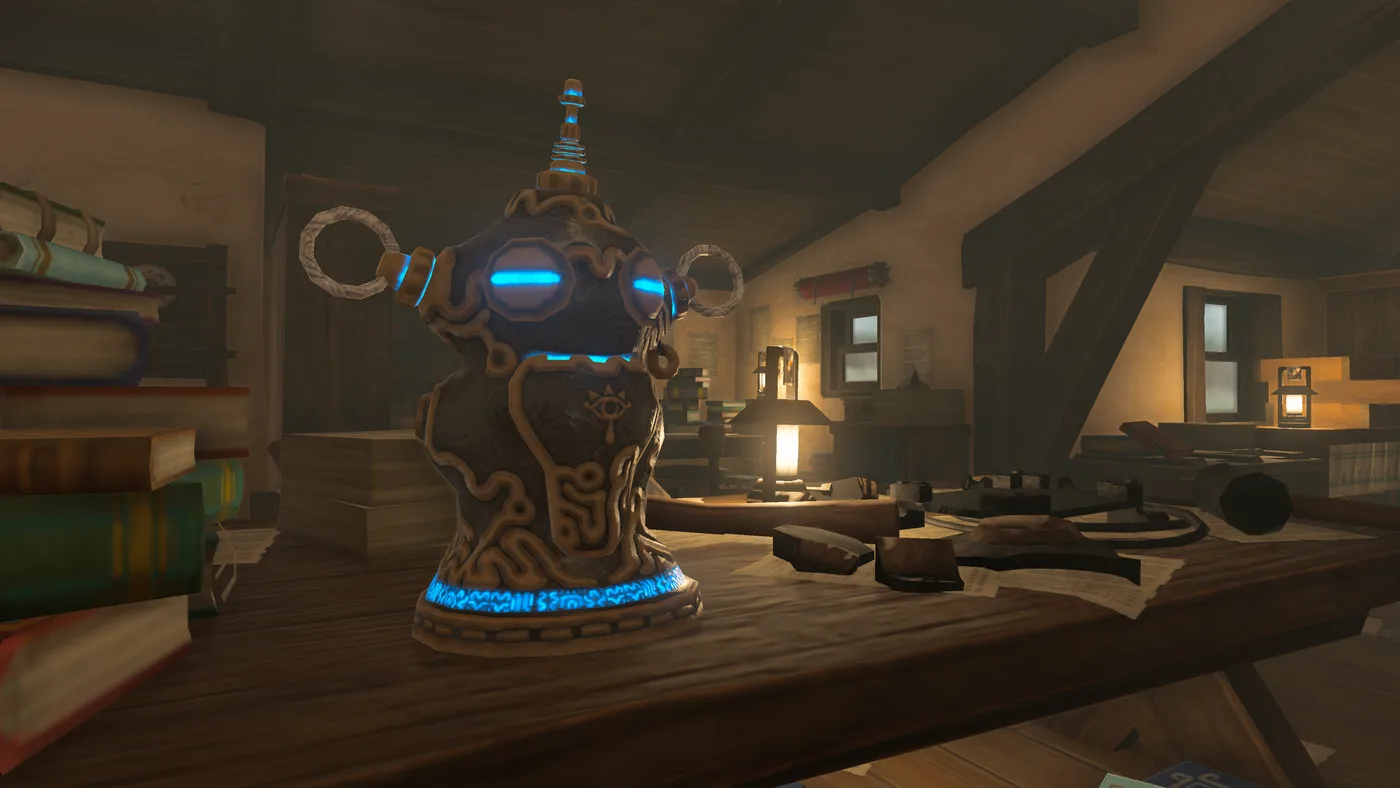
Once Sensor + is installed, Thonky says, checking the compendium database machine on the lab table starts "Filling Out the Compendium." Robbie says his collection is complete and offers to sell you pictures to fill the gaps in yours. Zelda Wiki's price list for his stock:
| Picture | What the item text says it shows | Price |
|---|---|---|
| Fauna Picture | An animal, bird, fish or insect | 100 |
| Enemy Picture | A monster found throughout Hyrule | 100 |
| Material Picture | A cooking ingredient, such as an apple or mushroom | 100 |
| Weapon Picture | A battle-tested weapon, such as a sword, spear or bow | 100 |
| Other Picture | An exciting subject, such as a treasure chest or ore | 100 |
| Elite Enemy Picture | A powerful monster that at one time stood in your way | 500 |
You choose the category and Robbie chooses the picture. Game8 says he picks from whatever is missing in that category, so you cannot buy one specific entry while other gaps in the same tab are open. Buy when a tab is down to entries you cannot be bothered to hunt, not before.
What buying everything costs. Sensor + needs five monsters you photographed yourself, so a buy-everything run is at most 504 pictures. At 100 rupees each that is 50,400 rupees by my arithmetic, plus 400 more for every one that is an Elite Enemy Picture. GameWith's own estimate for the whole job is about 60,000. For scale, our rupee guide totals 79,800 rupees of Great Fairy fees to take every upgradable armor piece to four stars.
The Elite pictures are the boss shelf. Zelda Wiki prices them but does not yet list which Tears of the Kingdom entries count as Elite. GameWith says the 500-rupee pictures of certain powerful enemies and bosses become available after you have defeated them, under a heading that reads "Some Can Be Purchased After Clearing". The item text points the same way: a monster that at one time stood in your way.
Boss entries to photograph mid-fight
Blood Moons bring ordinary monsters back, per Zelda Wiki, so a missed photo of a Bokoblin just means finding another Bokoblin. A handful of boss entries have no rematch arena, and these are the ones to shoot during the fight rather than pay 500 for later.
| No. | Entry | Where you fight it | Note |
|---|---|---|---|
| 165 | Master Kohga | Four Abandoned Mines in the Depths | Four fights, no rematch |
| 192 | Moragia | Death Mountain summit, during "Yunobo of Goron City" | No rematch |
| 194 | Sludge Like | Mipha Court, during "Sidon of the Zora" | No rematch; one placement in the datamined map |
| 197 | Seized Construct | Spirit Temple | No Depths rematch |
Zelda Wiki's Seized Construct page names it as one of the few Tears of the Kingdom bosses Link cannot rematch, and names the Sludge Like, Master Kohga and Moragia among the other examples. Our Master Kohga guide has his four fights. Zelda Wiki describes Moragia's fight at the top of Death Mountain and the Sludge Like that ambushes you and Sidon at Mipha Court, and the datamined object map at radar-totk.zeldamods.org has exactly one Sludge Like placement, in Upland Zorana. The Seized Construct does get a second copy at Gloom's Lair during the final war, but Zelda Wiki says that if Mineru already has her Secret Stone, she deals with it herself.
The other four temple bosses are safe. Zelda Wiki's Boss Rematch page lists 12 arenas in the Depths, three each for Colgera, Marbled Gohma, Mucktorok and Queen Gibdo, and each one stays empty until you have beaten that boss once. Phantom Ganon is safe too: Zelda Wiki says one appears wherever you finish off a Gloom Spawn.
So is the final battle, even though it has no rematch arena. After the credits, PowerPyx says your last save carries a star and loading it puts you back before the final boss, so both Demon King Ganondorf entries (199 and 200, one per form) and the Demon Dragon (201) can be photographed on a second run. Zelda Wiki adds that a Demon Dragon photo is added to the Compendium and stays in the Album after the ending. Our boss guide covers the final-battle forms.
Entries you can log without a hunt
- The sages' weapons. Zelda Wiki notes that photographing a Sage Avatar's weapon registers it, even though the avatar is translucent. That covers the Boulder Breaker, the Lightscale Trident, the Scimitar of the Seven and Tulin's bow, as our sages guide points out.
- The dragons. Dinraal, Naydra, Farosh and the Light Dragon are entries 188 to 190 and 202, and all four are out flying their routes. Our Master Sword guide has the Light Dragon's.
- The Treasure tab. Six entries: a Treasure Chest, three kinds of ore deposit, the Zonaite Deposit and a Well. Our cave guide counts 58 wells, and the Zonaite Deposit comes on your first proper Depths run.
One map note while you are in the Purah Pad menus: Zelda Wiki says the map holds up to 6 pins and 300 stamps. Nintendo's Ver. 1.2.1 notes fixed an issue that sometimes made the screen flicker intensely when large numbers of stamps were placed, so stamp freely on a patched game.
More Hyrule lives on the Tears of the Kingdom hub, the opening hours are in our beginner guide, and everything else we are playing is on the Mythras blog.
Quick Action Checklist
- Start "Camera Work in the Depths" as soon as "Regional Phenomena" begins. Photograph the statue at Iayusus Lightroot. The Camera and the Compendium unlock together.
- Clear one temple and "A Mystery in the Depths", then talk to Robbie at Lookout Landing to start "Hateno Village Research Lab."
- Sensor: find Mayahisik Shrine in Retsam Forest Cave below the Hateno lab.
- Ask about the Travel Medallion first. It adds a warp point at the lab. The prototype is in the Akkala Ancient Tech Lab behind a Yiga Footsoldier and Blademaster, and Konba inside gives you the Yiga Armor.
- Travel Medallions two and three unlock at 10 and 15 mapped regions. There are 15 Skyview Towers.
- Hero's Path Mode needs data from 15 shrines. Sensor + needs five monsters in the Compendium.
- Robbie's pictures cost 100 rupees, or 500 for Elite Enemy Pictures, and he picks which entry within the category. Buying everything after Sensor + is at least 50,400 rupees.
- Photograph Master Kohga, Moragia, the Sludge Like and the Seized Construct during their fights. The other four temple bosses can be rematched in the Depths, and the post-credits save puts you back before the final boss for Ganondorf and the Demon Dragon.
- Photograph Sage Avatar weapons to register the Boulder Breaker, Lightscale Trident, Scimitar of the Seven and Tulin's bow.
- All 509 entries earn Robbie's Fabric.
Frequently Asked Questions
How do you unlock the camera in Tears of the Kingdom?
How do you get the Travel Medallion in Tears of the Kingdom?
How many Travel Medallions can you have in Tears of the Kingdom?
How do you get Sensor + in Tears of the Kingdom?
Can you buy Hyrule Compendium pictures in Tears of the Kingdom?
How many entries are in the Tears of the Kingdom Hyrule Compendium?
Which Hyrule Compendium entries are missable in Tears of the Kingdom?
Keep Reading
- Zelda Wiki — Purah Pad: Camera and Compendium locked until "Camera Work in the Depths", Robbie's move to Hateno, the Sensor, the three "Presenting" Side Adventures, Robbie's "perfect" line, and the 6-pin, 300-stamp map
- Zelda Wiki — Camera Work in the Depths: Josha's slate, 10 Brightbloom Seeds and five arrows, the Hyrule Field Chasm, Nisoij and Iayusus Lightroots, the Statue That Points the Way, and the five-Zonaite reward
- Zelda Wiki — Hateno Ancient Tech Lab: Robbie returns after one Regional Phenomena quest and the balloon repair, his picture wares at 100 rupees and Elite Enemy Pictures at 500, and his offer to sell the gaps
- Zelda Wiki — Hateno Village Research Lab: the Sensor installed at the Purah Pad Research Lab and the shrine down the slope
- Zelda Wiki — Sensor: beeps louder when moving toward a nearby Shrine of Light and shows whether it is above or below
- Zelda Wiki — Mayahisik Shrine: a Rauru's Blessing shrine in Retsam Forest Cave with a Magic Scepter chest
- Zelda Wiki — Presenting: The Travel Medallion!: the Adventure Log text, the prototype at the Akkala Ancient Tech Lab, and the second and third medallions at 10 and 15 mapped regions
- Zelda Wiki — Travel Medallion: the Tears of the Kingdom item text, and the one-location Breath of the Wild version from The Master Trials
- Zelda Wiki — Travel Gate: Robbie activates a travel gate outside the Hateno lab and says the prototype is in a chest beside his desk in Akkala
- Zelda Wiki — Konba: held in the Akkala Ancient Tech Lab with a Yiga Footsoldier and Blademaster, he gives Link the Yiga Armor for "Infiltrating the Yiga Clan"
- Zelda Wiki — Jochi-iu Shrine: between East Akkala Stable and the Akkala Ancient Tech Lab
- Zelda Wiki — Skyview Tower: 15 towers across Hyrule
- Zelda Wiki — Presenting: Hero's Path Mode!: data from 15 shrine locations
- Zelda Wiki — Hero's Path Mode: the Tears of the Kingdom unlock prompt to press X on the map screen
- Zelda Wiki — Presenting: Sensor +!: data from five types of monsters, and Sensor + locating anything registered in the Compendium
- Zelda Wiki — Filling Out the Compendium: the Adventure Log text on pictures of creatures, monsters, materials, equipment and treasure registering automatically, and buying pictures you have not captured from Robbie's compendium
- Zelda Wiki — Robbie's Fabric: Robbie's reward at the Hateno Ancient Tech Lab for completing the Hyrule Compendium, a fabric bearing a Purah Pad design
- Zelda Wiki — Yiga Clan Attire: the Yiga Mask, Yiga Armor and Yiga Tights, worn together to pass as a Yiga Clan member
- Zelda Wiki — Hyrule Compendium Items in Tears of the Kingdom: all 509 entries by number across the Creatures, Monsters, Materials, Equipment and Treasure tabs
- Zelda Wiki — Elite Enemy Picture: the Tears of the Kingdom item text, "a powerful monster that at one time stood in your way"
- Zelda Wiki — Boss Rematch: 12 Depths arenas, three each for Colgera, Mucktorok, Marbled Gohma and Queen Gibdo, empty until the boss is beaten
- Zelda Wiki — Seized Construct: no Depths rematch, the Gloom's Lair copy Mineru handles if she has her Secret Stone, and the Sludge Like, Master Kohga and Moragia named as other bosses Link cannot rematch
- Zelda Wiki — Moragia: fought at the top of Death Mountain during "Yunobo of Goron City"
- Zelda Wiki — Sludge Like: summoned by a Phantom Ganon and fought at Mipha Court during "Sidon of the Zora"
- Object Map (radar-totk.zeldamods.org) — datamined Surface placements: one Sludge Like (Enemy_LikeLike_Tar), in Upland Zorana
- Zelda Wiki — Demon Dragon: a photo taken during the fight is added to the Compendium and stays in the Album after the ending
- Zelda Wiki — Phantom Ganon: one appears where the last arm of a defeated Gloom Spawn falls
- Zelda Wiki — Blood Moon: gloom fills the air and revives defeated monsters in Tears of the Kingdom
- Zelda Wiki — Well: 58 wells in Hyrule, and the Well as a Hyrule Compendium entry
- Zelda Wiki — Sage Avatar: photographing an avatar's weapon registers it to the Hyrule Compendium
- Thonky — Hateno Village Research Lab: Retsam Forest Cave's north entrance at 3750, -2028, 0191, the Travel Medallion quest adding the lab as a teleport location, and Hero's Path needing at least 15 shrines
- Thonky — Presenting: Sensor +!: photograph five different monsters, then the compendium database machine starts "Filling Out the Compendium"
- GamerGuides — Presenting: The Travel Medallion: Jochi-iu Shrine as the closest warp, the Yiga Footsoldier and Blademaster at the door, and Skyview Towers for the second and third medallions
- Game8 — Filling Out the Compendium: 100 rupees a picture, with Robbie choosing the picture from what is missing in the chosen category
- Game8 — Missables and One-Time Events: Moragia, the Sludge Like and Master Kohga cannot be rematched, and a missed boss photo can be bought from Robbie for 500 rupees
- GameWith — Hyrule Compendium: "Some Can Be Purchased After Clearing", 500-rupee pictures of powerful enemies and bosses after defeating them, and an estimate of about 60,000 rupees for every picture
- PowerPyx — Destroy Ganondorf walkthrough: after the credits the last save carries a star, and loading it puts you back before the final boss
- Nintendo Support — Tears of the Kingdom update history: Ver. 1.1.2 fixing a progression bug in "Camera Work in the Depths" and Ver. 1.2.1 fixing map flicker with large numbers of stamps
Related Guides
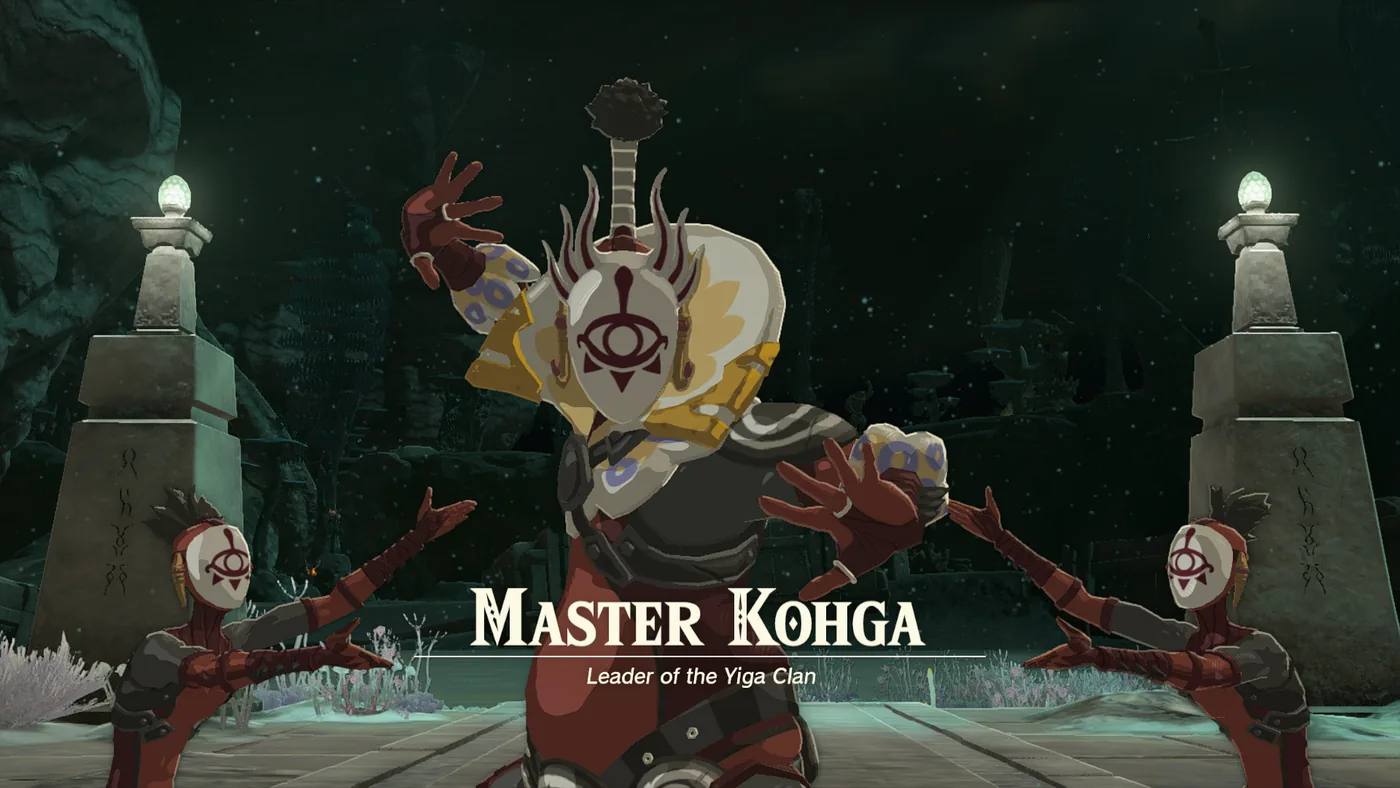
Tears of the Kingdom Master Kohga: All Four Mine Fights
The two researchers who watch you get Autobuild are Yiga, and their boss wants it back. That fight at the Great Abandoned Central Mine is only the first of four. Here is how to reach each Abandoned Mine Master Kohga runs to, how to knock him off each of his four vehicles, and what the whole chase pays.
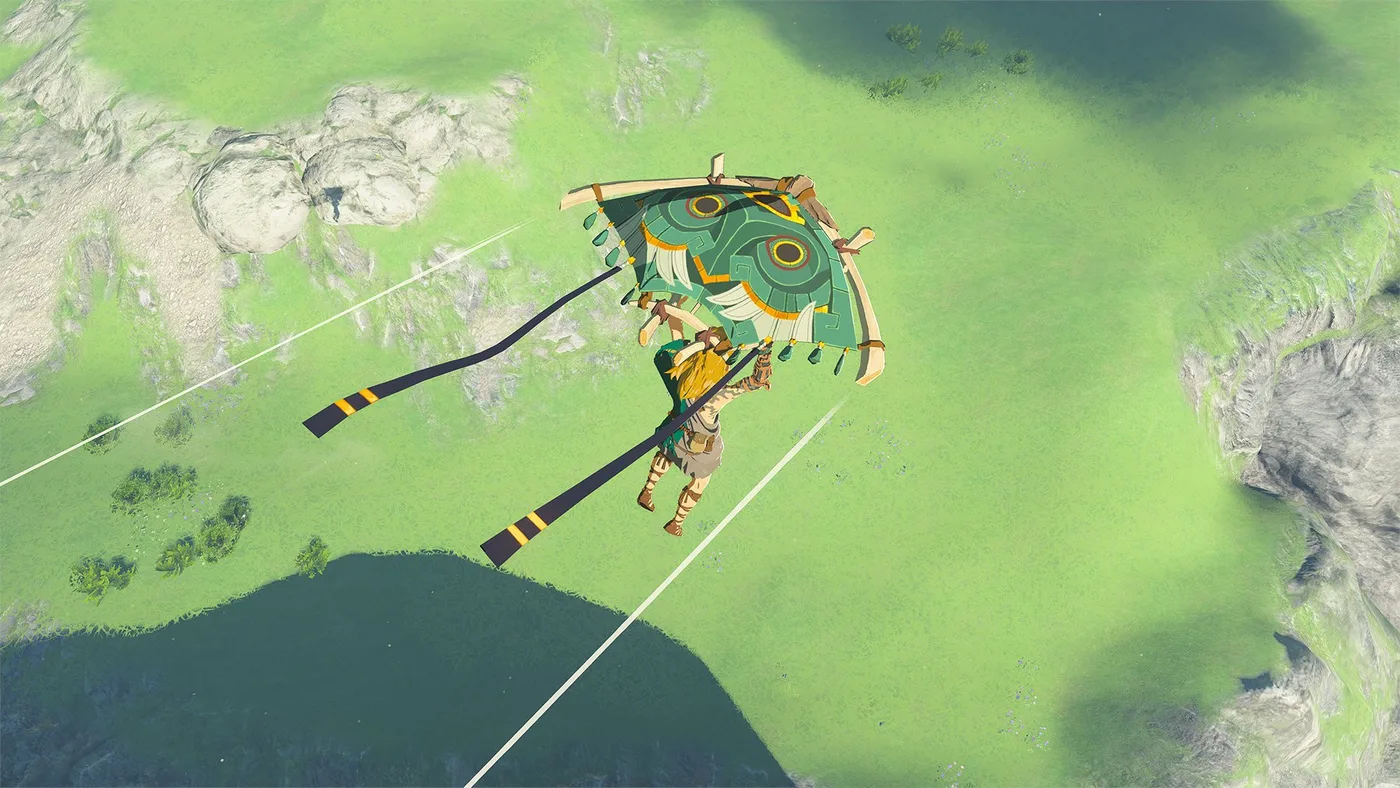
Tears of the Kingdom Paraglider Fabrics: All 57 Sources
Mineru's Construct amiibo went on sale September 17, 2026, and its one exclusive drop is a paraglider skin. That makes 29 fabrics you can only get from a figure, against 28 you earn by playing. Here is where every one comes from, which figure drops which, and the per-scan odds from Zelda Wiki's datamined tables.
Tears of the Kingdom Korok Seeds: Every Hestu Upgrade Cost
Hestu will happily take 1,000 Korok Seeds off you. He runs out of things to sell at 421. Here is the price of every single stash slot, the order that wastes the fewest seeds, and the two-upgrade cap on the first place you meet him.
Tears of the Kingdom Lynels: All 34 Locations and HP
Breath of the Wild had 22 Lynels. Tears of the Kingdom has 34, and 19 of them are in the Depths, including every Silver Lynel on Thonky's list. There is no Monster Medal for them, so here is the full list by variant, what each one can take, what changed in the fight, and the 111 Lynel parts the Great Fairies will eventually ask you for.
Tears of the Kingdom Beginner Guide: Great Sky Island and Your First 10 Hours
Tears of the Kingdom hands you four abilities in two hours and then refuses to explain how they interact. Here is what the Great Sky Island is actually teaching, what it skips, and the systems that decide whether hour ten feels powerful or exhausting.
Tears of the Kingdom Monster Medals: Sub-Boss Counts and HP
Breath of the Wild had three Medals of Honor and 84 kills behind them. Tears of the Kingdom has six Monster Medals, a six-quest gate in front of them, and a Gleeok tier where an ordinary Flame Gleeok carries more health than the Demon Dragon's main body. Here is how the hunt unlocks, how many of each monster Gralens counts, and what every variant can take.