Tears of the Kingdom Master Kohga: All Four Mine Fights
The two researchers who watch you get Autobuild are Yiga, and their boss wants it back. That fight at the Great Abandoned Central Mine is only the first of four. Here is how to reach each Abandoned Mine Master Kohga runs to, how to knock him off each of his four vehicles, and what the whole chase pays.
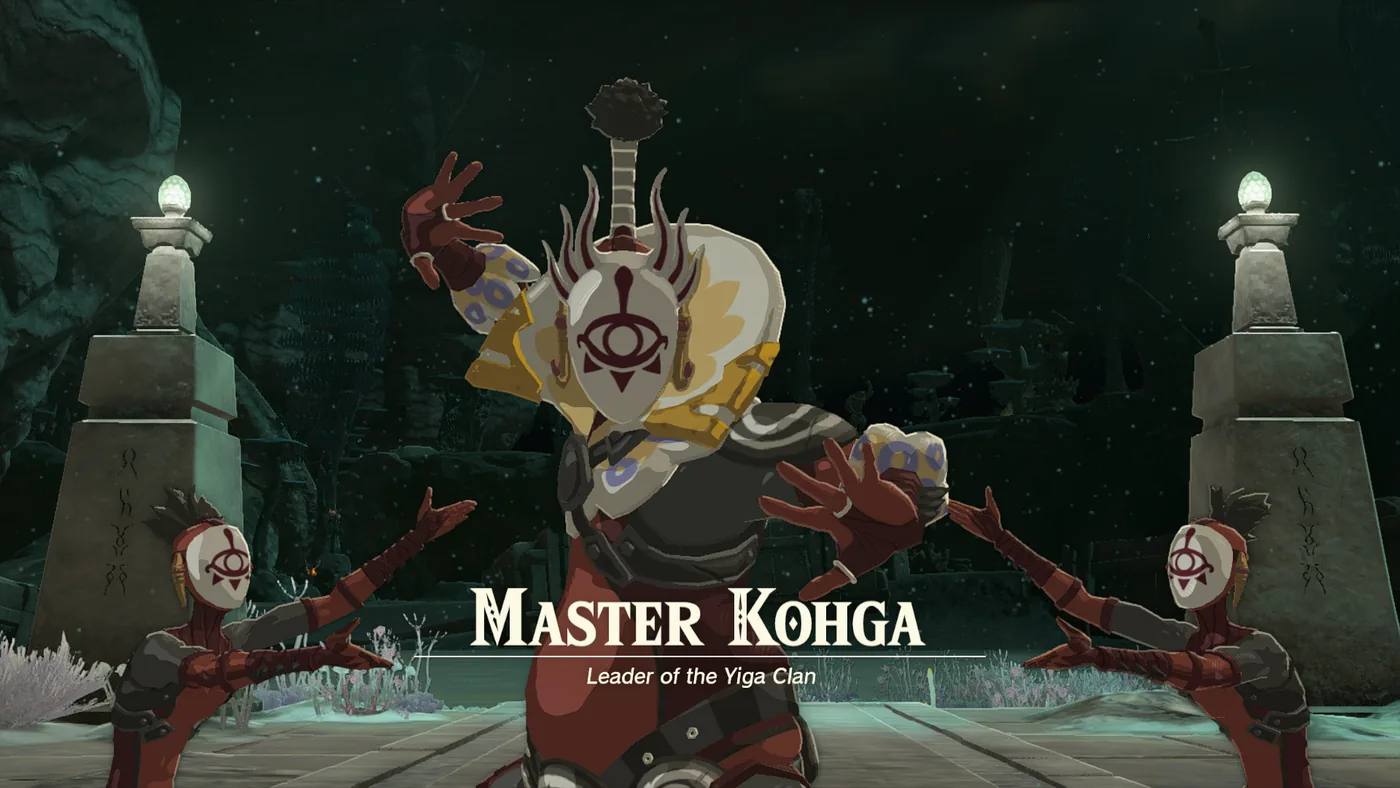
The two researchers standing over an inactive Steward Construct in the Great Abandoned Central Mine are not researchers. They watch Link wake the construct with his right arm, watch it hand him Autobuild, ask him to demonstrate it on their broken carts, and then call out "Oh, Maaaster!" before teleporting away. They are Yiga Footsoldiers, and the man who appears behind Link is Master Kohga.
He survived the fall down the Yiga Clan Hideout Chasm that ended his Breath of the Wild fight, and he wants the power you just took. Our Depths guide sends you to that mine for Autobuild and stops there. This guide covers the rest: the four Abandoned Mines where you fight him, the route to each, how to knock him off each vehicle, and what the whole chase pays. Quest text, rewards and chest coordinates come from Zelda Wiki. Routes and Lightroot coordinates come from Thonky's walkthrough, and each one is credited where it is used.
The researchers were Yiga all along
The first fight belongs to a Main Quest, not a side one. Josha gives you "A Mystery in the Depths" at Lookout Landing. Zelda Wiki lists one cleared "Regional Phenomena" quest as the prerequisite, and Thonky adds that "Camera Work in the Depths" has to be done first. Josha has pieced a mural together from Depths slate fragments. It shows a chain of statues, each looking at the next, ending at a temple-like building. She hands you 10 Giant Brightbloom Seeds and 10 arrows, because she is not allowed down there herself.
Thonky puts the first statue southwest of Iayusus Lightroot. Follow where each statue is looking and you reach the Great Abandoned Central Mine, which sits beneath the Great Plateau. Thonky also notes you can walk there and take Autobuild without starting Josha's quest at all.
Zelda Wiki's page on the Yiga plot, "Operation Steal the Ancient Power", explains the ambush. Yiga Clan notebooks describe Kohga sending a reconnaissance team to this exact mine to find a power that builds vehicles in an instant. You found it for them.
Beat him and the Main Quest is not quite over. Report back to Josha and she gives you the Hot-Air Balloon Schema Stone, then a Large Zonaite once you use it to rebuild Robbie's broken balloon. The chase itself continues as the Side Adventure "Master Kohga of the Yiga Clan."
Four mines, four vehicles
Each mine sits under a surface landmark, per Zelda Wiki's location pages, and Kohga brings a different build to each one.
| Fight | Mine | Under | Kohga's vehicle | Chest after the fight | Schema Stone there |
|---|---|---|---|---|---|
| 1 | Great Abandoned Central Mine | Great Plateau | Spiked buggy | Huge Crystallized Charge | Fanplane |
| 2 | Abandoned Gerudo Mine | Gerudo Town | Fanplane | Huge Crystallized Charge | Hovercraft |
| 3 | Abandoned Lanayru Mine | Zora's Domain | Headlight Raft, two Footsoldiers | Huge Crystallized Charge | Bolt Boat |
| 4 | Abandoned Hebra Mine | Rito Village | The Ultimate Weapon | Huge Crystallized Charge, Diamond | Rocket Platform |
The Schema Stone column comes from Zelda Wiki's schematic table, which places one stone at each of these four mines. We could not confirm per-fight Tears of the Kingdom health figures against a primary source, so there are none here.
Fight one: the spiked buggy under the Great Plateau
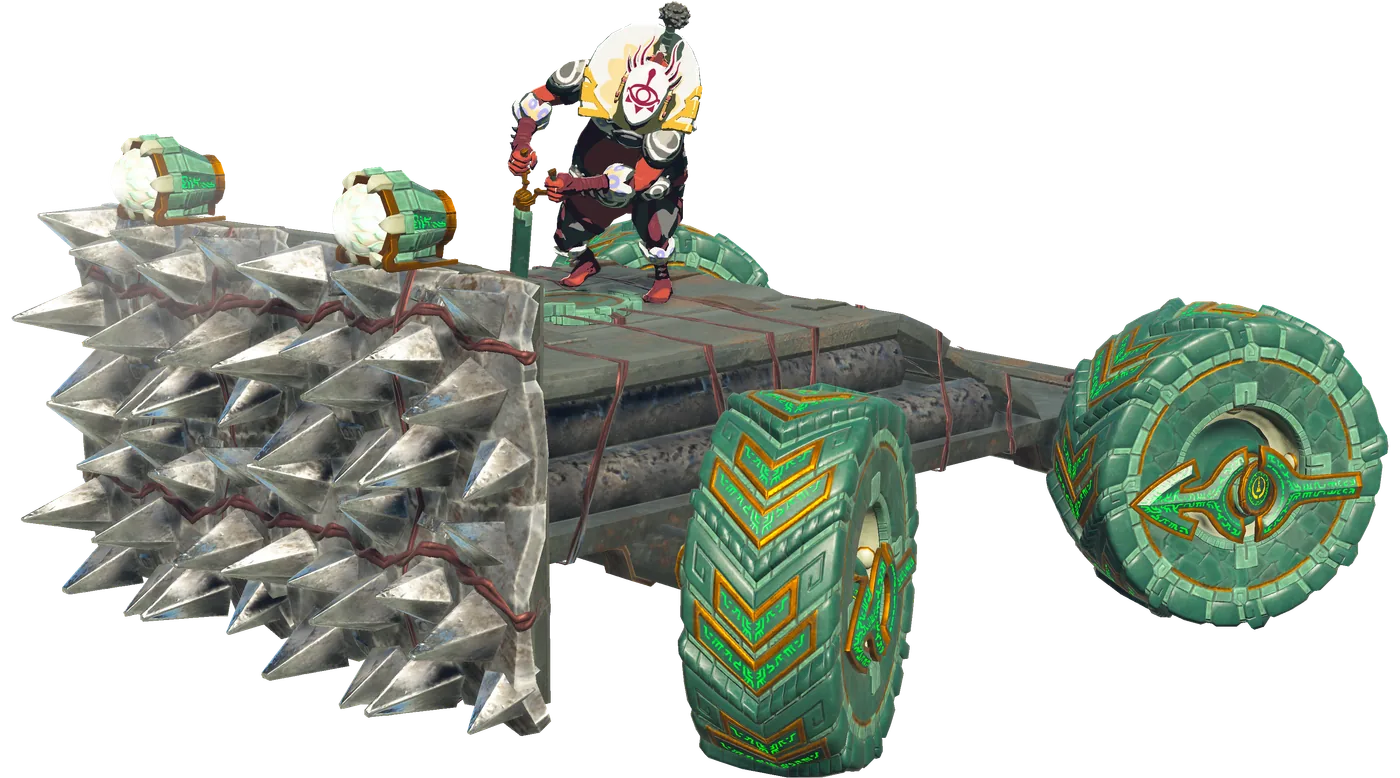
Kohga teleports into the courtyard and summons a buggy with a spiked ram, then drops boulders on you while he drives. Per Zelda Wiki:
- Shoot him. An arrow hit throws him out of the buggy and half-buries him in the ground, and you get free hits until he climbs out.
- Recall the boulders. They go straight back at him.
- Get behind him later. He adds wooden panels that block shots from the front and sides. The back stays open.
- Make him hit a wall. At low health he bolts on two Rockets and charges. Sidestep and he crashes, which stuns him.
Thonky adds two practical notes. Ultrahand cannot grab his vehicle, but you can sidestep a pass and jump onto it to hit him directly. And there is no point stealing it, because he makes it disappear soon after.
A stone chest with a Huge Crystallized Charge appears when he flies off on a Wing with four Fans. A Steward Construct then tells you he was heading for the "former Gerudo Mine" and points you at the light in the distance, Koradat Lightroot, below Tadarok Shrine, where the statue trail starts. The other construct in the mine hands you the Fanplane Schema Stone plus the parts to build one. Thonky's trick is to set the Fanplane on the rail that points toward the Lightroot and hit a fan.
Fight two: the Fanplane under Gerudo Town
The statue trail southwest
The Statues That Point the Way are carved to look like the people of their region, per Zelda Wiki, and a Yiga notebook says following their line of sight leads to the nearest abandoned mine. Thonky's route from Koradat:
| Stop | Coordinates | Note |
|---|---|---|
| Koradat Lightroot | Central Hyrule Depths | First statue is south of it |
| Kawatik Lightroot | -1700, -3307, -0525 | Statues continue southwest |
| South Lomei Depths Labyrinth | On the route | Optional detour |
| Amakawis Lightroot | -2426, -3337, -0465 | A Frox sits on the path west |
| Mihcihc Lightroot | -3203, -3013, -0471 | Statues turn west |
| Abandoned Gerudo Mine | -3722, -2943, -0494 | Yiga scouts on Wings overhead |
To skip that Frox, Thonky's line is to Ascend the slope just west of Amakawis Lightroot and glide down north of the Frox, past the gloom.
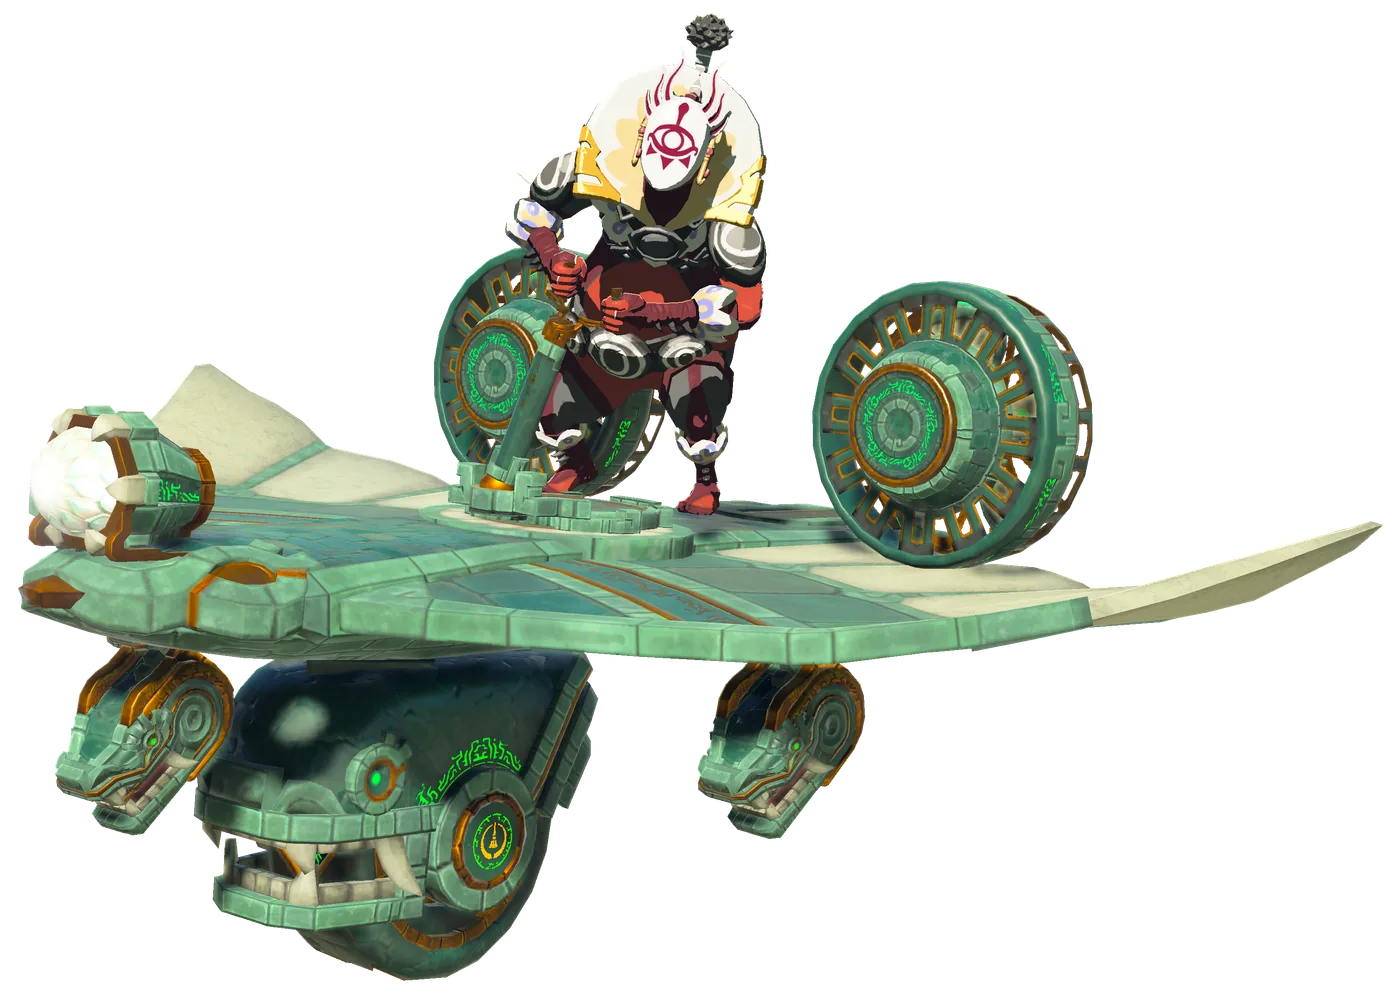
At the mine Kohga is trying to wake a Steward Construct with his own right hand, and it is not working. He blames you, and summons a Fanplane. Zelda Wiki says it starts with Flame Emitters underneath and swaps them for a Cannon later. The fix is altitude. Zelda Wiki says the arena holds Zonai devices for exactly that, and lists Fans, Hover Stones, Rockets and Springs in this mine. Thonky's version is to hit a Spring, ride it up, and draw your bow to slow time in midair. Keese Eyeballs fused to arrows home in on a target, which our Fuse guide covers, and they suit a target that will not hold still.
After the first hit he starts lobbing explosives. Later he raises a screen across the front of the plane, and Thonky says boards go up on the sides too, so you need to be above him to land a shot.
Afterwards he announces that "Operation Steal the Ancient Power" is over. The new plan is to collect crystallized charges to rebuild a weapon for the Demon King, and he leaves for the "Eastern Abandoned Mine." A chest with a Huge Crystallized Charge appears below the conical device at -3841, -2914, -0486. The second Steward Construct gives you the Hovercraft Schema Stone, a stone chest in the isolated building at the mine's far south holds a Large Crystallized Charge, and Thonky puts Gonatoyros Lightroot above the mine, reached by Ascending.
Fight three: the Headlight Raft under Zora's Domain
The chasm that skips the walk
The Steward Construct at Gerudo sends you to the surface. It suggests the Lanayru Wetlands Chasm or the East Hill Chasm in the mountains near Kakariko Village, both of which have statue trails to the Abandoned Lanayru Mine. Thonky places the first north of Jonsau Shrine and the second northeast of Kakariko.
There is a quicker way. Zelda Wiki says the Chasm Under Zora's Domain drops straight into the mine. It opens inside the Cave Under Zora's Domain, the same cave that holds the Vah Ruta Divine Helm in our sages guide. Thonky's directions are to go southwest from Mogawak Shrine, down the waterfall, and through it. Kawagom Lightroot sits just south of the mine at 3298, 0419, -0749.
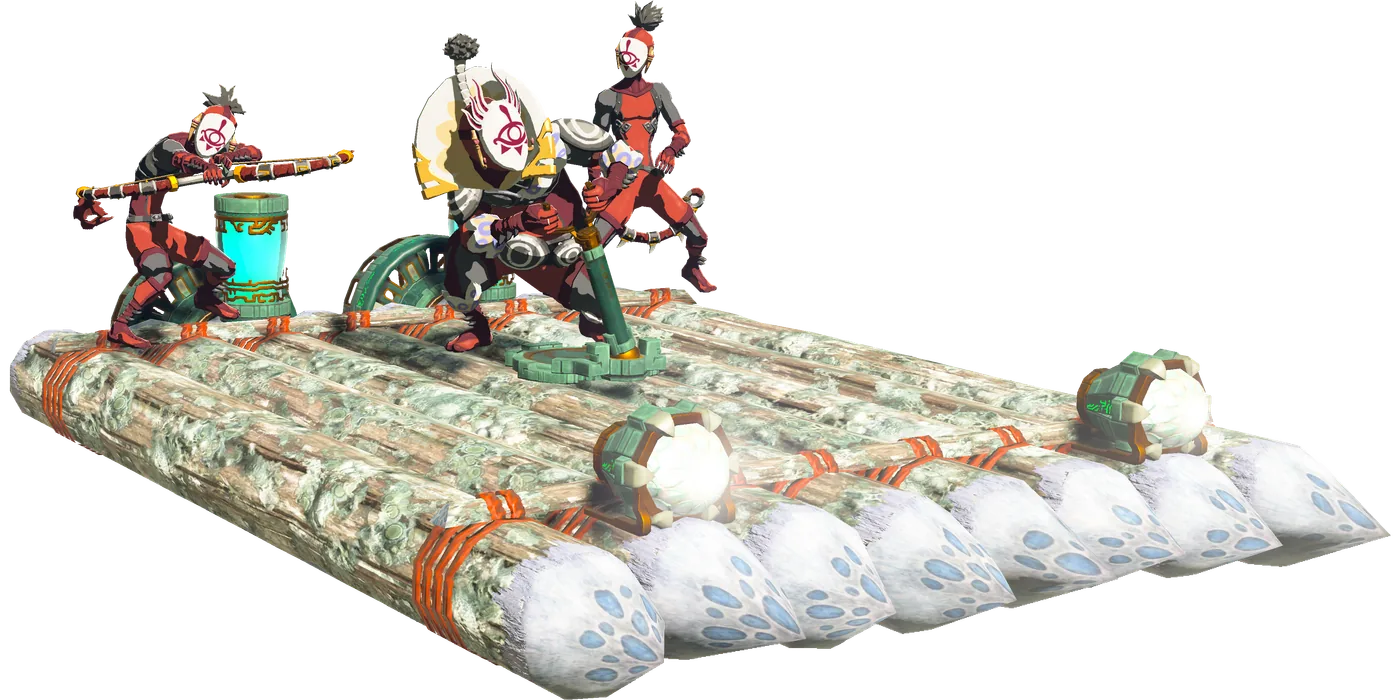
This time he brings backup. He teleports onto the water, summons a Headlight Raft and two Yiga Footsoldiers with Duplex Bows, and tells them to attack. Zelda Wiki notes vehicles nearby that let you close the distance. Thonky's specifics:
- Take the small raft at the end of the dock, and let go of the controls before you try to swing.
- Use his raft. When you stun him and he vanishes, his raft stays behind. It is slower than yours, but it does not roll side to side.
- Wait for the bomb. Later rafts put a force field around him, but he drops it to throw. That is your shot.
Zelda Wiki adds that at low health he throws boulders and puts up his energy screen. If you would rather shoot from above, a Rocket fused to a shield launches Link straight up, per the Fuse guide.
He blames a wet steering stick, says the Yiga have found the Demon King, and leaves for the "Northwestern Abandoned Mine." The chest at 3296, 0574, -0749 holds the third Huge Crystallized Charge. The Steward Construct gives you the Bolt Boat Schema Stone, and a Large Crystallized Charge sits in a chest on a ledge along the wall west of the mine. Three Water Octoroks patrol the water.
Fight four: the Ultimate Weapon under Rito Village
One chasm in
Zelda Wiki says the Abandoned Hebra Mine is cut off from the rest of the Tabantha Frontier Depths, and the Rito Village Chasm is the only way in. The Lanayru construct warns that the old route from Hyrule Ridge no longer works, and Thonky warns that a statue trail you may find heading that way dead-ends.
The Rito Village Chasm is in a small cave on the east side of the village. During the quest Ponnick stands on the village's southern edge and points it out directly below him. Thonky's route: go southeast from Gatakis Shrine, look down from the cliff edge to find Ponnick, and glide into the chasm he shows you. Sikatag Lightroot is west of where you land.
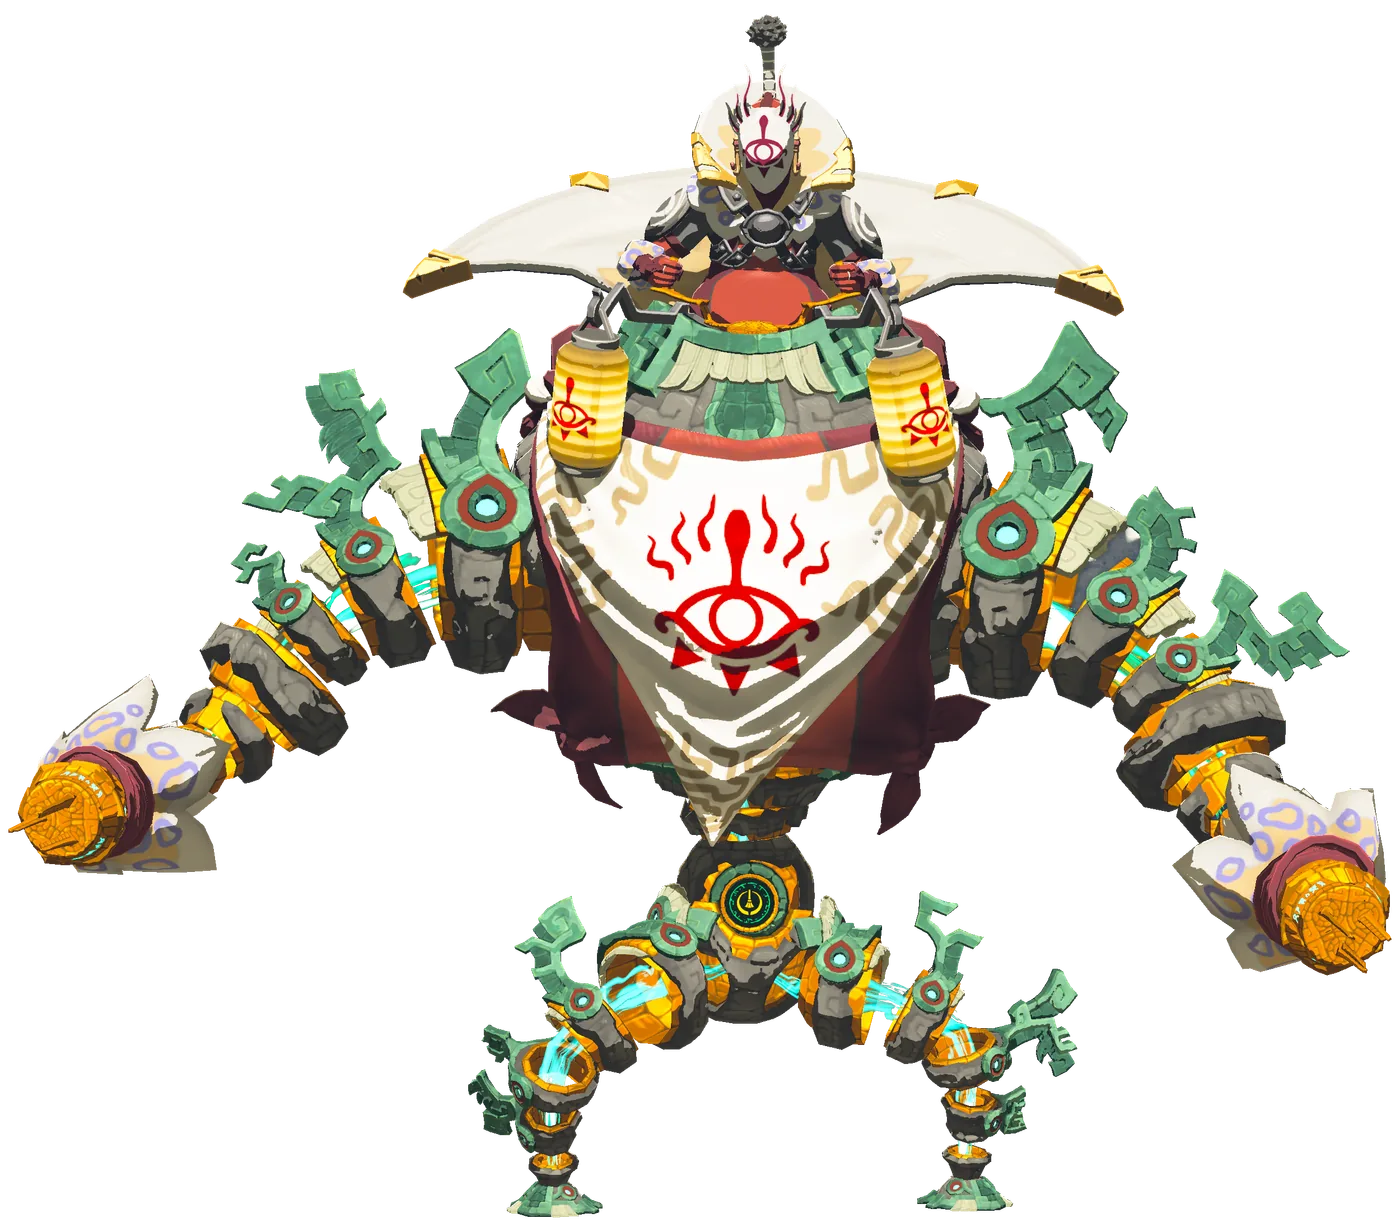
Kohga is waiting in front of a Relay Base. The Yiga have their crystallized charges, and he unveils the Ultimate Weapon: a Crafter Construct, the same type of construct as Mineru's body and the Seized Construct, rebuilt by the clan. An electric fence rises around the arena. On the Switch 2 Edition, a Zelda Notes Voice Memory names the machine the Mecha Kohga 5000 - Deluxe.
Zelda Wiki says it fights much like the Seized Construct and shares that fight's weakness: knock it into the electric fence and Kohga falls out, stunned, until he climbs back in. Hitting the construct itself works too and will eventually finish him. Thonky's breakdown of what it does:
- Shoot Kohga whenever you can see him. It knocks him out of the cockpit.
- Use a heavy weapon to knock it into the edge of the arena, but not while it is winding up a punch. Dodge the punch first, then go back in.
- Run behind it when the arms point at you. From a corner it fires electric beams from both arms that sweep inward, and they cannot reach its back.
- Shoot the bombs early. It also sends three big bombs at you one by one. Arrows set them off at range, and Recall sends the last one back into Kohga.
- Expect a force field later, plus a punch or a shield if you crowd it.
When the construct falls apart, Kohga summons the Kohga Rocket: 11 Rockets, an Iron Pole and a Spiked Iron Ball, per Zelda Wiki. It tilts the wrong way and fires him out of the Rito Village Chasm. Two chests at about -3497, 1850, -0415 hold the fourth Huge Crystallized Charge and a Diamond. The Steward Construct gives you the Rocket Platform, a Hover Stone, Battery and Rocket build that costs 15 Zonaite to Autobuild from nothing. A Large Crystallized Charge sits in a chest on top of the forge.
What the chase pays
| Reward | Where | Count | Crystallized Charge value |
|---|---|---|---|
| Huge Crystallized Charge | One chest per fight | 4 | 400 |
| Large Crystallized Charge | Side chests at the Gerudo, Lanayru and Hebra mines | 3 | 60 |
| Diamond | Final chest at the Hebra mine | 1 | — |
| Schema Stones | Fanplane, Hovercraft, Bolt Boat, Rocket Platform | 4 | — |
| Hot-Air Balloon Schema Stone, Large Zonaite | Josha, for finishing "A Mystery in the Depths" | 1 each | — |
The value column uses the game's own item text, which Zelda Wiki quotes: a Huge Crystallized Charge equals 100 normal crystallized charges and a Large one equals 20.
A Crystal Refinery's Steward Construct asks for 100 crystallized charges per Energy Well, so the 460 charges in that table are four Energy Wells with 60 toward a fifth. At a Forge Construct a crystallized charge costs 3 Zonaite, so 460 charges is 1,380 Zonaite you do not have to mine, by my arithmetic. Our Ultrahand and Zonai devices guide covers what a bigger Energy Cell buys you. The Diamond sells for 500 rupees, the highest material price in our rupee guide.
The Schema Stones are the other half. Zelda Wiki says a mine's Steward Construct also hands over the parts to build its design, and that at most mines the build helps you reach a treasure chest. Thonky's examples on this route: the Hovercraft toward lights southwest of the Gerudo mine, the Bolt Boat past the Octoroks, and the Rocket Platform up a chain of floating platforms to a chest holding a Large Crystallized Charge.
Once he is gone, he stays gone
There is no rematch. Zelda Wiki lists Master Kohga among the few Tears of the Kingdom bosses that cannot be fought again, alongside the Seized Construct. The twelve Boss Rematch arenas in the Depths only hold Colgera, Mucktorok, Marbled Gohma and Queen Gibdo, and each win there pays a Huge Crystallized Charge too. Our boss guide covers those four.
Thonky warns of a side effect. From the moment you beat Kohga at the Hebra mine, it says, Yiga start appearing in the overworld and attacking you. It suggests skipping the last fight if you would rather not deal with that, at the cost of the Huge Crystallized Charge, the Diamond and the Rocket Platform stone. Zelda Wiki's quest page does not mention this, so treat it as Thonky's report. Breath of the Wild did something similar after its Kohga fight, which our Yiga Clan Hideout guide covers. The counter is unchanged: Zelda Wiki says the full Yiga Clan Attire makes Footsoldiers and Blademasters treat Link as one of their own.
Kohga also has more to say than the quest gives him. On the Switch 2 Edition, Zelda Notes adds his Depths Voice Memories, the first of them below the Yiga Clan Hideout Chasm. Our Switch 2 Edition guide has the rest.
More Hyrule lives on the Tears of the Kingdom hub, and everything else we are playing is on the Mythras blog.
Quick Action Checklist
- Start with "A Mystery in the Depths" from Josha at Lookout Landing. The first statue is southwest of Iayusus Lightroot (Thonky), and the mine is under the Great Plateau.
- Fight one, spiked buggy: shoot him out of the seat, Recall the boulders, get behind the panels, and sidestep the rocket charge into a wall.
- Talk to the Steward Constructs after each fight. Through fight three one points you to the next mine, and at every mine one hands over a Schema Stone and the parts.
- Fight two, Fanplane, under Gerudo Town: follow the statues from Koradat Lightroot, then use a Spring and slow-motion bow shots to get above him.
- Fight three, Headlight Raft, under Zora's Domain: drop in through the Chasm Under Zora's Domain, take the dock raft, and fire when he lowers his shield to throw.
- Fight four, Ultimate Weapon, under Rito Village: the Rito Village Chasm is the only way in, per Zelda Wiki. Knock the construct into the electric fence, get behind it when the arm beams start, and Recall the last bomb.
- The chase pays 460 crystallized charges' worth (four Huge, three Large), which is four Energy Wells, plus a Diamond and four Schema Stones.
- There is no rematch. Per Thonky, Yiga start ambushing you on the surface after the final fight. Full Yiga Clan Attire keeps them friendly.
Frequently Asked Questions
Where do you fight Master Kohga in Tears of the Kingdom?
How do you get to the Abandoned Hebra Mine in Tears of the Kingdom?
How do you get to the Abandoned Lanayru Mine in Tears of the Kingdom?
What do you get for beating Master Kohga in Tears of the Kingdom?
Can you fight Master Kohga again in Tears of the Kingdom?
How do you beat the Ultimate Weapon in Tears of the Kingdom?
Keep Reading
- Zelda Wiki — Master Kohga: his four Tears of the Kingdom habitats (the Great Abandoned Central Mine and the Abandoned Gerudo, Lanayru and Hebra Mines), the buggy, Fanplane, Headlight Raft and Ultimate Weapon fights, and the final rewards
- Zelda Wiki — Master Kohga of the Yiga Clan: the Side Adventure that begins after the Central Mine fight, the Steward Constructs' directions to each mine, Ponnick and the Rito Village Chasm, and the Huge Crystallized Charge and Diamond rewards
- Zelda Wiki — A Mystery in the Depths: Josha's mural, the Regional Phenomena prerequisite, the disguised Yiga researchers, Autobuild, the first Kohga fight, and the Hot-Air Balloon Schema Stone and Large Zonaite rewards
- Zelda Wiki — Operation Steal the Ancient Power: the Yiga notebooks, the reconnaissance team sent to the Great Abandoned Central Mine, and Kohga abandoning the plan after the Gerudo fight
- Zelda Wiki — Great Abandoned Central Mine: beneath the Great Plateau in the Central Hyrule Depths
- Zelda Wiki — Abandoned Gerudo Mine: beneath Gerudo Town, its Zonai devices, the Huge Crystallized Charge chest at -3841, -2914, -0486 and the Large Crystallized Charge chest
- Zelda Wiki — Abandoned Lanayru Mine: beneath Zora's Domain, reached directly via the Chasm Under Zora's Domain, three Water Octoroks, and its two chests
- Zelda Wiki — Abandoned Hebra Mine: beneath Rito Village, reachable only through the Rito Village Chasm, with the Huge Crystallized Charge, Diamond and Large Crystallized Charge chests
- Zelda Wiki — Ultimate Weapon: the Crafter Construct the Yiga restored with crystallized charges, called the Mecha Kohga 5000 - Deluxe in Zelda Notes
- Zelda Wiki — Kohga Rocket: 11 Rockets, an Iron Pole and a Spiked Iron Ball, launching Kohga out of the Rito Village Chasm
- Zelda Wiki — Schematic: the 46 Autobuild designs and where each Schema Stone comes from, including the Fanplane, Hovercraft, Bolt Boat and Rocket Platform at the four Kohga mines
- Zelda Wiki — Rocket Platform: a Hover Stone, Battery and Rocket, 15 Zonaite to Autobuild without parts, from the Abandoned Hebra Mine Steward Construct
- Zelda Wiki — Huge Crystallized Charge: equal to 100 crystallized charges, per its in-game description
- Zelda Wiki — Large Crystallized Charge: equal to 20 crystallized charges, per its in-game description
- Zelda Wiki — Crystal Refinery: 100 crystallized charges per Energy Well
- Zelda Wiki — Crystallized Charge: three Zonaite each at a Forge Construct
- Zelda Wiki — Seized Construct: the electric-fence strategy the Ultimate Weapon shares, and the list of bosses with no rematch, Master Kohga included
- Zelda Wiki — Boss Rematch: twelve Depths arenas, three each for Colgera, Mucktorok, Marbled Gohma and Queen Gibdo, each paying a Huge Crystallized Charge
- Zelda Wiki — Statue That Points the Way: regional statues whose line of sight leads to the nearest Abandoned Mine
- Zelda Wiki — Rito Village Chasm: a small cave on the east side of Rito Village, the only way into the Abandoned Hebra Mine
- Zelda Wiki — Chasm Under Zora's Domain: inside the Cave Under Zora's Domain, a direct entry to the Abandoned Lanayru Mine
- Zelda Wiki — Yiga Clan Attire: the full set makes Yiga Footsoldiers and Blademasters friendly to Link
- Zelda Wiki — Schema Stone: a mine's Steward Construct also supplies the parts for its design, and at most Abandoned Mines the build helps reach a treasure chest
- Zelda Wiki — Crafter Construct: Mineru's Construct, the Seized Construct and the Ultimate Weapon
- Zelda Wiki — Voice Memories in Tears of the Kingdom: Master Kohga's 55 Depths memories, No. 001 at the Yiga Clan Hideout Chasm and No. 037 "Mecha Kohga 5000 - Deluxe"
- Zelda Wiki — Keese Eyeball: fused to an arrow, it makes the arrow home in on targets
- Zelda Wiki — Rocket: fused to a shield, it launches Link upward a considerable distance
- Zelda Wiki — Diamond: sells for 500 rupees in Tears of the Kingdom
- Thonky — A Mystery in the Depths: the Camera Work in the Depths prerequisite, the first statue southwest of Iayusus Lightroot, and Autobuild without starting the quest
- Thonky — Master Kohga of the Yiga Clan: the Lightroot-by-Lightroot statue routes with coordinates, the Zora's Domain shortcut, the Gatakis Shrine approach to the Rito Village Chasm, and the post-quest Yiga ambush warning
- Thonky — Master Kohga: Truck Boss Strategy, including the Ultrahand limitation and boarding the vehicle
- Thonky — Master Kohga: Fanplane Boss Strategy, the Spring launch and midair bow shots
- Thonky — Master Kohga: Raft Boss Strategy, the dock raft and the force field dropped to throw bombs
- Thonky — Master Kohga: Construct Boss Strategy, the arm beams, the three bombs and the Recall counter
Related Guides
Tears of the Kingdom Lynels: All 34 Locations and HP
Breath of the Wild had 22 Lynels. Tears of the Kingdom has 34, and 19 of them are in the Depths, including every Silver Lynel on Thonky's list. There is no Monster Medal for them, so here is the full list by variant, what each one can take, what changed in the fight, and the 111 Lynel parts the Great Fairies will eventually ask you for.
Tears of the Kingdom Depths Guide: Lightroots, Poes, and What Is Actually Down There
The Depths has no towers, no weather, and no landmarks you can see past twenty feet. It also has a complete map you already filled in on the surface without realizing it. Here is how to read it, what gloom actually does to your hearts, and every reason to be down there in the first place.
Tears of the Kingdom Best Armor: Sets Worth Upgrading
Tears of the Kingdom locks every armor upgrade behind a band of missing musicians and then charges you rupees on top of materials. Here is which sets are worth that toll and which ones you can leave in the pouch.
Tears of the Kingdom Ultrahand and Zonai Devices Guide: Building Things That Work
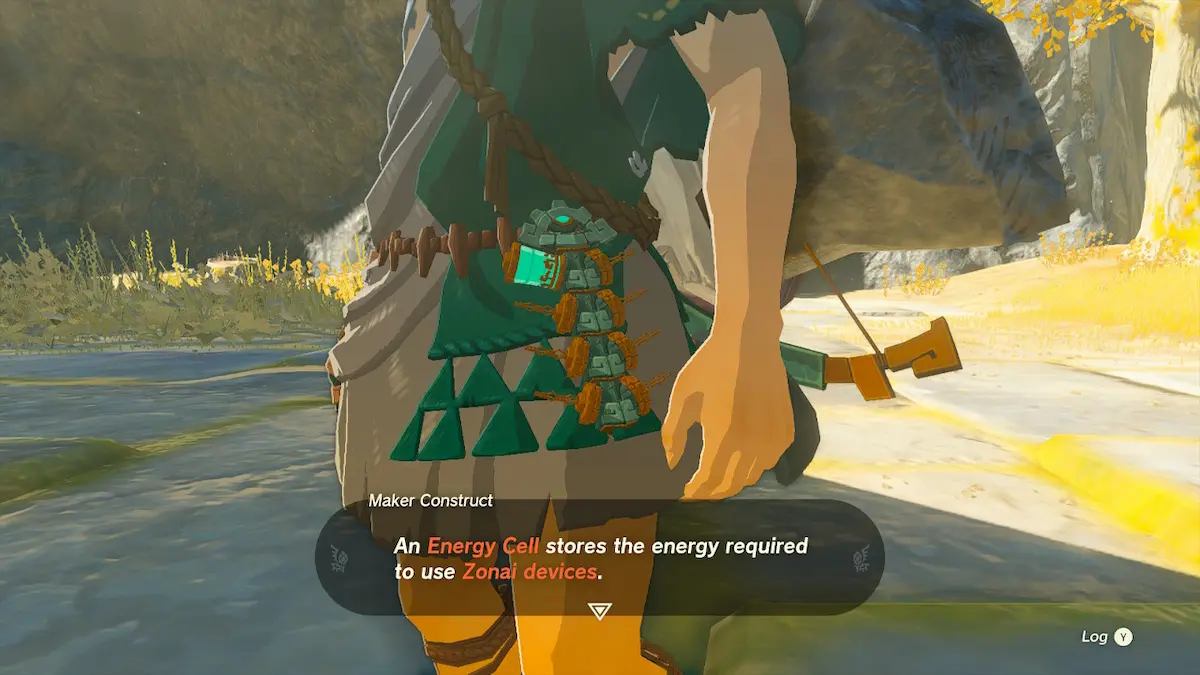
Ultrahand caps you at 21 parts, most powered Zonai devices run 30 minutes, and one Energy Well costs 300 zonaite. Here is the actual ruleset behind Tears of the Kingdom's building system, with the numbers the game never puts on screen.
Tears of the Kingdom Beginner Guide: Great Sky Island and Your First 10 Hours
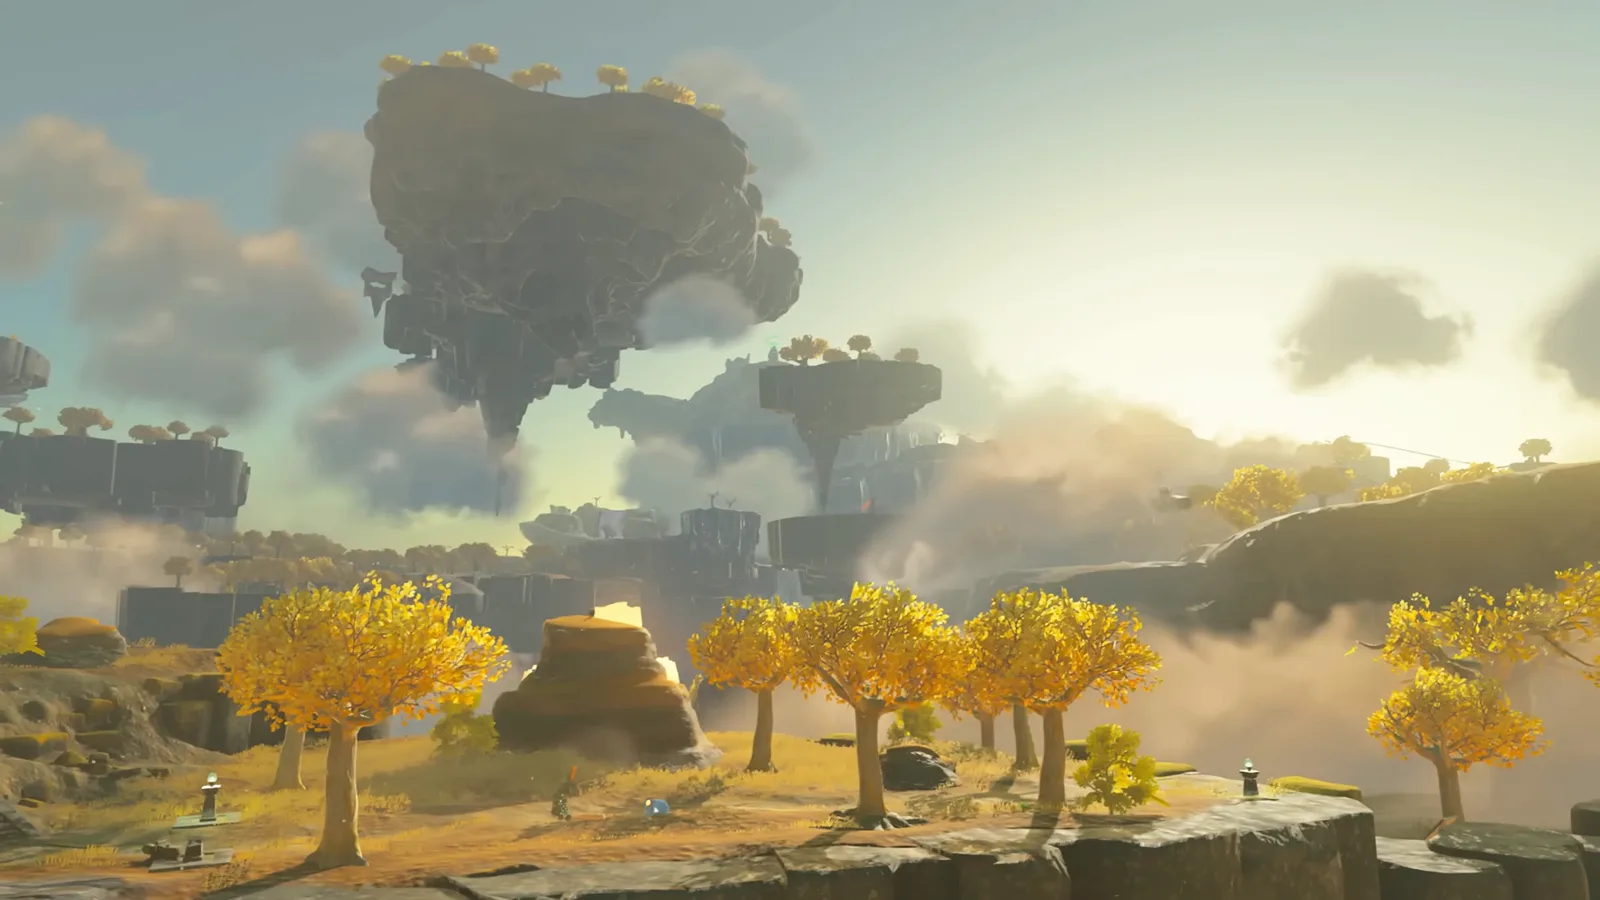
Tears of the Kingdom hands you four abilities in two hours and then refuses to explain how they interact. Here is what the Great Sky Island is actually teaching, what it skips, and the systems that decide whether hour ten feels powerful or exhausting.
Tears of the Kingdom Best Weapon: The Untouched Tier
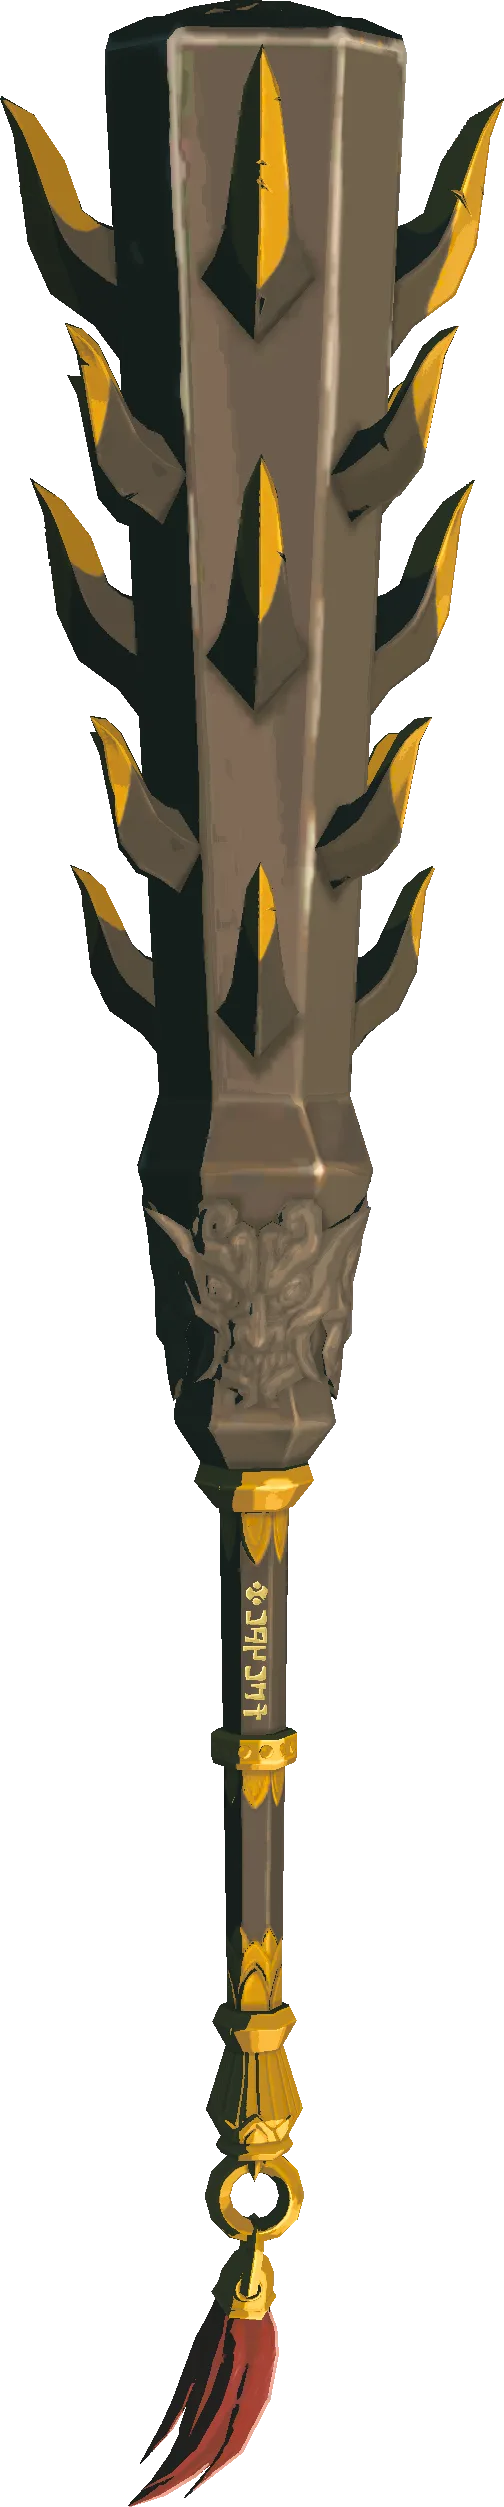
The 31-pair decayed-to-intact table tops out at 39 attack. It was never the whole game. Forty-eight more weapons never had a decayed state to begin with — Zelda Wiki calls them Untouched — and they include the three Champion weapons, the entire Zonaite line, and the three Gloom weapons that outdamage everything else in Tears of the Kingdom. Here is where they all come from, what locks their numbers in place, and the one that doesn't.