Baldur's Gate 3 Companion Recruitment Guide: Where Everyone Is and Who You Can Lose Forever
Half the companion roster can be permanently missed by doing things in the wrong order, and the game never warns you. Here is where all ten companions are, the two non-lethal knock-outs that matter, and the deadlines that quietly delete people from your run.
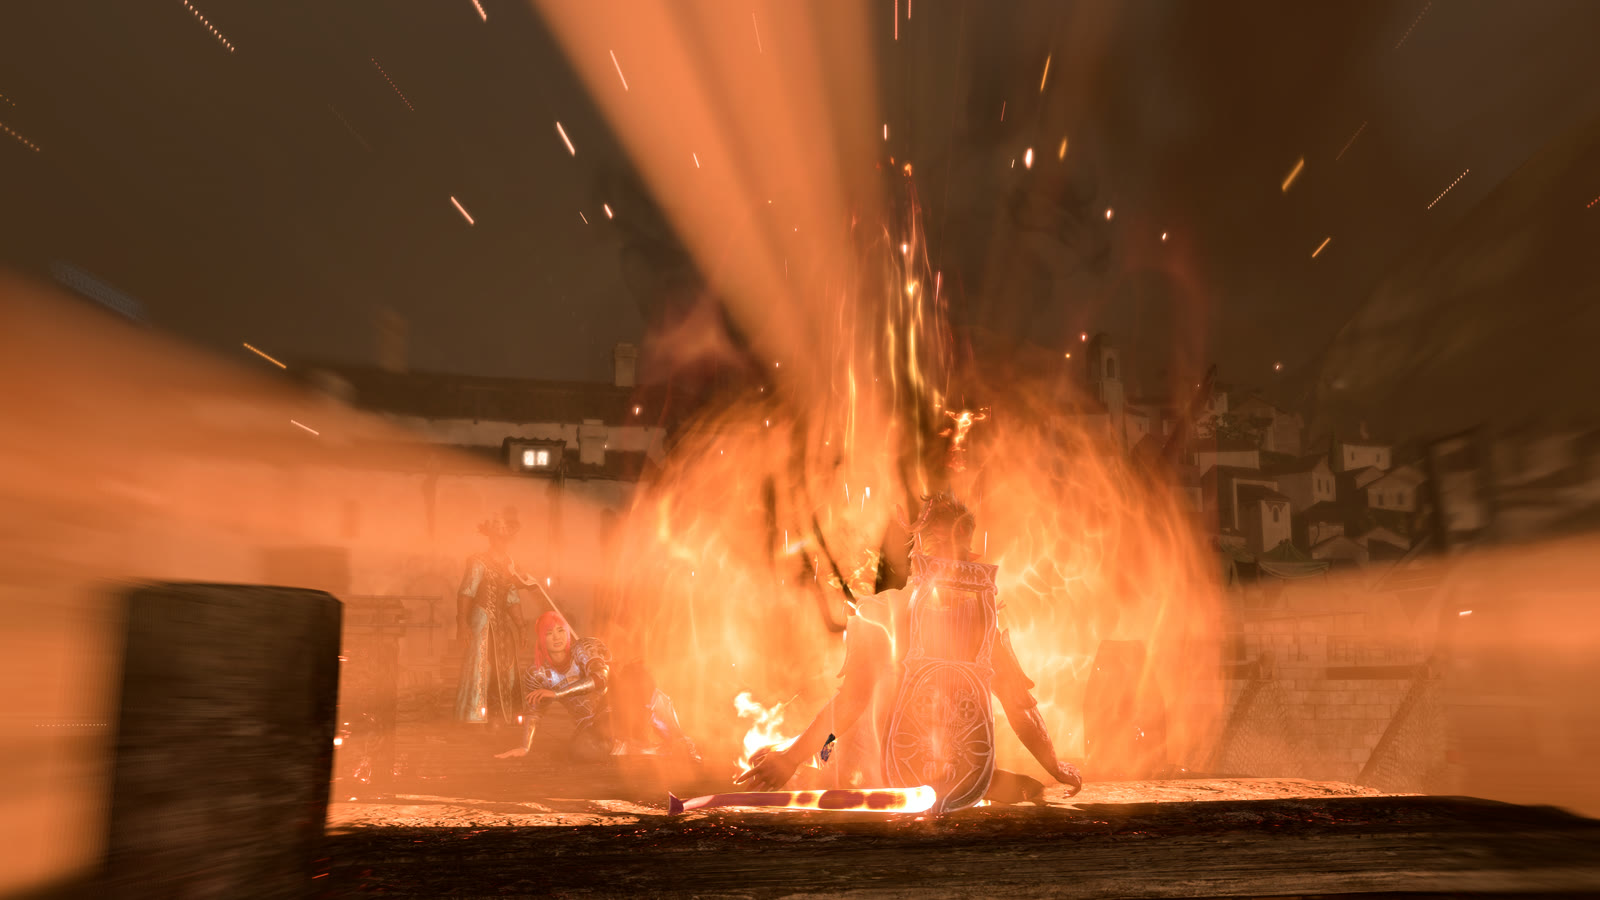
Nobody finishes their first Baldur's Gate 3 run with the full roster. Somebody always gets missed — Karlach quietly vanishes because you climbed the Rosymorn Monastery Trail one quest too early, or Minsc dies in a sewer because you didn't know the final blow had to be non-lethal. The game does not warn you about any of this. It just lets people disappear.
This guide covers where all ten permanent companions are, the recruitment order that avoids the two big Act 1 blowups, and every deadline that removes someone from your run for good. Fair warning: the back half of this necessarily spoils Act 2 and Act 3 locations and one major Act 2 story beat. Act 1 recruitment is spoiler-light; everything from Halsin onward assumes you are fine knowing where the story goes.
How recruitment actually works
The roster splits into two groups. Six origin companions — Astarion, Gale, Karlach, Lae'zel, Shadowheart and Wyll — are all recruitable in Act 1, most of them within an hour of the crash. Four non-origin companions — Halsin, Minthara, Jaheira and Minsc — have specific recruitment scenarios spread across all three acts, and every one of them can be permanently failed.
Your active party is four people including you. Everyone else waits at camp, and swapping is free, so there is no reason not to collect the whole set. Two system rules matter for keeping them:
- Approval is a hard mechanic, not flavor. Any companion who hits -50 approval leaves permanently. You have to work at it to get there, but a chaotic-evil playthrough with a good-aligned party can manage it.
- Default classes are not fixed. Withers respecs anyone for 100 gold, so recruit people for their stories and rebuild their sheets however you like — our multiclassing guide covers what to turn them into.
The Act 1 six: origin companions
Shadowheart, Astarion and Gale: the beach trio
All three are within a few hundred meters of where you wake up on the Ravaged Beach.
Shadowheart is lying unconscious near your landing spot — if you freed her from her pod on the Nautiloid. If you left her in the pod, she is instead further east, unsuccessfully trying to force the door of the Dank Crypt. Skip her both times and she turns up inside the Hollow at the Emerald Grove, and if you somehow still have not recruited her, she approaches you herself at the Goblin Camp or the Mountain Pass. She is the hardest companion in the game to actually miss.
Astarion is on the trail west of the wrecked Nautiloid, calling for help with a boar that is not really there. Gale is a little east of the wreck, stuck inside the Ancient Sigil Circle — the first waypoint you touch. He literally pulls himself out of the teleporter as you use it.
Lae'zel and the cage
Lae'zel fights alongside you in the prologue, then gets separated in the crash. You find her south of the Emerald Grove, trapped in a hanging cage while two tieflings argue about what to do with her. Free her, or let her handle it, and she joins.
Miss that encounter and she appears again confronting a githyanki patrol during Find the Githyanki Crèche. And if you somehow reach Act 2 without her, the game does something bleak: her corpse is lying in the Shadow-Cursed Lands. The body is too damaged to talk to, but a Revivify spell or scroll brings her back and she can still join. That is the only companion in the game you can recruit by resurrecting them from a scripted death.
Wyll and Karlach: recruit in the right order
Wyll is inside the Emerald Grove's Hollow, teaching tiefling kids to fight. Karlach is on the Risen Road south of the Toll House, at the end of a blood trail leading toward the river, and joining her means agreeing to deal with the fake paladins hunting her.
Here is the wrinkle: Wyll's warlock pact has him hunting Karlach. Bring him to her, and the two confront each other — side with Wyll and you fight Karlach, which removes her from the run. Recruit Karlach first instead, and Wyll shows up at camp on your next Long Rest to have the same argument, where he can be talked down without anyone dying. Either way, the safe play is the same one: when the confrontation happens, back Karlach. The shared tadpole vision during the dialogue does most of the persuading for you.
Both of them are also the grove's moral alarm system. Side with the goblins and raid the Emerald Grove, and Wyll and Karlach both leave permanently — Wyll turns hostile on the spot if he is with you during the siege. If you raid the grove before ever recruiting Wyll, you find his corpse among the defenders afterward. An evil run pays for Minthara with these two, every time.
Halsin: the long recruitment
Halsin has the slowest recruitment in the game. He is being held in the Worg Pens inside the Shattered Sanctum at the Goblin Camp — in bear form when you find him. Free him and he fights alongside you as an attached follower, but only until the three goblin leaders are dead. To keep him in the story, you need Defeat the Goblins, Rescue the Druid Halsin and Save the First Druid all completed with him alive, and the grove intact.
Even then, he does not become a controllable companion until midway through Act 2, once you have progressed Lift the Shadow Curse far enough. And this is where the deadline hides: if you push on to Act 3 without fully resolving the Shadow Curse questline, Halsin stays behind in the Shadow-Cursed Lands permanently. He is the only companion you can lose after recruiting him just by walking forward through the story with an unfinished side quest.
Minthara: the one most players never see

Minthara is the drow paladin leading the goblin assault on the grove, and most players only ever meet her over a weapon. The famous route to recruiting her is the evil one: side with her during Save the Refugees, raid the Emerald Grove, and she is yours in Act 2 — at the cost of Wyll, Karlach, and most of the grove's questlines.
The route the game never explains: you can recruit her on a good playthrough by knocking her out instead of killing her. Toggle Non-Lethal Attacks and make sure the finishing blow is a melee hit, either when you assault the Shattered Sanctum or when she attacks the grove. Knocked out, she survives the events of Act 1 off-screen. When you reach Moonrise Towers in Act 2, she is on trial in front of Ketheric Thorm for failing to find the Mysterious Artefact — sentenced to death and dragged off to the prison to be tortured. Break her out, walk her to safety, and invite her to camp, and the party's most committed war criminal is on your roster without a single dead tiefling.
Two caveats. She cannot become a permanent companion before Moonrise, no matter which route you take — Act 1 Minthara is ally-or-enemy only. And once recruited, she refuses to travel back to Act 1 maps; the party returning there without her can even trigger inventory weirdness, so finish your Act 1 business before picking her up.
Jaheira and Minsc: the legacy picks

The two Baldur's Gate 1 and 2 veterans are late arrivals, and they are a package deal in the worst way — lose her, and you lose him too.
Jaheira runs the Harper resistance out of the Last Light Inn in Act 2. She joins the assault on Moonrise Towers as an attached follower, and becomes a full companion once Ketheric Thorm retreats into the Mind Flayer Colony — as long as she survived the assault and you have not made her hostile. If she dies before that point, she stays dead; no resurrection, no second chance. If the Last Light Inn is destroyed but she still tolerates you, she can be offered a place at camp after Ketheric falls, but in that case she is not playable until Act 3.

Minsc is Act 3 only, and only if Jaheira is alive and with you. You first cross paths in the Counting House, and The High Harper questline leads to a fight with him in the Lower City Sewers. The single most important fact in this guide: the final blow of that fight must be non-lethal. Kill him and he dies for good — and Jaheira leaves the party over it. Knock him out, and the Emperor grumbles that the ranger is too stupid to be worth saving, at which point a History check or an Intimidation check, both DC 15, convinces it to extend the artefact's protection and free him from the Absolute. Then Minsc and Boo are yours for the rest of the run.
That makes two separate fights in this game where the Non-Lethal Attacks toggle decides whether a companion exists. Check it before both.
Withers and hirelings: the fallback roster

Withers is not a companion, but he is the recruitment system's safety net, so he belongs here. He is in a sarcophagus in a hidden room of the Dank Crypt on the Ravaged Beach — and if you skip the crypt entirely, he shows up at your camp on his own once you have progressed far enough. You cannot actually miss him. Once he is at camp, he resurrects dead companions for 200 gold and respecs anyone for 100.
He also sells warm bodies. After you hit level 3, Withers offers twelve hirelings — one per class, 100 gold each, up to three at a time. You can customise their appearance at recruitment like a custom character, and respec their class and stats through Withers whenever. They have no dialogue, no approval, no story — they are spreadsheets with legs. But if your evil run just lost Wyll and Karlach at the grove, or you are building a themed party our beginner class guide would raise an eyebrow at, hirelings fill the slots. Note one thing they cannot do: hirelings never carry tadpoles, so none of the illithid powers work on them.
One more roster oddity: since Patch 7, a Dark Urge playthrough can briefly recruit Alfira as a temporary companion. If you know what happens to Alfira on a Dark Urge run, you know exactly why that is funny, and exactly how temporary it is.
Every point of no return
The full list of ways to permanently lose companions is enormous — the wiki's version runs to dozens of entries, most of them "you actively chose to betray this person." These are the ones that catch players who were not trying to lose anyone:
- Raiding the Emerald Grove removes Wyll and Karlach permanently. This is the price tag on evil-route Minthara.
- Karlach has an Act 1 deadline. Heading to the Rosymorn Monastery Trail or the Shadow-Cursed Lands without resolving Hunt the Devil makes her leave.
- Lae'zel has an Act 2 deadline. Entering the Shadow-Cursed Lands before resolving Find the Githyanki Crèche loses her, unless you succeed on an intimidation to make her stay.
- Halsin stays behind if you leave for Act 3 without fully lifting the Shadow Curse.
- Jaheira must survive Act 2 — dead before full recruitment is dead forever, and everything that removes Jaheira also costs you Minsc.
- Two knock-out checks: Minthara in Act 1 and Minsc in Act 3 both die permanently if the killing blow is lethal.
- -50 approval ends any companion relationship, on any run.
- Act 3 is full of sharp edges — one villain abducts a companion and can kill them if you dawdle, and Wyll's fate is tied to choices about Mizora and his father. Honour Mode players should treat every Act 3 main quest as potentially roster-altering; our Honour Mode tips apply double when a permadeath and a permanent companion loss can happen in the same fight.
Quick Action Checklist
- Recruit Karlach before doing anything about the grove-versus-goblins conflict, and side with her when Wyll confronts her at camp. That sequence keeps both.
- Do not enter the Mountain Pass or the Underdark road to Act 2 with Hunt the Devil unresolved — Karlach walks.
- Resolve Find the Githyanki Crèche before the Shadow-Cursed Lands or plan to intimidate Lae'zel into staying.
- Want Minthara on a good run? Toggle Non-Lethal Attacks and knock her out at the Shattered Sanctum, then rescue her from the Moonrise Towers prison in Act 2.
- Free Halsin from the Worg Pens, keep the grove standing, and fully finish Lift the Shadow Curse before touching Act 3.
- Keep Jaheira alive through the Moonrise assault — she unlocks as a full companion when Ketheric retreats, and she is the key to Minsc.
- Knock Minsc out in the Lower City Sewers, never kill him, then pass the DC 15 History or Intimidation check with the Emperor.
- Withers is your safety net: 200 gold resurrections, 100 gold respecs, and twelve 100-gold hirelings after level 3 if your roster gets thin.
- Watch approval on evil runs — -50 with anyone is a permanent goodbye.
Frequently Asked Questions
Can you recruit Minthara without raiding the Emerald Grove?
How do you recruit Minsc in Baldur's Gate 3?
Which Baldur's Gate 3 companions are missable?
Where is Karlach in Baldur's Gate 3?
What happens if Lae'zel dies before you recruit her?
How do hirelings work in Baldur's Gate 3?
Can companions leave permanently because of low approval?
Keep Reading
- BG3 Wiki — Companions, recruitment locations and permanent removal
- BG3 Wiki — Minthara recruitment via knock-out and Moonrise rescue
- BG3 Wiki — Minsc recruitment and the non-lethal requirement
- BG3 Wiki — Halsin recruitment prerequisites
- BG3 Wiki — Jaheira recruitment and leaving conditions
- BG3 Wiki — Hirelings, costs and limits
Related Guides
Baldur's Gate 3 Multiplayer: How Co-op Actually Works
A Baldur's Gate 3 co-op campaign can run with any of its players missing except one. The host saves it, loads it and has to be there. Here is how to get up to three friends in, what cross-play and split-screen actually cover, the first-come rules on origin characters, and which systems run separately for each player.
Baldur's Gate 3 Approval: Thresholds and Romance Numbers
The approval bar on a companion's character sheet shows you a category. The scripts behind it check integers, and the two do not line up — Gale's Mystra scene wants 36, Minthara's romance wants 31, and neither number has a band boundary anywhere near it. Here is the threshold table, the per-companion romance numbers the wiki documents, and the things that quietly cost you ten points.
Baldur's Gate 3 Saves: Where They Live, What Larian Deletes
Since 29 September 2026, Larian deletes cross-save copies older than six months. Your own drive was never part of it. Here is where Baldur's Gate 3 actually keeps a campaign on each platform, how cross-save moves one between machines, and the Honour Mode and Custom rules that turn a whole run into one file.
Baldur's Gate 3 Camp Supplies: What to Carry and Sell
A Grilled Steak weighs 3 kilograms and pays 8 Camp Supplies. A Poutine weighs a quarter of a kilogram and pays 20. Both are just "food" in your inventory, and the game never shows you the ratio. Here are the supply-per-kilogram and supply-per-gold numbers from bg3.wiki item data, and the camp chest trick that makes most of the carrying argument moot.
Baldur's Gate 3 Beginner Guide: What Nobody Tells You
The tutorial teaches you to move and attack. It does not teach you that advantage is worth more than any weapon you will find in Act 1, or that Withers will rebuild your entire character for 100 gold. Here is the actual onboarding.

Baldur's Gate 3 Inspiration: What You Can Actually Reroll
Inspiration can stop paying out without telling you. The pool is shared across the party, it caps at four, and a trigger you hit while full gives you the experience and nothing else. Here is the cap, the exact list of rolls the "Roll Again" button will and will not touch, and the enumerated count of how many inspiration goals bg3.wiki lists for each of the twelve backgrounds.