Baldur's Gate 3 Illithid Powers Guide: Which Tadpoles Are Worth Eating
Most players eat two tadpoles, get spooked, and stop. Here is the full skill tree with real numbers, the two free powers that cost nothing, and the spending order that gets you a guaranteed crit by Act 2.
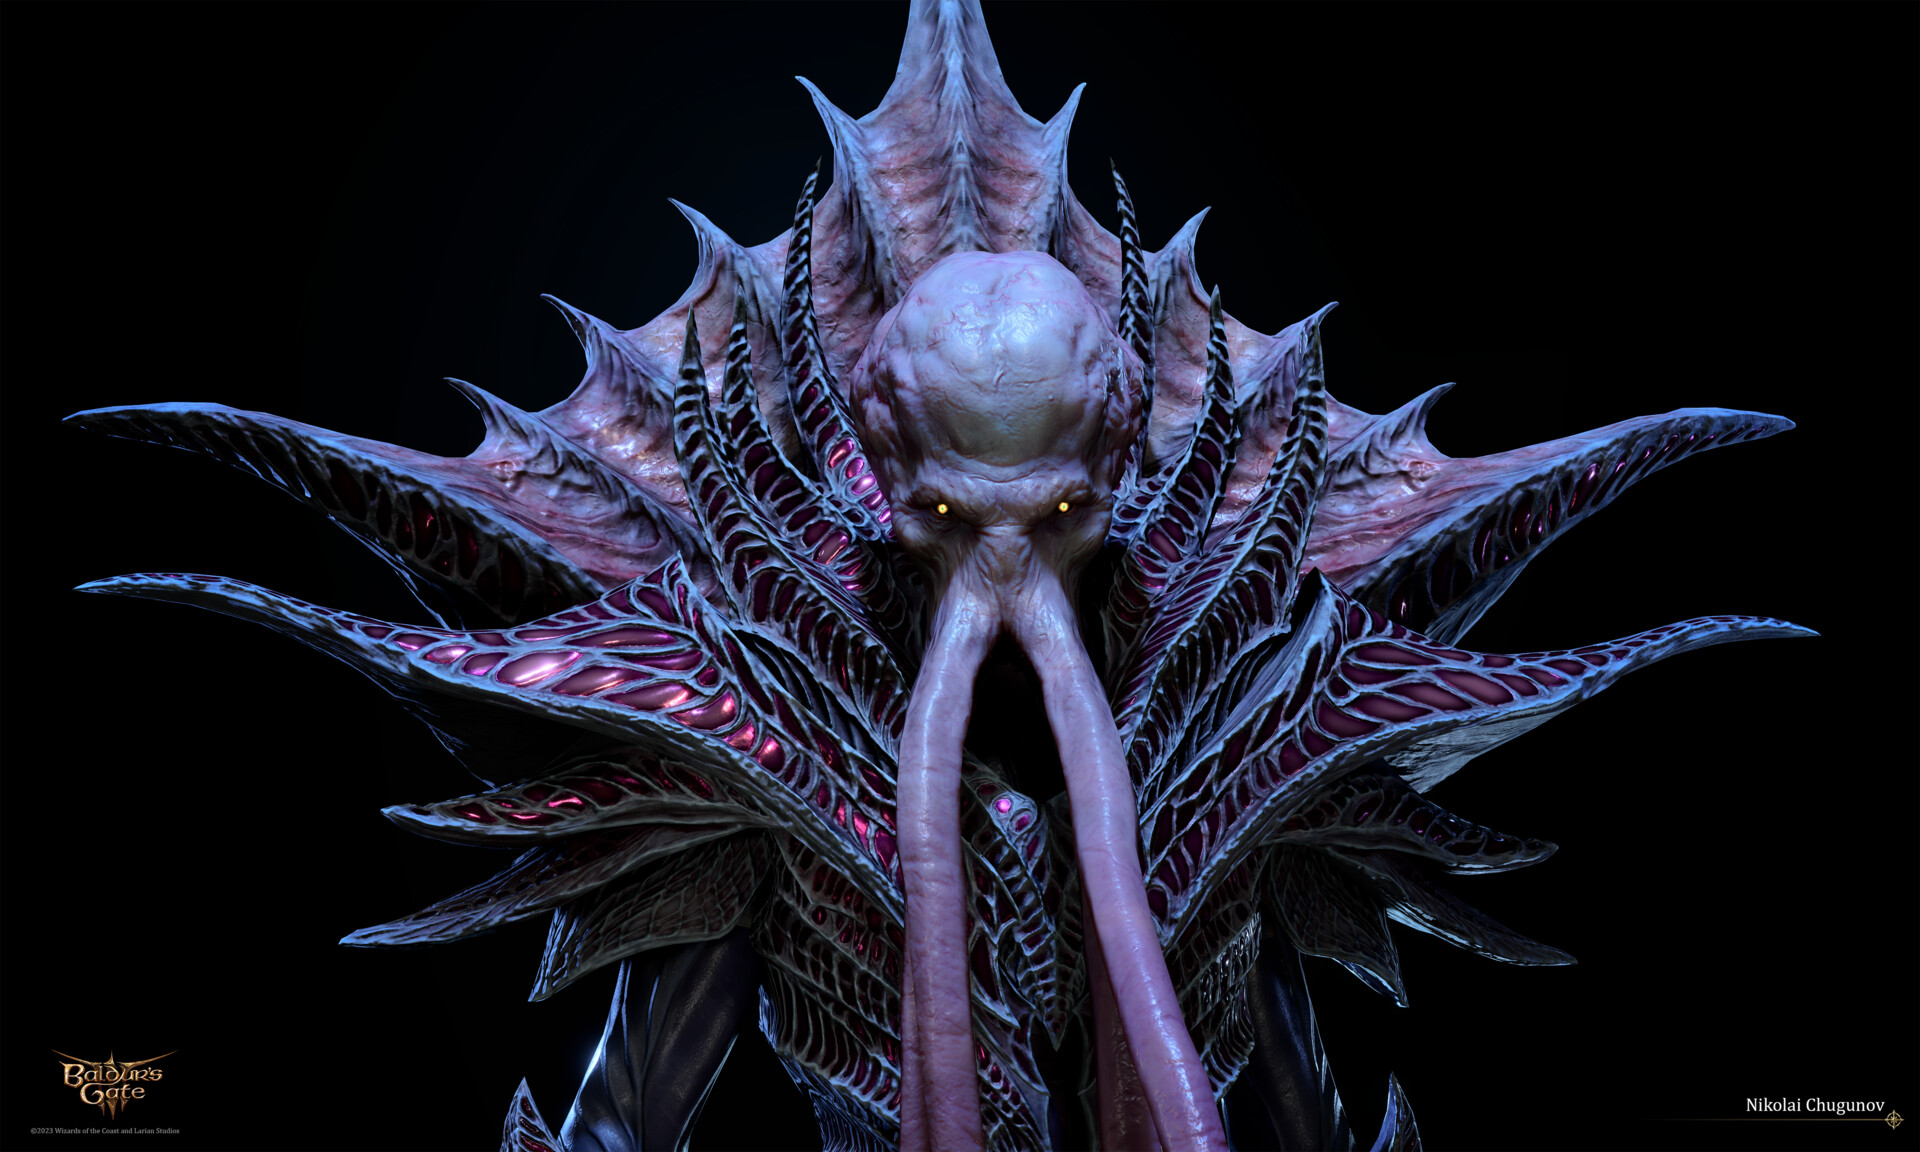
There is a version of this argument you have heard already. Eating tadpoles is bad, Lae'zel will glare at you, the worm in your skull is not your friend. That is a roleplay argument, and it is a perfectly good one.
This is not that argument. This one is about the numbers, and the numbers say most players open the illithid tree twice, buy something safe, get nervous, and never touch it again — which means they walk past a reaction that turns any hit into a critical, and a free passive that makes every psionic ability a bonus action.
Here is the whole tree with real values, the two powers that cost zero tadpoles, and a buy order that stops you wasting them.
How the tadpole system actually works
Illithid powers are bought with Mind Flayer Parasite Specimens — tadpoles you pull off corpses, loot from jars, and take off True Souls. One tadpole buys one node.
The tree does not open immediately. It unlocks during Embrace Your Potential, which fires at the Long Rest after you cross the bridge toward the Goblin Camp in Act 1. Before that, tadpoles sit in your inventory looking damp. After it, any tadpole you pick up goes straight into the power interface.
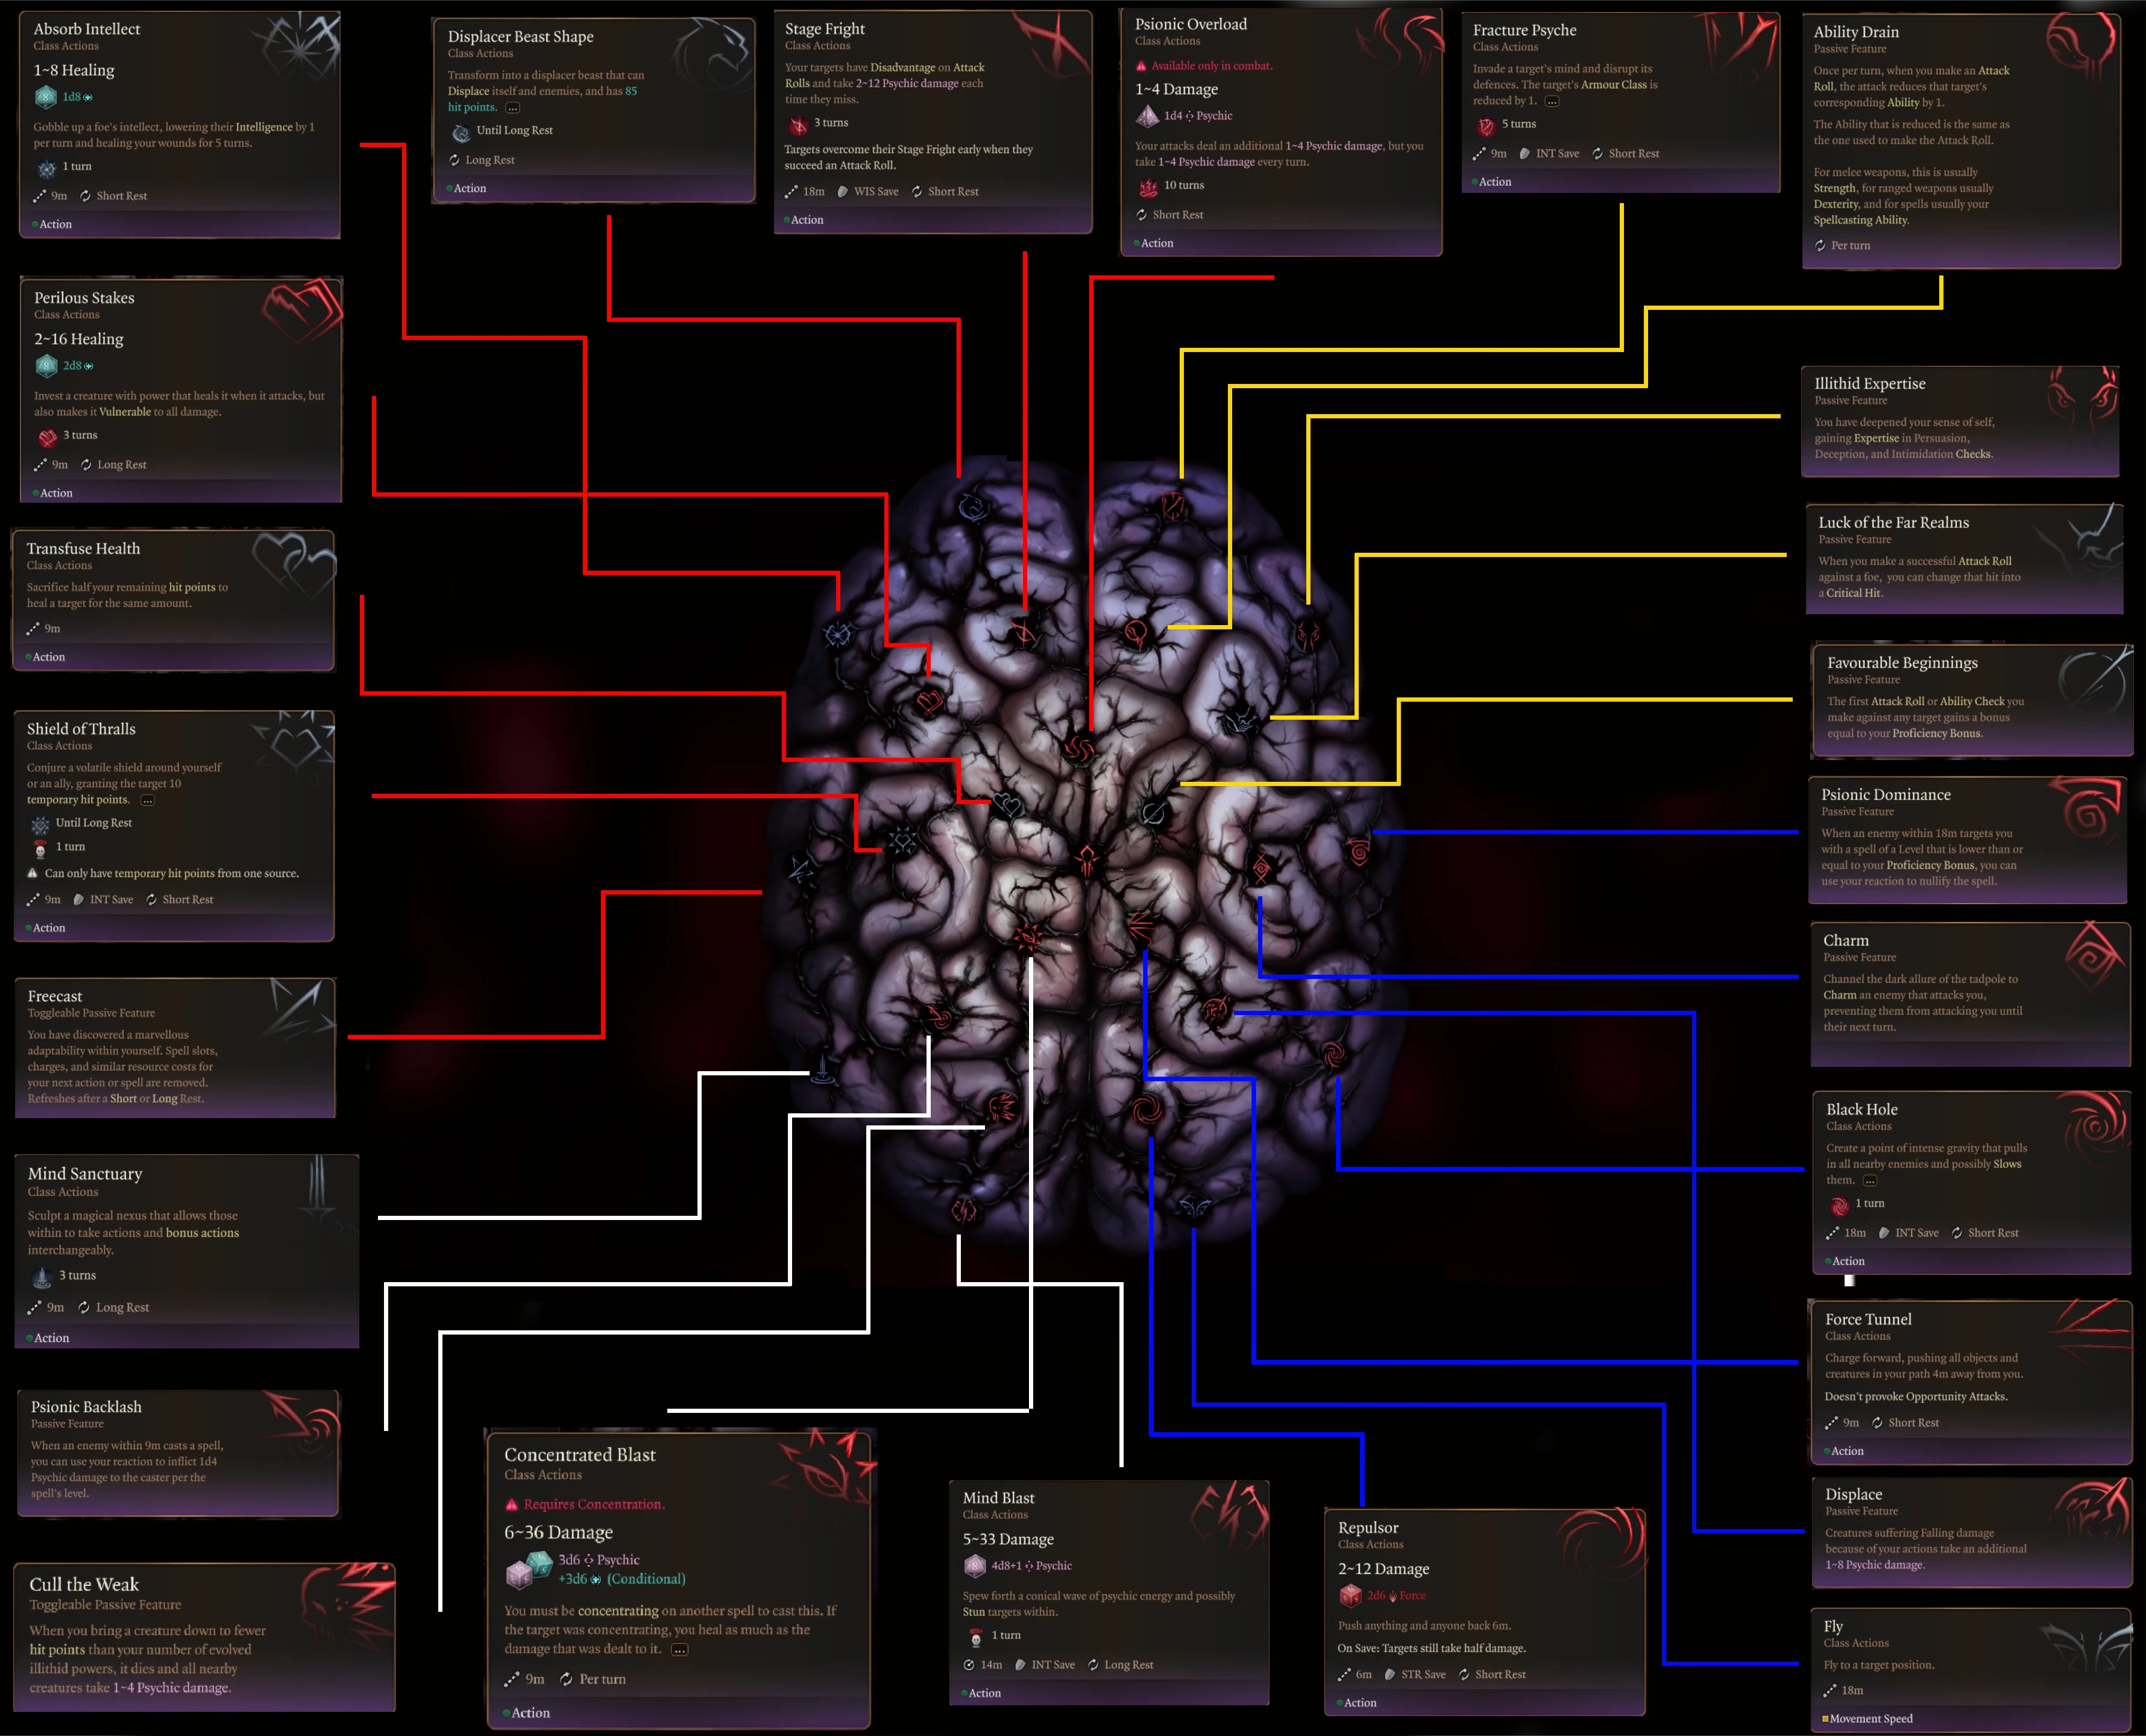
The layout is three rings:
- Outer ring — always available, no prerequisites. Illithid Persuasion, Psionic Overload, Favourable Beginnings, Force Tunnel, Concentrated Blast, Transfuse Health, Stage Fright.
- Middle ring — each node requires a specific outer-ring power first. Luck of the Far Realms, Cull the Weak, Shield of Thralls and Perilous Stakes live here.
- Partial-illithid ring — locked behind the Astral-Touched Tadpole in Act 3. Freecast, Mind Sanctuary, Psionic Dominance, Black Hole, Mind Blast, Displacer Beast Shape.
The prerequisites are what people get wrong. You cannot skip to the good stuff — you buy an outer-ring node to open the middle-ring node behind it, which is exactly why the spending order at the bottom of this post matters.
The tadpole economy: you will not run out
The most common mistake is hoarding. Players treat tadpoles like scarce currency and finish the game with a dozen unspent, having never bought the thing they wanted.
Check the wiki's location list and the distribution is lopsided: roughly six tadpoles in Act 1, about four in Act 2, and eighteen or more scattered through Act 3 across Rivington, Wyrm's Crossing and the Lower City, plus everything you strip off dead True Souls. Well over two dozen across a campaign, against a tree that does not have two dozen nodes worth owning. Spend freely. The bottleneck is prerequisite chains, not supply.
One piece of housekeeping: Halsin, Jaheira and every hireling cannot use tadpoles at all, because they were never infected. Astarion, Gale, Wyll and Minthara take them without argument. Karlach, Lae'zel, Shadowheart and Minsc need talking into it. Plan your party around that if you want the whole squad flying in Act 3.
Luck of the Far Realms is the whole reason to do this

Reaction. Once per Long Rest. Change a successful attack roll into a critical hit.
That is the entire text, and it is absurd. There is no save, no roll, no condition beyond the attack already having landed. You get to pick the moment.
Think about what that is worth on the right build. A Champion Fighter Action Surging into a boss. A Paladin dumping a level 5 Divine Smite, since a crit doubles the smite dice and not just the weapon dice. A Sorcerer landing a Quickened attack-roll spell with every rider your gear can stack. You are not buying a percentage bump; you are buying one guaranteed maximum-value turn per rest, on the turn you choose.
Its prerequisite is Favourable Beginnings, an outer-ring node that is mildly good on its own: your first attack roll or ability check against any given target gets a bonus equal to your proficiency bonus, once per target per combat. The ability-check half is narrower than it reads — in practice it only applies to Deception and Persuasion, not the full skill list.
Two tadpoles takes you from nothing to a guaranteed crit. On a four-person party that is four guaranteed crits per Long Rest, which is a different game in a boss fight. Buy this before anything else.
The other early picks that earn their slot
Transfuse Health (action, per turn) sacrifices half your current hit points to heal an ally for the same amount. On a Barbarian with rage resistance and a big pool, that is a healing engine costing no spell slots. It is also the gate to Shield of Thralls, which is the gate to Freecast, so you are buying it eventually regardless.
Force Tunnel (action, short rest) shoves creatures 4m away. Modest alone, but it opens Displace, which makes any creature taking falling damage eat an extra 1d8 psychic. If you worked out early that shoving things off cliffs is the strongest build in the game, Displace upgrades your whole strategy for one tadpole.
Concentrated Blast (action, per turn) deals 3d6 psychic at 9m with no attack roll and no saving throw, so it cannot miss, and it heals you for the damage dealt if the target was concentrating. The catch: you must be concentrating yourself to use it, and casting it ends that concentration.
Cull the Weak is the sleeper. Toggleable passive: when you bring a creature below hit points equal to your number of unlocked illithid powers, it dies outright, and everything nearby takes 1 to 4 psychic. Own fifteen powers and anything under 15 HP evaporates on contact, which deletes a whole round of cleanup in a late-game fight full of chaff. One warning that has ruined runs — it is mutually exclusive with Non-Lethal Attacks. Turning one on turns the other off, so check your toggles before any fight you meant to end with a knockout.
The Astral-Touched Tadpole and the word that saves your run
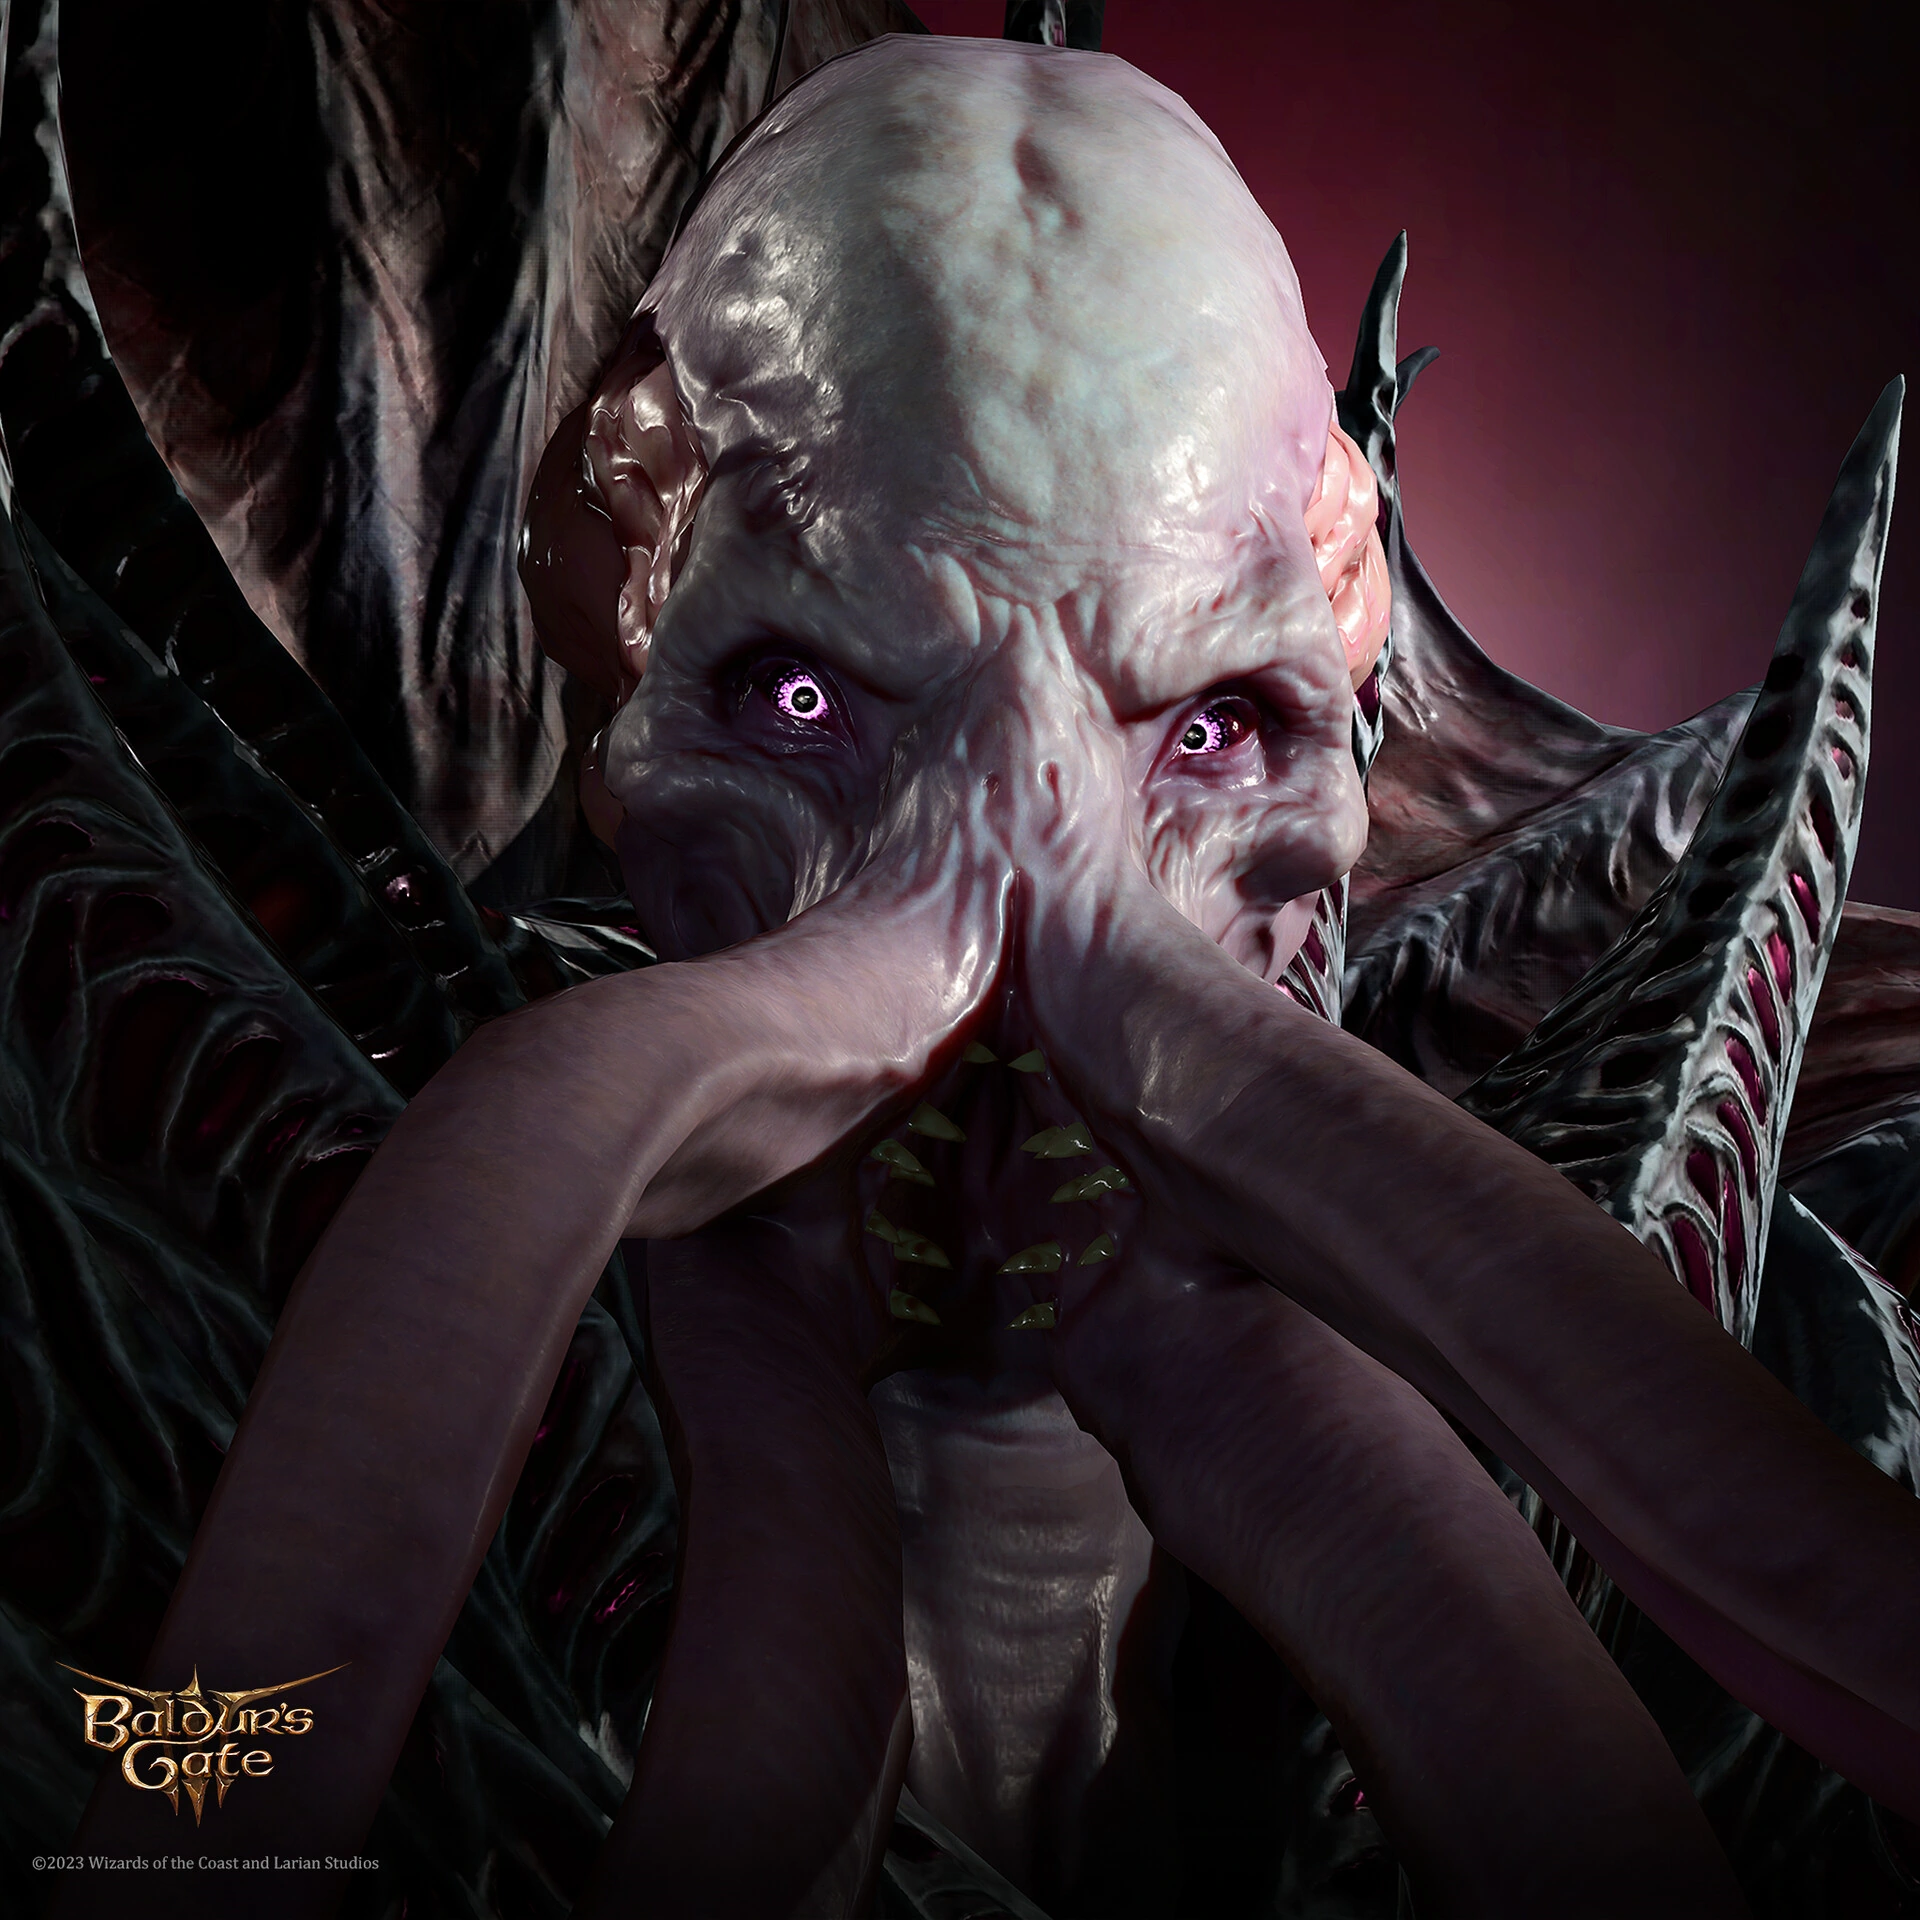
At the start of Act 3, after you defend the Emperor from Orpheus' Honour Guard in the Astral Prism, it hands you the Astral-Touched Tadpole. Consuming it makes you a partial-illithid and immediately grants six powers: Concentrated Blast, Favourable Beginnings, Fly, Force Tunnel, Psionic Overload and Transfuse Health.
Two details do most of the work here.
First, it refunds. For every one of those six powers you already unlocked, you get a normal tadpole back. The outer-ring nodes you bought in Act 1 to reach Luck of the Far Realms are not sunk cost. Middle-ring purchases are not refunded.
Second — and this is the one that catches people — you do not have to eat it. The tadpole can be eaten, destroyed, or communed with. Eating it consumes the item and nobody else gets it. Communing lets multiple infected party members take the transformation from the same tadpole. If you want your whole party partial-illithid, and you should, commune. Fly alone justifies it: at-will repositioning that costs only movement, on four characters, in a game where verticality decides half the encounters.
Partial-illithid powers, ranked by how badly they break the game
Freecast
Toggleable passive, recharges on Long Rest. Spell slots, charges, and similar resource costs for your next action or spell are removed.
Read that again. One free casting of anything, every Long Rest, per character. A free level 6 spell. A free Action Surge. A free Divine Smite at your top slot. On a full party of partial-illithids that is four free top-end resources every rest.
There is a short exclusion list — Arcane Arrow, Bladesong, Cosmic Omen, Fungal Infestation Charge, Star Map and Writhing Current charges are not refunded — but nearly every resource that matters is. Its prerequisites are Shield of Thralls (10 temporary hit points, action, short rest) or Mind Sanctuary. Take the Shield of Thralls route; it is cheaper.
Mind Sanctuary
Action, Long Rest, 3 turns, 3m radius. Everyone standing inside can use actions and bonus actions interchangeably.
It affects allies, so that is Action Surge nonsense for the whole party in one bubble. Cast a levelled spell with your bonus action. Attack twice with your bonus action. Its prerequisite is Psionic Backlash or Freecast, and you are already buying Freecast. Note that in Honour Mode it behaves differently, granting Hastened and clearing other speed conditions instead — still strong, just not the same ability.
Psionic Dominance and Black Hole
Psionic Dominance is a reaction, once per Long Rest, that nullifies any spell an enemy targets you with at a level equal to or below your proficiency bonus — up to level 4 for most characters. That covers a startling amount of what actually kills you in Act 3.
Black Hole is an action on a short rest: 18m range, 9m radius, pulls everything 6m toward the centre with no saving throw, and anything failing an Intelligence save is Slowed for a turn. Slowed here means halved movement, minus 2 to AC and Dexterity saves, no reactions, one attack per turn, and only an action or a bonus action rather than both. Vacuum a room into one pile, Slow half of it, drop an AoE on the pile.
Black Hole needs Displace or Psionic Dominance. Psionic Dominance needs Charm or Black Hole. Charm needs Favourable Beginnings — which you bought in Act 1 for Luck of the Far Realms. The tree is more connected than it looks once you know where to start.
Powers that look great and are not
Psionic Overload. Action, short rest, 10 turns or until combat ends. Your attacks deal an extra 1d4 psychic, and you take 1d4 psychic every turn. The bonus applies per attack roll, including every beam of Eldritch Blast, which is why it has a reputation. But non-attack-roll spells like Magic Missile get nothing, and the self-damage triggers a concentration check every single turn. If you are a Wizard holding Haste, this ability exists to break your concentration on turn three. It also breaks Sanctuary on you. Martials with Extra Attack, yes. Concentration casters, no.
Perilous Stakes. Action, Long Rest, 3 turns, 9m. The target heals 2d8 when it attacks but becomes Vulnerable to all damage. Outside Honour Mode you can throw this on an enemy, and doubling incoming damage on a boss for three rounds is a comically good trade for one action. In Honour Mode it only affects allies, turning a boss-melter into a strange self-buff. Same node, completely different value by difficulty — do not apply an Honour Mode guide's rating to your Balanced run, or the reverse.
Illithid Persuasion. Compels cultists of the Absolute in dialogue. Flavourful, occasionally skips a fight, but it is not competing with a guaranteed critical hit. Buy it once you have spare tadpoles rattling around, which you will.
Two powers that never cost you a tadpole
Awakened. "You can use all of your Illithid Powers as a Bonus Action." A passive that applies to every ability in this article, and it costs nothing. You get it from the zaith'isk in the githyanki infirmary at Creche Y'llek: either climb in yourself and succeed all three saving throws, or let Lae'zel use it and succeed the Arcana check in the third stage. Everything in our Honour Mode tips about saving before scripted set pieces applies here.
Converting Black Hole, Mind Sanctuary and Psionic Overload from actions to bonus actions is the biggest action-economy swing in the game that does not involve Haste. It is in Act 1. Most players walk past it.
Survival Instinct. Action, short rest, 18m, lasts 3 turns. Infuse a creature so that when it hits 0 hit points it heals 3d4 instead of falling unconscious, and it keeps its actions, bonus action and movement. A free extra life on your front-liner, handed over as a reward for Help Omeluum Investigate the Parasite in the Myconid Colony. No tadpole spent.
What going half-illithid actually costs
Honest accounting, because this is the part guides oversell in both directions.

The concrete, verifiable cost is cosmetic and permanent: partial ceremorphosis gives you darkened eyes and prominent black veins across your whole body, and the Magic Mirror cannot undo it. If you spent two hours in character creation, know that going in.
The other cost is social. Companions have opinions about the worm in your head, and several need persuading before they will touch a tadpole themselves. But becoming a partial-illithid does not force full ceremorphosis on you — turning into an actual mind flayer is a separate, explicit choice at the very end of the game, and you will know when it is offered.
So the real question is not whether this ruins your run. It is whether you want your Tav walking the Lower City with black veins on their face. If you are already squeezing damage out of a multiclass build or picking feats for a breakpoint, the illithid tree is worth more than any single feat you are weighing.
A spending order that works
Assuming a martial or half-caster chasing the strongest available result:
- Favourable Beginnings (Act 1, outer ring). Refunded later.
- Luck of the Far Realms (Act 1, middle ring). Your guaranteed crit.
- Transfuse Health (Act 1, outer ring). Refunded later. Opens Shield of Thralls.
- Force Tunnel (Act 1, outer ring). Refunded later. Opens Displace.
- Displace (Act 1 or 2). Extra 1d8 on falling damage, and the gate to Black Hole.
- Concentrated Blast into Cull the Weak (Act 2). Blast is refunded later. Mind the Non-Lethal Attacks conflict.
- Astral-Touched Tadpole, communed with (Act 3). Everyone flies, and four earlier purchases come back as tadpoles.
- Shield of Thralls, then Freecast (Act 3). The free top-level resource every rest.
- Mind Sanctuary (Act 3), off Freecast.
- Black Hole, then Psionic Dominance (Act 3). Crowd control and counterspell.
Spellcasters should skip Psionic Overload entirely and run Favourable Beginnings into Luck of the Far Realms, then straight down the Freecast and Mind Sanctuary line.
First campaign and the terminology is going past you? Our Baldur's Gate 3 beginner guide covers the fundamentals. The tree will still be there in Act 3.
Quick Action Checklist
- Buy Favourable Beginnings, then Luck of the Far Realms, as early as possible. Two tadpoles for a reaction that turns any successful attack into a critical hit, once per Long Rest.
- Get Awakened at Creche Y'llek. Free passive that makes every illithid power a bonus action. Succeed all three zaith'isk saves yourself, or the third-stage Arcana check if Lae'zel is in the machine.
- Do the Omeluum parasite quest for Survival Instinct: a creature at 0 HP heals 3d4 and keeps its turn instead of going down.
- Commune with the Astral-Touched Tadpole, do not eat it. Communing lets multiple infected party members transform from the same tadpole, and it refunds one tadpole per outer-ring power you already own.
- Freecast is the best partial-illithid node. One action or spell per Long Rest costs no resources at all. Reach it through Shield of Thralls.
- Mind Sanctuary lets everyone inside a 3m bubble swap actions and bonus actions for 3 turns. Grants Hastened instead in Honour Mode.
- Skip Psionic Overload on concentration casters. The 1d4 self-damage forces a concentration check every turn and breaks Sanctuary.
- Perilous Stakes only targets allies in Honour Mode. Outside it, the power makes an enemy Vulnerable to all damage for 3 turns.
- Cull the Weak and Non-Lethal Attacks cannot both be on. Check before any fight you meant to end with a knockout.
- Halsin, Jaheira and hirelings cannot use tadpoles, and the transformation is cosmetically permanent — the Magic Mirror will not remove the veins.
Frequently Asked Questions
What is the best illithid power in Baldur's Gate 3?
Do you have to eat the Astral-Touched Tadpole in Baldur's Gate 3?
Does using tadpoles turn you into a mind flayer in Baldur's Gate 3?
How do you get Awakened in Baldur's Gate 3?
How many tadpoles are there in Baldur's Gate 3?
Which companions can use illithid powers in Baldur's Gate 3?
Is Psionic Overload good in Baldur's Gate 3?
Keep Reading
Related Guides
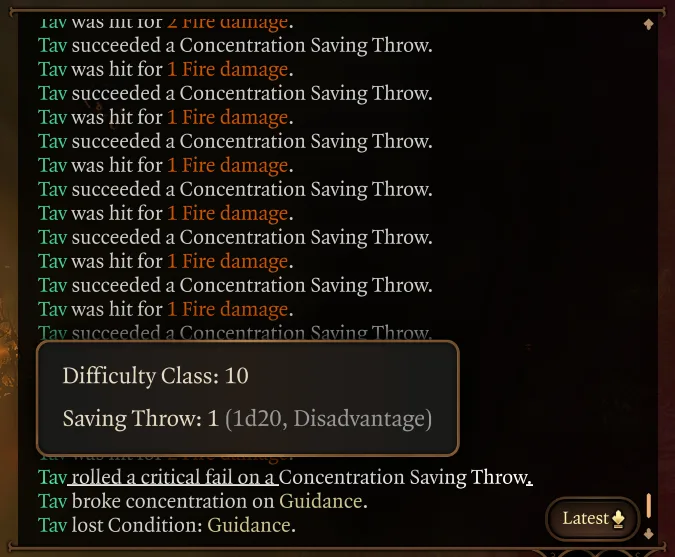
Baldur's Gate 3 Concentration: Why Your Spell Dropped
Baldur's Gate 3 ends concentration in more ways than the tabletop rules do: a natural 1 fails the save whatever your bonus, falling Prone ends it with no roll, and casting a second concentration spell after Haste on yourself costs you both. Here is what breaks it, temporary hit points and Rage included, the gear and feats that hold it, and the spells BG3 stopped making you concentrate on.
Baldur's Gate 3 Stealth: Where You Stand Beats the Roll
Baldur's Gate 3 only rolls a hiding character's Stealth in one of its three obscurity states; the other two decide whether you are found before Dexterity gets a vote. Here is how obscurity and darkvision work, why Fog and Darkness are different tools, what breaks Hiding, and the gear that switches on in the dark.

Baldur's Gate 3 Death Saves: What Actually Kills You
Baldur's Gate 3 keeps the tabletop shape of death saving throws and rewrites the details: no massive-damage deaths, no natural-20 comebacks, and failures that survive stabilising. Here is what kills a Downed character, what stops it, and what each way back from the dead costs.

Baldur's Gate 3 Initiative and Surprise: How to Go First
Tabletop D&D rolls initiative on a d20. Baldur's Gate 3 rolls it on a d4, which turns a +5 from Alert from a nudge into something close to a guarantee. Here is how turn order is built, what Surprised takes away, and the line-of-sight rule that decides whether your ambush gets a surprise round at all.
Baldur's Gate 3 Beginner Guide: What Nobody Tells You
The tutorial teaches you to move and attack. It does not teach you that advantage is worth more than any weapon you will find in Act 1, or that Withers will rebuild your entire character for 100 gold. Here is the actual onboarding.

Baldur's Gate 3 Wild Shape: It Can Kill You With No Save
An Owlbear form shows 65 hit points on a bar that looks nothing like your character sheet. That number is a mask, not a shield — bg3.wiki's own Wild Shape page spells out exactly what happens when it runs out, and it is not a knockdown. Here is the charge economy, what carries over and what shuts off, and the overflow rule that can end a character with no down-and-dying phase at all.