Baldur's Gate 3 Death Saves: What Actually Kills You
Baldur's Gate 3 keeps the tabletop shape of death saving throws and rewrites the details: no massive-damage deaths, no natural-20 comebacks, and failures that survive stabilising. Here is what kills a Downed character, what stops it, and what each way back from the dead costs.
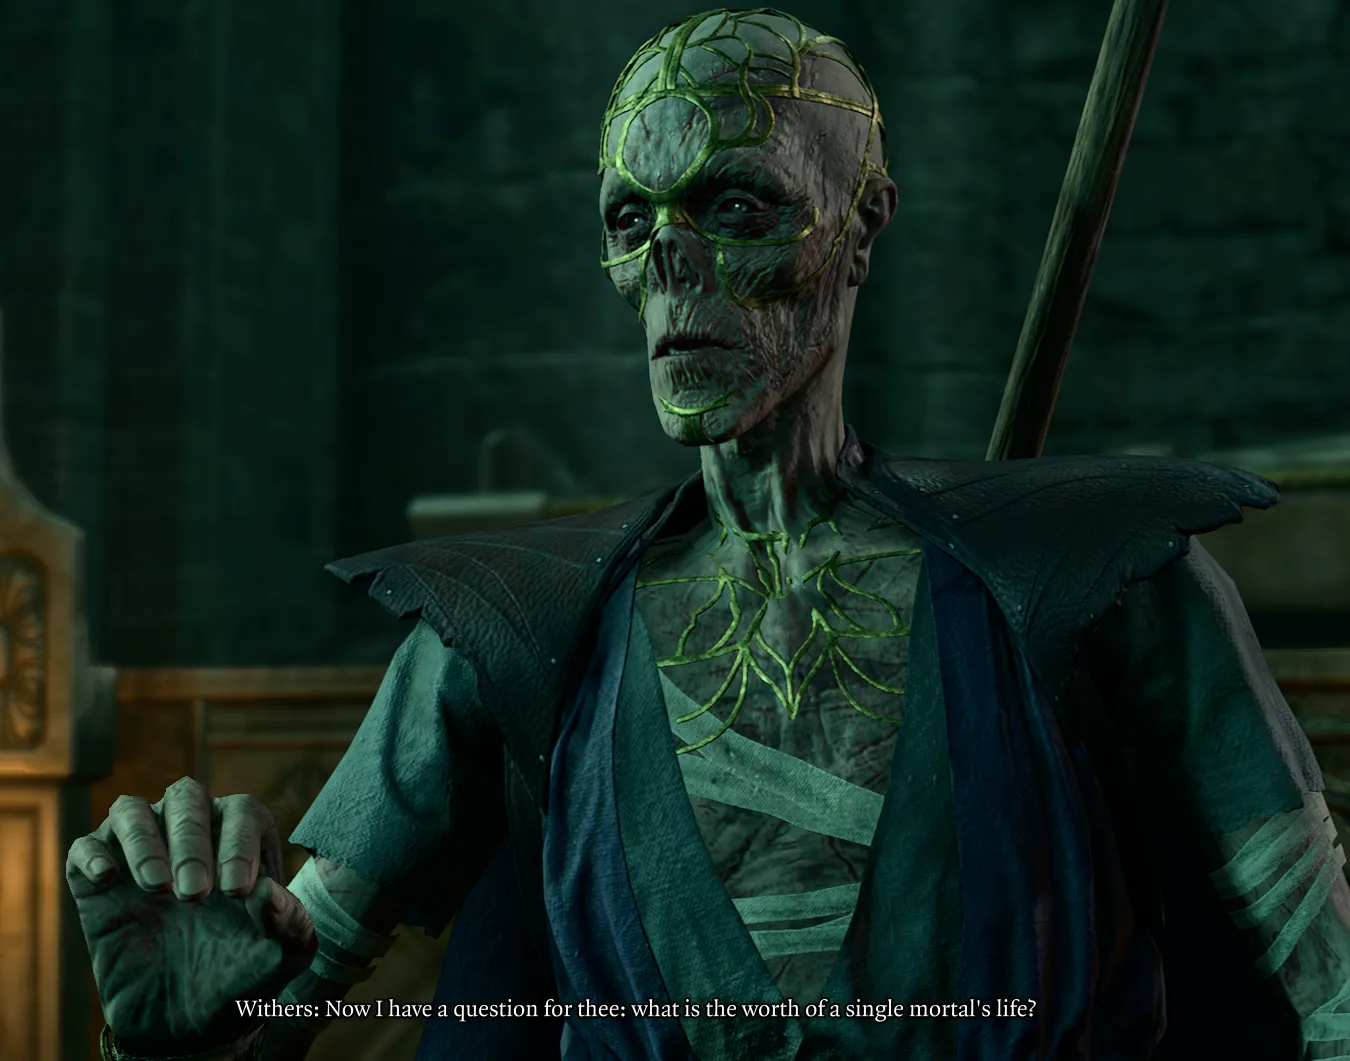
Three darts of Magic Missile will kill a Downed party member. Not push them closer to dying — kill them, from a clean death-save tracker, in one enemy action, unless Death Ward is up. Each dart is its own damage application, each application is an automatic failed death saving throw, and three failures is death.
That is the shape of the whole system. Baldur's Gate 3 keeps the tabletop skeleton of death saves — a d20, DC 10, first to three of a kind — and then quietly rewrites the parts tabletop players lean on. A natural 20 does not stand you up. A natural 1 costs one failure, not two. Stabilising does not wipe your failures. And no amount of leftover damage skips the Downed state for a party member unless it spills through a Wild Shape form.
Here is what happens between 0 hit points and Withers' ledger, taken from bg3.wiki's Death saving throw, Downed, Dead, Difficulty and D&D 5e rule changes pages. Where I have done arithmetic on top of them, I say so.
Zero hit points means Downed, and only for your side
When a party member hits 0 hit points they become Downed: unconscious, and rolling death saving throws. bg3.wiki's rule-changes page is explicit that this happens regardless of whether the remaining damage exceeds their hit point maximum. The tabletop massive-damage rule — leftover damage equal to or greater than your maximum HP kills you outright — does not apply to your party.
The wiki names the ways around it: a Wild Shape form whose overflow damage then drops your real hit points to 0 (our Wild Shape guide covers that one), falling or being pushed into a chasm, and story events.
Almost nobody else gets a Downed state. Per the Death saving throw page, death saves are typically rolled only by player characters, companions and certain notable NPCs. Most enemies simply die at 0 hit points, and the Dead condition page adds that non-playable characters cannot be revived after dying.
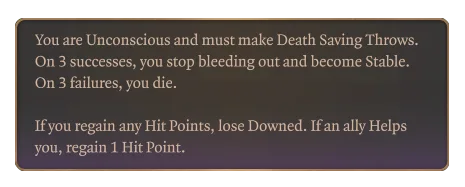
Downed also sits in the game's Unconscious and Incapacitated status groups, and bg3.wiki's Concentration page lists Downed among the conditions that end concentration with no save. Your Cleric's Bless ends the moment the Cleric hits the floor.
How the death saving throw actually rolls
The rules, from the Death saving throw and Dice rolls pages:
- One roll per round, and it uses the Downed character's whole turn.
- It is a d20 against a flat DC 10. Ten or higher is a success, nine or lower a failure.
- No ability modifier and no proficiency bonus. The roll is not tied to any ability score, and nobody can be proficient in it.
- What does add: saving-throw bonuses from conditions — the wiki names Bless and a Paladin's Aura of Protection — and items that specifically boost death saves, such as the Family Ring.
- What stopped adding: as of Hotfix #6, generic saving-throw bonuses from items are excluded. The wiki's example is the Safeguard Shield.
- Three successes make you Stable — still unconscious, no longer rolling. Three failures and you are Dead.
- A natural 1 is one failure. A natural 20 is one success. Neither does anything extra, which the rule-changes page flags as a departure from tabletop.
One more interaction for Paladins: Aura of Protection's page says the aura disappears if the Paladin falls Unconscious, and the Downed tooltip opens with "You are Unconscious". The aura helps a Downed Wizard lying near a conscious Paladin. It does nothing for the Paladin on the floor.
Stable is not safe
The Death saving throw page says a stabilised character keeps its current failure count. Its own example: one failure and three successes means two more failures kill that character, Stable or not — and, as the next section covers, failures do not only come from dice. The counts reset when the character is healed or Helped, which makes Stable a pause rather than a rescue.
The odds if nobody touches them
Left alone and never hit, how often does a Downed character stabilise before dying? Working the rules through — my arithmetic, not the wiki's, and it assumes nothing damages them while they roll:
| Death save bonus | Chance per roll | Stabilises before dying |
|---|---|---|
| Nothing | 55% | 59.3% |
| Family Ring (+2) | 65% | 76.5% |
| Bless (+1d4) | 67.5% | 80.2% |
| Aura of Protection from a Charisma 16 Paladin (+3) | 70% | 83.7% |
| Family Ring and Bless | 77.5% | 92.1% |
| Advantage (Beacon of Hope) | 79.75% | 94.0% |
| Tarnished Charm (DC 5 instead of 10) | 80% | 94.2% |
The top row is the one to remember. A Downed character with no help dies about four times in ten from the dice alone, and takes three to five of its own turns to find out which way it went.
Every hit on the floor is a failed save
The tooltip's "On 3 failures, you die" undersells how fast failures arrive, because rolling is not the only source of them.
- Any damage to a Downed character is one automatic failed save, per the Downed condition page.
- A critical hit is two. And melee attacks against a Downed target are always critical hits, so each melee hit costs two. Our critical hits guide has the rest of that rule.
- Ranged damage fails one save per damage application. That is the Magic Missile problem from the top: the wiki's worked example is three darts, three failed saves, dead. The wiki's Death Ward notes say the same per-hit behaviour appears to apply to multi-hit spells such as Scorching Ray and Eldritch Blast.
Add it up. One enemy melee hit plus one bad roll kills. Two melee hits kill. And on Tactician — or Honour, which uses Tactician's enemy-aggression setting — the Difficulty page says enemies are more aggressive, including attempting to finish off downed characters. On those settings, "they'll probably stabilise" is not a plan; it is the 59% row above with an enemy standing over it.
Getting a Downed ally back up
Any healing at all removes Downed, and so does the Help action. The options, roughly cheapest first:
| Method | Cost | Range | Notes |
|---|---|---|---|
| Help | Action | 2 m | Back up at 1 hit point, no spell slot or item spent |
| Help (Beast Master companion) | Companion's bonus action | 1.5 m | Needs Exceptional Training, Ranger level 7 |
| Potion of Healing, thrown | Action (Throw) plus the potion | Throw range | Heals every living creature in a small area where it lands |
| Healing Word | Bonus action plus a level 1 slot | 18 m | Heals 1d4 + spellcasting modifier |
| Aid | Action plus a level 2 slot | 9 m around you | Its page notes Downed allies get back up with an extra hit point |
| Revivify | Action plus a level 3 slot | 9 m | Works on Downed companions as well as dead ones |
Three things the table does not say:
- Help is the default answer. It costs nothing but the action, and bg3.wiki's Help page lists the other conditions it clears — Burning, Prone, Sleeping, Enwebbed, Entangled, Dazed and Off Balance among them.
- Throw a potion at the ground, not the person. The Potion of Healing page advises landing it next to the target, because a direct hit applies the thrown object's damage before the healing. On a Downed ally, that damage is one more failed save.
- Temporary hit points do not count. The Hit points and Death saving throw pages both say temporary HP does not remove Downed, and the Death saving throw page adds that granting it is not the same as healing — so a temporary-HP effect will not get anyone up.
On a Downed ally, Revivify's case over Help is reach — 9 m against 2 m — and Healing Word reaches 18 m for a first-level slot and a bonus action.
Effects that stop you going down at all
Better than reviving someone is never needing to. bg3.wiki's Downed page keeps a table of effects that fire at 0 hit points and heal the character instead, and notes that when one triggers, the character also gets its action, bonus action, reaction and movement back — even if it happened on that character's own turn.
| Effect | Source | Heals for | Recharge or duration |
|---|---|---|---|
| Death Ward | 4th-level spell; Cleric 7, and a domain spell for Life and Death | 1 HP | Lasts until a Long Rest; one trigger |
| Relentless Endurance | Half-Orc | 1 HP | Long Rest |
| Strength of the Grave | Shadow Magic Sorcerer, level 1 | 1 HP | Long Rest |
| Relentless Rage | Barbarian 11, while raging | 1 HP | Short Rest |
| Survival Instinct | Illithid power from Help Omeluum Investigate the Parasite | 3d4 | Cast on an ally or yourself, 18 m; lasts 3 turns; Short Rest |
| Lathander's Blessing | The Blood of Lathander | 2d6, plus 1d6 to nearby party members | Long Rest |
| After Death Do Us Part | Rare ring carried by Oskar Fevras | Half your maximum HP | Long Rest; applies Shadow Possession, which its page says a bug removes as soon as the wearer is back up |
| Aegis Palms | The Reviving Hands gloves | 1 HP, through a Death Ward it grants to anyone the wearer revives | 2 turns |
The notes attached to those pages matter more than the rows:
- Death Ward and multi-hit attacks. The Death Ward and Magic Missile pages describe the same interaction: if the first dart would down the target, the second appears to land before Death Ward resolves, so the ward is spent after two darts and the target is left on 1 HP. For a warded party member, the wiki counts six darts to actually kill: two to burn the ward, one to down, three for three failed saves.
- Death Ward stays prepared or it goes. Dismissing the caster from the party does not remove it, but if a Cleric cast it, the spell must stay on that Cleric's prepared list — remove it and it drops off everyone they warded. The Hirelings page suggests leaving a hireling at camp to cast until-Long-Rest buffs such as Death Ward and Aid, so your main party's slots stay untouched.
- Chasms beat Death Ward and Lathander's Blessing. The Death Ward and Lathander's Blessing pages both note they do not protect against being shoved, thrown or otherwise forcibly moved into one.
- Lathander's Blessing is buggier than its tooltip. The wiki documents that the heal often lands smaller than stated — sometimes 1 hit point or just the 1d6 — that it does not fire if the wielder is not in the active party, and that its splash reaches active party members rather than every ally. The rest of the mace is in our legendary weapons guide.
- Aegis Palms has two bugs on its page. Its Death Ward does not apply when Revivify is cast on an ally who is already dead, only one who is Downed. And that version of Death Ward is not used up when it triggers, so it can fire repeatedly during its 2 turns.
Items that change the roll itself
These are the death-save items I found on bg3.wiki, plus a spell that does the same job.
| Item or spell | What it does to death saves | Where |
|---|---|---|
| Periapt of Wound Closure (rare amulet) | Automatically stabilises the wearer at the start of its turn while Downed | Sold by Lady Esther on the Rosymorn Monastery Trail |
| Tarnished Charm (uncommon amulet) | Fey Life lowers the DC from 10 to 5 | Carried by Auntie Ethel |
| Family Ring (uncommon ring) | +2 to death saving throws | A burrow down the cliff from Ellie May's grave at the Ruined Battlefield; a DC 10 Perception check reveals it |
| Absolute's Talisman (uncommon amulet) | Advantage on death saves, only if the wearer bears the Absolute's Brand | Worn by Priestess Gut in the Shattered Sanctum |
| Beacon of Hope (3rd-level Cleric spell) | Advantage on death saves for 10 turns to allies within 9 m when cast, plus maximum healing | Cleric level 5; concentration |
The Periapt skips the dice entirely, which puts it at the top of this list — but remember that Stable keeps its failures. Wound Closure removes bad rolls as a way to die. It does not remove enemies; any damage still adds failures to a stabilised character. Our accessories guide covers the amulet's other passive, which maximises every heal the wearer receives.
The Tarnished Charm is the quiet one. Dropping the DC to 5 turns a 55% roll into an 80% one, and by my arithmetic, stacking it with advantage from Beacon of Hope makes each roll 96%.
The Absolute's Talisman has a real prerequisite. Per bg3.wiki's Brand of the Absolute page, a party member gets branded by speaking to Priestess Gut in the Shattered Sanctum, or to Warlock Greez after that.
Dead: the ways back, and what they cost
Three failures makes a character Dead, and the Dead condition cannot be healed away. These are the resurrection routes bg3.wiki lists:
| Method | Cost | Comes back with | Notes |
|---|---|---|---|
| Revivify (spell) | Action plus a level 3 slot | 1 HP | Cleric from level 5, Paladin from 9, Bards through Magical Secrets; 9 m range |
| Scroll of Revivify | Action; single use | 1 HP | Common, base value 100; a starting item for most playable characters |
| The Reviving Hands | Action, once per Long Rest | 1 HP | Very rare gloves sold by Vicar Humbletoes at the Stormshore Tabernacle; medium armour proficiency |
| Scroll of True Resurrection | Action; single use | Full HP | Reward from Gale's In Case of Death... quest |
| Withers | 200 gold | — | At camp; no body needed |
Two rules cover all of them. First, there is no time limit. Tabletop Revivify only works on a creature that died within the last minute; bg3.wiki's rule-changes page says Baldur's Gate 3 has no time limit on resurrection, and that Withers does not need the corpse intact or present. Second, the magic is for companions. Revivify and both scrolls target companion characters, and the Dead page extends revival to the player character and hirelings — and rules out non-playable characters entirely.
Soul Echoes and missing bodies
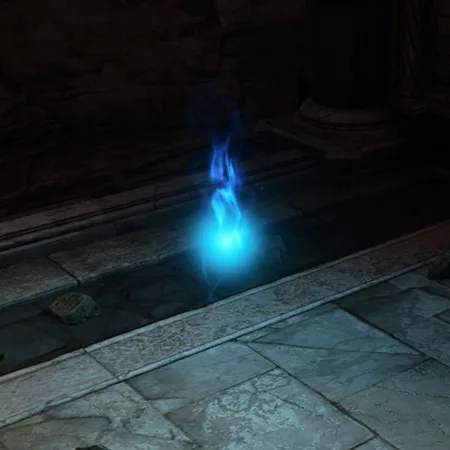
When a dead party member's body is not available — the wiki's example is one that went into a chasm — a Soul Echo appears near where they died instead: a floating blue flame, and a matching icon on their portrait. You can loot it like a corpse for everything in their inventory, but their equipped armour and weapons stay out of reach until they are resurrected. Any resurrection method works on the echo as if it were the body, and Withers can bring them back once you return to camp.
The cheapest Scroll of Revivify is a hireling
The scroll's base value is 100 gold, but a trader multiplies that. bg3.wiki's Trading page gives the price multiplier as 2.5 minus your Persuasion, difficulty and trader-attitude modifiers, with a floor of 1. On Balanced with zero Persuasion and zero attitude, that makes a shop-bought scroll 250 gold — more than Withers' flat 200 for the same resurrection. Grat the Trader in the Goblin Camp always stocks three, per his page, if you want them early anyway.
The Hirelings page points out the cheaper route: each hireling starts out with a Scroll of Revivify, and recruiting one from Withers, once you reach character level 3, costs 100 gold. The wiki frames it as a way to save money on twelve resurrections.
And if you want Withers' fee back, his page records that he keeps the gold he is paid in a pickpocketable inventory and does not react to failed attempts.
Who stays dead
Most NPCs. Most characters outside the party, important NPCs included, are killed outright at 0 hit points and cannot be resurrected. Toggle Non-Lethal Attacks, in the Passives section of the hotbar, makes melee and unarmed attacks that drop a creature to 0 knock it out instead. Its page is specific that spell damage still kills, and that it does not work on undead, constructs or oozes. It is not a general way to keep quest NPCs alive, though: the same page warns that under most circumstances the game treats a Knocked Out character as dead, and lists the specific cases where a knockout counts as sparing them, such as Minsc in the sewers and recruiting Minthara while siding with the refugees.
Some companions. The Dead page says that in most cases, companions who die before recruitment or during certain plot events cannot be revived, and that the temporary companions with scripted deaths — Alfira and Losiir — cannot either. Our companion recruitment guide covers which deadlines delete people for good.
The whole party. bg3.wiki's Game Over page lists its general trigger as every active party member dying, in or out of combat, after being Downed or going into a chasm. In an Honour Mode run, the Difficulty page says a party death leaves two options: continue in Custom mode, which ends Honour Mode, or end the campaign, which deletes the save.
Gale comes with a three-rest clock

The first time Gale dies after joining you, the quest In Case of Death... starts: a projection of him appears and warns that many lives depend on his return. The quest page is blunt about the stakes — on the third long rest after he dies, the game triggers a Game Over, and the Game Over page lists the same trigger.
Any resurrection satisfies the quest, a Scroll of Revivify included. Follow the protocol his projection sets out and the reward is a Scroll of True Resurrection, which you can spend on Gale or keep for any dead companion later. The quest page also documents edge cases — his pouch only spawns in the Wilderness region, so a first death on the Rosymorn Monastery Trail, in Crèche Y'llek or anywhere in Act Two does not trigger the projection or the quest, and a first death after his Netherese Orb is stabilised leaves the quest inaccessible — so treat a dead Gale as a resurrection that cannot wait.
Difficulty changes the stakes
- Explorer switches death saves off. bg3.wiki's Difficulty page lists the Custom setting "No death saving throws" as On for Explorer and Off for Balanced, Tactician and Honour. Its description: it stops player characters dying at 0 hit points, and they are stabilised until Helped.
- Custom mode makes it a toggle you can flip on for any Custom run.
- Tactician and Honour send enemies after the downed, per the aggression note covered above.
The tabletop rules that do not apply here
For anyone arriving from the table, this is the list to unlearn. The left column is the 2014 Basic Rules on D&D Beyond; the right is bg3.wiki's rule-changes and death saving throw pages.
| Rule | Tabletop 5e (2014) | Baldur's Gate 3 |
|---|---|---|
| Natural 1 on a death save | Two failures | One failure |
| Natural 20 on a death save | You regain 1 hit point | One success |
| Becoming stable | Successes and failures reset to zero | Failures carry over until healed or Helped |
| Leftover damage at least your max HP | Instant death | Downed anyway, except through Wild Shape overflow |
| The Help action | Gives an ally advantage | Gets a Downed ally up at 1 HP or clears conditions; grants no advantage |
| Revivify | Touch, 300 gp of diamonds, died within the last minute | 9 m, an action and a 3rd-level slot, no time limit |
| Monsters at 0 HP | Usually die, at the DM's discretion | Most die outright and cannot be resurrected |
Quick reference
- Party members go Downed at 0 HP no matter how much damage was left over. Wild Shape overflow, chasms and story events are the exceptions the wiki names.
- Death saves are a flat d20 against DC 10, once per turn, with no ability modifier or proficiency. Bless, Aura of Protection and death-save items apply; generic item save bonuses do not since Hotfix #6.
- Natural 1 is one failure, natural 20 is one success — no double failure, no free hit point.
- Stable keeps its failures. Only healing or Help resets the count.
- Any damage on a Downed character is a failed save, a crit is two, and melee hits on a Downed target always crit. Three Magic Missile darts kill from a clean tracker.
- Unaided and unharmed, a Downed character stabilises about 59% of the time by my arithmetic. Help them up instead.
- Help (action, 2 m) and any healing remove Downed. Temporary hit points do not.
- Death Ward, Relentless Endurance, Strength of the Grave, Relentless Rage, Survival Instinct, Lathander's Blessing, After Death Do Us Part and Aegis Palms stop the Downed state from happening, and restore that character's actions when they fire.
- Periapt of Wound Closure auto-stabilises; Tarnished Charm drops the DC to 5; Family Ring adds +2.
- Revivify, a Scroll of Revivify, the Reviving Hands, a Scroll of True Resurrection or Withers (200 gold) bring back the dead, with no time limit. A hireling costs 100 gold and carries a Scroll of Revivify.
- Most NPCs die at 0 and stay dead. Toggle Non-Lethal Attacks knocks them out with melee or unarmed attacks instead, but the game treats most knockouts as deaths outside a few listed quest cases.
- If Gale dies, resurrect him before the third long rest, or it is Game Over.
- Explorer has "No death saving throws" switched on; Tactician and Honour enemies try to finish off the Downed.
Frequently Asked Questions
How do death saving throws work in Baldur's Gate 3?
Does a natural 20 on a death save revive you in BG3?
How many hits does it take to kill a Downed character in Baldur's Gate 3?
How do you revive a Downed ally in Baldur's Gate 3?
How do you bring back a dead companion in Baldur's Gate 3?
Can your characters die on Explorer difficulty in BG3?
What is a Soul Echo in Baldur's Gate 3?
Keep Reading
- BG3 Wiki — Death saving throw: DC 10, no modifiers or proficiency, which bonuses apply, the Hotfix #6 item exclusion, Stable keeping its failures, ranged damage failing one save per application, and the resurrection methods
- BG3 Wiki — Downed condition: any damage is one failure, Help restores 1 HP, the Unconscious and Incapacitated status groups, and the table of effects that prevent being Downed
- BG3 Wiki — Dead condition: who can be revived, Soul Echoes, and the companions and NPCs who cannot
- BG3 Wiki — Dice rolls: death saving throws are once per turn, DC 10, crits on a Downed target count double and melee attacks against one always crit
- BG3 Wiki — D&D 5e rule changes: no instant death from damage for party members, the natural 1 and natural 20 changes, the Help action, and no time limit on resurrection
- BG3 Wiki — Difficulty: the No death saving throws setting by preset, Tactician enemies finishing off downed characters, and Honour Mode party death
- BG3 Wiki — Concentration: Downed is among the conditions that end concentration without a save
- BG3 Wiki — Aura of Protection: the saving throw bonus, and the aura disappearing when the Paladin falls Unconscious
- BG3 Wiki — Help: action, 2 m range, and the conditions it removes
- BG3 Wiki — Exceptional Training: Beast Master level 7 companions can Help as a bonus action
- BG3 Wiki — Help (bonus action): the animal companion version, 1.5 m range, removes Downed
- BG3 Wiki — After Death Do Us Part (passive): half HP on going Downed, and the bug that removes Shadow Possession at once
- BG3 Wiki — Healing Word: bonus action, 18 m, 1d4 + spellcasting modifier
- BG3 Wiki — Potion of Healing: thrown potions heal an area, and why to throw at the ground beside the target
- BG3 Wiki — Aid: Downed allies return to the fight with an extra hit point
- BG3 Wiki — Hit points: temporary hit points do not remove Downed
- BG3 Wiki — Death Ward: the 1 HP trigger, the multi-hit interaction, the prepared-spell rule and the chasm exception
- BG3 Wiki — Magic Missile: the dart-by-dart interaction with Death Ward and death saving throws
- BG3 Wiki — Relentless Endurance: Half-Orc, regain 1 HP instead of going Downed, once per Long Rest
- BG3 Wiki — Strength of the Grave: Shadow Magic Sorcerer level 1, once per Long Rest
- BG3 Wiki — Relentless Rage: Barbarian level 11, while raging, once per Short Rest
- BG3 Wiki — Survival Instinct: illithid power from Help Omeluum Investigate the Parasite, and its action restoration
- BG3 Wiki — Lathander's Blessing: 2d6 plus 1d6 to nearby party members, the active-party requirement, the chasm exception and the documented healing bugs
- BG3 Wiki — After Death Do Us Part: rare ring carried by Oskar Fevras, half HP on going down, Shadow Possession
- BG3 Wiki — Aegis Palms: Death Ward on revived creatures and its two documented bugs
- BG3 Wiki — Periapt of Wound Closure: automatic stabilisation while Downed, sold by Lady Esther
- BG3 Wiki — Tarnished Charm: carried by Auntie Ethel, Fey Life passive
- BG3 Wiki — Fey Life: lowers the death saving throw DC from 10 to 5
- BG3 Wiki — Family Ring: +2 to death saving throws, and its burrow near Ellie May's grave
- BG3 Wiki — Absolute's Talisman: advantage on death saves for a wearer with the Absolute's Brand, worn by Priestess Gut
- BG3 Wiki — Brand of the Absolute: branded by Priestess Gut, or Warlock Greez afterwards
- BG3 Wiki — Beacon of Hope: advantage on Wisdom and death saving throws and maximum healing, concentration
- BG3 Wiki — Revivify: action and level 3 slot, 9 m range, Dead or Downed companions, and which classes learn it when
- BG3 Wiki — Scroll of Revivify: base value 100, companions only, starting item for most playable characters
- BG3 Wiki — The Reviving Hands: Revivify once per Long Rest, sold by Vicar Humbletoes
- BG3 Wiki — Scroll of True Resurrection: full HP, reward for In Case of Death...
- BG3 Wiki — Withers: 200-gold resurrections and the pickpocketable fee
- BG3 Wiki — Hirelings: 100 gold each, each starts with a Scroll of Revivify, and camp buffers
- BG3 Wiki — Soul Echo: what appears when a body is unavailable, and how to loot and revive it
- BG3 Wiki — Trading: the price modifier formula, 2.5 minus Persuasion, difficulty and attitude modifiers, floor of 1
- BG3 Wiki — Grat the Trader: Goblin Camp stock including three Scrolls of Revivify
- BG3 Wiki — Toggle Non-Lethal Attacks: melee and unarmed only, spell damage still kills, no effect on undead, constructs or oozes, and most knockouts treated as deaths
- BG3 Wiki — In Case of Death...: the third-long-rest Game Over, the Scroll of True Resurrection reward and the edge cases
- BG3 Wiki — Game Over screens: the whole active party dying, and Gale's resurrection deadline
- D&D Beyond — 2014 Basic Rules, Combat: death saving throws, rolling 1 or 20, instant death and stabilizing
- D&D Beyond — 2014 Basic Rules, Spells: Revivify's touch range, diamond cost and one-minute window
Related Guides
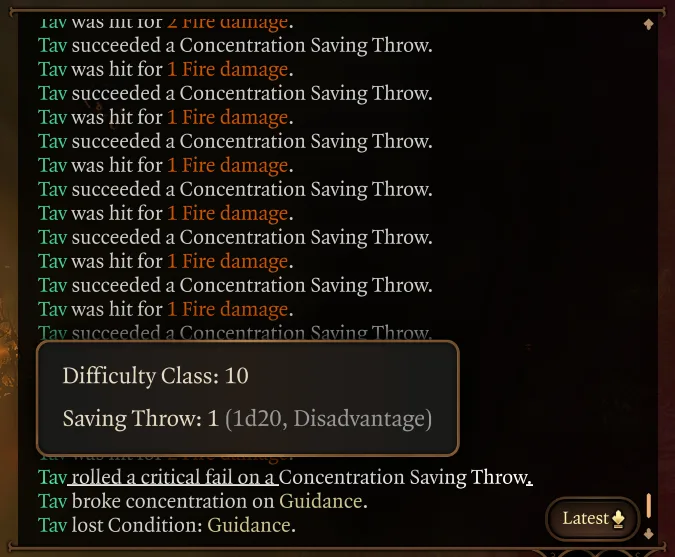
Baldur's Gate 3 Concentration: Why Your Spell Dropped
Baldur's Gate 3 ends concentration in more ways than the tabletop rules do: a natural 1 fails the save whatever your bonus, falling Prone ends it with no roll, and casting a second concentration spell after Haste on yourself costs you both. Here is what breaks it, temporary hit points and Rage included, the gear and feats that hold it, and the spells BG3 stopped making you concentrate on.
Baldur's Gate 3 Stealth: Where You Stand Beats the Roll
Baldur's Gate 3 only rolls a hiding character's Stealth in one of its three obscurity states; the other two decide whether you are found before Dexterity gets a vote. Here is how obscurity and darkvision work, why Fog and Darkness are different tools, what breaks Hiding, and the gear that switches on in the dark.
Baldur's Gate 3 Initiative and Surprise: How to Go First
Tabletop D&D rolls initiative on a d20. Baldur's Gate 3 rolls it on a d4, which turns a +5 from Alert from a nudge into something close to a guarantee. Here is how turn order is built, what Surprised takes away, and the line-of-sight rule that decides whether your ambush gets a surprise round at all.
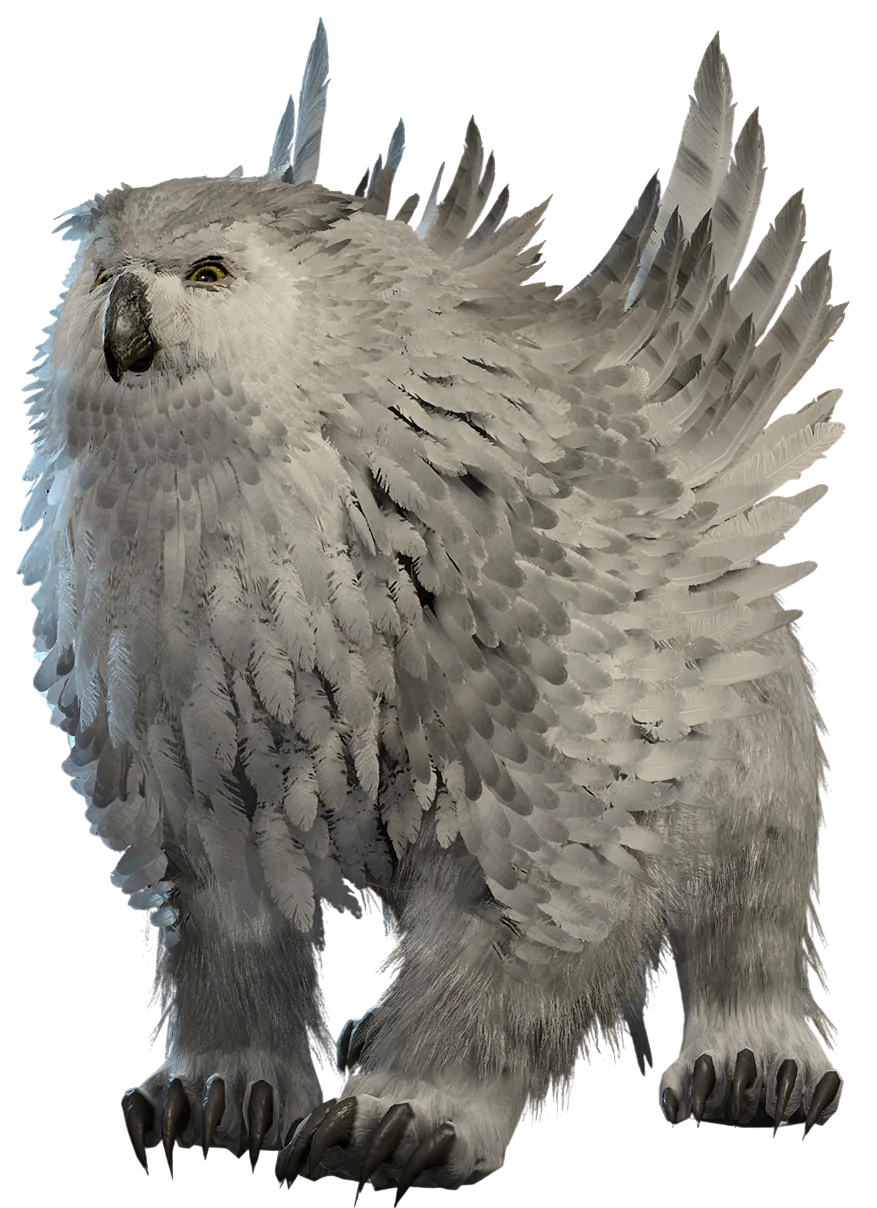
Baldur's Gate 3 Wild Shape: It Can Kill You With No Save
An Owlbear form shows 65 hit points on a bar that looks nothing like your character sheet. That number is a mask, not a shield — bg3.wiki's own Wild Shape page spells out exactly what happens when it runs out, and it is not a knockdown. Here is the charge economy, what carries over and what shuts off, and the overflow rule that can end a character with no down-and-dying phase at all.
Baldur's Gate 3 Beginner Guide: What Nobody Tells You
The tutorial teaches you to move and attack. It does not teach you that advantage is worth more than any weapon you will find in Act 1, or that Withers will rebuild your entire character for 100 gold. Here is the actual onboarding.
Baldur's Gate 3 Critical Hits: What Actually Doubles
A natural 20 doubles your damage in Baldur's Gate 3 — but "doubled" hides real nuance: which half of that number actually doubles, which of the game's dozen crit-threshold sources stack together, and how "immune to critical hits" still lets a natural 20 miss outright. bg3.wiki's own combat-log breakdown settles all three.