Baldur's Gate 3 Wild Shape: It Can Kill You With No Save
An Owlbear form shows 65 hit points on a bar that looks nothing like your character sheet. That number is a mask, not a shield — bg3.wiki's own Wild Shape page spells out exactly what happens when it runs out, and it is not a knockdown. Here is the charge economy, what carries over and what shuts off, and the overflow rule that can end a character with no down-and-dying phase at all.
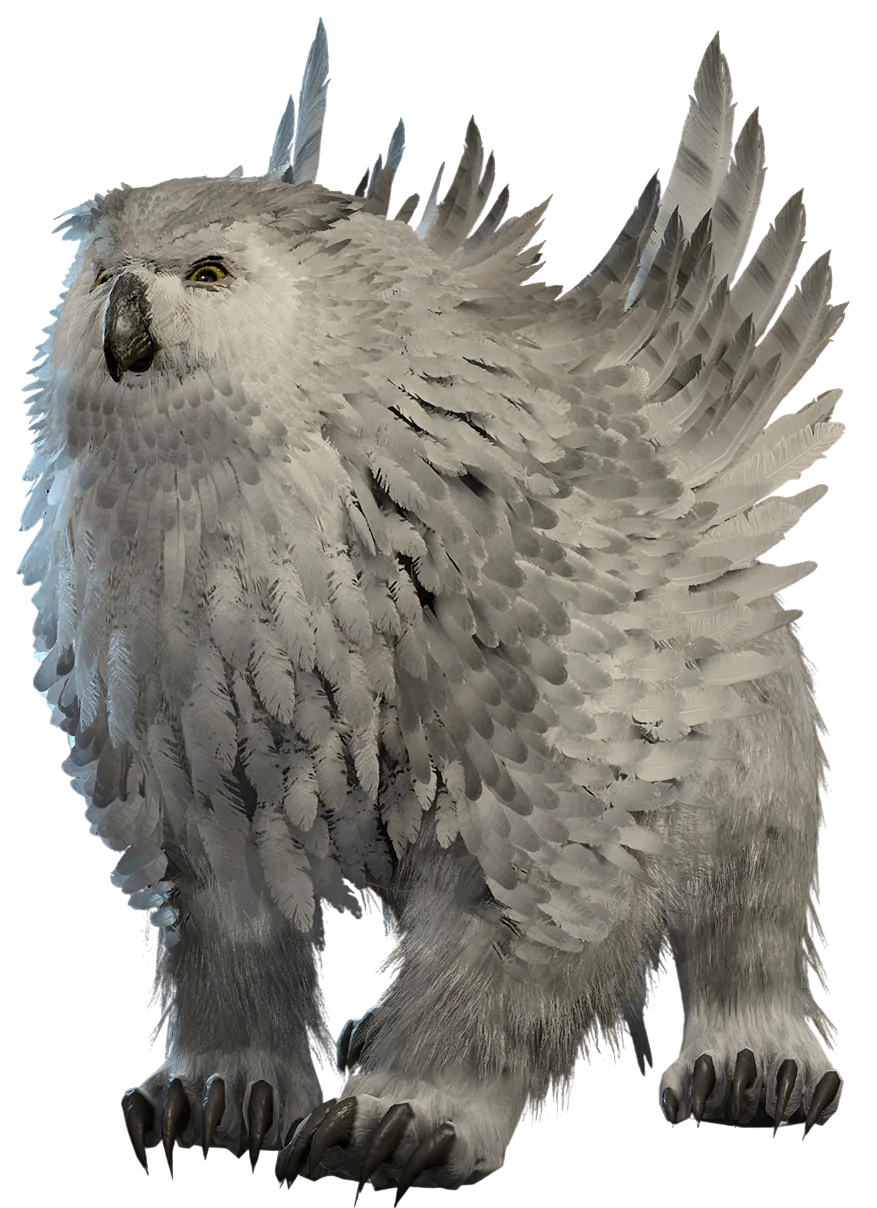
An Owlbear Wild Shape shows up with 65 hit points on a bar that has nothing to do with your character sheet. It's easy to read that number as a second life — a free tank suit to throw at whatever is about to hit the party. bg3.wiki's own Wild Shape page is precise about what actually happens when that bar empties, and it is not what a knockdown, a Downed state, or a "you're fine, just picked yourself up" moment would suggest. There is no down-and-dying phase here at all.
Two charges, and an action you can turn into a bonus action
Every Druid gets Wild Shape at class level 2. bg3.wiki's page for the base ability is specific about the cost: one action, plus one Wild Shape Charge, and the Druid class page gives the pool itself as two charges, replenished by a short or a long rest. Two transformations, refilled every time you sit down for ten minutes — which in a game that hands out free Short Rests constantly means a Druid can burn through Wild Shape far more often across a long dungeon crawl than the flat "two" ever suggests on its own.
Circle of the Moon changes one specific word in that cost line. Its level 2 feature, Combat Wild Shape, is worded as "as a bonus action, you can assume the form of a beast" — the same two-charge pool, the same short-or-long-rest refill, just spent without eating your entire turn to do it. That is the headline difference between the two circles, and it is easy to undersell: on any circle other than the Moon, transforming mid-fight costs your whole action for the turn. On the Moon, it does not.
What becomes the form's, and what stays yours
Per the wiki, your physical ability scores — Strength, Dexterity and Constitution — become the ability scores of the creature while Wild Shaped, and so do your hit points and Armour Class. Your mental scores, Intelligence, Wisdom and Charisma, are unaffected, and you keep your own skill and saving throw proficiencies, recalculated against the new body's stats rather than your own.
Two things follow from that split. First, a Druid with a genuinely good Wisdom score keeps that Wisdom score while shaped — useful for the rare Wild Shape ability that forces a save, which the wiki gives the same formula as any other Druid spell: 8 + proficiency bonus + Wisdom modifier. Second, and less obviously: you keep Concentration on any spell you were already holding before you shifted. Cast Faerie Fire, then turn into a Panther to go finish the fight in melee, and the Faerie Fire keeps ticking — you just cannot cast anything new until you turn back.
Your gear does not come with you
The wiki's phrasing on equipment is blunt: "your equipped items are merged into your beast form and do not have any effect until you revert back." A +2 longsword, a suit of Adamantine Splint, a ring granting Advantage on saves — none of it is doing anything while you are a Wolf. This is exactly why our best feats guide flags Tavern Brawler specifically for Wild Shape builds rather than any equipment-based plan: a feat baked into the character sheet keeps working on a body with no equipment slots, where a magic item does not.
What does keep working is anything that is not, mechanically, an item — permanent stat-boosting consumables like a Potion of Everlasting Vigour, most feats, and racial resistances all persist through a transformation, because none of them live in a gear slot the beast form overwrites.
Talking to your own party is free. Talking to anyone else is not
This is a rule worth knowing before you run into it mid-quest. bg3.wiki's Wild Shape page draws a hard line between two kinds of conversation:
- Speaking to your own party — active companions, benched companions, or Hirelings, in the world or at camp — reverts you to your original form for the conversation and resumes Wild Shape afterward without spending a Wild Shape Charge. It is seamless enough that you can plan a fight, mid-transformation, without paying for the privilege.
- Speaking to anyone else — a merchant, a quest-giver, any non-companion NPC — requires the shapeshifted character to Dismiss Wild Shape first, then spend a fresh charge to resume it afterward, if you want to go back into the same form.
So a Wolf-shaped Druid can huddle with the party to plan an ambush for free, but cannot walk up to a random NPC to ask directions without paying for the round trip. Plan which conversations happen before you transform, not after.
The rule that skips your death saving throws entirely
Here is the part the 65-HP Owlbear bar hides. bg3.wiki states the overflow rule in two connected sentences:
"If you take damage that reduces the Wild Shape form's hit points below 0, the remaining damage is applied to your original form. If the remaining damage is also enough to reduce your original form to 0 hit points, you die instantly, skipping the usual death saving throws."
Read that against the ordinary rule for what happens when a beast form's HP hits exactly 0 with no leftover damage: you simply revert to your normal form, at the hit points you had before you transformed. No harm done, no save required. The danger is specifically in the overflow — the portion of an attack that exceeds what was needed to zero the beast's pool. That excess is not wasted. It is deducted straight from your character's real, hidden HP total, the number the Owlbear bar was never showing you in the first place. Take enough of it in one hit, and your actual body drops to 0 or below in the same instant your beast form does — which the wiki is explicit is instant death, not a Downed state with three death saves and a friend who might reach you in time.
That single fact rewrites the "tank it in beast form" instinct. A fresh level 6 Druid parked in an Owlbear with a full 65 HP bar looks armoured. If that same character's own hit point total underneath is modest — which it usually is, since Druids are not a high-HP class — one big enough alpha strike can chew through the entire beast pool and still have enough left over to end the character outright, with no on-screen warning that it was even close. In Honour Mode, where the whole run rides on a single save file, that is the one Wild Shape fact worth internalising before anything else in this article: the beast form's healthy-looking bar is not insurance against the permadeath rule, it is a second bar standing in front of the one that actually matters.
Every form, by level and circle
bg3.wiki lists the full unlock schedule, and it splits cleanly between forms every Druid gets and forms locked to Circle of the Moon:
| Druid level | Available to every Druid | Circle of the Moon only |
|---|---|---|
| 2 | Badger, Cat, Spider, Wolf | Bear |
| 4 | Deep Rothé | Dire Raven |
| 6 | Panther, Owlbear | — |
| 8 | — | Sabre-Toothed Tiger |
| 10 | Dilophosaurus | Air, Earth, Fire and Water Myrmidon |
Halsin is a one-off exception to that list: he uniquely knows Cave Bear, a form the wiki does not list as available to a player-made Druid.
The numbers behind six of them
bg3.wiki keeps a dedicated page per form with its own hit point progression, Armour Class and move set. Rather than guess at the rest, here is what the pages for six representative forms — spanning level 2 through level 10, and both circles — actually say:
| Form | Unlocks at | HP (first level → level 12) | AC | Signature move |
|---|---|---|---|---|
| Spider | Druid 2, any circle | 20 → 74 | 14 | Venomous Bite (1d8 + DEX, poison chance); Web as a bonus action |
| Wolf | Druid 2, any circle | 18 → 97 | 14 | Pack Tactics grants Advantage when an ally flanks; Exposing Bite sets up a guaranteed crit |
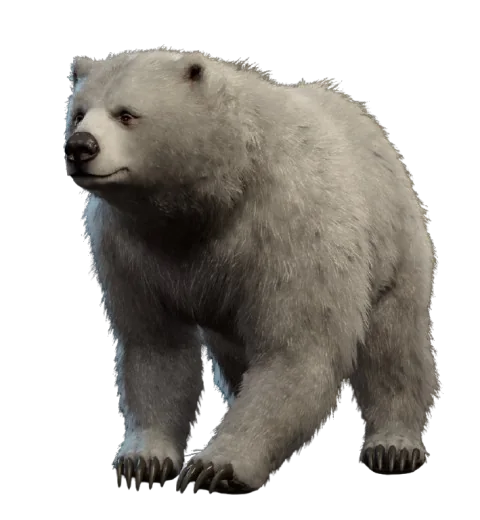
| Bear | Druid 2, Circle of the Moon | 30 → 111 | 12 | Claws; Goading Roar to pull aggro |
| Owlbear | Druid 6, any circle | 65 → scales further | 15 | Crushing Flight (bonus-action leap that knocks Prone); Enrage grants 3 Rage charges and temporary HP |
| Dilophosaurus | Druid 10, any circle | 74 (at 10) → 96 (at 12) | 14 | Corrosive Spit, a ranged acid attack that degrades the target's Armour Class over time |
| Fire Myrmidon | Druid 10, Circle of the Moon | 90 (at 10) → 108 (at 12) | 18 | Scorching Strike and Cinderous Swipe, both innate fire attacks; Elemental Warp teleports up to 18 m |
Two things stand out reading them side by side. The AC gap between Bear (12) and Fire Myrmidon (18) is enormous for forms six levels apart, which is most of the reason Elemental Wild Shape reads as an endgame reward rather than an incremental upgrade. And the Myrmidon forms cost two Wild Shape Charges instead of one — on the standard two-charge pool, that means a single Myrmidon transformation spends your entire reserve for that rest.
Circle of the Moon's real upgrade is not the forms
It is tempting to read the exclusive-forms column above as the whole pitch for Circle of the Moon. The bonus-action shift from Combat Wild Shape, covered above, does more per fight than any single extra beast on the list — turning a beast form's transformation from "this eats my whole turn" to "this is free real estate before I still get to act." Stack that with the fact that several of the Moon-exclusive forms (Bear, then later the Myrmidons) simply have a higher HP-and-AC ceiling than anything a Land Druid can wear, and the subclass's advantage compounds rather than just adding options.
Lunar Mend shows up on pages it does not work on
One nuance worth flagging precisely, because bg3.wiki's own form pages will mislead you if you read them in isolation. Lunar Mend — a bonus action that spends a spell slot to heal 1d8 hit points per slot level while Wild Shaped — appears listed as an available action on the Wolf's page, a form open to every Druid circle. Its own dedicated page clears up why that is not the whole story: Lunar Mend is a Circle of the Moon feature gained at level 2, and the wiki is explicit that it "allows wild shaped Moon druids to expend spell slots to heal themselves" — a Land or Stars Druid parked in the exact same Wolf body does not get the option, even though the form's own page lists the move.
That matters because it is the one way any Wild Shape form gets to spend a resource that is not on its own move list — you cannot cast Cure Wounds as a Wolf, but a Moon Druid Wolf can quietly burn a leftover spell slot to patch the beast's hit points mid-fight, which does double duty as a hedge against the overflow rule above.
What still works, and what quietly switches off
bg3.wiki maintains a dedicated compatibility page for exactly this question, and it is longer than any one post needs to reproduce in full — but the shape of it is worth knowing before you build around a form.
Keeps working: Concentration on a spell cast before you shifted, Darkvision and Superior Darkvision, most racial damage resistances (Dwarven Resilience, Hellish Resistance, Draconic Ancestry), Gnome Cunning and Halfling Luck, and feats that are pure passive math rather than an equipped effect — Alert, Mobile, Lucky and Resilient among them. Permanent stat increases from potions or story rewards also carry through, because they change the character sheet rather than a gear slot.
Quietly switches off: Divine Smite, the Shield spell and Counterspell (none of which a beast form can cast in the first place), Monk features tied to Ki spending like Deflect Missiles and Martial Arts' bonus unarmed strike, and — worth calling out specifically — Ability Improvement's Strength, Dexterity or Constitution increases do not transfer, because the beast form is using its own fixed scores rather than yours. Tough's flat HP-per-level bonus is the same story: it inflates your own hit point maximum, which is not the pool you are fighting with while shaped.
If you are weighing Wild Shape against a caster-first Druid build entirely, Circle of the Stars spends the same Wild Shape charge on a constellation instead of a beast and keeps your spells and gear active the whole time — a genuinely different trade-off covered in our Patch 8 subclasses guide.
Quick reference
- Two Wild Shape charges from level 2, refilled by a short or a long rest. Circle of the Moon's Combat Wild Shape spends the same charges as a bonus action instead of an action.
- Your Strength, Dexterity, Constitution, hit points and Armour Class all become the form's. Intelligence, Wisdom, Charisma and your proficiencies stay yours.
- Equipped gear merges into the beast and does nothing until you revert. Feats and permanent stat boosts still apply because they are not gear.
- Talking to your own party while shaped is free and does not cost a charge; talking to any other NPC requires Dismissing Wild Shape and spending a new charge to resume.
- The dangerous rule: damage that exceeds a beast form's remaining HP bleeds through to your real hit points, and if that also reaches 0, you die instantly with no death saving throws. A healthy-looking beast HP bar is not the same thing as a safe character.
- Elemental Myrmidon forms cost 2 Wild Shape Charges each — a full transformation on the standard pool.
- Lunar Mend, the spend-a-slot-to-heal option, only works for Circle of the Moon, even though it appears listed on form pages every circle can access.
- Ability Improvement's stat bumps and Tough's extra HP do not carry into a beast form, because the form uses its own fixed scores and its own separate hit point pool.
Frequently Asked Questions
How many times can you Wild Shape in Baldur's Gate 3?
What happens when your Wild Shape form runs out of hit points in BG3?
Do your items and equipment work while Wild Shaped in Baldur's Gate 3?
Can you talk to people while Wild Shaped in BG3?
What is the difference between Circle of the Moon and regular Wild Shape in BG3?
Does Lunar Mend work in every Wild Shape form in Baldur's Gate 3?
How much HP and AC does the Owlbear Wild Shape form have in BG3?
Keep Reading
- BG3 Wiki — Wild Shape: charge cost, ability-score and HP/AC replacement, equipment merging, party-conversation rule, and the overflow-damage death rule
- BG3 Wiki — Combat Wild Shape: the bonus-action cost, level 2 Circle of the Moon feature, and Myrmidon charge cost
- BG3 Wiki — Circle of the Moon: exclusive form unlocks by level and Primal Strike
- BG3 Wiki — Circle of the Land: Natural Recovery, bonus cantrip, and Land's Stride, for contrast with the Moon's Wild Shape-focused kit
- BG3 Wiki — Lunar Mend: Circle of the Moon exclusivity, healing formula, and bonus-action cost
- BG3 Wiki — the full list of feats, class features, and items that do and do not function while Wild Shaped
- BG3 Wiki — Wild Shape: Wolf stat block, HP progression, and Pack Tactics
- BG3 Wiki — Wild Shape: Bear stat block and HP progression
- BG3 Wiki — Wild Shape: Owlbear stat block, Crushing Flight, and Enrage
- BG3 Wiki — Wild Shape: Spider stat block and Venomous Bite
- BG3 Wiki — Wild Shape: Dilophosaurus stat block and Corrosive Spit
- BG3 Wiki — Wild Shape: Fire Myrmidon stat block, charge cost, and Elemental Warp
Related Guides
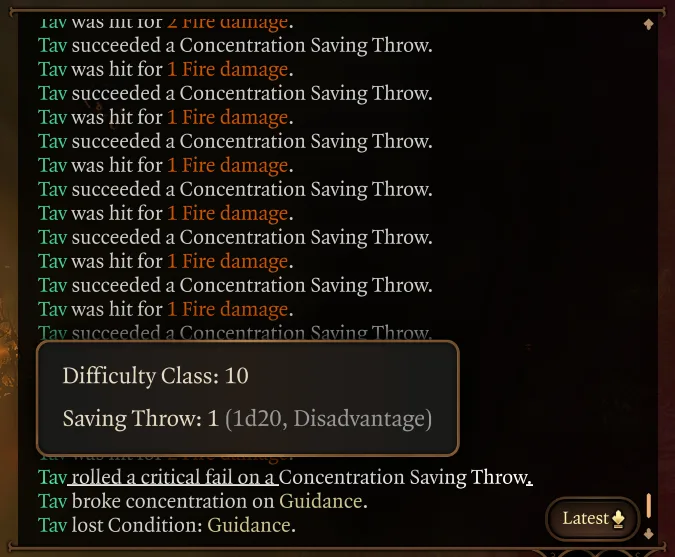
Baldur's Gate 3 Concentration: Why Your Spell Dropped
Baldur's Gate 3 ends concentration in more ways than the tabletop rules do: a natural 1 fails the save whatever your bonus, falling Prone ends it with no roll, and casting a second concentration spell after Haste on yourself costs you both. Here is what breaks it, temporary hit points and Rage included, the gear and feats that hold it, and the spells BG3 stopped making you concentrate on.
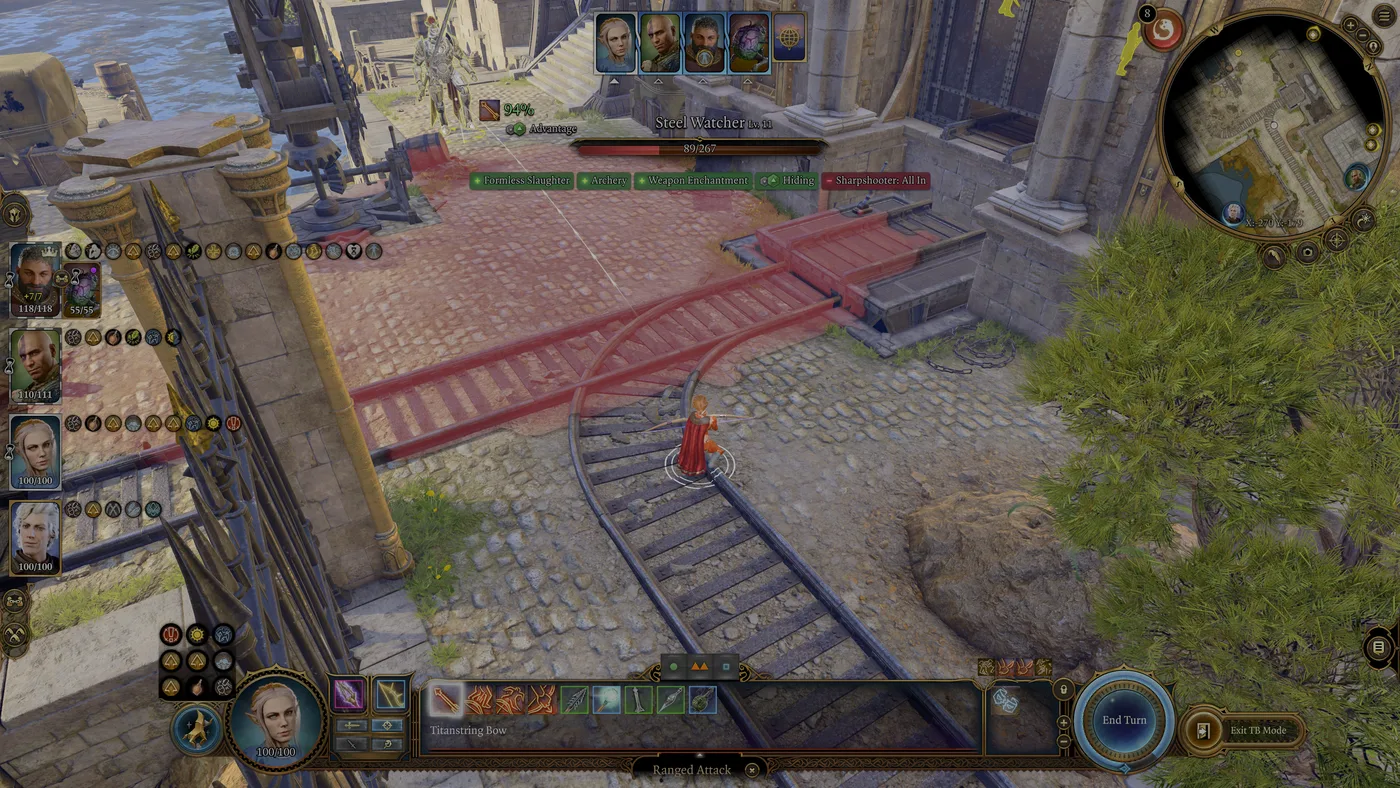
Baldur's Gate 3 Stealth: Where You Stand Beats the Roll
Baldur's Gate 3 only rolls a hiding character's Stealth in one of its three obscurity states; the other two decide whether you are found before Dexterity gets a vote. Here is how obscurity and darkvision work, why Fog and Darkness are different tools, what breaks Hiding, and the gear that switches on in the dark.
Baldur's Gate 3 Death Saves: What Actually Kills You
Baldur's Gate 3 keeps the tabletop shape of death saving throws and rewrites the details: no massive-damage deaths, no natural-20 comebacks, and failures that survive stabilising. Here is what kills a Downed character, what stops it, and what each way back from the dead costs.
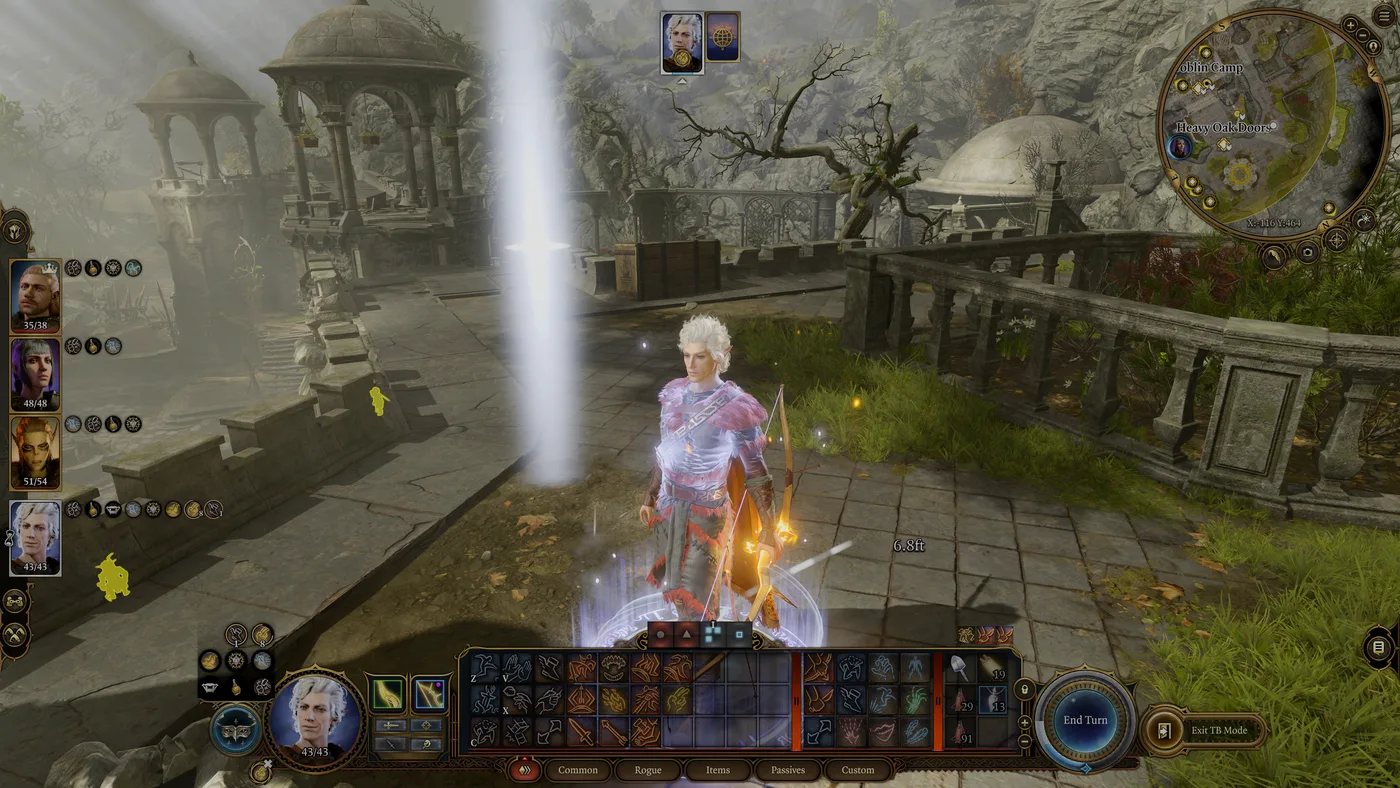
Baldur's Gate 3 Initiative and Surprise: How to Go First
Tabletop D&D rolls initiative on a d20. Baldur's Gate 3 rolls it on a d4, which turns a +5 from Alert from a nudge into something close to a guarantee. Here is how turn order is built, what Surprised takes away, and the line-of-sight rule that decides whether your ambush gets a surprise round at all.
Baldur's Gate 3 Beginner Guide: What Nobody Tells You
The tutorial teaches you to move and attack. It does not teach you that advantage is worth more than any weapon you will find in Act 1, or that Withers will rebuild your entire character for 100 gold. Here is the actual onboarding.
Baldur's Gate 3 Critical Hits: What Actually Doubles
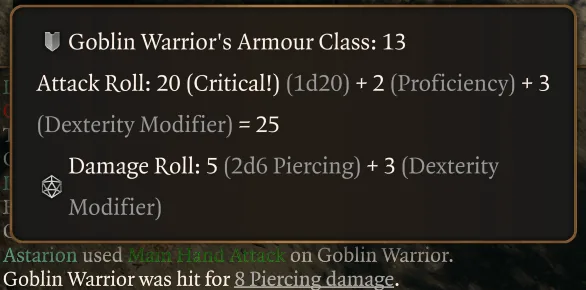
A natural 20 doubles your damage in Baldur's Gate 3 — but "doubled" hides real nuance: which half of that number actually doubles, which of the game's dozen crit-threshold sources stack together, and how "immune to critical hits" still lets a natural 20 miss outright. bg3.wiki's own combat-log breakdown settles all three.