Cookie Run: Braverse Win Conditions Explained
Braverse has two ways to win, and most new players only play toward one. Here's how the Break Area Level-10 path and the no-Cookie-to-deploy path actually work, how to build a deck that threatens both, and the on-board signs that tell you which one you're winning.
Here's the thing most new Cookie Run: Braverse players get wrong: they think the goal is to kill the other player's Cookies. It isn't. Killing Cookies is the method; it's not the win itself, and the difference matters because there are two completely separate ways the game actually ends - and the cards that close one path don't always close the other.
If you've read our how-to-play guide, you already know the two win conditions exist. This guide goes a layer deeper: how each one really works, how to build a deck that threatens both, the math you should be doing every turn, and the on-board tells that say whether you're ahead or about to lose. None of this contradicts the rulebook - it's the strategy layered on top of it. As always, Braverse is a young game and the English rules are still settling, so confirm exact wording and the Break Area threshold against the official rulebook before a sanctioned event.
The two ways a game actually ends
Strip away everything else and a Braverse game ends in exactly one of two ways:
- The Break Area win. Every Cookie you defeat goes to its owner's Break Area, and every Cookie has a Level (1, 2, or 3). When the combined Level of the Cookies sitting in your opponent's Break Area reaches 10 or more, you win. This decides most games.
- The no-Cookie win. If a player's Battle Area is empty, they must immediately field a new Cookie from hand - even on the opponent's turn. If they have no Cookie in hand to deploy, they lose on the spot.
Both are always live at the same time. You don't pick one at deck-building and ignore the other; you pick a primary plan and keep the secondary one as a finisher for when the game breaks a certain way. The best players win games on the path their opponent wasn't defending.
Win condition 1: the Break Area Level-10 race
This is the default. Think of your opponent's Break Area as a scoreboard that only goes up, and your job is to push it to 10.
The key insight is that you're not racing to defeat a number of Cookies - you're racing to defeat 10 Levels' worth of them. That changes the math completely:
- Ten Level-1 Cookies is a 10-Level Break Area. So is a mix of three Level-3s and a Level-1. So is five Level-2s.
- A high-Level Cookie is worth more toward this loss when it falls. Defeating one Level-3 Cookie is worth the same on the scoreboard as defeating three Level-1s.
That's why trading a small Cookie into a big one is so often correct. If you throw a Level-1 body at the opponent's Level-3 and it dies but takes the Level-3 down with it, you just handed yourself 3 Levels of progress for 1 Level of your own board. You came out 3-for-1 on the only counter that wins the game. Aggro decks live on this math.
The flip side is the trap new players fall into: they over-value their own big Cookies. A Level-3 finisher is great, but if it dies, it hands the opponent a fat 3-Level chunk toward their Break Area win. High-Level Cookies are double-edged - strong while alive, expensive when they fall.
Win condition 2: running them out of Cookies
The second path is quieter and a lot of players never plan for it: the game also ends the instant your opponent has an empty Battle Area and no Cookie in hand to put down.
This is why running too few Cookies is genuinely dangerous, and why "just keep killing their board" can suddenly win out of nowhere. It tends to come up three ways:
- The blowout turn. You wipe their whole Battle Area in one turn while their hand happens to be light on Cookies. If they can't replace a fainted Cookie, the game is over - no Level-10 required.
- Cookie starvation. Over a long grind, a deck that ran too few Cookies (or whose Cookies all got answered) simply runs dry. Hand attrition - making them discard, forcing trades faster than they can rebuild - accelerates this.
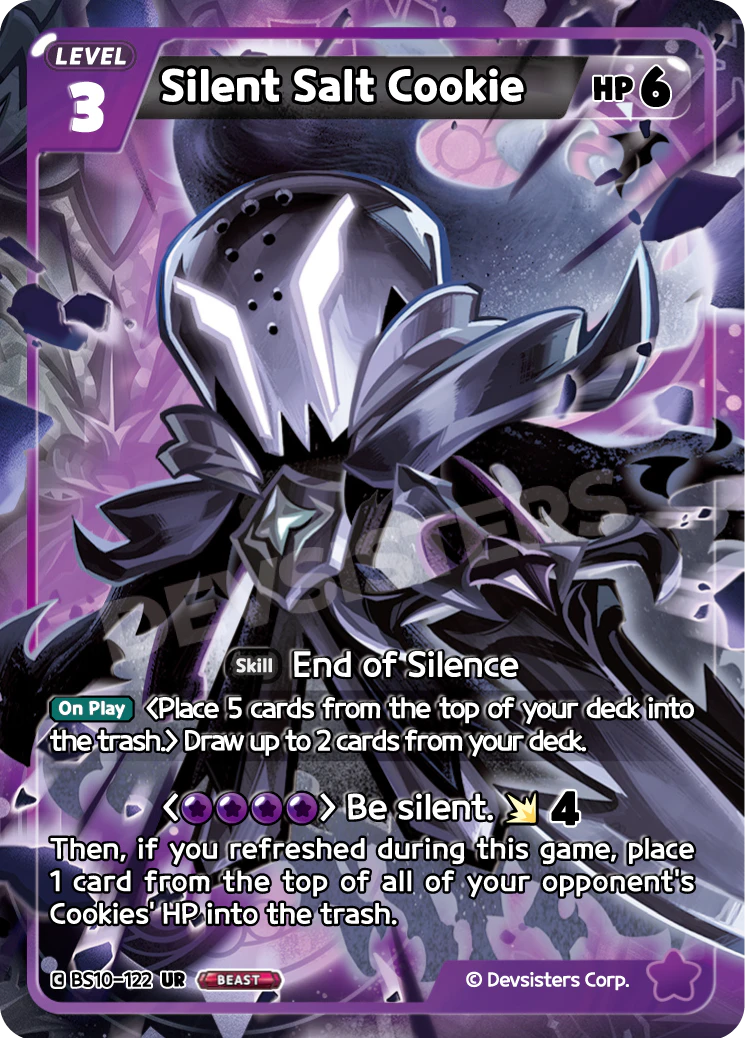
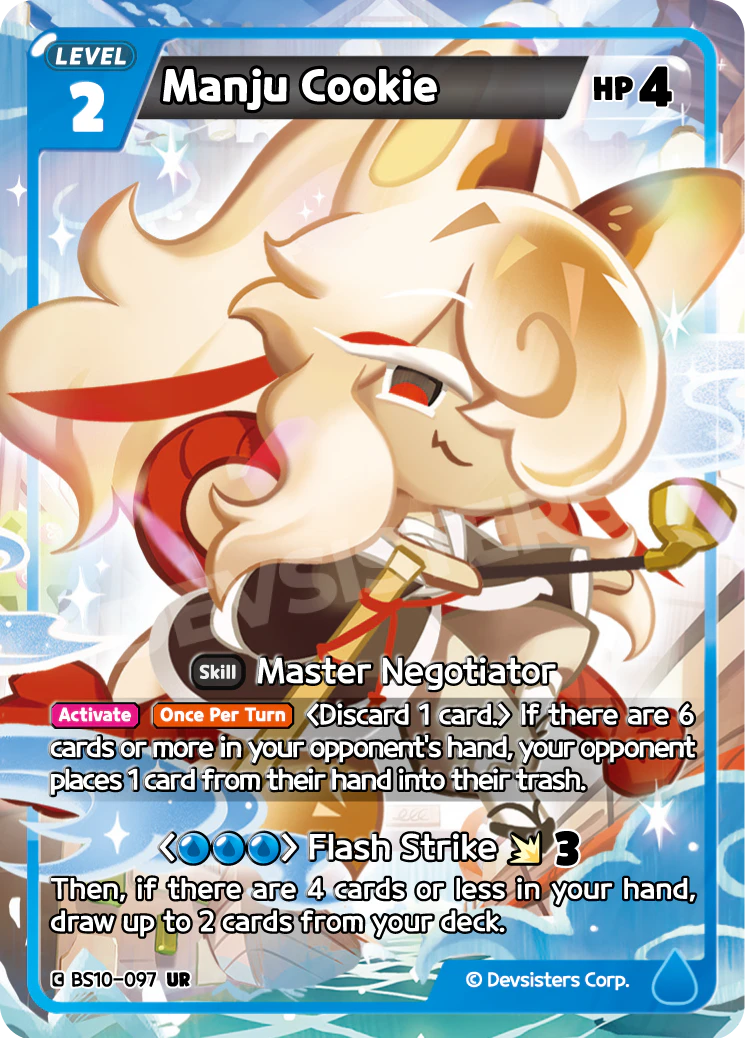
- Deck pressure. A mill-leaning plan that thins the opponent's deck and hand can leave them with no fresh Cookie to draw into when they need one. The new Purple Catacombs cards from BS10 (see our Paradise of Passion & Sloth set review) lean this way: Manju Cookie forces discards from a full hand, and Silent Salt's mill thins both decks.
Important honesty note: deck-out as a primary win condition is fragile in Braverse, because the game is built around the Break Area race and players run plenty of Cookies. Treat the no-Cookie win as an opportunistic finisher - a thing you cash in when a blowout turn or hand attrition lines it up - not a plan you build your whole deck around. The exact timing of the must-deploy rule is worth confirming against the official rulebook before a sanctioned event.
Why Level is the most important number

Level is doing three jobs at once in Braverse, and once you see all three, your whole turn-to-turn decision-making sharpens:
- Level is the win-condition currency. It's literally the number that adds up to 10 in the Break Area. Everything else is in service of moving that number.
- Level roughly tracks power and cost. Higher-Level Cookies generally hit harder, have more HP, and ask for more Support to play and attack with. Your Level curve is your version of a mana curve.
- Level sets the value of every trade. When you decide whether to attack, you're really asking: "what Level am I risking, and what Level do I gain on their scoreboard if this works?"
The practical takeaway is a single habit: before every attack, do the Level math. If your Level-1 can kill their Level-2 or -3 and you're okay losing the Level-1, that's a winning trade on the scoreboard. If your Level-3 is about to die for nothing, you may be feeding their win condition. The player who counts Levels wins more games than the player who counts Cookies.
Building toward the Break Area win
Most decks should make the Level-10 race their primary plan. To build for it:
- Run a real Level curve. You need cheap Level-1 Cookies to start trading early - waiting until Level-3s come online cedes the whole early race. Skew the curve to your color: Red wants a low, aggressive curve; Yellow and Green can carry more top-end because they intend to win late.
- Prioritize damage that removes Cookies, not just chip. Effects that finish a Cookie off bank Levels; effects that only nibble HP don't score until something actually faints. BS10's Silent Salt (board-wide HP strip) and Charcoal Cookie (repeatable 1-damage pings) are good examples of removal that converts into Break Area progress over time.
- Value efficient trades. Cheap bodies and "deals damage then does something" attacks let you trade up the Level ladder. The whole Red color is built to do this fast.
- Respect FLIP both ways. Because FLIP cards hide in HP stacks and trigger on damage (full breakdown in our FLIP mechanic guide), attacking into an unknown Cookie can blow up your attacker and cost you a trade. Your own FLIP cards do the same to them. Read the board before you swing into a healthy Cookie you can't account for.
A deck that reliably converts its attacks into fainted Cookies, while not over-extending its own high-Level bodies, is a deck that wins the Break Area race.
Building toward the starve-them win
You almost never build only for the no-Cookie win, but you can build to make it a credible secondary threat:
- Pack a burst turn. A deck that can wipe two or three Cookies in a single turn threatens to catch the opponent without a replacement in hand. Damage-multiplying effects, area pings, and "deal damage to all Cookies" cards (like BS10's Warden of the Heart sweeper) set up the blowout.
- Attack the hand and deck. Forcing discards and milling the opponent shrinks the pool of Cookies they can deploy. Blue's Manju Cookie (force a trash from a full hand) and Purple's Silent Salt (mill both decks) are the BS10 tools for this. The Purple disruption color is the home of this style.
- Punish a thin Cookie count. Against an opponent who's clearly low on bodies, stop trading evenly and start removing every Cookie you can - you're no longer racing to 10, you're racing to zero Cookies on their side.
The mindset shift is the whole point: the starve win is a finisher you recognize and pivot into, not a deck you build in a vacuum. The best moment to switch plans is when you see the opponent's hand is empty and their board is one Cookie deep.
Reading the board: are you ahead or behind
Both win conditions give you concrete, countable signals. Glance at these every turn:
| Signal | You're ahead | You're behind |
|---|---|---|
| Opponent's Break Area Level | Climbing toward 10 fast; you're 2-3 good trades from the win | Yours is climbing faster than theirs |
| Board presence | You have more (or higher-Level) Cookies standing | Your Battle Area is thin and you're light on Cookies in hand |
| Hand size | You have plays and answers in hand | You're topdecking; one bad trade ends you |
| Support / resources | You can pay for your turn and hold up a Trap | You're tapped out and can't answer their swing |
| Cookies left to deploy | You've got bodies in hand if your board falls | You're one wipe away from the no-Cookie loss |
The single most useful number is your opponent's Break Area Level total versus your own. If you're winning that race, you can afford to trade aggressively; if you're losing it, stop feeding them your big Cookies and play for the long game or the starve-them angle instead. When your own Break Area is creeping toward 7-8, that's the alarm bell to stop making even trades that hand them Levels.
Closing out a won game without throwing it
Being ahead and winning aren't the same thing. The most common way to lose a winning Braverse game is to get greedy in the final stretch:
- Don't over-extend into the FLIP you can't see. When you're a trade or two from the Level-10 win, the last thing you want is to swing your finisher into a face-down Cookie and lose it to a FLIP, handing them a fat Level chunk back. If you don't need the attack to win this turn, you can often wait a turn and win cleanly.
- Count the lethal before you commit. If two attacks put their Break Area to 10, line up those two attacks and don't risk a third body you don't need. Math out the exact Levels you need; don't eyeball it.
- Protect your own count. When you're ahead on the scoreboard, your high-Level Cookies become liabilities - losing one can swing the race back. Trade your cheap bodies, hold your big ones unless they close the game.
- Keep a Cookie in reserve. Don't empty your hand of Cookies to push extra damage you don't need. An empty hand plus a board wipe is how the player who was winning suddenly loses to the no-Cookie rule.
The discipline at the end of a game is the same as the discipline all game: count Levels, respect the hidden FLIP, and only take the risks that actually advance a win condition. For more on tightening up the rest of your play, see our common beginner mistakes guide.
Quick Action Checklist
- There are two win conditions: fill the opponent's Break Area to a combined Level 10+, or leave them with an empty Battle Area and no Cookie in hand to deploy.
- The Break Area race is your primary plan most games; the no-Cookie win is an opportunistic finisher.
- You're racing to 10 Levels, not a number of Cookies - defeating one Level-3 equals defeating three Level-1s.
- Trade small into big. A Level-1 that kills a Level-3 is a 3-for-1 on the only counter that wins.
- Don't over-value your own high-Level Cookies - they hand the opponent a big chunk if they fall.
- Do the Level math before every attack: what Level am I risking versus what Level do I score?
- Watch the scoreboard signals: opponent's Break Area total, board presence, hand size, Support, and Cookies left to deploy.
- To threaten the starve-them win: pack a burst turn, attack the hand/deck, and pivot hard once the opponent is low on bodies.
- Close clean: count lethal, don't swing into unknown FLIP you don't need, and keep a Cookie in reserve so you never lose a won game to the no-Cookie rule.
Frequently Asked Questions
Keep Reading
Related Guides
Cookie Run: Braverse Mulligan and Opening Hand Guide
Most Braverse games are decided in the first ten seconds, before a single attack - when you look at your opening six and decide to keep or ship it. Here's how to read a hand: how many Cookies, what curve, how much Support fuel, and the traps that look fine but lose you the game.

Cookie Run: Braverse Glossary: Every Term Explained
Every Cookie Run: Braverse term in one place, defined plainly and consistently with our rules guides. Play areas, the seven card types, FLIP, the five colors, energy, Level, rarities, and keywords like Arena, Ancient, Beast, and Dragon.
The FLIP Mechanic in Cookie Run: Braverse, Explained
FLIP is the mechanic that makes Braverse feel unlike any other TCG: a Cookie's HP can fight back. Here's exactly what FLIP is, when it triggers, and the misplays that lose games.
Cookie Run: Braverse Card Types Explained: Cookie, FLIP, Item, Trap, Stage, EXTRA & NPC
The how-to-play guide gives you the speed-run. This is the deep dive: what every Braverse card type actually does - all seven, straight from the official card database - and how to think about each in your deck.
How to Play Cookie Run: Braverse - A Complete Beginner Guide
Cookie Run: Braverse is the rare TCG you can teach in a single match. This guide covers everything a first-time player needs: card types, setup, turn structure, how you pay for cards, the FLIP mechanic, and how to win.
Cookie Run: Braverse Meta Tier List — Best Decks & Archetypes Ranked
Which Cookie Run: Braverse decks are actually carrying right now? Here's a meta tier list of the strongest archetypes - the real cards that anchor each one, why they rank where they do, and what's overrated.