Elden Ring Flask Guide: Golden Seeds and Sacred Tears
There are exactly 12 Sacred Tears in the Lands Between and the flask caps at +12, so every single one is load-bearing. Here is the full healing table, the Golden Seed cost curve, and the point where more upgrades stop being worth the detour.
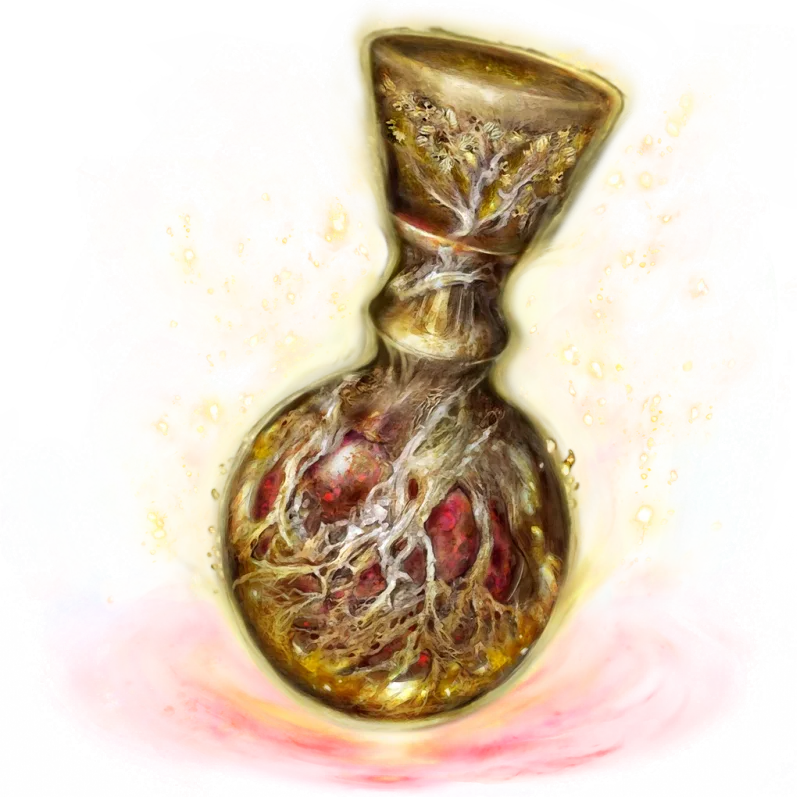
Somewhere right now a Tarnished is throwing themselves at the Fire Giant with a +5 Flask of Crimson Tears and no idea anything is wrong. The flask heals. It has always healed. Nobody told them the number goes to +12, that the difference between those two states is 185 HP per gulp, and that the seven upgrades they skipped were sitting on altars in churches they rode straight past.
Two separate collectibles decide how much healing you carry into a boss fight. They share one menu, the game explains neither, and one of them has zero margin for error. Every number below is checked against the wikis' current item data; Bandai Namco's own patch feed tops out at version 1.16.1, released 21 August 2025, and its two fixes cover a weapon affinity/status bug and a block-bypass exploit — no flask number moved.
Golden Seeds add charges, Sacred Tears add potency
Rest at any Site of Grace and open the Sacred Flask menu. Three options live there:
- Add charge to flask — spends Golden Seeds. Caps at 14 total charges. You start with 4.
- Increase amount replenished by flasks — spends Sacred Tears. Caps at +12 potency.
- Allocate flask charges — free, reversible, splits your 14 charges between crimson and cerulean however you like.
Here is the part that trips people up. There are exactly 12 Sacred Tears in the Lands Between, and both flasks cap at +12. That math only works one way: a Sacred Tear raises the potency of the Flask of Crimson Tears and the Flask of Cerulean Tears at the same time. You are never choosing between them and you cannot dump all twelve into healing at the cerulean flask's expense.
Neither material touches the Flask of Wondrous Physick. That flask has its own upgrade path through Crystal Tears and always holds exactly one charge, no matter how many Golden Seeds you are sitting on.
One charge of the crimson flask also revives Torrent if he goes down, and he comes back at half health. Budget for that on any fight where you are fighting mounted.
Sacred Tears are the ones you cannot afford to miss
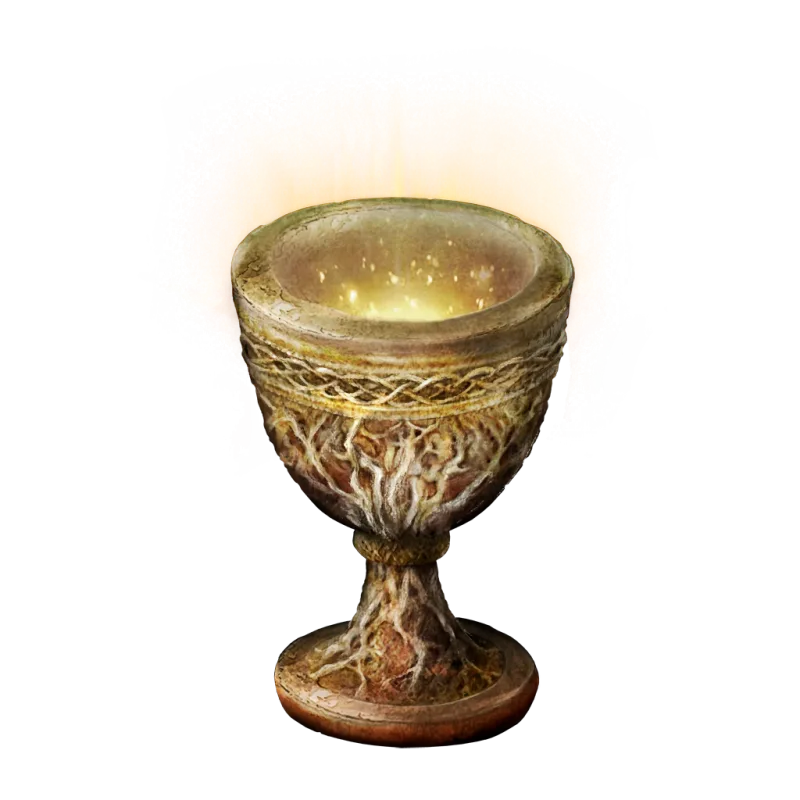
Twelve tears exist. Twelve is the cap. There is no surplus, no merchant, no duplicate, and nothing to farm — miss one and your flask is permanently one level short for that playthrough.
Golden Seeds are the opposite. You need 30 for the maximum 14 charges, and there are comfortably more than 30 scattered across the Lands Between; the Fextralife wiki states outright that you can find far more than 30 in a single run without touching New Game Plus. Seeds forgive sloppiness. Tears do not.
If that zero-slack structure sounds familiar, it is the same design FromSoftware used for Scadutree Fragments in Shadow of the Erdtree — exactly 50 fragments, exactly enough for Blessing 20.
The full Flask of Crimson Tears healing table
Every upgrade level, plus what the two Crimson Seed Talismans do to it:
| Level | Base heal | With Crimson Seed Talisman | With Crimson Seed Talisman +1 |
|---|---|---|---|
| +0 | 250 | 300 | 325 |
| +1 | 345 | 414 | 448 |
| +2 | 430 | 516 | 559 |
| +3 | 505 | 606 | 656 |
| +4 | 570 | 684 | 741 |
| +5 | 625 | 750 | 812 |
| +6 | 670 | 804 | 871 |
| +7 | 700 | 840 | 910 |
| +8 | 730 | 876 | 949 |
| +9 | 755 | 906 | 981 |
| +10 | 780 | 936 | 1,014 |
| +11 | 795 | 954 | 1,033 |
| +12 | 810 | 972 | 1,053 |
The Crimson Seed Talisman +1 is a Shadow of the Erdtree item. The plain version is base game.
Where the healing curve stops paying
Read the base column as differences instead of totals and the shape jumps out:
- Tear 1 is worth +95 HP. That is a 38% jump from a single altar pickup, the biggest single upgrade in the game per unit of effort.
- Tears 1 through 6 take you from 250 to 670. That is +420 HP, a 168% increase, and it is 75% of everything the system will ever give you.
- Tears 7 through 12 take you from 670 to 810. That is +140 HP across six pickups — 21%.
- Tear 12, the very last one, is worth +15 HP. Under two percent.
The first six Sacred Tears do three-quarters of the work. If you are grinding a wall at +4, the two churches you have not visited yet are genuinely the answer. If you are at +10, they are not — go check your talismans instead.
That said, the last six are not optional in the way the last twenty Scadutree Fragments are, because they cost you almost nothing. Every Sacred Tear sits in plain sight in front of a church altar. No boss, no fog gate, no dungeon.
All 12 Sacred Tear churches, in the order you reach them
| Region | Churches | Tears |
|---|---|---|
| Limgrave | Third Church of Marika | 1 |
| Weeping Peninsula | Callu Baptismal Church, Church of Pilgrimage, Fourth Church of Marika | 3 |
| Liurnia of the Lakes | Church of Irith, Bellum Church, Church of Inhibition | 3 |
| Caelid | Church of the Plague | 1 |
| Altus Plateau | Second Church of Marika, Stormcaller Church | 2 |
| Mountaintops of the Giants | Church of Repose, First Church of Marika | 2 |
Look at where the gate is. Ten of the twelve sit in regions you reach long before the endgame. Only the Church of Repose and the First Church of Marika are past the Grand Lift of Rold, which means +10 potency is a mid-game number, not a victory lap.
The Weeping Peninsula alone holds three of them, and it is the region most players clear once for the Map Fragment and never think about again. Four tears — a 570-HP flask — are sitting in Limgrave and the peninsula before you have committed to anything, and the Limgrave one is the Third Church of Marika, which is also where the Flask of Wondrous Physick and the Crimson Crystal Tear live. You have almost certainly been there.
Callu Baptismal Church and Stormcaller Church are the two the wiki comment sections are full of people missing. Callu sits on the southern side of the Ailing Village in the Weeping Peninsula, infested with frenzied rats. Stormcaller is in central Altus Plateau, directly south of Sainted Hero's Grave — which is where the Crimson Seed Talisman is. One ride, two upgrades.
Golden Seeds: 30 buys the cap, and the last four charges cost 18 of them
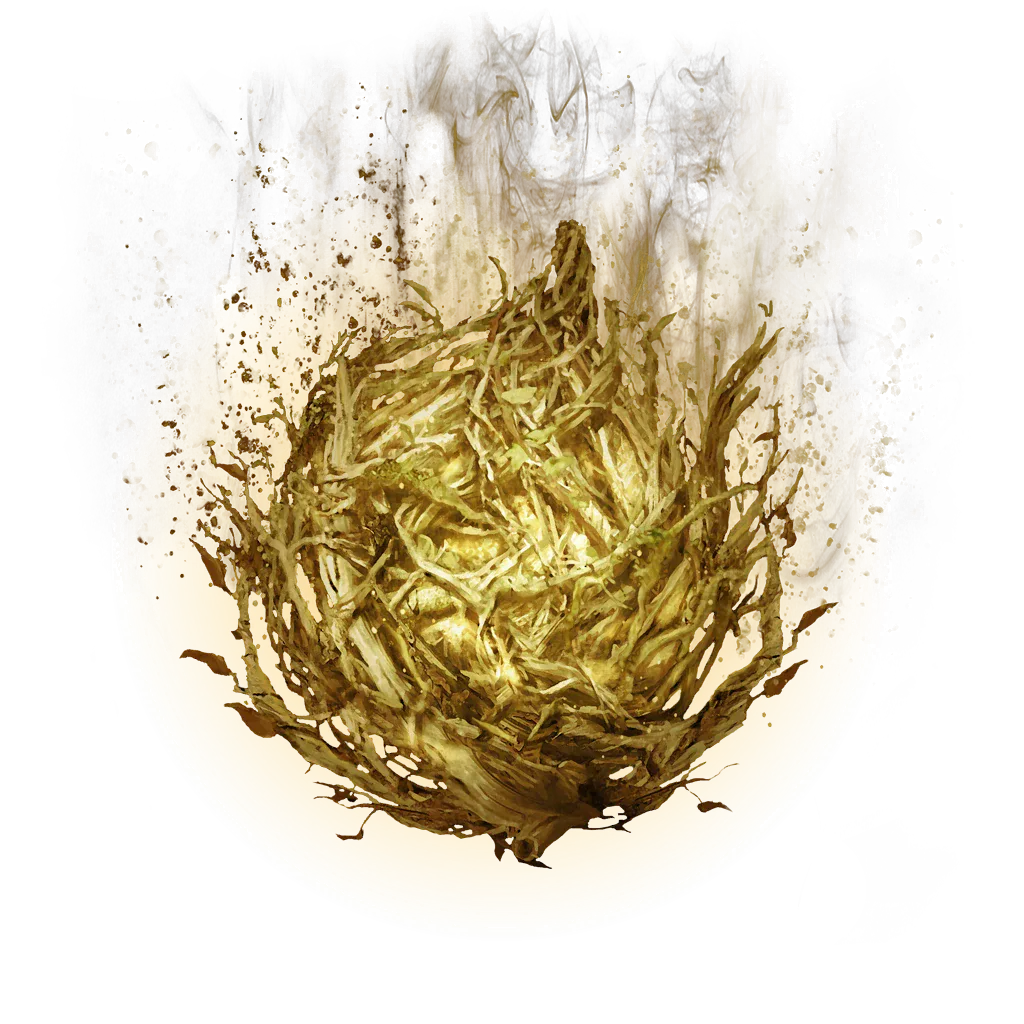
Seeds get more expensive in blocks of two charges:
| Charge | Seeds for this charge | Running total | Total charges |
|---|---|---|---|
| 5th | 1 | 1 | 5 |
| 6th | 1 | 2 | 6 |
| 7th | 2 | 4 | 7 |
| 8th | 2 | 6 | 8 |
| 9th | 3 | 9 | 9 |
| 10th | 3 | 12 | 10 |
| 11th | 4 | 16 | 11 |
| 12th | 4 | 20 | 12 |
| 13th | 5 | 25 | 13 |
| 14th | 5 | 30 | 14 |
Twelve seeds buys six charges. The next eighteen buys four. The first half of the curve averages two seeds per charge; the back half averages four and a half.
Now put both systems together as a total healing pool, assuming every charge goes to crimson:
- 4 charges at +0: 1,000 HP per grace.
- 4 charges at +12: 3,240 HP. The tears alone more than triple you without a single seed.
- 10 charges at +12: 8,100 HP.
- 14 charges at +12: 11,340 HP, which is 11.3 times where you started.
The jump from 10 charges to 14 costs 18 Golden Seeds and adds 3,240 HP of pool. The jump from 4 to 10 costs 12 seeds and adds 4,860. Seeds are abundant enough that you will get there eventually, but if you are choosing what to detour for mid-run, seed number 13 is worth more than seed number 27.
One free head start: Golden Seed is a selectable Keepsake at character creation. It is one guaranteed charge before you have taken a step, which is worth roughly as much in the first hour as anything else on that list. Worth weighing against the other options when you are picking a starting class.
The Cerulean flask is linear, and that changes the math
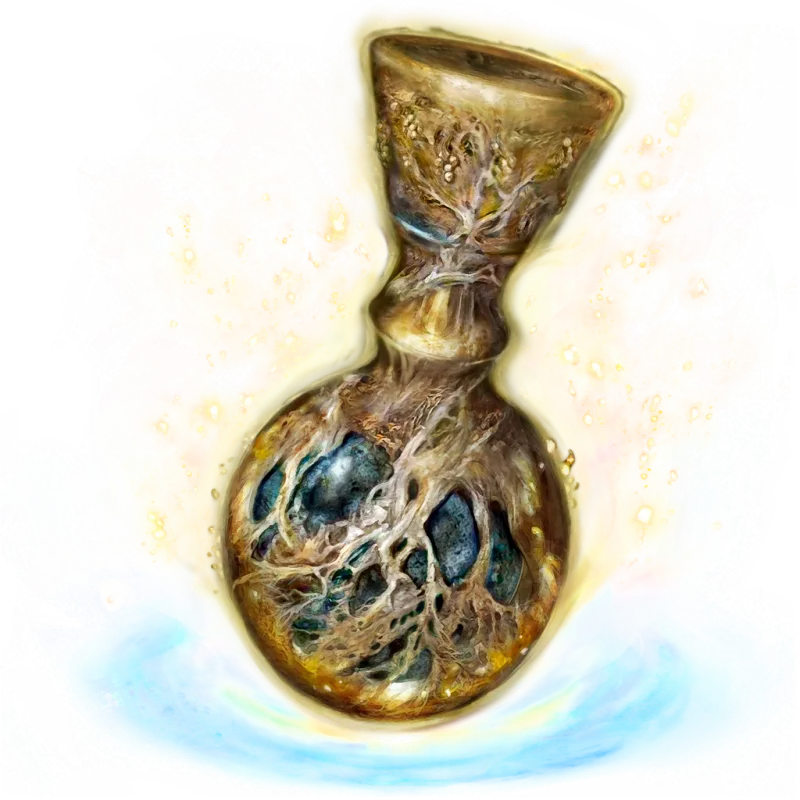
The FP flask does not share the crimson flask's diminishing curve:
| Level | Base FP | With Cerulean Seed Talisman | With Cerulean Seed Talisman +1 |
|---|---|---|---|
| +0 | 80 | 96 | 104 |
| +1 | 95 | 114 | 123 |
| +2 | 110 | 132 | 143 |
| +3 | 125 | 150 | 162 |
| +4 | 140 | 168 | 182 |
| +5 | 150 | 180 | 195 |
| +6 | 160 | 192 | 208 |
| +7 | 170 | 204 | 221 |
| +8 | 180 | 216 | 234 |
| +9 | 190 | 228 | 247 |
| +10 | 200 | 240 | 260 |
| +11 | 210 | 252 | 273 |
| +12 | 220 | 264 | 286 |
The first four tears add +15 FP each. Every tear after that adds a flat +10, forever. There is no taper.
That gives casters a completely different verdict on the back half of the collection. Your twelfth Sacred Tear adds 1.9% to a crimson flask and 4.8% to a cerulean one — and measured against where the flask started, that last tear is worth 12.5% of a base +0 cerulean charge. If you are running a sorcery or incantation build, the two Mountaintops churches are still worth the ride. If you are pure melee, they are a formality.
How to split 14 charges
Charges and potency solve different problems, and which one you need depends entirely on your Vigor. These are the minimum Vigor values at which a base crimson flask no longer heals the listed share of your bar:
| Flask level | Full heal until | 75% heal until | 50% heal until |
|---|---|---|---|
| +0 | 1 Vigor | 5 Vigor | 15 Vigor |
| +3 | 15 Vigor | 21 Vigor | 31 Vigor |
| +6 | 21 Vigor | 28 Vigor | 38 Vigor |
| +9 | 24 Vigor | 31 Vigor | 43 Vigor |
| +12 | 26 Vigor | 32 Vigor | 47 Vigor |
A fully upgraded flask is a full heal only until 26 Vigor, drops under three-quarters past 32, and is under half a bar from 47 upward. Since Vigor's first big soft cap sits at 40, the practical read is simple: early on, potency is king because one gulp resets the fight. Once you are past 40 Vigor, charges matter more than potency, because no single flask is bailing you out anymore and what you need is more of them.
The cerulean flask behaves the same way against Mind. A +12 cerulean charge is a complete FP refill until 38 Mind, and it is worth noting that Mind's FP soft caps land at 50 and 60, so casters outgrow their flask well before they finish leveling.
Two multiplayer wrinkles nobody warns you about:
- As an invader or a co-op phantom, your flask count is halved, to a maximum of 7. Your allocation carries over, but the totals do not.
- Colosseum fights ignore your allocation entirely. You get 3 flasks in Duel mode and 1 in United Combat and Combat Ordeal, regardless of what you built.
For most melee builds, 12 crimson and 2 cerulean is the sane default — two cerulean charges cover a buff spell or a heal incantation without eating your healing. Both flasks also top up away from a grace: the tutorial About Vanquishing Enemy Groups says wiping out an enemy group replenishes your flasks, with the number and type varying by group, and About Teardrop Scarabs says crimson and cerulean scarabs each restore the flask matching their colour. That helps a thin cerulean allocation far more than a fat crimson one — one charge back on a two-charge cerulean side is half of it, while the same charge on twelve crimson is noise. Casters leaning on FP still want something closer to an even split, because they burn through it faster than the world hands it back.
The multiplier stack: talismans, a helm, and one chest piece
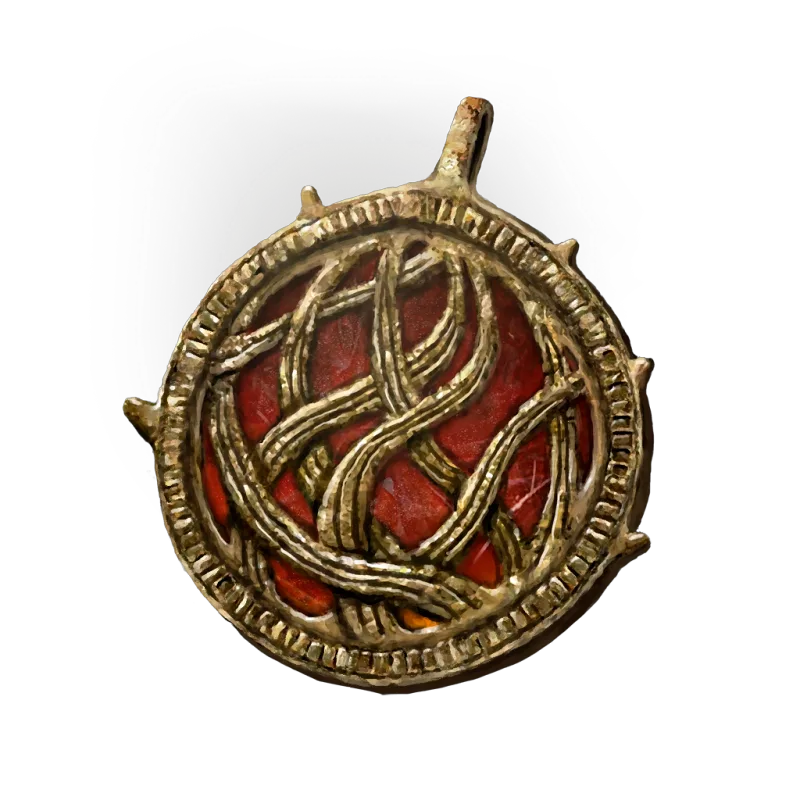
Once your tears are spent, potency is a gear problem:
| Item | Effect | Where |
|---|---|---|
| Crimson Seed Talisman | +20% HP restored | Sainted Hero's Grave, Altus Plateau — behind an Imp Statue fog wall, one Stonesword Key |
| Crimson Seed Talisman +1 | +30% HP restored | Finger Ruins of Rhia, Shadow of the Erdtree |
| Cerulean Seed Talisman | +20% FP restored | Carian Study Hall, Liurnia — top rafters, before the Carian Inverted Statue is placed |
| Cerulean Seed Talisman +1 | +30% FP restored | Finger Ruins of Dheo, Shadow of the Erdtree |
| Crimson Tear Scarab | +10% HP restored, and you take more damage | Volcano Manor, on a ledge past the Temple of Eiglay |
| Guardian Garb (Full Bloom) | +10% HP restored, heavy fire negation loss | Rare drop from Erdtree Guardians, including in Leyndell |
| Blessed Dew Talisman | 2 HP per second, passive | Chest west of the Divine Bridge, Leyndell |
The Crimson Tear Scarab is a head slot, so it stacks with the Crimson Seed Talisman rather than competing for the same slot — but it is not free. Its negative damage negation makes you take roughly 6% more physical and 5% more non-physical damage, permanently, in exchange for 10% more healing. On a build already leaning on flasks that trade can be worth it. On a build trying to not get hit, it is a bad deal.
The Blessed Dew Talisman deserves a special mention for routing reasons. It is in Leyndell, which sounds late, but the sending gate at the Tower of Return in the Weeping Peninsula drops you straight into the capital's Divine Bridge area. You can be wearing 2 HP per second within the first few hours, and at low Vigor that regen is doing a genuinely absurd share of your effective healing.
Both Crimson Seed Talisman +1 locations run through the same quest thread: Count Ymir gives you the Hole-Laden Necklace and the Ruins Maps, and ringing the bell at the centre of each ring of stone fingers hands over the talisman. Rhia gives crimson, Dheo gives cerulean.
What Shadow of the Erdtree does not add
This one catches returning players. Shadow of the Erdtree contains zero Golden Seeds and zero Sacred Tears. Neither wiki's acquisition list has a single Land of Shadow entry. If you walked into the DLC with a +9 flask, you are finishing the DLC with a +9 flask unless you ride back to the Lands Between and clear the churches you skipped.
What the DLC adds instead is a parallel set of bolstering materials — Scadutree Fragments and Revered Spirit Ash — that only function inside the Land of Shadow, plus the two Seed Talisman +1 upgrades above and Blessing of Marika, a consumable that completely restores HP and cures every status ailment at once.
The practical consequence: your flask upgrades are the one part of your build that the DLC will not fix for you. Do the church sweep before you step through the portal at Mohgwyn Palace, not after.
Quick Action Checklist
- Sweep the four Weeping Peninsula and Limgrave churches early. Four tears is a 570-HP flask before you have beaten a Shardbearer.
- Prioritise the first six Sacred Tears above almost anything else. They are 75% of the entire system's value.
- Take Golden Seed as your Keepsake if nothing else on the list is calling to you — it is a free fifth charge.
- Remember one Sacred Tear upgrades both flasks at once. There is no allocation decision to make.
- Grab the Crimson Seed Talisman in Sainted Hero's Grave for one Stonesword Key. +20% is worth roughly four Sacred Tears at the top of the curve.
- Take the Tower of Return sending gate in the Weeping Peninsula to grab the Blessed Dew Talisman absurdly early.
- Past 40 Vigor, stop chasing potency and start chasing charges — a +12 flask is already under 75% of your bar.
- Casters should still collect the last two Mountaintops tears; the cerulean flask gains a flat +10 FP per level with no taper.
- Finish your church sweep before entering Shadow of the Erdtree. The DLC has no Sacred Tears and no Golden Seeds.
Frequently Asked Questions
How many Golden Seeds do you need to max your flasks in Elden Ring?
How many Sacred Tears are there in Elden Ring?
How much HP does a fully upgraded Flask of Crimson Tears heal?
Do Sacred Tears upgrade both flasks in Elden Ring?
Are the last Sacred Tears worth collecting?
Does Shadow of the Erdtree have Golden Seeds or Sacred Tears?
Do Golden Seeds affect the Flask of Wondrous Physick?
Keep Reading
Related Guides
Elden Ring Scadutree Fragments: The Real Numbers and the Blessing Level You Actually Need
Half of Shadow of the Erdtree's difficulty complaints were a stat problem, not a skill problem. Here is the full Scadutree Blessing table after patch 1.12.2, where every one of the 50 fragments lives, and the level where the curve quietly stops paying you.
Elden Ring Boss Order: The Critical Path Ranked by Level
Elden Ring is open-world, but its ending runs through a fixed spine of required bosses. Here is that spine in order, which of the big fights you can skip, and the level you actually want before each wall.
Elden Ring New Game Plus: What Carries Over and What Scales
The Tree Sentinel gains 3,916 health when you start Journey 2. The Elden Beast gains 22. Elden Ring does not multiply the whole world when you start a new Journey — it multiplies the beginning of it, hard, and leaves the ending almost exactly where you left it. Here is the full carry-over list and the datamined scaling behind it.
![The Golden Rune [13] item icon from Elden Ring, the largest of the standard Golden Rune consumables at 10,000 runes.](/images/blog/elden-ring/elden-ring-rune-cost-per-level/golden-rune-13.webp)
Elden Ring Rune Cost Per Level: The Full Price Curve
Your first level costs 673 runes. Your 150th costs 153,680 — more than killing Morgott. Elden Ring never shows you the curve you are climbing, only the number for the next step, and the shape of that curve decides when leveling stops being the best thing you can do with your runes.
Best Elden Ring Starting Class: All 10 Origins Ranked
Every Elden Ring origin has exactly the same number of attribute points for its level — the only thing you are really choosing is where those points sit and what gear you get for free. Here is what that actually means for your first twenty hours.
Elden Ring Millicent Questline: Every Step, Both Rewards
Millicent's questline crosses four regions and ends with two summon signs. One pays the Rotten Winged Sword Insignia, the restored needle and Miquella's Needle; the other pays Millicent's Prosthesis. Here is every step, every gate, and what each side is worth.