Elden Ring Scadutree Fragments: The Real Numbers and the Blessing Level You Actually Need
Half of Shadow of the Erdtree's difficulty complaints were a stat problem, not a skill problem. Here is the full Scadutree Blessing table after patch 1.12.2, where every one of the 50 fragments lives, and the level where the curve quietly stops paying you.
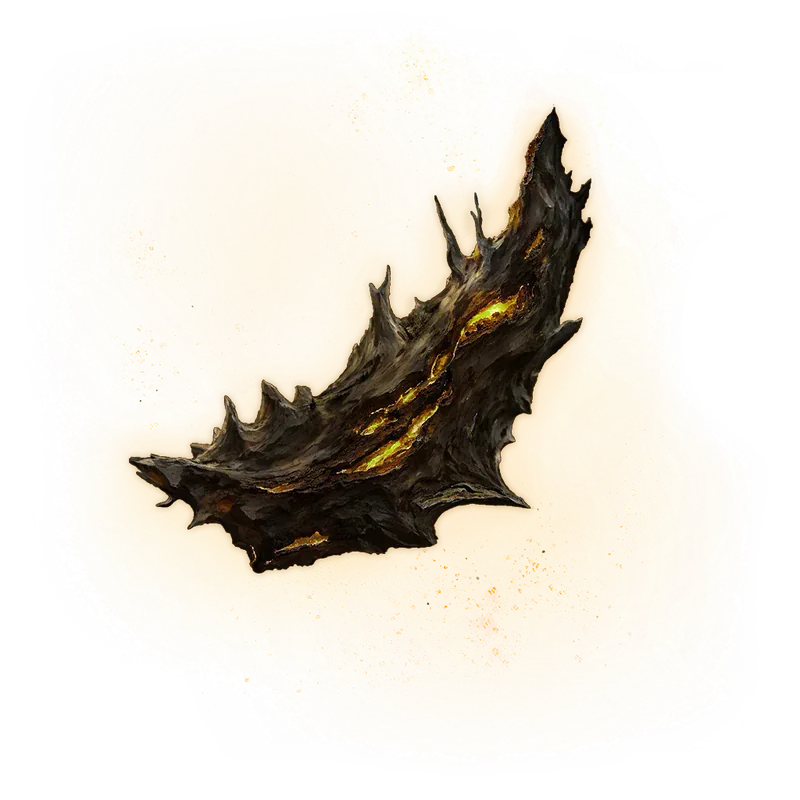
When Shadow of the Erdtree launched, half the internet decided FromSoftware had lost the plot on difficulty. The Divine Beast Dancing Lion was slapping level 150 characters around like they were fresh out of the Chapel of Anticipation, and a lot of very good players concluded the DLC was overtuned.
It wasn't, mostly. It was gated behind a second progression system nobody had ever seen before, sitting in a menu tab most players walked straight past on their first ten rests at a grace. Your rune level barely matters in the Land of Shadow. Your Scadutree Blessing does.
The difficulty complaints were a stat problem
Here is the shape of it. At Scadutree Blessing 0 you deal 1.00x damage and take 1.00x damage. At Blessing 20 you deal 2.05x damage and take 0.487x damage. Divide one by the other and your effective swing factor against the same enemy is 4.21x. That is not a difficulty curve, that is two different games.
FromSoftware noticed. Calibration update 1.12.2, released 24 June 2024, rewrote the curve so the early levels pay out much harder and the late ones taper. Every number in this guide is the post-1.12.2 version, because that is what your game is running.
What the blessing actually does, and where it does nothing
Scadutree Fragments are a bolstering material. You collect them, rest at any Site of Grace, open the Shadow Realm Blessing tab, and spend them. There is no cost in runes and no penalty for spending late.
Three rules define the whole system:
- The blessing only functions inside the Land of Shadow. Ride back through the portal to the Lands Between and it does literally nothing. The item description says so outright. This is not a stat you carry into a Malenia rematch.
- There are exactly 50 Scadutree Fragments, and the maximum blessing is level 20. Reaching 20 requires all 50. There is no slack, no duplicates, and no merchant selling spares.
- It is entirely optional. You can beat the DLC at Blessing 0. You will not enjoy it.
That second point is worth sitting with. Most collectible systems in this game have padding — Golden Seeds and Sacred Tears hugely outnumber what you need to max your flasks. Scadutree Fragments have zero. Every single one is load-bearing if you want the cap.
The full Scadutree Blessing table
This is the whole thing, post-patch, with the pre-patch column kept for context because it explains why old guides give different advice:
| Level | Fragments | Total | Damage dealt | Damage taken | Pre-patch dealt |
|---|---|---|---|---|---|
| 0 | — | 0 | 1.00x | 1.000x | 1.00x |
| 1 | 1 | 1 | 1.10x | 0.909x | 1.05x |
| 2 | 2 | 3 | 1.20x | 0.833x | 1.10x |
| 3 | 2 | 5 | 1.25x | 0.800x | 1.15x |
| 4 | 2 | 7 | 1.30x | 0.769x | 1.20x |
| 5 | 2 | 9 | 1.35x | 0.740x | 1.25x |
| 6 | 2 | 11 | 1.42x | 0.701x | 1.30x |
| 7 | 2 | 13 | 1.50x | 0.666x | 1.35x |
| 8 | 2 | 15 | 1.55x | 0.645x | 1.40x |
| 9 | 2 | 17 | 1.60x | 0.625x | 1.45x |
| 10 | 3 | 20 | 1.65x | 0.606x | 1.50x |
| 11 | 3 | 23 | 1.75x | 0.571x | 1.55x |
| 12 | 3 | 26 | 1.85x | 0.540x | 1.60x |
| 13 | 3 | 29 | 1.87x | 0.533x | 1.65x |
| 14 | 3 | 32 | 1.90x | 0.526x | 1.70x |
| 15 | 3 | 35 | 1.92x | 0.519x | 1.75x |
| 16 | 3 | 38 | 1.95x | 0.512x | 1.80x |
| 17 | 3 | 41 | 1.97x | 0.506x | 1.85x |
| 18 | 3 | 44 | 2.00x | 0.500x | 1.90x |
| 19 | 3 | 47 | 2.02x | 0.493x | 1.95x |
| 20 | 3 | 50 | 2.05x | 0.487x | 2.00x |
Your very first fragment is the single most valuable item in the DLC. One pickup, +10% damage and 9.1% less damage taken. Nothing else in Shadow of the Erdtree gives you that much for that little effort — not a talisman, not a weapon upgrade, not ten rune levels.
Blessing 12 is the real soft cap
Look at the damage-dealt column between levels 12 and 13. It goes from 1.85x to 1.87x. That is a two percentage point gain for three fragments.
Now put the two halves of the system side by side:
- Levels 0 to 12 cost 26 fragments and take you from 1.00x to 1.85x damage while cutting incoming damage by 46%.
- Levels 13 to 20 cost the other 24 fragments and buy you a further 10.8% damage and 9.8% less incoming damage.
Roughly half the fragments in the DLC give you an 85% damage increase. The other half gives you eleven percent. That is the entire argument for not stressing about the last dozen pickups.
Levels 11 and 12 are the last two big ones — each is a clean +0.10 on the damage multiplier, the same size as level 1's jump, for three fragments apiece. After that the curve lies down and dies. If you are hunting fragments to clear a wall, 26 is your number, not 50.
Where all 50 fragments are, region by region
There are three reliable patterns, and once you know them you stop needing a checklist:
- Miquella's Crosses — the glowing crosses next to certain Sites of Grace. One fragment at every single one.
- Marika statues — usually planted in the middle of a Messmer's army encampment, which is the game politely telling you to fight fifteen soldiers for it.
- Pot-bearing Shadow enemies — the sparkling ones that sprint away the second they see you. Kill them fast or they despawn.
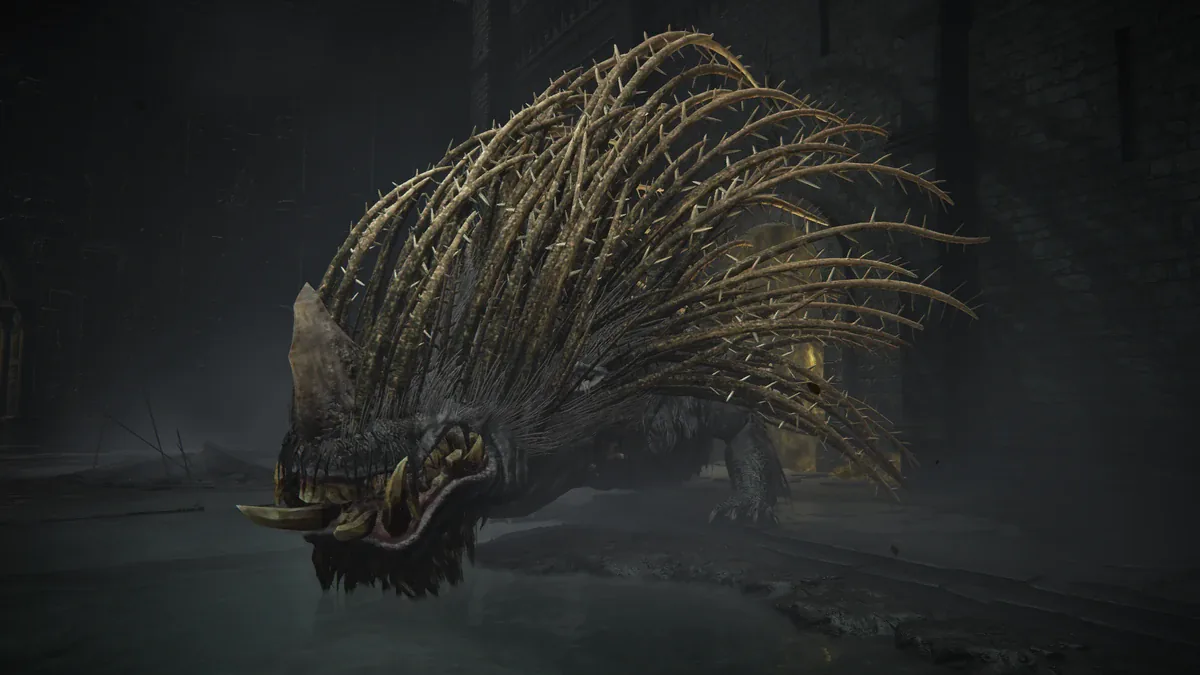
Plus hippos. A lot of hippos.
Gravesite Plain, Belurat and Castle Ensis: 10 fragments
Gravesite Plain alone holds eight: two on the ground by the Marika statue at the Church of Consolation, crosses at Three-Path Cross, Main Gate Cross and Pillar Path Cross, a Marika statue at the Castle Front encampment, and two pot-bearing Shadow enemies — one northeast of the Scorched Ruins, one southwest of Cliffroad Terminus.
Add the cross-adjacent fragment tucked in a side room in Belurat, Tower Settlement and the one at the Castle Ensis Checkpoint cross, and that is 10 fragments before you fight Rellana — enough for Blessing 5 with one spare.
If the Dancing Lion is beating you, the eight in Gravesite Plain will get you to Blessing 4 without touching Belurat at all. That is 1.30x damage and 23% less damage taken, and it is very close to the whole fight.
Scadu Altus and Rauh Base: 10 more
Scadu Altus is the second-densest region with nine: crosses at Highroad Cross, Moorth Ruins, Scaduview Cross; two on the floor of the Church of the Crusade; Marika statues at the Shadow Keep Main Gate encampment, the Moorth Ruins encampment, and by the cave entrance north of Moorth Ruins; and a pot-bearer south of Moorth Ruins near the fissure.
One more sits on a bridge in the Temple Town Ruins at Rauh Base. That is your twentieth fragment, and 20 is exactly the cost of Blessing 10. Clear those five areas and you walk into Shadow Keep at 1.65x damage and 39% damage reduction, without having entered a single legacy dungeon past Belurat.
Shadow Keep and Scaduview: 11 more
Shadow Keep carries six: two from the Golden Hippopotamus in the Main Plaza, one in the hand of the huge Marika statue in the Church District (grab it after draining the water, not before), one by a Marika statue off the Back Gate grace, one at the Storehouse Fourth Floor cross, and one in front of a small Marika statue near the Dark Chamber Entrance.
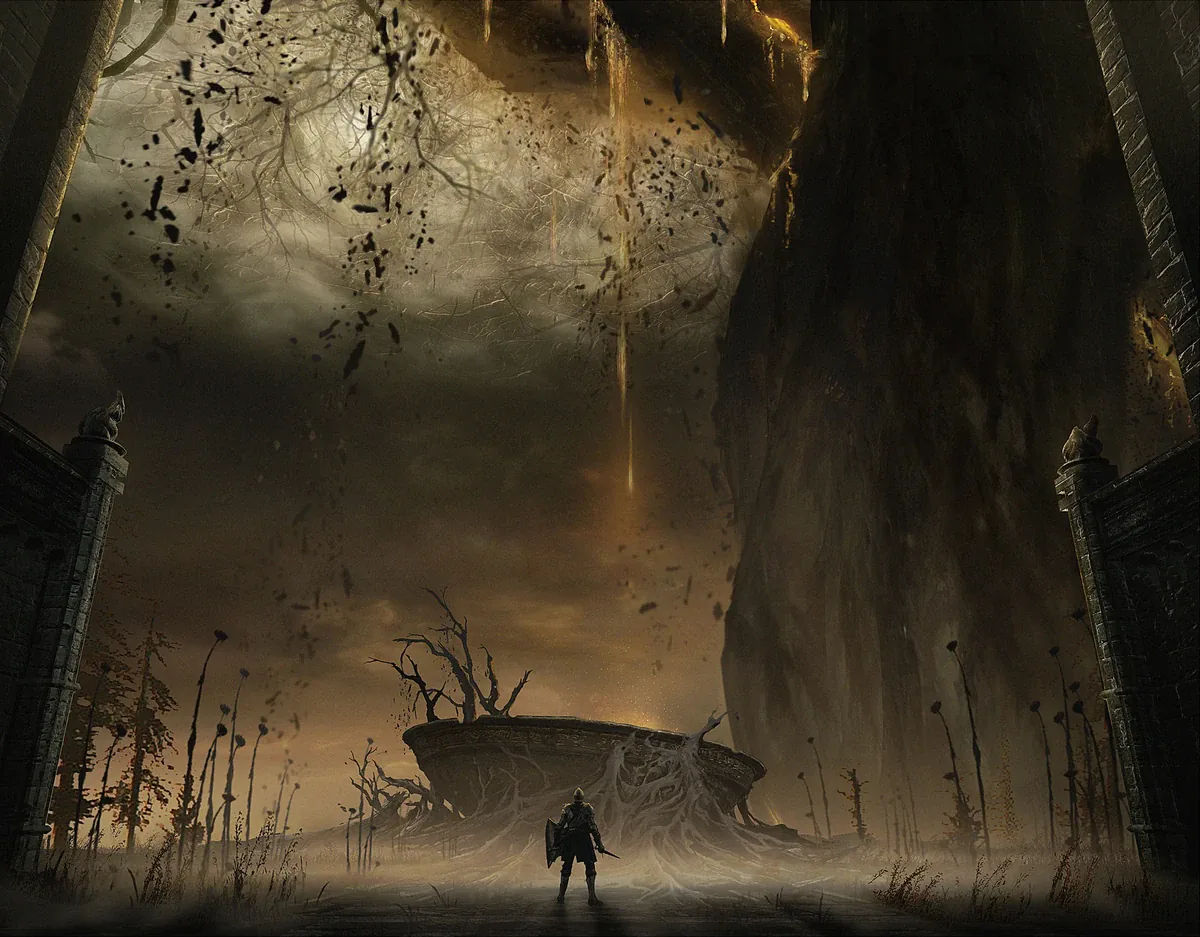
Then there is the Scadutree Chalice, and it is the single biggest cache in the game: five fragments sitting in the roots in front of the basin, plus six Blessed Bone Shards. It is behind the black gate on the northwestern tip of Scaduview, which only opens after you kill Commander Gaius outside Shadow Keep's back gate. At three fragments per level in that range, five in one spot is nearly two whole blessing levels for one boss and a walk. Do not skip Gaius.
The back half: Cerulean Coast through Enir-Ilim
The remaining 19 are spread thin: three on the Cerulean Coast (two crosses plus a corpse in a cave guarded by a Demi-Human Chief), three in the Shadow Keep Depths along Recluses' River including two Lesser Golden Hippopotamus drops, three in the Abyssal Woods (two at the Abandoned Church altar, one on a corpse north of the grace), one from the hippo at Charo's Hidden Grave, one on the Jagged Peak past the twin spiritsprings, four across the Ancient Ruins of Rauh, and four in Enir-Ilim.
Note where those last four live. Enir-Ilim is the final area, and one of its fragments is on the altar at the Cleansing Chamber Anteroom — the grace immediately before the last fight. Blessing 20 is technically achievable for Promised Consort Radahn, but only if you have swept literally everything else in the DLC first. Everyone else fights him at 18 or 19, which is a 2.5% damage difference. Relax.
The 13 Miquella's Crosses are free fragments
There are 13 Miquella's Crosses in the Land of Shadow, one for each piece of himself Miquella abandoned on the way to godhood, and every one has a Scadutree Fragment next to it. That is 26% of the entire supply available for the cost of riding to a Site of Grace you were going to unlock anyway.
Eleven of them sit beside a named grace: Three-Path Cross, Main Gate Cross, Pillar Path Cross, Castle Ensis Checkpoint, Highroad Cross, Moorth Ruins, Scaduview Cross, Storehouse Fourth Floor, Cerulean Coast Cross, Fissure Cross, and Rauh Ancient Ruins East. The remaining two are indoors — one in Belurat, one at Enir-Ilim's Spiral Rise.
If you do nothing else, ride to every cross. Thirteen fragments is Blessing 7 on its own, which is 1.50x damage and a third less damage taken, from pure map traversal.
Revered Spirit Ash is the other half of the system
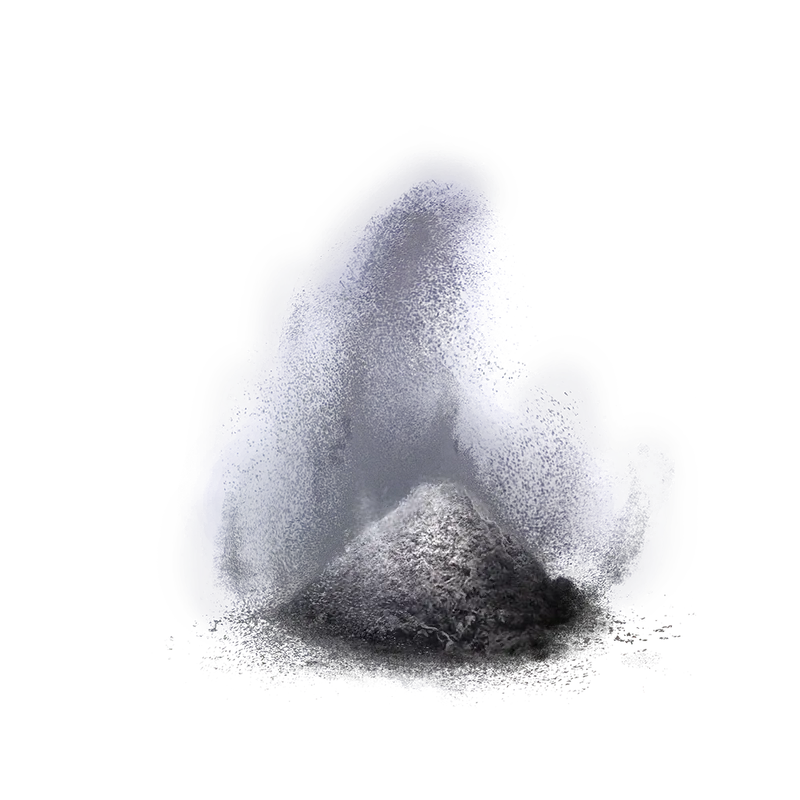
There is a second bolstering material doing the same job for your summons, and a lot of players who max their Scadutree Blessing never touch it. Revered Spirit Ash boosts damage dealt by Spirit Ashes and reduces damage taken by both your spirits and Torrent. It is looted from altars, hornsent corpses and the odd Shadow Pothead, and like the Scadutree Blessing it does nothing outside the Land of Shadow.
There are 25 in total and the cap is level 10:
| Level | Ashes | Total | Melee dealt | Magic dealt | Damage taken |
|---|---|---|---|---|---|
| 1 | 1 | 1 | 1.075x | 1.075x | 0.932x |
| 2 | 1 | 2 | 1.150x | 1.150x | 0.875x |
| 3 | 1 | 3 | 1.225x | 1.225x | 0.827x |
| 4 | 2 | 5 | 1.300x | 1.300x | 0.786x |
| 5 | 2 | 7 | 1.400x | 1.375x | 0.730x |
| 6 | 3 | 10 | 1.566x | 1.450x | 0.661x |
| 7 | 3 | 13 | 1.647x | 1.525x | 0.636x |
| 8 | 3 | 16 | 1.728x | 1.600x | 0.613x |
| 9 | 4 | 20 | 1.809x | 1.675x | 0.593x |
| 10 | 5 | 25 | 1.890x | 1.750x | 0.575x |
Level 6 is the breakpoint. It costs ten ashes cumulative, and it is where both curves make their biggest single jump: melee damage from 1.400x to 1.566x, damage taken from 0.730x to 0.661x. Everything after that is a flat, boring +0.081 melee per level. Get to 6, then stop caring.
Two things the menu does not tell you. First, Torrent only gets the defensive half — he takes less damage, he does not deal more, so this is not a mounted-combat buff. Second, Mimic Tear Ashes deliberately does not receive the full benefit, for balance reasons. If you have been leaning on the Mimic all game, this system quietly rewards you for switching to something else in the DLC.
Belurat alone holds five Revered Spirit Ashes, more than any other area, including a pair on a single altar in a room full of Spider-Scorpions. Enir-Ilim has four, the Ancient Ruins of Rauh three, and Gravesite Plain, Midra's Manse and Shadow Keep two apiece.
What blessing level should you actually be?
There is no official recommendation, so here is mine, derived from what is actually reachable before each gate rather than from vibes:
- Divine Beast Dancing Lion: Blessing 4-5. The eight Gravesite Plain fragments get you to 4 on their own.
- Rellana, Twin Moon Knight: Blessing 5-6. You have 10 fragments available before Castle Ensis, and Rellana is the DLC's first real difficulty spike.
- Messmer the Impaler: Blessing 10-12. Everything in Scadu Altus plus Temple Town Ruins is exactly 20 fragments, which is 10 on the nose. Push to 12 if you can reach the Chalice first.
- Bayle the Dread and the optional bosses: Blessing 12+. The curve has flattened by here — more fragments will not save you, positioning will.
- Promised Consort Radahn: Blessing 15-20, and honestly anything past 15 is rounding. If you are stuck at 18, the answer is not fragment 47.
The pattern is consistent: if a boss is deleting you and you are below Blessing 12, go collect. If you are above 12, the fragments are no longer the problem — check your talismans, your physick mix, and whether your weapon's damage type is doing anything to that boss.
Quick Action Checklist
- Rest at a grace and open the Shadow Realm Blessing tab the second you pick up your first fragment. Do not hoard them.
- Ride to all 13 Miquella's Crosses. One fragment each, no combat required for most of them, Blessing 7 for free.
- Sweep Gravesite Plain's eight before Belurat. That alone is Blessing 4 and it makes the Dancing Lion a normal boss fight.
- Kill Commander Gaius to open the black gate at Scaduview. The Scadutree Chalice holds five fragments plus six Blessed Bone Shards.
- Loot every Marika statue in a Messmer encampment, and chase every sparkling pot-bearing Shadow before it despawns.
- Treat 26 fragments (Blessing 12) as the finish line. The remaining 24 buy about 11% more damage between them.
- Spend Revered Spirit Ash to level 6 early — ten ashes, the biggest jump in that table — then only top up when you trip over more.
- Remember both blessings are dead weight in the Lands Between. Nothing here helps you against Malenia.
Frequently Asked Questions
How many Scadutree Fragments are there in Shadow of the Erdtree?
What is the max Scadutree Blessing level in Elden Ring?
What is the soft cap for Scadutree Blessing?
Does the Scadutree Blessing work in the base game?
Where are the easiest Scadutree Fragments to get?
What Scadutree Blessing level should I be for Messmer?
How many Revered Spirit Ashes are there and what do they do?
Does the Mimic Tear benefit from the Revered Spirit Ash Blessing?
Where is the Scadutree Chalice and how many fragments does it hold?
Keep Reading
Related Guides
Elden Ring Flask Guide: Golden Seeds and Sacred Tears
There are exactly 12 Sacred Tears in the Lands Between and the flask caps at +12, so every single one is load-bearing. Here is the full healing table, the Golden Seed cost curve, and the point where more upgrades stop being worth the detour.
Elden Ring Boss Order: The Critical Path Ranked by Level
Elden Ring is open-world, but its ending runs through a fixed spine of required bosses. Here is that spine in order, which of the big fights you can skip, and the level you actually want before each wall.
Elden Ring New Game Plus: What Carries Over and What Scales
The Tree Sentinel gains 3,916 health when you start Journey 2. The Elden Beast gains 22. Elden Ring does not multiply the whole world when you start a new Journey — it multiplies the beginning of it, hard, and leaves the ending almost exactly where you left it. Here is the full carry-over list and the datamined scaling behind it.
![The Golden Rune [13] item icon from Elden Ring, the largest of the standard Golden Rune consumables at 10,000 runes.](/images/blog/elden-ring/elden-ring-rune-cost-per-level/golden-rune-13.webp)
Elden Ring Rune Cost Per Level: The Full Price Curve
Your first level costs 673 runes. Your 150th costs 153,680 — more than killing Morgott. Elden Ring never shows you the curve you are climbing, only the number for the next step, and the shape of that curve decides when leveling stops being the best thing you can do with your runes.
Best Elden Ring Starting Class: All 10 Origins Ranked
Every Elden Ring origin has exactly the same number of attribute points for its level — the only thing you are really choosing is where those points sit and what gear you get for free. Here is what that actually means for your first twenty hours.
Elden Ring Endings: All 6, and What Locks You Out
Elden Ring has six endings and exactly one of them asks nothing of you. The other five are the tail ends of questlines you have to start hours earlier, one of them cannot be collected until after you have burned the Erdtree, and one of them quietly deletes the other five the moment you touch it. Here is the whole dependency map.