Fortnite Healing Items Tier List: What to Carry and When
Half the players who die in the storm or get caught mid-chug didn't lose a gunfight — they lost a heal-management fight. Here's how to rank every healing item by what actually matters and what belongs in your bag.
Half the players who die to the storm or get caught mid-chug didn't lose a gunfight — they lost a heal-management fight, and they lost it before the storm even started moving. They cracked someone's shield, walked away with 70 health and no shield, and never topped up because they were "saving" their potions. Then the next squad rolled in and there was nothing to pop.
Like the weapon pool, the exact heals in the game rotate every season — Epic vaults and unvaults consumables constantly, and the fancy mythic-only heal this month might be gone next month. So this isn't a list of which season's items are good. It's a tier list of healing item types and a framework for ranking whatever heals are in the bag right now, plus the part nobody talks about: when to actually use them. Learn the types and the timing and you'll stop dying at full ammo with an empty health bar.
Heals lose more games than aim does
The uncomfortable truth: a huge share of deaths past the midgame aren't outplays. They're players who took a fight, won it ugly, and then walked into the next one at partial health because their heal economy was a mess. Your bag is a second health bar, and managing it is a skill that's worth as much as your aim — arguably more, because everyone's aim plateaus but almost nobody bothers to get good at when and what to heal.
Three habits separate players who never seem to die from low health:
- They heal to full between fights, not during them. The instant a fight ends, before looting the box, they top off.
- They carry a heal for both bars. Shield items and health items do different jobs; running only one leaves you half-covered.
- They never overcommit a slot to heals. Heals win games, but a bag stuffed with twelve minis and no utility is its own death sentence.
Get those three right and most of this guide is just optimization on top.
The two bars: shield vs health
Before any tier list makes sense, you have to understand the two-bar system, because it's the entire reason there are different healing items at all.
- White health is your real HP. It's the bar you can't live without. When it hits zero you're knocked (in squads) or eliminated (in solos). It typically does not regenerate on its own.
- Blue shield sits on top as an extra buffer. Damage eats your shield first, then your health. Shield is your "free" extra HP — but only if you actually keep it topped up.
This split is why a Med-Kit and a Shield Potion aren't interchangeable. A Med-Kit can fix a 1-HP situation that no amount of shield will help; a Shield Potion does nothing once you're already cracked to white. The rule of thumb: shield items are your default, proactive top-up; health items are your emergency repair. A good bag covers both bars, because you will absolutely end fights needing each.
How to rank any healing item
Forget item names. Any heal in any season gets judged on four axes, and that's all you need to tier a brand-new consumable the moment you pick it up:
- What it restores. Shield only, health only, or both? Items that heal both bars are the most flexible and almost always the highest-value pickups. Pure-health items are emergency tools; pure-shield items are your routine maintenance.
- How much, and is there a cap? A heal that only takes you partway (small shield potions famously cap at a partial shield bar) is a chip tool, not a full reset. Full-bar heals are worth more per slot.
- Channel time and interruptibility. How long are you standing still and vulnerable? A long channel (Med-Kit) is a deep-cover-only item. A near-instant one (bandage, mini) you can sneak in mid-rotation. If moving or taking a hit cancels it, that's a real downside.
- Mobility while healing. The premium modern category is heals that let you move or heal at range — splash-type items you throw, or anything that doesn't pin you in place. In a game where standing still gets you third-partied, "heal without stopping" is the single most valuable trait a consumable can have.
Score a new item on those four and you'll instantly know whether it's a keep, a situational hold, or a drop.
The healing item tiers
Here's the durable ranking by type. The names attached to each are the long-running staples; swap in whatever this season's version is and the tier logic holds.
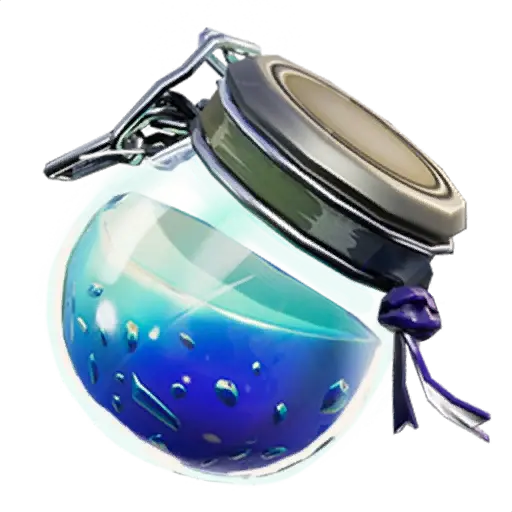
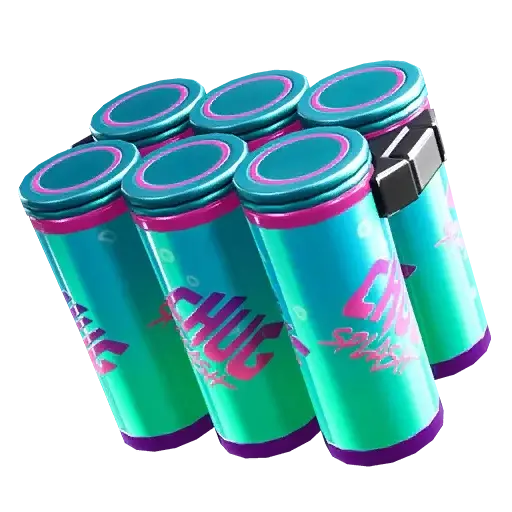
S-tier — heal both bars and/or let you move. The dream pickups. Anything that restores health and shield, or heals you at range / on the move (think splash-style throwables and the full "chug"-type items). They solve both bars at once and don't pin you in the open, which is exactly what you want when you're getting third-partied. If you see one, grab it.
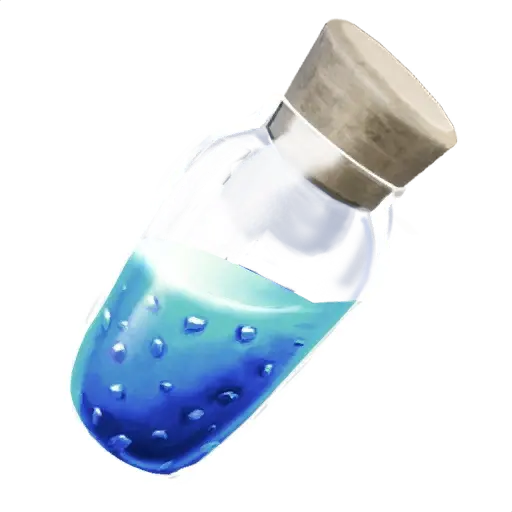
A-tier — full Shield Potion (the blue one). Your bread and butter. A full shield restore on a short, manageable channel. This is the item you should always have a stack of, because keeping shield topped between fights is the core healing habit. Not flashy, just constantly correct.
A-tier — Med-Kit / full-health restore. Fixes the bar that matters most, taking you from near-death back to full HP. The catch is the long, vulnerable channel — you commit to standing still for a noticeable beat. That makes it a behind-hard-cover, nobody-near-me item, never something you pop mid-fight. Essential to carry, situational to use.
B-tier — small Shield Potion (the chip shield). Fast and cheap, but caps you at a partial shield bar, so it's a top-off and an opener-fight tool, not a full reset. Great early game when you're scrambling for any shield at all; outclassed by full potions once you have them. Useful filler, not a foundation.
B-tier — bandages. Near-instant health top-up, but they only heal part of your health bar (not to full) and only touch white HP. Perfect for stopping the bleeding fast in a pinch or healing on a quick rotation, but you don't want to rely on them as your only health source. Cheap, common, fine to hold a few.
C-tier — situational and consumable foraged heals. Map-specific or foraged heals (the apples, mushrooms, and similar that vary by season) are free chip healing while you're moving through the map, which is genuinely nice on a rotation. But they're inconsistent, often capped, and you can't rely on finding them. Eat them when you walk past; never plan around them.
The takeaway: flexibility and mobility define the top of the list. The more bars an item touches and the less it roots you in place, the higher it ranks. Everything that pins you down or only does half the job drops a tier.
What to actually carry

Inventory slots are the real currency. A balanced bag covers both bars without strangling your utility and weapons. As a durable default:
- A shield-restore stack (full Shield Potions, plus a few small ones early). This is your routine maintenance and it should basically always be in the bag.
- A health-restore option (a Med-Kit or a full-health item, or bandages if that's all you've got). The bar you can't regenerate needs a dedicated fix.
- One mobility/flex heal if available (a splash-type or both-bars item). This is the slot that wins messy fights, because it heals you without standing still.
Past the midgame, a common smart split is roughly two heal slots — enough to reset between fights, not so many that you're walking into the endgame with one weapon and a pharmacy. If you're in the final circles with five heal stacks and two guns, you over-invested. If you're at full health, drop the redundant minis for utility or ammo. Heals you can't use because you're already topped off are just dead weight.
One squad note: in duos/trios/squads, bigger heal stacks are more defensible because you can share and revive-heal teammates, and group/splash heals get dramatically better with bodies around them. Solo, lean leaner.
When to heal and when to hold
Owning the right heals is only half of it. The timing is where games are won and lost:
- Heal to full the moment a fight ends. Before you loot, before you push, get behind cover and top both bars. The next squad heard that fight and is already moving. Walking into them at 60 health is how you hand away a win you earned.
- Never start a long channel in the open or in earshot of an active fight. A Med-Kit is a commitment. Pop it behind hard cover with no one near, or you're just announcing "free knock over here."
- Shield first, then health, when you can. Shield is your buffer for the next hit. If you're cracked to white with no shield, fix health enough to survive, then rebuild shield the second you're safe — our shield and heal management guide breaks down the order in detail.
- Use mobility heals to stay in the fight. The whole point of splash-type and on-the-move heals is that you don't have to disengage to use them. If you have one, you can top up while repositioning instead of giving up the angle.
- Pre-storm: heal before you rotate, not in the storm. Getting caught taking storm damage and trying to channel a heal is a classic double-tax death. Top off, then move.
- Don't hoard. The most common mistake is "saving" heals for a moment that never comes because you died at half health holding three full potions. If you're below full and safe, use one. That's what they're for.
The mental model: your bag is a health bar you have to consciously spend. Players who treat heals as something to ration die topped-up-but-too-late. Players who treat them as a resource to keep at maximum between every engagement are the ones still standing in the final circle.
Quick Action Checklist
The fastest way to stop losing games to your own heal economy:
- Carry for both bars — a shield-restore stack and a health-restore option, always
- Heal to full between fights, not during them — top off the instant a fight ends
- Grab both-bars and mobility heals first — they're S-tier because they're flexible and don't pin you
- Med-Kits and long channels are deep-cover only — never pop one in the open
- Small shields and bandages are chip tools — fine to hold, don't build your bag around them
- Keep it to ~2 heal slots past midgame — drop redundant minis for utility and ammo
- Heal before you rotate into the storm, not while it's chunking you
- Stop hoarding — if you're below full and safe, use one
Frequently Asked Questions
Keep Reading
Related Guides
Fortnite Weapon Tier List: How to Rank Any Loot Pool
Any Fortnite tier list is stale the second a patch drops. So instead of memorizing this season's gun names, learn how to rank weapons by class and role — the framework that's S-tier in every season.
Fortnite Crosshair Placement Guide: Aim Less, Hit More
The best aimers in Fortnite barely move their crosshair — it's already where the enemy's head is going to be. Here's how crosshair placement works, why it beats raw flick speed, and how to drill it into muscle memory.
Fortnite Ping and Packet Loss: Why You Die Behind Cover
Your wall went up, your edit reset, your shot connected — and the server disagreed with all three. Here's how to read your ping and packet loss in-game, test it against Epic's own servers, and fix the parts you actually control.
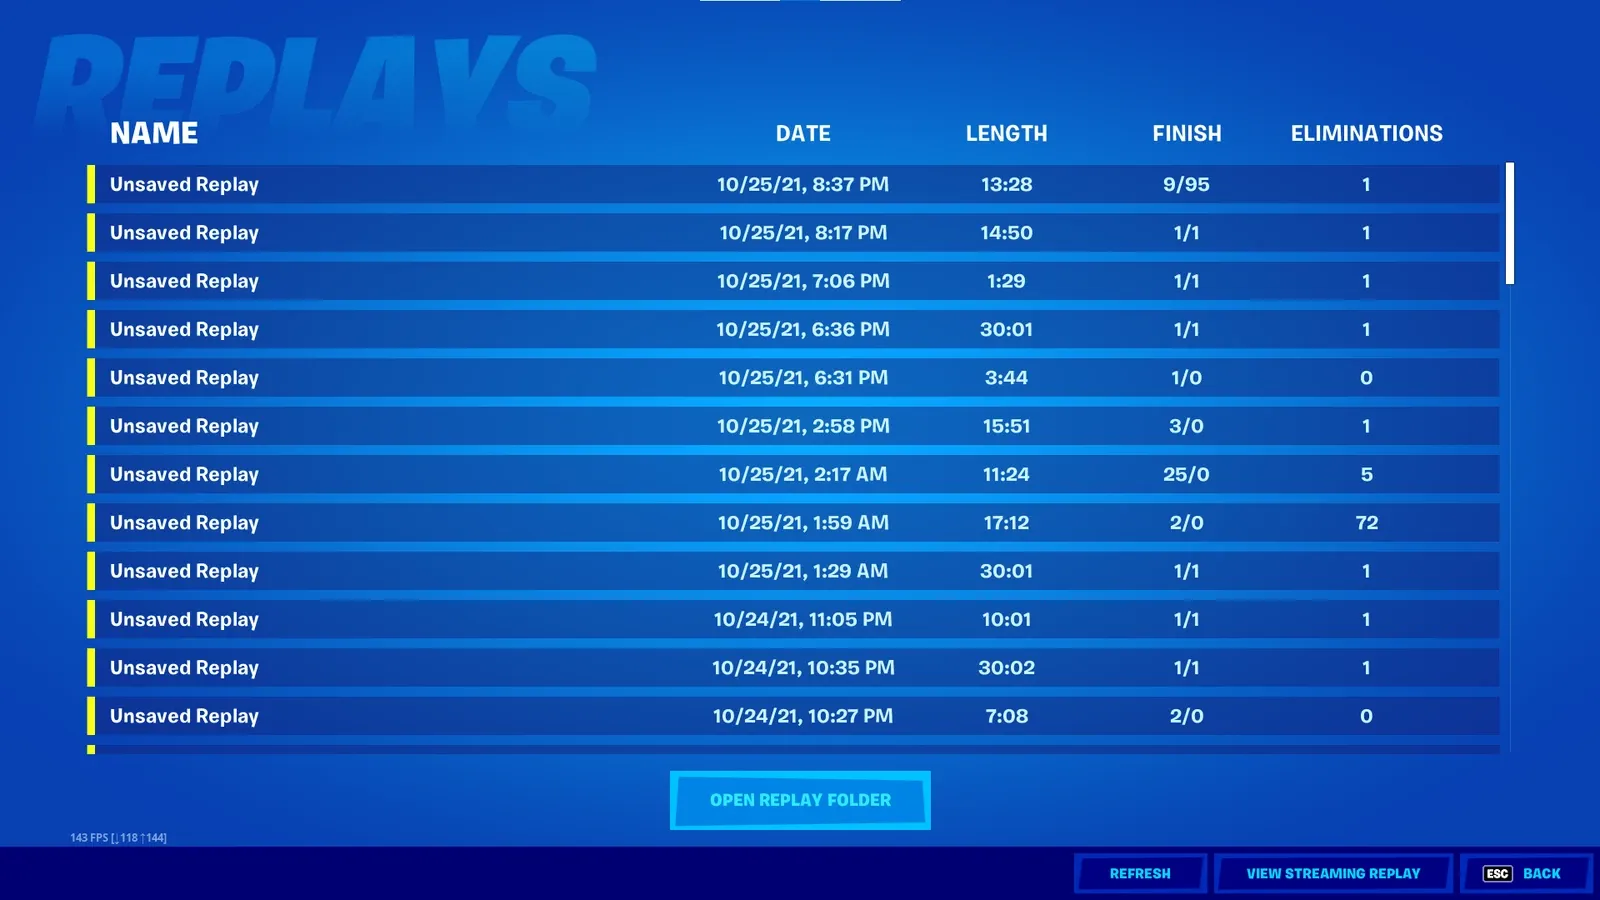
Fortnite Replay Mode: How to VOD Review Your Own Deaths
Fortnite records your matches automatically and almost nobody watches them. Replay Mode is the cheapest improvement tool in the game — here's how it works, what its 250-meter bubble hides from you, and the four questions to answer on every death.
Best Fortnite Settings for PC & Console
Half your settings menu is noise; a handful of options decide whether you can see, aim, and build. Here's what to change on PC and console, why, and the one number nobody else can pick for you.

Fortnite Beginner's Guide: Modes, Basics & First Wins
Everyone dies in their first dozen Fortnite matches. The trick is dying for reasons you understand. Here's the mode to start in, the loop that wins games, and the habits that turn 30th place into a top five.