Fortnite Shield & Heal Management: When to Pop What
Most fights in Fortnite aren't lost to bad aim — they're lost at 40 HP with a full Med Kit sitting in your inventory. Healing is a resource you manage, not a button you mash when the damage numbers turn red. Here's the durable framework for shields, heals, and the timing that actually keeps you alive.
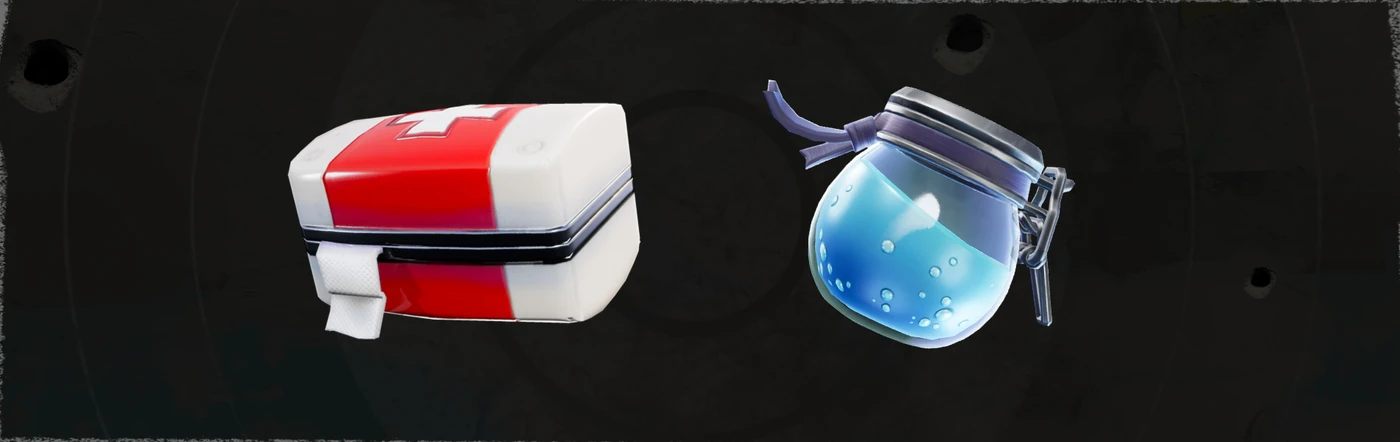
Most fights in Fortnite aren't lost to bad aim. They're lost at 40 HP, no shield, with a full Med Kit sitting in an inventory slot you never used. Healing is the single most under-managed resource in the game — players treat it as a panic button they mash after the damage is already done, when it's actually a resource you plan around, pop on a schedule, and sequence with the same care you give your loadout.
This guide is the durable theory of staying alive: what shields actually do, the 200-HP math that quietly decides every peek battle, the only heal distinction that matters (fast versus slow), a decision framework for when to pop what, and the timing discipline that separates players who survive endgame from players who die at 30 HP in the open. Specific heal items get vaulted and unvaulted every season, so we're building around the mechanics and the classic item values, not this week's exact loot pool. The math doesn't rotate.
Shields are a second health bar, and Fortnite gives you two of them
Every player spawns with 100 health and zero shield. Health is the bar you cannot exceed — 100 is the hard cap, and once it's gone you're eliminated. Shield is a second bar layered on top, also capped at 100, and here's the part that matters: incoming weapon damage hits your shield first and only bleeds into your health once the shield is empty. A player at 100 HP and 100 shield has effectively 200 effective health. A player at 100 HP and no shield has 100. Same health bar, double the survivability.
That's why "shielded up" is the baseline state you want to be in before every fight, not a nice-to-have. Two players with identical aim, one at full shield and one at zero, is not a fair fight — the shielded player wins it before either of them fires, because they can absorb a full extra magazine. The one exception worth knowing: fall damage ignores shield and hits your health directly, so a big drop still hurts even at full blue.
Getting to full shield is the first healing job every match. You don't wait until you're low to think about shields — you drink them the moment you have a safe window, because a shield you're carrying does nothing and a shield on your bar wins peeks.
The 200-HP math that decides fights
Internalize the numbers and healing decisions get obvious. The ceiling is 100 health plus 100 shield for 200 effective HP. You cannot heal health above 100 or shield above 100, and any healing that would push past those caps is wasted.
The classic item values (the staples that anchor most seasons) break down like this:
| Item | Restores | Cap | Use time |
|---|---|---|---|
| Shield Potion | 50 shield | 100 shield | 5-second drink |
| Small Shield Potion (Mini) | 25 shield | 50 shield | ~2-second drink |
| Med Kit | Health to full (100) | 100 health | 10-second channel |
| Bandages | 15 health each | 75 health | Short channel |
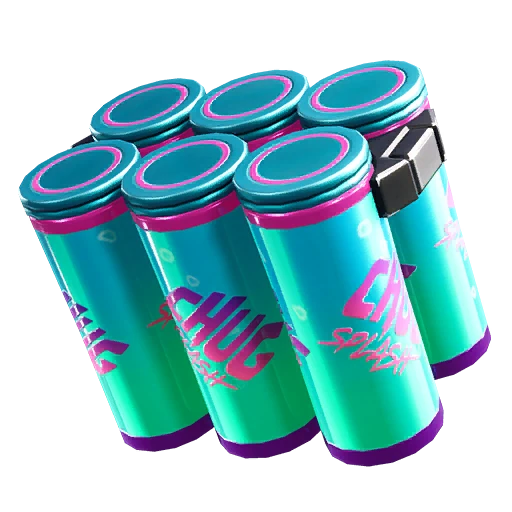
| Chug Splash | 20 to you and anyone nearby, teammates included — health first, then shield | 100 health / 100 shield | Instant on landing |
The two "capped" items are the ones players misuse most. Minis can't push shield past 50, so you can't full-shield on minis alone — you need a Shield Potion or bigger item to close the gap. Bandages can't push health past 75, so they're a mid-fight patch, not a full heal. Knowing those ceilings tells you exactly which item to reach for at a given HP total instead of guessing.
Fast heals and slow heals: the split that actually matters
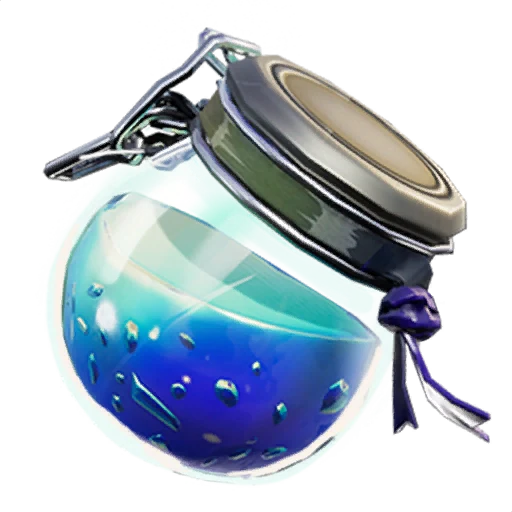
Forget tier lists for a second. The only distinction that changes how you play is how long the item takes to use, because that dictates when you can use it. Slow heals are for safety; fast heals are for pressure. A healthy loadout carries at least one of each.
The slow heals: Med Kit and Shield Potion
Slow heals — the Med Kit's 10-second channel, the Shield Potion's 5-second drink — deliver the most value per item but lock you in place while you use them. You cannot fire, and you can barely move, for the whole channel. That makes them strictly between-fight heals: you use them behind hard cover, after you've broken line of sight, when you're confident nobody is about to peek you. Pop a Med Kit in the open and you're a free elimination for anyone who rotates in. The rule is simple — big slow heals only happen when you're genuinely safe, never mid-fight.
The fast heals: minis, bandages, and Chug Splash
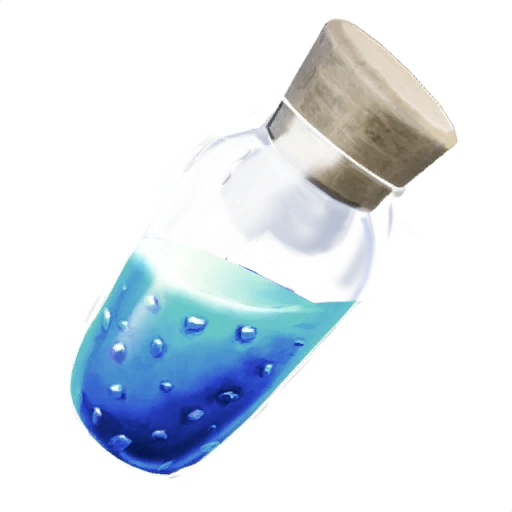
Fast heals are the ones you can afford to use when the pressure is on. A Mini drinks in about two seconds; a Chug Splash is instant the moment it lands. That speed is the entire point — a Chug Splash thrown at your feet mid-box-fight tops you and your duo without either of you dropping your build or your gun for a channel. Fast heals win the fights where a Med Kit would get you killed. The trade is efficiency: minis cap at 50 shield, Chug Splash only gives 20 at a time. You pay in total healing for the ability to heal under fire. Carry fast heals specifically for the moments you can't afford ten still seconds.
When to pop what: a healing decision framework
Put the pieces together and the "which item do I use" question answers itself based on two inputs — how safe are you, and what's your current HP/shield split.
The framework:
- Safe and low on both? Full send the slow heals. Behind cover with no immediate threat, drink Shield Potions to 100 and Med Kit to full. This is your reset — walk out of it at 200 effective HP.
- Under pressure and need shield? Fast shields only. Crack a Mini for a quick 25 while you reposition; don't commit to a 5-second Shield Potion with someone shooting at you.
- Health critically low mid-fight? This is the danger zone. If a slow health heal is your only option and you're exposed, you often can't heal at all — you have to disengage first with cover or a mobility item, then heal. This is exactly why a movement item earns a slot; our mobility items guide covers the tools that buy you the healing window.
- Health full, shield low? Ignore health items entirely — drink shields. Bandages and Med Kits do nothing for you at 100 HP.
- Team fight, everyone chunked? Chug Splash is king. One throw heals the whole squad instantly without anyone breaking their fighting posture.
The meta-rule underneath all five: heal the resource you're missing, with the fastest item the situation allows. Don't Med Kit when you only lost shield. Don't Mini when you had a safe window for a full Shield Potion. Match the item to the deficit and the danger.
Heal between fights, not during them
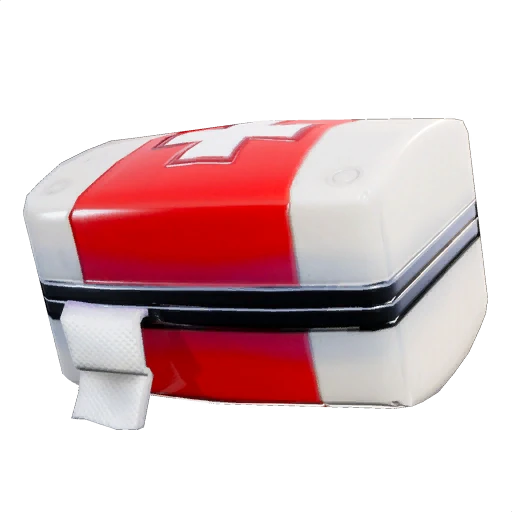
The most common healing death isn't running out of heals — it's healing at the wrong time. Players take a chunk of damage, panic, and immediately start channeling a slow heal while still exposed, and get finished during the animation. The discipline that fixes this: break contact first, heal second.
When a fight goes sideways, your first move is to get out of line of sight — build a wall, drop behind a rock, use a mobility item — and then heal in the pocket of safety you just made. Healing is a downtime activity. If there's no downtime, you make some before you touch a heal. This is doubly true in endgame, where the circles are small, third parties are everywhere, and a careless 10-second Med Kit in the open is an instant giveaway of your position and your life.
Corollary: top off during the lulls. After you win a fight, before you rotate, in the quiet stretch while the storm closes — those are your healing windows. Walk into every engagement at full 200, not because you expect to need it, but because the player who has to heal during the fight has already lost the initiative. Pre-healing is free; reactive healing costs you the fight.
Don't over-heal (and other ways players waste heals)
Heals are finite, and a surprising amount of a match's healing gets thrown away. The big wastes:
- Over-capping. Drinking a Shield Potion at 60 shield wastes 10 points — it caps at 100. Popping a Med Kit at 80 HP throws away 20 points of a full heal. Use the right-sized item: minis to top small shield gaps, Shield Potions for big ones, bandages to patch health, Med Kit only when you're genuinely low.
- Healing the wrong bar. Chugging health items at 100 HP does literally nothing while your shield sits at zero. Always check which bar is actually low.
- Hoarding the whole match. Heals you never use are heals you wasted. If you're sitting on eight slow heals in the final circles, you over-farmed and under-fought. A rough working stock is two-ish slow heals and a stack of fast heals — enough to reset twice and patch under fire.
- Carrying only slow heals. A loadout of nothing but Med Kits and Shield Potions means you cannot heal in a firefight at all. You need at least one fast option for the moments that matter.
Managing heals well is really inventory discipline, which is the same skill as building a balanced kit — our loadout priority guide treats your heal slots as core inventory, not leftovers, and the healing items tier list ranks the specific items when you have to choose what to keep.
Healing in Zero Build vs Build mode
Your healing discipline changes with the mode because your options for making downtime change. In Build, a wall is your healing window — you can throw up cover instantly and channel a Med Kit safely behind it, which makes slow heals far more usable. That's a real advantage: builders can commit to full slow heals mid-rotation in a way Zero Build players can't.
In Zero Build, there are no walls to hide behind, so natural cover and mobility are your only healing windows — and they're scarcer. That shifts the balance hard toward fast heals and pre-healing: you top off before you're exposed, you lean on Minis and Chug Splashes you can use on the move, and you almost never get a clean 10-second Med Kit unless you've fully broken contact. In both modes the third-party threat is real, so before you commit to any channel, check that you're not about to get sandwiched — the third-party guide covers reading those situations. The principle is constant across modes; the amount of safe downtime you get is what changes.
Quick Action Checklist
Manage heals like a resource, not a panic button:
- Treat shield as a second health bar — get to full shield before every fight; it's effectively 100 extra HP
- Know the caps: 100 HP + 100 shield = 200 effective; minis cap shield at 50, bandages cap health at 75
- Sort heals by speed, not tier — slow heals (Med Kit, Shield Potion) between fights, fast heals (minis, Chug Splash) under pressure
- Break contact first, heal second — never channel a slow heal while exposed
- Top off during the lulls — walk into every fight at full 200; pre-healing is free, reactive healing loses the fight
- Heal the bar that's actually low — don't chug health at 100 HP with no shield
- Don't over-cap — match item size to the deficit so you don't waste points
- Carry at least one fast heal so you can heal in a firefight
- In Zero Build, lean on fast heals and pre-healing — you get far less safe downtime than a builder does
Frequently Asked Questions
Should I heal health or shield first in Fortnite?
When should I use a Med Kit vs a Chug Splash in Fortnite?
What is the maximum health and shield in Fortnite?
Why can I not full-shield with Mini Shield Potions?
When is the best time to heal in Fortnite?
Keep Reading
Related Guides
Fortnite Sniper Guide: How to Actually Hit Your Shots
You did not miss because your aim is bad. You missed because the bullet was still in the air when they strafed. Fortnite snipers fire physical projectiles that arc and take time to land — here is how to lead them, range them, and stop announcing every shot with Sniper Glare.
Fortnite Inventory Management: Slot Order and Drop Rules
Five slots. That's the entire budget, and most players spend two of them on garbage they picked up in the first ninety seconds and never reconsidered. Inventory management is the cheapest skill in Fortnite to fix and the one that quietly decides whether you're ready when the fight starts.
Fortnite Mythic Weapons Guide: Bosses, Vaults, and Gold Guns
Every named mythic in a Fortnite lobby usually exists exactly once, somebody has to rip it off a boss to get it, and half the server is planning to rip it off them next. Here's how the gold-gun economy actually works — and when chasing it is throwing.
Fortnite Shotgun Guide: Win Every Close-Range Fight
Most Fortnite fights are decided inside ten meters, and the player holding the shotgun almost always wins. Here's how each shotgun archetype actually works and the close-range habits that turn coin-flip brawls into free kills.
Fortnite Weapon Tier List: How to Rank Any Loot Pool
Any Fortnite tier list is stale the second a patch drops. So instead of memorizing this season's gun names, learn how to rank weapons by class and role — the framework that's S-tier in every season.
Best Fortnite Settings for PC & Console
Half your settings menu is noise; a handful of options decide whether you can see, aim, and build. Here's what to change on PC and console, why, and the one number nobody else can pick for you.