Minecraft Villages Guide: Types, Golems & Defense
A village is the single best piece of free real estate in the game — beds, food, an iron golem bodyguard, and a 13-profession economy you didn't have to build. Here is how villages actually work: the biome types, every job-site block, golem spawning, raid defense, and the zombie-villager cure that quietly breaks trade prices.
Stumbling onto a village in your first few in-game days is the single biggest swing of luck Minecraft hands out. You get beds you did not have to find wool for, a farm that is already growing, an iron golem who will body anything that walks in, and a 13-profession economy bolted onto a town someone else built. The catch is that a village you do not understand is a village you will accidentally wreck — leave a hole in a wall, anger a golem, or let a zombie convert half the population overnight.
This guide is the version that treats a village like the resource it actually is. We will cover the village types by biome, every profession and the exact job-site block that creates it, how iron golems spawn (the Java and Bedrock rules are genuinely different), how raids get triggered and survived, how to defend the place, and the zombie-villager cure that quietly turns trading into the most broken legit economy in the game. Everything below is checked against the Minecraft Wiki, because village mechanics are a swamp of outdated advice.
Why a village is the best base in the game
A village hands you, for free, the things that normally eat your first week: a bed to skip the night and set spawn, a food source, and protection. Move in, fence the gaps, and you have a defensible home base on day one. The villagers themselves are the long game — a librarian alone can sell you Mending and Efficiency books, which is reason enough to protect the place like it owes you money.
The mental model that matters: a village is a cluster of claimed beds, job-site blocks, and bells. Villagers link to those points of interest, and the game treats the area around them as a village for spawning golems, triggering raids, and running sieges. Everything else in this guide flows from that.
Village types by biome
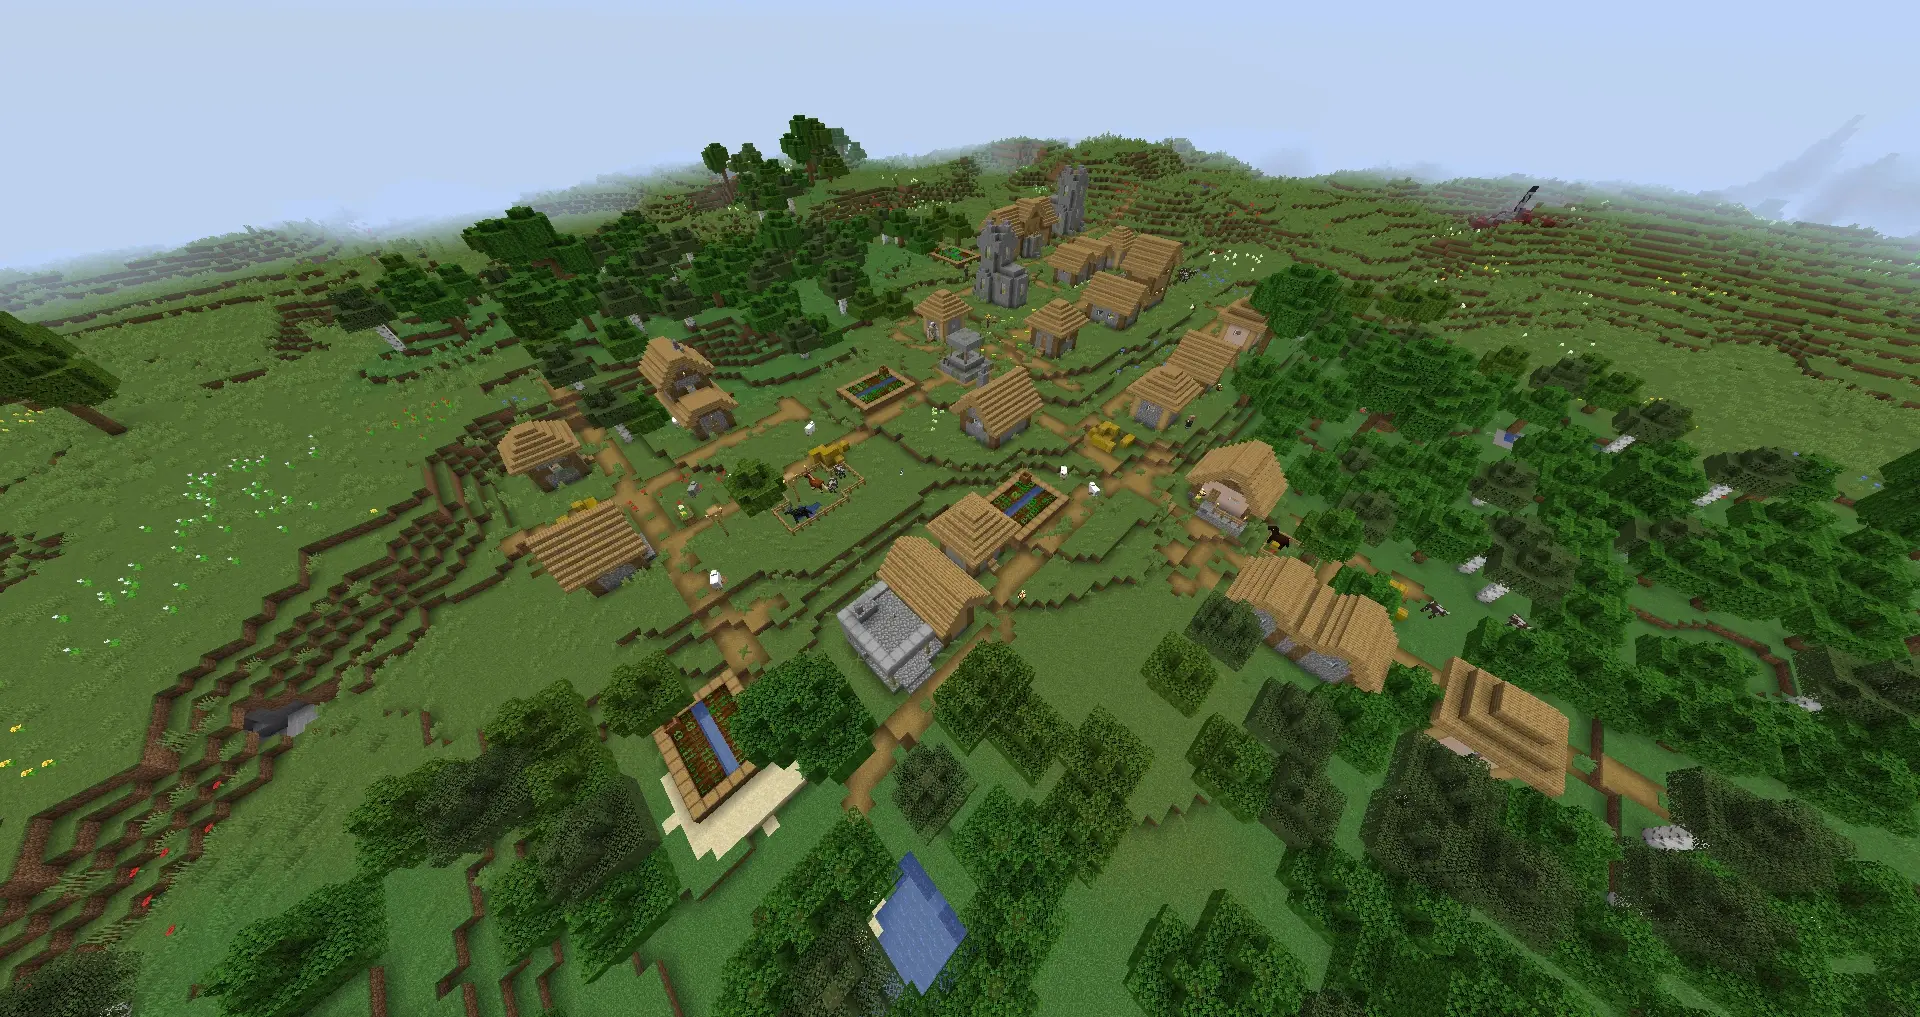
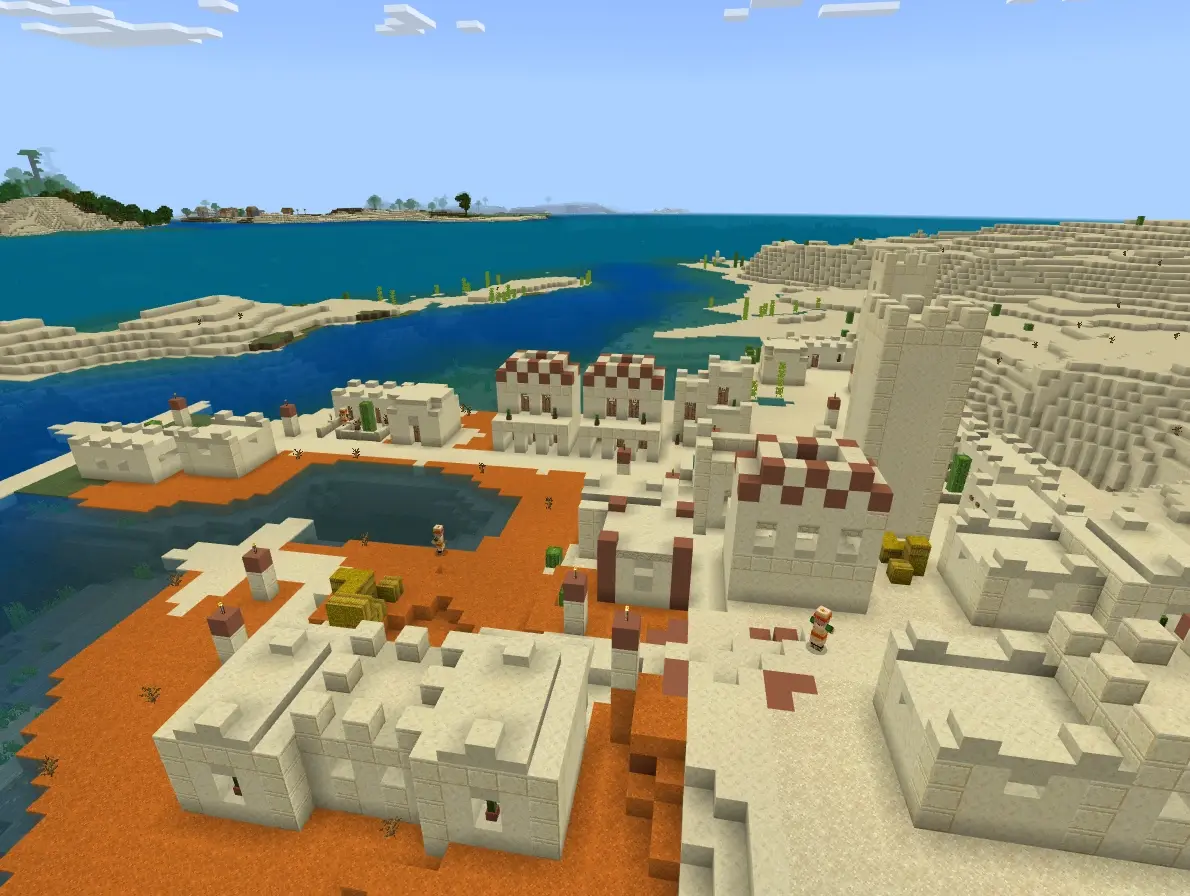
Villages generate naturally in six biomes, and the architecture changes to match: plains (oak, the default), desert (sandstone), savanna (acacia), taiga (spruce), snowy plains (spruce with snow and ice), and meadow (oak, plains-style). What style you get is decided by the biome at the village's center.
The villagers themselves also dress for the biome. There are seven villager appearance types — plains, desert, savanna, taiga, snowy, swamp, and jungle — and a villager's outfit is set by the biome it was born in, not where it currently stands. (Swamp and jungle do not spawn villages, but you will see those skins if you breed villagers there.) That matters for one practical reason: if you cart a villager off to a new biome and breed it, the baby inherits the breeding biome's outfit, not the parent's. Purely cosmetic, but it trips people up.
A few quick notes by type:
- Plains and meadow villages are the roomiest and easiest to fortify.
- Desert villages have no wooden doors to break, which actually changes your zombie defense math (more on that below).
- Savanna and taiga villages tend to sprawl across hills, so they are harder to wall but great for spread-out builds.
- Snowy villages come with ice and igloo-adjacent vibes and the same spruce build set as taiga.
Villager professions and workstations
A villager picks up a profession by claiming an unworked job-site block. Place the block within range of an unemployed adult, green particles pop over both, and it takes the job. There are 13 employable professions, each tied to exactly one block:
- Armorer — Blast Furnace
- Butcher — Smoker
- Cartographer — Cartography Table
- Cleric — Brewing Stand
- Farmer — Composter
- Fisherman — Barrel
- Fletcher — Fletching Table
- Leatherworker — Cauldron
- Librarian — Lectern
- Mason (Stone Mason) — Stonecutter
- Shepherd — Loom
- Toolsmith — Smithing Table
- Weaponsmith — Grindstone
Two non-jobs round out the list. A nitwit wears a green-topped robe and is permanently useless — it cannot take a profession or trade, ever, so it is purely breeding stock or a bed-filler. An unemployed villager wears plain biome clothing and can claim a job site. If a villager has never traded, breaking its workstation lets it switch jobs freely; once it has locked in a trade, that profession is permanent unless you cure it from a zombie. Our full villager trading guide covers how to roll for the trades you actually want.
Iron golems, the free bodyguard
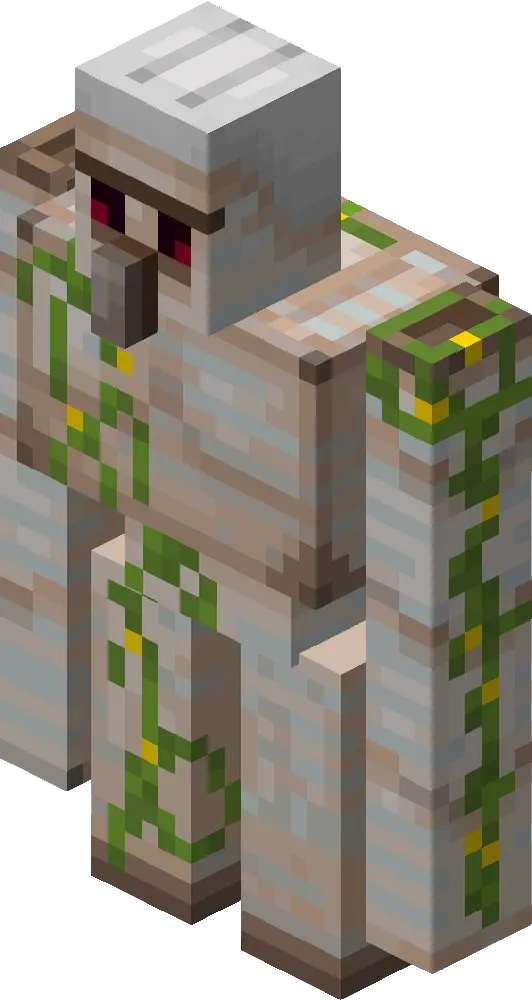
The iron golem is the reason villages feel safe. It is a big neutral mob that patrols the village and beats down hostile mobs and raiders, and a healthy village spawns one (or several) on its own. The spawning rules are where people get tripped up, because Java and Bedrock work differently.
On Java, golems are summoned by the villagers themselves. When at least five villagers gossip together (or three villagers panic during an attack), a villager can attempt a summon — provided it has slept in the last 20 minutes, has not seen a golem in the last 30 seconds, and has worked. The game then makes up to 10 attempts to place the golem in a 17×13×17 box around that villager.
On Bedrock, it is a flat threshold: the village needs at least 20 beds and 10 villagers, with the population linked to beds and working, and the game rolls a spawn around the village center roughly every 35 seconds.
If you do not want to wait, build one yourself: stack 4 iron blocks in a T-shape and place a carved pumpkin or jack o'lantern on top last. It spawns instantly and is the standard move for any base that needs a guard. Just know a player-built golem will turn hostile if you hit it, same as a natural one — golems track your reputation, so do not farm-punch them.
Raids and the Bad Omen trigger
Raids are the village's boss event, and the trigger changed in 1.21, so scrub the old advice from your memory. Here is the current chain:
- Kill an illager raid captain (the one carrying the ominous banner) out in the world. In current versions it drops an Ominous Bottle instead of zapping you directly.
- Drink the Ominous Bottle to get the Bad Omen effect.
- Walk into a village while you have Bad Omen. It converts to Raid Omen, and about 30 seconds later the raid begins.
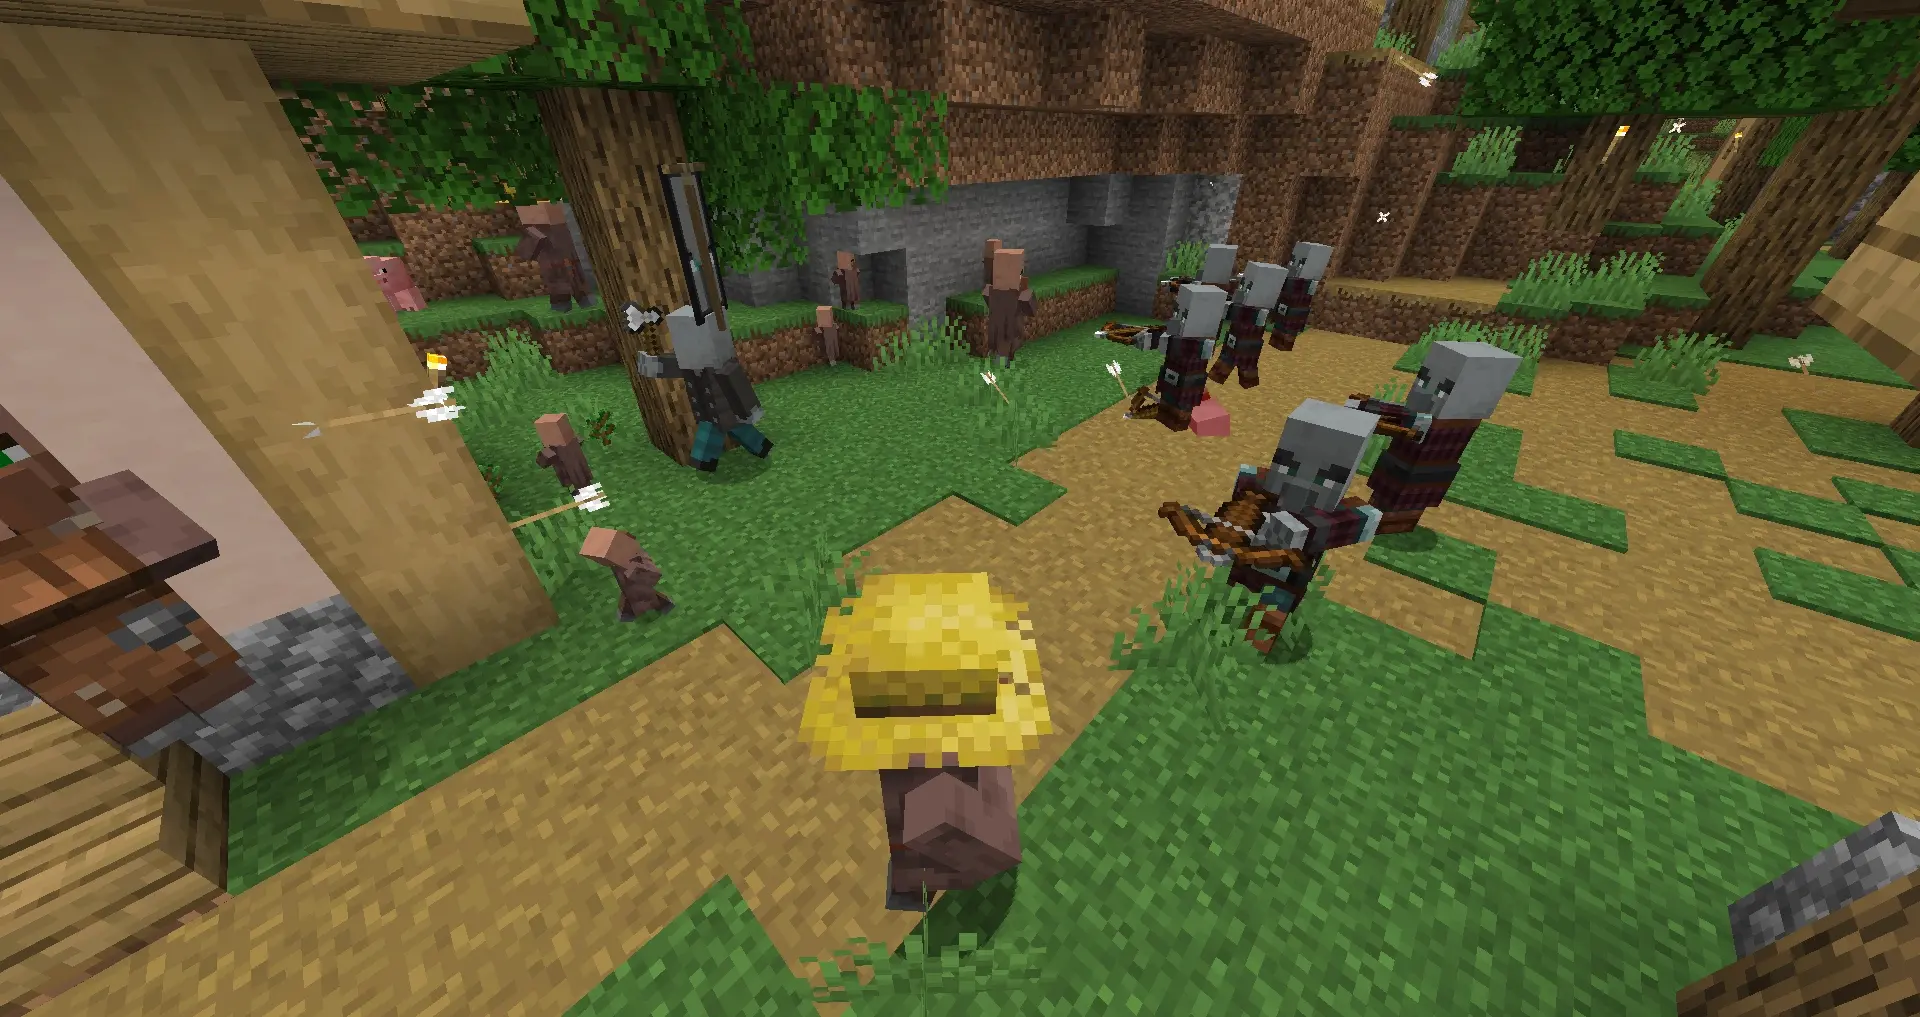
A raid throws waves of illagers at the village: pillagers, vindicators, witches, evokers, and the wrecking-ball ravagers. Wave count scales with difficulty — 3 on Easy, 5 on Normal, 7 on Hard — and a higher omen level tacks on an extra wave plus nastier enchanted gear. Clear every wave and you earn Hero of the Village, a 40-minute buff that slashes trade prices (up to ~55% off at the max level on Java). Triggering a raid on purpose, surviving it, and then shopping is a legitimate discount engine. For the full breakdown of waves, outposts, and farming raids, see our raids and pillagers guide.
Defending a village
Left alone, a village gets ground down by two threats: zombie sieges and raids. Defense is mostly about denying spawns and sealing gaps.
- Light everything. Hostile mobs spawn in the dark, and a single unlit alley behind a house is enough to lose villagers overnight. Torch the interiors, the paths, and the rooftops.
- Wall the perimeter and gate it. Fences, walls, or a moat around the village stop mobs wandering in. Leave villagers a way to path but raiders no easy lane.
- Mind your doors. On Hard difficulty, zombies can break down wooden doors — a real threat in plains and taiga villages. Swap exposed wooden doors for iron doors (with a button or plate villagers can't use, if you want them contained) or use the fact that desert villages have no wooden doors to begin with.
- Keep an iron golem on station. One golem handles routine zombies; for raids you want either several golems or to fight alongside them, because ravagers chew golems up fast.
- Zombie sieges are a Java thing: a village with 20+ beds has about a 10% chance at midnight to spawn zombies inside the walls regardless of lighting. You cannot fully prevent it, so lighting plus golems plus your own sword is the answer.
The nightmare scenario is a zombie killing a villager: on Normal there is a 50% chance the dead villager turns into a zombie villager, and on Hard it is 100%. That is how a thriving village empties out in two nights. Which leads directly to the most valuable trick in the whole game.
Curing zombie villagers
A zombie villager is not a loss — it is an opportunity, and curing one is the best price hack Minecraft has. The cure is a two-step combo:
- Hit the zombie villager with a Splash Potion of Weakness.
- Feed it a regular Golden Apple (the cheap one — 8 gold ingots + apple; you do not need the enchanted version).
You will see red swirly particles and shaking. The conversion takes a random 3 to 5 minutes (3,600–6,000 ticks). Trap the zombie villager somewhere safe and sunlight-proof while it converts — it is still a zombie that burns in daylight and will path toward you. Iron bars or a one-deep pit work great.

When it cures, two things happen. First, a villager that already had a profession and traded gets its old job and trades back — and baby zombie villagers cure into baby villagers, so nothing is wasted. Second, and this is the payoff: the cured villager gives you, personally, a massive permanent discount on its trades, and a smaller discount bleeds to nearby villagers through gossip. Cure a librarian and that Mending book can drop to a single emerald. Curing the same villager again does not stack, but curing several different ones in a town stacks discounts across the whole place. This is why serious players deliberately convert and re-cure villagers.
Gossip and why prices move
Villager prices are not random; they run on a hidden gossip/reputation system the targeted villager remembers about you.
- Curing a zombie villager is the big one — major positive reputation that doesn't decay, which is why it slashes prices.
- Trading nudges reputation up a little each time, so prices drift down slightly the more you do business.
- Attacking or killing villagers or golems tanks your reputation, and prices climb. On Bedrock, negative reputation can only cancel out positive — it won't push prices above baseline — but on Java it absolutely can.
The practical takeaway: be nice to your town. Don't punch golems for fun, don't bow-snipe villagers by accident, and cure every zombie villager you can. Reputation is per-villager, so a town you've cured is a town that loves you and prices accordingly.
Building or claiming your own village
You do not have to find a village — you can manufacture one anywhere by recreating the parts villagers care about: beds, job-site blocks, and a bell as the meeting point.
The minimum recipe for your own working village:
- Bring villagers. Lead two with a boat or minecart, or cure zombie villagers on site.
- Place beds. Villagers claim a bed each at night; beds are also what the game counts for population caps and sieges. Stack up to 20+ beds if you want the Bedrock iron-golem threshold and a breeding buffer.
- Drop job-site blocks for the professions you want — a lectern for a librarian, a cartography table for a cartographer, and so on.
- Add a bell as the central meeting point; villagers gather there and it helps define the village center.
- Set up a breeder. Villagers breed when they have enough food (bread, carrots, potatoes, beetroots) and a free bed each. A simple farmer-fed breeding hall scales the town fast — see the best Minecraft farms to build first for the food side, and the survival guide for beginners if you are still setting up a first base.
Build it tight, light it, wall it, and let a golem patrol it, and you have a self-defending trading hub you engineered on purpose.
Quick Action Checklist
- Identify the village type by biome — plains/meadow (oak), desert (sandstone), savanna (acacia), taiga/snowy (spruce)
- Light every interior, path, and rooftop to kill spawns
- Wall and gate the perimeter; swap exposed wooden doors for iron on Hard difficulty
- Assign professions by placing the right job-site block near an unemployed villager
- Keep an iron golem on station — build one with 4 iron blocks (T-shape) + a carved pumpkin
- Stockpile Splash Potions of Weakness + regular golden apples to cure zombie villagers
- Cure zombie villagers for permanent trade discounts (3–5 min conversion, sunlight-proof the zombie)
- Never punch golems or hit villagers — reputation drives your prices
- Trigger a raid with an Ominous Bottle, win it, and shop with Hero of the Village for up to ~55% off
- To build your own: beds + job blocks + a bell + a food source, then breed up
Frequently Asked Questions
Keep Reading
Related Guides

Minecraft Raids & Pillagers Guide: Outposts, Waves & Heroes
A raid is the closest thing survival Minecraft has to a horde mode, and most players either dread it or have no idea how to start one on purpose. Here is how Bad Omen, the waves, and the Hero of the Village discount actually work — current 1.21 mechanics, not the old village-entry version.
Minecraft Food & Hunger Guide: Saturation, Best Foods & Regen
Everyone knows you eat when the drumsticks run low. Almost nobody knows about saturation — the hidden stat that decides how long you stay full and whether you regen health fast or slow. Get this right and you carry steak, not bread, and you stop starving on long expeditions.
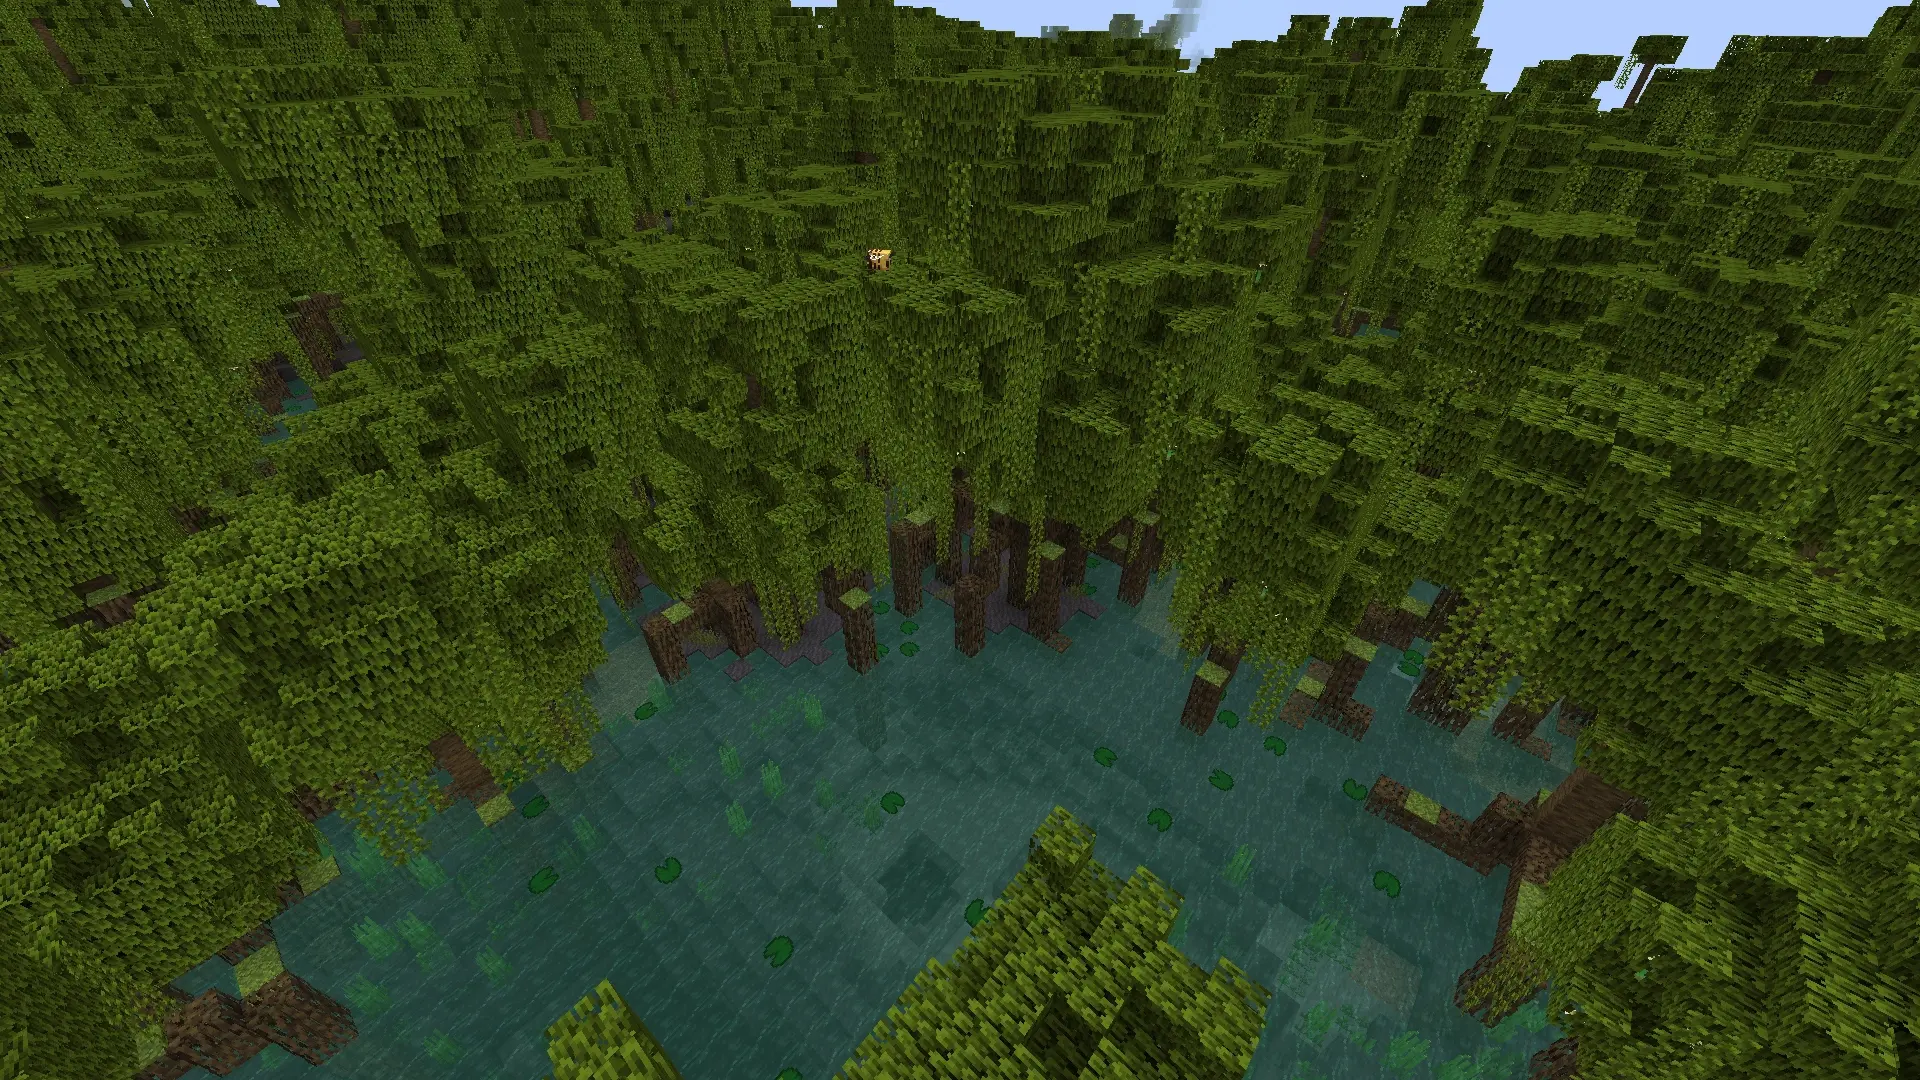
Minecraft Mangrove Swamp Guide: Frogs, Froglights, and Mud
The mangrove swamp looks like set dressing until you realize it's the only biome that hands you a light-level-15 block farmed from a frog eating a magma cube. It's also a trap: every tadpole raised there becomes the same frog variant, so most players end up with one froglight color and no idea why.
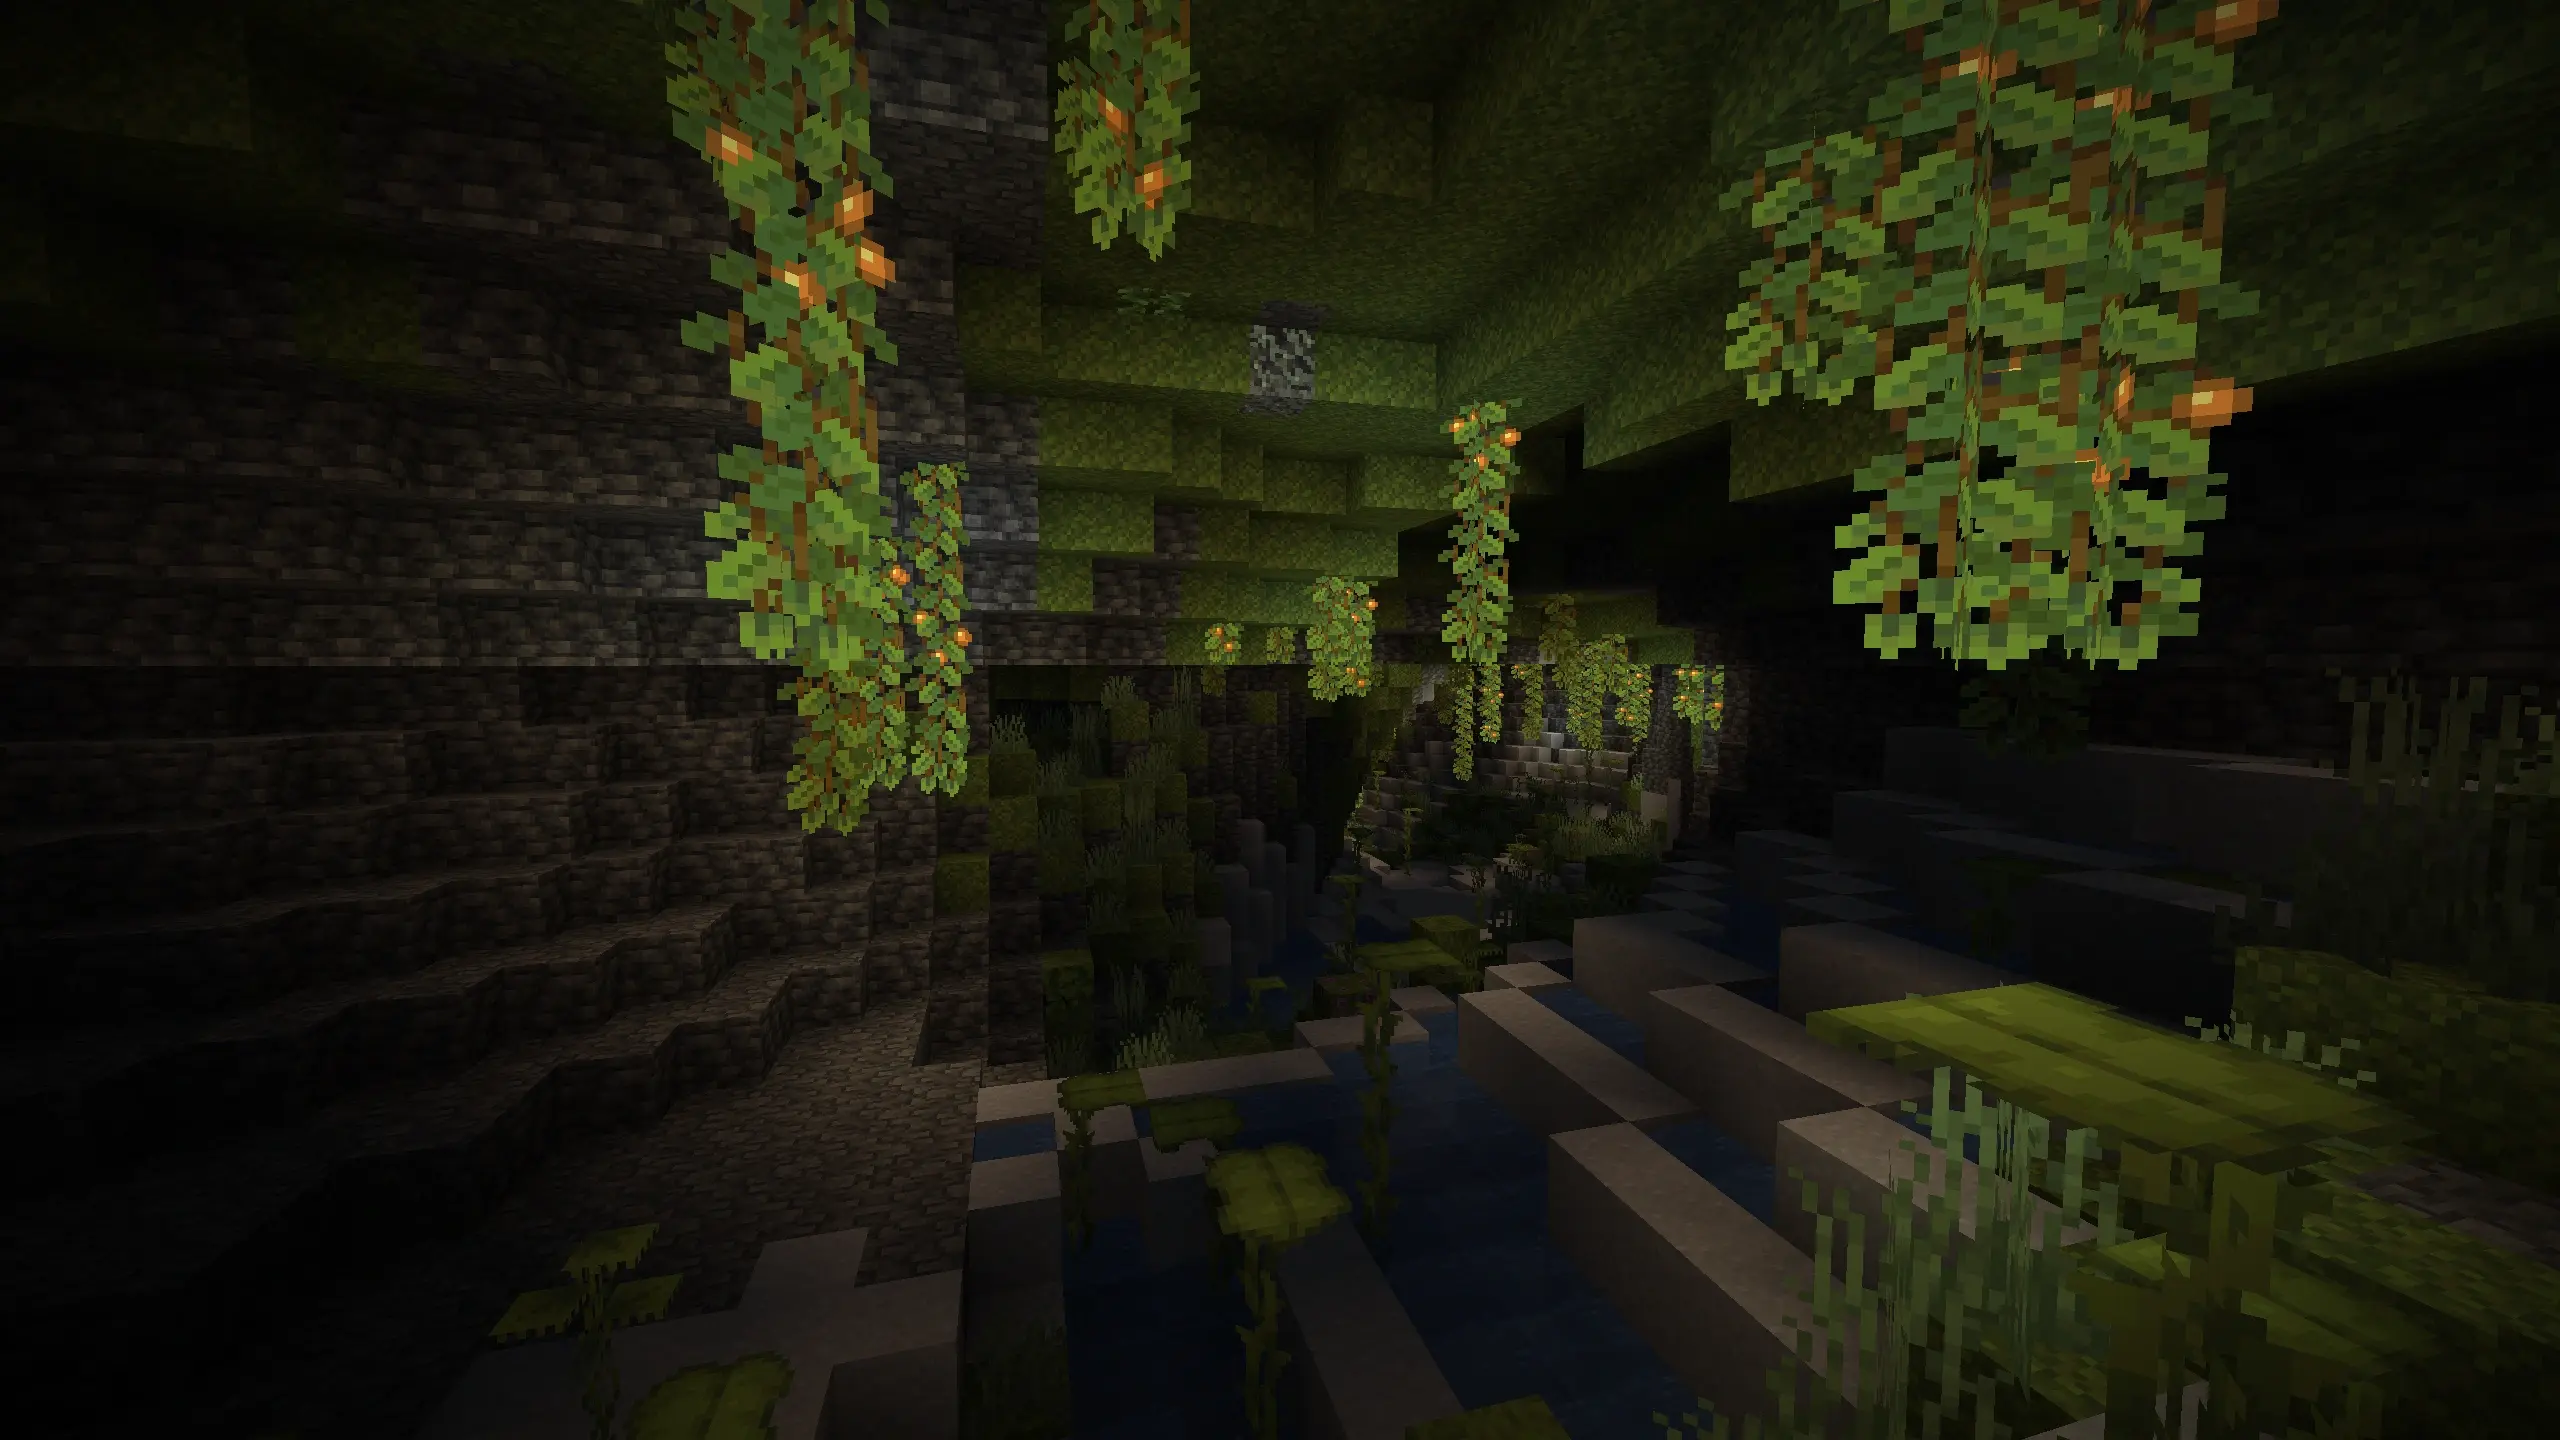
Minecraft Lush Caves Guide: Find Them, Farm Them, Live There
Lush caves are the prettiest biome you will ever accidentally fall into — and the one most players never find on purpose. Here is how azalea trees give them away, what every green block down there is actually for, and why the axolotls are the real reason to go.
Minecraft Survival Guide for Beginners — Surviving Your First Days
You have about ten minutes of daylight before the sun sets and the world tries to kill you. Here is exactly what to do with them — punch a tree, build a tool chain, and get a roof over your head before the zombies arrive.

Best Minecraft Enchantments, Ranked — The Ones Worth Your XP
Mending is the enchantment that ends the grind — gear that repairs itself forever. Everything else is a fight over your XP and anvil uses. Here is what actually earns a slot, ranked, with the real max levels.