Best Minecraft Farms to Build First
A farm is the difference between grinding and playing. The right first build hands you free iron, free XP, and free food while you do literally anything else. Here are the highest-value early and mid-game farms, ranked by what they actually unlock.
A farm is the line between grinding Minecraft and actually playing it. Once you have one running, the game starts handing you resources while you do something else — iron stacks up in a chest while you explore, XP waits for you when you want to enchant, food never runs out. The trap most players fall into is building the wrong farm first: a fancy automatic XP grinder before they have a single iron block, or a pumpkin farm before they've solved the food problem.
So this is a ranking by value-per-effort for your early and mid game — not "the most impressive farm on YouTube," but the one that pays you back fastest for the materials and time you sink in. Every entry includes what unlocks it, what it actually produces, and the core mechanic that makes it tick. Build them roughly in this order and your world gets dramatically easier to play.
How to think about farm priority
Two things decide whether a farm is worth building now or later:
- What does it unlock? A food farm unlocks "stop dying to hunger." An iron farm unlocks "infinite tools, armor, rails, hoppers, anvils." Prioritize farms that remove a constant chore, not farms that produce something you rarely use.
- What does it cost to build, and does it need you standing there? A crop farm costs nothing and runs forever. A full mob-grinder needs slabs, water, hoppers, and a lot of building. AFK farms (you stand nearby and it runs) are good; truly automatic farms (run with nobody home) are the gold standard, but they cost more.
One mechanic underpins almost every mob farm: the mob cap and spawn rules. Hostile mobs spawn on solid blocks in light level zero, within a certain range of you, and the game caps how many can exist at once. Good mob farms work by being the only dark place around — they light up every other cave and surface so all the spawns funnel into the farm. If your farm is "slow," it's almost always because mobs are spawning in unlit caves nearby and eating your spawn cap.
1. A crop and food farm (build it day two)
Unlocks: A permanent food and bread/emerald supply. Cost: Basically nothing.
This is the unglamorous answer and the correct one. Before any mob farm, solve food. A simple wheat, carrot, or potato plot costs a hoe and some seeds, and it ends the early-game "I'm starving and there are no cows" spiral for good.
The mechanic to know: crops grow faster on hydrated farmland, and farmland stays hydrated within 4 blocks of a water source. The standard efficient plot is a 9x9 square with a single water block in the center, which hydrates the whole field. Light it up so it doesn't trample under mobs, and fence it from animals.
The natural upgrade is a villager-run crop farm: a farmer villager will harvest mature crops and replant them, then throw excess food to other villagers — which feeds your village and powers breeding. Carrots and potatoes also feed you raw in a pinch, and wheat plus those crops are how you trade with farmer villagers for emeralds later. Build this first, always.
2. Mob-spawner XP farm (the leveling engine)
Unlocks: Fast, repeatable XP for enchanting and anvil repairs, plus a steady drop supply. Cost: Low-to-medium, if you find a spawner.
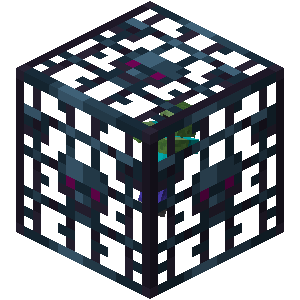
If you stumble on a dungeon spawner (zombie, skeleton, or spider) while caving, that's a gift — it continuously spawns mobs as long as a player is within 16 blocks and the area around it is dark. Wall off a room around it, funnel the mobs with water into a 1-block-wide kill chute, and weaken them so you can one-hit them for the XP. A skeleton spawner doubles as an arrow and bone farm; a zombie spawner gives you rotten flesh (villager trades, dog food) and the occasional iron.
The key mechanic: a spawner only works while you're nearby, and only spawns in the dark. Light the surrounding caves so the spawner is the only dark spot, and it'll keep pumping. Drop the mobs far enough (about 22–24 blocks for zombies/skeletons) and fall damage leaves them at one hit, which is the cleanest XP. This is the single best early enchanting engine because it lets you re-level 30 quickly between enchants.
3. Iron farm (the game-changer)

Unlocks: Effectively infinite iron — tools, armor, rails, hoppers, anvils, buckets, and the hardware for every other farm. Cost: Medium; you need villagers.
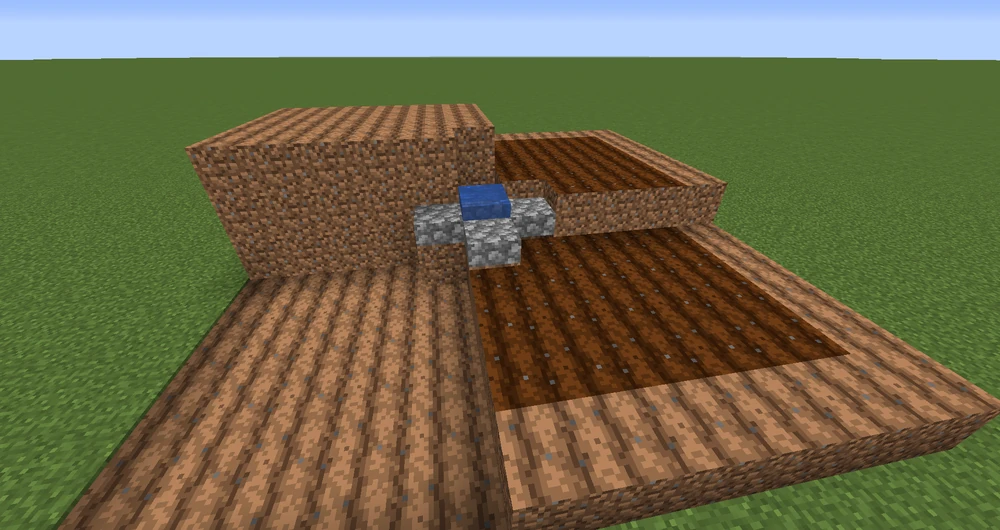
This is the farm that changes your whole world economy. An iron farm exploits the iron golem panic mechanic: a group of three villagers who are panicking (because a zombie is nearby and visible to them) will try to summon an iron golem. Put three villagers in a small spawn platform, scare them with a held or contained zombie they can see, and golems spawn on a schedule. Drop or push the golems into a kill zone and collect the iron — typically a few hundred ingots an hour from a basic survival build.
A few conditions matter: villagers must have slept recently (within the last 20 minutes), need to be within about 10 blocks of each other, and no other iron golem can be within 16 blocks for the spawn to fire. Bedrock has a different requirement — its village mechanic wants a real village with enough beds and working villagers — so the exact build differs by edition.
The reason this ranks so high: iron is the backbone of progression. Hoppers, rails, anvils, buckets, shields, and every iron tool stop being a resource you ration and become free. Once you have an iron farm, every other farm gets cheaper to build.
4. General mob farm (drops and gunpowder)
Unlocks: Bones, string, gunpowder, arrows, rotten flesh, and ender pearls — plus passive XP. Cost: Medium-high; it's a real build.
When you don't have a spawner, you build a general dark-room mob farm: a large dark platform (or a floating tower well above the ground) where hostile mobs spawn in the dark, get washed by water into a drop chute, and either die to fall damage or get finished by you. Because it captures the general hostile mob pool, you get a mix of everything — gunpowder from creepers, bones and arrows from skeletons, string from spiders, the occasional enderman pearl.
The core trick is the same spawn-cap logic from earlier: a tower farm built high in the sky works best because there are no competing dark spawn spaces around it. Light up your base and caves, build the platform up where nothing else can spawn, and every hostile spawn in range funnels into your farm. It's more work than a spawner farm and the drops are mixed rather than targeted, but it's the workhorse general farm when you don't have a dungeon to exploit.
5. Creeper farm (pure gunpowder)

Unlocks: Bulk gunpowder for TNT, rockets (elytra flight), and fireworks. Cost: Medium; a specialized variant of the mob farm.
Once you have an elytra, gunpowder becomes one of your most-used resources — every firework rocket that boosts your flight costs gunpowder, and TNT for mining ancient debris does too. A dedicated creeper farm is a mob farm tuned to spawn only creepers.
The mechanic that makes it work: creepers are short. Build the spawn floor with a ceiling exactly low enough — using trapdoors to bring it down to about 1 13⁄16 blocks — and tall mobs like zombies and skeletons can't spawn there, but creepers (and spiders) still can. Then you herd the creepers with cats: creepers are terrified of cats, so a cat placed at one end (often in a boat so it can't move) pushes them toward your kill zone. Kill them with a campfire or by hand — and a Looting III sword multiplies the gunpowder drops. It's not a day-one build, but it's the right call the moment you're flying around with an elytra burning rockets.
6. Raid farm (emeralds and totems)
Unlocks: Massive emerald income, Totems of Undying, and enchanted gear. Cost: High and advanced — a mid-to-late build.
A raid farm is the heavy hitter and the most involved on this list, which is why it ranks last for first farms despite being incredibly valuable. You trigger a raid (by killing a Pillager captain to get Bad Omen, then entering a village with the effect) and funnel the raid waves — pillagers, vindicators, evokers, ravagers — into a kill chamber.
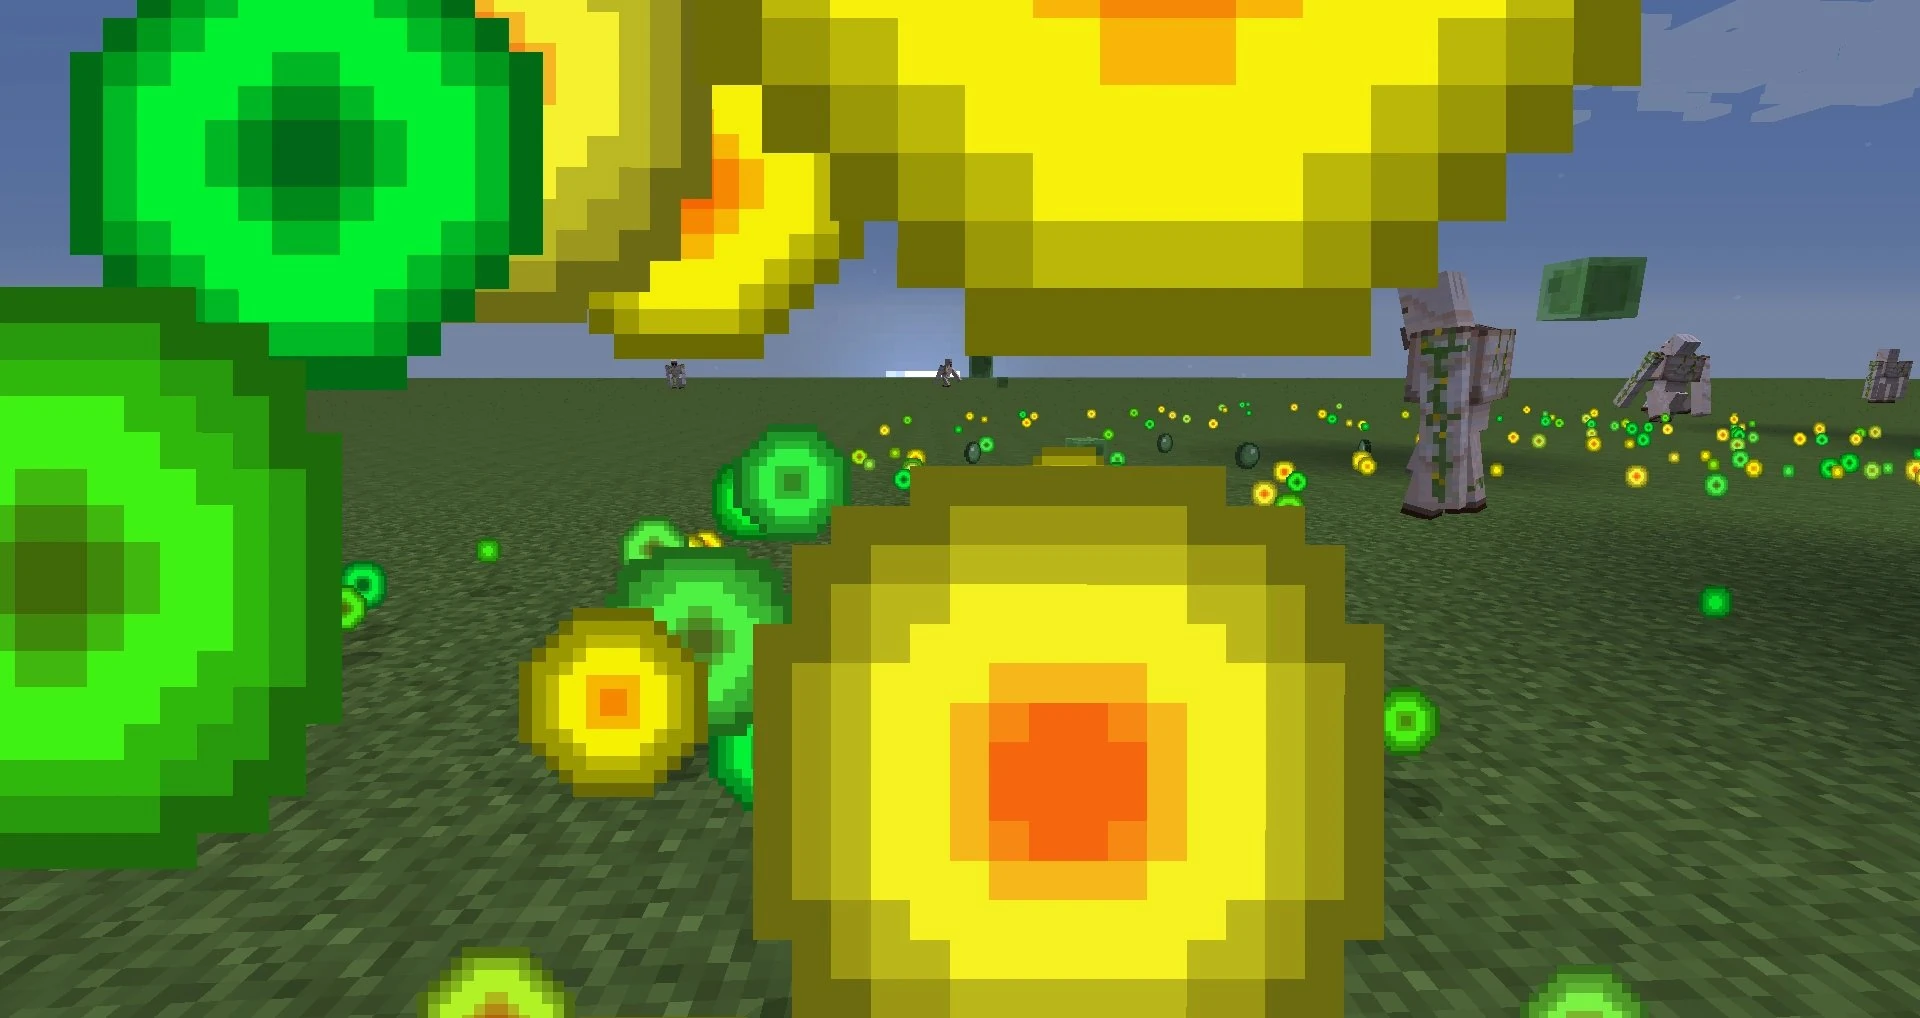
The payoff is enormous: evokers drop Totems of Undying (a free extra life when you take fatal damage), raiders drop heaps of emeralds, and you get enchanted weapons and armor along the way. An automated raid farm is one of the best emerald and totem sources in the game. But it requires understanding the raid mechanic, careful chamber design, and usually some redstone, so it's a project you take on after your iron, food, and XP are already handled — not your opening move.
The build order I actually recommend
If you want a clean progression that compounds:
- Crop/food farm — day two, costs nothing, ends the hunger problem.
- Spawner XP farm — the moment you find a dungeon spawner, claim it for enchanting XP.
- Iron farm — as soon as you have villagers; it makes everything afterward cheaper.
- General mob farm — for bulk drops and gunpowder if you lack a spawner.
- Creeper farm — once you're flying with an elytra and burning rockets.
- Raid farm — the endgame emerald and totem machine, when you're geared and ready to build big.
Each one buys down the cost of the next. Food keeps you alive, XP enchants your gear, iron supplies the hoppers and rails for the bigger farms, and by the time you tackle a raid farm you can build it without rationing materials.
Java vs Bedrock notes
Farm mechanics overlap heavily but differ in important spots:
- Iron farms differ the most. Java uses the panic mechanic (three scared villagers summon a golem) directly; Bedrock leans on a full village with enough beds and working villagers, so the standard builds aren't interchangeable.
- Mob spawn caps and ranges are calculated a little differently between editions, which changes optimal farm height and size, but the "be the only dark spot" principle holds on both.
- Creeper farm ceiling height (using trapdoors to block taller mobs) works on both editions.
- Raid mechanics exist on both, but wave composition and some drop rates differ; check an edition-specific design before you commit.
- Hopper and water mechanics that move drops are essentially the same on both, so collection systems port over fine.
Farm priority checklist
- Build a 9x9 crop farm with a central water block before anything else
- Claim any dungeon spawner you find and turn it into an XP/drops farm
- Light up every cave near your base so spawns funnel into your farm, not the dark
- Build an iron farm once you have three villagers — it makes everything cheaper
- Build a general tower mob farm high in the sky for bulk gunpowder and drops
- Add a cat-herded creeper farm once you have an elytra and burn rockets
- Save the raid farm for mid-to-late game, after iron/food/XP are handled
Frequently Asked Questions
Keep Reading
Related Guides
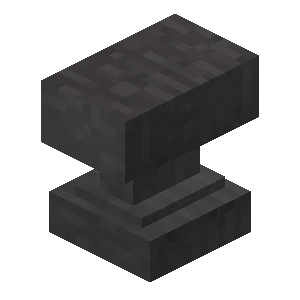
Minecraft Anvil & Repairing Guide: Beat "Too Expensive!"
The anvil is the most misunderstood block in Minecraft. Half of players burn levels in the wrong order and then watch their netherite sword hit "Too Expensive!" forever. Here is exactly how repairing, combining, and the prior-work penalty work — and the order of operations that keeps your gear fixable.
Minecraft XP Guide: Fastest Ways to Level Up
XP is not points — it is the currency that runs your whole late game: enchanting, anvils, and Mending gear that repairs itself. Here are the fastest XP sources actually worth your time, ranked, with the real values.
Minecraft Beacon Guide: How to Build and Power One
A beacon is the closest Minecraft gets to a permanent buff station — stand near one and you get Haste, Speed, or Resistance for free, forever. The catch is everything in front of it: kill the Wither for a nether star, then stack up to 164 mineral blocks into a pyramid. Here is the whole build, tier by tier.
Minecraft Mining Guide: Best Levels for Every Ore
Since the 1.18 world overhaul, every ore lives in a known altitude band — and most are densest at a specific Y level you can stand on. Diamond at -59, gold at -16, copper at 48, iron at two separate peaks. Here is the exact level for every ore, plus which mining pattern and gear actually pays off.
Minecraft Survival Guide for Beginners — Surviving Your First Days
You have about ten minutes of daylight before the sun sets and the world tries to kill you. Here is exactly what to do with them — punch a tree, build a tool chain, and get a roof over your head before the zombies arrive.

Best Minecraft Enchantments, Ranked — The Ones Worth Your XP
Mending is the enchantment that ends the grind — gear that repairs itself forever. Everything else is a fight over your XP and anvil uses. Here is what actually earns a slot, ranked, with the real max levels.