PUBG Armor & Helmet Guide: Levels & Damage Reduction
A Level 3 helmet is the difference between eating a Kar98k headshot and dying to one. Here's what every armor level in PUBG actually does, with the real numbers.
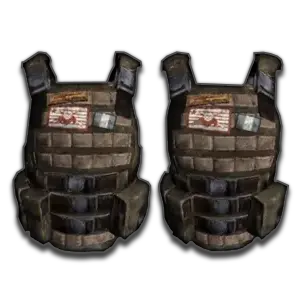
Two players take the same Kar98k headshot at 200 meters. One goes to the lobby. One eats about 80 damage, crawls behind a rock, pops a First Aid Kit, and wins the re-peek. The only difference between them is a piece of loot that takes half a second to click.
Armor in PUBG: Battlegrounds is the least glamorous loot in the game and the most decisive. Nobody clips their Level 3 vest pickup. But the vest and the helmet decide which shots you survive, and surviving one extra shot is the entire difference between a chicken dinner and a spectator screen. This is what each level actually does — real durability and damage-reduction numbers, not vibes — and how to loot around them.
Armor levels at a glance
Three tiers of each, and the gaps between tiers are not evenly spaced.
| Item | Level | Durability | Damage reduction |
|---|---|---|---|
| Motorcycle (Jacobs) Helmet | 1 | 80 | 30% |
| Military Helmet | 2 | 150 | 40% |
| Spetsnaz Helmet | 3 | 230 | 55% |
| Police Vest | 1 | 200 | 30% |
| Police Vest | 2 | 220 | 40% |
| Military Vest | 3 | 250 | 55% |
Two things jump out. First, the jump from Level 2 to Level 3 is 15 percentage points of damage reduction — bigger than the jump from nothing to Level 1 in practical terms, because it crosses the threshold where bolt-action headshots stop being lethal. Second, vest durability barely moves between tiers (200 → 220 → 250) while helmet durability nearly triples (80 → 150 → 230). A Level 1 helmet shatters after one serious hit. A Level 1 vest soaks a genuine amount of punishment.
What the damage numbers actually mean
The mechanic that trips up most players: armor blocks its full damage reduction until it is completely destroyed. A Level 3 vest sitting at 1 point of durability still blocks 55% of incoming chest damage. It does not degrade gracefully. There is no "half-broken armor blocks half as much."
That has a direct tactical consequence. Mid-fight, do not swap out a damaged Level 3 for a fresh Level 2 because the durability bar looks scary. The Level 3 at 12 durability is still the better piece of gear for the next bullet you take. Swap after the fight, not during it.
The second thing to know is that destroyed vests aren't dead weight anymore. Since Update 7.2, a broken vest stays in your inventory, keeps giving you the capacity bonus, and continues to provide 20% protection plus slight aim-punch reduction — and that floor is the same regardless of which tier broke. Old habits die hard here; plenty of players still drop a broken vest on instinct. Don't. A busted Level 1 is still 20% off every chest shot.
Aim punch matters too. Getting shot in PUBG kicks your camera, and better armor reduces that kick. In a trade at 40 meters, the player whose crosshair stays closer to center is the player who wins. That's a real, if unglamorous, argument for the higher tier beyond raw mitigation.
Helmets and the Kar98k threshold

Helmets are where the tier gaps become life and death, because head damage is multiplied before reduction is applied.
The Kar98k does 79 base damage. A headshot from it kills through a Level 2 helmet outright. Against a Level 3 helmet, the same shot is survivable — provided you're above roughly 85% health when it lands. That single fact is why the Level 3 helmet is one of the most valuable items in the game, and why people run at care packages like moths at a porch light.
The exception is the AWM. At 105 base damage it's the highest-damage gun in PUBG and, alongside the crossbow, one of only two ranged weapons that will one-shot a fully healthy player in the head regardless of helmet — Spetsnaz included. If an AWM cracks in your direction, no amount of head armor is your answer; cover is. For the full breakdown of which bolt-actions threaten what, see our best PUBG sniper rifles rundown.

The Level 1 motorcycle helmet gets mocked, and it deserves some of that — 80 durability is nothing, and 30% reduction won't save you from a rifle headshot. But it's the difference between dying to a stray pistol round and not. Wear it. Wearing something is always better than wearing nothing, and helmets take up no inventory capacity, so the only cost is the second it takes to pick up.
Vests: any vest beats no vest
Vests do double duty: they mitigate chest damage and they add +50 inventory capacity, which is nothing to sneeze at when you're hauling meds and ammo.
The practical hierarchy is simple. Level 3 (Military Vest, 55%) is a clear upgrade worth grabbing whenever you see one. Level 2 (40%) is a perfectly respectable working vest and what most players will actually be wearing at the endgame circle. Level 1 (30%) is the one people are tempted to skip, and skipping it is a mistake — 30% off every chest shot plus 50 capacity, for zero downside, in a game where most damage lands in the torso.
Chest shots are the bulk of incoming damage in a normal firefight, so the vest is quietly doing more total work over a match than the helmet is. The helmet saves you from the spectacular death; the vest saves you from the accumulation of ordinary ones.
Rule of thumb: never leave your first landing building without both a vest and a helmet, at any level. The player who spent 15 extra seconds finding a Level 1 kit beats the player who ran out naked with a better gun, more often than pride wants to admit.
Backpacks aren't armor, but they're a decision
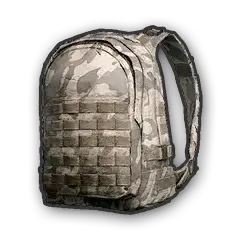
Backpacks give zero protection. They give capacity, and there's a real argument about whether you want the biggest one.
| Backpack | Capacity |
|---|---|
| Level 1 | 170 |
| Level 2 | 220 |
| Level 3 | 270 |
Your default Utility Belt gives you 70 capacity on its own (20 without a belt), and a vest adds 50 more on top. Stack a Utility Belt, a Level 3 backpack, and any vest and you're at 370 total capacity — enough to carry a genuinely absurd amount of ammo and meds.
The counterargument: the Level 3 backpack is a big, conspicuous silhouette, and it's most obvious when you're lying prone in a field with the last circle closing. Some players deliberately run the Level 2 for the slimmer profile at a cost of only 50 capacity. That's a legitimate preference rather than a mistake, and it matters most in endgame circles where prone positioning decides fights. If you're a hoarder who runs 20 bandages and four smokes, take the Level 3 anyway — see our looting and inventory guide for what's actually worth carrying.
Where each level actually spawns
Level 1 and Level 2 gear spawns freely in normal loot across every map. You'll find a Level 2 vest or Military Helmet in an average hot compound without much effort.
Level 3 splits:
- Level 3 vest (Military Vest) spawns in the world as world loot, and it's rare. Some maps and locations are more generous than others, which is part of why military-themed high-tier zones are worth contesting.
- Level 3 helmet (Spetsnaz Helmet) does not spawn in the world. It's care-package only, and every care package contains one. That's the whole reason a package is worth the risk even when the gun inside is one you don't want.
That care-package guarantee reframes how you should think about drops. You're not gambling on an AWM — you're guaranteed the single best defensive item in the game. Just remember that everyone else within 400 meters knows that too, which is why third-partying around packages is so reliable; our third-party guide covers how to be the one doing it rather than the one it happens to.
When to swap and when to leave it
- Upgrade tiers whenever you can do it safely. Level 2 → Level 3 is the single biggest defensive upgrade available.
- Don't downgrade tiers for durability. A chipped Level 3 outperforms a pristine Level 2 for the next shot, every time.
- Refresh same-tier gear after fights. If your Level 2 vest is nearly gone and the guy you just killed dropped a fresh Level 2, take it. Same tier, more shots absorbed.
- Loot armor before you loot guns off a body. A dead player's helmet is often the best thing on them, and it takes zero inventory space.
- Never swap mid-fight. The equip animation is time you're not shooting, and the piece you're wearing is still working at full strength.
Healing interacts with all of this — armor decides how much damage lands, and your healing and boost items decide how fast you get back above that 85%-health line where a Level 3 helmet still saves you from a Kar98k.
Armor mistakes that get people killed
Dropping a broken vest. It's still worth 20% and it's still holding your inventory space. Leave it on.
Skipping Level 1 gear early. You are not going to find a Level 3 kit in the first 90 seconds of a hot drop. Take what's in front of you and upgrade later.
Treating the helmet as optional because "everyone body-shots anyway." People miss high constantly. Free 30-55% on the shots that would otherwise delete you is not optional.
Fixating on the durability bar. Durability isn't a health bar for your damage reduction — it's a counter for how many more shots you get full protection on. Full reduction until zero.
Carrying the Level 3 backpack you don't need. If you're running lean, the bigger silhouette is a real cost with no upside.
Armor won't win you fights on its own — crosshair placement and positioning do that. But it decides whether you're alive to take the second shot, and in a game where most engagements are decided by one or two bullets, that's most of the battle.
Quick Action Checklist
- Pick up a vest and a helmet at any level before leaving your first building
- Never swap a damaged high tier for a fresh lower tier — full reduction holds until durability hits zero
- Keep your broken vest equipped: it still gives 20% protection and keeps your capacity
- Prioritize the Level 3 helmet from care packages — it's the only place it spawns, and it's guaranteed
- Remember that a Kar98k headshot kills through a Level 2 helmet but not a healthy Level 3
- Accept that nothing stops an AWM headshot — use cover, not armor
- Consider the Level 2 backpack for a smaller prone silhouette if you don't need the extra 50 capacity
- Loot armor off bodies before guns — helmets cost zero inventory space
Frequently Asked Questions
What are the armor levels in PUBG?
Does a Level 3 helmet stop a Kar98k headshot in PUBG?
What can one-shot headshot through a Level 3 helmet in PUBG?
Should I keep a broken vest in PUBG?
Does damaged armor protect less in PUBG?
Where do you find a Level 3 helmet in PUBG?
Which backpack should I use in PUBG?
Is a Level 1 vest worth picking up in PUBG?
Keep Reading
Related Guides
PUBG Match Results and Leaderboard, Explained
Update 43.1's patch notes buried two stat-tracking systems under headings nobody reads top to bottom: an expanded Match Results screen filed under Arcade, and an entirely new Career Leaderboard filed under its own heading with no platform tag. Here's what each one actually shows, which modes the Match Results upgrade does and doesn't cover, and how the four leaderboard categories are scored.
PUBG Workshop Guide: How Crafting and Disassembling Work
PUBG's Workshop has quietly run on Imprints, Vouchers and Credits since 2022. In 2026, KRAFTON deleted a standing chest, retired the two-step randomness its own developers called the 'Double Gacha,' and just made a chunk of the catalogue up to five times more expensive to craft or disassemble.
PUBG Item Carrying and Instant Use, Explained
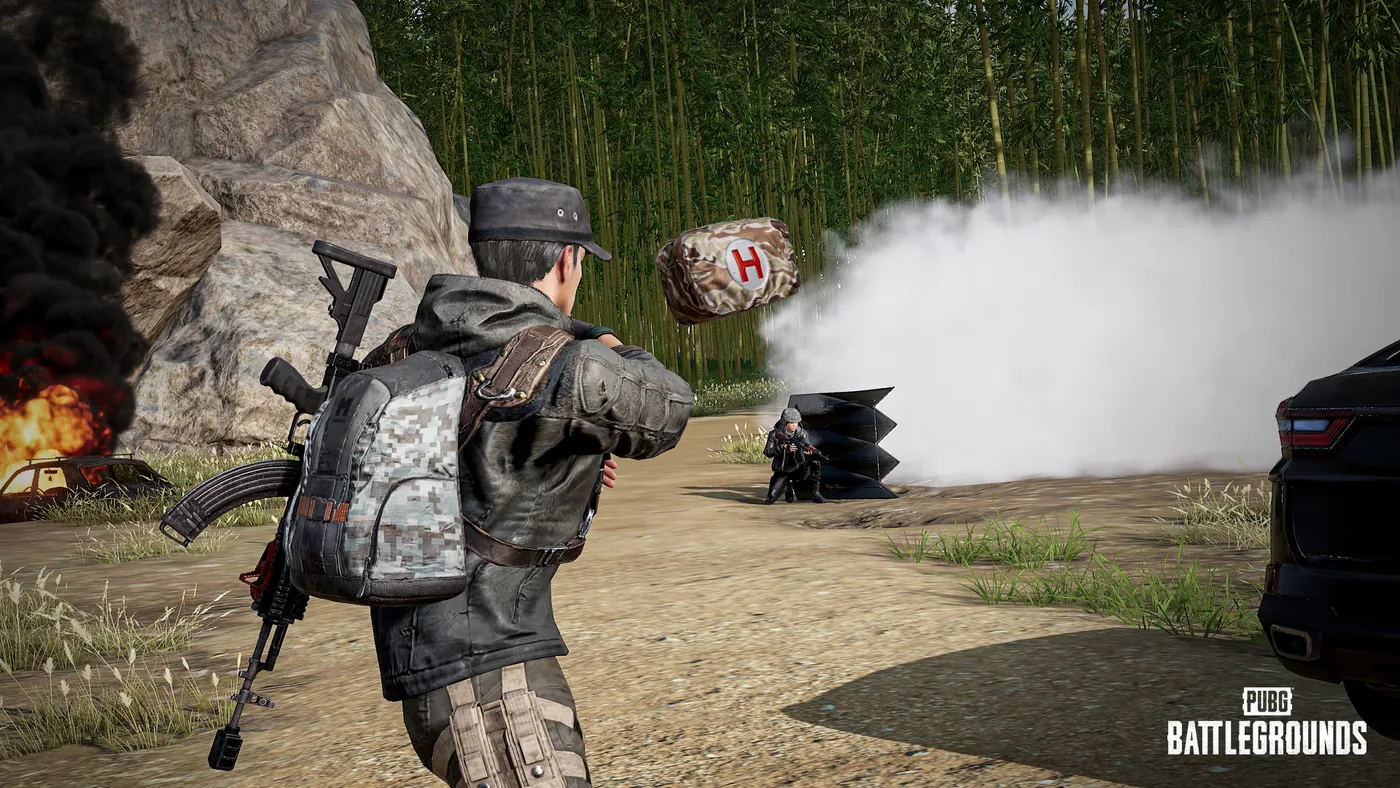
Update 43.1 gave PUBG two systems that skip the inventory screen entirely: carrying an item off the ground with no backpack cost, and using items — heals, a Folded Shield, even C4 — straight from where they're lying. Our Update 43.1 kick coverage gave this two rows in a summary table. Here is everything KRAFTON's patch notes actually say about it: which item categories qualify, what forces you to drop a carried item, and how a full bag stops being a real problem.

What Is POBG? PUBG's Maintenance Mode Mini-Game
Update 42.3's patch notes name-drop a feature called POBG: Maintenance Mode and move on. It is not new — KRAFTON built it for April Fools 2021 as a chicken-uprising arcade shooter voiced by a villain called PlayerOmnom, then brought it back again as a full event mode in Update 37.1, August 2025. Here is what the 42.3 notes actually confirm about this third appearance, and what they leave unstated.
Best Weapons in PUBG: Tier List
Every PUBG tier list is out of date the moment a balance patch drops. So here's the list, ranked by role, plus the durable logic to re-tier any gun yourself when the next patch shakes things up.
Best PUBG Loadouts & Attachments
A naked M416 and a fully kitted M416 are basically two different guns. Here's how to build the strongest two-gun loadouts in PUBG and the attachment priority that turns loot into recoil control.