A Link to the Past Bottles Guide: All 4 Locations and What to Fill Them With
Bottles are the most underrated item in A Link to the Past. Four of them exist, one of them unlocks the Bug Catching Net, and a bottled fairy is a free extra life. Here is where all four are and what belongs inside them.
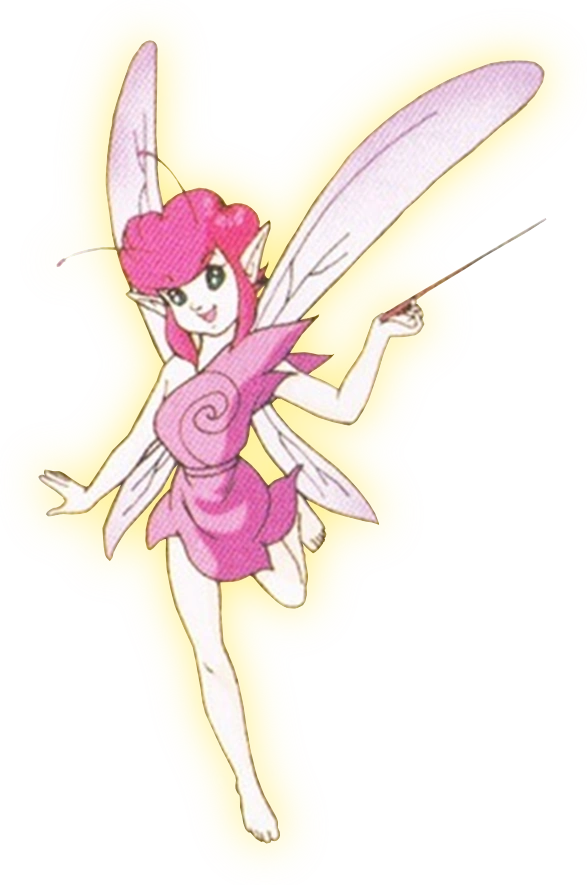
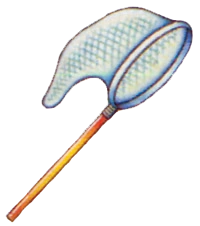
Most players treat bottles in A Link to the Past like inventory clutter — a place to stash a potion you forget to drink. That is backwards. A bottle with a fairy in it is a free extra life that costs nothing but a trip to a cave, and the very first bottle you buy is what convinces a sick kid in Kakariko to hand over the Bug Catching Net. No bottle, no net. No net, no fairies. The whole safety net of the run hangs off a 100-rupee purchase from a guy sitting on a rug.
There are exactly four Magic Bottles in the game. Here is where all four are, what the requirements are, and what is worth keeping inside them.
Why bottles are secretly a progression item
Every other consumable in Hyrule is temporary. Bottles are permanent storage, and the game leans on them harder than it admits:
- A bottled fairy pops out on its own the moment your life meter empties and revives you. That is not a heal — that is a get-out-of-a-game-over card you carry into Ganon's Tower.
- The Bug Catching Net comes from the bed-ridden kid in Kakariko Village, and he only hands it over if you already own at least one Bottle. Show up empty-handed and he has nothing for you.
- Potions are useless without a container. The Magic Shop will happily sell you one, but the liquid has to go somewhere.

So the practical read: get bottle one early, get the net immediately after, and treat the other three as ongoing side objectives rather than a completionist afterthought.
Bottle 1: the Kakariko street merchant
Requirements: 100 rupees. Nothing else.
There is a merchant sitting on a carpet in Kakariko Village, just west of the weathercock. He sells a Bottle for 100 rupees, and it is the single best 100 rupees you will spend in the first hour of the game.
You can afford this absurdly early. Cut grass, smash pots, do one lap of the village, and you are there. Buy it before you do anything else in Kakariko, because it unlocks the next step in the same town.
Once you have it, walk into the house with the sick child and take the Bug Catching Net off him. That net is what turns bottles from "potion holders" into "fairy farms."
Bottle 2: the tavern back room
Requirements: none.
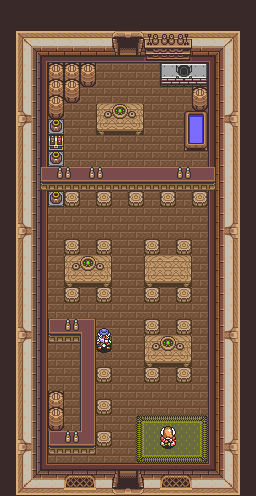
The tavern sits in the southern part of Kakariko Village — the long building near the sick kid's house. During the day the front door puts you in the shop. What you want is the back entrance on the north side of the building, which leads into a room the customers never see, with a treasure chest sitting in it.
Open the chest, take the Bottle, walk out. No items, no rupees, no puzzle. This is the one people skip for an entire playthrough because they assumed the tavern was just a shop and never bothered circling the building.
Bottle 3: the man under the bridge
Requirements: Zora's Flippers.
South of Hyrule, the river runs up from Lake Hylia and passes under a bridge. Camped underneath that bridge, next to a tent, is a man who nobody in Hyrule seems to know exists. Swim up the river with the Zora's Flippers, talk to him, and he gives you his Bottle.
You cannot get here without the Flippers, which means this one waits until you have bought them from King Zora for 500 rupees. Put it on the same to-do list as the Zora's Domain Piece of Heart and the Lake Hylia island — one Flippers trip, three payoffs. The A Link to the Past items and upgrades guide covers where the Flippers slot into the item ladder, and the heart pieces guide has the rest of that swim route.
Bottle 4: the locked chest and the thief
Requirements: Titan's Mitt, Magic Mirror.
This is the one with an actual quest attached, and it is the reason plenty of players finish the game with three bottles.
In the Dark World, head to the spot east of the Village of Outcasts where the Smithy stands in the Light World. Over here it is a run-down ruin, and inside sits a locked treasure chest. Grab it and it tags along behind you — you are now hauling a chest around Hyrule with no key. Do not dash with the Pegasus Boots while you are carrying it, or you will shake it loose and have to walk back.
Now use the Magic Mirror to warp to the Light World and carry the chest west toward the entrance to the Desert of Mystery. There is a thief hiding out there. Talk to him, promise to keep his secret, and he picks the lock — fourth Bottle, full set.
You need the Titan's Mitt (from Thieves' Town) to make the trip through the Dark World in the first place, so this realistically lands in the back half of the game. Route notes for that stretch are in the Dark World guide.
What actually belongs in those four slots
Four bottles, and the game gives you six things that can go in them. Some are obviously better than others.
| Contents | What it does | Where it comes from |
|---|---|---|
| Fairy | Auto-revives you when your life meter hits zero | Catch one at a fairy fountain with the Bug Catching Net |
| Red Potion | Refills your life meter | Magic Shop, 120 rupees |
| Blue Potion | Refills life and magic | Magic Shop, 160 rupees |
| Green Potion | Refills your magic meter | Magic Shop, 60 rupees |
| Golden Bee | Attacks enemies and sticks around far longer than a normal bee | The Ice Cave fairy fountain east of Lake Hylia |
| Bee | Attacks enemies briefly, then leaves | Catch one in a bush or in the grass with the net |
My loadout for the Dark World back half: two fairies, one Blue Potion, one flex slot. Two fairies means two free recoveries in a dungeon where the Magic Mirror is not going to save you mid-boss. The Blue Potion covers the magic-hungry stretches where you are burning the Fire Rod and the Cane of Somaria in the same room. The flex slot is for the Golden Bee if you are feeling cute, or a third fairy if you are being sensible.
Green Potion is the one to skip once you have the Half Magic upgrade. At 60 rupees it is cheap, but a Blue Potion does the same job and covers your hearts, and by the time you are drinking potions in anger you are usually low on both bars.
Where to catch fairies
Fairies are free. Potions are not. Once you have the net, the fountains are effectively unlimited healing, and there are more of them than most players ever visit — fifteen fairy fountains in total, nine in the Light World and six in the Dark World.
A small fairy you touch in the field restores 7 hearts on contact, which is why walking into a fountain is often better than drinking a Red Potion you paid 120 rupees for.
The ones worth memorizing:
- Northwest of Link's House. Dash into the stacked Pegasus Rocks with the Pegasus Boots and head down the stairs. Four fairies waiting inside, and it is a short walk from your starting point.
- South of the Eastern Palace. A cave with a fountain at the end — convenient for early-game top-ups before your first dungeon push.
- Northeast corner of the Great Swamp. Bomb the cracked wall to get in.
- East side of the Desert of Mystery. Head north from the desert into the cave.
- Lake Hylia's island. Bomb the east wall of the island in the middle of the lake.
Build the habit: before a dungeon, top off your hearts at a fountain and net one fairy into a spare bottle. It costs about ninety seconds and it has saved more runs than any weapon upgrade.
The Golden Bee is worth the detour
Go to the east side of Lake Hylia and enter the Ice Cave. Bomb your way through inside and you will find a fairy fountain. Now dash into the fairy statue with the Pegasus Boots — a Golden Bee pops out. Net it, bottle it, and you have a pet that stays out and chews on enemies for far longer than the ordinary bees you scare out of bushes.
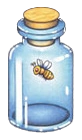
Trivia worth knowing if you have played both versions: the SNES release calls it the Good Bee, which was a mistranslation. The Game Boy Advance port fixed it to Golden Bee. Same insect, better name.
Is it strictly optimal? No — that bottle slot is worth more as a fairy. But it is one of those hidden interactions that shows how much systems design got crammed into a 1991 cartridge, and it is a two-minute detour.
New to the game entirely? Start with the A Link to the Past beginner guide, and the A Link to the Past coverage hub has the rest of the routing.
Quick Action Checklist
- Buy the Kakariko street merchant's Bottle for 100 rupees as early as you can afford it — he sits on a carpet west of the weathercock.
- Immediately grab the Bug Catching Net from the sick kid in Kakariko; he requires you to already own a bottle.
- Circle around to the north-side back entrance of the Kakariko tavern for the free chest bottle.
- After you buy Zora's Flippers, swim up the river from Lake Hylia and talk to the man camped under the bridge.
- Late game: haul the locked chest from the Dark World ruin east of the Village of Outcasts, Magic Mirror back, and take it to the thief by the desert entrance.
- Keep at least two fairies bottled before any Dark World dungeon — a bottled fairy revives you automatically at zero hearts.
- Remember the price list: Green 60, Red 120, Blue 160 rupees. Fairies are free.
- Dash the fairy statue in the Ice Cave east of Lake Hylia with the Pegasus Boots for the Golden Bee.
Frequently Asked Questions
How many bottles are in A Link to the Past?
Where is the Bug Catching Net in A Link to the Past?
What can you put in a bottle in A Link to the Past?
How much do potions cost in A Link to the Past?
How do you get the Golden Bee in A Link to the Past?
How many fairy fountains are in A Link to the Past?
Keep Reading
Related Guides
A Link to the Past GBA Riddle Quest: All 10 Answers
Ten one-line clues, ten things to scoop up with the Bug-Catching Net, and a sword technique at the end of it. The Riddle Quest only exists on the Game Boy Advance cartridge, and it will not start until you have won ten Medals of Courage in Four Swords.
A Link to the Past Small Keys: All 61, Dungeon by Dungeon
Palace of Darkness keeps all six of its keys in treasure chests. Desert Palace keeps none of its four in a chest at all. Here is the key count for every dungeon in the game, and where the ones you cannot find are actually hiding.
A Link to the Past Enemy Guide: Every Sword-Proof Monster and What Kills It
A Link to the Past spends the whole game upgrading your sword and then fills the Dark World with things the sword cannot touch. Here is every armored, reforming, and element-locked enemy in Hyrule, and the one item that actually finishes it.
A Link to the Past Rupee Guide: Every Price in Hyrule and How to Pay It
The wallet caps at 999 and the single most expensive purchase in the game eats more than half of it. Here is every price in A Link to the Past, which minigames actually pay out, the shield you should never buy, and the secret room holding 225 rupees.
A Link to the Past Beginner Guide: Your First Ten Hours
A Link to the Past hands you a sword and a rainstorm and then says almost nothing else. Here is the route, the combat, and the item order that turn a confusing first hour into a game you can actually finish.
A Link to the Past Light World Guide: The Half of Hyrule Everyone Underrates
Everyone remembers the Dark World. But the Light World is where the Flute fast-travel lives, where half your bottles and upgrades hide, and where a whole quest turns Kakariko into a warp hub most players never bother to unlock. Here is the map you thought you already knew.