A Link to the Past Rupee Guide: Every Price in Hyrule and How to Pay It
The wallet caps at 999 and the single most expensive purchase in the game eats more than half of it. Here is every price in A Link to the Past, which minigames actually pay out, the shield you should never buy, and the secret room holding 225 rupees.
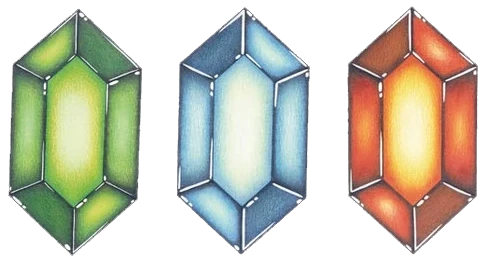
Your wallet in A Link to the Past holds 999 rupees, and one purchase — a mandatory one — costs 500. That is the whole economy in one sentence: Nintendo built a game where the most expensive item eats more than half of everything you can physically carry, then scattered the money through grass, minigames, and one secret room stuffed with 225 rupees and a stranger's name.
Most guides treat rupees as background noise. They are not. Between the Flippers, Kiki's tolls, the Pond of Happiness, and a bomb habit, a full playthrough runs well past 1,500 rupees of spending against a 999-rupee ceiling, which means the order you earn and spend actually matters. Here is every price in the game, which minigames give money back, and where the free stashes are.
How money works in A Link to the Past
Three colors, three values, and this is the game that locked them in for the rest of the series: green is 1, blue is 5, red is 20. Chests can additionally hold flat 50, 100, and 300 rupee prizes — green sprites with the number printed on them.
Rupees come out of everything this game lets you touch. Cutting grass and bushes, smashing pots, dashing into trees, digging with the Shovel, opening chests — A Link to the Past is the game that invented the "mow the lawn for money" loop, and it is still the baseline income the whole run leans on.
The cap is 999. No wallet upgrades, no bigger bag, nothing. That number matters for one practical reason: you cannot pre-farm the whole game's spending in one session. When a 500-rupee purchase and a few hundred rupees of fairy donations are both on the menu, you are making at least two farming trips whether you like it or not.
Every price that actually matters
Every recurring cost in the game, in one place. Prices are the SNES original; the GBA port moves a couple of them, noted below.
| Purchase | Cost | Where |
|---|---|---|
| Zora's Flippers | 500 | King Zora, Zora's Waterfall |
| Magic Bottle | 100 | Street Merchant, Kakariko Village |
| Kiki opens the Palace of Darkness | 10 + 100 | Dark Palace grounds |
| Super Bomb | 100 | Bomb Shop, Dark World |
| 30 Bombs | 100 | Bomb Shop, Dark World |
| Medicine of Life (red potion) | 120 | Potion Shop |
| Medicine of Magic (green potion) | 60 | Potion Shop |
| Medicine of Life and Magic (blue potion) | 160 | Potion Shop |
| Red Shield | 500 | Shield Shop, Dark World |
| 10 Arrows | 30 | Shield Shop, Dark World |
| Bee in a bottle | 10 | Shield Shop, Dark World |
| Bomb/Arrow capacity upgrade | 100 per step | Pond of Happiness |
| Fortune Teller reading | 10–30 | Three houses across both worlds |
Two of these are quietly mandatory. You cannot finish the game without the Flippers, and you cannot enter the Palace of Darkness without paying a monkey.
Kiki finds you in the garden maze outside the palace and asks for 10 rupees to tag along. If you take a hit while he is following, he bolts back to the maze and charges another 10 to return — the only escort mission in the game where the escort invoices you. At the palace entrance he wants 100 more to hop on the roof and hit the switch. Pay it; the door stays open permanently after that.
The Super Bomb unlocks in the Dark World Bomb Shop after you have rescued the Dwarven Swordsmith and cleared both the Ice Palace and Misery Mire. It is 100 rupees, you carry it on your back rather than in your inventory, it detonates three seconds after you set it down, and you cannot dash or hop ledges while hauling it. Its one job is cracking the wall on the Pyramid of Power, behind which the fairy upgrades your tempered blade to the gold Master Sword and your arrows to Silver Arrows — the thing that actually kills Ganon. That makes this 100 rupees the single highest-value purchase in the game.
One freebie worth knowing: the Potion Shop's apprentice inside the building hands out a free sample of the Medicine of Life that refills your hearts on the spot, and bringing Syrup the witch a Mushroom gets you Magic Powder without spending a rupee. The items and upgrades guide covers where all of that slots into a route.
The 500-rupee wall at Zora's Waterfall
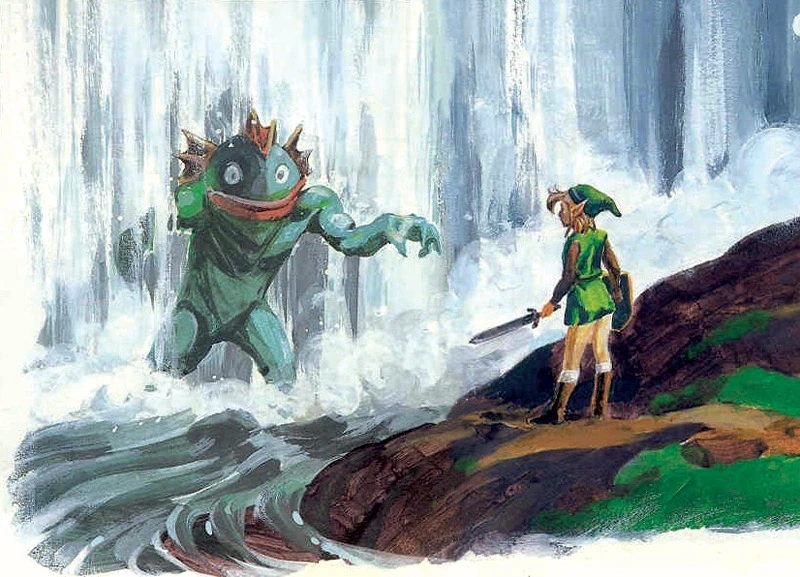
King Zora does not haggle. Flippers are 500 rupees a pair, he says so with a big laugh, and if you show up short he cheerfully tells you to wade back when you have more. It is the most expensive purchase in the entire game — the Rupee's own record books have nothing in this game above it — and it is not optional. No Flippers, no deep water, no finishing your quest.
He does throw in a real bonus: the purchase unlocks the whirlpool waterways, the warp network connecting bodies of water across Hyrule. People forget these exist because they buy the Flippers, swim off, and never touch a whirlpool again. They are legitimately fast travel, and they came free with the most begrudged 500 rupees in the game.
The efficient play is to treat the Flippers as your first savings goal and clear it before you start throwing money into anything else. Every rupee spent on potions or fortune tellers before this purchase is a rupee you will re-farm. The Light World guide covers the routing around Zora's Waterfall itself.
Never pay 500 for the Red Shield
The Dark World Shield Shop — the fenced-in building east of the Village of Outcasts that you have to jump fences to even enter — sells the Red Shield for 500 rupees on SNES. The same shield is available for free in the Light World: throw your Fighter's Shield into the pool at the Waterfall of Wishing, and when the Great Fairy asks whether you dropped it, answer honestly. She hands you back the upgraded Red Shield as a reward for not lying to a fairy about your own shield.
That is a 500-rupee price difference for one honest answer. The shop's actual use is as an emergency restock after a Like Like or a Pikit eats your shield mid-Dark-World, which is also why it stocks 10 arrows for 30 rupees and a bee in a bottle for 10.
Playing the GBA version? The whole shop got repriced: the Red Shield drops from 500 to 70 rupees, a Fighter's Shield is 50, and a Mirror Shield is 100. It is one of the stranger rebalances in the port — the SNES vs GBA differences post covers the rest of them, including the new shield-eating Like Like they planted right outside this shop like a protection racket.
The Pond of Happiness will take everything you have
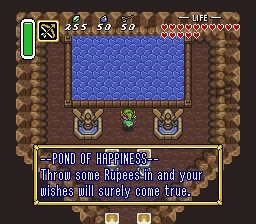
The cave on the island in the middle of Lake Hylia is the biggest rupee sink in the game, and the manual coyly calls it the Mysterious Pond. Throw rupees in, and once your donations reach 100, Venus, the Queen of Fairies, surfaces and offers to raise your bomb or arrow carrying capacity by five.
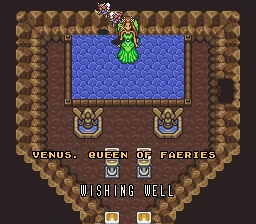
Then she does it again, and again, 100 rupees per step, +5 per step — with the final step jumping by 10 — until you cap at 50 bombs and 70 arrows. Before you meet her you can only toss 5 or 20 at a time; afterward the options grow to 25 and 50, because even the donation interface knows you are now a regular. Max both counters and she stops taking your money entirely, refunds your last deposit, and refers you to her friend at the Waterfall of Wishing. Fully maxing both sides is a four-digit project — this pond, not the Flippers, is where most of a completionist's lifetime rupees actually go.
Two details most players never learn:
- The luck messages are real. Each throw rolls one of four outcomes — Big Trouble, A Little Luck, Good Luck, Great Luck — and they modify a hidden luck stat. Great Luck guarantees item drops from your next ten kills. Big Trouble guarantees nothing drops from your next ten, overriding even normally guaranteed drops like bombs from Zoras. Keys are exempt, but if the pond tells you Big Trouble, do not go farming.
- There is a bombable wall on the right side of the pond room hiding four fairies — free healing, or bottle fodder if you brought empty glass.
The minigames, ranked by payout
Hyrule's minigames are mostly rupee sinks wearing prize-booth costumes, but two of them can actually pay for themselves.
The unnamed shooting gallery south of the Village of Outcasts is the best gamble in the game. Entry is 20 rupees for 5 arrows, shooting octopus targets that slide right to left behind a row of moving hands. The first hit pays 4 rupees and each consecutive hit doubles the reward — 4, 8, 16, 32, 64 — so a perfect game returns 124 rupees on a 20-rupee entry. Land all five arrows on the same target and the fifth hit pays 99 instead of 64. If your aim is good, this is not gambling, it is a job.
The chest games are three separate operations with very different odds:
| Location | Entry | Format | Prize pool |
|---|---|---|---|
| Kakariko Village | 20 | Pick 1 of 3 chests | 1, 20, or 50 rupees |
| Lost Woods thief | 100 | Pick 1 of 3 chests | 1, 20, or 300 rupees |
| Village of Outcasts | 30 | Pick 2 of 16 chests | Rupees up to 100, ammo, a Piece of Heart |
The Lost Woods game is the honest description of gambling in this game: a hundred up front for a one-in-three shot at 300 and a two-in-three shot at losing nearly everything. The Village of Outcasts game is the only one worth caring about, because its prize pool includes a Piece of Heart — you are not playing for money, you are playing until the heart shows up.
The Digging Game, south of the Village of Outcasts, charges 80 rupees to borrow a shovel and dig up the field. Rupees and stock items come out of the dirt, but the real prize is another Piece of Heart with no fixed dig spot — it shows up when it shows up. Both heart pieces are on the heart pieces checklist, and both venues sit within a few screens of each other in the Dark World, so bring 200+ rupees and do the whole strip in one trip.
The fortune tellers — north of Kakariko, northwest Lake Hylia, north of the Village of Outcasts — charge 10 to 30 rupees for a hint about where to go next. The overlooked part: a reading also refills your hearts completely, which at the low end makes it cheaper than a red potion by a factor of ten.
Free money: five stashes the game never points at
The Chris Houlihan Room. The most famous secret in the game is, mechanically, a crash handler: when the game detects an error in Link's Y coordinate during certain transitions, it dumps him into a failsafe room instead of a void. That room contains 45 blue rupees — 225 rupees — and a telepathy tile from Chris Houlihan, a kid whose father won a 1990 Nintendo Power contest to have the name programmed into a future Nintendo game. Five methods reach it, all built around the Pegasus Boots and a couple involving bombs. It is SNES-only in practice; the GBA port removed the tile and no working entrance has ever been found there.
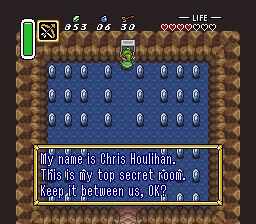
The Palace of Darkness basement. Chris Houlihan's room is not the only place with a glistening formation of blue rupees — the basement floor of the Palace of Darkness hides one too, and unlike the secret room, you are guaranteed to walk past this dungeon anyway.
Sell your bugs and fish. The Street Merchant in Kakariko — the guy on the carpet selling the 100-rupee bottle — is also the game's only buyer. A Golden Bee sells for 100 rupees, a full refund on his own bottle. Bring him a fish from the Great Swamp and he pays out 21 rupees, 10 arrows, 8 bombs, and a Magical Decanter in one bundle.
Pull on Mario. Several buildings in Kakariko Village hang paintings of a certain mustachioed plumber. Yank on them and they occasionally pay out rupees — a Super Mario royalty check, in-game.
GBA only: Rupee Rocks. In the Game Boy Advance version, random overworld stones sometimes spawn as Rupee Rocks — slash one repeatedly while it sparkles and it keeps dropping rupees. One more small reason the port's economy runs looser than the original's.
New to the game and just want the route order these fit into? Start with the beginner guide or browse the A Link to the Past hub.
Quick Action Checklist
- The wallet caps at 999 — do not farm past a purchase, farm to it.
- Flippers first: 500 rupees, non-negotiable, and the whirlpool warps come free with them.
- Budget 110 rupees for Kiki at the Palace of Darkness — and do not get hit while he follows, every hit costs another 10.
- Never buy the 500-rupee Red Shield — throw your Fighter's Shield into the Waterfall of Wishing and answer honestly.
- The Super Bomb (100 rupees) buys the gold sword and Silver Arrows behind the Pyramid wall — best money in the game.
- Pond of Happiness upgrades run 100 rupees per +5 capacity to a 50-bomb / 70-arrow cap — this is your real endgame money sink.
- If the pond rolls Big Trouble, stop farming — your next ten kills drop nothing.
- The shooting gallery pays up to 124 rupees on a 20-rupee entry — the only minigame with positive expected value for a good shot.
- Play the Village of Outcasts chest game (30 rupees) and the Digging Game (80) for their heart pieces, not for profit.
- Grab the 225 rupees in the Chris Houlihan Room on SNES — boots dash, secret room, free wallet refill.
Frequently Asked Questions
What is the most expensive item in A Link to the Past?
What is the fastest way to earn rupees in A Link to the Past?
Should you buy the Red Shield in A Link to the Past?
What does the Pond of Happiness do with your rupees?
How much does Kiki the monkey charge in A Link to the Past?
Where are the chest games in A Link to the Past?
Keep Reading
- Mythras blog
- A Link to the Past coverage hub
- A Link to the Past beginner guide
- A Link to the Past items and upgrades guide
- A Link to the Past heart pieces guide
- A Link to the Past Dark World guide
- A Link to the Past Light World guide
- A Link to the Past bottles guide
- A Link to the Past SNES vs GBA differences
- Zelda Wiki — Rupee (ALttP denominations, wallet cap, rupee sources)
- Zelda Wiki — Pond of Happiness (capacity upgrades, luck stat)
- Zelda Wiki — Shooting Gallery (ALttP entry cost and payout doubling)
- Zelda Wiki — Treasure-Chest Game (three ALttP locations, prices, prizes)
- Zelda Wiki — Chris Houlihan (room contents, failsafe behavior, contest history)
- Zelda Wiki — Shield Shop (SNES vs GBA wares and pricing)
Related Guides
A Link to the Past GBA Riddle Quest: All 10 Answers
Ten one-line clues, ten things to scoop up with the Bug-Catching Net, and a sword technique at the end of it. The Riddle Quest only exists on the Game Boy Advance cartridge, and it will not start until you have won ten Medals of Courage in Four Swords.
A Link to the Past Small Keys: All 61, Dungeon by Dungeon
Palace of Darkness keeps all six of its keys in treasure chests. Desert Palace keeps none of its four in a chest at all. Here is the key count for every dungeon in the game, and where the ones you cannot find are actually hiding.
A Link to the Past Enemy Guide: Every Sword-Proof Monster and What Kills It
A Link to the Past spends the whole game upgrading your sword and then fills the Dark World with things the sword cannot touch. Here is every armored, reforming, and element-locked enemy in Hyrule, and the one item that actually finishes it.
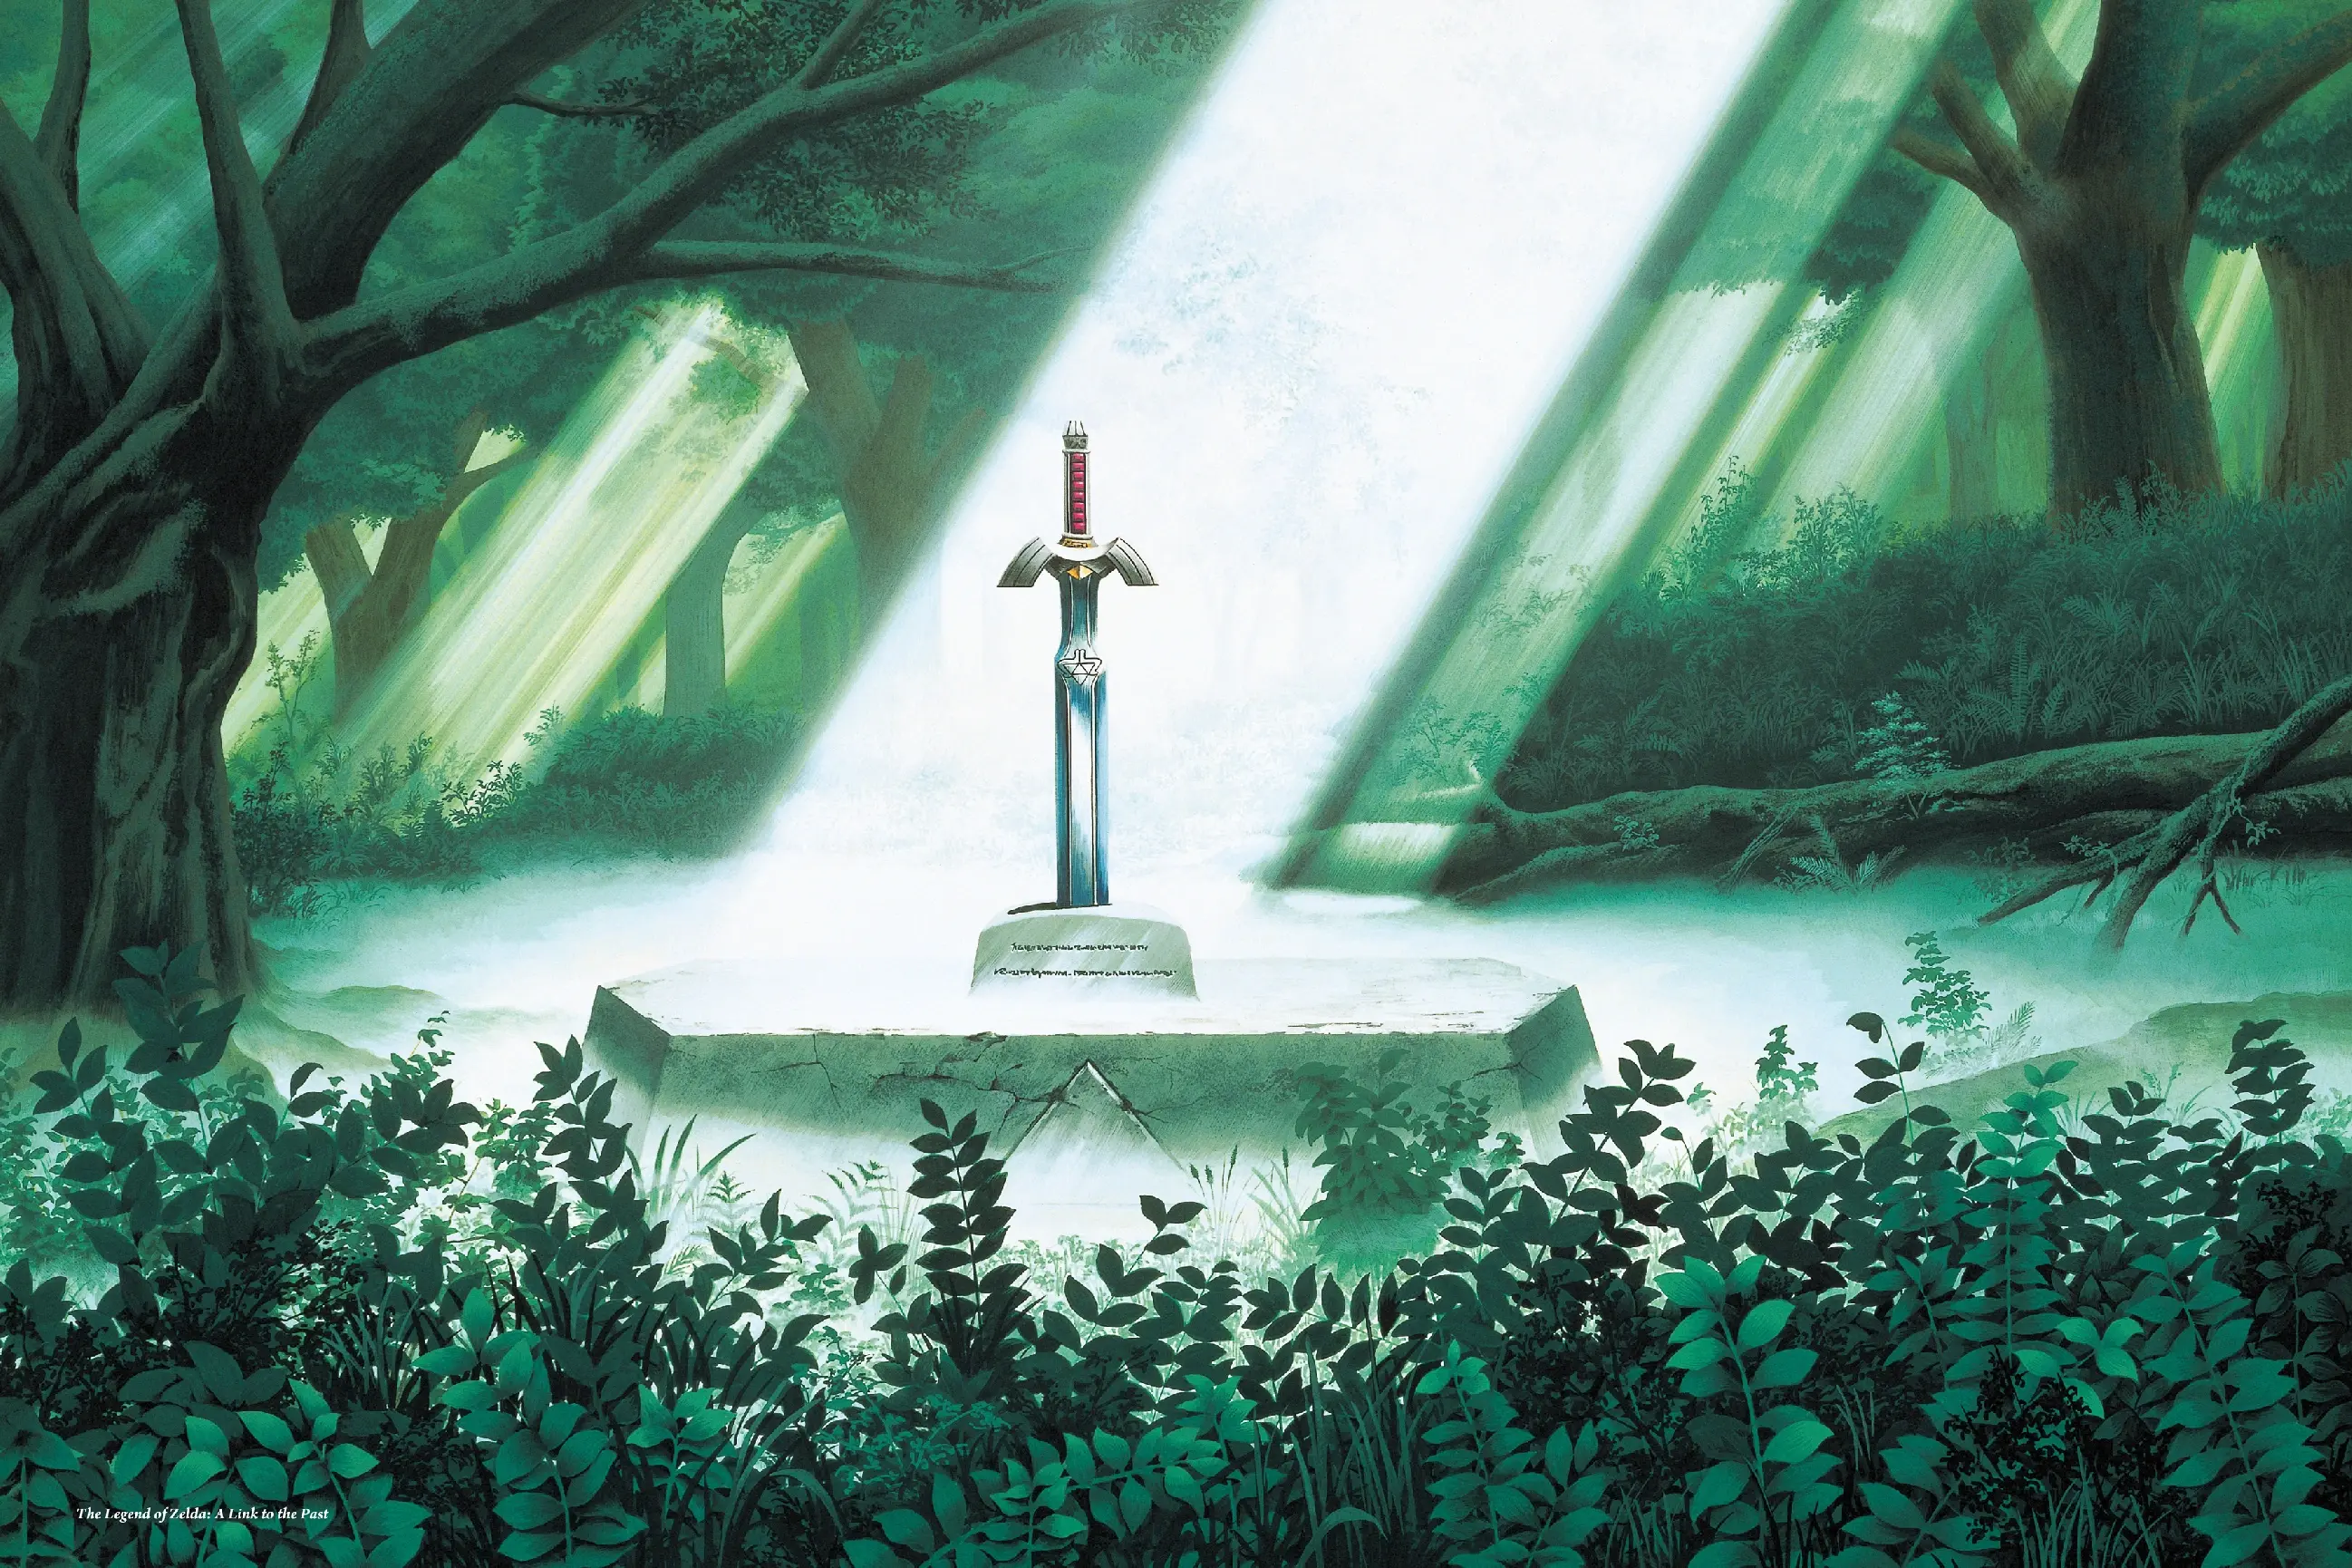
A Link to the Past Light World Guide: The Half of Hyrule Everyone Underrates
Everyone remembers the Dark World. But the Light World is where the Flute fast-travel lives, where half your bottles and upgrades hide, and where a whole quest turns Kakariko into a warp hub most players never bother to unlock. Here is the map you thought you already knew.
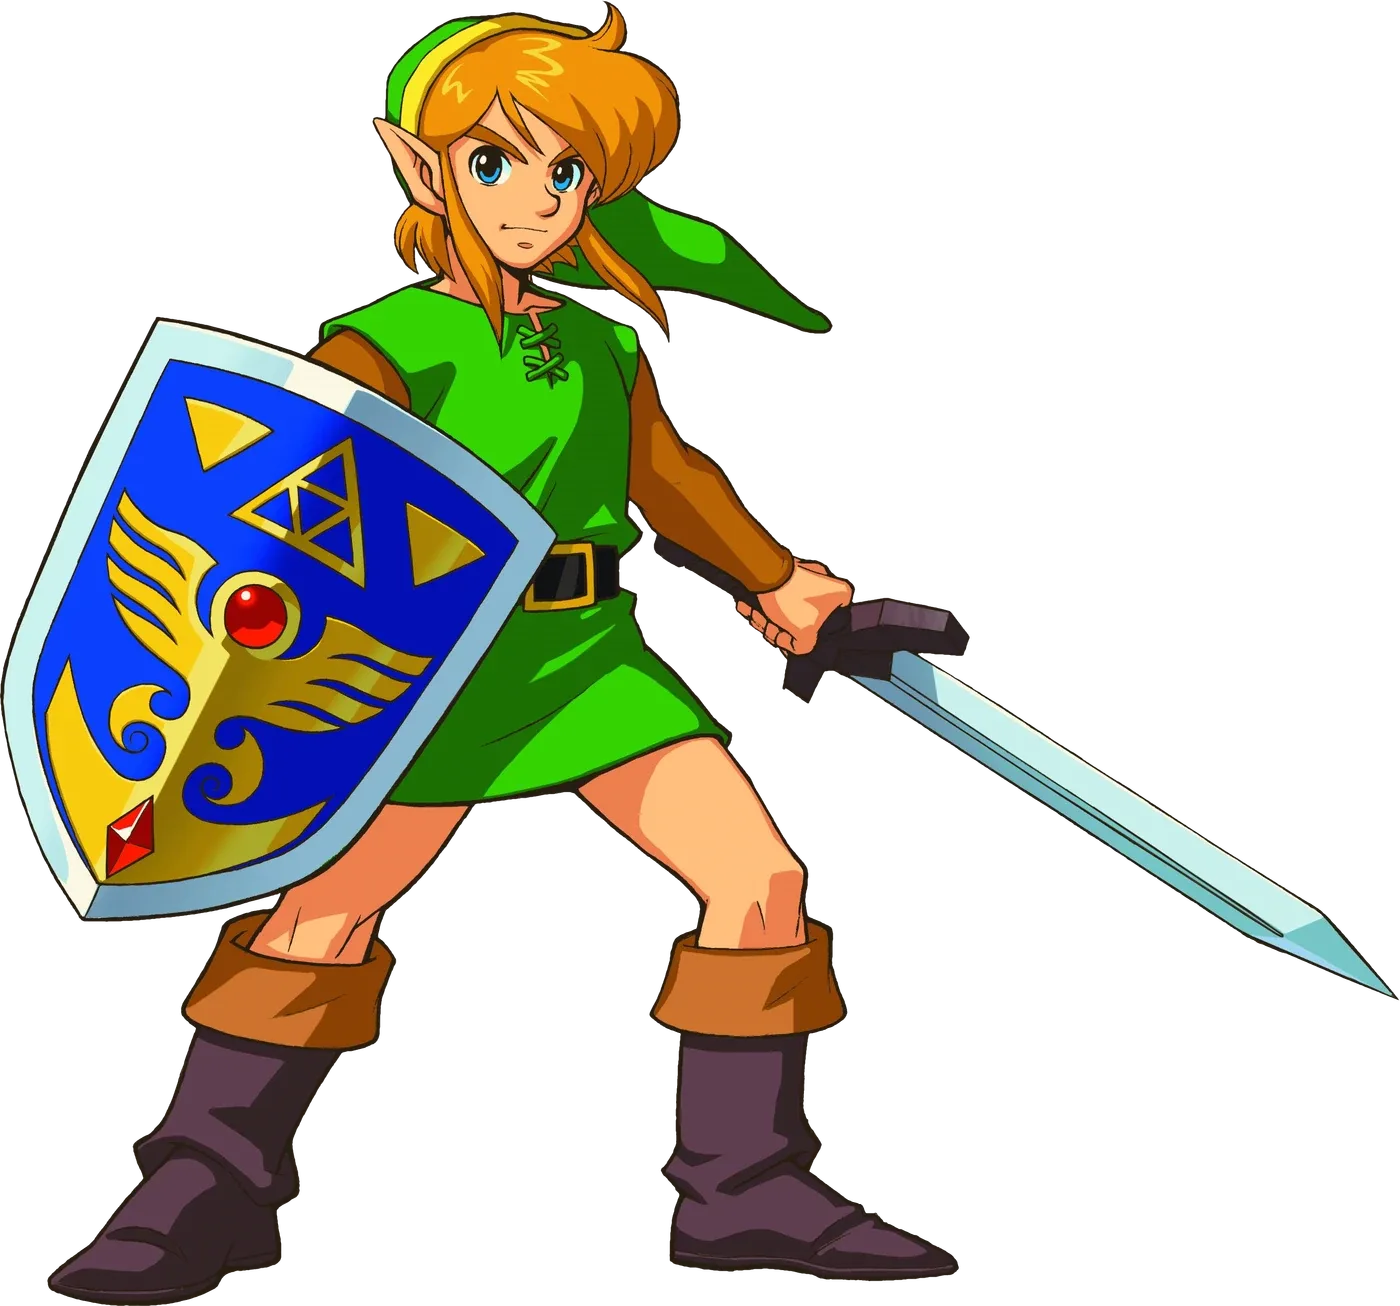
A Link to the Past Beginner Guide: Your First Ten Hours
A Link to the Past hands you a sword and a rainstorm and then says almost nothing else. Here is the route, the combat, and the item order that turn a confusing first hour into a game you can actually finish.
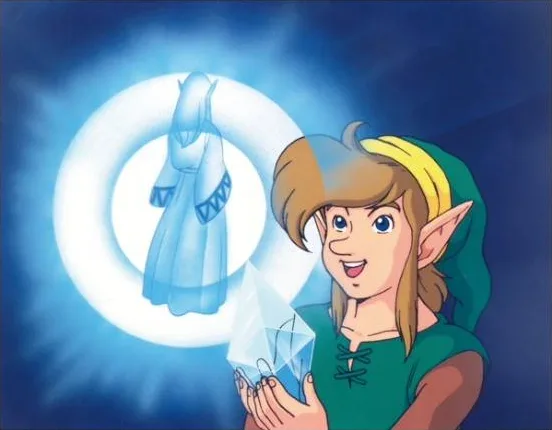
A Link to the Past Dark World Guide: Crystals, Mirror Tricks, and the Stuff Nobody Tells You
Agahnim drops you on top of a golden pyramid with no map, no explanation, and seven crystals to find. Here is how the Dark World is actually laid out, what gates what, and which detours are worth taking before Ganon Tower.