A Link to the Past Enemy Drops: All 7 Prize Packs Explained
Zoras pay out bombs on every single kill. Wizzrobes drop hearts. A Keese drops nothing in the Light World and pulls the best table in the game in the Dark World. Here is the entire drop system, out of the ROM.
Kill a Zora, get bombs. Every time. Not usually — every time, because the Zora is wired to the one drop table in A Link to the Past that never rolls the dice.
Meanwhile the Keese flapping around Hyrule Castle drops nothing. Not rarely: never. The same bat in a Dark World dungeon pulls from the best table in the game — the one with a Fairy in it.
None of this is visible from the couch, and none of it is luck in the way it feels like luck. Our magic guide already used one corner of this system — the magic pack, and the freeze-then-hammer trick that forces it. This is the rest of it: all seven drop tables, and which one every enemy in the game is actually wired to.
The drop system asks two questions
When something dies, the game asks two separate questions, and only the first involves randomness.
Question one: does anything drop? Each enemy's stored properties include a prize pack number from 0 to 7. Pack 0 means nothing ever drops. For the other seven, the game rolls once per kill, and the odds come from a small mask table in the ROM — one entry per pack. Six of the seven packs sit at 50%. One pack — the bomb pack — has a mask of zero, which means the roll cannot fail: pack 4 drops on 100% of eligible kills.
Question two: what drops? No roll at all. As the magic guide covered, each pack is an ordered list of eight prizes with its own counter that advances one slot per drop and wraps around — a fixed cycle, not a dice roll. Two kills from the same pack never skip a slot; work through eight drops from one pack and you have seen its whole inventory exactly once.
Three system-wide overrides sit on top:
- Enemies flagged to drop a key never touch their prize pack. The key (or big key) replaces the prize outright.
- The Pond of Happiness luck states are real and absolute. A Great Luck roll makes the next ten kills skip the 50% roll entirely — every eligible kill drops. Big Trouble does the reverse: ten kills, nothing, including the bomb pack. The counter and both effects are plain in the death routine, and the rupee guide covers where the luck comes from.
- How you kill matters. More on dash, stun and freeze kills below.
The seven prize packs, slot by slot
This is the entire drop economy of the game: 56 bytes, seven packs of eight slots. The slot order below is the order the counter walks, verified against the prize table in the ROM.
| Pack | Rate | Slot 1 | Slot 2 | Slot 3 | Slot 4 | Slot 5 | Slot 6 | Slot 7 | Slot 8 |
|---|---|---|---|---|---|---|---|---|---|
| 1 — Hearts | 50% | Heart | Heart | Heart | Heart | Green rupee | Heart | Heart | Green rupee |
| 2 — Rupees | 50% | Blue rupee | Green rupee | Blue rupee | Red rupee | Blue rupee | Green rupee | Blue rupee | Blue rupee |
| 3 — Magic | 50% | Big decanter | Small decanter | Small decanter | Blue rupee | Big decanter | Small decanter | Heart | Small decanter |
| 4 — Bombs | 100% | 1 bomb | 1 bomb | 1 bomb | 4 bombs | 1 bomb | 1 bomb | 8 bombs | 1 bomb |
| 5 — Arrows | 50% | 5 arrows | Heart | 5 arrows | 10 arrows | 5 arrows | Heart | 5 arrows | 10 arrows |
| 6 — Variety | 50% | Small decanter | Green rupee | Heart | 5 arrows | Small decanter | 1 bomb | Green rupee | Heart |
| 7 — Premium | 50% | Heart | Fairy | Big decanter | Red rupee | 8 bombs | Heart | Red rupee | 10 arrows |
Read them as full cycles and each pack has a personality:
- Pack 1 pays 6 hearts and 2 green rupees per cycle. Sustain, nothing else.
- Pack 2 pays 47 rupees per eight drops — five blues, two greens, one red.
- Pack 3 is the magic pack from the magic guide: six of eight slots are decanters, two of them full refills.
- Pack 4 pays 18 bombs per cycle, guaranteed, one slot of eight being the 8-bomb bundle.
- Pack 5 pays 40 arrows and 2 hearts per cycle.
- Pack 6 is a sampler tray — a bit of magic, a bit of everything else.
- Pack 7 is the jackpot table: a Fairy, a full magic refill, 8 bombs, 10 arrows and 40 rupees across one cycle.
Which enemies pull from which pack
The pack number lives in each enemy's sprite properties — the same property block the damage guide read HP and contact damage out of. These assignments follow the ALttP speedrunning wiki's sprite list.
| Pack | Enemies |
|---|---|
| 0 — Nothing | Light World Keese, Bees, Tiles, Freezors, Hoarders, Octoballoons, Pirogusu, Swamolas, Wallmasters, Babasu, Zoro, Gibo |
| 1 — Hearts | Moblins, most castle soldiers (green and blue sword guards, dagger, spear and shield types, and the sprinting green guard), blue and red Tarosu, Toppo, Light World Snakes, Crabs, bush Stals, Quake slimes, green and purple Leevers, Wizzrobes (both kinds), green Zirros |
| 2 — Rupees | Octoroks, Mini Moldorms, Popos, Ropas, Dark World crows (Kyune), Pikits, red Hardhat Beetles, Geldmen, Devalants, Ball-and-Chain Guards, rats, Buzz, Hovers, Terrorpins, blue and red Tektites |
| 3 — Magic | Pengators, Buzzblobs, red spear guards, Gibdos |
| 4 — Bombs | Zoras, Stalfos Knights, Hinox, Sluggulas, bomb-throwing guards, Light World floating Stals, Ku |
| 5 — Arrows | Blue and green archer guards, Armos statues, green and red Eyegores, green and red Goriya mimics |
| 6 — Variety | Crows, Vultures, Poes, Hyu, red and blue Bari, blue Hardhat Beetles, Kodongos, green, red and yellow slimes, Zazaks, blue and red Stalfos |
| 7 — Premium | Lynels, Pokeys, Snapdragons, Mini Helmasaurs, the blue sprinting guard, red bush spear guards, Stalropes, yellow Stalfos, blue Zirros, Dark World Keese, Dark World floating Stals |
A few lines in that table are worth pulling out:
Wizzrobes drop hearts. The four-heart-per-touch terror of the Dark World — see the damage guide — is on the same drop table as a castle guard. Killing one is triage, not treasure.
Hardhat Beetles are not a bomb source. The red variant pulls the rupee pack; the blue variant pulls the variety pack, which carries exactly one single-bomb slot in eight. The bounce-you-into-a-pit menace of the Tower of Hera pays out pocket change.
Poes are a coin flip on a sampler tray. Their variety pack does hold two small decanters and an arrow slot per cycle, but at a 50% drop rate most graveyard kills pay a rupee, a heart, or nothing.
The Dark World changes what the same enemy drops
Several enemies do not have one pack — they have one per world, chosen by the spawn code when the room loads. The ROM sets these explicitly:
| Enemy | Light World | Dark World |
|---|---|---|
| Keese | Pack 0 — nothing, ever | Pack 7 — the Fairy table |
| Snake / Stalrope | Pack 1 — hearts | Pack 7 — the Fairy table |
| Crow / Kyune | Pack 6 — variety | Pack 2 — rupees |
The Keese swap is the one worth remembering. Every Keese you killed in Hyrule Castle was physically incapable of dropping anything. The moment you are killing Keese in the Dark World, each one is a 50% pull from the same premium table as a Lynel — Fairy slot included. Same sprite, same flap, different world, different wiring.
Where to farm bombs, arrows and hearts
The magic guide answered this for decanters. Here is the same question for everything else.
Bombs: kill Zoras and Stalfos Knights. Pack 4 is the only 100% table in the game, so every eligible kill pays out — 18 bombs per eight kills. Zoras respawn endlessly at Zora's Waterfall and along Light World rivers, which makes them the renewable option. Stalfos Knights in the Ice Palace pay from the same table, which is why the enemy guide notes the bomb you spend killing one tends to come back.
Arrows: shoot the archers. Archer guards patrol the Light World castle grounds and screens around Hyrule; Eyegores and Goriya mimics carry the same pack. Full cycle: 40 arrows. The dungeon route into an Eyegore gauntlet — Eastern Palace especially — restocks the Bow that the fight demands.
Hearts: cut down soldiers. The heart pack belongs to the ordinary military of Hyrule — the sword, spear and dagger guards you have been ignoring since hour one — plus Moblins. Six hearts per cycle at 50%.
The jackpot: farm pack 7 when you see it. Lynels on Death Mountain, Pokeys, Snapdragons, Dark World Keese. One slot in eight is a Fairy — a 7-heart heal from an ordinary kill — and the rest of the cycle mixes a full decanter, 8 bombs, 10 arrows and 40 rupees. A Lynel is a miserable fight for a reason; it is also carrying the best loot table in Hyrule.

The kills that change the rules
Three overrides from the kill itself, all covered in depth in the magic guide and confirmed in the death routine:
- Dash kills drop nothing — at the time. The Pegasus Boots suppress the drop, but the ALttP Speedrunning Wiki describes the boots as storing the drop for later rather than cancelling it; runners dash-kill in Agahnim's Tower to bank a fairy for Turtle Rock. So a dash-killed Zora hands you nothing on the spot, and its drop waits for a later kill.
- Stunned kills, and frozen enemies killed with anything but the hammer, drop a green rupee instead of a prize.
- Frozen enemies killed with the Magic Hammer drop from the magic pack at 100%, whatever their native pack — the freeze-and-hammer trick.
One more detail from the ROM for the curious: during a Great Luck streak, the forced drops still come from each enemy's own pack, but the game reads the cycle position from a shared counter rather than the pack's own — so a lucky streak also shuffles where the next normal drop lands in the cycle.
Everything else we have written about the game is on the A Link to the Past coverage hub.
Quick Action Checklist
- Need bombs? Kill Zoras. Pack 4 never misses: 18 bombs per eight kills, guaranteed — just never with a dash.
- Need arrows? Kill archer guards, Eyegores and Goriya mimics — 40 arrows per eight drops.
- Need hearts? Kill soldiers and Moblins — six hearts per cycle.
- Never dash-kill anything you are farming. A dash kill produces no drop at the time — the drop is stored for a later kill, not paid out.
- Treat Dark World Keese and floating Stals as loot, not filler — in the Dark World both pull the Fairy table.
- Farm Lynels and Pokeys when you can kill them safely — pack 7 carries a Fairy, a full decanter, 8 bombs and 10 arrows per cycle.
- Do not farm Hardhat Beetles or Wizzrobes for supplies — rupees and hearts are all they know.
- Check your luck. A Big Trouble roll at the Pond of Happiness silences every drop, even the guaranteed bombs, for ten kills.
Frequently Asked Questions
What determines what an enemy drops in A Link to the Past?
Which enemies drop bombs in A Link to the Past?
Which enemies drop arrows in A Link to the Past?
Can enemies drop fairies in A Link to the Past?
Why do Keese never drop anything in A Link to the Past?
Keep Reading
- ALttP Speedrunning Wiki — enemy prize packs: pack contents, per-enemy assignments, drop rules
- ALttP Speedrunning Wiki — Pegasus Boots: dash kills drop no item, and the drop is stored for later
- zelda3 decompilation — kPrizeItems (the 56-byte prize table), kPrizeMasks (50%/100% rates), kSpriteInit_Flags5 (per-sprite pack assignment), and the death-routine luck and key logic
- zelda3 decompilation — SpritePrep routines assigning world-dependent prize packs to Keese, Ropes, Ravens and Hardhat Beetle variants
Related Guides
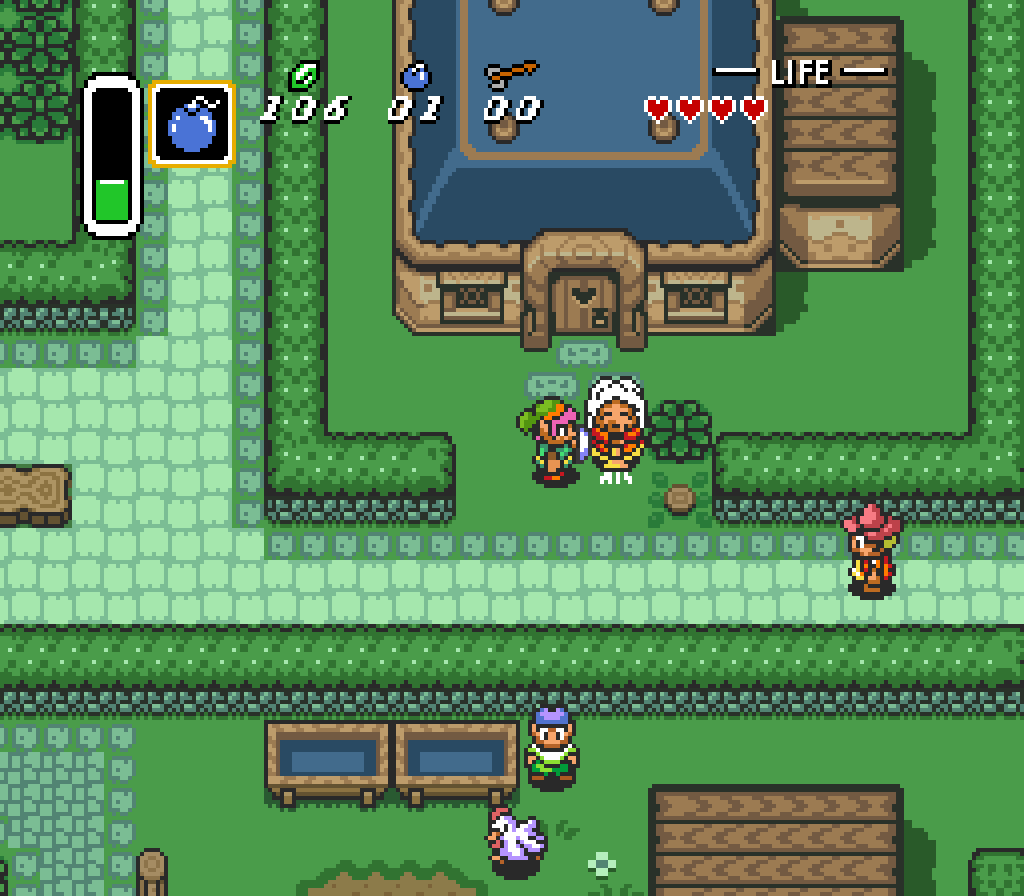
A Link to the Past Cuccos: 35 Hits Until the Flock Attacks
The number is 35, it is counted on one bird, and the flock never forms indoors. Here is the Cucco routine read out of the SNES code: what counts as a hit, how the attackers fly, what they cost you, how to switch them off, and the one Cucco in Kakariko that talks back.

A Link to the Past Crystal Switches: One Byte, Whole Dungeon
A Link to the Past does not track its orange and blue Switch Fence panels room by room. One RAM byte, shared by the entire dungeon, decides whether every crystal switch and every panel in it is up or down — including the ones in rooms you have not opened yet. Here is the exact byte, what it will and will not respond to, and why it resets the second you walk back through the door.
A Link to the Past I-Frames: 58 Frames After a Hit
One byte at $031F runs the mercy window. It gets loaded with 58 after an enemy touches you, and while it is counting down, contact damage, projectile trails, electric shocks, your own bombs and the spike tiles all skip their damage check. Here is what that buys you, and where it quietly runs out.
A Link to the Past Movement Speed: When Dashing Is Slower
A Link to the Past does not simulate movement. It looks it up. One byte picks your speed, the byte divided by sixteen is your pixels per frame, and every surface and every held item swaps the byte for a worse one. Here is the table, and the arithmetic that says the Pegasus Shoes are a loss under four and a half tiles.
A Link to the Past Beginner Guide: Your First Ten Hours
A Link to the Past hands you a sword and a rainstorm and then says almost nothing else. Here is the route, the combat, and the item order that turn a confusing first hour into a game you can actually finish.
A Link to the Past Death Guide: Every Respawn Point
A Game Over in A Link to the Past does not cost you a rupee, a bomb, an arrow or a small key. It costs you position, four escort quests, and a number the credits will read back to you at the end. Here is the whole death routine, read off the code that runs it.