A Link to the Past Damage Guide: Every Weapon Number and What Your Mail Really Does
The Golden Sword spin attack deals exactly what a Golden Sword swing deals. The Magic Hammer hits as hard as a Tempered Sword. And the Blue Mail does nothing whatsoever about a Beamos. Here are the real numbers, out of the ROM.
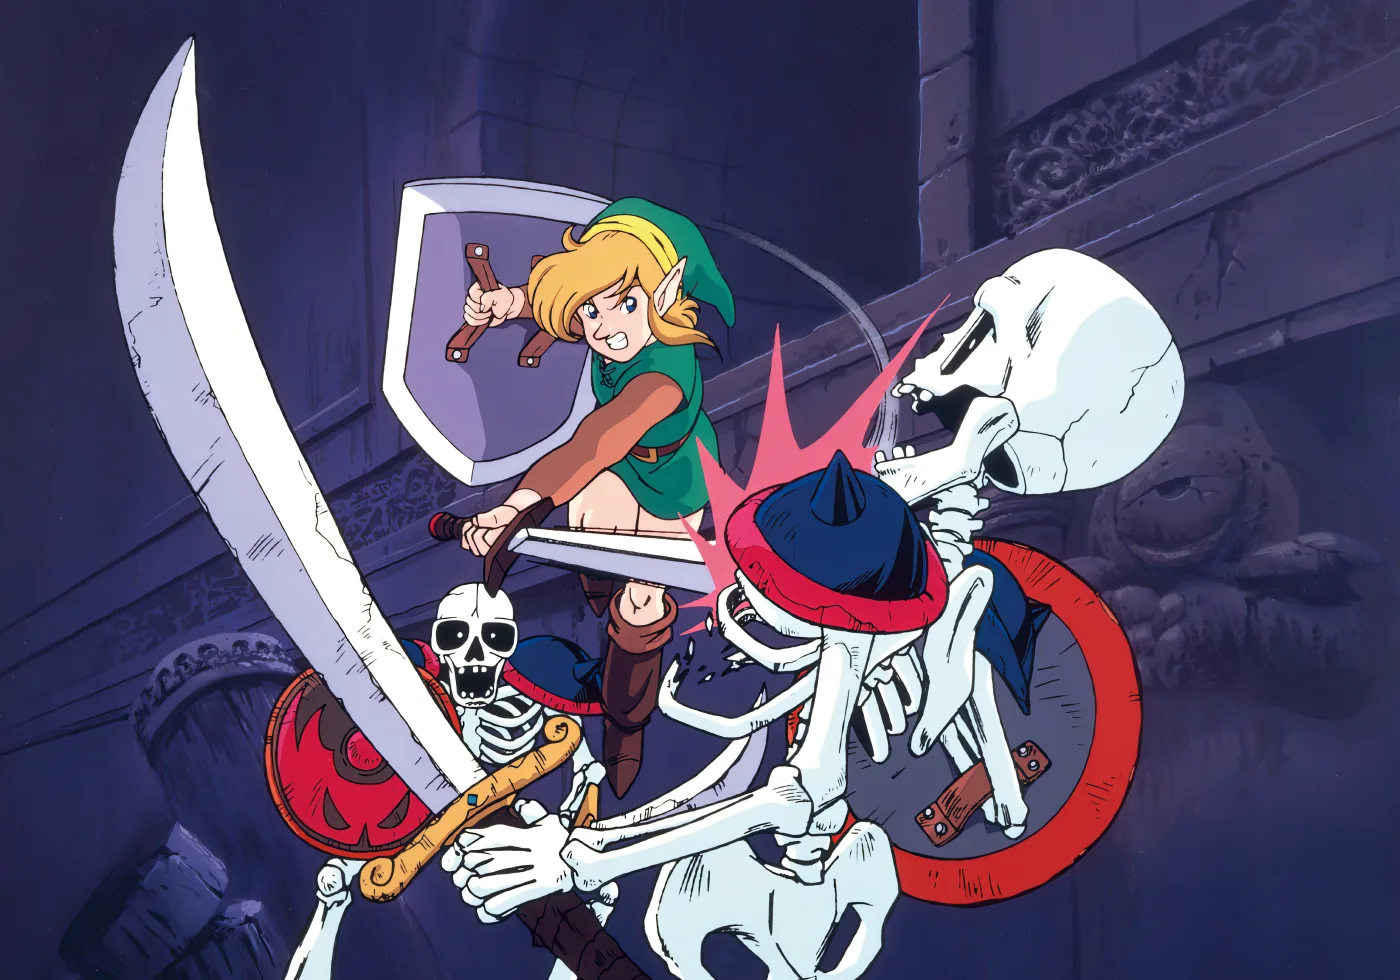
Charge up. Release. The spin attack flashes, the sound effect lands, the enemy flies backwards. It feels like the biggest hit in your kit, and with the Golden Sword equipped it does exactly as much damage as tapping B.
Not roughly as much. The same number, out of the same row of the same table.
A Link to the Past never shows you a damage figure, so the whole combat system runs on vibes and hit-stun animations. It does not have to. The game's damage maths is two lookup tables — one for what you do to Hyrule, one for what Hyrule does to you — and both are readable in the ROM. Here is what they say.
Damage is measured in eighths of a heart
Start with the unit, because every number below is in it. All of them come out of the SNES ROM; the Game Boy Advance port has not been checked against these tables.
Link's health is stored in eighths. The disassembly's RAM map documents the damage variable at address 0373 with the note that 8 equals one heart. So a value of 4 is half a heart, 2 is a quarter, and 32 is four full hearts.
Enemies use the same scale for their own HP. An Octorok is stored with 2 HP — one quarter of a heart's worth of health. Ganon is stored with 255.
Once you have that, everything else in this post is arithmetic.
Every attack you own belongs to one of sixteen classes
The game does not track "the Fire Rod" or "the Golden Sword" when it works out damage. It converts whatever you just did into a damage class, a number from 0 to 15, and looks that class up in a sixteen-row table.
| Class | What puts you in it |
|---|---|
| 0 | Boomerang |
| 1 | Fighter's Sword slash, dash or poke; Master Sword poke; sword beam; Cane of Somaria; Cane of Byrna; a bottled bee |
| 2 | Fighter's Sword spin; Master Sword slash or dash; Tempered Sword poke |
| 3 | Master Sword spin; Tempered Sword slash or dash; Golden Sword poke; Magic Hammer; thrown pots, skulls, rocks and signs; a frozen enemy |
| 4 | Tempered Sword spin; Golden Sword slash or dash; spike traps |
| 5 | Golden Sword spin |
| 6 | Bow |
| 7 | Hookshot |
| 8 | Bombs |
| 9 | Silver Arrows |
| 10 | Magic Powder |
| 11 | Fire Rod |
| 12 | Ice Rod |
| 13 | Bombos |
| 14 | Ether |
| 15 | Quake |
Each row is eight columns wide. The row is your weapon; the column is picked per enemy, per weapon, by a separate lookup — which is how one monster can be immune to arrows while another dies to them instantly, without the game needing a special case in the arrow code.
Some cells are not numbers at all. Several entries are status codes the damage routine intercepts before it subtracts anything: one turns the target into a Fairy, one turns it into a zero-HP blob, others route into the freeze and burn branches. That is the entire mechanism behind the tricks in our enemy guide — Magic Powder on a Bubble, Quake on a Deadrock. The Fairy conversion code appears in exactly one row of the sixteen: Magic Powder's.
The Hookshot row is almost entirely status codes rather than damage. It is a stun tool with a grapple attached, not a weapon, and the table is blunt about it.
The sword ladder, and the two rungs that are not there
Look again at classes 1 through 5. The game builds them from three small arrays: normal strikes map to classes 1, 2, 3, 4 across the four sword tiers, spin attacks map to 2, 3, 4, 5, and pokes — what the game calls it when the sword has been held out for nine frames or more without reaching a full charge — map to 1, 1, 2, 3.
Three consequences fall straight out of that.
A spin attack is worth exactly one sword tier. Fighter's Sword spin equals Master Sword swing. Master Sword spin equals Tempered Sword swing. That is a genuinely large upgrade for free, and it is why the boss guide leans on spin attacks so hard in the back half.
Except at the top, where it stops. Class 4 and class 5 are byte-for-byte identical rows in the damage table. Every column matches. A Golden Sword spin attack reads the same eight numbers a Golden Sword swing reads — you are paying charge time for knockback and reach, not a bigger number. If you have been charging spins in Ganon's Tower because the Golden Sword "hits harder that way," the table does not back you up.
Poking is a downgrade, and the Master Sword does not fix it. Fighter's Sword and Master Sword pokes are both class 1 — the same number. Upgrading from the starting sword changes nothing at all about the damage of a held-out blade. The Tempered Sword poke finally reaches class 2, the Golden Sword poke reaches class 3, and both are still one rung below their own swing.
Two more entries in class 1 are worth staring at. The sword beam you fire at full health sits there permanently: a Golden Sword beam does Fighter's Sword damage, which confirms the warning in our items and upgrades guide. And so does the Cane of Byrna. The spinning shield that costs you magic every 24 frames deals starting-sword damage to whatever it touches.
The Magic Hammer swings like a Tempered Sword
Class 3 is the most useful line in the table, because of who else is standing in it.
The Magic Hammer is class 3. So is a thrown pot, skull, rock or sign. So is a frozen enemy used as a projectile. All of them hit for exactly what a Tempered Sword swing hits for, and none of them care what sword you are carrying.
That reframes a lot of early-to-mid game combat. If you are still on the Master Sword, a pot you picked up off the floor does more damage than your own swing does, and the Magic Hammer you found in the Palace of Darkness is a straight damage upgrade you can use immediately. The enemy guide recommends thrown pots against Blue Stalfos because they dodge sword swings; the damage table adds a second reason.
One more oddity: spike traps are class 4 — Golden Sword tier. The floor hazards in this game hit harder than most of your inventory, and they hit enemies too.
What a hit is actually worth
Here is the first column of each row — the one that behaves like an ordinary damage scale — in eighths of a heart.
| Attack | Damage |
|---|---|
| Boomerang | 1 |
| Fighter's Sword | 2 |
| Master Sword | 4 |
| Tempered Sword | 8 |
| Golden Sword (swing or spin) | 16 |
| Bow | 4 |
| Bombs | 4 |
| Fire Rod | 8 |
| Ice Rod | 8 |
| Bombos | 16 |
| Quake | 32 |
| Silver Arrows | 100 |
The sword ladder doubles cleanly: 2, 4, 8, 16. The Golden Sword really is eight times the Fighter's Sword, exactly as advertised.
Everything else is more interesting. The Bow does 4 — Master Sword damage per arrow. Bombs also do 4, which means a bomb is worth one Master Sword swing plus a lot of inconvenience, and their real value is the enemies that take nothing else. The Fire Rod and Ice Rod both do 8, matching the Tempered Sword and matching each other, which is the same parity their magic costs show in the magic guide.
Quake does 32. Double a Golden Sword swing, screen-wide, for a quarter of your magic bar. The medallion whose required job is unsealing Turtle Rock also carries the second-biggest number on this column.
And the Silver Arrows do 100, which is not a damage value so much as a delete key.
The Armos Knights punish you for upgrading
Remember that the column is chosen per enemy. The Armos Knights of Eastern Palace do not use the ordinary column for sword hits, and the column they do use is bent.
Against them, the damage table gives:
| Attack | Damage | Hits to kill (48 HP) |
|---|---|---|
| Bow | 16 | 3 |
| Fire Rod / Ice Rod | 8 | 6 |
| Golden Sword swing or spin | 8 | 6 |
| Tempered Sword swing / Master Sword spin | 4 | 12 |
| Bombs | 4 | 12 |
| Fighter's Sword swing | 4 | 12 |
| Master Sword swing | 2 | 24 |
| Boomerang | 1 | 48 |
Read those last two rows again. On this specific boss, a Master Sword swing does half what a Fighter's Sword swing does, and takes twice as many hits. Pulling the Master Sword makes the Armos Knights harder if you keep tapping B.
The fix is free: spin instead. The Master Sword spin is class 3, back up to 4 damage. And the actual answer is the item the dungeon hands you before the boss door — the Bow, at 16 a shot, is four times what a Fighter's Sword swing does here. That is not a coincidence. It is why Eastern Palace puts the Bow where it does.
Boss HP, and how many hits that really is
Every boss carries a plain HP number. These are those values, with the hit counts the damage table works out to.
| Boss | HP | Notable line |
|---|---|---|
| Moldorm | 12 | 6 Master Sword hits, 3 Tempered |
| Lanmolas (each) | 16 | 2 Golden Sword hits; the Bow does 4 a shot |
| Ball and Chain Guard | 16 | 8 Fighter's Sword hits, 1 Golden Sword hit |
| Helmasaur King mask | 17 | 5 bombs, or 17 Magic Hammer strikes |
| Helmasaur King (face) | 31 | 2 Golden Sword hits, 4 Tempered |
| Arrghus | 32 | plus 8 HP per Arrgi |
| Mothula | 32 | 4 Tempered Sword hits |
| Armos Knights | 48 | see above |
| Kholdstare's ice block | 64 | Bombos does 64. One cast. |
| Trinexx (each head, and the body) | 40 | 3 Golden Sword hits per head |
| Vitreous | 128 | small eyes 48 each |
| Ganon | 255 | the table lists four Silver Arrows for the finish |
Two of those deserve a second look.
The Helmasaur King's mask is a separate 17-HP object. Five bombs break it. Seventeen Magic Hammer strikes also break it, because the hammer only does 1 damage to the mask specifically — which is a very long time to stand next to a mace-tailed reptile. The boss guide already recommends bombs from range; this is the arithmetic behind it.
Bombos deals 64 to Kholdstare's ice block, and the block has 64 HP. Exactly one cast. The Fire Rod does 8 to it, so the alternative is eight Fire Rod shots — and at 16 magic each, that is 128 points, the entire magic meter, to do what one 32-point medallion does instantly. The items and upgrades guide calls Bombos worth the detour for this fight. It is worth a whole magic bar.
Now the other direction: what hits you
Every enemy stores a bump damage value. The game takes the low four bits of it as a class, multiplies by three, adds your mail level, and reads a thirty-byte table. Three entries per class: Green, Blue, Red.
Here is that entire table, converted to hearts.
| Class | Green Mail | Blue Mail | Red Mail |
|---|---|---|---|
| 0 | 1/4 | 1/8 | 1/8 |
| 1 | 1/2 | 1/2 | 1/2 |
| 2 | 0 | 0 | 0 |
| 3 | 1 | 1/2 | 1/4 |
| 4 | 1 | 1 | 1 |
| 5 | 2 | 1 | 1/2 |
| 6 | 4 | 2 | 1 |
| 7 | 4 | 3 | 2 |
| 8 | 3 | 2 | 1 |
| 9 | 8 | 6 | 3 |
The received wisdom — Blue Mail halves damage, Red Mail quarters it — is true for classes 3, 5 and 6. Those three rows go 1 to 1/2 to 1/4 of the original, perfectly. Every other row does something else.
It is worth noting where the halving story comes from. Zelda Wiki's Blue Mail page states the reduction as half, and the page carries a citation-needed tag on that exact sentence. Its Red Mail page states another halving, cited to the in-game pickup text — and that text only says the Red Mail "provides even better protection than the Blue Mail." The pickup message quoted there puts no fraction on it, and the ROM does not use one consistently.
Your mail does nothing against a lot of Hyrule
Two rows that actually deal damage are flat. Green, Blue and Red are identical values, so the mail you are wearing changes nothing.
Class 1 — half a heart, always. Octoroks, Buzzblobs, Ropes, Leevers, Popos, Toppos, the green castle guards, ordinary Stalfos and both kinds of Zora. The chip damage of the early game does not shrink when you put the Blue Mail on.
Class 4 — one full heart, always. This is the hazard family, and the list is where it hurts:
- Bubbles / Anti-Fairies, including the circling clusters
- Beamos
- Sparks and Firebars
- Big Spikes and Spike Blocks
- Green and red Eyegores
- Kodongo fireballs
- Agahnim's energy balls
- Lanmolas
Walk into Ganon's Tower in the Red Mail and every Bubble, Beamos, Spark and Firebar in the building still takes a full heart per touch. You bought a quarter of nothing.
That reframes the Ice Palace and Turtle Rock a little. The reason those dungeons feel punishing in the Blue Mail is that a large share of what is hurting you is architecture, and architecture ignores your tunic.
Now the top end. Class 6 is four hearts on Green Mail, and it is where the run-enders sit: Wizzrobes, Freezors, Sluggulas, Lynels, and the Laser Eyes of Turtle Rock. That class does halve properly — Blue takes it to two, Red to one — so the mail matters enormously against exactly the enemies you meet late.
One correction while we are here. Zelda Wiki puts the Gibdo's contact damage at three hearts. The ROM gives the Gibdo bump damage class 5, which is two hearts on Green Mail — the same as a Moblin, a Pengator or a Stalfos Knight. Three hearts is class 8, where Hinox and the spike rollers live. Four hearts on Green Mail covers two rows, 6 and 7, and only class 6 comes all the way down to one heart in the Red Mail.
Ganon hits for eight hearts
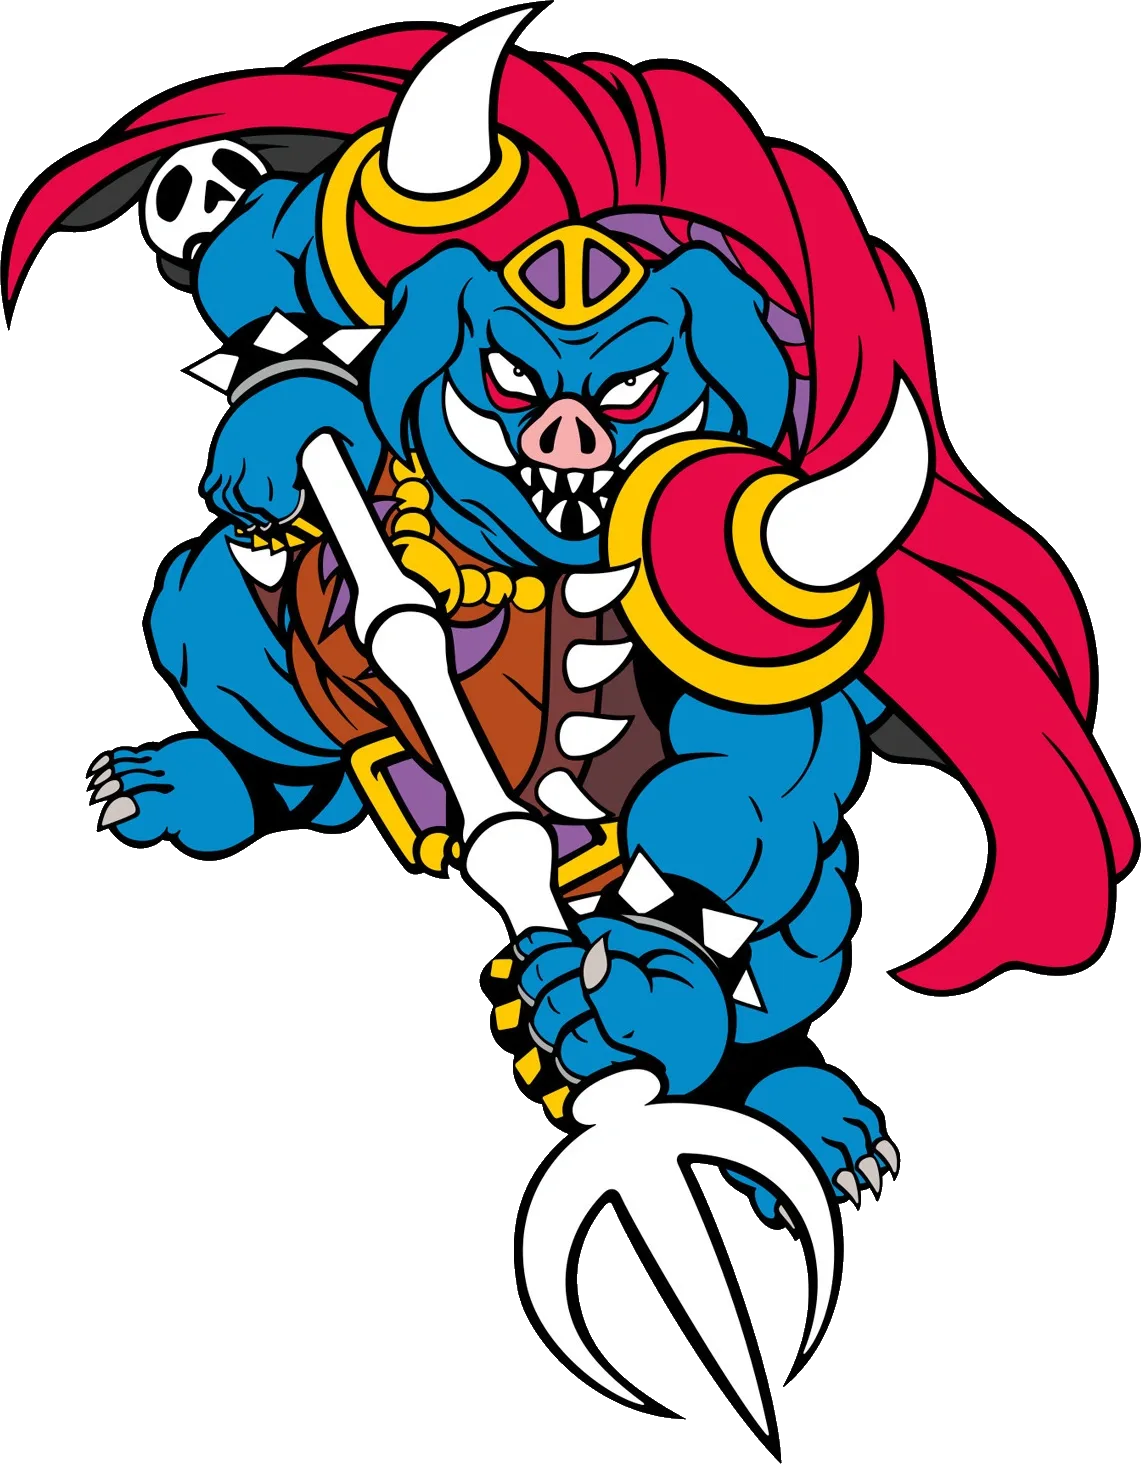
Class 9 is the last row, and across all 243 sprite entries in the game only two of them use it: Ganon's two forms.
Eight hearts a touch in the Green Mail. Blue Mail takes it to six. Red Mail takes it to three.
That is the single strongest argument for the Red Mail sitting in the Ganon's Tower basement, and it is also the clearest example of the halving story falling apart. Blue Mail cuts Ganon's hit by a quarter, not a half. Red Mail cuts it by five eighths, not three quarters. If you go in with fourteen hearts and the Green Mail, Ganon is a two-touch fight away from a Game Over.
Get the mail. Not because it halves anything — because eight becomes three.
For where the Red Mail sits in a route, and the Silver Arrows you cannot finish him without, see the items and upgrades guide and the boss guide. Everything else we have written about the game is on the A Link to the Past coverage hub.
Quick Action Checklist
- Stop charging spin attacks once you have the Golden Sword. Class 4 and class 5 are the same row; the spin buys knockback, not damage.
- Spin with the Master and Tempered Swords, where a spin is worth a full tier.
- Stop poking. A Fighter's Sword poke and a Master Sword poke are the same class, and from the Master Sword up every poke sits a tier below its own swing.
- Treat the Magic Hammer as a Tempered Sword you can use the moment you leave the Palace of Darkness. Thrown pots and skulls hit for the same.
- Bring the Bow to the Armos Knights, where it does 16 a shot against a sword swing's 4 — and spin rather than tap if you are on the Master Sword, which does 2 there.
- Use one Bombos on Kholdstare's ice block, not eight Fire Rod shots. The block has 64 HP and Bombos does 64.
- Bomb the Helmasaur King's mask — 5 bombs against 17 hammer strikes.
- Do not expect your mail to help against hazards. Bubbles, Beamos, Sparks, Firebars, Spike Blocks and Eyegores all take one heart in any tunic.
- Do expect it to help against the late-game roster. Wizzrobes, Freezors, Sluggulas and Lynels hit for four hearts in Green and one in Red.
- Never fight Ganon in the Green Mail. Eight hearts a touch becomes three in the Red Mail.
Frequently Asked Questions
How much damage does each sword do in A Link to the Past?
Does the spin attack do more damage in A Link to the Past?
Does the Blue Mail really halve damage in A Link to the Past?
Which A Link to the Past enemy does the most contact damage?
How much damage does the Magic Hammer do in A Link to the Past?
How many hits does it take to break the Helmasaur King's mask?
Keep Reading
- ALttP disassembly — sprite HP and bump-damage tables, and the 16x8 weapon damage table read by the damage routine
- ALttP disassembly — sword damage class indices for slash, spin and poke, Ancilla_CheckSpriteDamage, and the player damage lookup by mail level
- ALttP disassembly RAM map — damage variable 0373 (8 equals one heart) and 0CD2 bump damage
- zelda3 decompilation — kPlayerDamages, kSpriteInit_Health and kSpriteInit_BumpDamage, matching the disassembly byte for byte
- ALttP Damage Table — damage class to item legend and per-boss HP and hit counts (credits assassin17's GameFAQs Monster/Attack Stats Guide)
- Zelda Wiki — Blue Mail, whose half-damage sentence carries a citation-needed tag
- Zelda Wiki — Red Mail and the in-game pickup text it cites
- Zelda Wiki — Gibdo, source of the widely repeated three-hearts figure
Related Guides
A Link to the Past Cuccos: 35 Hits Until the Flock Attacks
The number is 35, it is counted on one bird, and the flock never forms indoors. Here is the Cucco routine read out of the SNES code: what counts as a hit, how the attackers fly, what they cost you, how to switch them off, and the one Cucco in Kakariko that talks back.

A Link to the Past Crystal Switches: One Byte, Whole Dungeon
A Link to the Past does not track its orange and blue Switch Fence panels room by room. One RAM byte, shared by the entire dungeon, decides whether every crystal switch and every panel in it is up or down — including the ones in rooms you have not opened yet. Here is the exact byte, what it will and will not respond to, and why it resets the second you walk back through the door.
A Link to the Past I-Frames: 58 Frames After a Hit
One byte at $031F runs the mercy window. It gets loaded with 58 after an enemy touches you, and while it is counting down, contact damage, projectile trails, electric shocks, your own bombs and the spike tiles all skip their damage check. Here is what that buys you, and where it quietly runs out.
A Link to the Past Movement Speed: When Dashing Is Slower
A Link to the Past does not simulate movement. It looks it up. One byte picks your speed, the byte divided by sixteen is your pixels per frame, and every surface and every held item swaps the byte for a worse one. Here is the table, and the arithmetic that says the Pegasus Shoes are a loss under four and a half tiles.
A Link to the Past Beginner Guide: Your First Ten Hours
A Link to the Past hands you a sword and a rainstorm and then says almost nothing else. Here is the route, the combat, and the item order that turn a confusing first hour into a game you can actually finish.
A Link to the Past Death Guide: Every Respawn Point
A Game Over in A Link to the Past does not cost you a rupee, a bomb, an arrow or a small key. It costs you position, four escort quests, and a number the credits will read back to you at the end. Here is the whole death routine, read off the code that runs it.