ALTTPR Inverted Mode: What Flips and How to Route It
Inverted starts you in the Dark World and turns the Moon Pearl, the Magic Mirror, the portals and the flute around. Here is what the A Link to the Past Randomizer actually changes, the eleven overworld checks open on an empty inventory, and the routes its logic accepts into the Light World.
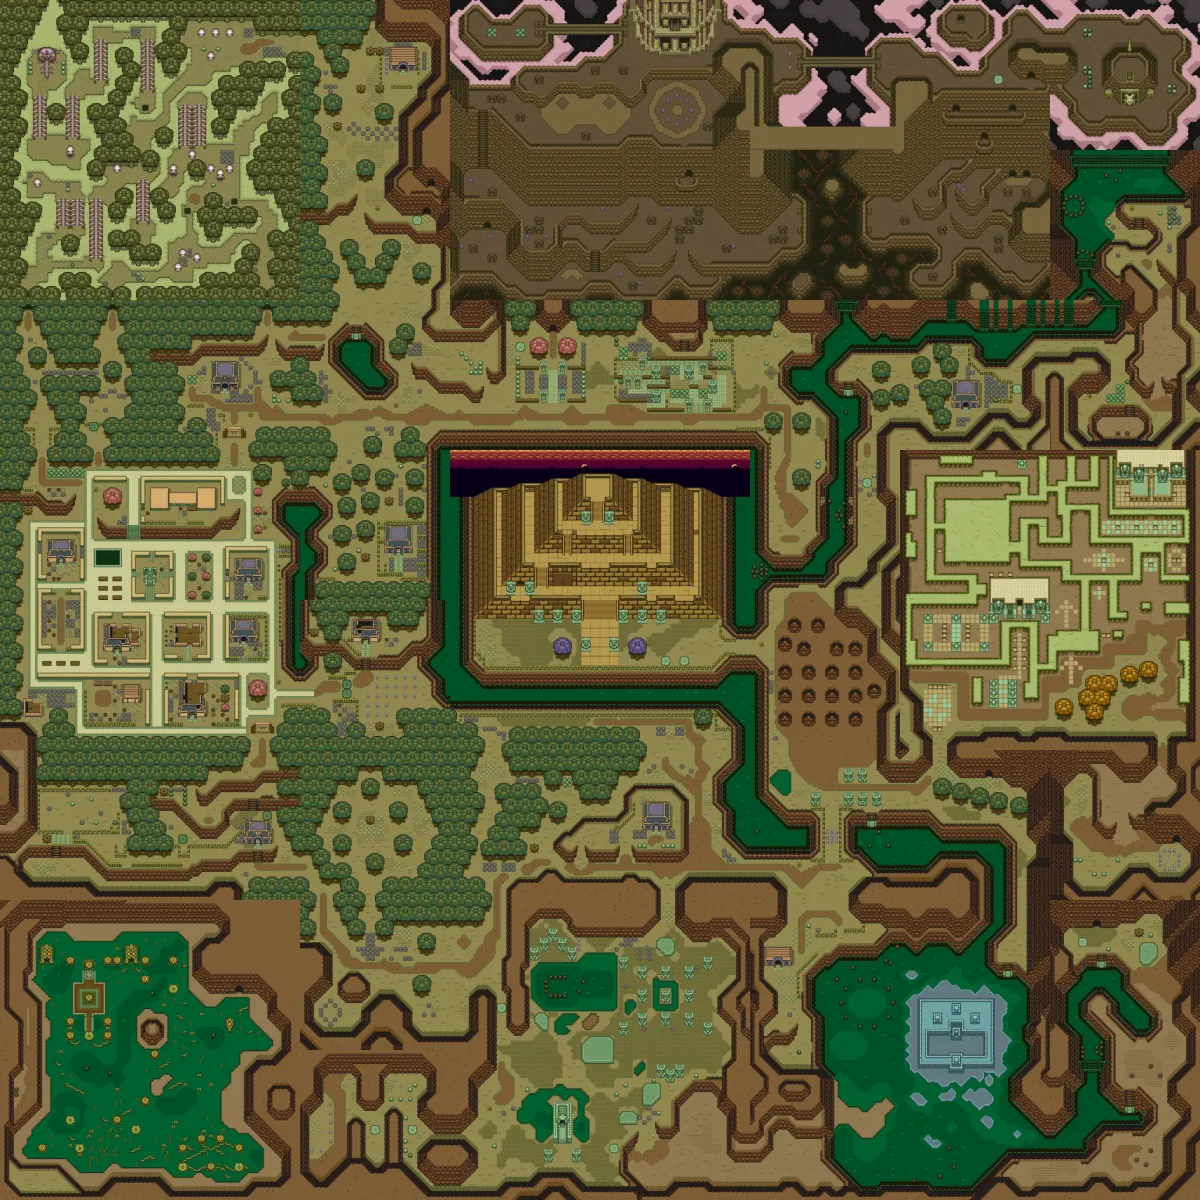
Inverted starts you in Link's House, and Link's House is in the Dark World. Walk out the door and you are standing where the Bomb Shop normally sits, in your own shape, in the half of Hyrule that is supposed to turn you into a rabbit.
That one screen is the whole mode. The A Link to the Past Randomizer's Inverted world state keeps the item shuffle and flips the map's rules: the Dark World is home, the Light World is the hostile one, and the items that carry you between the two work in the opposite direction. The options page on alttpr.com calls Inverted games "really difficult" and suggests starting with another world state, and our ALTTPR beginner guide gives the mode a single line and the same warning. This is the rest of it.
Most of what follows comes from two places. One is alttpr.com itself: that options page, plus the site's update notes, which list v31.2.1 from September 2023 as the current release. The other is the generator's source code on GitHub, the rules it fills seeds against, test suite included. When this guide says "the logic", it means that code's No Glitches rules.
What Inverted actually changes
The options page lists six headline changes, plus a batch of map edits that make them work. Here they are side by side with Open:
| Open | Inverted | |
|---|---|---|
| Where you start | Link's House or the Sanctuary, in the Light World | Link's House, which has swapped places with the Bomb Shop and now sits in the Dark World |
| Where you are a bunny without the Moon Pearl | The Dark World | The Light World |
| Magic Mirror | Dark World to Light World | Light World to Dark World |
| Portals | Light World to Dark World | Dark World to Light World |
| Flute | Light World | Dark World only, and it still has to be woken at the Kakariko weathercock |
| Agahnim's Tower | On top of Hyrule Castle | Traded places with Ganon's Tower, so it stands on Dark World Death Mountain |
| Ganon's Tower | Dark World Death Mountain | Hyrule Castle, and the crystals open its door |
| Ganon | The Pyramid of Power | Underneath Hyrule Castle |
| The Old Man | Lost on Light World Death Mountain | Lost in the Dark World, and you walk him home to the Light World |
The supporting edits are the ones that change your routes. Light World terrain has been reworked so it stays reachable without mirroring out of the Dark World. The Death Mountain caves are rebuilt so you can climb to Dark World Death Mountain from the Dark World mainland, and new stairs up there lead to Ganon's Tower's old spot and to the east side of the mountain. Ice Palace is reachable straight from the Dark World, and Turtle Rock can be entered by jumping from its tail.
One small detail from the same page: if you set a crystal requirement to Random, the signs that tell you the number stand outside Hyrule Castle in Inverted, not where you would look for them in Open.
The eleven overworld checks you can open with nothing
Two overworld regions have no entry rule at all in the Inverted logic: the south and the north-west Dark World. Every other overworld region asks for something. That leaves eleven overworld item locations you can clear on an empty inventory, and the generator's own test suite marks every one of them reachable with no items.
| Check | Region | Note |
|---|---|---|
| Link's House | South Dark World | The starting chest moved with the house |
| Hype Cave (four chests and the NPC) | South Dark World | Behind a bombable wall |
| Stumpy | South Dark World | An NPC hand-off |
| Digging Game | South Dark World | A dig prize |
| Brewery | North-west Dark World | Behind a bombable wall |
| C-Shaped House | North-west Dark World | A plain chest |
| Chest Game | North-west Dark World | A minigame prize |
The bombable walls count as open because the generator's bomb check returns true unconditionally, the same rule the beginner guide describes for Open. The contrast with Open is the Light World side. In Open, Kakariko Well and Blind's Hideout are part of the free opening sweep. In Inverted, every chest in both buildings lists the Moon Pearl.
Two dungeons are also open at the door. Skull Woods and Thieves' Town both sit in the north-west Dark World, and on Advanced item placement the logic asks for nothing to walk in. The test suite marks nine of their chests reachable on an empty inventory: five in Skull Woods (the Big Key, Compass, Map, Pot Prison and Pinball Room chests) and four in Thieves' Town (the Big Key, Map, Compass and Ambush chests). On Basic placement it first wants a sword, seven hearts and a bottle, the same bar it sets for Palace of Darkness and Swamp Palace. Getting in is not the same as getting through, though: Skull Woods' bridge room and its boss both want the Fire Rod.
The Pearl, the Mirror and the flute all point the other way

The Moon Pearl is now a Light World item. Without it you are a rabbit on the Hyrule side of the map. The options page adds the part that keeps a bunny useful: bunny Link can still use the Book of Mudora, talk to people and pick up freestanding items. The logic turns that into a short list, which is further down.
The Magic Mirror now takes you from the Light World to the Dark World. The vanilla move of mirroring out of trouble in the Dark World runs backwards here. The portals are the other half of the same flip. They only run from the Dark World to the Light World, so the Mirror is how you get back. The vanilla layout is covered in our Dark World guide if you want to see what is being flipped.
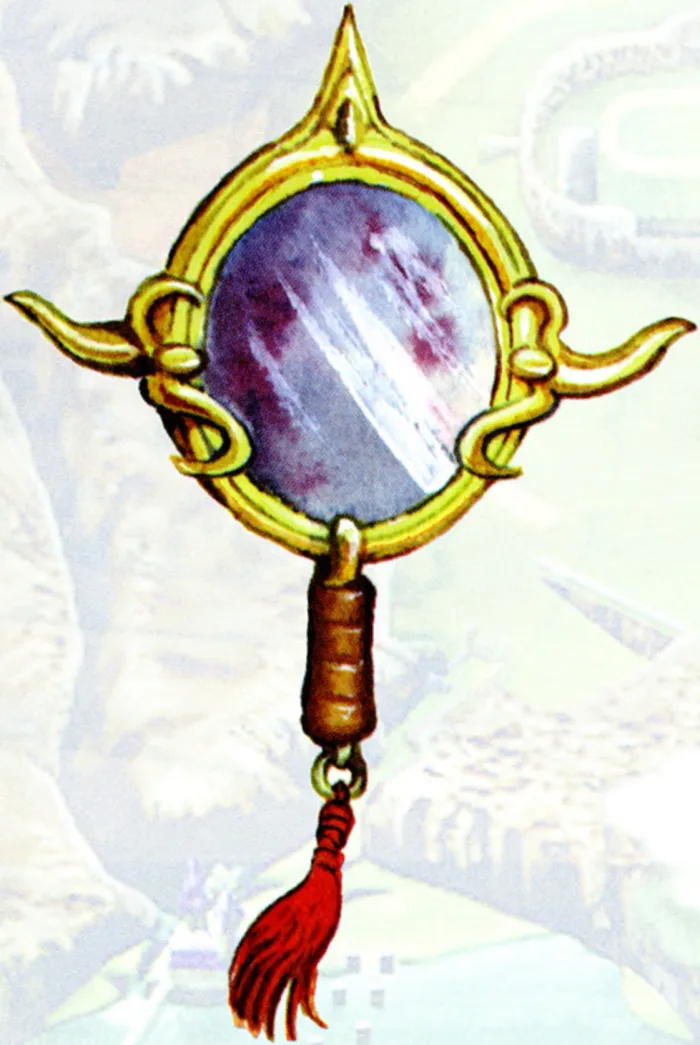
The flute only works in the Dark World, and it still has to be woken at the weathercock in Kakariko. Kakariko is in the Light World, and that is the catch. The generator only counts the flute as usable once you hold the Moon Pearl and have a way into the Light World: a dead Agahnim, the Magic Hammer with a Power Glove, or the Titan's Mitt. Once it is awake, the flute takes you to Misery Mire's swamp and onto Dark World Death Mountain without the climb. The vanilla flute quest, and why the weathercock matters, is in our Light World guide.
The ways into the Light World
The logic's entry rule for the Light World is the gate to learn first. Kakariko, Hyrule Castle, the desert and Lake Hylia all hang off it. Light World Death Mountain has a rule of its own. The Light World rule has three practical routes:
| Route | What you need | What it gets you |
|---|---|---|
| Beat Agahnim | Whatever gets you to and through his tower (next section) | The Light World, as a bunny unless you also hold the Moon Pearl |
| Pearl, Hammer and glove | Moon Pearl, Magic Hammer, and a Power Glove or Titan's Mitt | The Light World in your own shape |
| Pearl and Mitt | Moon Pearl and the Titan's Mitt | The Light World in your own shape |
There is a fourth line in the rule: a flute that is already active, plus the Titan's Mitt. An ordinary flute cannot be woken without one of the three routes above, so in practice that line only matters on a seed that hands you a pre-activated flute. The v31.1 release notes record that case being added to the Inverted logic.
What a bunny can still take
If Agahnim is your way in and the Moon Pearl has not turned up, the logic still lets you collect these Light World checks without it:
| Check | What the logic asks for |
|---|---|
| Bottle Merchant | Nothing beyond Light World access |
| Sick Kid | Any bottle |
| Sahasrahla | The Pendant of Courage |
| Master Sword Pedestal | All three pendants |
| Bombos Tablet | The Book of Mudora and the Master Sword |
| Old Man | The Lamp, plus a way onto Light World Death Mountain |
| Spectacle Rock Cave | A way onto Light World Death Mountain |
| Floating Island | A way onto the east side of Light World Death Mountain |
The code comments the pedestal line itself: the bunny can pull it. Everything else in the Inverted Light World logic, the dungeons included, lists the Moon Pearl. That covers the Kakariko buildings, King Zora, the Waterfall Fairy chests, the Library, the Maze Race and Lake Hylia Island.
Agahnim is the early exit
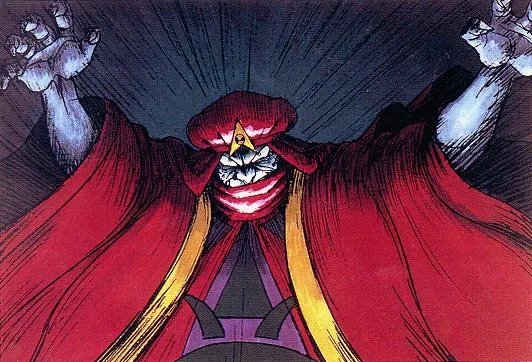
Agahnim's Tower stands on Dark World Death Mountain in Inverted, where Ganon's Tower normally is, and the way up runs through the rebuilt caves. The logic's rule for the west side of Dark World Death Mountain is an active flute, or the Power Glove with the Lamp. That is the same pair Open's logic asks for to climb the Light World side.
At the tower door, the logic wants something that kills most enemies: any sword, the Cane of Somaria, the Bow, the Magic Hammer, the Fire Rod, or the Cane of Byrna backed by extra magic. Clearing the tower adds its two small keys, the Lamp for the dark maze and a sword for Agahnim himself.
What is missing is the rule that gates this tower in Open. There, the generator will not send you in without the Cape or the Master Sword, and the beginner guide's gate table lists that requirement. The Inverted tower has no such line. A Fighter's Sword, a Power Glove and the Lamp, together with the tower's own two keys, make a complete Agahnim kit.
A dead Agahnim then counts as Light World access on its own. On a seed that has not given you the Moon Pearl, that can be the first real door.
Where every dungeon door went
This is the entry rule only, from the No Glitches logic with Advanced item placement. Each dungeon still has its own requirements inside.
| Dungeon | Where it is | What the logic asks for at the door |
|---|---|---|
| Hyrule Castle | Light World | Moon Pearl and Light World access |
| Eastern Palace | Light World | Moon Pearl and Light World access |
| Desert Palace | Light World | Moon Pearl, Book of Mudora and Light World access |
| Tower of Hera | Light World Death Mountain | Moon Pearl, Magic Hammer and access to the east side of Light World Death Mountain |
| Agahnim's Tower | Dark World Death Mountain | The west side of Dark World Death Mountain and a real weapon |
| Palace of Darkness | East Dark World | An active flute, the Magic Hammer, the Flippers, or the Mirror from the Light World |
| Swamp Palace | South Dark World | Flippers, Moon Pearl, Magic Mirror and Light World access |
| Skull Woods | North-west Dark World | Nothing |
| Thieves' Town | North-west Dark World | Nothing |
| Ice Palace | Ice Lake, Dark World | Flippers, plus the Fire Rod or Bombos with a sword |
| Misery Mire | Swamp of Evil | An active flute or the Mirror from the southern Light World; its medallion and a sword; the Pegasus Boots or the Hookshot; a real weapon |
| Turtle Rock | East Dark World Death Mountain | Its medallion, a sword and the Cane of Somaria for the top door, or the Mirror from the east side of Light World Death Mountain for the side doors |
| Ganon's Tower | Hyrule Castle | Moon Pearl, Light World access and the crystal count (seven by default) |
Two things in that table are worth reading twice. Ice Palace no longer needs the Titan's Mitt: the logic's route is the Flippers from the Dark World side, not a rock on a Light World island. And the east side of Light World Death Mountain, which Tower of Hera and Turtle Rock's side doors both depend on, opens either with the Titan's Mitt from the Dark World side of the mountain or with the Moon Pearl and the Hookshot from the Light World side.
On Basic item placement the generator also holds dungeons back until you look ready. Palace of Darkness, Swamp Palace, Skull Woods and Thieves' Town wait for a sword, seven hearts and a bottle. Ice Palace, Misery Mire, Turtle Rock and Ganon's Tower wait for the Master Sword, twelve hearts, and either two bottles or a mail upgrade.
The endgame lives at Hyrule Castle
Ganon's Tower sits on Hyrule Castle in this mode, and Ganon waits underneath it. Both need the Moon Pearl. The tower wants the crystal count set in the options, seven by default. The logic's Ganon wants his own crystal count, Agahnim's second defeat unless the goal is Fast Ganon, a Master Sword or better, and a way to light the two torches in his room. That means the Lamp, or the Fire Rod with enough spare magic from bottles or half magic. The v31.1 release notes record that torch requirement being added after the Inverted logic had missed it.
The Pyramid Fairy is still in the Dark World, but the Super Bomb that opens her wall is sold at the Bomb Shop, which now stands in the Light World where Link's House used to be. The logic asks for the Moon Pearl and crystals 5 and 6 to buy it. It then pairs the bomb with the Magic Mirror, the item that moves you from Light to Dark in this mode, for both of the fairy's upgrades. The sword upgrade also wants a sword, and the bow upgrade wants a bow.
If you want the settings screen explained (world states, keysanity, accessibility, goals), the beginner guide covers it. Everything else we have written about the game is on the A Link to the Past coverage hub.
Quick Action Checklist
- Clear the eleven free overworld checks first: Link's House, the five Hype Cave checks, Stumpy, the Digging Game, the Brewery, the C-Shaped House and the Chest Game.
- On Advanced placement, walk into Skull Woods and Thieves' Town early. On Basic, the logic waits for a sword, seven hearts and a bottle.
- Treat the Power Glove and the Lamp as a mountain pass. Together they open Dark World Death Mountain, and with any real weapon, Agahnim's Tower.
- Kill Agahnim early if you can. The logic counts it as Light World access by itself, and it asks for no Cape and no Master Sword.
- Hunt the Moon Pearl hardest. Outside a list of eight checks, the whole Light World logic lists it, and so do Ganon's Tower and Ganon.
- Reverse your Mirror instincts. It takes you from Light to Dark now, and the portals only run Dark to Light.
- Wake the flute in Kakariko as soon as you have the Pearl and a way into the Light World. After that it only works in the Dark World.
- Bring the Flippers and the Fire Rod, or Bombos and a sword, for Ice Palace. No Titan's Mitt needed.
- Buy the Super Bomb in the Light World and bring the Mirror for the Pyramid Fairy.
Frequently Asked Questions
What is Inverted mode in the A Link to the Past Randomizer?
How do you get to the Light World in ALTTPR Inverted?
How do you reach Agahnim's Tower in ALTTPR Inverted?
What can bunny Link do in the Light World in ALTTPR Inverted?
Does the flute work in ALTTPR Inverted?
Where is Ganon in ALTTPR Inverted?
Keep Reading
- ALttP VT Randomizer — Game Options: the Inverted world state's listed changes, the "really difficult" warning, the Open world state's start locations, and the crystal signs moving outside Hyrule Castle in Inverted
- ALttP VT Randomizer — Updates: v31.2.1 (September 2023) as the current release, and the v31.1 Inverted fixes for pre-activated flute Light World access and the fire source for Ganon
- VT randomizer source — Inverted Light World entry rule (Agahnim; Moon Pearl with Hammer and glove; Moon Pearl with Titan's Mitt; active flute with Titan's Mitt) and the Ganon requirements
- VT randomizer source — canActivateOcarina (Inverted flute activation needs the Moon Pearl and Light World access), canBombThings returning true, and canKillMostThings
- VT randomizer tests — the eight south Dark World checks reachable with no items in Inverted
- VT randomizer tests — the three north-west Dark World checks reachable with no items in Inverted
- VT randomizer source — Agahnim's Tower entry in Inverted: west Dark World Death Mountain plus a weapon
- VT randomizer source — Open's Cape-or-Master-Sword tower entry and the completion rule (two keys, Lamp, sword)
- VT randomizer source — west Dark World Death Mountain entry: active flute, or Power Glove with the Lamp
- VT randomizer source — Inverted north-west Light World: the pedestal the bunny can pull, the Sick Kid, and the Moon Pearl on Kakariko Well and Blind's Hideout
- VT randomizer source — Inverted south Light World: the Bomb Merchant (Moon Pearl, crystals 5 and 6) and the Bombos Tablet without the Pearl
- VT randomizer source — Inverted north-east Dark World entry and the Pyramid Fairy's Super Bomb and Mirror requirement
- VT randomizer source — Inverted Ice Palace entry: Flippers plus the Fire Rod or Bombos with a sword
- VT randomizer source — Inverted Turtle Rock top, middle and bottom entrances
- VT randomizer source — Inverted Ganon's Tower entry: Moon Pearl, Light World access and the tower crystal count
- VT randomizer source — Inverted west Light World Death Mountain: entry by active flute or glove with Lamp, the Old Man (Lamp) and Spectacle Rock Cave
- VT randomizer source — Inverted east Light World Death Mountain: entry by Titan's Mitt from the Dark World side or Moon Pearl with Hookshot, and the Floating Island
- VT randomizer source — Inverted Skull Woods: the Basic-placement entry bar and the Fire Rod on the Bridge Room and boss
- VT randomizer tests — the five Skull Woods chests reachable with no items in Inverted
- VT randomizer tests — the four Thieves' Town chests reachable with no items in Inverted
- VT randomizer source — Inverted Misery Mire entry: medallion, sword, Boots or Hookshot, a weapon, and the Mire region
- VT randomizer source — Inverted Swamp Palace entry: Flippers, Moon Pearl, Magic Mirror and south Light World access
- VT randomizer source — Open/Standard Ice Palace entry, which needs the Titan's Mitt
- Zelda Wiki (Fandom) — Ganon strategy: lighting both torches with the Fire Rod or Lantern in A Link to the Past's final fight
Related Guides
ALTTPR Boss Shuffle: Which Bosses Can Land Where
Boss shuffle moves thirteen fights around the A Link to the Past Randomizer and leaves three alone. Here is how Simple, Full and Random deal the bosses, which slots turn which bosses away, what each boss asks for in a sword seed, and how the compass tells you who is waiting.
ALTTPR Swordless Mode: Hammer, Medallion Pads and Ganon
Swordless takes every sword out of the A Link to the Past Randomizer and then rewires the game so a seed can still be finished. The Magic Hammer inherits three of the sword's jobs, medallions only fire on their emblem pads, and Ganon wants the Hammer and the silver arrows. Here is what changes, gate by gate and boss by boss.
ALTTPR Retro Mode: Rupee Arrows, Keys and Take-Any Caves
In Retro every arrow has a price, small keys sit on shop shelves, and five ordinary caves hide an old man with a free gift. Here is what the A Link to the Past Randomizer actually changes, where the quiver is sold, and the shortcut its logic takes with your wallet.
A Link to the Past Randomizer: The Beginner Guide to ALTTPR
The randomizer does not change the map, the enemies, or the music. It empties 216 item locations and refills them from a shuffled pool, and suddenly a 1991 game you have beaten nine times is a route-finding puzzle you have never played.
A Link to the Past Beginner Guide: Your First Ten Hours
A Link to the Past hands you a sword and a rainstorm and then says almost nothing else. Here is the route, the combat, and the item order that turn a confusing first hour into a game you can actually finish.
A Link to the Past Enemy Guide: Every Sword-Proof Monster and What Kills It
A Link to the Past spends the whole game upgrading your sword and then fills the Dark World with things the sword cannot touch. Here is every armored, reforming, and element-locked enemy in Hyrule, and the one item that actually finishes it.