A Link to the Past Randomizer: The Beginner Guide to ALTTPR
The randomizer does not change the map, the enemies, or the music. It empties 216 item locations and refills them from a shuffled pool, and suddenly a 1991 game you have beaten nine times is a route-finding puzzle you have never played.
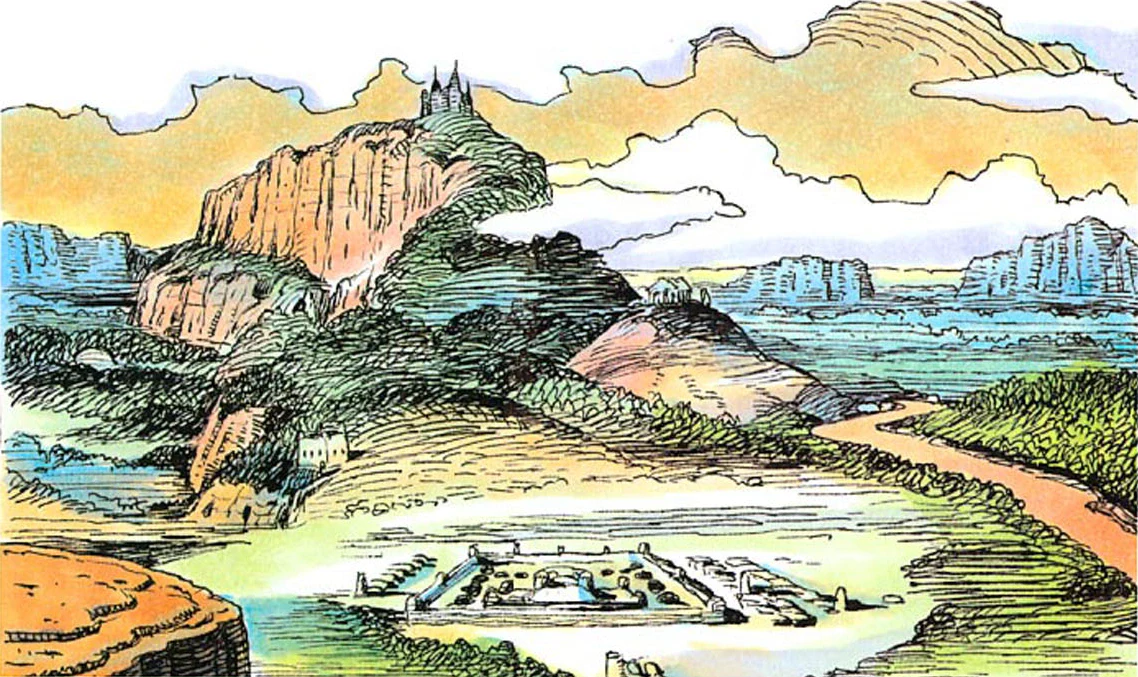
Nobody should still be finding new things in a Super Nintendo game from 1991. And yet the last time I opened A Link to the Past, the Fire Rod was in a chicken coop in Kakariko, my sword was still sitting in Turtle Rock somewhere, and I had spent eleven minutes deciding whether it was worth walking to the Desert of Mystery on the off chance the Book of Mudora was under a bush.
That is ALTTPR — the A Link to the Past Randomizer at alttpr.com. It has been running long enough to have tournaments, a race platform, and a settings screen that looks like an aircraft cockpit. This is the guide I wish someone had handed me before my first seed: what the settings mean, how the generator thinks, and which checks you can clear before you own a single item.
What ALTTPR actually changes
Almost nothing about the game itself. The map is the map. The enemies are the enemies. Moldorm still knocks you off the ledge.
What the randomizer changes is the contents of 216 item locations. Every chest, every NPC handoff, every dig spot, every item standing on a ledge is a "check," and the generator empties all of them and refills them from a shuffled pool. The Bow could be in the Sanctuary. The Hookshot could be the item the bottle merchant is holding. The Pegasus Boots could be at the bottom of Turtle Rock.
Dungeons stay where they are unless you turn on entrance shuffle. Bosses stay unless you shuffle those too. The default experience is the vanilla world with the item logic ripped out and rebuilt.
The mental shift is the whole point. In vanilla, the game routes you: beat Eastern Palace, get the Bow, use the Bow. In rando you route the game. You are not clearing dungeons in order, you are expanding the set of places you can reach, and every item you find is a key that opens some other part of the map.
Getting a seed running in ten minutes
The setup is less painful than the reputation suggests.
- Bring your own ROM. The site asks for the Japanese v1.0 release, Zelda no Densetsu: Kamigami no Triforce. It verifies and patches your file in the browser — alttpr.com does not distribute the game.
- Pick the Beginner preset. The official getting-started page is blunt about this: for your first few runs, select "Beginner" and leave the rest of the settings alone. Ignore the cockpit.
- Use SNES9x. It is the emulator the site recommends, and it is the one most community guides assume.
- Use a controller. Keyboard works. You will hate it in Ice Palace.
- Join the Discord. This is not filler advice. Trackers, spoiler-log etiquette, race signups, and the answers to the six questions every newcomer has all live there. Races run on racetime.gg.
Total time to first seed: about ten minutes, most of it spent finding a legal ROM.
The settings screen translated
Here is the part that scares people off. Every option below is on the generator page, and the descriptions come straight from it.
Choosing a world state
- Standard — closest to the original. You still do the rainy prologue: rescue Zelda from Hyrule Castle, walk her to the Sanctuary.
- Open — starts as if the prologue is already done. Zelda is safe, and you begin at either Link's House or the Sanctuary. Start here.
- Inverted — you start in the Dark World and have to reach the Light World. Ganon's Tower and Agahnim's Tower swap places, Ganon moves under Hyrule Castle, and the portals reverse. Do not start here.
- Retro — a throwback to the original Legend of Zelda: rupee-priced arrows, randomized shop stock, universal small keys, take-any caves that hand out sword upgrades.
Item placement and glitch logic
Two separate dials that people confuse constantly.
Item placement is either Basic or Advanced. Basic is aimed at new players — it keeps items out of locations that need niche knowledge or tight execution to reach, like the Bumper Cave ledge without a Hookshot. Advanced maximizes glitchless reach, which is a polite way of saying it will hide a required item somewhere you have to actually know about.
Glitches Required is a five-step ladder: None, Overworld Glitches, Hybrid Major Glitches, Major Glitches, and No Logic. Overworld Glitches already assumes you know boots clipping, mirror clips, Super Bunny, Surfing Bunny, and Water Walk. Major Glitches adds fake flutes and screen wraps. No Logic applies no rules at all — items can be anywhere, including places you cannot get to.
For your first fifty seeds: Basic, None. There is no shame in it and no ceiling you are missing.
Dungeon item shuffle and keysanity
Four steps, and this is the single biggest lever on difficulty in the entire menu.
- Standard — maps, compasses, and keys stay inside their own dungeon, just shuffled within it.
- Maps/Compasses — those two get thrown into the world pool; keys stay home.
- Maps/Compasses/Small Keys — small keys join the world pool, big keys stay home.
- Keysanity — everything goes into the global pool.
Keysanity changes what a dungeon is. On Standard, a dungeon is a self-contained thing you clear. On Keysanity, a dungeon is a pile of checks you visit three separate times as keys trickle in from elsewhere on the map. It is great. It is not a first seed.
Accessibility and goals
Accessibility decides what the generator guarantees:
- 100% Locations — all 216 checks are reachable no matter how badly you waste keys inside dungeons.
- 100% Inventory — every inventory item is obtainable, but some keys may not be.
- Beatable Only — the game can be finished. That is the entire promise. Items you are not required to have can be sealed off permanently.
Beatable Only is the setting that quietly ruins first runs. You spend forty minutes hunting a Hookshot that the generator never made reachable, because it did not have to.
Goals worth knowing:
- Defeat Ganon — clear Ganon's Tower, then kill Ganon. The default.
- Fast Ganon — kill Ganon, skip the tower entirely.
- All Dungeons — every dungeon, including both towers.
- Master Sword Pedestal — three pendants, then pull from the Lost Woods pedestal.
- Triforce Pieces — find 20 of 30 scattered across Hyrule.
- Ganonhunt — collect 40 of 50 pieces before Ganon can be hurt at all.
- Completionist — every item, every dungeon.
Read this before you generate. A Fast Ganon seed and a Defeat Ganon seed are completely different routes.
Logic is a rulebook not a suggestion
The generator uses an assumed fill: it drops each item into the first place it could possibly go while pretending every item it has not placed yet is already in your pocket. Then it works backward, and the pool of legal spots shrinks as it goes. The practical guarantee is simple — the Bow never sits behind a check that needs the Bow, the Flippers are never in a chest surrounded by deep water, the Hammer is never past a hammer peg.
Three things about that rulebook are not obvious, and all three change how you play.
Bombs are free. In the generator's own code, the "can I bomb this" check returns true unconditionally. Bombs drop from enemies and sit in shops, so every bombable wall on the map is treated as an open door. Aginah's Cave, the Light Hype Fairy, the whole Mini Moldorm Cave — the generator will happily put a progression item behind any of them on turn one, and it counts bombs as a weapon good enough to clear small rooms.
Logic assumes competence, not perfection. Basic item placement exists specifically to trim the obscure stuff. It is not a difficulty setting for combat; it is a promise about knowledge.
Ganon's Tower is deliberately salted with junk. Ganon's Tower holds 27 item locations, and before anything else is placed the generator forces a block of junk into it. On a normal seven-crystal Defeat Ganon seed that block is anywhere from 0 to 15 items. On a Master Sword Pedestal or Triforce Hunt seed it jumps to between 15 and 25 — out of 27. If your goal is the pedestal, Ganon's Tower is close to worthless, and the community habit of ignoring it is written into the generator, not folklore.
The free checks you can do with nothing
This is the section that will actually save you time. In Open state, with zero items, the generator's own region rules already mark all of the following as reachable:
- Link's House
- Sahasrahla's Hut — three chests
- Kakariko Well — five chests
- Blind's Hideout — five chests
- Kakariko Tavern
- Chicken House
- Bottle Merchant
- Lost Woods Hideout
- Mushroom
- Maze Race
- Ice Rod Cave
- Floodgate Chest and Sunken Treasure
- Aginah's Cave — bombs
- Mini Moldorm Cave — four chests plus the NPC, bombs
That is over twenty-five checks before you own a single progression item, and two of those buildings — Kakariko Well and Blind's Hideout — are ten checks between them. If your opening move is walking to Death Mountain, you are doing it wrong.
Playing Standard state instead? You also get the castle escape: the Secret Passage, the Hyrule Castle Map Chest, the Boomerang Chest, Zelda's Cell, the Sewers Dark Cross, and behind one small key, the Sanctuary chest and three Sewers Secret Room chests. Those all need something that kills — your uncle's sword, ten bombs, arrows, the Hammer, the Fire Rod, the Cane of Somaria, or the Cane of Byrna.
And a nice piece of design you can trust: in Standard, the generator refuses to give your uncle an item that would leave the Sanctuary unreachable. That is an explicit fill rule in the source, not a happy accident.
The gates that actually matter
Memorize five of these and your first hour stops being aimless wandering. Each one is a real logic rule from the generator.
| Item | What it opens |
|---|---|
| Pegasus Boots | Library, Pegasus Rocks, King's Tomb with the Titan's Mitt, Lumberjack Tree after Agahnim |
| Flippers | Zora's Ledge, both Waterfall Fairy chests, King Zora |
| Any glove | King Zora, Checkerboard Cave, the rock-lifting take-any caves |
| Any bottle | Sick Kid |
| Mushroom | Potion Shop |
| Magic Powder plus Hammer | The Magic Bat, who upgrades your magic meter |
| Shovel | Flute Spot |
| Book of Mudora plus Master Sword | Bombos Tablet |
| Pendant of Courage | Sahasrahla's reward |
| All three pendants | Master Sword Pedestal, plus the Book on Basic item placement |
| Cape or Master Sword | Entering Castle Tower at all |
That last one catches everyone. You cannot walk through Agahnim's curtains without either the Cape or the second progressive sword, and finishing the tower additionally wants two small keys, the Lamp, and any sword. Finding a Cape early is a genuine route unlock, not a consolation prize.
Reading the item pool like a router
The generator sorts everything into three buckets, and knowing the shape of them tells you how much of the map is worth sweeping.
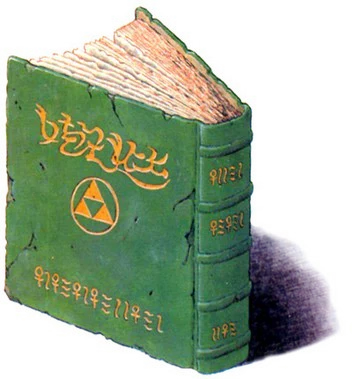
Advancement is the stuff logic cares about: four Progressive Swords, two Progressive Gloves, two Progressive Bows, three Progressive Shields, four bottles filled at random, ten Boss Heart Containers, one Half Magic, one Ten Bombs, and one each of the tools — Book of Mudora, Cane of Somaria, Cane of Byrna, Cape, Fire Rod, Ice Rod, Flippers, Hammer, Hookshot, Lamp, Magic Mirror, Moon Pearl, Mushroom, Ocarina, Pegasus Boots, Magic Powder, Shovel, Bug-Catching Net, and the Bombos, Ether and Quake medallions.
Nice is the pleasant-but-optional tier: the Boomerang, the Red Boomerang, two Progressive Armor upgrades, one Heart Container, one 100-rupee drop, and five 300-rupee drops.
Junk is everything else, and there is a lot of it: 24 Pieces of Heart, 16 stacks of three bombs, 12 stacks of ten arrows, 28 twenty-rupee drops, seven fifty-rupee drops.
Do the arithmetic. Twenty-four of your 216 checks are heart pieces. Another sixty-odd are ammo and pocket change. Roughly a third of the map is filler by design, which is exactly why check density beats sightseeing — five chests in one building always beats one item across a mountain.
One more thing the pool tells you: swords, gloves, bows, and shields are progressive. You never find "the Titan's Mitt." You find a glove, and the second glove upgrades it. Your tracker should be counting, not ticking boxes.
Five habits new runners take too long to learn
- Run a tracker from your first check. Manual or auto, it does not matter. Holding 216 locations in your head is not a skill, it is a bad time.
- Sweep clusters, not scenery. Kakariko Well, Blind's Hideout, Mini Moldorm Cave, Sahasrahla's Hut. Ten to fifteen checks inside a few screens.
- Remember bombs are free. Every bombable wall is open from the first second of the run.
- Read the goal and accessibility settings before you generate. Beatable Only plus a Pedestal goal is a completely different game from 100% Locations plus Defeat Ganon, and you cannot tell them apart once you are playing.
- Stop finishing dungeons out of habit. Unless the goal is All Dungeons or Completionist, a dungeon is a container of checks. Grab what you can reach and leave. You can always come back with the Hookshot.
Where to go from here
The single biggest predictor of how fast you improve at rando is how well you know vanilla — not the route, the geography. Knowing that the Library chest wants a boots dash, that the Mushroom is in the Lost Woods, that the Magic Bat is reached through a hammer peg near the Dwarven Swordsmiths, is the actual skill.
If any of that is fuzzy, our A Link to the Past light world guide and dark world guide cover the map region by region, and the items and upgrades guide covers every progression item and where it normally lives. For the vanilla gating that rando is built on top of, read the dungeon order guide. Never played at all? Start at the A Link to the Past beginner guide or browse the A Link to the Past coverage hub.
Quick Action Checklist
- Supply your own Japanese v1.0 ROM; alttpr.com patches it in the browser.
- Generate with the Beginner preset and change nothing else for your first few seeds.
- Set logic to Basic item placement and no glitches required until you have fifty seeds under your belt.
- Choose 100% Locations accessibility so nothing is ever unreachable.
- Start in Open state so you skip the castle escape and begin at Link's House or the Sanctuary.
- Open a tracker before your first check, and count progressive items rather than ticking boxes.
- Sweep Kakariko Well and Blind's Hideout first — ten checks inside two buildings, zero items required.
- Treat every bombable wall as open; the generator does.
- Learn the Cape or Master Sword requirement for Castle Tower. It decides more routes than anything else early.
- On a Pedestal or Triforce Hunt goal, skip Ganon's Tower — 15 to 25 of its 27 locations are forced junk.
Frequently Asked Questions
What is the A Link to the Past Randomizer?
What settings should a beginner use in ALTTPR?
What does keysanity mean in ALTTPR?
Which ALTTPR checks can you do with no items at all?
Why do randomizer players skip Ganon's Tower?
Do I need to know glitches to play ALTTPR?
Keep Reading
Related Guides
ALTTPR Boss Shuffle: Which Bosses Can Land Where
Boss shuffle moves thirteen fights around the A Link to the Past Randomizer and leaves three alone. Here is how Simple, Full and Random deal the bosses, which slots turn which bosses away, what each boss asks for in a sword seed, and how the compass tells you who is waiting.
ALTTPR Swordless Mode: Hammer, Medallion Pads and Ganon
Swordless takes every sword out of the A Link to the Past Randomizer and then rewires the game so a seed can still be finished. The Magic Hammer inherits three of the sword's jobs, medallions only fire on their emblem pads, and Ganon wants the Hammer and the silver arrows. Here is what changes, gate by gate and boss by boss.
ALTTPR Retro Mode: Rupee Arrows, Keys and Take-Any Caves
In Retro every arrow has a price, small keys sit on shop shelves, and five ordinary caves hide an old man with a free gift. Here is what the A Link to the Past Randomizer actually changes, where the quiver is sold, and the shortcut its logic takes with your wallet.
ALTTPR Inverted Mode: What Flips and How to Route It
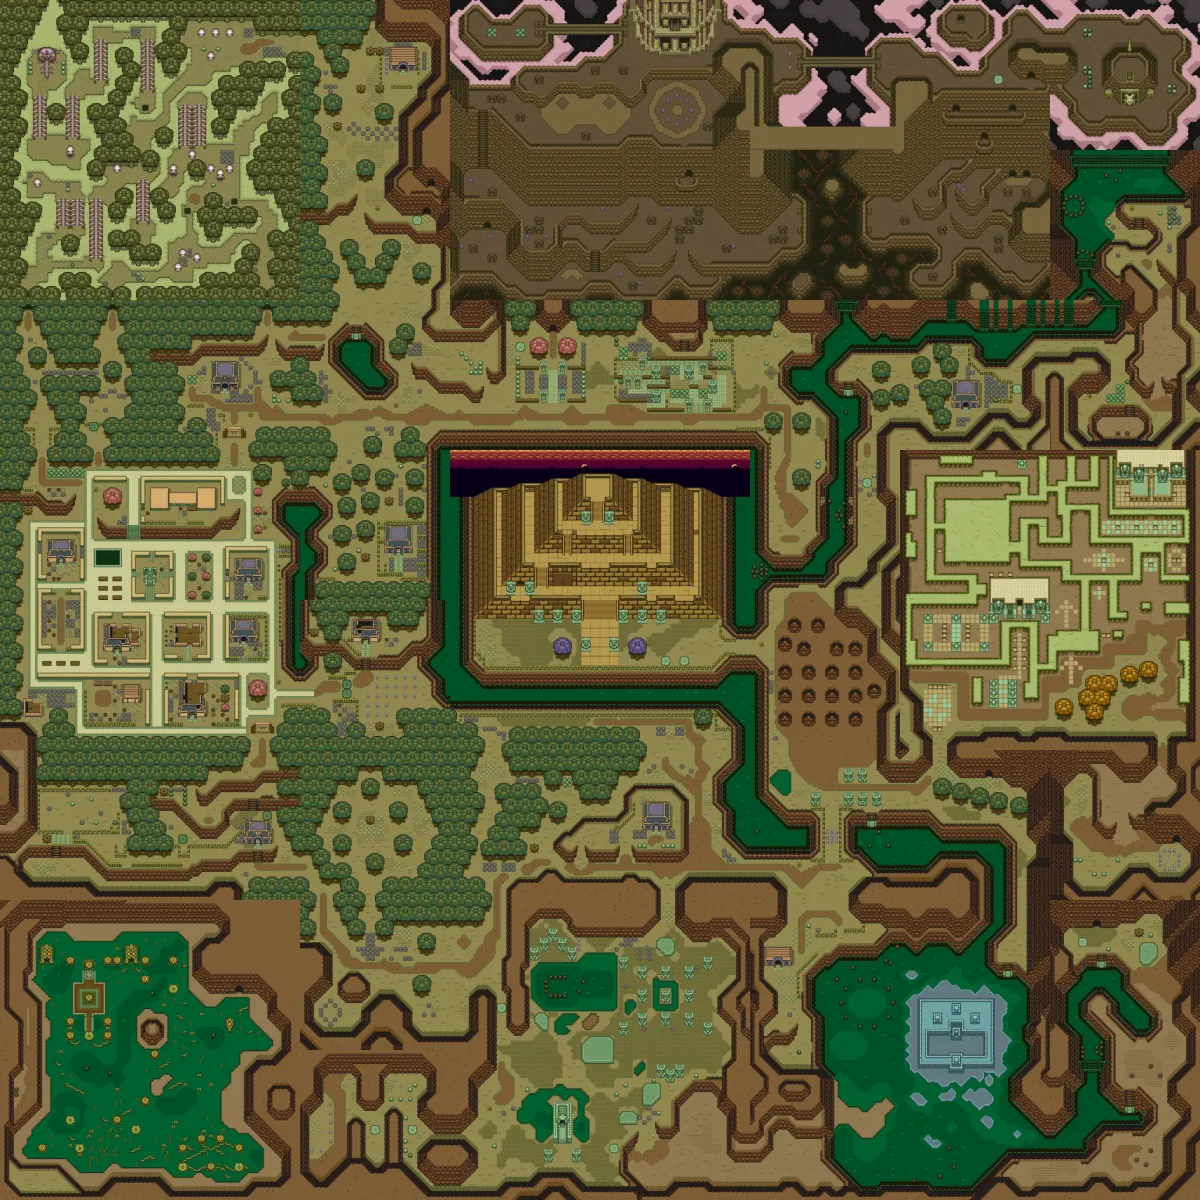
Inverted starts you in the Dark World and turns the Moon Pearl, the Magic Mirror, the portals and the flute around. Here is what the A Link to the Past Randomizer actually changes, the eleven overworld checks open on an empty inventory, and the routes its logic accepts into the Light World.
A Link to the Past Beginner Guide: Your First Ten Hours
A Link to the Past hands you a sword and a rainstorm and then says almost nothing else. Here is the route, the combat, and the item order that turn a confusing first hour into a game you can actually finish.
A Link to the Past Speedrun Guide: Categories and Tech
The world record for beating A Link to the Past is 1:28. The record for beating it the way Nintendo built it is 1:22:56. Here is what separates the three rulesets, what every category actually demands, and which glitches a "no major glitches" run is allowed to use.