Breath of the Wild Yiga Clan Hideout and Master Kohga
Inside the Yiga Clan Hideout, hearts, armor and a pocket fairy stop mattering: a direct Windcleaver hit is a scripted game over. That makes it a stealth section pretending to be a dungeon, and the tool it wants you to use is fruit.
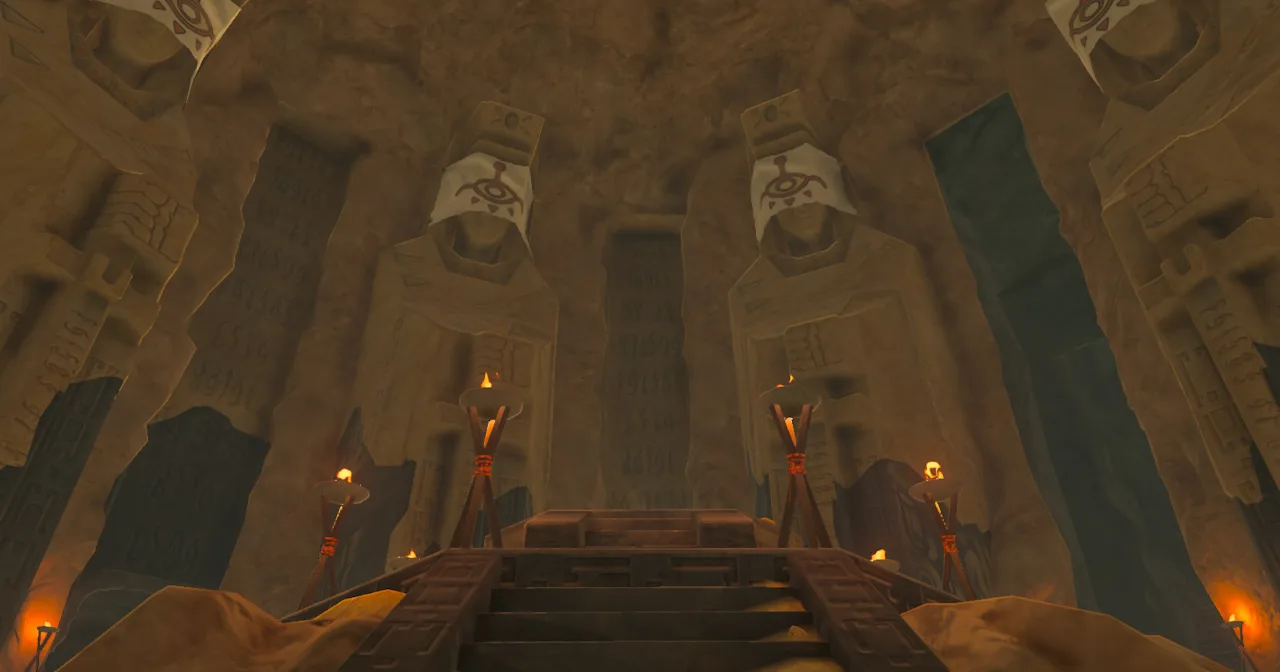
Breath of the Wild spends a hundred hours teaching you that death is a math problem. Stack defense, cook a hearty meal, keep a fairy in the bottle, and almost nothing in Hyrule can one-shot you. Then you walk into the Yiga Clan Hideout, where a Blademaster lands one Windcleaver on you and the screen goes to a game over with a line of taunting text, regardless of how many hearts you brought.
That is not a difficulty spike. It is a different genre. The Hideout is a stealth level wearing a dungeon's clothes, and the correct loadout for it is bananas.
The rule that makes this place different
Zelda Wiki's Hideout entry is blunt about it: if Link is struck directly by a Blademaster's Windcleaver inside the Hideout, he dies instantly "regardless of how many Hearts he has, Defense granted by his Armor, any Fairies in his Inventory, or if he has obtained Mipha's Grace." You get the "Beware, fool, the eye of the Yiga" line, a game over, and a respawn back at the start of the Hideout.
Read that list again, because it invalidates the safety nets the rest of this vertical tells you to build. The armor math that carries you through Hyrule Castle does nothing here. Mipha's Grace, the free auto-revive from Vah Ruta, does nothing here. A fairy in your inventory does nothing here.
The good news is the inverse: since defense is irrelevant, so is gear grinding. You can clear the Hideout at three hearts in your underwear if you never get hit.
Getting through Karusa Valley without cooking or freezing
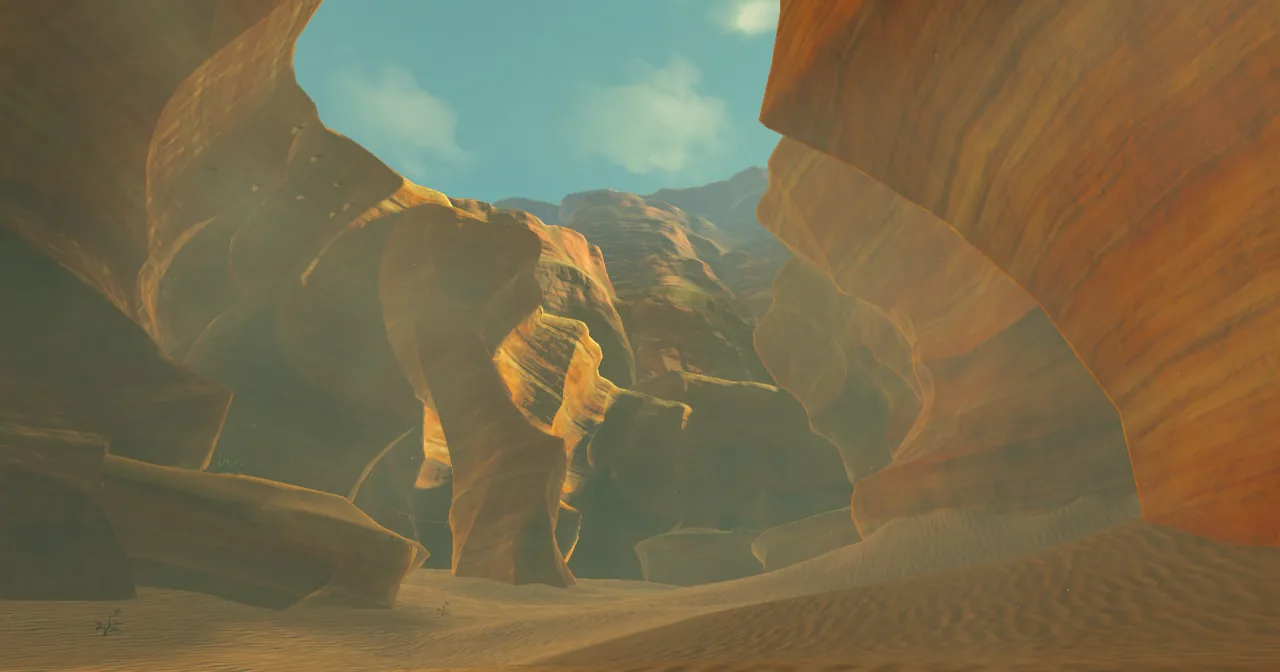
The Hideout sits at the eastern end of Karusa Valley, in the Gerudo Desert beneath the cliffs of the Gerudo Highlands. Gerudo soldiers point you there during the "Divine Beast Vah Naboris" main quest — Teake and Liana both name Karusa Valley directly — to recover Riju's stolen Thunder Helm.
The valley itself is the part people underprepare for, because it swings both ways:
- By day, the southern parts of Karusa Valley run hot enough to need at least one level of Heat Resistance.
- At night, the valley flips to a freezing climate and wants one to two levels of Cold Resistance, depending on how high up you are.
So the desert gear that got you to Gerudo Town is not automatically the gear that gets you up the valley. Either commit to a time of day and pack for it, or carry both an elixir set and the swap pieces. The cooking guide covers which ingredients do which.
There is also a fast-travel anchor hiding in the valley that nothing signposts. Sho Dantu Shrine is buried underground in Karusa Valley, its site marked by a pedestal surrounded by Luminous Stone Deposits and a stone tablet reading "If you seek power untold, offer a shining blue stone." Place a Luminous Stone on the pedestal and the shrine rises out of the ground. Do that on your way in and the Hideout stops being a long desert trek every time you come back for another attempt.
While you are here: Karusa Valley holds seven Korok Seed puzzles, and five of them are Food Offerings in the defaced Traveler's Guardian Deities on the cliffs above — each one wants a Mighty Banana placed in it. That is a second reason to arrive with fruit, on top of the one below. The Korok seed guide has the wider math on how many you actually need.
Barta, bananas, and how the lure actually works
Just inside, you meet Barta, a Gerudo soldier the clan has taken prisoner. She gives you the hint the whole level is built around: "All I ever see them do is patrol and eat bananas. I haven't seen anything else that you could exploit as a weakness."
That is not flavour text. Mighty Bananas dropped on the ground make patrolling Blademasters deviate from their route to eat them — a documented behaviour of the Hideout's patrols, and the weakness Barta's hint is pointing at. You drop fruit somewhere away from where you want to walk, the guard commits to the snack, you move.
Three things worth knowing about the supply:
- The Hideout stocks you itself. A side room off the upper walkway has a table holding 18 Mighty Bananas, which is far more than the route needs.
- Some bananas sit on wooden platforms up on the walls. Shoot them down with an arrow and they land as a lure exactly where you wanted one, without you walking into the open.
- Outside the Hideout, Mighty Bananas grow in the tropical forests of West Necluda and on Eventide Island, drop from regular Hinox, and are sold by Emri at Kara Kara Bazaar for 20 rupees. Note that when a "traveler" tries to sell you Mighty Bananas out in the field at 99 rupees, that is the joke: Yiga Footsoldiers disguised as travellers use bananas as bait before attacking.
You also have cover that is not fruit. The large room has barrels Link can hide under, plus central upper walkways reached by a ladder that give you a higher, quieter line across the room than the floor does.
The enemy numbers you are sneaking past
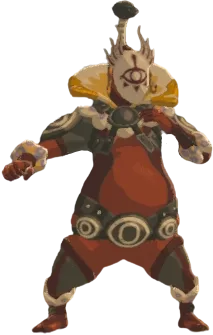
There are two Blademasters in the first room and five in the second, and a full alarm adds Footsoldiers on top of that — Zelda Wiki puts the worst case at seven Blademasters and four Footsoldiers.
| Enemy | HP | Weapon | Notes |
|---|---|---|---|
| Yiga Blademaster | 400 | Windcleaver | Direct Windcleaver hit inside the Hideout is an instant game over; a bow headshot stuns |
| Yiga Footsoldier (ambush/archer) | 64 | Duplex Bow | The two summoned by an alarm whistle |
| Yiga Footsoldier (traveler/melee) | 72 | Vicious Sickle, Demon Carver | Overworld disguise type, before Kohga is defeated |
| Yiga Footsoldier (traveler/melee, post-Kohga) | 128 | Vicious Sickle, Demon Carver | Same enemy, nearly double the health after the Hideout |
Those Blademaster numbers are why "just fight them" is a worse plan than it looks. 400 HP is more than Master Kohga's own 300, the Windcleaver rule means a single mistimed dodge ends the run, and they also carry the Earthwake Technique — a ground strike that opens fissures and raises stone pillars. The fissures do at least give you something: they produce updrafts you can glide off, which is at least a way out from under the next swing.
If you do kill one, they flee rather than die on screen, leaving behind their Windcleaver and Mighty Bananas. Their drop table is otherwise thin — bananas are guaranteed, amber sits at 10%, and opal, topaz, ruby and sapphire are 1% each.
What happens the moment you are spotted
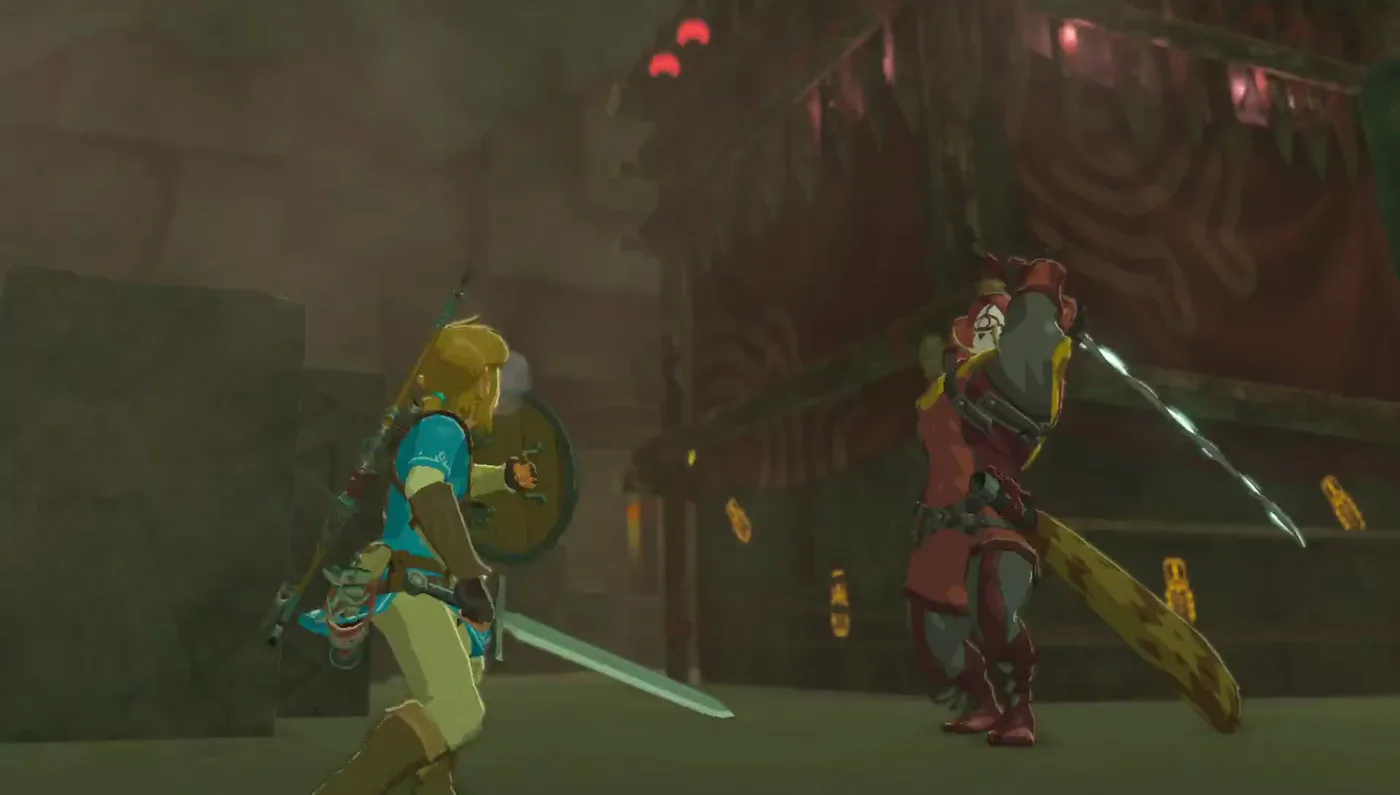
Getting caught is not a silent fail state, and the cascade is specific:
- The Blademaster who spots you whistles loudly.
- All doors shut, which removes the "just run for the exit" option.
- Every other Blademaster in that room is alerted.
- Two Yiga Footsoldiers spawn carrying Duplex Bows.
- Every Blademaster drops the torch they were carrying — which, if you arrived with nothing, is a free weapon on the floor.
The arrows and the ranged Windcleaver blasts do normal damage once a fight is properly underway; it is the direct Windcleaver hit that is scripted to kill. Being spotted can happen in either room, which is how the seven-and-four worst case assembles itself.
The chests inside, and what they are worth
The Hideout is better stocked than a stealth corridor has any right to be. These are the chests Zelda Wiki documents, in roughly the order you can reach them:
| Chest location | Contents | Sale value |
|---|---|---|
| Small room at the end of the upper walkway | Topaz | 180 |
| Central platform in the large room, marked with the Yiga symbol | Silver Rupee | 100 |
| Secret room behind the middle banner on the eastern wall | Gold Rupee | 300 |
| Secret room behind the middle banner, second chest | Gold Rupee | 300 |
| Above the doorway at the secret room's back entrance | Topaz | 180 |
| Room with the Blademaster guarding the open doorway | Sapphire | 260 |
| Centre platform of the final small room | Mighty Bananas | 5 each |
| Buried in the final room, pulled up with Magnesis | Topaz | 180 |
| Buried in the final room, pulled up with Magnesis | Topaz | 180 |
| Buried in the final room, pulled up with Magnesis | Ruby | 210 |
Two of those need tools rather than luck. The eastern wall of the large room has three cloth banners; burn them with Fire Arrows and the middle one hides the secret room with the two Gold Rupees, plus a ladder that doubles as a back route onto the central walkways. And in the final small room, three chests are buried in the ground — Magnesis pulls them out, and the same rune on the eastern wall is what reveals the exit.
Add the gems up and it is 1,190 rupees of sale value, plus 700 in actual rupees. Before you cash any of that in, though, the armor guide makes the case for keeping the gems: topaz and sapphire are Great Fairy upgrade currency, and buying them back later is miserable.
Master Kohga: 300 HP behind a ninety percent damage cut
Use Magnesis on the eastern wall of the final room and you come out on an open ledge above a large pit, face to face with the leader of the Yiga Clan. He starts by complaining that you are standing in his napping spot, clocks the Sheikah Slate on your hip, and the fight starts.
The stat line explains why swinging harder does not work. Zelda Wiki lists Kohga at 300 HP, but also records that he takes only 10% of the normal damage done by any attack. Effectively you are chewing through 3,000 HP with a royal claymore. The stun windows are not a shortcut, they are the fight.
He also closes off two of your best panic buttons:
- Stasis does not work on him, or on his boulders, at any point. Zelda Wiki notes he is the only notable Sheikah who resists it — even Monk Maz Koshia can be frozen.
- He is recorded as the only enemy immune to Urbosa's Fury, which is otherwise the crowd-clearing button you would reach for.
- Ancient Arrows behave like normal arrows against him. No instant delete.
The three phases all run on the same idea — break his concentration while something heavy is above his head:
| Phase | What Kohga does | What you do |
|---|---|---|
| 1 | Levitates and conjures one rock overhead to hurl at you | Hit him at range — bow, Remote Bomb or a thrown weapon — and the rock drops on his head, burying and stunning him |
| 2 | Hovers over the pit with two rocks orbiting him | Wait until a rock is directly above his head, then shoot; same stun |
| 3 | Conjures a fortified boulder to crush you | Magnesis the boulder and shove it back into him |
A blue shield protects him between attacks in phases one and two and stays up permanently in phase three, which is the other reason raw DPS is not the answer.
When he goes down he announces a secret technique "taught by my father's mother's father," summons an oversized spiked ball, and rolls it backwards into himself, falling down the Yiga Clan Hideout Chasm on the way out. A chest with the Thunder Helm appears afterwards.
One thing to do before the cutscene: photograph him. Kohga is one of the eleven elite Hyrule Compendium entries, and missing him means buying the picture back from Symin for 500 rupees, and only after Dark Beast Ganon is dead. The Hyrule Compendium guide has the full list of scripted fights you only get one camera pass at.
The Thunder Helm you hand back, and the one you keep
This is the part people get tangled in, because the Thunder Helm shows up twice and they are not the same event.
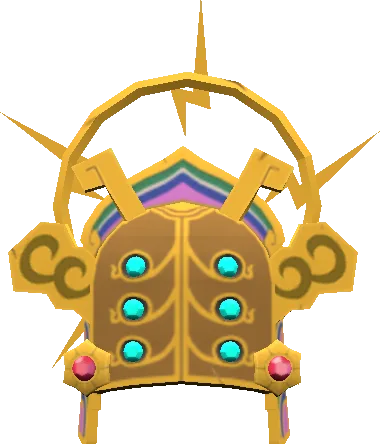
The main quest version. You pull the Helm out of the chest after Kohga and carry it back to Riju as a key item. She wears it for the sand seal run at Vah Naboris, where it absorbs the Divine Beast's lightning — which is why the instruction during that sequence is to stay close to her. It is hers, and it goes back on its pedestal beside her throne once Naboris is calmed.
The side quest version. Interact with the Helm on that pedestal and Riju offers to lend it to you, on condition that you earn the trust of her people. That is the side quest "The Thunder Helm," and it wants four Gerudo Town side quests finished first:
| Side quest | Where it starts |
|---|---|
| The Search for Barta | Liana, in the Gerudo Town barracks — Barta has gone missing again, this time at the Gerudo Great Skeleton |
| Medicinal Molduga | Malena, in the Gerudo Town barracks |
| Tools of the Trade | Gerudo Town |
| The Mystery Polluter | Gerudo Town |
Yes, that Barta. The soldier you found locked in a cell in the Hideout gets herself into trouble a second time, and Liana's reaction to it is one of the better-written scenes in Gerudo Town.
Finish all four and Riju lends you the Helm permanently. As armour it has a defense value of 3 and cannot be upgraded at a Great Fairy Fountain, so the defense is not the point. The point is the Lightning Proof effect. Zelda Wiki records the same protection under its set-bonus name, Unshockable, on the Rubber Set — but only with all three pieces worn and each one enhanced at least twice at a Great Fairy. The Helm gives it in one slot, unupgraded. The dragon farming guide leans on exactly this for shooting Farosh through its electric aura. "Medicinal Molduga" also overlaps with Molduga hunting in the field bosses guide, so those two errands share a route.
One genuine trap, documented by Zelda Wiki as an oversight in the game: if your armour inventory is full when Riju hands the Thunder Helm over, it can be lost permanently. Link is told he received it, it never appears in the inventory, it does not return to the pedestal, and talking to Riju again will not produce it. Clear a slot before you go back.
Hyrule gets more dangerous after you win
Kohga's exit line — "The Yiga Clan will track you to the ends of Hyruuuule!" — is a mechanical promise, not a threat.
After he is defeated, Yiga encounters in the overworld become more common. Footsoldiers appear out of thin air to ambush you rather than only turning up in traveller disguise, and Blademasters start appearing randomly to attack you out in the world rather than only on patrol inside the Hideout.
The Footsoldiers also get tougher: the traveller/melee variant goes from 72 HP to 128 once Kohga is down. In exchange, the higher-rank drop table is genuinely better money — blue rupees at 47%, red at 30%, purple at 20%, and a 3% shot at a silver rupee, in stacks of four to six, versus a normal-rank table that tops out at purple rupees at 3%.
That trade is mostly in your favour if you can fight them, and the trick is the same one the combat tips post covers: a Footsoldier telegraphs its down thrust with a glowing red ring of nine Hylian letters before it lands. Dodge on the ring, not on the shadow.
Quick Action Checklist
- Pack for both climates: Karusa Valley is a heat zone by day and a freezing one by night.
- Raise Sho Dantu Shrine on the way in by putting a Luminous Stone on the buried pedestal — it is your fast-travel anchor for the valley. It is not a checkpoint: a Windcleaver death drops you back at the start of the Hideout.
- Bring bananas, and grab the 18 on the table in the side room off the upper walkway once you are inside.
- Shoot wall-mounted bananas down as lures instead of walking into sightlines; hide under barrels when a patrol turns.
- Do not trade hits with a Blademaster inside the Hideout. A direct Windcleaver hit is a scripted game over no matter what you are wearing.
- Burn the middle banner on the eastern wall of the large room for two Gold Rupees, and Magnesis the three buried chests in the final room.
- Against Kohga: knock the floating rock onto his head in phases one and two, and Magnesis his boulder back into him in phase three. Stasis, Urbosa's Fury and Ancient Arrows are all dead ends.
- Photograph Kohga before he falls — the replacement picture costs 500 rupees and only unlocks post-credits.
- Clear an armour inventory slot before Riju hands over the Thunder Helm.
Frequently Asked Questions
Where is the Yiga Clan Hideout in Breath of the Wild?
Why does one hit kill you in the Yiga Clan Hideout?
How do Mighty Bananas work in the Yiga Clan Hideout?
How much health does Master Kohga have in Breath of the Wild?
How do you beat Master Kohga in Breath of the Wild?
How do you keep the Thunder Helm in Breath of the Wild?
What changes in Hyrule after you defeat Master Kohga?
Keep Reading
- Zelda Wiki — Yiga Clan Hideout: instant-death Windcleaver rule, 2 + 5 Blademaster layout, alarm cascade, full chest list, Magnesis exit
- Zelda Wiki — Master Kohga: 300 HP, 10% damage taken, three phases, Stasis and Urbosa's Fury immunity, Ancient Arrow behaviour
- Zelda Wiki — Yiga Blademaster: 400 HP, Earthwake Technique, bow-headshot stun, drop table, post-Kohga overworld spawns
- Zelda Wiki — Yiga Footsoldier: 64/72/128 HP variants, nine-letter down-thrust tell, normal and high-rank drop tables
- Zelda Wiki — Karusa Valley: daytime heat and night-time freezing climate, buried Sho Dantu Shrine and its Luminous Stone pedestal, seven Korok Seed puzzles
- Zelda Wiki — Thunder Helm: defense 3, cannot be enhanced, Lightning Proof, the four Gerudo Town side quests, and the full-inventory loss oversight
- Zelda Wiki — Mighty Bananas: Blademasters deviate from patrol to eat them, 20 rupees from Emri at Kara Kara Bazaar, 99 from disguised Yiga travelers
- Zelda Wiki — The Search for Barta: one of the four Thunder Helm prerequisites, Liana in the Gerudo Town barracks, Gerudo Great Skeleton
Related Guides
Breath of the Wild Divine Beasts Guide: Order, Bosses and Rewards
The four Divine Beasts are Breath of the Wild's closest thing to dungeons, and the order you clear them changes how hard the game feels. Here is the smart sequence, every Blight Ganon fight, and what the Champion abilities actually do.
Breath of the Wild Hateno House: Every Upgrade and Cost
Buying Link's house in Hateno Village is only the first half of Hylian Homeowner. Bolson then sells 14 additions at 100 rupees each, and nine of them do something. Here is the full 4,400-rupee bill, the conversation that unlocks the renovation menu, and what is worth hanging on the walls.
Breath of the Wild Best Shields: All 33, Stats and Locations
The Ancient Shield and the Royal Guard's Shield both block at 70 guard, but surf them down a rocky slope and the Royal Guard's loses durability fifteen times as fast. Here are all 33 shields with guard, durability, material and source, plus the surfing friction, surfing wear and Guardian-beam values from the game's data.
Breath of the Wild Kilton: Shop Locations, Mon and Masks
Kilton pays 3 Mon for a Bokoblin Horn, exactly what a shop pays in rupees, and 100 Mon for a Lynel Guts a shop buys for 200. Here is where the Fang and Bone opens, the full Mon exchange table, all twelve wares and their Divine Beast unlocks, and what the masks, the Dark set and Monster Extract actually do.
Breath of the Wild Beginner's Guide: Your First 10 Hours
Breath of the Wild does not tell you that armor matters more than hearts, that your weapons are ammunition, or that the Blood Moon is a restock button. Here is the stuff the game leaves you to discover the hard way.
Breath of the Wild Great Fairy Fountain Locations and Costs
In Breath of the Wild the 10,000-rupee Great Fairy is not Tera. It is whichever fountain you open fourth. Here is where Cotera, Kaysa, Mija and Tera are, what each fairy you revive unlocks, and what every upgrade tier costs in materials once the rupees are paid.