Breath of the Wild Dragon Farming: Farosh, Dinraal, and Naydra Routes, Times, and Parts
At 4:00 AM, Dinraal flies underneath the Tabantha Great Bridge. Not over it — under it. The three dragons of Hyrule run on schedules, never fight back, and drop the most valuable materials in the game if you know which body part to hit.
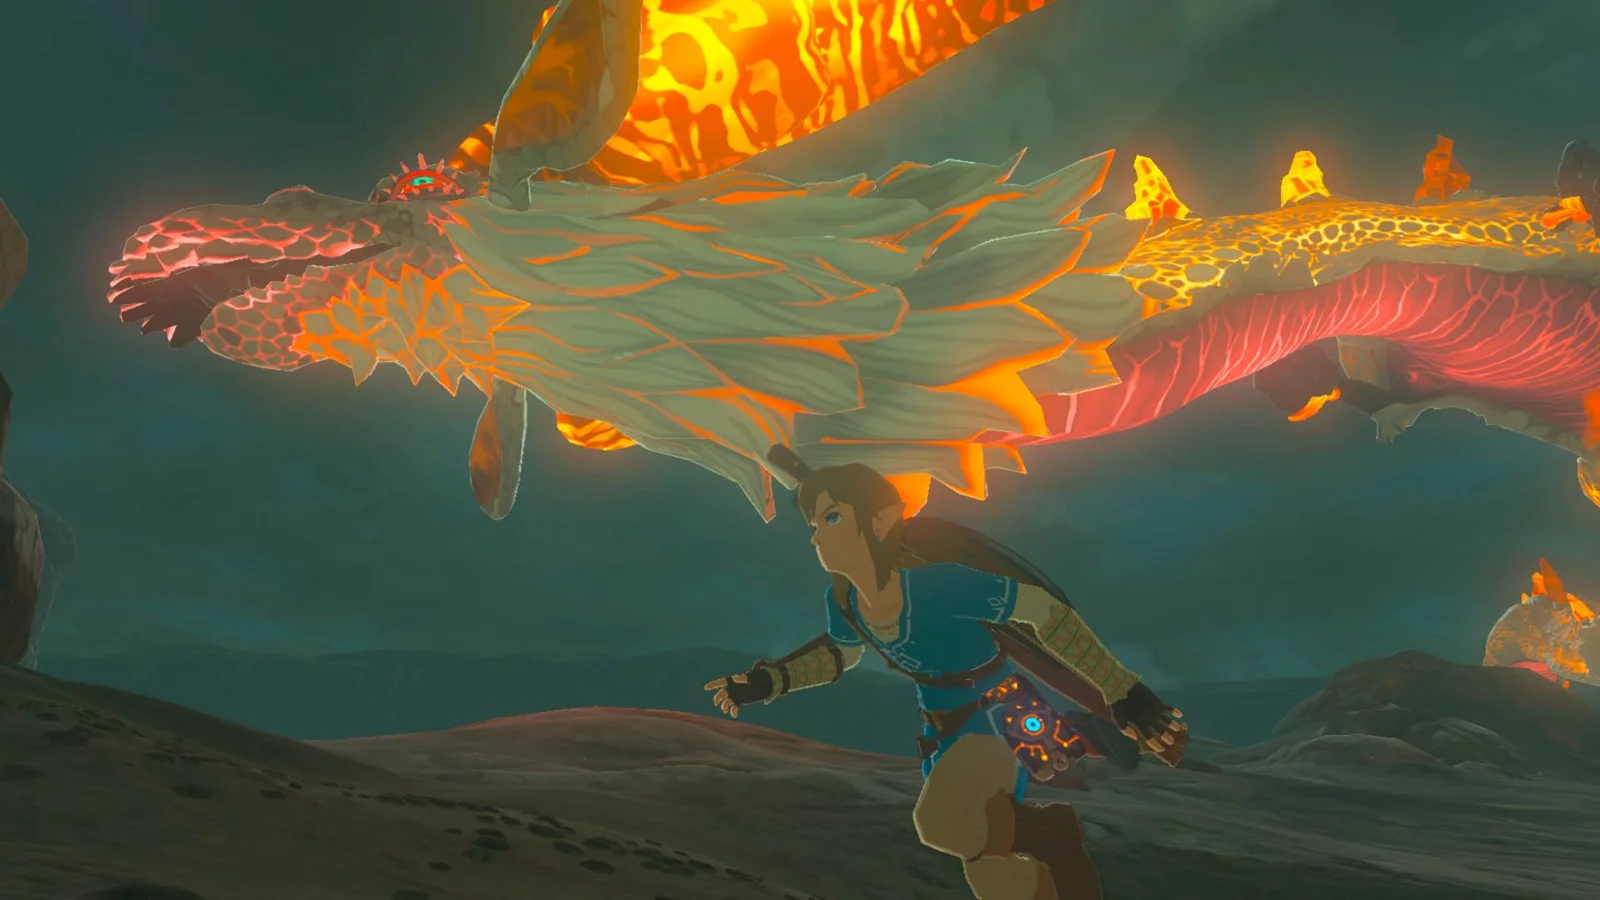
At 4:00 AM in-game, Dinraal flies underneath the Tabantha Great Bridge. Not over it — under it, down in Tanagar Canyon, while you stand on the deck above with a bow and all the time in the world. That one scheduling quirk turns the scariest-looking creature in Breath of the Wild into the most reliable farming spot in the game.
Because here is the thing about Hyrule's three dragons: they are not bosses. They are commutes. Farosh, Dinraal, and Naydra fly fixed routes at fixed times, they are completely invincible, they bear you no ill will, and every single pass they make is a chance to shoot one specific body part and collect a material worth up to 300 rupees — or a 30-minute cooking buff, or the last upgrade tier of the Barbarian Set. Most players meet a dragon once, panic, and leave. This guide is about showing up on purpose.
Three dragons, zero fights
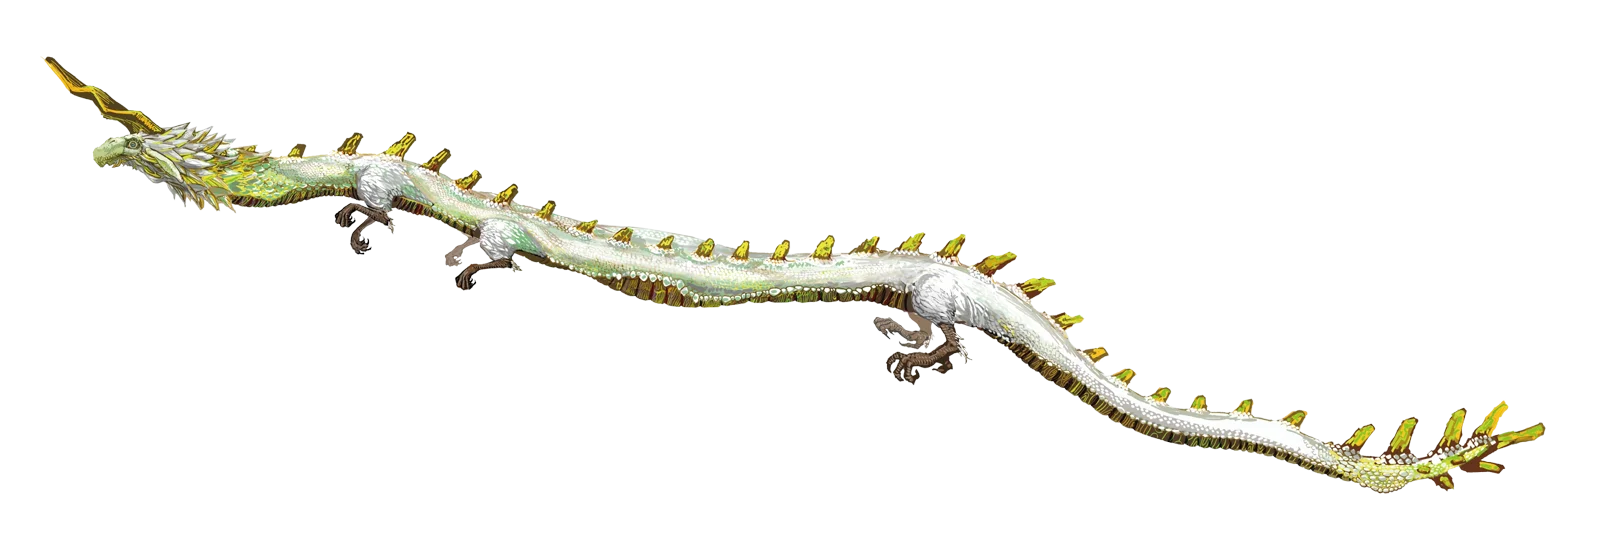
Each dragon is a spirit of one element wearing a dragon-shaped body, and each one haunts its own corner of the map:
- Dinraal — fire. Frequents Tanagar Canyon and northern Eldin.
- Farosh — electricity. Frequents the Gerudo Highlands, Lake Floria, and Lake Hylia.
- Naydra — ice. Frequents Mount Lanayru and Lanayru Road, once you have freed her (more on that below).
None of them can be killed. None of them attack. The danger is entirely passive: their bodies shed orbs of their element as they fly, and brushing against the aura hurts. Each element has a hard counter:
- Farosh's electricity is nullified by the Thunder Helm or a fully upgraded Rubber Set — either one grants the Lightning Proof effect.
- Dinraal's flames call for Fireproof Elixirs or the Flamebreaker Set enhanced to two stars.
- Naydra's ice will freeze you unless you wear the full Snowquill Set at two stars, or Zant's Helmet.
You do not need any of that to farm them, though. Protection matters if you plan to stand inside the aura; a decent bow means you never have to. Upgrade paths for all three sets are in the Breath of the Wild armor guide.
How dragon farming actually works
The entire system runs on three rules.
Rule one: where you hit decides what drops. Shoot the horn and a Shard of the dragon's Horn breaks off. Shoot the lower mouth for a Shard of its Fang. Shoot the hands or feet for a Claw. Hit the main body for a Scale. The part flies off surrounded by light and lands on the ground nearby — walk over and grab it.
Rule two: your first-ever hit is always a scale. The first time you strike a given dragon, it yields a Scale no matter where the arrow lands. Only from the second encounter onward does aim start mattering. This is a kindness — the scale is exactly what the three spring quests demand, so the game hands the quest item to anyone who lands any hit at all.
Rule three: one part per appearance. After being shot, the dragon disappears until the next in-game day. There is no juggling multiple drops out of a single flyby, so make the one shot count: decide which part you actually need before you draw, and aim for it. A horn is worth double a scale, in rupees and in usefulness.
Since arrows are the whole toolkit here, a multi-shot Lynel bow is luxury but not necessary — any bow that can reach the head works, and the Lynel guide covers where to get the good ones anyway.
What each part is worth
Every dragon drops the same four part types. The sell prices below are Farosh's, and the cross-checks I ran line up exactly — Naydra's Scale also sells for 150, and the Shard of Dinraal's Horn also sells for 300.
| Part | Where to shoot | Sell price |
|---|---|---|
| Scale | Main body (or your first-ever hit, anywhere) | 150 rupees |
| Claw | Hands / feet | 180 rupees |
| Shard of Fang | Lower mouth | 250 rupees |
| Shard of Horn | Horn | 300 rupees |
In the cooking pot, the horn shard is the star: a meal cooked with a Shard of Farosh's or Dinraal's Horn carries its buff for a full thirty minutes, the longest effect duration you can put on a dish. The smaller parts are murkier — Zelda Wiki's Naydra's Scale page says a scale adds 90 seconds to a meal's effect and guarantees a critical dish, while its Farosh's Scale page says scales in a pot produce Dubious Food unless you pair them with critters for an elixir, and it records no duration numbers for claws or fangs at all. My honest read: treat horn shards as your cooking material, scales as quest currency, and claws and fangs as armor-and-rupee materials. More on effect stacking in the cooking guide.
One genuinely useless fun fact: the Kochi Dye Shop accepts dragon parts. Farosh parts make Light Yellow dye, a Shard of Dinraal's Horn makes Crimson, and Naydra's Scale makes Light Blue. Three hundred rupees of horn, one hat recolor. Your call.
Dinraal: the Tanagar Canyon flyby
Dinraal generally appears between 11:00 PM and 5:00 AM, and its route is the most farmable in the game because so much of it runs below you.
| Time | Where | What it is doing |
|---|---|---|
| 12:00 AM | Deplian Badlands | Descending toward the Eldin Great Skeleton |
| 1:00 AM | Tabantha Frontier | Traveling along Tanagar Canyon |
| 2:00 AM | Tabantha Frontier | Disappearing into the clouds |
| 3:00 AM | Tabantha Frontier | Descending back along Tanagar Canyon |
| 4:00 AM | Tabantha Frontier | Passing underneath the Tabantha Great Bridge |
| 5:00 AM | Tabantha Frontier | Flying above Tanagar Canyon |
| 6:00 AM | Tabantha Frontier | Climbing toward the sky at the canyon's end |
| 7:00-8:00 AM | Outside Hyrule | Ascending west and vanishing |
The 4:00 AM bridge pass is the appointment to keep. Stand on the Tabantha Great Bridge, wait, and the dragon threads the canyon below you — you are shooting down at a fire dragon's horn instead of craning up at a moving sky target. Sit at a campfire until the timing is right, take the shot, then glide down after the drop.
The other end of the route works too: at midnight Dinraal descends toward the Eldin Great Skeleton in the Deplian Badlands, which is a flatter, more open vantage if you happen to be in northern Eldin. Dinraal is also the only dragon with DLC homework — one trial in EX Champion Revali's Song has you shoot a Shard off its horn, which raises Shira Gomar Shrine out of the ground.
Farosh: Riola Spring at 5 AM
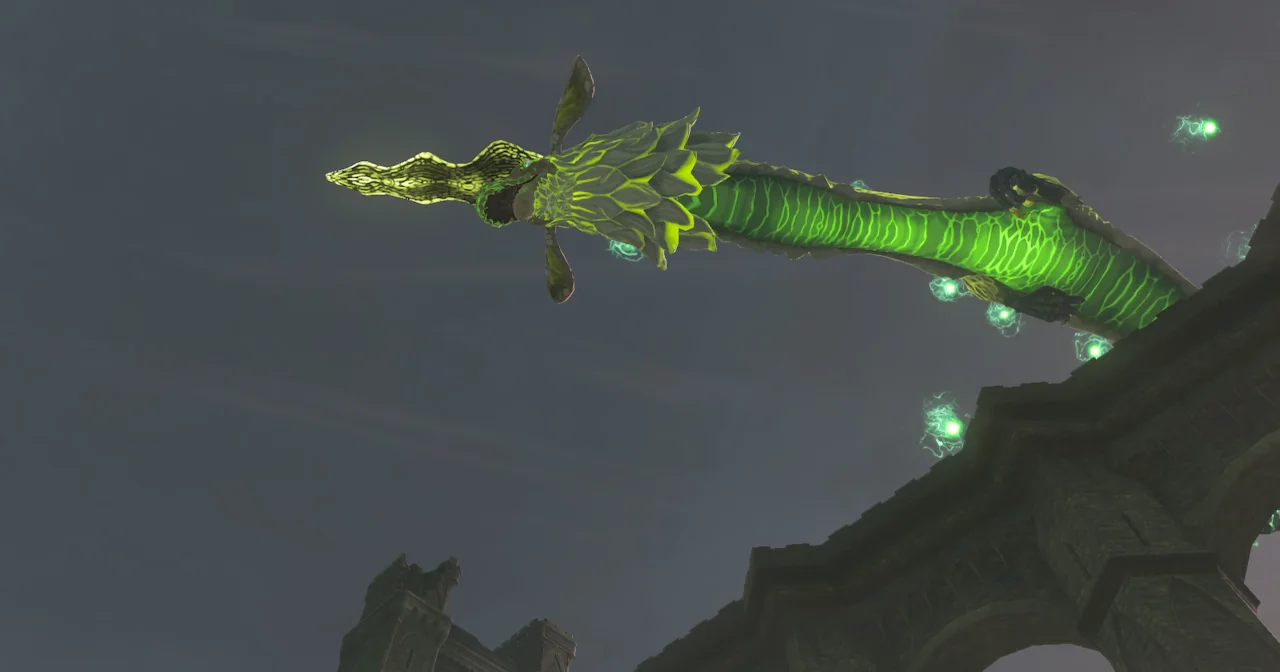
Farosh is the dragon you have almost certainly already met — the green flash over the water while you were crossing Faron. Its logged schedule has more gaps than Dinraal's, but the anchor points are dependable:
| Time | Where | What it is doing |
|---|---|---|
| 12:00-1:00 AM | Gerudo Highlands | Cruising the highlands |
| 5:00 AM | Riola Spring | Rising out of the water |
| 6:00 AM | Lake Floria | In transit |
| 7:00 AM | Rassia Lake | Disappearing into the water |
| 8:00 AM | Lake Floria | Flying under the bridge |
| 7:00-8:00 PM | Gerudo Highlands | Flying over Vatorsa Snowfield |
The 5:00 AM Riola Spring emergence is the classic farm: the dragon comes up out of the water in one predictable spot, giving you a clean, close look at the horn while it climbs. Camp nearby, wait until morning, shoot, collect, repeat the next day.
Zelda Wiki also places Farosh at Lake Hylia — its item pages list the lake as a spawn area, and the wiki's own screenshot catches it snaking over the Bridge of Hylia — but the hourly log does not pin a time to those appearances, so treat Lake Hylia as a bonus sighting rather than an appointment. One warning that is absolutely load-bearing: Farosh is wrapped in electricity, and an unprotected grab for a nearby drop can turn into a shock that knocks your weapon out of your hands. Either keep your distance or wear the Rubber Set.
Naydra: free her first
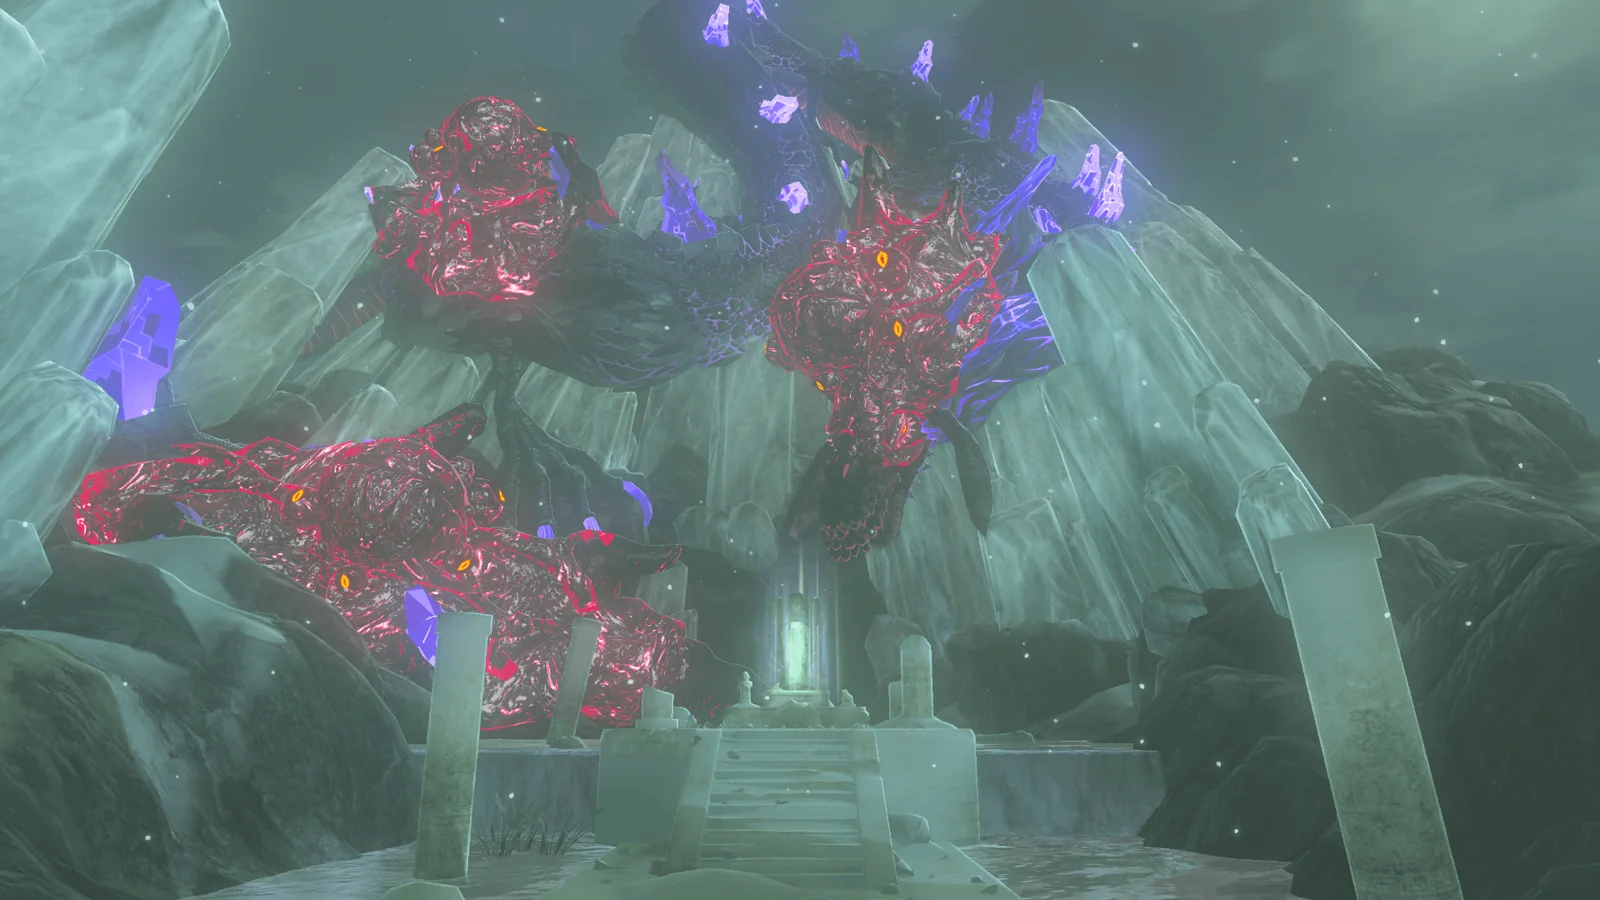
Naydra does not fly free-range until you rescue her. She starts the game corrupted, coiled around the Goddess Statue at the Spring of Wisdom on the summit of Mount Lanayru, crusted in glowing Malice.
The rescue is The Spring of Wisdom shrine quest. Medda in Hateno Village points you at the mountain, but the quest is not gated on him — climb Mount Lanayru on your own and it plays out the same. The fight itself is an on-rails chase rather than a battle:
- At the spring, shoot one of the glowing Malice eyeballs on her body. She lifts off.
- Ride the updrafts she generates, staying airborne with the paraglider as she travels out toward Naydra Snowfield.
- Keep popping eyeballs mid-flight. When the last one bursts, the Malice sloughs off and Naydra returns to her white-and-blue form.
- Shoot the freed dragon once. She drops Naydra's Scale — your first-hit-is-a-scale rule in action.
- Carry the scale back and drop it in the Spring of Wisdom. The door to Jitan Sa'mi Shrine opens.
Mount Lanayru is bitterly cold, so bring real cold protection — the full two-star Snowquill Set ends the freezing threat permanently if you plan to farm her long term.
Naydra's route after the rescue
Once freed, Naydra roams Lanayru and East Necluda on the busiest schedule of the three. The highlights:
| Time | Where | What she is doing |
|---|---|---|
| 5:00 AM | Mount Lanayru | Circling the peak |
| 6:00 AM | Lanayru Road - East Gate | Flying low, heading west |
| 10:00-11:00 AM | Rabia Plain, then Samasa Plain | Flying east |
| 12:00 PM | Spring of Wisdom | Circling the peak |
| 1:00 PM | Lanayru Road - East Gate | Flying low, heading west |
| 5:00 PM | Mount Lanayru | Circling the peak |
| 6:00-7:00 PM | Lanayru Road - East and West Gates | Sweeping the road, turning around |
| 10:00 PM | Lanayru Bay | Heading southeast |
| 11:00 PM | East of Mount Lanayru | Vanishing into the clouds |
The Lanayru Road passes are the farm windows — a dragon flying low through a walled corridor is the easiest horn shot in the game. One catch that has burned plenty of players: Naydra will not appear if you are standing too close to her spawn point. If she seems to be skipping her schedule, back off a few hundred meters and let her materialize before you move in.
The three spring quests want a scale each
The dragons are wired directly into three shrine quests, one per spring, one per scale. This is why the first-hit rule exists.
- The Serpent's Jaws — Kass, busking in Pagos Woods along the Faron Highroad, sings you a riddle about a forest dragon splaying its jaws. The answer is the Spring of Courage, built into the dragon-head ruins at Dracozu Lake. Offer Farosh's Scale at the statue and Shae Katha Shrine opens.
- The Spring of Power — Nobo at East Akkala Stable points you west of the stable to the Spring of Power. Offer Dinraal's Scale and Tutsuwa Nima Shrine rises.
- The Spring of Wisdom — the Naydra rescue above, ending with her scale in the water and Jitan Sa'mi Shrine open.
Three scales, three shrines, three spirit orbs. If you are shrine-hunting systematically, these three slot into the routes in the shrine guide.
Small aside for the chest-diggers: you can technically skip shooting Naydra for her scale — one sits in a treasure chest beneath a stone slab above the northern entrance to the Hyrule Castle Library. Farosh extends no such courtesy; its scale only ever comes off the dragon itself.
Where the parts actually go
Selling dragon parts is respectable income — a horn shard is 300 rupees, cleaner money per arrow than almost anything else in Hyrule — but the real sinks are upgrades.
The headline is the Barbarian Set. Its final four-star tier demands one dragon horn shard per piece, and each piece is loyal to a different dragon: Dinraal's shard for the Helm, Farosh's for the Armor, Naydra's for the Leg Wraps. That means a maxed Barbarian Set requires you to run all three routes in this guide at least once, horn-hunting each time. The full cost breakdown lives in the Lynel guide, since Lynel parts cover the earlier tiers.
Beyond that, dragon parts appear in Great Fairy upgrade recipes across several other armor lines, the horn shards headline any dish that needs its buff to survive a whole Divine Beast, and the DLC's EX Champion Revali's Song will send you to Dinraal whether you like it or not. Farm ahead of need. The dragons are not going anywhere — they literally cannot.
More Hyrule breakdowns live on the Breath of the Wild coverage hub, and if the dragons are still above your pay grade, the beginner guide is the place to start.
Quick Action Checklist
- Decide which part you need before you draw. One shot per appearance: horn from the horn, fang from the lower mouth, claw from hands or feet, scale from the body.
- Your first-ever hit on each dragon drops a scale regardless of aim — exactly the item the spring quests want.
- Farm Dinraal from the Tabantha Great Bridge at 4:00 AM, shooting down into Tanagar Canyon.
- Farm Farosh at Riola Spring at 5:00 AM as it rises out of the water.
- Free Naydra first: shoot every glowing Malice eyeball during the Mount Lanayru chase, then take her scale to the Spring of Wisdom for Jitan Sa'mi Shrine.
- Catch freed Naydra flying low through Lanayru Road's gates at 6:00 AM, 1:00 PM, or around 6:00 PM — and stand well back from her spawn point or she will not appear.
- Offer Farosh's Scale at Dracozu Lake (Shae Katha Shrine) and Dinraal's Scale at the Spring of Power west of East Akkala Stable (Tutsuwa Nima Shrine).
- Bank horn shards for the four-star Barbarian Set: Dinraal's for the Helm, Farosh's for the Armor, Naydra's for the Leg Wraps.
- Cook a horn shard into a meal when you need a thirty-minute buff; sell spare fangs at 250 and claws at 180 when you need rupees.
- Do not touch Farosh without Lightning Proof gear unless you enjoy watching your weapon fly out of your hands.
Frequently Asked Questions
Where do you find the three dragons in Breath of the Wild?
How do you get dragon parts in Breath of the Wild?
How do you free Naydra from the Malice?
Can you kill the dragons in Breath of the Wild?
What are dragon parts used for in Breath of the Wild?
What is the fastest dragon farming spot in BOTW?
Keep Reading
- Zelda Wiki — Farosh: hourly schedule, electricity aura, Lightning Proof counters
- Zelda Wiki — Dinraal: 11 PM to 5 AM window, Tanagar Canyon route, Tabantha Great Bridge pass
- Zelda Wiki — Naydra: Malice corruption, post-rescue schedule, spawn-proximity rule
- Zelda Wiki — Shard of Farosh's Horn: 300 rupee value, thirty-minute meal buff
- Zelda Wiki — Naydra's Scale: first-strike rule, Hyrule Castle Library chest
- Zelda Wiki — The Spring of Wisdom: Malice Naydra fight and Jitan Sa'mi Shrine
- Zelda Wiki — The Serpent's Jaws: Kass in Pagos Woods, Dracozu Lake, Shae Katha Shrine
- Zelda Wiki — The Spring of Power: Nobo at East Akkala Stable, Tutsuwa Nima Shrine
Related Guides

Breath of the Wild Lynel Guide: HP by Tier, Savage Gear, and the Farm Loop
A Silver Lynel has 5,000 HP. Calamity Ganon has 8,000. But a Lynel is not a wall — it is the best vending machine in Hyrule, and the Savage Lynel Crusher it drops has the highest base attack of any weapon in the game.
Breath of the Wild Dye Guide: All 15 Colors, Mapped
Sayge at the Kochi Dye Shop will turn any five matching-color materials into a dye for 20 rupees flat, and dyes your whole outfit at once whether you like it or not. Here is what makes all 15 colors, and the dozen pieces of armor that never take the dye.

Breath of the Wild Guardians: HP by Type and Every Drop
A Decayed Guardian has exactly 500 HP, and a Perfect Guard deals exactly 500 damage — parry once and it is dead. A Guardian Stalker takes three of the same parry, because it has 1,500. Six machines share the name "Guardian," and three of them tie at the exact same HP total.
Breath of the Wild Weapon Durability: Hits and Bonuses
Durability in Breath of the Wild is not a timer or a wear bar. It is a plain integer the game calls Life, it ticks down only when the weapon connects, and knowing the number turns "my weapons keep breaking" into a budget you can actually spend.
Breath of the Wild Beginner's Guide: Your First 10 Hours
Breath of the Wild does not tell you that armor matters more than hearts, that your weapons are ammunition, or that the Blood Moon is a restock button. Here is the stuff the game leaves you to discover the hard way.
Breath of the Wild Field Bosses: The 84 Kills Kilton Wants, and the Hammer Math
Kilton will trade you three Medals of Honor for 40 Taluses, 40 Hinoxes and four Molduga. That is 84 kills, and the location lists add up to exactly those numbers. Here are the HP figures, the drop tables, and the weapon that quietly does four times damage.