Breath of the Wild Field Bosses: The 84 Kills Kilton Wants, and the Hammer Math
Kilton will trade you three Medals of Honor for 40 Taluses, 40 Hinoxes and four Molduga. That is 84 kills, and the location lists add up to exactly those numbers. Here are the HP figures, the drop tables, and the weapon that quietly does four times damage.
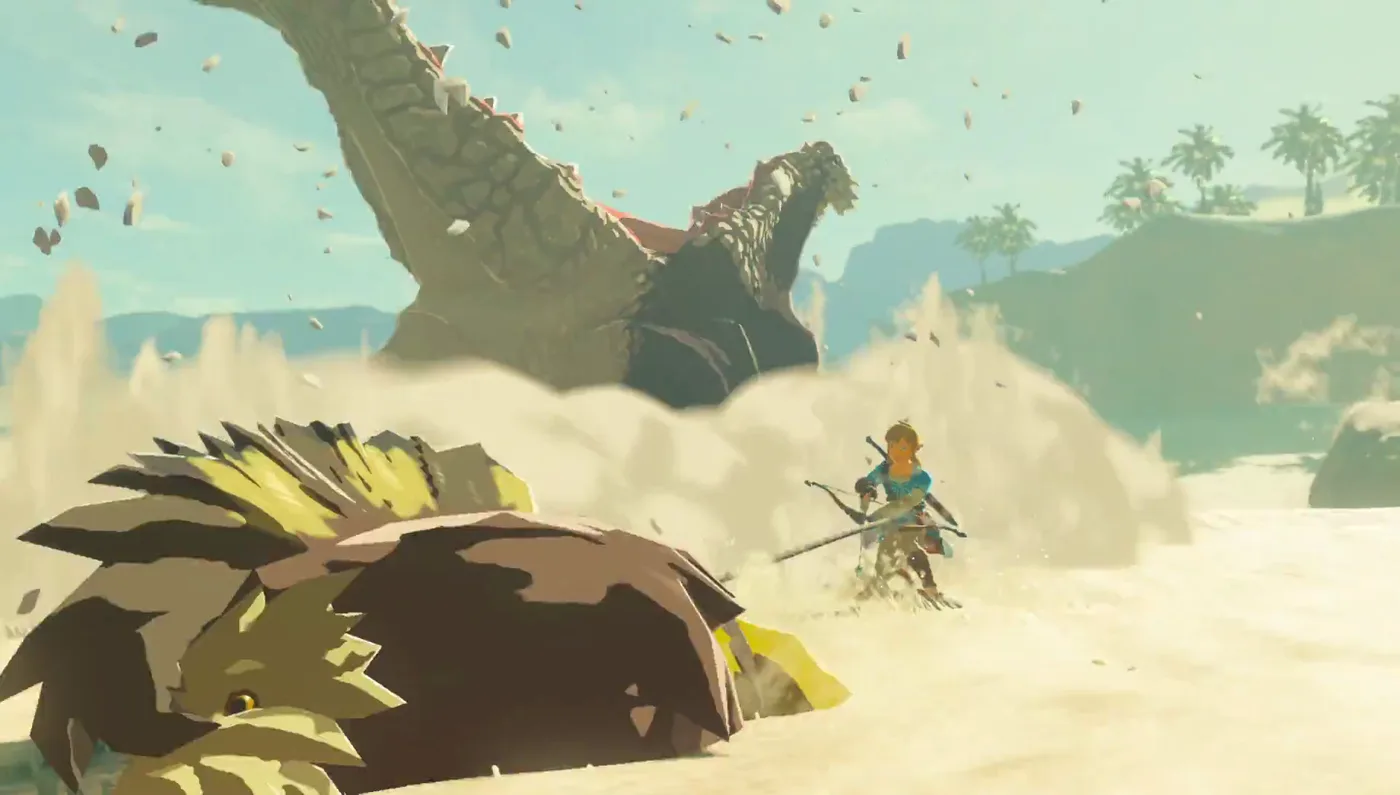
Beat Calamity Ganon, walk into Kilton's shop, and he offers you a job in three parts. Kill all the Taluses. Kill all the Hinoxes. Kill all the Molduga. He cannot get near them himself, on account of them being enormous, so he wants you to go get covered in their fluids and come back so he can smell you. That is the actual quest.
Finish the job and he hands over three Medals of Honor. The price is 40 Taluses, 40 Hinoxes and Stalnoxes, and four Molduga — 84 kills, and Kilton will read you the running count any time you ask.
Here is the part worth knowing before you start: those aren't round numbers somebody made up. Add up Zelda Wiki's location lists for each variant and they land on exactly 40, exactly 40, and exactly four. Every one of these things is a fixed spawn on the map, they all come back on a Blood Moon, and once you've killed one it wears a small "★ Defeated" tag next to its health bar forever after. The whole thing is a checklist that happens to be made of monsters.
This is the guide to clearing it: the HP figures, the drop tables, the location counts that add up, and the weapon numbers that decide how long a Talus takes.
Kilton files them as three species
Kilton has his own names for the three: the stone colossus, the forest giant, and the giant sand beast. In practice they're three completely unrelated fights that only share a category.
- Taluses are damage-immune rock piles with one weak point stuck on top. You climb them or you shoot the deposit.
- Hinoxes are sleeping giants with one eye. You shoot the eye, or you rob them and leave.
- Molduga swim through sand and cannot be hit at all until an explosion makes them jump.
They also sit in a strange difficulty band. A Black Hinox has 1,000 HP. A red-maned Lynel has 2,000, and a Silver has 5,000. Field bosses look terrifying and are, numerically, some of the softest large enemies in Hyrule. What kills players here is the mechanic, not the health bar.
Forty Taluses, in five flavours
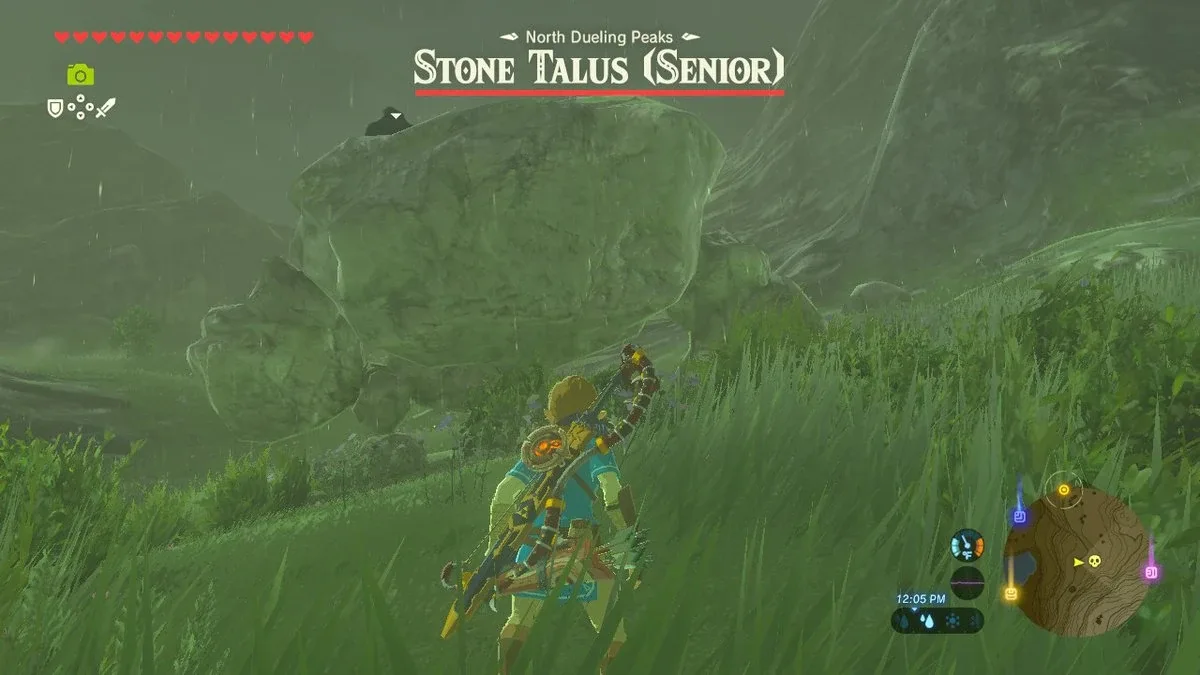
The Hyrule Compendium is blunt about how these work: neither sword nor arrow can pierce a Talus's stony form, and a cunning adventurer scales it and hits the ore sprouting from its peak. That is not flavour text, it is the rule. The Ore Deposit is the hitbox. The body is scenery.
Everything else follows from that:
- Climb it and swing, or shoot the deposit from the ground. Shooting the deposit stuns it and drops it flat on its face, which is the free-climb window.
- A Remote Bomb blows its arms off and staggers it, but Taluses regrow lost body parts shortly afterwards, so it buys time rather than progress.
- It shakes you off after it takes hits, so plan for two or three trips up rather than one long one.
- Two of them are named. The Stone Talus (Junior) at Dueling Peaks South carries its deposit on its left side; the Stone Talus (Senior) at North Dueling Peaks carries it on the right. Both revive on a Blood Moon like everything else.
HP, and what each one coughs up
| Talus | HP | First drop | Second roll |
|---|---|---|---|
| Stone Talus | 300 | 1 ruby (100%) | 5-8 of amber 70%, flint 10%, opal 10% |
| Stone Talus (Luminous) | 600 | 1-2 luminous stone (100%) | 6-10 of amber 60%, opal 30%, flint 5%, topaz 3%, luminous stone 1.5%, diamond 0.5% |
| Igneo Talus | 800 | 1-2 ruby 80% / flint 20% | 8-10 of opal 55%, flint 35%, ruby 5%, diamond 1% |
| Frost Talus | 800 | 1-2 sapphire 70% / flint 30% | 8-10 of opal 74%, flint 15%, sapphire 5%, diamond 1% |
| Stone Talus (Rare) | 900 | 1-2 diamond 50%, topaz 20%, ruby 15%, sapphire 15% | 6-10 of amber 50%, opal 24%, flint 10%, topaz 5%, ruby 5%, sapphire 5%, diamond 1% |
Three things jump out of that grid.
The plain Stone Talus has 300 HP. It looks like a boss because it is the size of a house, and it dies to about three good hits with the right weapon.
The Rare Talus at 900 HP is the single most valuable enemy on this list, and it is not close — see the arithmetic further down.
And the elemental pair, Igneo and Frost, both sit at 800. They are not harder than a Rare Talus in health terms. They are harder because touching them does something to you.
Where the forty actually are
| Talus type | Count | Where they live |
|---|---|---|
| Stone Talus | 11 | Great Plateau, Deya Lake, both Dueling Peaks, West Nabi Lake, North Mable Ridge, Martha's Landing, Lake Floria, Gama Cove, Ovli Plain, Cliffs of Quince |
| Stone Talus (Luminous) | 12 | Scattered wide — Lake Hylia North, Lake Kolomo, Mount Nabooru, Crenel Hills, Southern Tal Tal Peak, Upland Lindor and more |
| Stone Talus (Rare) | 7 | Hyrule Castle West and Underground, Tabantha Hills, Illumeni Plateau, Gisa Crater, Kolami Bridge South, West Vatorsa Snowfield |
| Igneo Talus | 5 | Eldin lava: Darb Pond, Lake Darman, Darunia Lake, Gorko Lake, Goronbi Lake North |
| Frost Talus | 5 | Coldsnap Hollow, Laparoh Mesa, Pikida Stonegrove, West Rospro Pass, West Sapphia's Table |
| Total | 40 | matches Kilton's count exactly |
The Luminous ones are the awkward category. There are twelve of them — the largest group — and unlike the Igneo and Frost fives, which sit in two tight regional clusters, they are spread from Lake Hylia to Tal Tal Peak with nothing to sweep. If a medal count is stuck a few short, that's the group with the most places to hide.
Two of these are also side-quest objectives worth collecting on the way through. The Road to Respect has Fugo at Goron City stuck on the Igneo Talus at Darunia Lake; kill it, sell him the credit for 100 rupees, walk away with a Silver Rupee. Face the Frost Talus has Gesane at Rito Village pointing you at Coldsnap Hollow for another Silver Rupee.
The best Talus weapon is not the Iron Sledgehammer
The Iron Sledgehammer has the reputation as the Talus weapon, and it does carry the biggest multiplier in the game against one. It still is not the weapon that kills a Talus fastest, and the gap is large.
Weapons in Breath of the Wild can carry a hidden special-hit entry that names specific target actors and a multiplier. Pull the parameter tables for the Goron crushers and every one of them lists the three Talus weak-point actors. The ratios are not the same:
| Weapon | Base attack | Durability | Talus multiplier | Damage per hit to the deposit |
|---|---|---|---|---|
| Iron Sledgehammer | 12 | 40 | 4x | 48 |
| Cobble Crusher | 15 | 30 | 2x | 30 |
| Stone Smasher | 42 | 40 | 2x | 84 |
| Boulder Breaker | 60 | 60 | 2x | 120 |
| Drillshaft | 14 | 50 | none | 14 |
The Iron Sledgehammer's 4x is real, and against a 300 HP Stone Talus, 48 a swing means seven hits from a weapon you can find lying around Eldin or Akkala for free. As a zero-investment answer to a boss, that is a good deal.
But 2x on a 60-attack Boulder Breaker is 120 a swing, which is two and a half times what the sledgehammer does. Daruk's weapon flattens a Stone Talus in three hits and a Rare Talus in eight. Bludo hands you the original from a chest in his house once Vah Rudania is appeased, and after that Rohan at Goron City will forge a replacement — but only if the old one is genuinely gone — for a Cobble Crusher, five flint, and one diamond. Flint is something Taluses drop by the fistful, so the thing pays for its own replacements.
The Drillshaft is the trap. It breaks ore deposits in one strike out in the world, it's the one spear that can smash metal boxes, and it looks exactly like a mining tool. It has no Talus bonus at all. Fourteen damage a poke against 900 HP is a very long evening.
I checked a few non-hammers for comparison — Royal Claymore, Knight's Claymore, Traveler's Sword, the Spring-Loaded Hammer — and none of them carry a Talus weak-point entry in their parameters. Zelda Wiki's Stone Talus page describes the bonus more loosely, as double damage for two-handed weapons generally and four times for the Iron Sledgehammer; the per-weapon tables are the specific version, and they point at the Goron crushers.
The two elemental Taluses need armour, not courage
Igneo and Frost Taluses fight like their stone cousins with one addition: you cannot touch them. Contact with an Igneo Talus sets Link on fire. Contact with a Frost Talus freezes him. Since the whole strategy is "climb the boss," that's a problem.
There are exactly two answers each, and both are listed in the Compendium entries:
| Talus | What contact does | Armour fix | Improvised fix |
|---|---|---|---|
| Igneo Talus | Sets Link on fire | Flamebreaker armour upgraded twice by a Great Fairy, for the Fireproof set bonus | Hit it with ice weapons to cool it temporarily |
| Frost Talus | Freezes Link | Upgraded Snowquill Set or Zant's Helmet, for the Unfreezable set bonus | Melt the ice with fire attacks, e.g. Fire Arrows |
Note the specific wording on the Igneo counter. A Fireproof Elixir stops Eldin's ambient heat, but the set bonus is what stops you catching fire on contact, and Flamebreaker gear does not grant it until the second upgrade tier. Turning up in one-star Flamebreaker and climbing an Igneo Talus is a fast way to lose a loadout. The armour guide has the full upgrade ladder.
If you'd rather not upgrade anything, both fights work from the ground. The deposit is shootable, and a stunned Talus falls flat, which is when a spear or a bow does its work from outside contact range. Frost Taluses also throw rock chunks that arrive coated in ice, so the ranged version of the fight is not free either.
Forty Hinoxes, and some of them are asleep on quest items
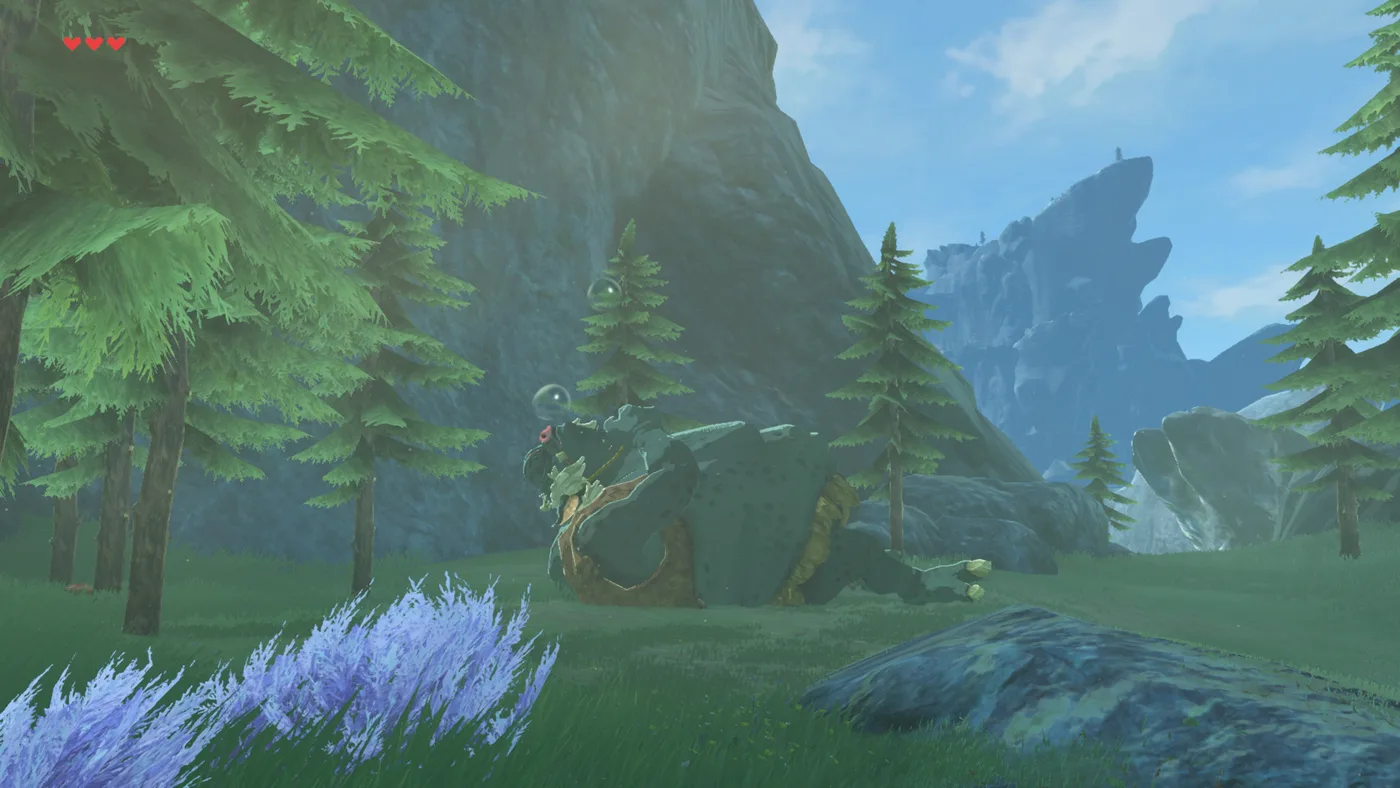
Hinoxes spend most of their existence asleep in a clearing, and the most useful fact about them is that you can loot one without waking it. They wear necklaces strung with weapons. Sneak up, take the gear, leave. No fight, no durability spent, no Blood Moon needed to get the weapon back later.
That matters more than it sounds, because several Hinoxes are guarding quest objects rather than treasure. The Three Giant Brothers on Mount Taran hangs an Ancient Orb around the neck of three of them — the Youngest Kin (a regular Hinox at Hanu Pond), the Middle Kin (a Blue at Uten Marsh), and the Oldest Kin (a Black in the Rabella Wetlands) — and Tawa Jinn Shrine rises when all three orbs are in their pedestals. You can steal all three orbs and never swing a weapon. The Thyphlo Ruins and Eventide Island orbs work the same way, and both of those are covered in the shrine guide.
Wake one up and it swipes, punches, and pulls trees out of the ground to throw at you. Climb out of reach and the response depends on colour: regular and Blue Hinoxes lob boulders, Black Hinoxes lob Bomb Barrels. Push one into deep water and it can swim after you for a while before it drowns.
HP, greaves, and the half-health cutoff
| Hinox | HP | Greaves | Elemental opening | Hinox Guts chance | Food it drops |
|---|---|---|---|---|---|
| Hinox (red) | 600 | none | — | 20% | Fruit: apples 30%, palm fruit 20%, wildberries / voltfruit / mighty bananas / fortified pumpkin / hearty durian 10% each |
| Blue Hinox | 800 | wooden | Fire burns the greaves off | 50% | Roasted fish and seafood |
| Black Hinox | 1,000 | metal | Electricity conducts and stuns | 100% | Roasted meats |
| Stalnox | 1,000 | — | — | none (Hinox Tooth 2-4 at 70%) | none |
Counts: 7 red, 16 Blue, 7 Black, 10 Stalnoxes — 40 on the nose, which is the second half of Kilton's tally. One naming trap worth flagging: one of the Blue Hinoxes lives at a location called Talus Plateau. It does not appear on any of the five Talus location lists — it is a Hinox, and it counts toward the Hinox medal.
The fight itself has one rule and one deadline:
Arrow to the eye stuns it. That's the whole opening. A stunned Hinox is free damage on the ground.
Below half health it covers the eye. From that point arrows stop landing on it in the normal way — the wiki notes you can still catch it during certain animations, or hit it from above. Which means the efficient version of a Hinox fight is front-loaded: stun it early, burn through as much of the bar as you can while the eye is exposed, and accept that the second half is a melee brawl. Bring a two-hander and the sneakstrike habits from the combat tips.
For farming, note the Guts column. Hinox Guts sell for 80 rupees and drop 100% of the time from Black Hinoxes versus 20% from reds. If a recipe or a trade wants Guts, go to a Black one.
A Stalnox is a completely different fight
Stalnoxes are Hinox skeletons, and they follow the Stal rules: they are only active between 9:00 PM and 5:00 AM, and by day they bury their faces in the ground to keep sunlight off their eye. They also will not stand up if Link is standing too close when night falls, which is a genuinely annoying way to waste an in-game night.
Then the fight inverts the Hinox rule entirely.
- Arrow to the eye stuns it, same as a living Hinox.
- Past half health, shooting the eyeball detaches it. The skeleton collapses into a pile of bones and the eye is loose on the ground, where you can hit it or physically pick it up and throw it further away.
- A Bomb Arrow detaches the eye at any health total, which skips the half-bar requirement entirely.
- It dies three ways: the eye runs out of health, the eye and the body are still separated when 5:00 AM arrives, or you carry the eye far enough from where the Stalnox started.
That last clause is the one worth memorising. You do not have to out-damage a Stalnox. You have to steal its eye and jog.
If dawn breaks mid-fight and the eye is still attached, it digs underground and leaves, and you can pick the fight up again the following night. Also worth knowing: Stalnoxes have rare weapons embedded in their bodies that drop when they die, and the one in Hyrule Castle's Lockup guards the Hylian Shield chest — that fight is walked through in the Calamity Ganon guide.
Four Molduga, and a noise problem
There are four Molduga in Hyrule, all in the Gerudo Desert: Arbiter's Grounds, North Dragon's Exile, Southern Oasis, and Toruma Dunes. That's the entire species, and it's the smallest of the three medal requirements by a mile.
They are also the field boss you cannot touch at all while it is behaving normally. A Molduga swims under the sand, senses sound and vibration, and breaches to eat whatever made the noise. Running around carelessly in its territory is the mistake the Compendium warns you about.
So you make the noise on purpose. Throw a Remote Bomb or fire a Bomb Arrow into the sand near it, and the explosion pulls it up into the air; hit it with the blast while it's airborne and it comes down stunned and hittable. Bomb Arrows carry 50 attack in their own right, so the same shot that baits it also hurts it. Then swing.
The alternative is to fight it from a Sand Seal, shield-surfing circles around the thing while it chases you. Gerudo Town rents trained seals from two booths for 20 rupees, or 50 if you turn up without a shield. Trained seals are the red ones; they're faster than wild seals and they wait for you instead of bolting the second you dismount.
Kills drop one or two treasure chests with weapons in them, plus Molduga Fins and Guts. Molduga Guts sell for 110 rupees, the highest-value monster part on this page, and one of them settles the Medicinal Molduga side quest — Malena in the Gerudo Town barracks needs it for her husband Platt, and pays a Gold Rupee (300) for it. That quest is also one of the four you need to clear before Riju hands over the Thunder Helm, so it's on your route whether you care about medals or not.
One honest gap: Zelda Wiki's Molduga infobox records a health figure for Tears of the Kingdom (1,500) but none for Breath of the Wild, so I'm not putting a number in that I can't source.
A Rare Talus is worth about a thousand rupees
Run the drop table for a Stone Talus (Rare) against Breath of the Wild's gem prices and it becomes the best-paying single enemy in this guide.
Gem values, before merchant premiums:
| Gem | Sells for | With Ramella |
|---|---|---|
| Diamond | 500 | 550 |
| Sapphire | 260 | 290 |
| Ruby | 210 | 230 |
| Topaz | 180 | 200 |
| Luminous Stone | 70 | — |
| Opal | 60 | — |
| Amber | 30 | 50 |
| Flint | 5 | — |
Now the arithmetic. The Rare Talus's first drop is 1-2 gems weighted diamond 50 / topaz 20 / ruby 15 / sapphire 15, which averages 356 rupees per gem, so roughly 535 for that roll. The second roll is 6-10 units of a table that averages 67 rupees each, so about 539 for an average of eight. Total: a shade over 1,000 rupees per Rare Talus, at 900 HP, from a fight that a Boulder Breaker ends in eight swings.
Three of them buys the 3,000-rupee replacement Hylian Shield from Granté. Seven of them exist on the map and every one comes back on a Blood Moon.
Ramella is worth a detour before you cash out. She's the Gerudo gem wholesaler who wanders Goron City by day, she starts buying once Vah Rudania is calmed, and she pays over shop rate on amber, topaz, ruby, sapphire and diamond. Her opening ask — The Jewel Trade — is 10 amber for 500 rupees, where shops would have paid 300.
The Luminous Talus is the other one to note here: 1-2 luminous stones guaranteed, at 70 apiece, plus a small diamond chance. Not Rare-Talus money, but there are twelve of them.
The two DLC bosses that do not count
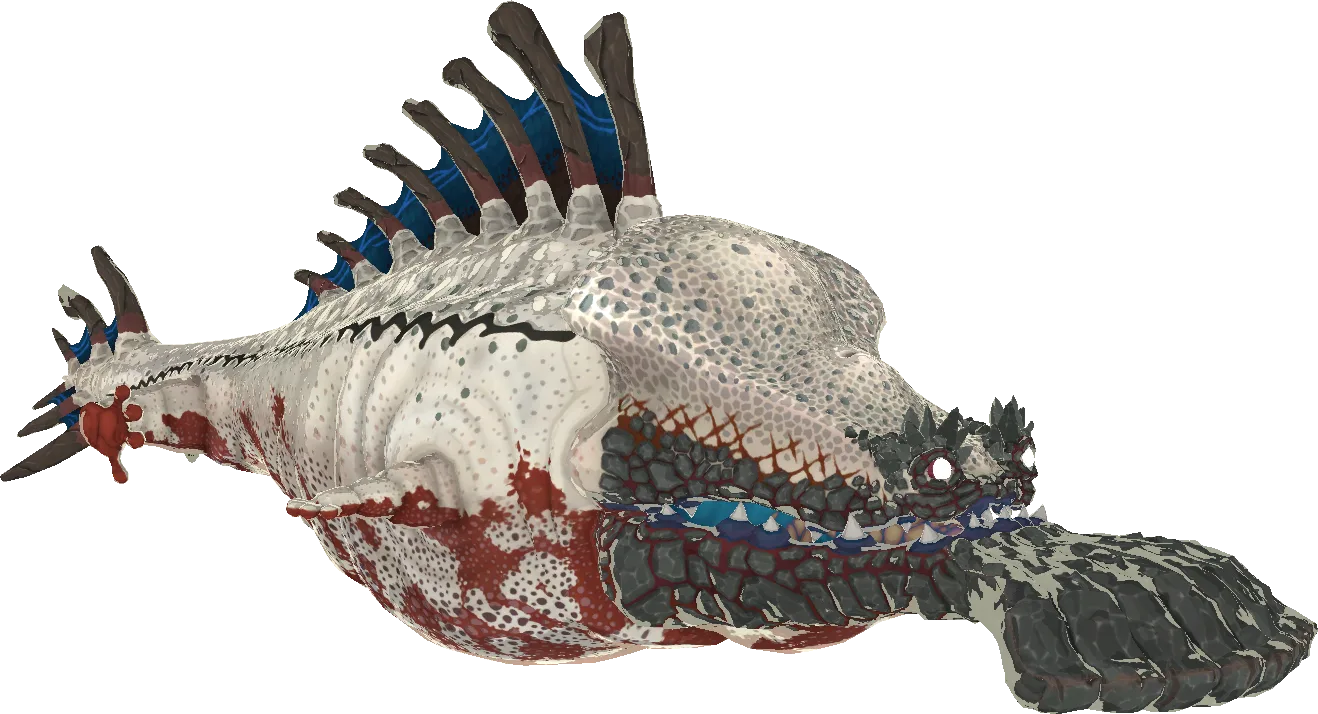
The Champions' Ballad adds two more field bosses, and both come with an asterisk: neither the Igneo Talus Titan nor the Molduking counts toward its Medal of Honor. If your Talus tally is sitting at 39 and you're sure you killed the Titan, that's why.
The Igneo Talus Titan sits in the lava at the north shore of Lake Darman for Daruk's Divine Beast Tamer's Trial. It fights like a normal Igneo Talus, but it will not leave the lava, so you cannot simply walk up to it. The way in is the thing that makes it dangerous: its heat generates a constant updraft, which you paraglide up to reach the ore deposit on top of its head. Kamia Omuna Shrine rises when it dies.
The Molduking is Urbosa's trial, out in the East Barrens, at 1,500 HP and armoured — the Compendium says centuries underground left its skin rich in iron. There are a Gerudo Spear, a Golden Claymore, a Rusty Broadsword, a Rusty Halberd and a Throwing Spear stuck in its hide from people who tried already. Same counterplay as a regular Molduga: Remote Bombs and Bomb Arrows to bring it up, then hit it while it's down. Keive Tala Shrine rises afterwards, and unlike the Titan the Molduking respawns in the East Barrens after every Blood Moon if you want the fight again.
Both trials, and the ten others, are laid out in the Champions' Ballad guide.
More Hyrule systems get taken apart on the Breath of the Wild coverage hub, and if you're still early enough that a Stone Talus looks like a wall, start with the beginner guide.
Quick Action Checklist
- Ask Kilton for the count after each medal push. He reads the running tally back at you, so you always know how far off you are.
- Carry a Boulder Breaker for Taluses, not an Iron Sledgehammer. 60 attack at 2x is 120 a swing; the sledgehammer's famous 4x is only 48.
- Never bring a Drillshaft to a Talus. It mines ore deposits in the world but gets no combat bonus against one.
- Stun a Talus by shooting the deposit — it falls flat, and that is your climb window.
- Upgrade Flamebreaker armour twice before you climb an Igneo Talus, and wear upgraded Snowquill or Zant's Helmet for a Frost Talus. One-star gear does not grant the set bonus that stops contact damage.
- Steal the weapons off a sleeping Hinox before you decide whether to fight it. The Mount Taran Ancient Orbs can be lifted the same way.
- Open every Hinox fight with an arrow to the eye and front-load your damage. Below half health it covers the eye.
- Farm Black Hinoxes for Hinox Guts — 100% drop versus 20% on reds, at 80 rupees each.
- Fight Stalnoxes between 9 PM and 5 AM, use a Bomb Arrow to pop the eye out early, then carry the eye away instead of grinding the health bar down.
- Bait Molduga with Remote Bombs or Bomb Arrows, or rent a sand seal in Gerudo Town for 20 rupees and shield-surf the fight. Save one Molduga Guts for Malena.
- Run the seven Rare Taluses when you need money: roughly 1,000 rupees each on the drop tables, and Ramella pays over shop rate on the good gems.
Frequently Asked Questions
How many Taluses, Hinoxes and Molduga are in Breath of the Wild?
What is the best weapon against a Stone Talus in Breath of the Wild?
How much HP does a Talus have in Breath of the Wild?
How do you kill a Stalnox in Breath of the Wild?
How do you fight a Molduga in Breath of the Wild?
Does the Igneo Talus Titan count toward the Medal of Honor?
What is the most valuable field boss to farm in Breath of the Wild?
Keep Reading
- Zelda Wiki — Medal of Honor: 40 Hinoxes and Stalnoxes, 40 Taluses, four Molduga, Kilton's running count, the ★ Defeated health-bar tag
- Zelda Wiki — Stone Talus: 300 HP, Ore Deposit weak point, Remote Bomb arm removal and regeneration, drop table, 11 locations, Junior and Senior variants
- Zelda Wiki — Stone Talus (Rare): 900 HP, Rare Ore Deposit, diamond-weighted drop table, 7 locations
- Zelda Wiki — Stone Talus (Luminous): 600 HP, Luminous Stone Deposit, drop table, 12 locations
- Zelda Wiki — Igneo Talus: 800 HP, contact fire damage, twice-upgraded Flamebreaker Fireproof set bonus, ice-weapon counter, 5 Eldin locations, The Road to Respect
- Zelda Wiki — Frost Talus: 800 HP, contact freezing, Unfreezable set bonus via Snowquill or Zant's Helmet, Fire Arrow counter, 5 locations, Face the Frost Talus
- Zelda Wiki — Iron Sledgehammer: 12 attack, 40 durability, special-hit ratio 4.0 against all Talus weak points
- Zelda Wiki — Boulder Breaker: 60 attack, 60 durability, special-hit ratio 2.0 against Talus weak points, forged from a Cobble Crusher, five flint and one diamond
- Zelda Wiki — Stone Smasher: 42 attack, 40 durability, doubled damage on a Talus Ore Deposit
- Zelda Wiki — Drillshaft: 14 attack, breaks Ore Deposits and metal boxes but receives no damage bonus against a Stone Talus
- Zelda Wiki — Ore Deposit: hammer weapons break them in fewer hits, they serve as Talus weak points, and looted deposits return on a Blood Moon
- Zelda Wiki — Hinox: 600 HP, stealing weapons off the necklace, eye stun, eye covered below half health, boulder and Bomb Barrel throws, drop table, red/Blue/Black location lists
- Zelda Wiki — Blue Hinox: 800 HP, burnable wooden greaves, roasted seafood drops, 16 locations, Ancient Orb quests
- Zelda Wiki — Black Hinox: 1,000 HP, metal greaves that conduct electricity, 100% Hinox Guts drop, 7 locations
- Zelda Wiki — Stalnox: 1,000 HP, active 9 PM to 5 AM, detachable eye past half health, Bomb Arrow shortcut, three win conditions, 10 locations
- Zelda Wiki — Molduga: four in Hyrule, sound sensitivity, Remote Bomb and Bomb Arrow baiting, sand-seal shield surfing, treasure chest drops
- Zelda Wiki — Molduking: 1,500 HP, East Barrens, iron-rich hide, weapons embedded in its body, Blood Moon respawn, excluded from the Medal of Honor
- Zelda Wiki — Igneo Talus Titan: Lake Darman, constant updraft, head-mounted Ore Deposit, does not leave the lava, excluded from the Medal of Honor
- Zelda Wiki — Medicinal Molduga: Malena in the Gerudo Town barracks, Molduga Guts, Gold Rupee reward, Thunder Helm prerequisite
- Zelda Wiki — Ramella: Goron City gem wholesaler, appears after Vah Rudania, The Jewel Trade pays 500 rupees for 10 amber
- Zelda Wiki — Sand Seal: Gerudo Town rental at 20 rupees, 50 without a shield, trained red seals wait for their rider
Related Guides
Breath of the Wild Kilton: Shop Locations, Mon and Masks
Kilton pays 3 Mon for a Bokoblin Horn, exactly what a shop pays in rupees, and 100 Mon for a Lynel Guts a shop buys for 200. Here is where the Fang and Bone opens, the full Mon exchange table, all twelve wares and their Divine Beast unlocks, and what the masks, the Dark set and Monster Extract actually do.
Breath of the Wild Guardians: HP by Type and Every Drop
A Decayed Guardian has exactly 500 HP, and a Perfect Guard deals exactly 500 damage — parry once and it is dead. A Guardian Stalker takes three of the same parry, because it has 1,500. Six machines share the name "Guardian," and three of them tie at the exact same HP total.
Breath of the Wild Weapon Durability: Hits and Bonuses
Durability in Breath of the Wild is not a timer or a wear bar. It is a plain integer the game calls Life, it ticks down only when the weapon connects, and knowing the number turns "my weapons keep breaking" into a budget you can actually spend.
Breath of the Wild Master Mode: The HP Numbers, and the Rule It Takes Away
Master Mode is not the same game with a bigger health bar on the enemies. It moves most of them up a rank, lets them heal mid-fight, takes away the hidden rule that stops you dying in one hit, and cuts your autosaves from five to one. Here is every change, with numbers.
Breath of the Wild Beginner's Guide: Your First 10 Hours
Breath of the Wild does not tell you that armor matters more than hearts, that your weapons are ammunition, or that the Blood Moon is a restock button. Here is the stuff the game leaves you to discover the hard way.
Breath of the Wild Dragon Farming: Farosh, Dinraal, and Naydra Routes, Times, and Parts
At 4:00 AM, Dinraal flies underneath the Tabantha Great Bridge. Not over it — under it. The three dragons of Hyrule run on schedules, never fight back, and drop the most valuable materials in the game if you know which body part to hit.