Breath of the Wild Weapon Durability: Hits and Bonuses
Durability in Breath of the Wild is not a timer or a wear bar. It is a plain integer the game calls Life, it ticks down only when the weapon connects, and knowing the number turns "my weapons keep breaking" into a budget you can actually spend.
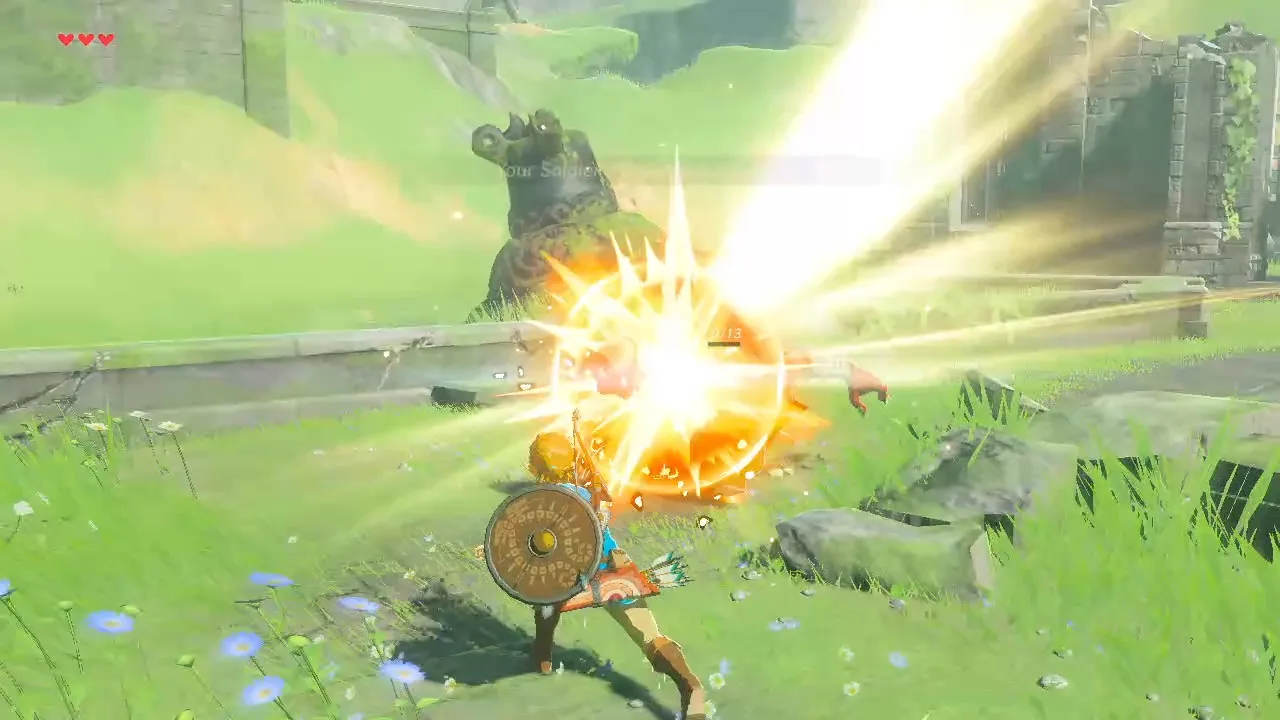
A Royal Guard's Sword hits for 48 and survives 14 swings. A Traveler's Spear hits for 3 and survives 30. Those two numbers, multiplied out, are the whole argument about which weapon is "better," and Breath of the Wild only ever shows you one of them.
Durability here is not a wear bar and not a timer. It is a plain integer — the game's own weapon parameters call it Life — and it drops by one each time the weapon connects with something. Once you know the count, "my weapons keep breaking" stops being a complaint about the game and becomes a budget you can spend deliberately.
This is the mechanical layer under that: how many hits each tier of gear actually gets, the swings that cost nothing at all, the double-damage hit hiding at the bottom of every weapon, how the white and yellow modifiers are rolled, and the one repair trick that genuinely exists in this game — plus the sequel's version of it that does not.
Durability is a hit counter, not a timer
Every weapon, shield and bow in Breath of the Wild carries a fixed number of uses. Spend them and the item shatters — the one exception being the Master Sword, which loses energy instead of breaking and recharges over ten minutes. Two visual cues track it: an item at full durability shows a sparkle in the top right of its inventory icon, and an item with three or fewer uses left flashes red on that icon while the game tells you it is badly damaged.
The critical detail is what counts as a use. Durability is only consumed when the weapon makes contact. Swinging into empty air costs nothing. So does cutting grass, hitting a switch, striking the terrain, and hitting a tree with a blunt weapon. The single exception is a melee weapon that fires a projectile — those spend durability whether or not anything is hit.
So the grass question answers itself: mowing a field with your Royal Claymore does not cost you the Royal Claymore.
The Hylian weapon ladder, in numbers
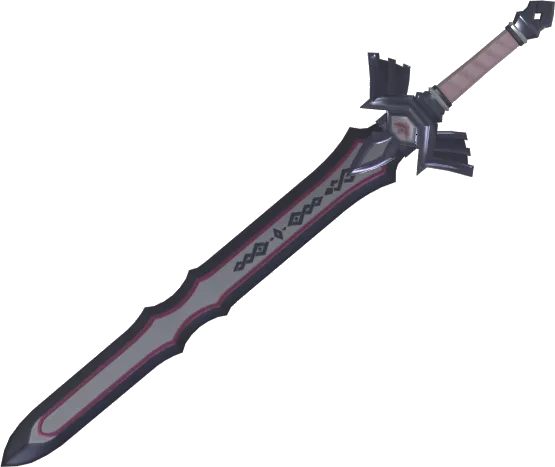
Here is the standard Hylian arsenal with attack next to the durability number the game never shows you, plus the product of them — the total damage one copy of that weapon can deliver before it breaks. Attack and durability below are the Power and Life values in the weapon-parameter block on each weapon's Zelda Wiki page; the lifetime column is simply the two multiplied. (One caveat: the Soldier's Broadsword page's infobox reads 25 durability while its parameter block reads 23. The parameter value is what is used here and throughout.)
| Weapon | Attack | Durability | Lifetime damage |
|---|---|---|---|
| Tree Branch | 2 | 4 | 8 |
| Traveler's Sword | 5 | 20 | 100 |
| Soldier's Broadsword | 14 | 23 | 322 |
| Knight's Broadsword | 26 | 27 | 702 |
| Royal Broadsword | 36 | 36 | 1,296 |
| Royal Guard's Sword | 48 | 14 | 672 |
| Traveler's Claymore | 10 | 20 | 200 |
| Soldier's Claymore | 20 | 25 | 500 |
| Knight's Claymore | 38 | 30 | 1,140 |
| Royal Claymore | 52 | 40 | 2,080 |
| Traveler's Spear | 3 | 30 | 90 |
| Soldier's Spear | 7 | 35 | 245 |
| Knight's Halberd | 13 | 40 | 520 |
| Royal Halberd | 26 | 50 | 1,300 |
| Woodcutter's Axe | 3 | 47 | 141 |
| Guardian Sword++ | 40 | 32 | 1,280 |
| Ancient Short Sword | 40 | 54 | 2,160 |
Three things fall straight out of that column.
The Royal Guard's Sword is the sharpest trap on that list. It hits a third harder than a Royal Broadsword and delivers barely half as much damage over its life, because 14 uses is nothing. It is a finisher you pull out for a Blight or a stubborn health bar, not a weapon you walk around with — which is exactly how the Master Mode guide frames the Royal Guard's chests it pulls out of the sky.
The Ancient Short Sword tops the entire chart at 2,160 lifetime damage, and it is the only weapon there you can order more of: the Ancient Oven at the Akkala Ancient Tech Lab builds one for 1,000 rupees, 15 Ancient Springs, 5 Ancient Shafts and 2 Ancient Cores. When durability is the resource you are spending, a craftable weapon beats a farmed one, because the supply is a shopping list rather than a Blood Moon.
And spears are a durability play, not a damage one. A Royal Halberd's 50 uses buy a lot of swings, and its 26 attack is half a Royal Claymore's. Carrying one for trash mobs is how you stop feeding good weapons to red Bokoblins.
What does not cost durability
Beyond the no-contact rule, there is one damage window in the game that is entirely free: attacks made while mounted on a Lynel spend no durability at all. That is the mechanical reason the mount is worth setting up rather than a nice bonus, and the Lynel guide covers the headshot-to-stun loop that gets you up there.
Shields are the other half of the ledger, and they wear down from two things: being struck by an enemy attack, and shield surfing on rough ground.
The hit that breaks a weapon is always a critical
A Critical Hit in Breath of the Wild deals twice the weapon's normal damage, and there are exactly three ways to cause one:
- An arrow to an enemy's head or eye.
- Throwing a weapon at an enemy.
- Breaking a weapon while striking an enemy — the last attack a weapon performs before it shatters is always a critical.
The third one is the reason to stop babying a nearly dead weapon. A Royal Guard's Sword's fourteenth swing lands for 96, not 48. That final hit is not a consolation prize for losing the weapon; it is the single biggest swing that weapon will ever make, and holding the weapon in reserve is how you throw it away.
Throwing is the same trade taken voluntarily. Every weapon in the table above is flagged as a throwing weapon that breaks on impact, so a thrown Royal Claymore is 104 damage and then no more Royal Claymore. That is a fine price against a Blight and a terrible one against a Moblin.
There is also a genuinely strange interaction between the break-critical and mounting. Because mounted attacks consume no durability, Zelda Wiki's durability page notes that the always-critical rule applies to attacking from a Lynel's back as well — a weapon sitting on its final point of durability does not get consumed up there, so the doubled hit is what lands.
Shields run on a different meter
Shields carry a guard value and a durability value that have almost nothing to do with each other:
| Shield | Guard | Durability |
|---|---|---|
| Pot Lid | 1 | 10 |
| Rusty Shield | 3 | 16 |
| Traveler's Shield | 4 | 12 |
| Soldier's Shield | 16 | 16 |
| Knight's Shield | 40 | 23 |
| Royal Shield | 55 | 29 |
| Hylian Shield | 90 | 800 |
The Hylian Shield's 800 is not a typo and not a rounding of "very high" — it is roughly 27 times a Royal Shield's 29, which is why it is worth carrying rather than hoarding. The Calamity Ganon guide covers where the Hyrule Castle copy sits and how to replace it.
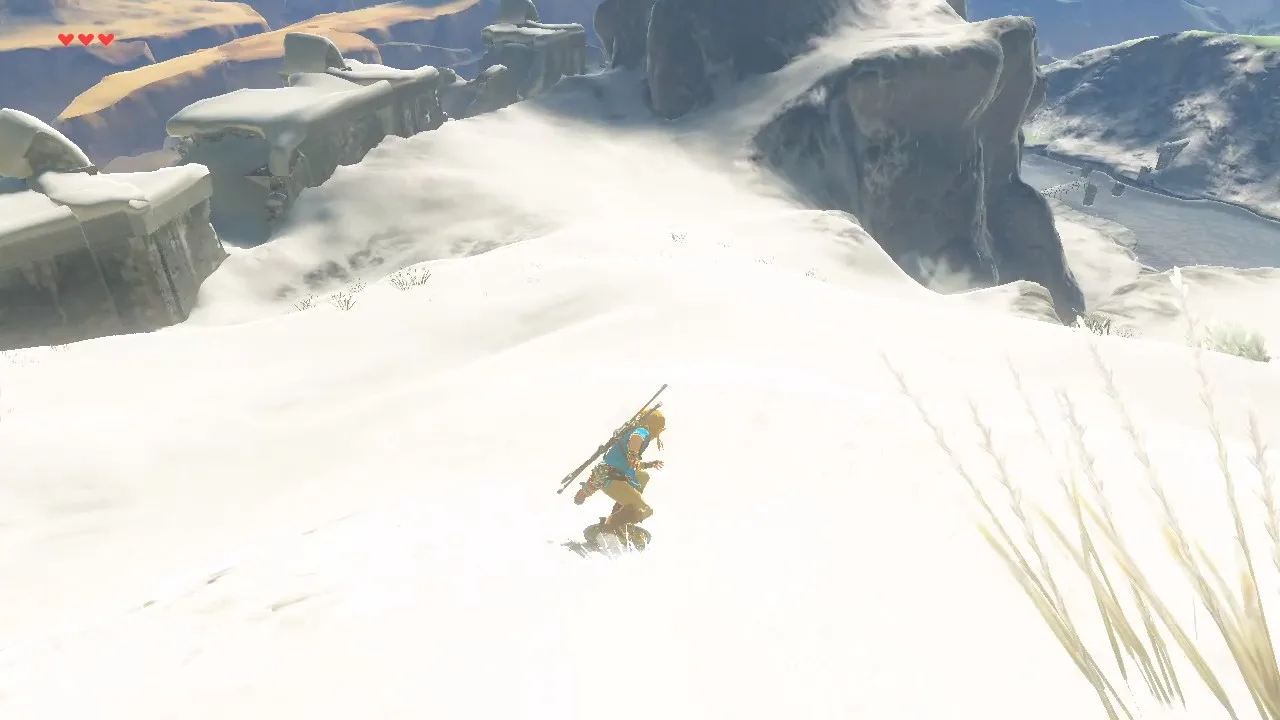
Two rules worth having straight. Surfing costs shield durability on rough terrain but nothing at all on snow or sand, which the combat tips piece breaks down surface by surface. And parrying is not a durability cost on a normal shield: Zelda Wiki lists shield durability loss from enemy hits and from surfing, and singles out the Lynel Shield, Mighty Lynel Shield and Savage Lynel Shield as the shields that also lose durability when they parry, because their banded edges are dealing damage back.
Weapon Bonuses roll once, and only once
A Weapon Bonus — the little coloured icon on an item's stat card — is a modifier rolled at the moment the item first enters your inventory, not when it spawns and not when you equip it. There are two tiers, marked by colour: white and the stronger yellow. Which tier an item can roll is gated by your World Level: a given weapon starts out with no modifier at all, then becomes guaranteed a white one, then a yellow one.
Only one bonus lands per item, and the roll is weighted rather than even:
| Item type | Tier | Odds |
|---|---|---|
| Most weapons | White | Critical Hit 41.67%, Durability Up 33.33%, Attack Up 25% |
| Most weapons | Yellow | Long Throw 41.67%, Durability Up 33.33%, Attack Up+ 25% |
| Any shield (not from an amiibo chest) | White or yellow | Shield Guard Up 50%, Durability Up 50% |
| Most bows | White | Attack Up 50%, Durability Up 50% |
| Most bows | Yellow | Quick Shot 41.67%, Durability Up 33.33%, Attack Up+ 25% |
The effects, briefly: Attack Up and Durability Up add a random integer inside a per-weapon range. Shield Guard Up does the same for a shield's guard. Critical Hit makes the last hit of an attack chain a critical that doubles damage and staggers. Long Throw multiplies throw distance by 1.5 to 2.0. Quick Shot multiplies bow draw speed by 1.1 to 1.3. Five-Shot Burst turns a three-arrow bow into a five-arrow one, and it only appears on the Forest Dweller's Bow and the three Lynel bows — the Lynel guide has that bow's spread maths.
Two exceptions worth pocketing. The Traveler's Sword and the Rusty Broadsword can never roll Critical Hit; their white tier is a flat 50/50 between Attack Up and Durability Up. And weapons that come out of an amiibo chest always roll the maximum value for their tier — though the game displays them as white either way, so a maxed yellow bonus can look like a modest one.
What a bonus is actually worth
The ranges are set per weapon, not globally, and the spread between a cheap weapon and a Royal one is enormous:
| Weapon | Attack Up (white) | Attack Up+ (yellow) | Durability Up (white) | Durability Up+ (yellow) |
|---|---|---|---|---|
| Traveler's Sword | +3 to +5 | +6 to +8 | +1 to +2 | +3 |
| Soldier's Broadsword | +3 to +6 | +7 to +11 | +1 to +2 | +3 |
| Knight's Broadsword | +3 to +5 | +6 to +9 | +3 to +5 | +6 to +8 |
| Royal Broadsword | +6 to +12 | +13 to +24 | +5 to +9 | +10 to +18 |
| Royal Guard's Sword | +9 to +16 | +17 to +33 | +2 to +3 | +4 to +7 |
| Knight's Claymore | +4 to +7 | +8 to +13 | +3 to +5 | +6 to +8 |
| Royal Claymore | +5 to +10 | +11 to +20 | +5 to +9 | +10 to +18 |
| Royal Halberd | +5 to +10 | +11 to +20 | +4 to +8 | +9 to +15 |
A maxed Attack Up+ takes a Royal Guard's Sword to 81 attack and a Royal Broadsword to 60. A maxed Durability Up+ takes that same Royal Broadsword to 54 uses — but you get one or the other, never both, so a Royal weapon's real ceiling depends on a coin flip you cannot re-roll.
Shields follow the same shape at a wildly different scale. A Royal Shield's Guard Up+ range is +11 to +20, on top of 55. The Hylian Shield's is +33 to +54 guard, and its Durability Up+ range is +217 to +360 — on an item that already starts at 800.
Critical Hit is the modifier you can lose forever
World Level is driven by experience the game awards for killing things, and it is the same counter that upgrades red Bokoblins into blue ones. Each experience point contributes 1.4% toward enemy progression and 1.2% toward item progression, and the first enemy upgrade needs a total above 285.7. The base game holds a maximum of 13,150 experience; the DLC pushes that to 16,700. The top enemy threshold, 6,285.7, is where Golden Lynels appear.
The item side of that counter has a consequence that is easy to walk past. Once World Level climbs high enough, white bonuses stop being rolled at all — items go straight to yellow. Critical Hit exists only at the white tier, so past that point it can no longer appear on a new weapon, and it joins the game's short list of permanently missable things.
If you want a Critical Hit weapon in your save, the time to pick one up is before you have cleared half of Hyrule, not after. It is a small thing, and it is unusual for this game: most of Hyrule stays open, including the Master Sword and every Divine Beast.
The weapons that never roll a bonus
Some gear cannot receive a Weapon Bonus at all, which is why an Ancient Short Sword never shows a modifier no matter how many you make:
- Unique equipment: Master Sword, Bow of Light, One-Hit Obliterator, Lightscale Trident, Ceremonial Trident, Scimitar of the Seven, Daybreaker, Boulder Breaker, Great Eagle Bow.
- Shop weapons: Ancient Short Sword, Ancient Bladesaw, Ancient Spear, Ancient Shield, Ancient Bow, Spring-Loaded Hammer.
- Skeleton arms: Bokoblin Arm, Moblin Arm, Lizalfos Arm — plus the Farmer's Pitchfork as a one-off special case.
A second group rolls white bonuses but never yellow ones, so they stay modest no matter how far your save has progressed: Tree Branch, Soup Ladle, Boat Oar, Woodcutter's Axe, Wooden Mop, Pot Lid and Wooden Bow.
Note the awkward overlap in the shop list. The Ancient Short Sword is the lifetime-damage champion of the table further up and it can never carry a bonus, which is the honest caveat on that ranking — a lucky Royal Claymore will out-damage it, it just will not do so reliably.
Rock Octoroks polish Rusty Gear, and nothing else
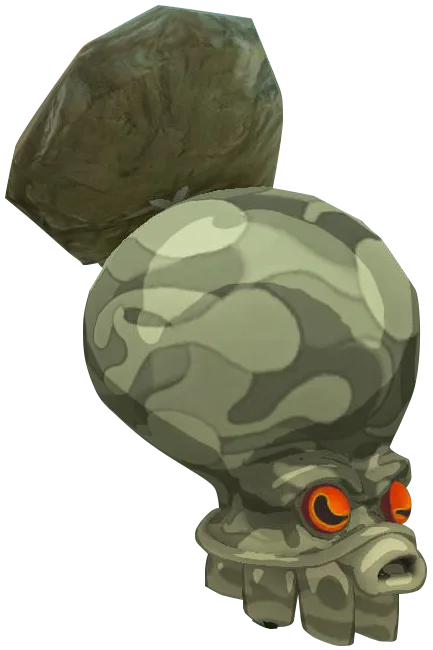
Here is the repair-shaped mechanic Breath of the Wild actually has, and the place where a sequel mechanic gets mistaken for it.
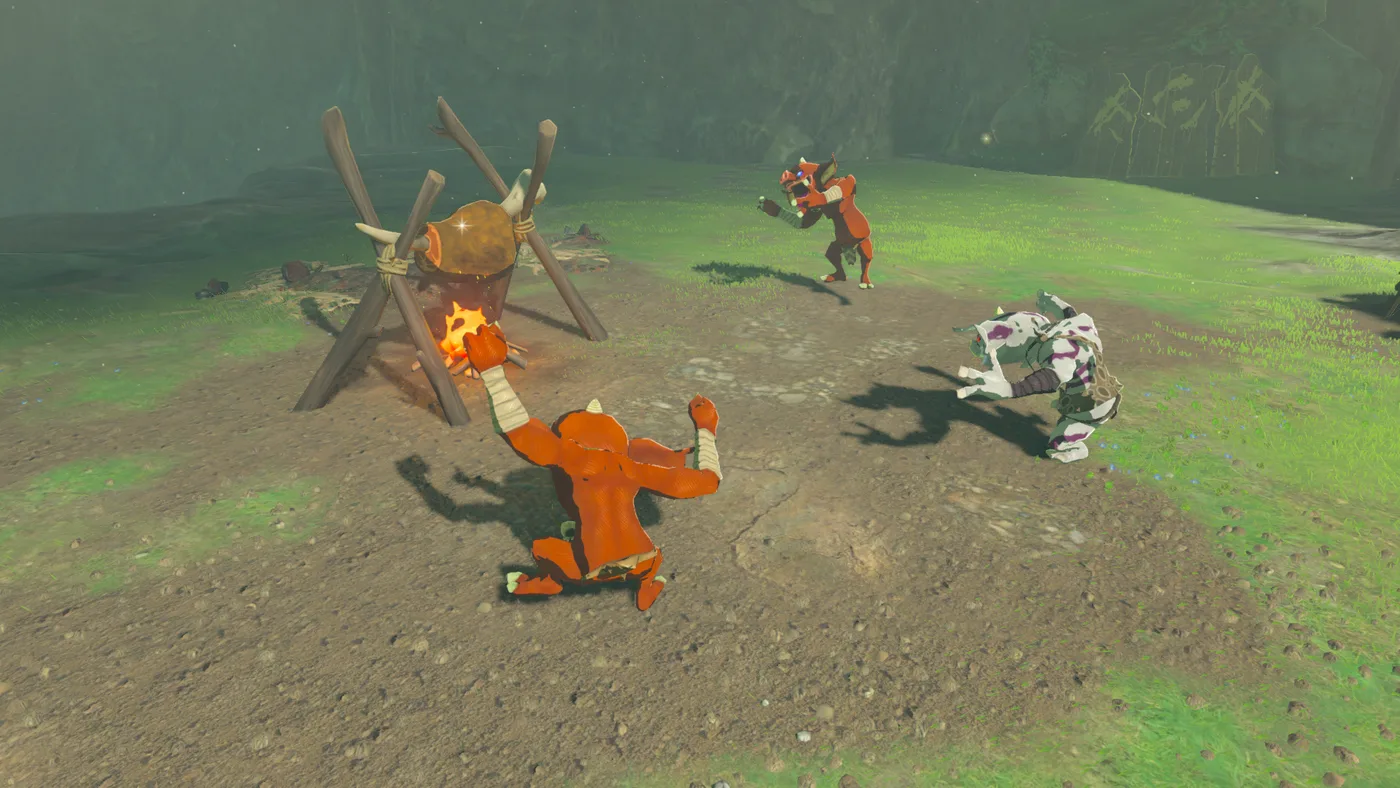
Rock Octoroks live mainly in Eldin Canyon and the Eldin Mountains, with a second population up in the Gerudo Highlands. They bury themselves under a boulder and inhale hard before spitting an explosive rock. Drop a piece of Rusty Gear in front of one mid-inhale and it swallows the weapon, pauses to crunch it, and spits back a clean counterpart. The rank of the replacement is random:
| Feed it | 50% — Traveler's | 35% — Soldier's | 10% — Knight's | 5% — Royal |
|---|---|---|---|---|
| Rusty Broadsword (6 atk / 8 dur) | Traveler's Sword 5 / 20 | Soldier's Broadsword 14 / 23 | Knight's Broadsword 26 / 27 | Royal Broadsword 36 / 36 |
| Rusty Claymore (12 / 10) | Traveler's Claymore 10 / 20 | Soldier's Claymore 20 / 25 | Knight's Claymore 38 / 30 | Royal Claymore 52 / 40 |
| Rusty Halberd (5 / 15) | Traveler's Spear 3 / 30 | Soldier's Spear 7 / 35 | Knight's Halberd 13 / 40 | Royal Halberd 26 / 50 |
| Rusty Shield (3 guard / 16) | Traveler's Shield 4 / 12 | Soldier's Shield 16 / 16 | Knight's Shield 40 / 23 | Royal Shield 55 / 29 |
The Rusty Claymore is the one worth hauling across the map. A 12-attack, 10-use piece of junk has a one-in-twenty chance of coming back as a 52-attack Royal Claymore, and even the 50% floor doubles its durability for the price of two points of attack. The Rusty Halberd is the weakest trade: half the time you get a Traveler's Spear, which drops your attack from 5 to 3 in exchange for doubling the use count.
Rusty Broadswords turn up commonly in Hyrule Field and Eldin Canyon, abandoned or carried by low-rank enemies, and one sits in a stone on a small island in a lake near the Temple of Time on the Great Plateau — so the supply line is short if you are already farming Eldin. Because Rusty Gear is metal it sinks, conducts electricity, attracts lightning in a storm, and can be moved with Magnesis, which is the tidy way to place one in front of an inhaling Octorok without standing there yourself.
Now the correction. If you have read that Rock Octoroks repair any weapon and re-roll its modifier, that is Tears of the Kingdom. Zelda Wiki is explicit that the sequel's Rock Octoroks can no longer polish Rusty Gear and instead gained the ability to restore durability and apply a fresh Weapon Bonus to most equipment. In Breath of the Wild, the Rusty Gear swap is what the Octoroks do. Nothing in this game restores a Royal Claymore's 40 uses — which is precisely why the lifetime-damage column matters.
One practical note on killing them, since they guard good Eldin territory: a Rock Octorok's explosive rock cannot be deflected back with a shield, not even with a Perfect Guard. It detonates in front of you instead. Place a Remote Bomb in its inhale path and detonate once it has swallowed it.
More Hyrule mechanics breakdowns live on the Breath of the Wild coverage hub, and the rest of what we play is on the Mythras blog.
Quick Action Checklist
- Treat durability as a hit count: a Royal Broadsword gets 36 connecting hits, a Royal Guard's Sword only 14.
- Stop protecting weapons from grass. Swings that make no contact — grass, air, switches, terrain, trees hit with a blunt weapon — cost zero durability.
- Carry a Royal Halberd or Soldier's Spear for trash mobs; 50 and 35 uses respectively is what keeps your Royal Claymore intact.
- Spend the last swing, do not save it. The hit that breaks a weapon is always a Critical Hit for double damage — 96 from a Royal Guard's Sword.
- Throw a weapon only when the 2x critical is worth losing it, because a thrown weapon breaks on impact.
- Mount Lynels with your heaviest weapon. Mounted attacks cost no durability at all.
- Surf shields on snow and sand only, and remember that Lynel-series shields are the ones that burn durability when they parry.
- Grab a Critical Hit weapon early — the white bonus tier stops appearing once World Level climbs, and that modifier is white-only.
- Do not wait for a modifier on an Ancient Short Sword, Boulder Breaker or Master Sword. Those never roll one.
- Haul Rusty Claymores to the Rock Octoroks in Eldin: 5% Royal Claymore, and even the 50% outcome doubles the durability.
- Do not try to feed a Rock Octorok a normal weapon in this game. The repair-and-re-roll trick belongs to Tears of the Kingdom.
Frequently Asked Questions
How much durability do weapons have in Breath of the Wild?
Does cutting grass waste weapon durability in Breath of the Wild?
Can you repair weapons in Breath of the Wild?
What do the yellow weapon modifiers mean in Breath of the Wild?
Why do some Breath of the Wild weapons never have a modifier?
How much damage does a breaking weapon do in Breath of the Wild?
Can you lose the Critical Hit weapon modifier permanently in Breath of the Wild?
Keep Reading
- Zelda Wiki — Durability: no durability loss without contact (grass, switches, terrain, blunt hits on trees), the always-critical breaking hit, zero durability cost while mounted on a Lynel, shield loss from enemy hits and rough-terrain surfing, Lynel-series shields losing durability on a parry, full-durability sparkle and the badly-damaged warning at three uses
- Zelda Wiki — Weapon Bonus: rolled when an item first enters the inventory, white and yellow tiers gated by World Level, per-type modifier odds, Long Throw 1.5-2.0x and Quick Shot 1.1-1.3x, Five-Shot Burst, amiibo max-value rule, the never-bonused unique and shop weapons, white-only items, and Critical Hit going extinct at high World Level
- Zelda Wiki — Critical Hit: twice normal weapon damage, the three routes (arrow to the head or eye, thrown weapon, weapon breaking on the strike), and the Critical Hit modifier acting on the final blow of a chain
- Zelda Wiki — World Level: 1.4% per experience point toward enemy progression and 1.2% toward item progression, the 285.7 first-upgrade threshold, the 6,285.7 Golden Lynel threshold, 13,150 base-game maximum experience and 16,700 with DLC
- Zelda Wiki — Rock Octorok: Eldin Canyon, Eldin Mountains and Gerudo Highlands habitat, 8 HP, Rusty Gear polishing at 50/35/10/5 for Traveler's, Soldier's, Knight's and Royal, the rock that cannot be deflected even with a Perfect Guard, Remote Bomb counter, and the Tears of the Kingdom change to durability repair and bonus re-rolls
- Zelda Wiki — Rusty Gear: Rusty Broadsword 6/8, Rusty Claymore 12/10, Rusty Halberd 5/15, Rusty Shield 3 guard, the polish odds, and the metal properties (sinks, conducts, attracts lightning, Magnesis-compatible)
- Zelda Wiki — Rusty Broadsword: Life 8 / Power 6 weapon parameters, bonus ranges, Hyrule Field and Eldin Canyon spawns, the Great Plateau lake stone near the Temple of Time
- Zelda Wiki — Royal Guard's Sword: Life 14 / Power 48, Attack Up +9 to +16 and Attack Up+ +17 to +33
- Zelda Wiki — Royal Broadsword: Life 36 / Power 36, Attack Up+ +13 to +24, Durability Up+ +10 to +18
- Zelda Wiki — Royal Claymore: Life 40 / Power 52, Attack Up+ +11 to +20
- Zelda Wiki — Ancient Short Sword: Life 54 / Power 40, the highest lifetime damage of the standard arsenal
- Zelda Wiki — Hylian Shield: 90 guard, 800 durability, Durability Up+ range of +217 to +360 and Guard Up+ of +33 to +54
- Fandom Zelda Wiki — Rock Octorok: corroborates the Breath of the Wild behaviour as Rusty Gear polishing only, at 50% Traveler's, 35% Soldier's, 10% Knight's and 5% Royal
Related Guides

Breath of the Wild Guardians: HP by Type and Every Drop
A Decayed Guardian has exactly 500 HP, and a Perfect Guard deals exactly 500 damage — parry once and it is dead. A Guardian Stalker takes three of the same parry, because it has 1,500. Six machines share the name "Guardian," and three of them tie at the exact same HP total.
Breath of the Wild Field Bosses: The 84 Kills Kilton Wants, and the Hammer Math
Kilton will trade you three Medals of Honor for 40 Taluses, 40 Hinoxes and four Molduga. That is 84 kills, and the location lists add up to exactly those numbers. Here are the HP figures, the drop tables, and the weapon that quietly does four times damage.
Breath of the Wild Master Mode: The HP Numbers, and the Rule It Takes Away
Master Mode is not the same game with a bigger health bar on the enemies. It moves most of them up a rank, lets them heal mid-fight, takes away the hidden rule that stops you dying in one hit, and cuts your autosaves from five to one. Here is every change, with numbers.
Breath of the Wild Dragon Farming: Farosh, Dinraal, and Naydra Routes, Times, and Parts
At 4:00 AM, Dinraal flies underneath the Tabantha Great Bridge. Not over it — under it. The three dragons of Hyrule run on schedules, never fight back, and drop the most valuable materials in the game if you know which body part to hit.
Breath of the Wild Beginner's Guide: Your First 10 Hours
Breath of the Wild does not tell you that armor matters more than hearts, that your weapons are ammunition, or that the Blood Moon is a restock button. Here is the stuff the game leaves you to discover the hard way.
Breath of the Wild Lynel Guide: HP by Tier, Savage Gear, and the Farm Loop
A Silver Lynel has 5,000 HP. Calamity Ganon has 8,000. But a Lynel is not a wall — it is the best vending machine in Hyrule, and the Savage Lynel Crusher it drops has the highest base attack of any weapon in the game.