Breath of the Wild Master Sword Guide: 13 Hearts, Durability, and the Trial
The Master Sword has 30 base attack. A Royal Broadsword has 36. The legendary blade of Hyrule is, on paper, a downgrade — until you understand when it glows and what 54 floors of the Trial of the Sword actually buy you.
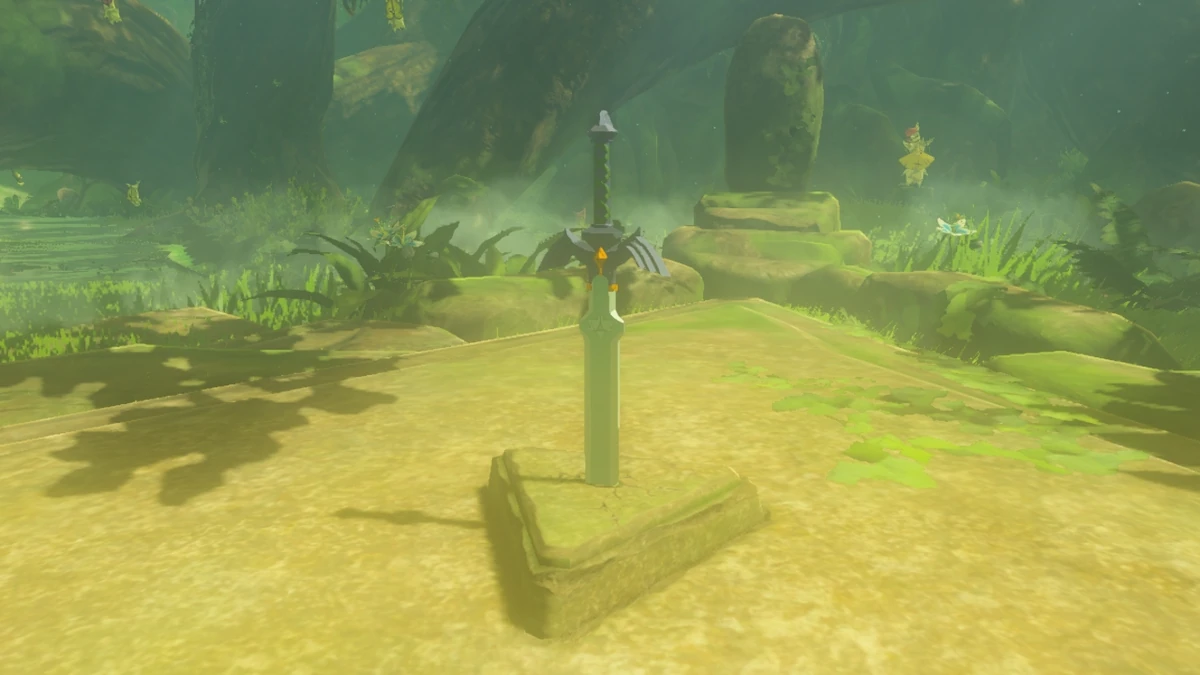
The Master Sword has a base attack of 30. A Royal Broadsword you can loot out of Hyrule Castle has 36. A Savage Lynel Sword has 58, and you can farm those on a respawn timer.
So the legendary Blade of Evil's Bane, the sword that seals the darkness, the thing Zelda begged to keep safe for a hundred years, is statistically the third-best sword in the game. That is not a mistake and it is not a nerf. It is the entire design of the weapon, and once you understand the two conditions that change the number — the glow, and the Trial — the Master Sword stops being a trophy and becomes the only weapon in Hyrule you never have to think about again.
Where the Master Sword is and how to reach it
It is in the Korok Forest, at the north end of the Great Hyrule Forest, resting in its pedestal in front of the Great Deku Tree. On the map that is the far north-center of Hyrule, well above Hyrule Castle.
There is exactly one way in: through the Lost Woods. The Korok Forest sits on an isthmus ringed by Lake Mekar, which the game treats as impassable. The fog is the gate, and there is no back door.
Getting through the Lost Woods
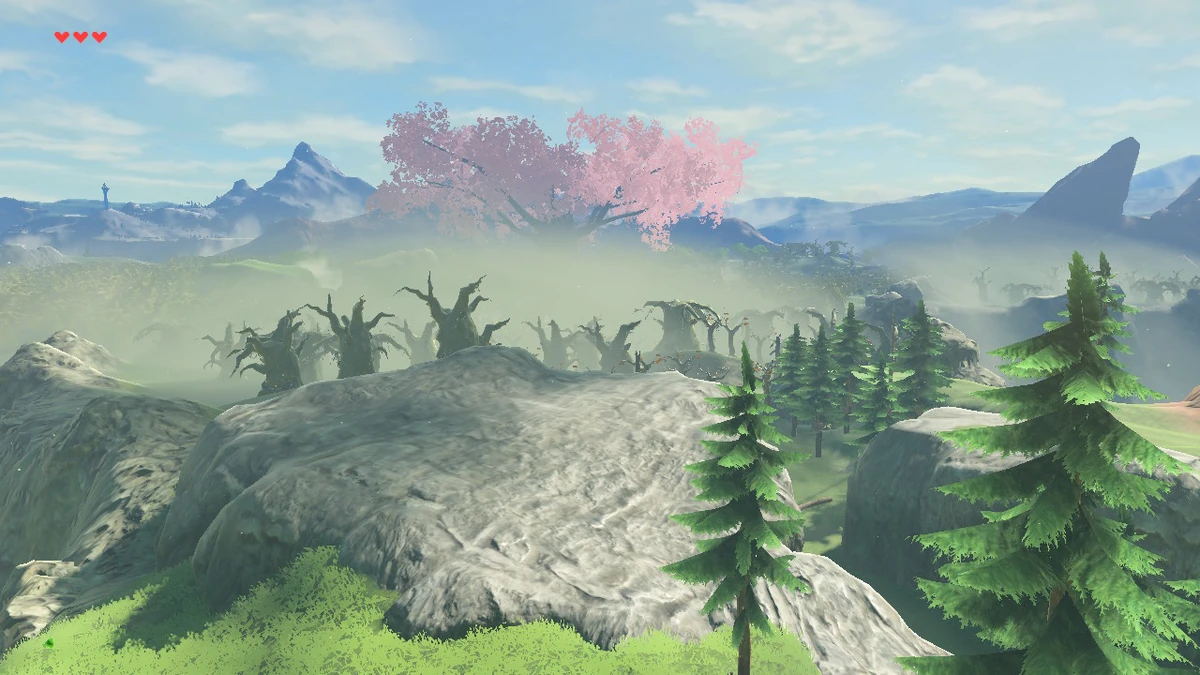
Wander into that fog without a plan and the game quietly picks you up and puts you back at the entrance. There is no death, no damage, just a soft refusal.
The intended solution is sitting right at the entrance. A pair of lit torches stands there, along with a loose torch you can pick up. Light it, hold it, and watch the embers coming off the flame — they drift in the direction you are supposed to walk. Follow the embers, stop when they change, re-read them, keep walking. That is the whole puzzle.
Two things worth knowing:
- Rain puts out fire in this game. If a storm rolls in mid-run your signal goes dark, so check the weather before you commit and relight from any flame you pass.
- Stop before every leg. The embers only read cleanly when Link is standing still. Sprinting is how people end up back at the entrance wondering what they did wrong.
You can also walk the route torchless if you have memorized it, which is what repeat players do. The first time, use the torch. It is not a hint system, it is the mechanic.
The 13-heart requirement is not a suggestion
The Great Deku Tree tells you straight out that pulling the sword in a weakened state will kill you where you stand, and he means it literally. The requirement is 13 Heart Containers. Try it with 12 and the pull animation drains you dry and you die on the spot.
Two rules people get wrong:
- Temporary hearts do not count. Chugging a Hearty Durian stack for a stack of yellow bonus hearts does nothing here. The game checks permanent Heart Containers.
- Stamina spent is hearts not gained. Every four Spirit Orbs you trade at a Goddess Statue buys either one Heart Container or one Stamina Vessel. If you have been dumping everything into stamina to climb faster, you are further from the sword than your shrine count suggests.
Starting from three hearts, that means ten upgrades. Where they come from:
- Shrines. Four Spirit Orbs per container, so 40 shrines' worth of orbs if hearts are all you buy. There are 120 shrines total, so this is very achievable well before endgame — our Breath of the Wild shrine guide covers how to find them efficiently.
- Divine Beasts. Each one you free hands you a Heart Container outright, no orbs required. Four beasts, four free hearts. See the Divine Beasts guide for the order that hurts least.
- The Horned Statue in Hateno Village. He will convert a Stamina Vessel into a Heart Container for rupees, and back again. If you overinvested in stamina, this is your undo button.
The fastest honest route is one Divine Beast plus a shrine sweep of the Great Plateau and Dueling Peaks, which our beginner guide already maps out.
Base 30 attack is worse than a Royal Broadsword
Let us be blunt about the numbers, because most guides skate past this:
| Weapon | Attack | Durability |
|---|---|---|
| Knight's Broadsword | 26 | 27 |
| Master Sword (base) | 30 | about 40 |
| Royal Broadsword | 36 | 36 |
| Savage Lynel Sword | 58 | 41 |
A one-handed Royal Broadsword out-damages the sacred blade by six points. A Savage Lynel Sword nearly doubles it. If you are clearing a Bokoblin camp in Hyrule Field, the Master Sword is objectively the wrong tool, and swinging it there is the single most common mistake players make with it.
The Master Sword is not a damage weapon. It is an availability weapon. Every other sword in Hyrule is a consumable with a countdown on it. This one is a permanent line item in your inventory that you can never lose, never drop, and never have to ration. That is the trade.
The glow is where the real damage lives
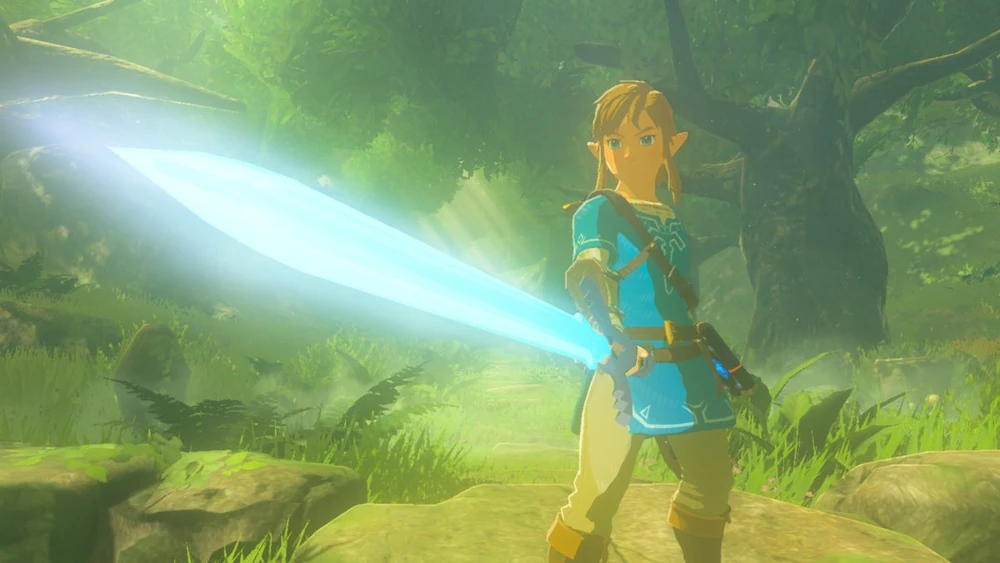
In the presence of evil, the blade wakes up. It gains a blue aura and its power doubles from 30 to 60. That happens when Link is inside a dungeon, near Guardians, or in proximity to Malice.
Read that list again, because it is a map of exactly where you should be carrying this thing:
- Inside the Divine Beasts. Every Blight Ganon fight is a 60-attack fight.
- Anywhere near a Guardian. Test chambers, the Akkala citadel wreckage, the fields around Hyrule Castle.
- Hyrule Castle and the Ganon fight. Malice is smeared across the entire castle interior, so the blade is lit the whole way up.
So the Master Sword's real number, 60, is competitive with the best Lynel gear — and it switches on precisely where your good weapons break fastest. Walking into Hyrule Castle with a bag of Royal Guard gear and no Master Sword is how players end up punching Calamity Ganon with a Boko Club.
Outside those zones it sits at 30 and you should be swinging something else. Treat it as a boss weapon that happens to live in your inventory permanently. The rest of your loadout discipline is in our Breath of the Wild combat tips.
It does not break, it runs out
This is the mechanic that panics first-time owners. You are mid-fight, the sword flashes, a message says your gear is badly damaged, and then it vanishes from your hands.
It did not break. Nothing in Hyrule can break the Master Sword.
- It loses energy on each hit rather than durability in the normal sense, and when the energy is spent it becomes temporarily unusable.
- It recharges in 10 minutes of real playtime and comes back at full strength. No repair, no cost, no fairy required.
- Zelda Wiki logs its base energy pool at roughly 40 hits, which is in the same range as a Royal Broadsword's 36 — the difference is that the Royal Broadsword is gone forever and this one is back before you finish a shrine.
- Like every weapon, you get the standard warning when it has three or fewer uses left, so the flash is your cue to swap, not your cue to keep swinging.
A few quirks that only apply to this blade:
- It cannot be thrown. The throw input does something else entirely (see below).
- It cannot be knocked out of Link's hands or dropped, which matters more than it sounds against Lynels and Yiga blademasters that disarm you.
- It does not burn. Carry it through Death Mountain and the Eldin heat without a second thought — no Flamebreaker gear needed to protect it, though you still need heat resistance for yourself. The armor guide covers that side.
- It is metal. It attracts lightning in a thunderstorm and conducts electricity. Unequip it when the sky turns, same as everything else with a steel edge.
The practical habit: the moment the sword taps out, switch to a disposable weapon and keep playing normally. Ten minutes of cooking, climbing, or Korok hunting and it is back. If you are farming Koroks anyway, that timer is free — the Korok seeds guide is a good way to burn a recharge.
The Sword Beam almost nobody uses
At full health, hold the throw button with the Master Sword equipped and release. Link charges the blade overhead and fires a blue disc of energy — the same visual language as the Skyward Strike from Skyward Sword.
The details that decide whether it is worth using:
- It deals 10 damage on hit. That is a chip attack, not a finisher.
- Its range scales with your total Heart Containers. More hearts, longer beam. At 13 hearts it is short; at 25 it genuinely reaches.
- It costs energy off the sword every time you fire it, which is the real reason nobody uses it in a normal playthrough. Spending a limited resource for 10 damage is a bad trade.
- It only fires at full health, so one Keese scratch turns it off until you eat.
That cost is not permanent, though, which brings us to the DLC.
Trial of the Sword: 54 floors for a permanent 60
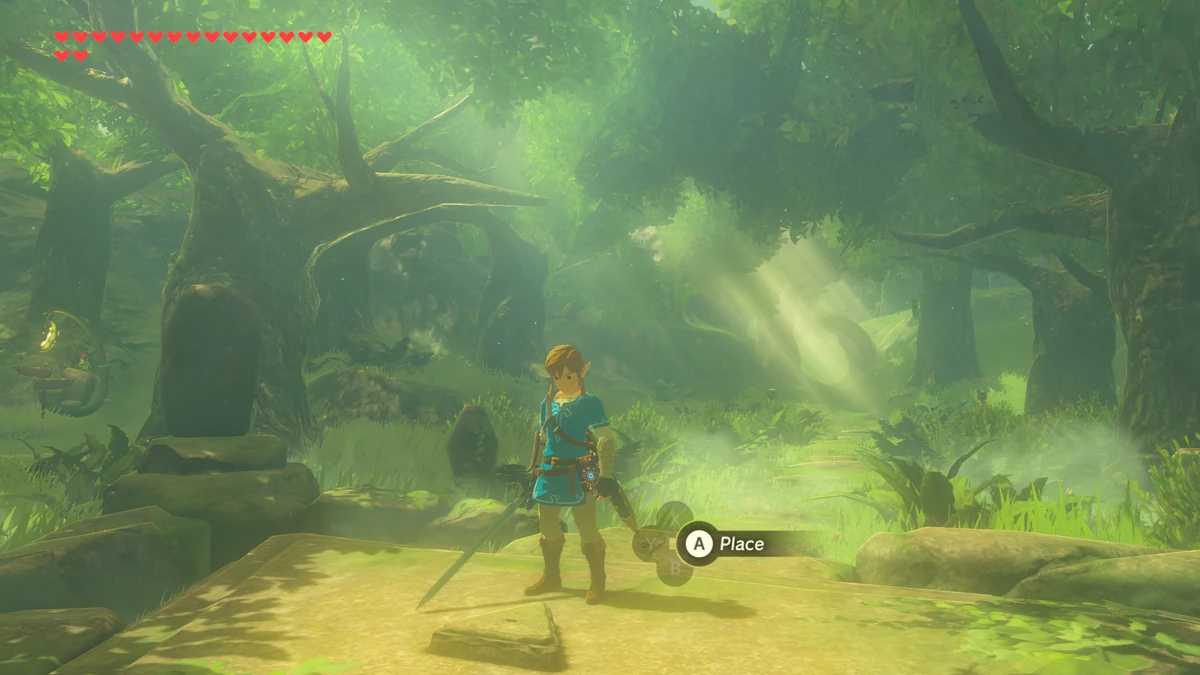
The Trial of the Sword arrived with The Master Trials, the first Expansion Pass DLC pack. You start it by walking back to the Korok Forest and placing the Master Sword into its pedestal.
The structure:
- 54 floors total — 45 fighting rooms and 9 rest stops.
- Split into three sets: Beginning Trials (13 floors), Middle Trials (17 floors), Final Trials (24 floors).
- Each set you clear permanently adds +10 attack to the Master Sword. Clear all three and its base power is 60 at all times, glowing permanently rather than only near Malice.
- After the full clear, Sword Beams no longer drain energy, which finally makes them free to spam.
The rules going in are strict:
- You are stripped of every weapon, shield, bow, arrow, armor piece, material, and meal at the door. You start naked with nothing but Runes.
- Runes work. Champion abilities do not. No Urbosa's Fury bailout, no Revali's Gale escape. Stasis, Magnesis, Cryonis and bombs are your entire kit.
- You keep the hearts, stamina, and temporary food buffs you had when you entered, including damage from before you walked in. Eat before you place the sword.
- You cannot enter while the Master Sword is out of energy. Let it recharge first.
- Once a set is cleared you can skip straight to the next one on later attempts, but you always restart that set empty-handed, and anything you picked up in a previous run is gone.
What the three trial sets actually contain
The Beginning Trials are forest and water rooms — Bokoblins, Chuchus, Lizalfos, with a Stone Talus on floor 6 and a Blue Hinox on floor 12. Floor 7 is a rest stop with a cooking pot, a fairy, and three chests holding a Shield of the Mind's Eye, an Eightfold Blade, and a Serpentine Spear.
The Middle Trials open with shrine-themed platforming over a bottomless pit, then a dark forest stretch in the vein of Thyphlo Ruins, and close with five straight floors of Guardian Scouts. There is a Black Hinox on floor 10, Wizzrobes scattered throughout, and rest floors on 5 and 11 — the latter with two fairies and a Hylian Tunic.
The Final Trials are the actual test: 24 floors that run a thunderstorm jungle full of Stal enemies, then volcano floors with burning temperature, then ice floors, then five floors of Guardians in ruins. There is a Stalnox, an Igneo Talus, and a Frost Talus in there. The chests matter — Flamebreaker Boots before the volcano stretch, a Royal Guard's Shield and a Stone Smasher on floor 12, and a Royal Broadsword, Royal Shield and Royal Bow on floor 18.
How to not die in there
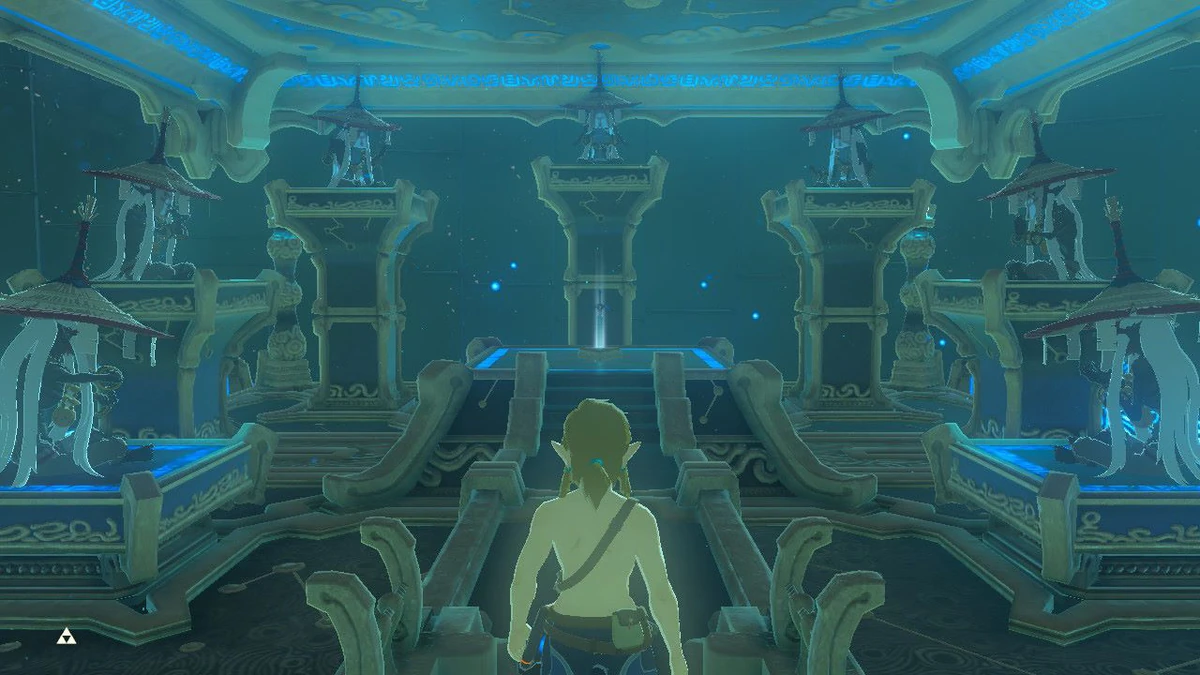
- Enter with a full stomach and full hearts. Buffs carry in. A Tough dish and a Mighty dish eaten on the pedestal are worth more than any weapon you would have brought.
- Do not equip metal in the Final Trials' thunderstorm floors. The game is not being subtle. Lightning will one-shot you holding a Royal Broadsword you just found.
- Open every chest before you clear the room's last enemy. Nothing rushes you, but it is easy to sprint through a door and lose a Flamebreaker Boots pickup you desperately needed two floors later.
- Sneakstrike everything you can. You start each set with nothing, so eight-times damage on a sleeping or unaware enemy is how you survive the early floors.
- Bank the rest stops. Cook at every pot. The fairy on a rest floor is a free revive, so do not burn it early.
- Parry the Guardian Scouts. Five floors of them in the Middle Trials, and a perfect guard is a free stagger with no durability cost.
- Do the sets across separate sessions. Progress saves between sets. There is no medal for a single sitting.
So is the Master Sword worth it?
Yes, and for a reason that has nothing to do with the number on the card.
Breath of the Wild's inventory is a slow anxiety. Every good weapon is a decision about when to spend it, and most players hoard Royal Guard swords they never swing because breaking one feels like losing something. The Master Sword ends that argument for one slot. It is always there, it is always free, and in the exact places the game is hardest it hits for 60.
Is the Trial worth 54 floors? If you own the Expansion Pass, yes — a permanent 60-attack, always-glowing, never-lost weapon is the best quality-of-life upgrade in the game, and the Final Trials are the sharpest combat content Nintendo built for this world. If you do not own the DLC, do not buy the pass for the Trial alone. The base sword already does the job.
What it is not is required. You can beat Calamity Ganon without ever entering the Lost Woods. Pulling it just makes the last stretch feel like the game finally trusts you.
More Hyrule breakdowns live on the Breath of the Wild coverage hub, and the rest of our coverage is on the Mythras blog.
Quick Action Checklist
- Bank 13 permanent Heart Containers before you go. Temporary hearts do not count and 12 will kill you.
- Grab the loose torch at the Lost Woods entrance, light it from the standing pair, and walk the direction the embers drift.
- Stand still and re-read the embers before each leg instead of sprinting.
- Swing something else in the overworld. Base 30 loses to a Royal Broadsword's 36.
- Carry it into Divine Beasts, Guardian territory, and Hyrule Castle, where it doubles to 60.
- When it flashes and disappears, it did not break. Play for 10 minutes and it comes back full.
- Do not fire Sword Beams before you finish the Trial — 10 damage is not worth the energy.
- Eat a Mighty and a Tough dish immediately before placing the sword in the pedestal to start a Trial set.
- Drop all metal gear on the Final Trials' thunderstorm floors.
- Clear all three sets for a permanent base 60 and free Sword Beams forever.
Frequently Asked Questions
How many hearts do you need for the Master Sword in Breath of the Wild?
Where is the Master Sword in Breath of the Wild?
How much damage does the Master Sword do?
Does the Master Sword break in Breath of the Wild?
What does the Trial of the Sword give you?
Do you need the Master Sword to beat Breath of the Wild?
Keep Reading
- Zelda Wiki — Master Sword: 13-heart requirement, 30/60 attack, 10-minute recharge, Sword Beam
- Zelda Wiki — Trial of the Sword: 54 floors, three sets, rules and floor contents
- Zelda Wiki — Lost Woods: torch and ember navigation to Korok Forest
- Zelda Wiki — Durability: Master Sword energy loss and recharge behavior
Related Guides
Breath of the Wild Best Bows: Stats and Where to Get Them
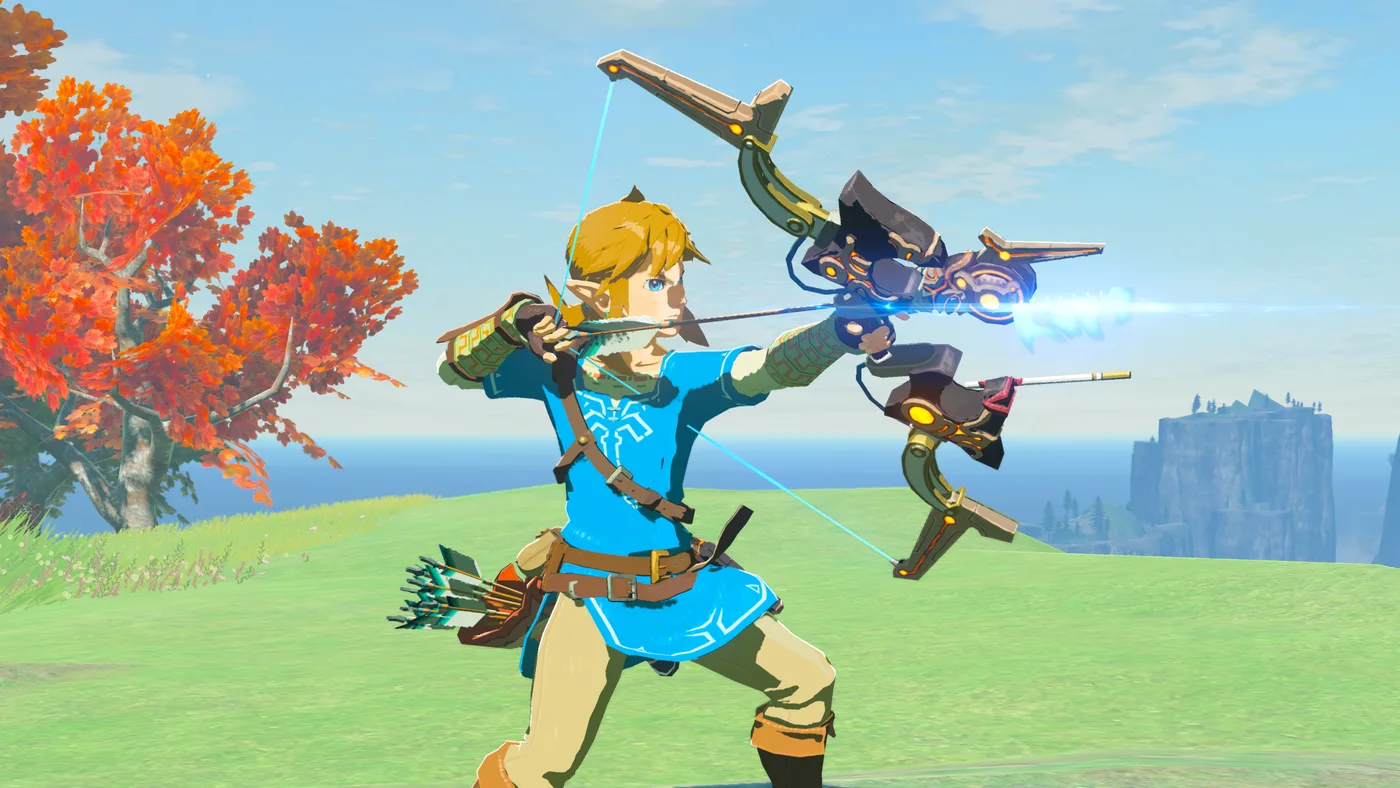
The Great Eagle Bow draws 1.8 times as fast as a Royal Bow, and the Ancient Bow's arrows fall under less than a third of normal gravity. Neither number is on the inventory card. Here are all 26 bows in Breath of the Wild, the hidden stats that separate them, where each one comes from, and what every arrow type adds.
Breath of the Wild Champions' Ballad: Every Trial in Order
The Champions' Ballad is the only quest in Breath of the Wild that takes your hearts away. Sixteen new shrines, a real dungeon, a 4,000 HP monk, and a motorcycle at the end of it — here is the whole run, in order, with the numbers.
Breath of the Wild Master Mode: The HP Numbers, and the Rule It Takes Away
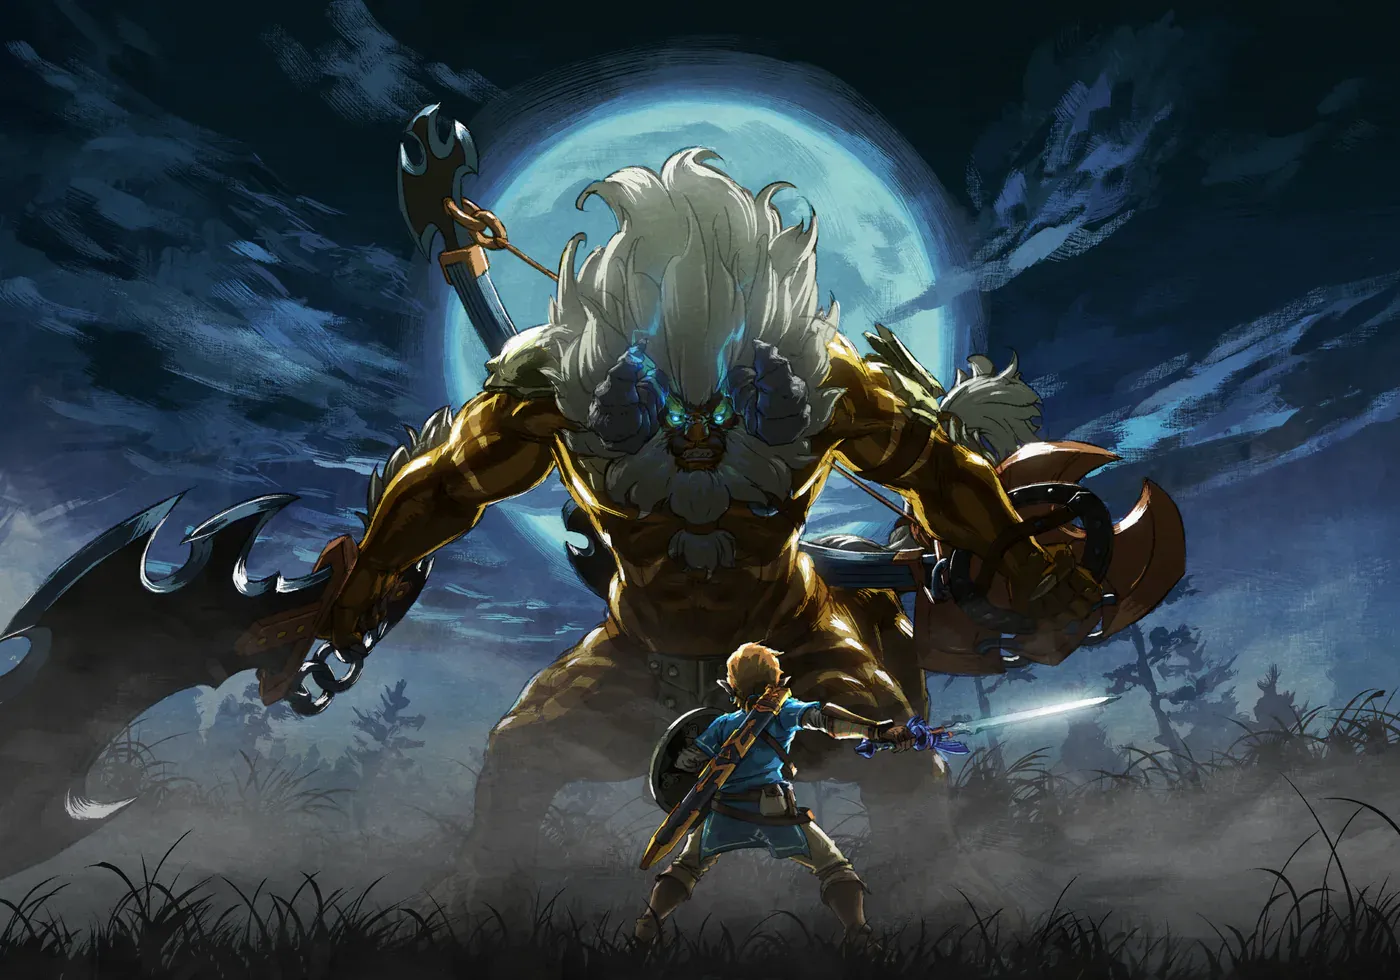
Master Mode is not the same game with a bigger health bar on the enemies. It moves most of them up a rank, lets them heal mid-fight, takes away the hidden rule that stops you dying in one hit, and cuts your autosaves from five to one. Here is every change, with numbers.
Breath of the Wild Lynel Guide: HP by Tier, Savage Gear, and the Farm Loop
A Silver Lynel has 5,000 HP. Calamity Ganon has 8,000. But a Lynel is not a wall — it is the best vending machine in Hyrule, and the Savage Lynel Crusher it drops has the highest base attack of any weapon in the game.
Breath of the Wild Beginner's Guide: Your First 10 Hours
Breath of the Wild does not tell you that armor matters more than hearts, that your weapons are ammunition, or that the Blood Moon is a restock button. Here is the stuff the game leaves you to discover the hard way.
Breath of the Wild Hateno House: Every Upgrade and Cost
Buying Link's house in Hateno Village is only the first half of Hylian Homeowner. Bolson then sells 14 additions at 100 rupees each, and nine of them do something. Here is the full 4,400-rupee bill, the conversation that unlocks the renovation menu, and what is worth hanging on the walls.