Ocarina of Time Boss Guide: How to Beat Every Boss
Every Ocarina of Time boss is a lock, and the dungeon you just cleared handed you the key. Here is the weak point, the opening, and the failure state for all nine bosses plus the three sub-bosses that actually kill people.
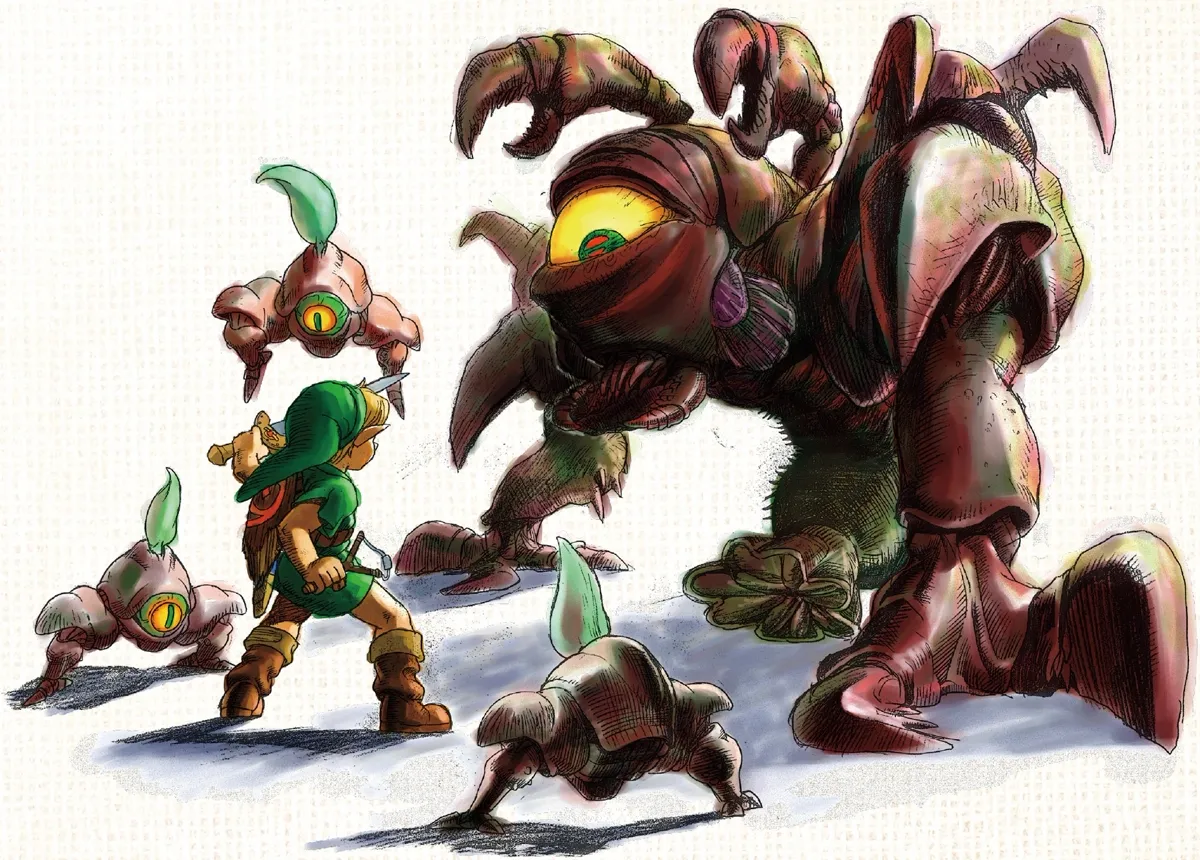
Ocarina of Time's bosses have a reputation for being easy, and that reputation is mostly earned — but only because the game front-loads the answer. Every boss room is a pop quiz on the item you found forty minutes earlier. Gohma is a slingshot test. Volvagia is a hammer test. Morpha is a Longshot test so on-the-nose it's almost a joke.
The real difficulty is in the parts nobody labels as bosses: Dark Link, Dead Hand, and the Iron Knuckle that turns out to be someone you know. Here's every fight in the game, the weak point, and the specific thing that gets people killed.
The pattern behind every boss
Three rules cover the entire roster:
- The dungeon item is the answer. Not a helpful option — the answer. If you're flailing at a boss, you're using the wrong thing, and the right thing is the one you picked up in that same dungeon.
- Every boss has a Critical Point. Stun it, then dump damage. Jump slashes (jump-attack with a Z-target held) do roughly double a normal swing, so your stun windows are worth far more than your neutral pokes.
- Bring a better sword. The Biggoron's Sword trading quest hands adult Link a two-handed blade that doubles Master Sword damage. It costs you your shield while equipped, but on stunned bosses — where nothing is hitting you anyway — it cuts fight lengths roughly in half.
Stock up on bottled fairies before Ganon's Castle and this whole game stops being able to kill you.
The three child bosses
Short, tutorial-shaped, and each one is a Spiritual Stone.
Queen Gohma (Inside the Deku Tree)
Weak point: the eye, but only when it turns red. Item: Fairy Slingshot.
Gohma's armored shell repels everything. Wait for the eye to glow red, fire a Deku Seed, and she drops stunned — then jump-slash her with the Kokiri Sword or a Deku Stick. A Deku Stick jump attack does enough damage that a clean run kills her in a single stun window.
The failure state is letting her climb to the ceiling. If you don't shoot her while she's hanging up there, she hatches three Gohma Larvae and the room gets messy. Shooting her mid-ceiling actually gives the longest stun of the fight — roughly eight seconds versus about five for a standard red-eye hit.
King Dodongo (Dodongo's Cavern)
Weak point: the inside of his mouth. Item: Bombs.
He inhales before breathing fire. Throw a Bomb into his open mouth during the inhale, it detonates internally, he collapses, and you get a free damage window. Bomb Flowers around the arena work if you're empty.
Two things kill people here. First, if you get hit by his flame while carrying a Deku Shield, it burns off permanently — buy the Hylian Shield in Kakariko before you come here. Second, after his stun he curls into a ball and rolls the perimeter; hug the wall or crouch behind the shield instead of trying to outrun him around the lava ring.
Barinade (Inside Jabu-Jabu's Belly)
Weak point: the core, after you sever its ceiling tentacles. Item: Boomerang.
Boomerang the three tentacles anchoring it to the ceiling, then Boomerang the orbiting Bari jellyfish, then Boomerang the exposed core to stun it and go in with the sword. It is the single most repetitive boss in the game — three phases, one input.
Do not sword-swing at electrified Bari. The shock chains and you'll burn hearts you don't have at this point in the run.
The five adult temple bosses
Phantom Ganon (Forest Temple)
Weak point: himself, twice, in two different ways. Item: Fairy Bow, then the sword.
Phase one is a shell game. He rides out of one of six paintings while a duplicate rides out of another. The real one is the lighter-colored model and he approaches from farther away; shoot him with an arrow as he leaves the frame. Three hits ends the phase. If you miss, he drops an energy orb that scatters along the floor — stand on one of the Triforce symbols in the platform corners and it passes under you.
Phase two is tennis. He fires an energy ball, you swat it back with the Master Sword, he swats it back, repeat until someone flinches. Win the rally and he falls paralyzed for a long free-hit window. Below half health he adds a staff-twirl charge that does three hearts, which is a real chunk if you've been sloppy.
An empty Bottle also reflects the energy ball, which is the single funniest cheese in the game and works on The Wind Waker's version too.
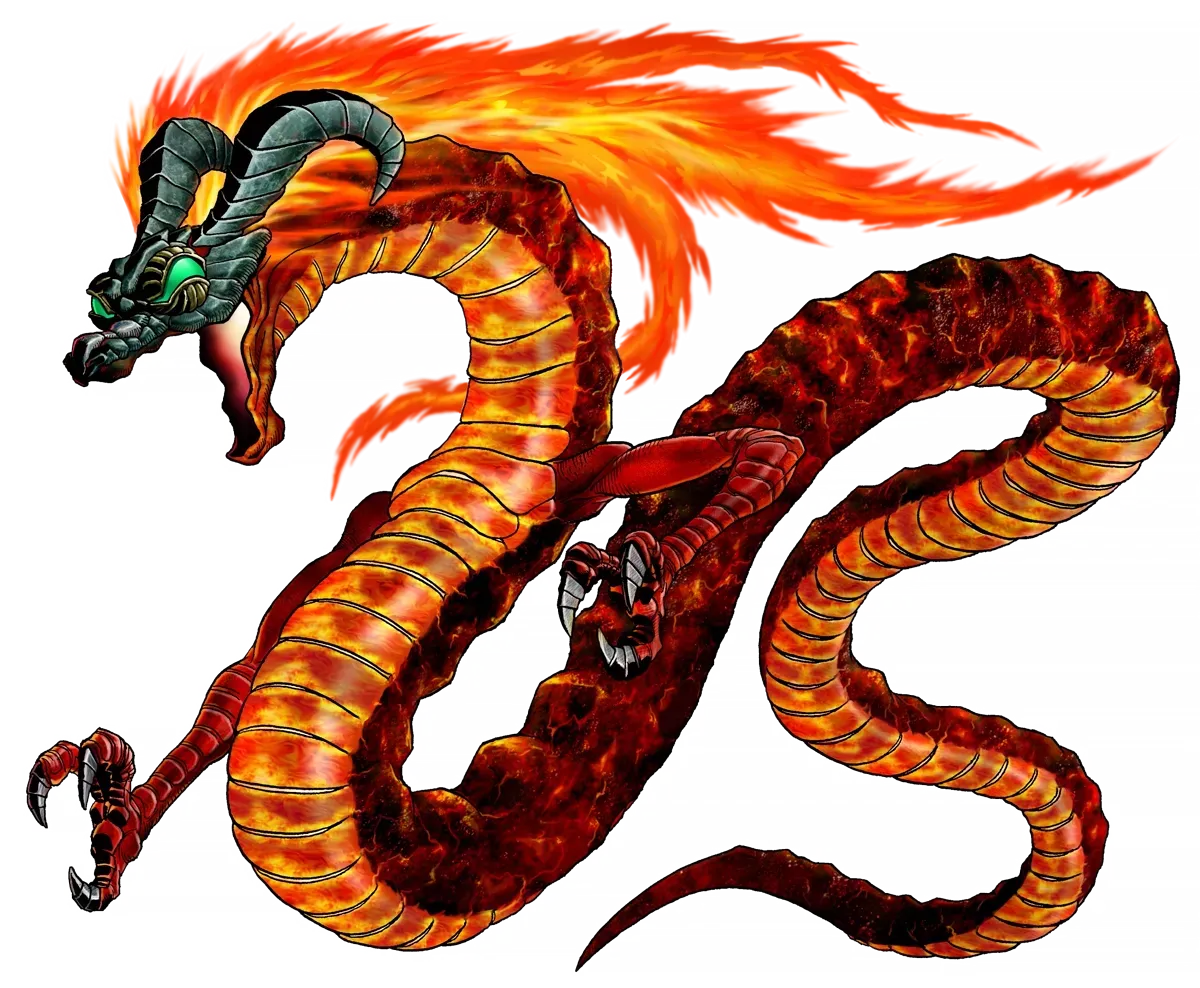
Volvagia (Fire Temple)
Weak point: the head, when it surfaces. Item: Megaton Hammer.
Whac-A-Mole with a wingless dragon across nine holes. Smash the head with the Hammer the instant it pops up, then sword it while it's dazed. The Hammer is the tool for the surfacing head — an arrow can clip Volvagia mid-flight, but it's tricky and no substitute — which is exactly why the Fire Temple gives it to you.
Two attacks matter: the flaming-hair sweep when it fully emerges (two to three hearts if it connects) and the ceiling rockfall, where it flies up and drops boulders. For the rockfall, keep moving and watch the shadows on the floor rather than the ceiling.
Morpha (Water Temple)
Weak point: the red nucleus. Item: Longshot.
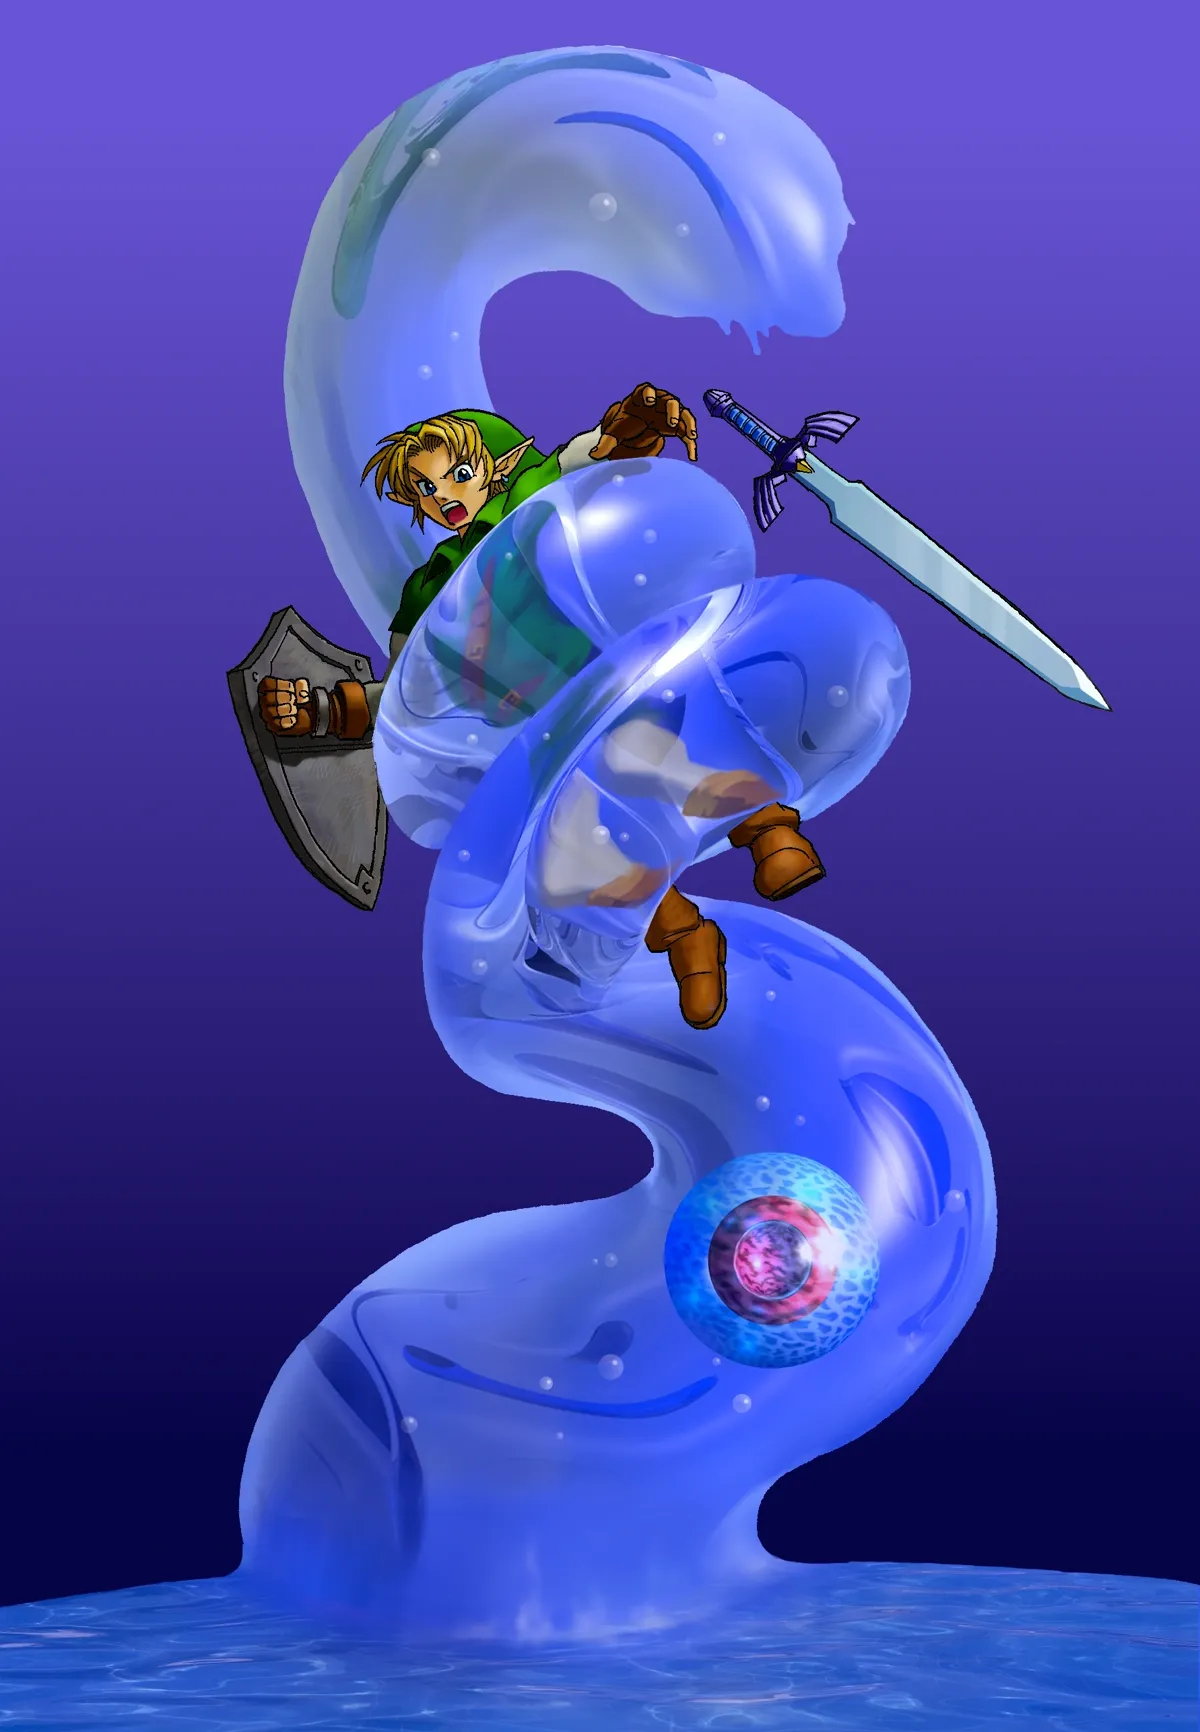
Morpha itself is just that red blob. The water tentacles are furniture. When a tentacle rises and touches land, the fluid thins enough for the Longshot spike to pass through — hook the nucleus, yank it onto dry floor, and slash it while it's exposed.
The classic death is standing in the water swinging at a tentacle. It grabs you, whips you around, and slams you into the spikes at the arena's edge for absurd damage. Fight from the corner platforms. Later in the fight it grows a second tentacle purely to bait you into that mistake. If the temple itself is what's actually stopping you, the room-by-room Water Temple guide covers the key routing.
Bongo Bongo (Shadow Temple)
Weak point: the giant red eye, after you disable both hands. Items: Lens of Truth plus Fairy Bow or Longshot.
You cannot see this thing without the Lens of Truth, so if you skipped the Bottom of the Well, you are fighting a mostly invisible boss on a drum. Equip the Lens, stun each floating hand with an arrow or the Longshot, and the body lurches forward exposing the eye. Hit the eye and you get a slow-motion damage window.
The arena is a drum surrounded by poisonous sludge, and Bongo Bongo's drumming knocks you around, so your footing is never stable. This is the fight where the Biggoron's Sword is most obviously worth the trading quest — the eye windows are generous and the extra damage per swing is enormous.
Twinrova (Spirit Temple)
Weak point: whichever sister you aim the other one's magic at. Item: Mirror Shield.
Phase one: Koume throws fire, Kotake throws ice. Catch a beam on the Mirror Shield and redirect it into the opposite sister. Four total hits and they fuse into Twinrova.
Phase two is where people lose. You still use the shield, but now you must absorb three consecutive charges of the same element. Mix a fire and an ice — because Twinrova alternates deliberately to trick you — and the stored energy discharges into your face instead. Hold your ground, block only the element you're collecting, and eat the hit rather than block the wrong one. Land the reflected blast, she collapses on an outer platform, and you get a big free combo.
The sub-bosses that actually kill people
- Dark Link (Water Temple). He mirrors your fighting style and parries normal slashes, which makes a straight sword duel miserable. He can't handle Din's Fire, he can't handle the Megaton Hammer (it goes through his guard), and he's vulnerable to jump attacks timed off his own approach. Biggoron's Sword also works because he can't block a two-hander.
- Dead Hand (Bottom of the Well, then Shadow Temple). Let the floating hands grab you on purpose, mash free, and slash its face when the body emerges. Fighting the hands forever just resets the loop. It drops the Lens of Truth and the Hover Boots respectively — both mandatory in practice.
- Iron Knuckle (Spirit Temple). Enormous axe, enormous damage, extremely slow. Back-step out of the swing, close, land two hits, back out. Never trade. The second one in the Spirit Temple is Nabooru brainwashed inside the armor, which is one of the better story gut-punches in a game full of them.
Ganon's Castle: Ganondorf, then Ganon
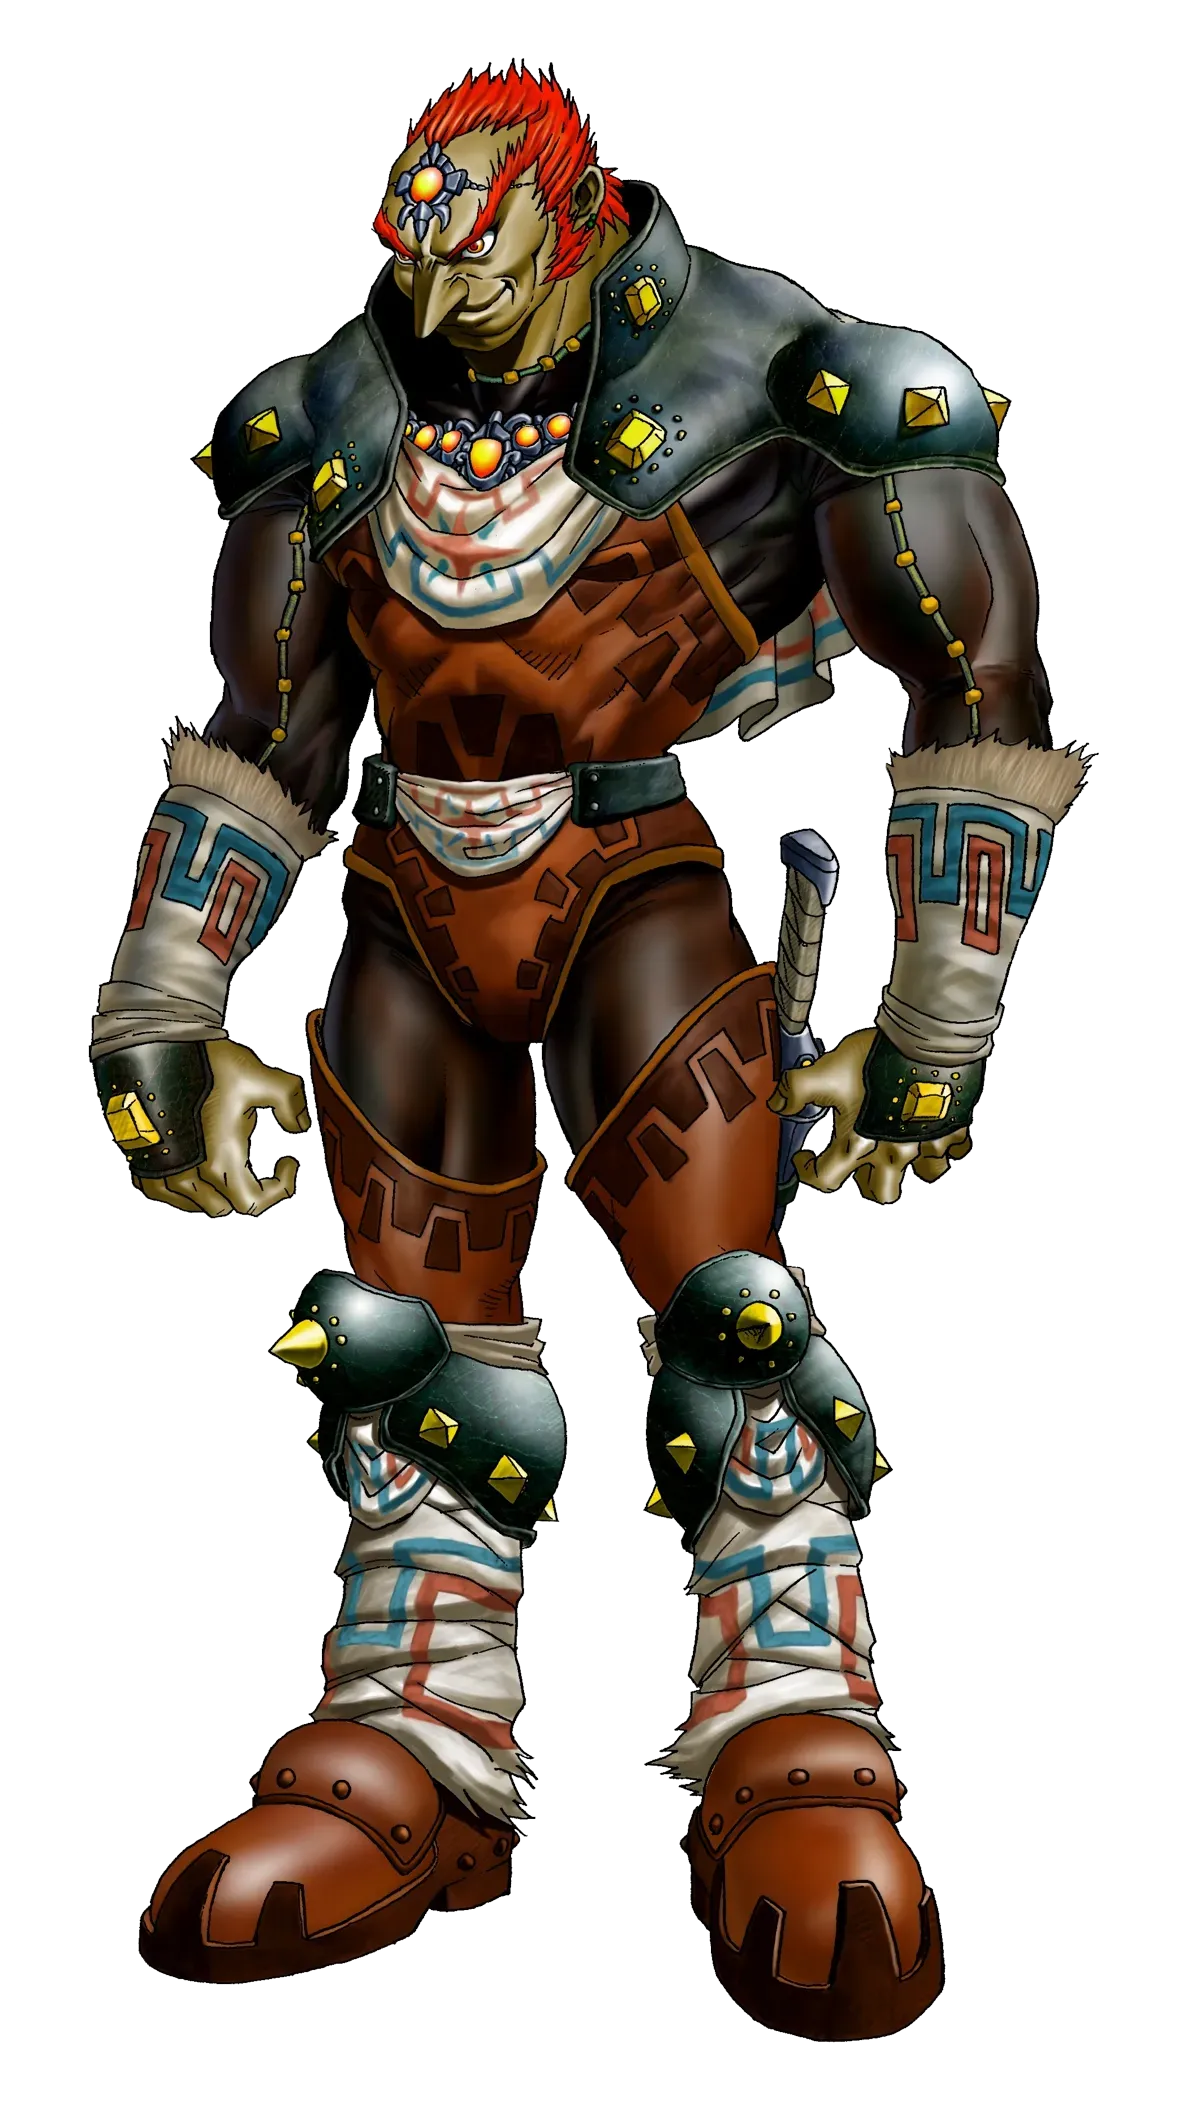
Six Medallions dispel the six barrier trials, then it's the tower climb and a pipe organ.
Ganondorf is Phantom Ganon with better production values. He hovers and lobs energy balls; deflect with the Master Sword until he takes one to the chest, then hit him with a Light Arrow to knock him to the floor, then slash. The floor also has holes in it — falling costs you nothing but time and dignity, but it interrupts the rally. Watch for the volleys he drops from above while you're repositioning.
He goes down, the tower collapses, and you get a timed escape with Zelda through Stalfos-infested corridors.
Ganon is the boar. He immediately knocks the Master Sword out of your hands and behind a ring of fire, which is the whole gimmick — you fight the final boss of the game without the legendary blade. Use the Biggoron's Sword or the Megaton Hammer and go for the tail, staying behind him and rolling through his lunges. A Light Arrow stuns him if you need the breathing room. Once Zelda thins the barrier, grab the Master Sword and land the finisher.
If you want a refresher on which temple hands you which tool before you get here, the full dungeon order guide lays the whole chain out, and the songs guide covers the warp melodies that make the last-minute cleanup runs bearable.
Boss weakness cheat sheet
| Boss | Dungeon | Required item | Weak point |
|---|---|---|---|
| Queen Gohma | Inside the Deku Tree | Fairy Slingshot | Red eye |
| King Dodongo | Dodongo's Cavern | Bombs | Open mouth |
| Barinade | Inside Jabu-Jabu's Belly | Boomerang | Core, after tentacles |
| Phantom Ganon | Forest Temple | Fairy Bow, then sword | Real rider, then reflected orb |
| Volvagia | Fire Temple | Megaton Hammer | Head on emerge |
| Morpha | Water Temple | Longshot | Red nucleus |
| Bongo Bongo | Shadow Temple | Lens of Truth + Bow/Longshot | Red eye, after both hands |
| Twinrova | Spirit Temple | Mirror Shield | Opposite sister's element |
| Ganondorf | Ganon's Castle | Master Sword + Light Arrows | Body, after deflection |
| Ganon | Ganon's Castle | Biggoron's Sword or Hammer | Tail |
Quick Action Checklist
- Buy the Hylian Shield before Dodongo's Cavern so King Dodongo can't burn your Deku Shield off.
- Shoot Gohma while she's on the ceiling for the longest stun and no larvae.
- Keep an empty Bottle on your C-buttons — it reflects Phantom Ganon's energy ball.
- Never sword-swing at Morpha's tentacles from inside the water.
- Clear the Bottom of the Well for the Lens of Truth before you go anywhere near Bongo Bongo.
- Against Twinrova phase two, collect three of the same element on the Mirror Shield — never mix.
- Bring Din's Fire or the Megaton Hammer to Dark Link and skip the fencing match entirely.
- Finish the Biggoron's Sword quest before the endgame; it halves Bongo Bongo and Ganon.
- Fill every bottle with fairies before entering Ganon's Castle.
- Ganon's tail is the only weak point, and you won't have the Master Sword when the fight starts.
Frequently Asked Questions
How many bosses are in Ocarina of Time?
What is the hardest boss in Ocarina of Time?
How do you beat Morpha in the Water Temple?
Do you need the Lens of Truth to beat Bongo Bongo?
How do you beat Ganon at the end of Ocarina of Time?
Does the Biggoron's Sword make bosses easier?
Are the bosses different in Ocarina of Time 3D or Master Quest?
What order do you fight the Ocarina of Time bosses in?
Keep Reading
Related Guides
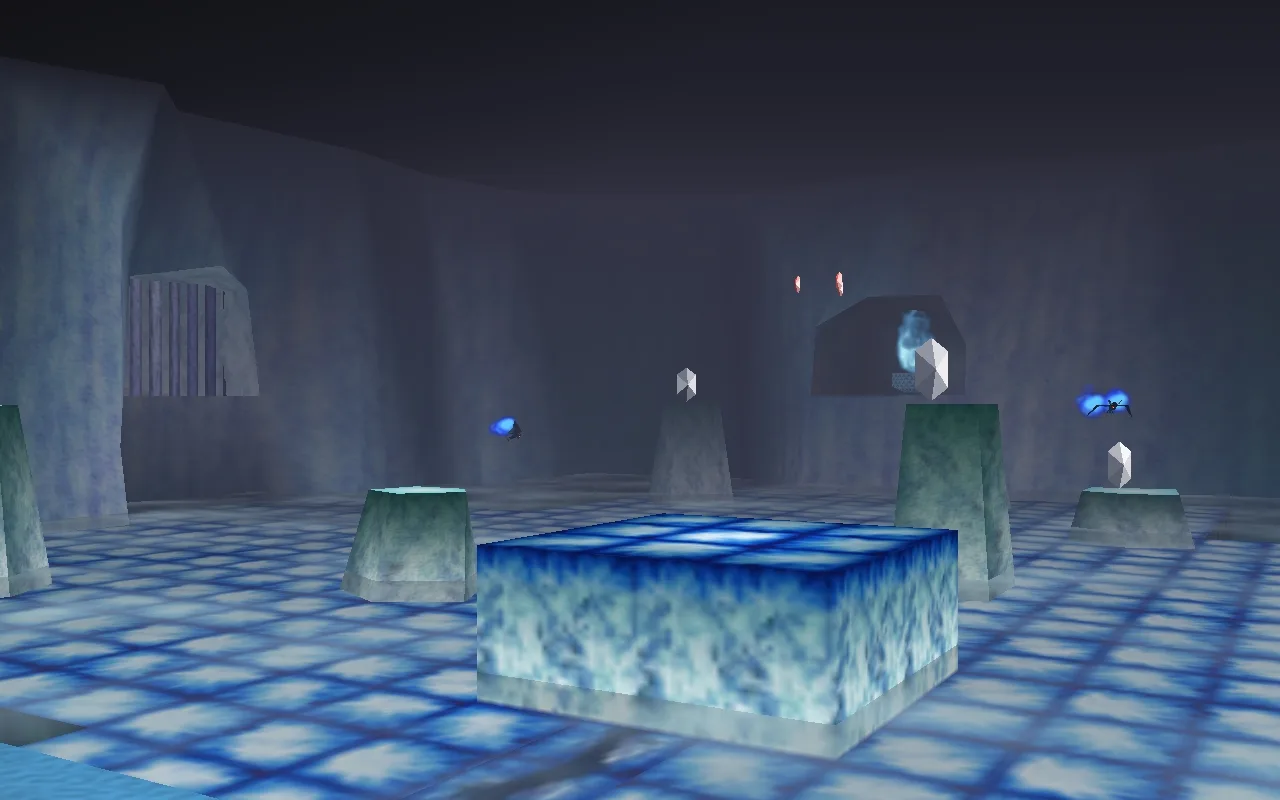
Ocarina of Time Ice Cavern Walkthrough: Every Room
Skip the Ice Cavern and the Water Temple becomes uncrossable — the Iron Boots live nowhere else in the game. It's also a genuinely strange dungeon: per Zelda Wiki, it's tied with the Gerudo Training Ground as the smallest in Ocarina of Time, and every room but the mini-boss chamber connects by open hallway instead of a door. Here's the room-by-room route: the Ice Scythe hub and its five Silver Rupees, all three Gold Skulltulas, the White Wolfos fight, and the underwater shortcut on the way out.
Ocarina of Time Jabu-Jabu's Belly Walkthrough: Every Room
Inside Jabu-Jabu's Belly is the third dungeon in Ocarina of Time and the odd one out: no map-and-compass hunt for its own sake, and an escort mission where the person you're escorting can drown. Here is how to actually get in (it takes a diving contest and a message in a bottle), the full route through the Fork in the Guts, the Big Octo fight, and every phase of the Barinade boss fight, including the scripted invulnerability window partway through.
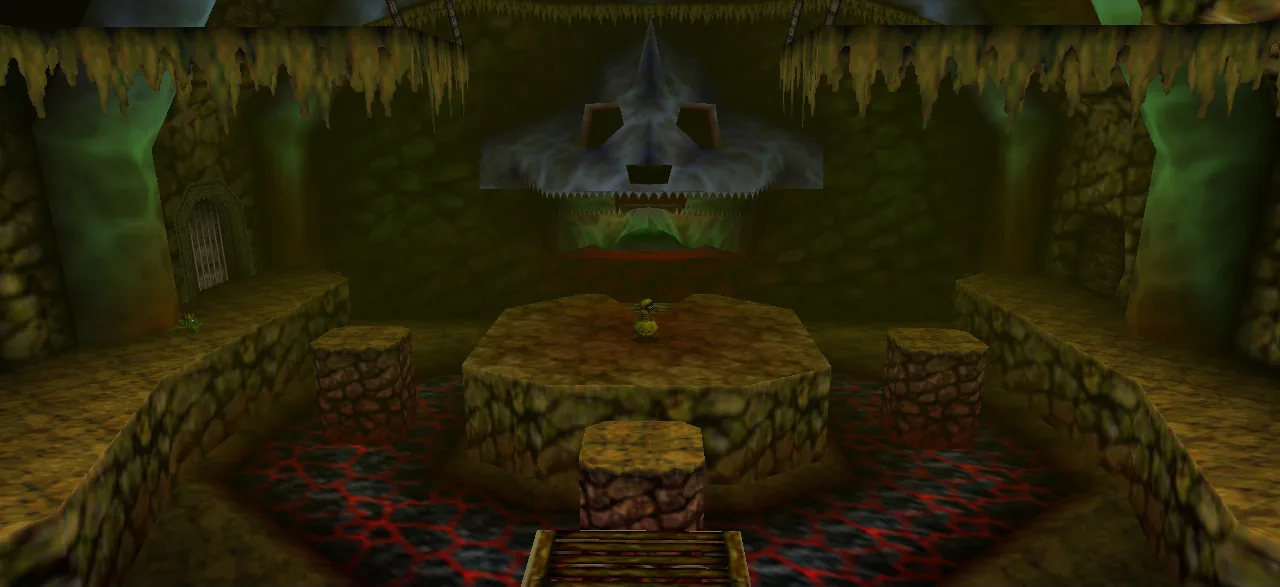
Ocarina of Time Dodongo's Cavern Walkthrough: Every Room
Dodongo's Cavern is one enormous lock with a giant dead Dodongo for a keyhole, and the entire dungeon is you gathering the means to open its mouth. Here is the route through the Entrance, Eastern, Western and Northern Rooms, every chest, the Bomb Bag, all five Gold Skulltulas — two of which child Link cannot reach on the way through — and the King Dodongo fight.
Ocarina of Time Deku Tree Walkthrough: Every Room
Inside the Deku Tree is the first dungeon in Ocarina of Time and the game's own tutorial, teaching doors, vines and switches in about twenty minutes. It is also easy to half-explore, because several of its rewards sit behind puzzle steps the game never spells out. Here is every chest, all four Gold Skulltulas (one of which needs an item you don't have yet), and the fastest way through Gohma.
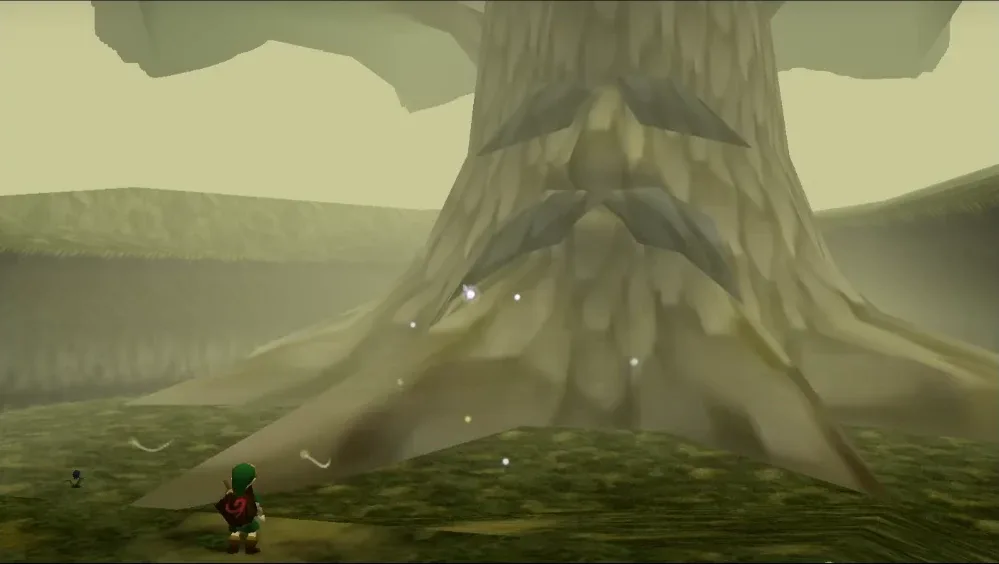
Ocarina of Time Dungeon Order: The Full Route, Explained
Ocarina of Time looks like an open adventure and plays like a corridor. Eight required dungeons, three side dungeons, and exactly one place where the game genuinely lets you pick. Here is the whole route with the reasons behind each lock.
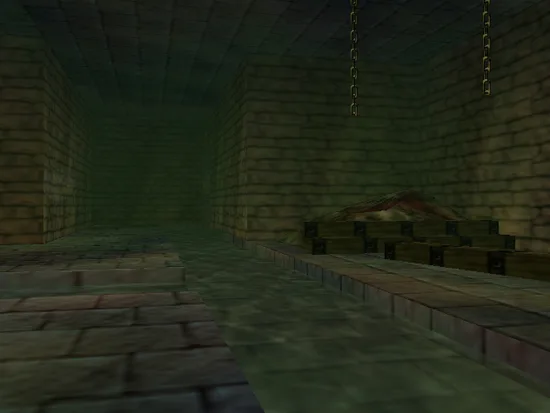
Ocarina of Time Bottom of the Well: Lens of Truth Guide
The Lens of Truth sits at the bottom of a Kakariko well that is full of water for the entire first act. Here is how you empty it: the time loop that unlocks the well, the six-step run to the Lens chest, and the ten other things buried down there.