Ocarina of Time Shadow Temple: The Complete Walkthrough
The Shadow Temple is the game daring you to keep going. Invisible floors, guillotines, a ghost ship, and a boss you can barely see. Here is the whole run, the prep that makes it painless, and the Bongo Bongo pattern that ends it fast.
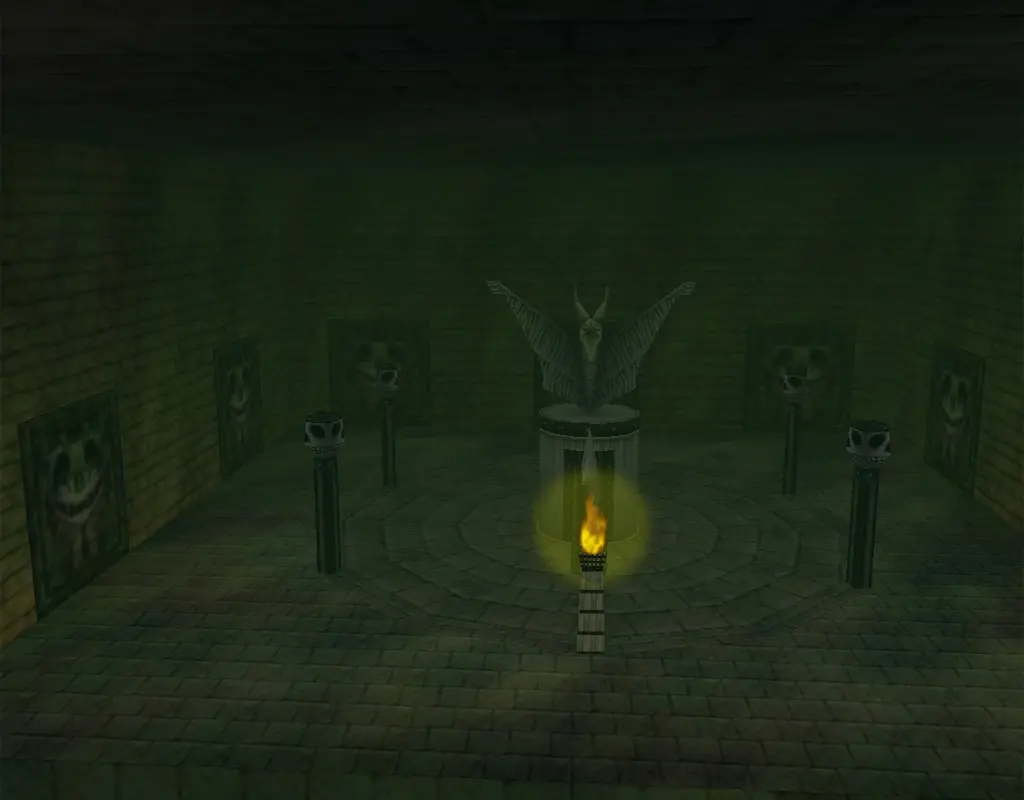
Most Ocarina of Time dungeons ask you to solve something. The Shadow Temple asks whether you trust the game. Half the floor is invisible, the walls lie, an enemy waits under the ground where you cannot see it, and at one point you climb aboard a ghost ship and sail into a black void. It is the scariest thing on the N64 cartridge and it is not close.
It is also completely fair once you know the trick, which is almost always the same trick: turn on the Lens of Truth and believe what it shows you. This is the seventh dungeon in the standard run, right after the Water Temple, and it rewards preparation more than any other. Walk in with the right kit and it becomes a genuinely great haunted-house level. Walk in unprepared and you will spend an hour falling off ledges you cannot see.
Shadow Temple at a glance
Here is the whole dungeon in one table before we get into the room-by-room part.
| Detail | What it is |
|---|---|
| Location | Behind the Kakariko Village graveyard |
| Entry song | Nocturne of Shadow |
| Dungeon item | Hover Boots |
| Mini-boss | Dead Hand |
| Boss | Bongo Bongo, the Phantom Shadow Beast |
| Reward | Shadow Medallion |
| Hard requirement | Lens of Truth |
The Lens of Truth is not a suggestion here. Every other item is quality of life. The Lens is the dungeon.
Before you enter: the prep checklist
Do this shopping trip before you play the warp song, because backtracking out of the Shadow Temple is miserable.
- Lens of Truth. Non-negotiable. You get it by beating Dead Hand at the bottom of the Kakariko well, which child Link drains by playing the Song of Storms in the windmill. If you skipped it, go get it now.
- Full magic meter, plus a bottle or two. The Lens burns magic the entire time it is active. Green Potion or a caught fairy keeps you topped up. If your magic runs dry mid-room over an invisible pit, that is how runs end.
- Bombs and Bomb Flowers. You blow open a fake skull and a couple of walls early.
- Bow and arrows, fully stocked. This is your Bongo Bongo answer and your Wallmaster deterrent. Bring 30-plus if you can.
- The Longshot. The Water Temple upgrade for the Hookshot grabs distant targets across the dungeon's gaps.
- Din's Fire (optional but great). One room wants several torches lit at once, and Din's Fire lights them all in a single blast instead of you sprinting between them.
- Sun's Song (optional). Freezes ReDeads and Gibdos solid for a few seconds. In a dungeon stuffed with both, that is a lifesaver. Full breakdown of every melody in our Ocarina of Time songs guide.
Getting in: the Nocturne of Shadow
There is no walking route. Sheik teaches you the Nocturne of Shadow in Kakariko Village after you have cleared both the Fire and Water Temples, and the melody warps you straight to a stone platform at the back of the graveyard. That warp point is the temple door. This makes the Nocturne the only warp song adult Link genuinely needs to reach a dungeon, which is why it shows up in every conversation about Ocarina of Time's dungeon order.
Play it, step to the wall, and head inside. From here on, keep a thumb near the Lens button.
The false statue and the temple map
The opening room sets the tone: a large chamber with a scowling skull carving and a set of torches. Light the torches to open the way forward (this is the Din's Fire moment), and use the Lens to pick the real path out of the fakes. You will fight your first ReDeads and Gibdos here, the slow shambling mummies whose scream freezes Link in place. Lock on, hit them before they wail, or freeze them first with the Sun's Song.
Push deeper and you will find the dungeon map and compass, plus a giant skull you bomb open to reveal a passage. The Beamos, blade traps, and the invisible chest here are your training wheels for the Lens: if something looks like a dead end, look again with the Lens on.
Dead Hand and the Hover Boots
The signature scare. In a quiet, bloodstained side room, buried hands rise out of the floor. Use the Lens and you will see Dead Hand's pale body lurking underground. The fight is deliberately counterintuitive: you want to get grabbed. Walk into one of the hands, let it seize you, mash the control stick and buttons to break free, and the second Dead Hand's long neck extends with its head exposed. Hack the head. Repeat two or three times and it dies.
The chest it leaves behind holds the Hover Boots. These let Link glide across gaps and quicksand for a couple of seconds before gravity remembers he exists. The rest of the temple is built around that short float, so equip them and get comfortable with the timing before the next room punishes you for it.
Guillotines, scythes, and invisible bridges
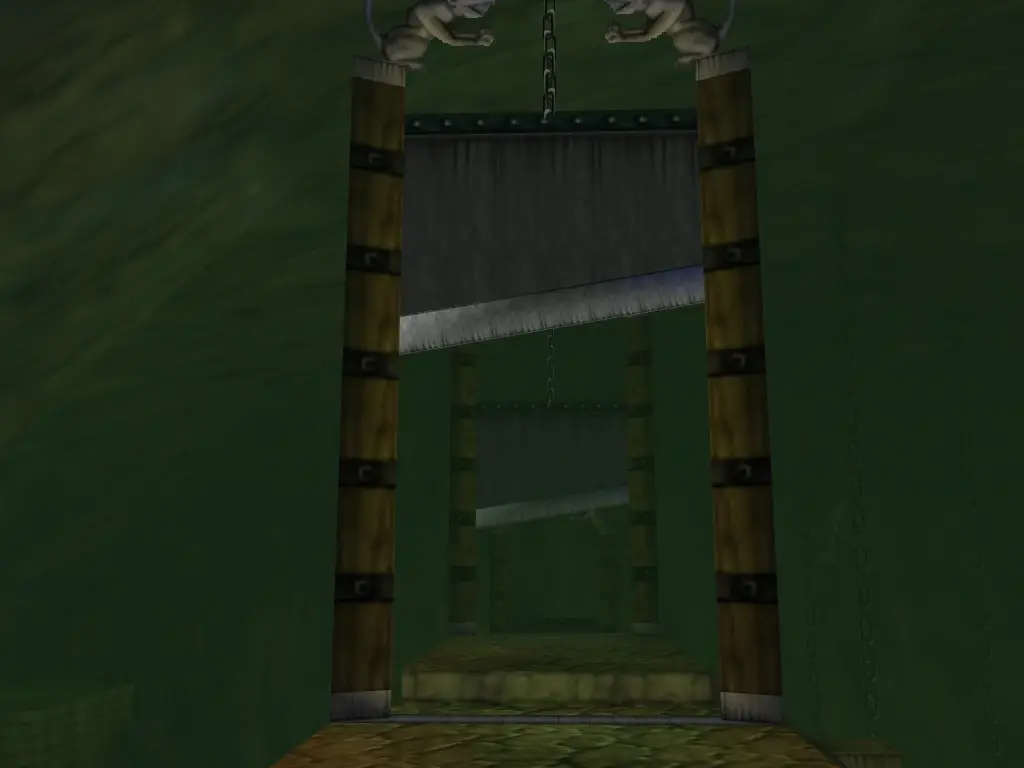
This is the stretch the Shadow Temple is famous for. A long corridor of massive guillotine blades slams down on a timer; you sprint through the gaps between drops, and the Lens reveals that some of the "walls" are illusions you can walk straight through. Do not trust a single surface in here without checking it first.
Then come the spinning scythe rooms and a silver rupee puzzle where the platforms only appear under the Lens. Collect all five silver rupees to unlock the door, using the Hover Boots to reach the ones floating over pits. Wallmasters — the giant hands that drop from the ceiling to yank you back to the entrance — haunt these rooms, so keep moving and shoot them out of the air with an arrow if you see a shadow pooling on the floor.
The invisible-bridge sections are pure nerve. The Lens shows a narrow walkway over a void; the moment the meter blinks or you look away, faith takes over. This is also where a few of the temple's Gold Skulltulas hide, so it is worth a careful sweep if you are hunting all 100.
The ghost ship and Zelda's Lullaby
Eventually you reach a docked stone ship at the edge of a black river. Step aboard, walk to the Triforce symbol on the deck, and play Zelda's Lullaby. The ship lurches to life and sails you across the void while Stalfos climb aboard to fight. Clear them, ride to the far shore, and the boat crashes at a new landing.
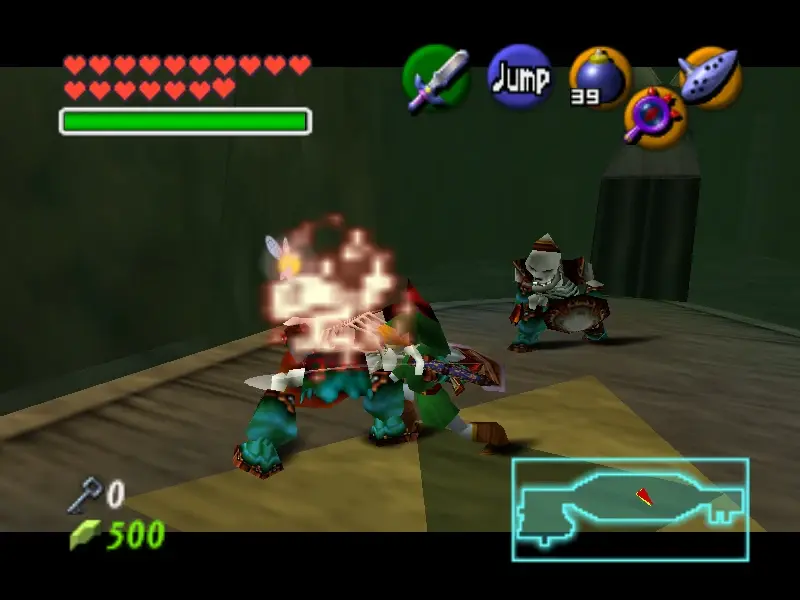
It is one of the eeriest setpieces in any Zelda game, and it is easy to fluff by wandering off the Triforce mark before playing the song. Stand on the symbol, play the lullaby, then draw your sword.
Getting the Boss Key
Past the ship crash, the temple's back half throws its nastiest crowd control at you: Floormasters that split into three smaller hands when hurt, more ReDeads, Like Likes that eat your shield, and another false-wall maze. The Boss Key sits behind this gauntlet.
Kill the Floormasters fully (each of the three splits must die or they merge back), clear the ReDeads with a freeze or a quick lock-on, and grab any small keys you have missed — running short a key this late is the classic Shadow Temple stall. With the Boss Key in hand, use the Hover Boots to cross the last set of platforms to the boss door and Lens it to confirm the lock, then drop in.
Bongo Bongo: the boss fight
You fall onto a giant drum floating in darkness and meet Bongo Bongo, a pair of disembodied hands and a single enormous eye. Keep the Lens active — without it the body is invisible and you are swinging at nothing.
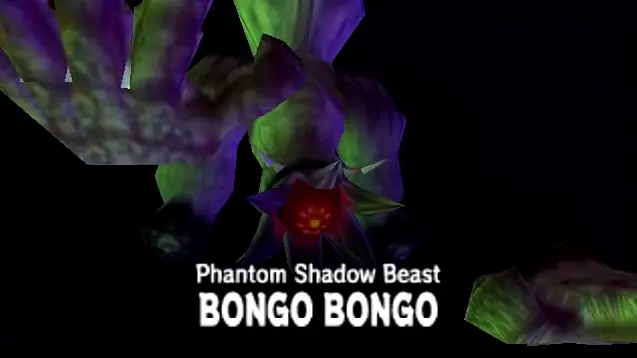
The pattern is clean once you see it:
- Stun the hands. The two hands drum, then rush you. They are only vulnerable when open. Shoot each one with an arrow to freeze it. Hit both.
- Shoot the eye. With the hands stunned, the body rises. Lock on and fire an arrow into the giant eye to stagger it.
- Punish. While it reels, close in and slash the eye with your sword — jump attacks land the most damage.
- Repeat. Reset when the hands recover. The drum surface bounces Link around, so use the Lens and your Z-targeting to stay oriented.
If your arrows run low, the Hookshot or Longshot can stun the hands in a pinch. Down goes Bongo Bongo, and you collect the Shadow Medallion. For the exact damage windows on every boss in the game, we broke them all down in the Ocarina of Time boss guide.
N64 vs 3DS: what changed
The layout is identical across versions, but the horror lands differently. The N64 original leaned on murky lighting and a genuinely unsettling ambient score, and it censored some of the bloodier textures in the later "rev 2" and international releases. The 3DS remake brightens everything slightly, adds Sheikah Stone hint videos outside the entrance, and — the big one — makes the Iron Boots and other gear assignable items so you are not living in the pause menu. It also gives you a clearer read on Bongo Bongo's body even before the Lens fully kicks in. Same nightmares, fewer menus.
Quick Action Checklist
- Get the Lens of Truth from the Bottom of the Well before you even think about entering.
- Top off your magic meter and carry a fairy or Green Potion so the Lens never runs dry over a pit.
- Play the Nocturne of Shadow to warp to the temple door behind the graveyard.
- Beat Dead Hand by letting it grab you, breaking free, and hacking the exposed head, for the Hover Boots.
- Trust the Lens through the guillotine hall and the invisible bridges — some walls are fake.
- Stand on the Triforce mark and play Zelda's Lullaby to launch the ghost ship.
- Kill every Floormaster split fully, or they reassemble.
- Fight Bongo Bongo with the Lens on: stun both hands with arrows, shoot the eye, slash it, repeat.
- Claim the Shadow Medallion and warp out — you have earned the quiet.
Frequently Asked Questions
What do you need before entering the Shadow Temple in Ocarina of Time?
How do you get into the Shadow Temple?
How do you beat Dead Hand in the Shadow Temple?
How do you start the boat in the Shadow Temple?
How do you beat Bongo Bongo?
Why is the Lens of Truth so important in the Shadow Temple?
What item does the Shadow Temple give you?
Where does the Shadow Temple fall in the dungeon order?
Keep Reading
Related Guides
Ocarina of Time Ice Cavern Walkthrough: Every Room
Skip the Ice Cavern and the Water Temple becomes uncrossable — the Iron Boots live nowhere else in the game. It's also a genuinely strange dungeon: per Zelda Wiki, it's tied with the Gerudo Training Ground as the smallest in Ocarina of Time, and every room but the mini-boss chamber connects by open hallway instead of a door. Here's the room-by-room route: the Ice Scythe hub and its five Silver Rupees, all three Gold Skulltulas, the White Wolfos fight, and the underwater shortcut on the way out.
Ocarina of Time Jabu-Jabu's Belly Walkthrough: Every Room
Inside Jabu-Jabu's Belly is the third dungeon in Ocarina of Time and the odd one out: no map-and-compass hunt for its own sake, and an escort mission where the person you're escorting can drown. Here is how to actually get in (it takes a diving contest and a message in a bottle), the full route through the Fork in the Guts, the Big Octo fight, and every phase of the Barinade boss fight, including the scripted invulnerability window partway through.
Ocarina of Time Dodongo's Cavern Walkthrough: Every Room
Dodongo's Cavern is one enormous lock with a giant dead Dodongo for a keyhole, and the entire dungeon is you gathering the means to open its mouth. Here is the route through the Entrance, Eastern, Western and Northern Rooms, every chest, the Bomb Bag, all five Gold Skulltulas — two of which child Link cannot reach on the way through — and the King Dodongo fight.
Ocarina of Time Deku Tree Walkthrough: Every Room
Inside the Deku Tree is the first dungeon in Ocarina of Time and the game's own tutorial, teaching doors, vines and switches in about twenty minutes. It is also easy to half-explore, because several of its rewards sit behind puzzle steps the game never spells out. Here is every chest, all four Gold Skulltulas (one of which needs an item you don't have yet), and the fastest way through Gohma.
Ocarina of Time Dungeon Order: The Full Route, Explained
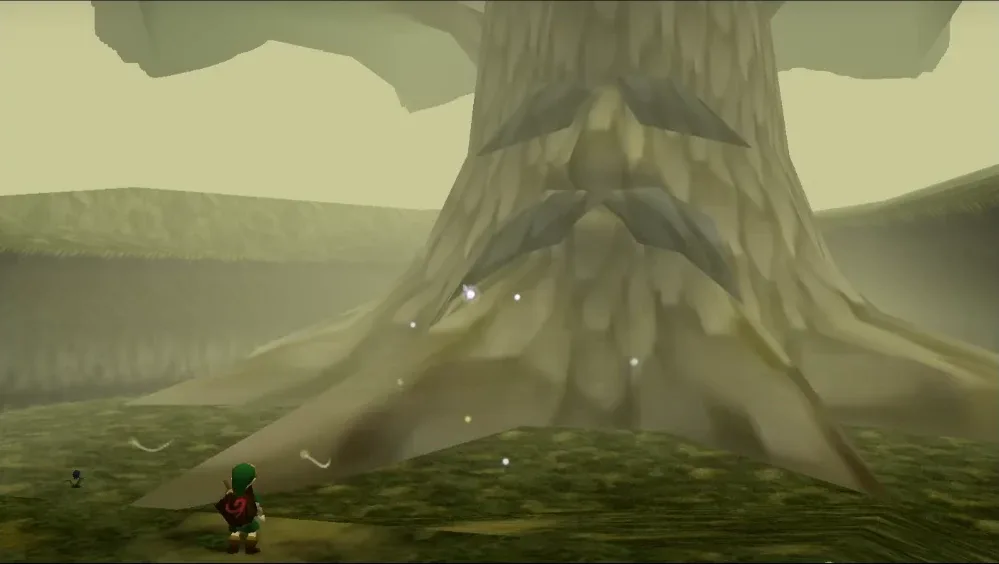
Ocarina of Time looks like an open adventure and plays like a corridor. Eight required dungeons, three side dungeons, and exactly one place where the game genuinely lets you pick. Here is the whole route with the reasons behind each lock.
Ocarina of Time Bottom of the Well: Lens of Truth Guide
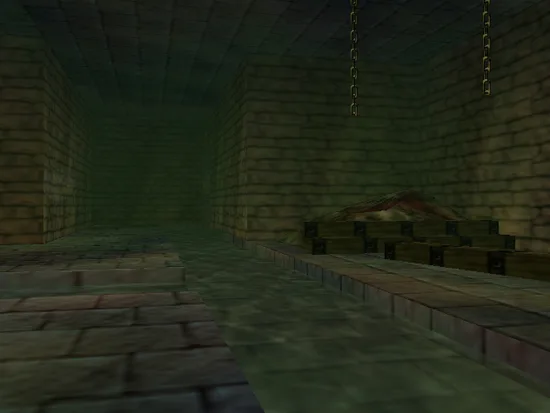
The Lens of Truth sits at the bottom of a Kakariko well that is full of water for the entire first act. Here is how you empty it: the time loop that unlocks the well, the six-step run to the Lens chest, and the ten other things buried down there.