Ocarina of Time Gerudo Training Ground: Every Trial, All 9 Keys, and the Ice Arrow
Nine locked doors, nine Small Keys, and a 10-Rupee toll every single time you walk in. The Gerudo Training Ground is the most demanding optional room set in Ocarina of Time, and its prize is an arrow the game never asks you to use. Here is the whole run.
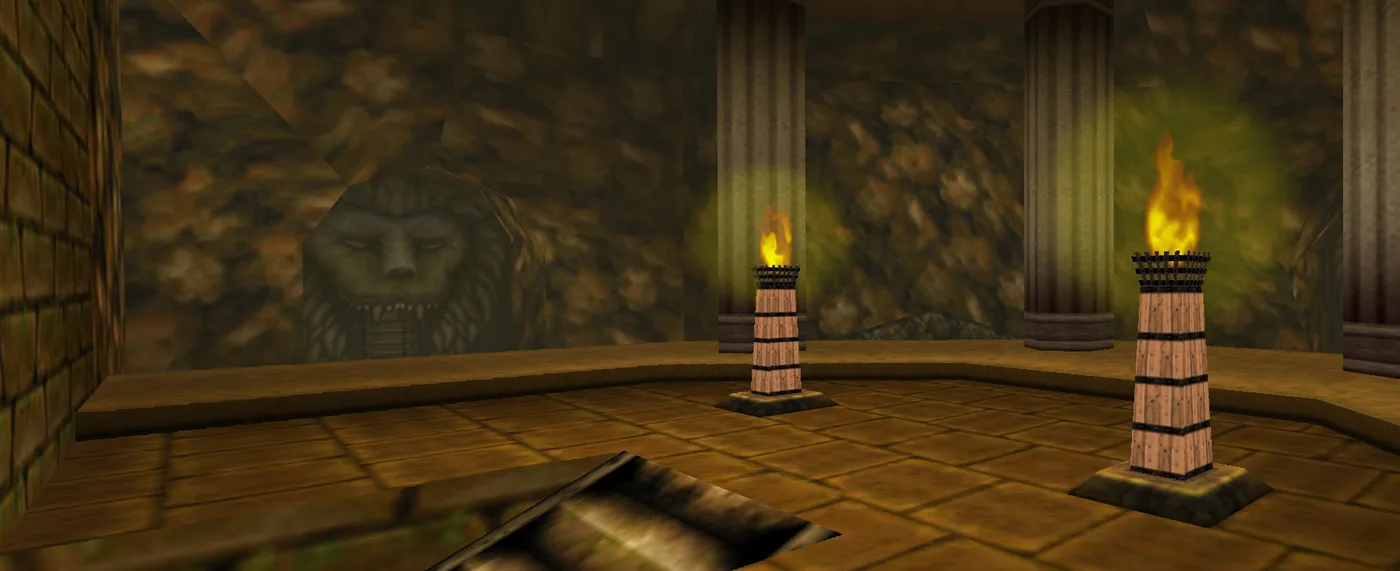
Most Ocarina of Time dungeons want to teach you something. The Gerudo Training Ground wants to grade you. It is a maze of cells buried under the Gerudo Fortress, each room a self-contained exam with a stopwatch, and the game charges you admission every time you walk through the door — including after you have already beaten it.
Nine locked doors stand between the entrance and the prize. Nine Small Keys are hidden across the trials. Seven of them get you to the chest in the middle. And that chest holds the Ice Arrow, an item the game never once requires you to own.
That is either a very good joke or the purest piece of design in the game, depending on your mood. Here is the whole run.
What the Training Ground actually is
It is an optional mini-dungeon inside the Gerudo Fortress, built as a labyrinth where each room is a trial rather than a puzzle chain. The layout is unusual: the Treasure Room is reachable from the entrance immediately, on your very first step inside. You just cannot open anything in it. The whole dungeon is a loop that sends you out through the trials and back to a row of locked cells with your pockets full of keys.
Some trials run on timers; others run on Silver Rupees, where the door only opens once you have collected every rupee in the room. Either way, a cleared trial stays cleared — its puzzle stays solved and the enemies you had to kill to advance stop appearing, so backtracking through a finished Training Ground is quick.
Getting in: the Gerudo Token and the 10-Rupee toll
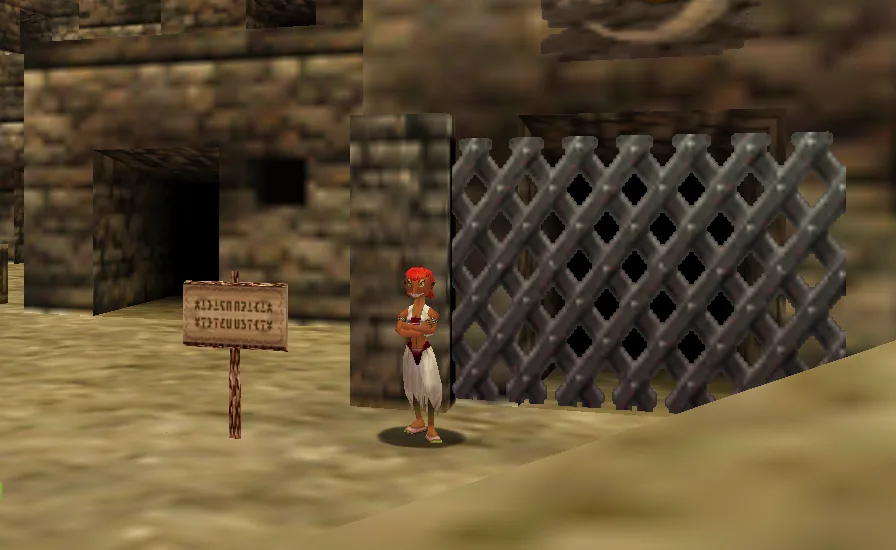
The gate is a Gerudo guard, and she wants two things: proof of membership and 10 Rupees.
Membership is the Gerudo Token — the item the original N64 release announces as the Gerudo's Membership Card and files in your inventory as the Gerudo's Card. You earn it by sneaking through the fortress as an adult and freeing the four imprisoned Carpenters. Each rescue is the same: talk to the carpenter in his cell, a Gerudo appears behind you, and beating her without taking too much damage makes her flee and drop the Small Key to his cell. Get caught and you are jailed — without the Hookshot you land outside by the Carpenters' tent, with it you land in a cell you escape by Hookshotting the open wooden window. Stunning patrols with the Fairy Bow makes the whole run less fraught.
Free all four and a Gerudo Warrior hands over the Token, which also opens the Haunted Wasteland gate toward the Spirit Temple and the Horseback Archery Range.
Now the annoying part. That 10 Rupees is a per-entry fee, not a one-off purchase. Leave the dungeon and the gate shuts behind you; wander too far from it inside the fortress and it shuts anyway. Either way you pay again on the way back in — and you keep paying after you have taken the Ice Arrow.
The kit check
Four items are genuinely required to get through everything here:
- Fairy Bow — Forest Temple. Eye switches, statue eyes, and general crowd control.
- Megaton Hammer — Fire Temple. Smashes the stone totems hiding a floor switch.
- Hookshot — from Dampé in the Kakariko graveyard. Targets are everywhere.
- Iron Boots — Ice Cavern. You are collecting rupees off the floor of a moving pool.
Three more are optional. The Silver Gauntlets (Spirit Temple) shift the heavy block guarding the sand pit room, where one of the nine keys lives. The Lens of Truth (Bottom of the Well) reveals the illusory walls and floors and the dungeon's one Invisible Chest, though you can navigate the fake surfaces and open that chest blind. The Hover Boots (Shadow Temple) cross the Lava Room, a job the Song of Time also does. None of the three is strictly needed to reach the Ice Arrow — bring them anyway if you have them.
Four rules the game does not explain
- Silver Rupees are worth 5 Rupees each. They are currency as well as puzzle pieces.
- Leaving a room resets it — but you keep the money. Walk out and the Silver Rupees and enemies come back, while the rupees you banked stay banked.
- A blown timer costs a quarter heart and resets that room's challenge, not your progress elsewhere.
- Falling in lava voids you out, and the Lava Room resets if you have not finished collecting its rupees.
The entrance room: two free chests and a Big Fairy
You arrive in a cavern lit by two torches, with four pillars in a semicircle and three doorways under lion carvings. North is the Treasure Room, west is the stone garden room, south is the Dinolfos room. Before you go anywhere, do two things:
- Shoot the eye switch on the wall above the entrance. Two chests appear between the pillars — a bundle of arrows to the northeast, a blue rupee to the northwest.
- Play the Song of Storms between the northern pillars. A Big Fairy appears, and she can be summoned again every time you come back to this room, which makes the entrance chamber a free full heal to retreat to whenever a trial chews you up. One of the better uses for a song that mostly exists to drain windmills, and it is covered alongside the rest in our songs guide.
The trials, room by room
Stone garden room
West from the entrance. A sandy arena with four rocks, and a blade trap near the door you came in by. Step in and the portcullis drops behind you while two Stalfos appear. Kill both within one minute for a chest holding a Small Key.
The catch is the floor: the sand pulls Link down and slows him if he stands still. Keep moving, use jump attacks, and do not settle into a blocking stance.
Obstacle course room
Three corridors climbing in elevation, connected by three side hallways each way. Boulders roll down the flanking corridors on a cycle, dropping into pits at the far end, and a Wallmaster patrols the ceiling.
The trial is five Silver Rupees in one minute thirty. They sit at:
- Floating off the ledge in the central corridor.
- The right side of the first hallway linking the central and right corridors.
- Floating beneath the Hookshot target in the middle of the central corridor.
- The end of the left-side corridor.
- The start of the left-side corridor.
Three Hookshot targets hang from the central corridor's ceiling, and the third one sits past the flame wall blocking the exit door — that is your way around it rather than through it. Note that clearing the trial raises the portcullis but does not stop the boulders. They keep rolling forever.
Silver Gauntlets room and the sand pit
An arena on the lower level with two Wolfos and two White Wolfos. Clear them for a chest of arrows by the far wall. A trapdoor in here keeps coming back, so watch your footing.
The real business is the geography. A heavy block on the wall opposite the entrance needs the Silver Gauntlets to move, and it hides the door to the sand pit room — itself behind a portcullis, released by a floor switch in front of the Statue room door. To reach the upper level, a trick wall to the right of the block has a Hookshot target on the ceiling behind it. The Lens of Truth shows you both.
The sand pit room beyond is a dead end with three sand pits and an altar. Kill the three Like Likes and chests appear in the first pit (a gold rupee) and the second (a blue rupee). The third pit holds an Invisible Chest with a Small Key. And the chest sitting invitingly on the altar is a Tricky Chest — a mimic, not a prize.
Dinolfos room
South from the entrance. Climbable ledges line the sides, screened by flame walls, with two recovery hearts on the longest one. The door onward drops a portcullis and you get one minute thirty to clear the room: two Dinolfos and a Beamos. Clear it and a chest with a Small Key appears.
Lava Room
The hub. Four exits — south to the Dinolfos room, west to the dead-end arm of the Treasure Room, east to the underwater gem room, north to the Megaton Hammer room — and five stone platforms scattered across a lava pit.
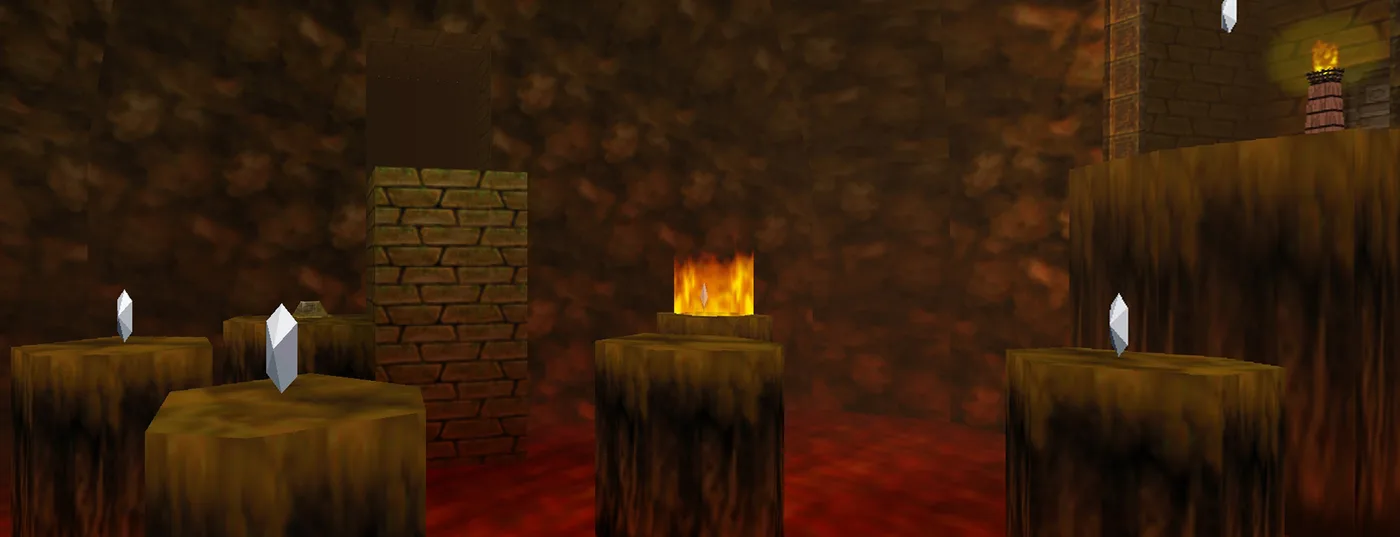
You cross it one of three ways: Hover Boots between platforms, the Longshot onto the torches near the north, east and south exits, or the Song of Time near the centre, which raises a pair of Time Blocks that work as stairs up to the western exit.
The trial is five more Silver Rupees. Three sit in the open on platforms and one floats near a Hookshot target by the Megaton Hammer door. The fifth is the problem: it sits on a platform between the Megaton Hammer room and the Treasure Room, behind a flame wall. A floor switch on the ledge south of the Treasure Room entrance kills that flame wall for roughly 20 seconds — enough to sprint out, grab it, and get back. Collect all five and the portcullis over the underwater gem room lifts.
Also: a Small Key lies loose on the ground of the raised level leading to the Treasure Room. No chest, no fanfare, and easy to walk straight past.
Underwater gem room
The way in is that eastern Lava Room exit. A large stonework pool sits behind four Time Blocks — play the Song of Time to clear them, then put the Iron Boots on and drop in.
The pool rotates counter-clockwise, and it drags a blade trap around the bottom with it. Collect every Silver Rupee down there while dodging the trap and the shell blades, and a chest with a Small Key appears above the pool. Each wall of the pool has a Hookshot target if you need a fast exit.
Megaton Hammer room
Walk in and portcullises seal both doors. Two Fire Keese and two Torch Slugs are the fight; kill them and the doors release while a chest with arrows appears along a wall.
The Small Key here sits in a chest at the centre of the room, ringed by a circular flame wall. Its floor switch is hidden under one of the stacked stone totems — specifically on the wall opposite the Statue room entrance, which you can identify by the stone pathway running from the centre of the room to that door. Smash totems with the Megaton Hammer until the switch turns up.
Statue room
Two levels. The bottom is a circular walkway around a lava pit that starts revolving the moment you step on it. The top connects to the Silver Gauntlets room and to an isolated arm of the Treasure Room behind a portcullis.
In the lava pit stands a statue with four faces, each with one eye. Shoot every eye with the Bow or Hookshot to raise that portcullis and spawn a chest with a Small Key. There is a timer: the eyes reset after 416 frames in the N64 version at 20 fps and 624 frames in Ocarina of Time 3D at 30 fps — about 20.8 seconds on either. The revolving floor is what makes that tight, since your firing angle changes under you the whole time.
If you have taught it, the Scarecrow's Song summons Pierre on the upper level, which turns the trip between floors into a single Hookshot pull.
All nine Small Keys
| # | Room | How you get it |
|---|---|---|
| 1 | Stone garden room | Chest, after both Stalfos die inside one minute |
| 2 | Dinolfos room | Chest, after clearing the room inside 1:30 |
| 3 | Lava Room | Loose on the floor of the raised level toward the Treasure Room |
| 4 | Underwater gem room | Chest, after every Silver Rupee in the pool |
| 5 | Megaton Hammer room | Centre chest, after the totem-hidden floor switch kills the flame wall |
| 6 | Statue room | Chest, after all four statue eyes are struck |
| 7 | Sand pit room | Invisible Chest in the third pit (needs Silver Gauntlets to reach the room) |
| 8 | Treasure Room | Chest in the arm connected to the Statue room's upper floor |
| 9 | Treasure Room | Chest above the first cell on the left, through the illusory ceiling |
Seven of these open the path to the Ice Arrow. The two spare keys let you unlock the dead-end branch instead, which is worth doing only for the rupees and ammo in it.
The Treasure Room and the Ice Arrow
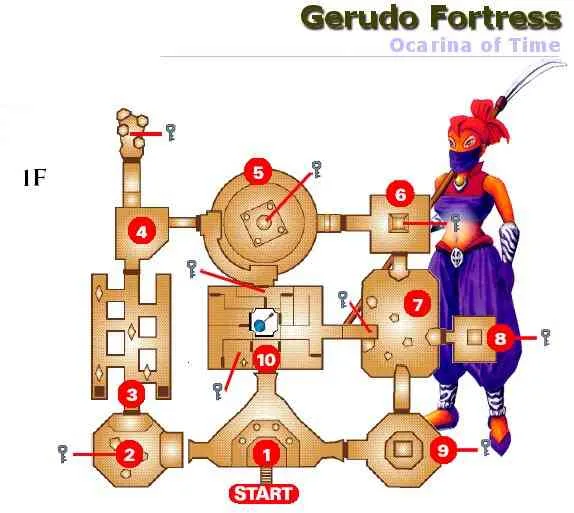
The Treasure Room is one big chamber partitioned by fencing into a grid of cells, most of them locked off from each other. From the door you came in by, the cells branch two ways: left leads to the Ice Arrow, right dead-ends and connects through to the Lava Room.
Working left with seven keys in hand, the chests go: a purple rupee in the second cell, a red rupee in the fourth, arrows in the fifth, and the Ice Arrow in the centre. The right-hand dead end holds five Bombchu and more arrows.
One bit of hidden architecture matters. The fences can be climbed, and there is exactly one place that pays off: the first cell on the left has an illusory ceiling you can pass straight through into a chamber above, where key number nine is waiting. Separately, the isolated arm connected to the Statue room's upper floor holds another chest, and from it you can look down on the Ice Arrow cell before you have earned it — a nice bit of taunting.
Is the Ice Arrow worth it
Straight answer: not for finishing the game. Ice Arrows are optional — they are not required to complete Ocarina of Time. If you are speedrunning or doing a clean main-quest run, skip the whole dungeon.

For everyone else, they do more than the reputation suggests:
- Double damage on anything freezable. Against enemies that can be frozen, an Ice Arrow deals twice what a regular, Fire, or Light Arrow does. Against enemies immune to freezing, it is just an arrow.
- Blade traps freeze solid, so you can walk straight past them.
- They work on Bongo Bongo. Freeze the Shadow Temple boss's hands and it has to punch the ice off, leaving itself open — which is funny, because you normally clear the Shadow Temple long before you unlock these.
- A frozen enemy holding lethal damage does not die until it thaws. Worth knowing before you assume an attack whiffed.
They also eat magic. The honest framing is that the Ice Arrow is a trophy that happens to be useful, and the dungeon is the actual reward.
Master Quest changes worth knowing
If you are playing the Master Quest version, the Training Ground is rebuilt rather than mirrored-and-done:
- The entrance room loses the eye switch and the Big Fairy. Two unlit torches take their place, and lighting them unlocks the side doors. No free heal station.
- Key math changes completely. Only the three doors into the central cell are locked, and the Ice Arrow moves out of that cell — a wooden box hides a rusty switch that spawns the chest in the isolated arm by the Statue room. You need three Small Keys, not seven.
- Timers get meaner. The Dinolfos room drops from 1:30 to one minute; the Megaton Hammer and Silver Gauntlets rooms gain one-minute limits they did not have; and the stone garden room swaps two Stalfos for an Iron Knuckle on the same clock.
- Rupee counts shift. The obstacle course loses its timer and drops to four Silver Rupees, trading boulders for ice hazards, while the Lava Room rises to six, each behind its own flame wall.
Quick Action Checklist
- Free the four Carpenters to earn the Gerudo Token, then pay 10 Rupees per entry — every entry, forever.
- Bring the Fairy Bow, Megaton Hammer, Hookshot and Iron Boots. Add the Silver Gauntlets if you want all nine keys.
- In the entrance room, shoot the eye switch for two chests and play the Song of Storms between the north pillars for a re-summonable Big Fairy.
- Beat the stone garden Stalfos in one minute, and grab the obstacle course's five Silver Rupees in 1:30.
- Push the heavy block with the Silver Gauntlets for the sand pit room — the third pit holds an Invisible Chest, and the altar chest is a mimic.
- Do not miss the loose Small Key on the Lava Room floor, and hit that room's floor switch for ~20 seconds of safe passage to the flame-walled rupee.
- Shoot all four statue eyes inside roughly 20.8 seconds on the revolving floor.
- Take seven keys left through the Treasure Room to the Ice Arrow. The first left cell has an illusory ceiling hiding key nine.
Frequently Asked Questions
How do you get into the Gerudo Training Ground in Ocarina of Time?
How many Small Keys are in the Gerudo Training Ground?
What items do you need for the Gerudo Training Ground?
Where is the Invisible Chest in the Gerudo Training Ground?
How long do you have to shoot the statue eyes in the Gerudo Training Ground?
Are the Ice Arrows worth getting in Ocarina of Time?
How is the Gerudo Training Ground different in Master Quest?
Keep Reading
- Zelda Wiki — Gerudo Training Ground, room-by-room trials, key counts and Master Quest changes
- Zelda Wiki — Gerudo Token, how it is earned and what it unlocks
- Zelda Wiki — Ice Arrow damage, freezing rules and Ocarina of Time uses
- Zelda Wiki — Gerudo's Fortress, the four Carpenters and being caught by guards
Related Guides
Ocarina of Time Ice Cavern Walkthrough: Every Room
Skip the Ice Cavern and the Water Temple becomes uncrossable — the Iron Boots live nowhere else in the game. It's also a genuinely strange dungeon: per Zelda Wiki, it's tied with the Gerudo Training Ground as the smallest in Ocarina of Time, and every room but the mini-boss chamber connects by open hallway instead of a door. Here's the room-by-room route: the Ice Scythe hub and its five Silver Rupees, all three Gold Skulltulas, the White Wolfos fight, and the underwater shortcut on the way out.
Ocarina of Time Jabu-Jabu's Belly Walkthrough: Every Room
Inside Jabu-Jabu's Belly is the third dungeon in Ocarina of Time and the odd one out: no map-and-compass hunt for its own sake, and an escort mission where the person you're escorting can drown. Here is how to actually get in (it takes a diving contest and a message in a bottle), the full route through the Fork in the Guts, the Big Octo fight, and every phase of the Barinade boss fight, including the scripted invulnerability window partway through.
Ocarina of Time Dodongo's Cavern Walkthrough: Every Room
Dodongo's Cavern is one enormous lock with a giant dead Dodongo for a keyhole, and the entire dungeon is you gathering the means to open its mouth. Here is the route through the Entrance, Eastern, Western and Northern Rooms, every chest, the Bomb Bag, all five Gold Skulltulas — two of which child Link cannot reach on the way through — and the King Dodongo fight.
Ocarina of Time Deku Tree Walkthrough: Every Room
Inside the Deku Tree is the first dungeon in Ocarina of Time and the game's own tutorial, teaching doors, vines and switches in about twenty minutes. It is also easy to half-explore, because several of its rewards sit behind puzzle steps the game never spells out. Here is every chest, all four Gold Skulltulas (one of which needs an item you don't have yet), and the fastest way through Gohma.
Ocarina of Time Dungeon Order: The Full Route, Explained
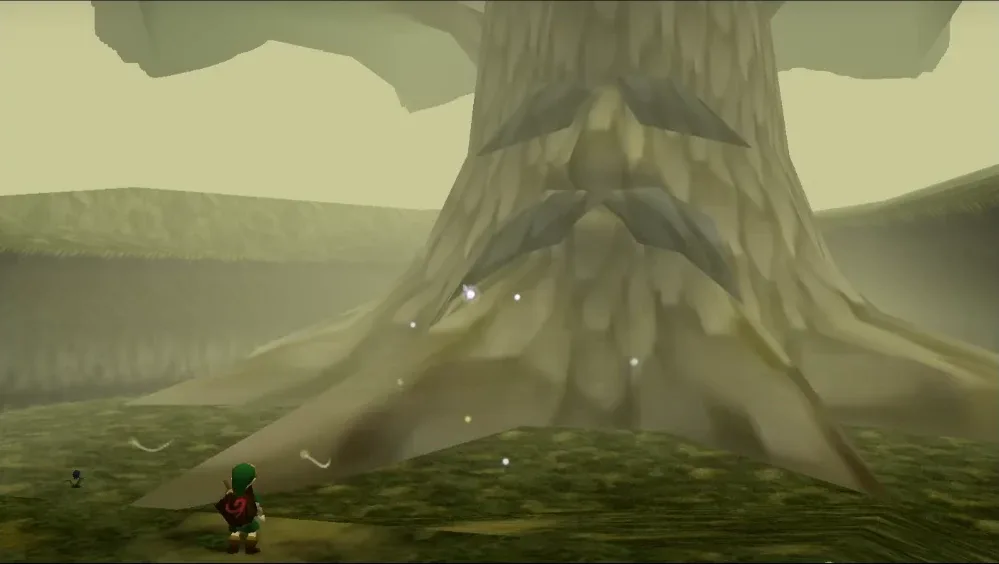
Ocarina of Time looks like an open adventure and plays like a corridor. Eight required dungeons, three side dungeons, and exactly one place where the game genuinely lets you pick. Here is the whole route with the reasons behind each lock.
Ocarina of Time Bottom of the Well: Lens of Truth Guide
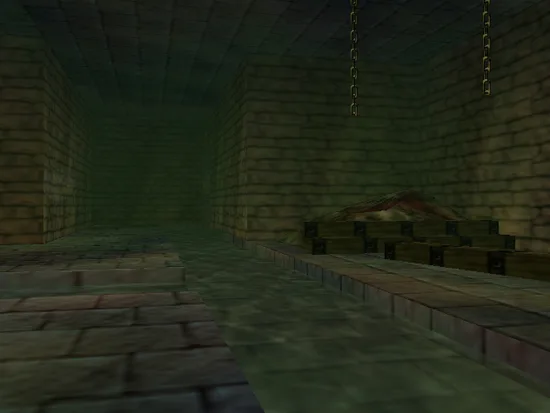
The Lens of Truth sits at the bottom of a Kakariko well that is full of water for the entire first act. Here is how you empty it: the time loop that unlocks the well, the six-step run to the Lens chest, and the ten other things buried down there.