Tears of the Kingdom Cooking Guide: The Buff Math the Game Hides
One Dragon's Horn turns any dish into a 30-minute buff. A 2-rupee Gibdo Guts guarantees a critical bonus. And two effects in the game cannot be cooked past level one no matter what you do. Here is the arithmetic behind Tears of the Kingdom's cooking pot.
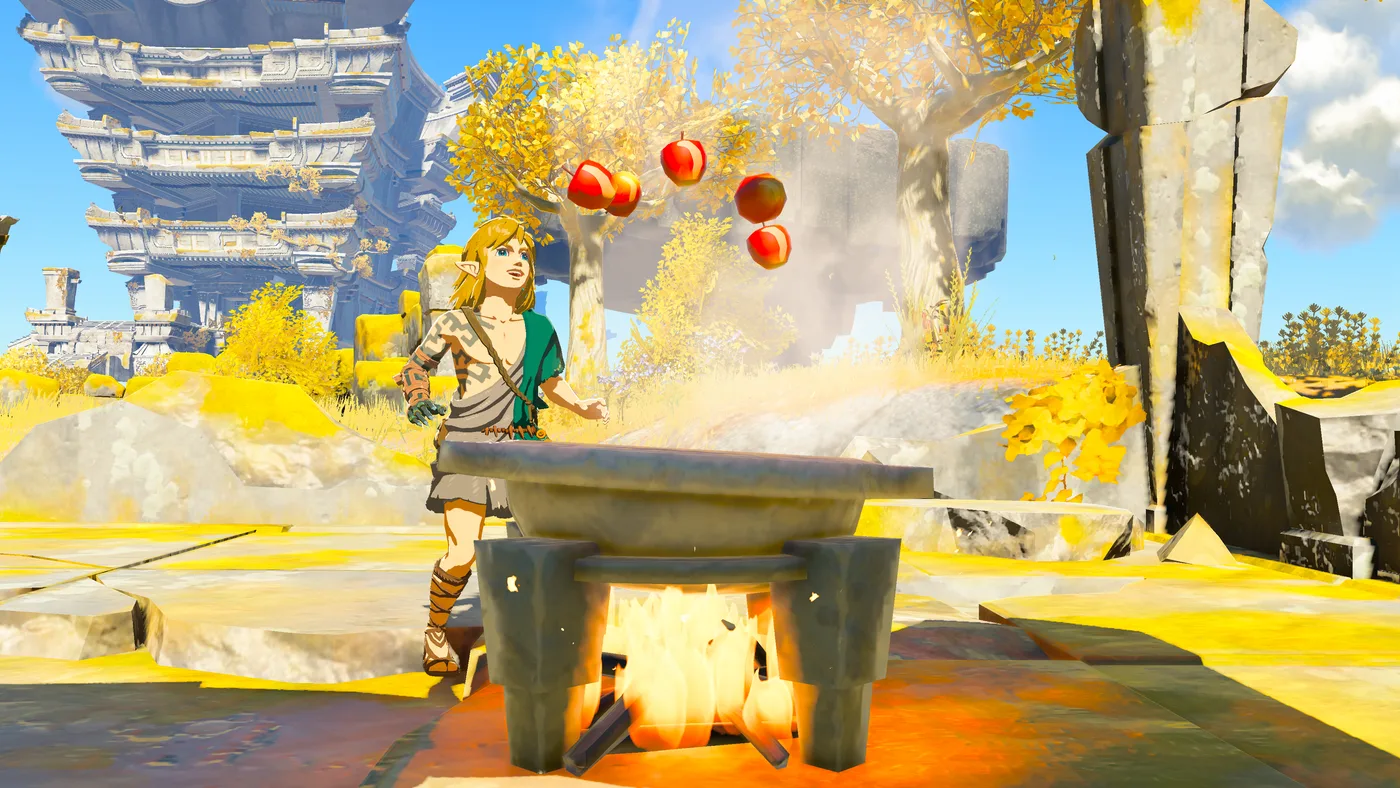
A single Dragon's Horn dropped into a cooking pot sets that dish's buff duration to 30:00. Not "adds thirty minutes" — sets it, from one slot, on top of whatever else is in there. It also guarantees a critical bonus and quietly hands you 3.75 hearts of extra healing on the side.
That is one ingredient. The game never surfaces any of it. The cooking pot is presented as a vibes machine — throw in things that sound right, get something that sounds right back — and underneath it is a fairly rigid points system with hard thresholds and a hard ceiling. Every number below comes from Zelda Wiki's Tears of the Kingdom cooking tables, and a few of them will change what you carry.
You can only hold one food buff at a time
Start here, because everything downstream depends on it.
Link can have exactly one duration-based added effect from meals or elixirs active at once. Not one per category. One. Drink a Hasty Elixir while your Attack Up Lv3 dish is still running and the attack buff is gone — replaced, not paused, not stacked, with no warning that anything was overwritten.
The effects that carry no timer are a different matter. Extra Hearts, Extra Stamina, Stamina Recovery and Gloom Recovery all resolve instantly and have no duration attached, so they are not competing for that one timed slot. A Hearty dish is safe to eat while a buff is running.
Armor is the exception, and it stacks
Food and armor are separate systems, and their levels add together. Zelda Wiki's worked example: two pieces of Attack Up armor plus a meal granting level one Attack Up gives you three levels total.
Follow that to its conclusion. If you are already wearing three pieces of Attack Up armor, you are at the level three cap and an Attack Up meal does nothing at all. That is a slot, a pot, and four Mighty Bananas spent on zero. Wearing attack gear? Cook something else — speed, stealth, hearts, anything that is not the buff your chest already provides.
| Effect level | Attack Up | Defense Up | Speed Up | Stealth Up |
|---|---|---|---|---|
| Level 1 | +20% attack | +4 defense | +10% run speed | 20% quieter |
| Level 2 | +30% attack | +12 defense | +20% run speed | 40% quieter |
| Level 3 | +50% attack | +24 defense | +30% run speed | 70% quieter |
One extra wrinkle on Attack Up: in Tears of the Kingdom it applies twice, multiplicatively, to thrown weapons. At level three a thrown weapon deals 2.25x instead of the 1.5x the buff gives a melee swing. Zelda Wiki flags this as likely unintended, but it is how the game behaves — so an attack dish is worth half again as much to a throwing build as to a melee one. The Fuse guide covers what to be throwing.
Effect level is a star budget
Every ingredient that grants an effect is worth a hidden number of points. Reach a threshold, the level goes up. Thresholds differ per effect, which is why "five of the good mushroom" works for one buff and falls short for another.
| Effect | Level 2 at | Level 3 at | Duration per ingredient |
|---|---|---|---|
| Attack Up | 5 | 7 | 0:50 |
| Defense Up | 5 | 7 | 0:50 |
| Speed Up | 5 | 7 | 1:00 |
| Slip Resistance | 5 | 7 | 2:00 |
| Glow | 5 | 7 | 2:00 |
| Shock Resistance | 4 | 6 | 2:30 |
| Stealth Up | 6 | 9 | 2:00 |
| Swim Speed Up | 6 | 9 | 2:00 |
| Hot / Cold / Stormy Weather Attack | 6 | 9 | 1:00 |
| Cold Resistance | 6 | caps at Lv2 | 2:30 |
| Heat Resistance | 6 | caps at Lv2 | 2:30 |
| Flame Guard | 7 | caps at Lv2 | 2:30 |
| Gloom Resistance | 2 | 3 | 1:00 |
Among the timed effects, the three-point ingredients are Mighty Porgy, Armored Porgy, Sizzlefin Trout, Chillfin Trout, Voltfin Trout and Silent Princess. Most named ingredients are worth two, and the common herbs and small critters are worth one.
That distribution decides how many of your five slots a buff costs, and it is not uniform:
| Target | Cheapest route | Slots used |
|---|---|---|
| Shock Resistance Lv3 | 2 Voltfin Trout | 2 |
| Attack Up Lv3 | 3 Mighty Porgy | 3 |
| Defense Up Lv3 | 3 Armored Porgy | 3 |
| Stealth Up Lv3 | 3 Silent Princess | 3 |
| Cold / Heat Resistance Lv2 | 2 Sizzlefin or Chillfin Trout | 2 |
| Speed Up Lv3 | 4 Swift Violets | 4 |
| Glow Lv3 | 4 Glowing Cave Fish | 4 |
Speed Up and Glow are the awkward ones: neither has a three-point ingredient, so seven points takes four slots however you build it. Slip Resistance is worse again — its two sources are both critters, so it needs a monster part as well, and a level three Sticky Elixir uses all five slots with nothing left over.
Gloom Resistance is the outlier and the bargain. Dark Clumps are worth one point each, but level three needs only three of them — and Bargainer Statues sell Dark Clumps for 10 Poes. Thirty Poes is max-level gloom resistance, which is nothing once you are working the Depths. Note the ceiling on what that effect covers: it stops environmental gloom and Gloom Spawn, and does nothing whatsoever against gloom-wreathed enemies.
Two effects you can never max with food
Here is a result that falls straight out of the tables.
Swim Speed Up has exactly one food source: Splash Fruit, worth one point. Level two needs six points. You have five ingredient slots. Five Splash Fruit is five points, so cooked Swim Speed Up is stuck at level one — the +30% tier — no matter how you build it. The higher tiers come from gear: the Zora Helm, Armor and Greaves, the Vah Ruta Divine Helm, and Opal Earrings.
Hot, Cold and Stormy Weather Attack have the same problem. Fire Fruit, Ice Fruit and Shock Fruit are one point each and level two needs six. Five slots, five points, level one. The higher tiers live on the Ember, Frostbite and Charged sets, which are the only other listed sources for those three effects.
So a real swim speed or weather-attack buff is an armor problem, not a cooking one, and no amount of ingredient hunting changes it. The armor guide has the sets.
Duration is a separate budget entirely
Level and duration come from different pools, and this is where most home-made dishes leak value.
Each effect ingredient contributes the fixed time in the table above — 0:50 for an attack ingredient, 2:30 for a resistance one, regardless of whether that ingredient is worth one point or three. Neutral ingredients (plain fruit, meat, rice, spices) add their own time on top: most food is 0:30, Hylian Rice and Rock Salt and Tabantha Wheat are 1:00, Goat Butter and Hateno Cheese and Cane Sugar and an Oil Jar are 1:20, Bird Egg and Goron Spice are 1:30.
There is a trap attached. The full duration from a neutral ingredient is only paid once per unique material — duplicates drop to 0:30 each. Five Goron Spice is not 7:30, it is 1:30 plus four lots of 0:30. Effect ingredients have no such penalty, which is the one place where stacking identical items is genuinely correct.
Run the arithmetic on an ingredients-only dish and it is grim. Four Mighty Bananas is Attack Up Lv3 for 3:20. Three minutes twenty seconds, for four bananas.
Dragon parts break the duration rules

Dragon parts sit outside the whole system. They add no effect points and no level, but the time they contribute is on another scale:
| Dragon part | Added duration | Extra healing | Critical bonus chance |
|---|---|---|---|
| Dragon's Horn | 30:00 | 3.75 hearts | 100% |
| Shard of Dragon's Fang | 10:30 | 2.5 hearts | 100% |
| Dragon's Claw | 3:30 | 2 hearts | 100% |
| Shard of Dragon's Spike | 1:50 | — | 10% |
| Dragon's Scale | 1:30 | 1.25 hearts | 100% |
Thirty minutes is the ceiling on buff duration, so a horn does not merely extend a dish — it takes it straight to the cap from a single slot. Those four Mighty Bananas plus one Dragon's Horn is Attack Up Lv3 for the full 30:00, and you still have a free slot.
The catch worth knowing: because the horn has already maxed duration and your effect is already at level three, a guaranteed critical bonus on that dish has nowhere useful to go. It can still land on duration even at 30:00, in which case you get nothing from it. That is not a reason to skip the horn — it is a reason not to also spend a Star Fragment on the same pot.
Horns are the scarce part. Claws and fang shards come off a dragon far more often, and 10:30 from a fang shard is still triple what a bananas-only dish gives you. Farming routes for all four dragons are in the Master Sword guide, which needs the Light Dragon anyway.
Critical bonuses, and the 2-rupee item that guarantees one

A critical bonus is a random upgrade applied to one property of the finished dish. It can be three extra hearts of healing, five extra minutes of duration, or one extra level of effect strength — and for the non-timed effects it becomes one extra heart on a Hearty dish, two extra fifth-notches of stamina, or two extra repaired hearts on a Sunny one.
The base rate is 5% per unique material in the dish, so a five-different-ingredient pot rolls better than five of the same thing. Certain materials override that with their own chance, and only the highest one present is counted:
| Material | Critical bonus chance |
|---|---|
| Any Dragon's Horn, Fang shard, Claw or Scale | 100% |
| Star Fragment | 100% |
| Gibdo Guts | 100% |
| Golden Apple | 100% |
| Cane Sugar | 30% |
| High-grade monster parts (guts) | 30% |
| Spike shards, Bird Egg, Goat Butter, Goron Spice, Hateno Cheese, Oil Jar, mid-grade monster parts | 10% |
Gibdo Guts are the sleeper. They sell for 2 rupees — Bokoblin Guts sell for 20 — and they are only a mid-grade monster part, so on paper they are the junk that piles up during the Gerudo questline. They also guarantee a critical bonus. Unlike the dragon parts and Star Fragments sharing that 100% row, they drop from a common enemy — Gibdos and Moth Gibdos, both of which you will kill a lot of. Stop selling them.
And then the free one: cooking between 11:30pm and 12:15am on the night of a Blood Moon guarantees a bonus on every dish. No ingredient tax at all. If you are near a pot when the sky goes red, that is the window to batch-cook everything you were going to make anyway.
Two limits. Only one bonus per dish, ever, no matter how many 100% materials you pile in. And a bonus is never granted to a property that is already maxed — full healing, capped effect level — except that duration can still be picked at 30:00, which is the wasted roll described above.
Elixirs run on rules of their own
An elixir is at least one critter plus at least one monster part. Miss either half and you get Dubious Food — a lone Hot-Footed Frog in the pot is not a speed elixir, it is garbage, and so is a Bokoblin Horn on its own.
What monster parts actually do is add duration, and nothing else. They contribute no healing and no effect strength. They come in three grades:
| Grade | Added duration | Examples |
|---|---|---|
| High-grade (guts) | 3:10 | Bokoblin Guts, Lynel Guts, Hinox Guts, Gleeok Guts |
| Mid-grade (fangs, talons, eyeballs, jellies) | 1:50 | Bokoblin Fang, Lynel Hoof, Gibdo Guts, Red Chuchu Jelly |
| Low-grade (horns, wings) | 1:10 | Bokoblin Horn, Lynel Saber Horn, Keese Wing |
The important consequence: within a grade, the source monster is mechanically irrelevant. Lynel Guts extend an elixir by exactly as much as Bokoblin Guts, with exactly the same 30% crit chance. The only difference between them is sell price. Elemental parts get no bonus toward matching elemental effects either — a Fire Keese Eyeball does nothing extra for a heat resistance elixir. Cook with the cheap ones and sell the Lynel drops.
Note the classification trap: Gibdo Guts are mid-grade despite the "guts" name, so they give 1:50, not 3:10. You take them for the guaranteed crit, not the time.
One more: an elixir whose ingredients grant different effects fails. Mixing a Hot-Footed Frog with a Warm Darner does not produce a dish with both — it produces Dubious Food.
Monster Extract is a slot machine

Monster Extract removes any chance of a critical bonus and replaces it with randomness. Duration is set to 1:00, 10:00 or 30:00 — a straight one-in-three at the duration cap, at the cost of a two-in-three chance of a nearly useless dish.
Then it rolls again on either healing or effect strength, positive or negative. The negative result floors whatever it hits: healing down to a quarter heart, or effect strength down to a single point, which drops your carefully-built Lv3 to Lv1. The positive result adds three hearts of healing, or bumps effect level by one — but only if the dish already has at least half the points needed for level two, rounded up. For Attack Up that means three points minimum before the upgrade roll can even fire.
If a Dragon's Horn is available, use the horn. Monster Extract is what you cook with when you have neither horns nor a Blood Moon, you have surplus ingredients, and you are willing to re-roll — one in three pots lands on 30:00, and the strength roll can still gut the one that does.
How to fail: Rock-Hard and Dubious food
Two distinct failure states, and knowing which materials trigger which saves ingredients.
Rock-Hard Food restores a quarter heart and overrides everything else. It is caused by putting something genuinely inedible in the pot: Amber, Diamond, Flint, Opal, Ruby, Sapphire, Topaz, Luminous Stone, Wood, Hylian Pine Cone, King's Scale, Zonaite or Large Zonaite. Gems and building material. If a dish came out as a grey lump, check what was selected.
Dubious Food restores at least one heart and happens for subtler reasons:
- An inedible item is present — Bomb Flower, Muddle Bud, Puffshroom, a Zonai Charge, an Ancient Blade, or any Construct horn. Every Zonai and Construct drop is pot-poison, which matters if you are stripping the Depths for parts.
- A critter without a monster part, or a monster part without a critter.
- An elixir whose materials point at different effects.
- An invalid combination of supplemental materials — the spices, dairy, dragon parts and Star Fragments that carry no effect of their own. A few work solo (Courser Bee Honey, Bird Egg, Fresh Milk, acorns and tree nuts), Fresh Milk and Bird Egg pair with any other supplemental, and set combinations like Tabantha Wheat with Rock Salt are fine. Five spices and nothing else is not.
Neither failure state can receive a critical bonus, which is worth remembering on Blood Moon night — a guaranteed bonus does not rescue a bad pot.
Six pots worth memorising
Straight arithmetic off the tables above. Slot counts assume the five-ingredient maximum.
Attack Up Lv3, 30 minutes. Four Mighty Bananas plus one Dragon's Horn. Eight points clears the seven-point threshold, the horn caps duration. Three Mighty Porgy plus a horn does the same in fewer slots if you have been fishing.
Stealth Up Lv3, 30 minutes. Three Silent Princess plus one Dragon's Horn. Level three stealth needs nine points and Silent Princess is the only three-point stealth material, so this is the tight one — the shroom route needs five Silent Shrooms and leaves no room for the horn.

Fifteen gloom-locked hearts back, in one dish. Five Sundelions. Each is worth three points and every point repairs one heart damaged by gloom. Sun Pumpkins are one point each, so they are five hearts for the same five slots. Gloom Recovery has no duration, so a Dragon's Horn adds nothing here — do not waste one.
The Gloom-Borne Illness quest dish. Sundelion plus Hylian Rice plus Fresh Milk makes a Sunny Veggie Porridge, which is what Lasli needs for her grandmother Nanna in Hateno. Veggie Porridge is any vegetable plus rice plus milk, and Sundelion counts as a vegetable.
Two full extra stamina wheels. Five Endura Carrots. Each is worth two points and each point is one temporary fifth-notch, so ten notches is two wheels. Extra stamina caps at 2.4 wheels in Tears of the Kingdom, of which only two are ever drawn on screen — so five carrots is effectively the visible maximum.
Twenty-five yellow hearts. Five Big Hearty Radishes, at five points each, with every point adding one extra heart. Your life gauge cannot exceed forty hearts in total, so the ceiling is real, and gloom damage from any source consumes every yellow heart at once rather than one at a time. Save the big radish dish for a fight, not for a walk through the Depths.
Quick Action Checklist
- One timed food buff at a time. A new one replaces the old. Non-timed effects — hearts, stamina, gloom recovery — do not take the slot.
- Food and armor levels stack. Three pieces of Attack Up gear means an attack meal is wasted.
- Level three needs 7 points for attack, defense, speed, slip and glow; 9 for stealth, swim and weather attack; 6 for shock; 3 for gloom resistance.
- Slot cost is not uniform: Shock Resistance Lv3 is 2 slots, Attack/Defense/Stealth Lv3 is 3, Speed and Glow Lv3 is 4, and a Lv3 Sticky Elixir eats all 5.
- Swim Speed Up and the three Weather Attack effects cannot be cooked past level one. That is armor-only territory.
- One Dragon's Horn sets duration to the 30:00 cap. A fang shard gives 10:30, a claw 3:30.
- Duplicate neutral ingredients only pay 0:30 after the first. Duplicate effect ingredients pay full.
- Base crit chance is 5% per unique material. Dragon parts, Star Fragments, Golden Apples and 2-rupee Gibdo Guts guarantee it.
- Cook between 11:30pm and 12:15am on a Blood Moon for a free guaranteed bonus on everything.
- Elixir means critter and monster part. Grade sets duration — 3:10, 1:50, 1:10 — and the monster it came from does not matter.
- Gems, wood and Zonaite make Rock-Hard Food. Construct horns, Zonai Charges, Muddle Buds and Puffshrooms make Dubious Food.
Frequently Asked Questions
Can you have two food buffs at once in Tears of the Kingdom?
What does a Dragon's Horn do when you cook with it in TOTK?
How does critical cooking work in Tears of the Kingdom?
How many ingredients do you need for a level 3 buff in TOTK?
Why is my elixir coming out as Dubious Food?
Does the monster you get a monster part from matter for elixirs?
What is the maximum buff duration in Tears of the Kingdom?
Keep Reading
- Zelda Wiki — Tears of the Kingdom cooking: effect point thresholds, ingredient durations, critical bonus chances, and the Dubious/Rock-Hard failure lists
- Zelda Wiki — Added Effect magnitudes per level and the meal/armor stacking rule
- Zelda Wiki — Attack Up percentages and the doubled multiplier on thrown weapons
- Zelda Wiki — Monster Extract duration and strength randomisation
- Zelda Wiki — Gibdo Guts sell price and drop source
- Zelda Wiki — Bokoblin Guts sell price and monster part grade
- Zelda Wiki — Elixir composition rules and effect categories
Related Guides
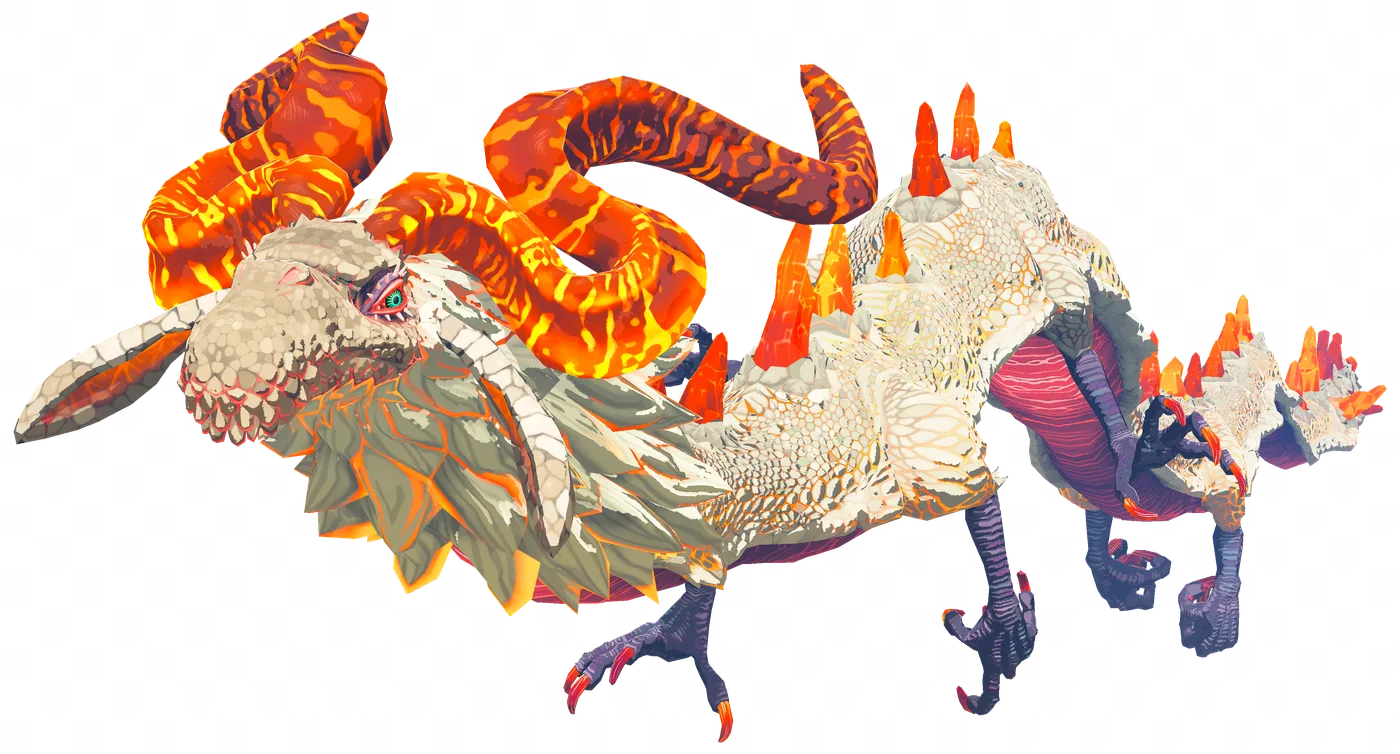
Tears of the Kingdom Dragon Parts: The 101-Part Armor Bill
Four dragons, twenty parts, and a full armor tree that wants 101 of them. Here is what each part does when you fuse it, what it sells for, exactly how many the Great Fairies take, and why 45 of the 101 cost you nothing but a landing.
Tears of the Kingdom Rupee Farming: What to Sell and Keep
A Ruby sold for 210 rupees in Breath of the Wild. In Tears of the Kingdom it sells for 110. Six of the eight ores the two games share lost 42 to 71 percent of their value, which quietly broke the old money playbook. Here is what actually pays now, what the Great Fairies will want back, and the real math on feeding Luminous Stones to a Dondon.
Tears of the Kingdom Boss Guide: Every Weak Point
Our sages guide already told you how much HP these bosses carry depending on turn order. It never told you how to actually hit them. Three of the four regional bosses cannot be damaged at all until you trigger a specific counter on them — and one boss hits harder in its optional rematch than it ever does in a real playthrough.

Tears of the Kingdom Best Weapon: The Untouched Tier
The 31-pair decayed-to-intact table tops out at 39 attack. It was never the whole game. Forty-eight more weapons never had a decayed state to begin with — Zelda Wiki calls them Untouched — and they include the three Champion weapons, the entire Zonaite line, and the three Gloom weapons that outdamage everything else in Tears of the Kingdom. Here is where they all come from, what locks their numbers in place, and the one that doesn't.

Tears of the Kingdom Beginner Guide: Great Sky Island and Your First 10 Hours
Tears of the Kingdom hands you four abilities in two hours and then refuses to explain how they interact. Here is what the Great Sky Island is actually teaching, what it skips, and the systems that decide whether hour ten feels powerful or exhausting.

Tears of the Kingdom Intact Weapons: Break These 31 First
Intact weapons are not loot you find. They are loot you unlock, one broken decayed weapon at a time, and the game never says so. Here is the full 31-pair table, the unlock rule, the one way of breaking a weapon that does not count, and how a Spectral Figure actually picks what it is holding.