Tears of the Kingdom Sages Guide: Every Ability and Number
Five sages, five powers, and a pile of numbers Nintendo never shows you — including the one that decides whether Queen Gibdo has 2,270 HP or 3,632. Here is what each avatar actually does, what upgrading it is worth, and why temple order matters more than anyone told you.
Queen Gibdo has 2,270 HP if you fight her early and 3,632 if you save the Lightning Temple for last. Nothing in Tears of the Kingdom tells you that. The game sells you on going anywhere in any order, and it means it — but three of the four regional bosses gain health as you clear more temples, and only Marbled Gohma steps up at every single slot.
That is one of a dozen numbers sitting under the sage system that the game never surfaces. How much damage does Yunobo's charge do? Is upgrading a vow worth four chests you had to fight a King Gleeok for? Every answer below comes from Zelda Wiki's Tears of the Kingdom data tables, and several will change how you fight.
A sage avatar is a projection, not a party member
The thing following you around is not Tulin. It is a Sage Avatar — a projection thrown off by that sage's Secret Stone, translucent blue with glowing white eyes, standing in for a person who is somewhere else entirely. Sworn to you by a Vow, which lives in your Key Items and doubles as the summon/dismiss toggle.
Two behaviors matter more than the lore. First, avatars fight on their own, attacking anything aggressive toward you with real weapons and real damage values. Second, they only exist on solid ground — start climbing, gliding, or swimming and they are temporarily dismissed until your boots are back on dirt. Tulin is the single exception, and that exception is the whole reason he is the one you never toggle off.
Their powers are activated by walking into the avatar and interacting with it. No button binding, no wheel, no menu — you physically jog across the arena to Yunobo and bump him. Plan around it: keep the sage whose power you need summoned, and dismiss the rest so you are not chasing the wrong translucent bodyguard mid-fight.
Small thing that pays off later: photographing a Sage Avatar's weapon registers it to your Hyrule Compendium, even though the avatar itself is see-through. That is how you log the Great Eagle Bow, the Boulder Breaker, the Lightscale Trident and the Scimitar of the Seven without hunting down the real ones.
The five powers, one at a time
Here is the summary before the detail. Cooldowns are wiki-verified and are not affected by story progress:
| Sage | Power | Cooldown | Duration / quirk |
|---|---|---|---|
| Tulin | Power of Wind | 15 seconds, cannot be shortened | 4-second gust; the only avatar that stays with you midair |
| Yunobo | Power of Fire | 9 seconds | No cooldown at all while you are moving fast on a vehicle |
| Sidon | Power of Water | 10 seconds from application | Bubble blocks one attack, lasts 10 seconds |
| Riju | Power of Lightning | 10 seconds | Dome takes 20 seconds to reach full size |
| Mineru | None — you pilot the construct | n/a | Warps in and out like the Purah Pad |
Tulin: wind, 15 seconds, works midair
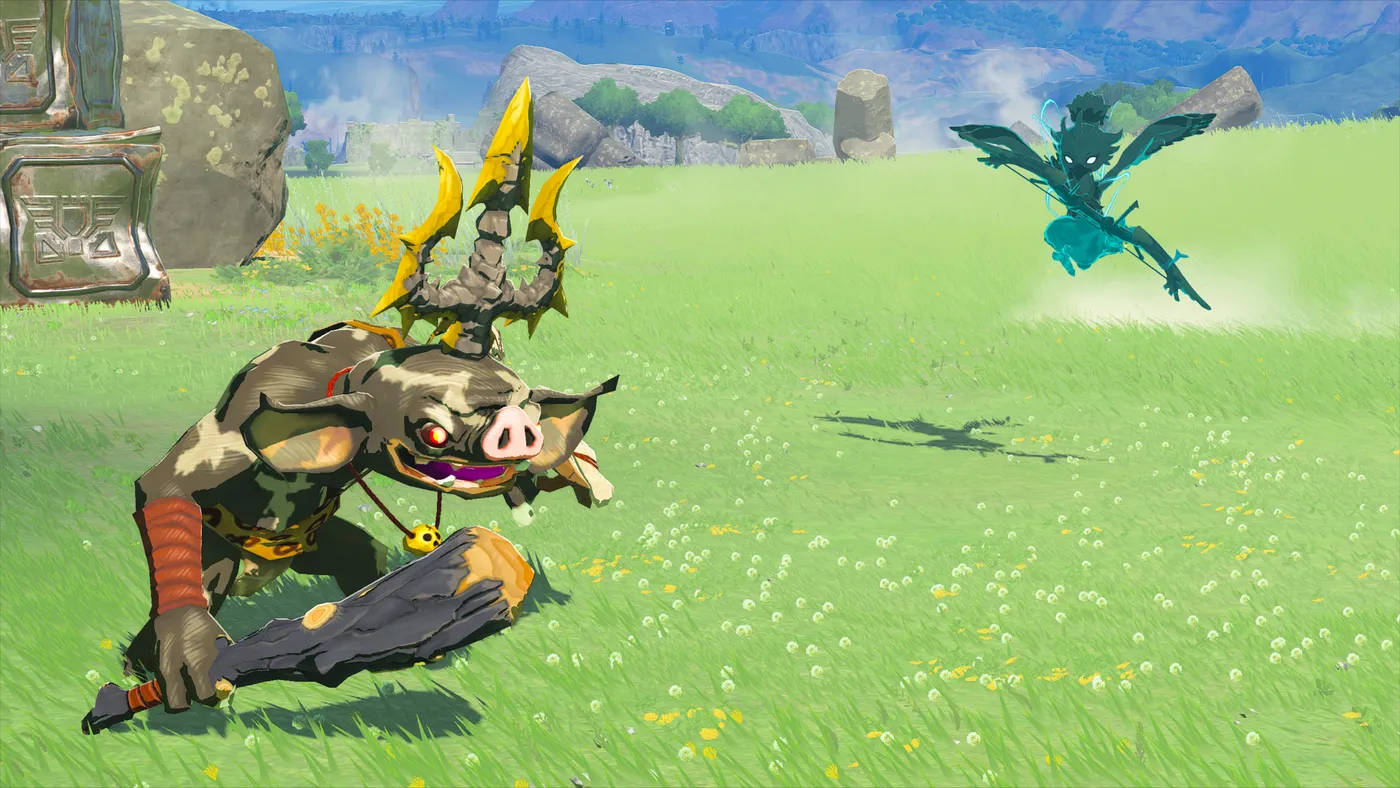
Tulin's avatar shoots a custom Great Eagle Bow, firing one to three arrows per volley. The first shot deals 19, every subsequent shot in that volley deals 7. The crit table is where he gets scary: the first, second and third shots have a 30%, 45% and 60% chance to land a critical hit, and once any shot in the volley crits, every shot after it in that same volley also deals double damage. A three-arrow volley that crits on arrow one is doing far more than 19 + 7 + 7.
The power itself is a four-second gust that shoves objects and a lot of enemies away from you, and — the part that matters — propels you forward while you are paragliding. Because you can use it in the air, his avatar is the only one that does not vanish when you leave the ground. Fifteen-second cooldown, and per the wiki that number cannot be reduced by anything.
Tulin is a traversal ability disguised as a combat ability. He turns a sky island hop into a straight line and he is the reason a Skyview Tower launch reaches two regions over. If you are still working out the sky layer, the beginner guide covers the tower network he plugs into.
Yunobo: a cannonball that ignores rock armor
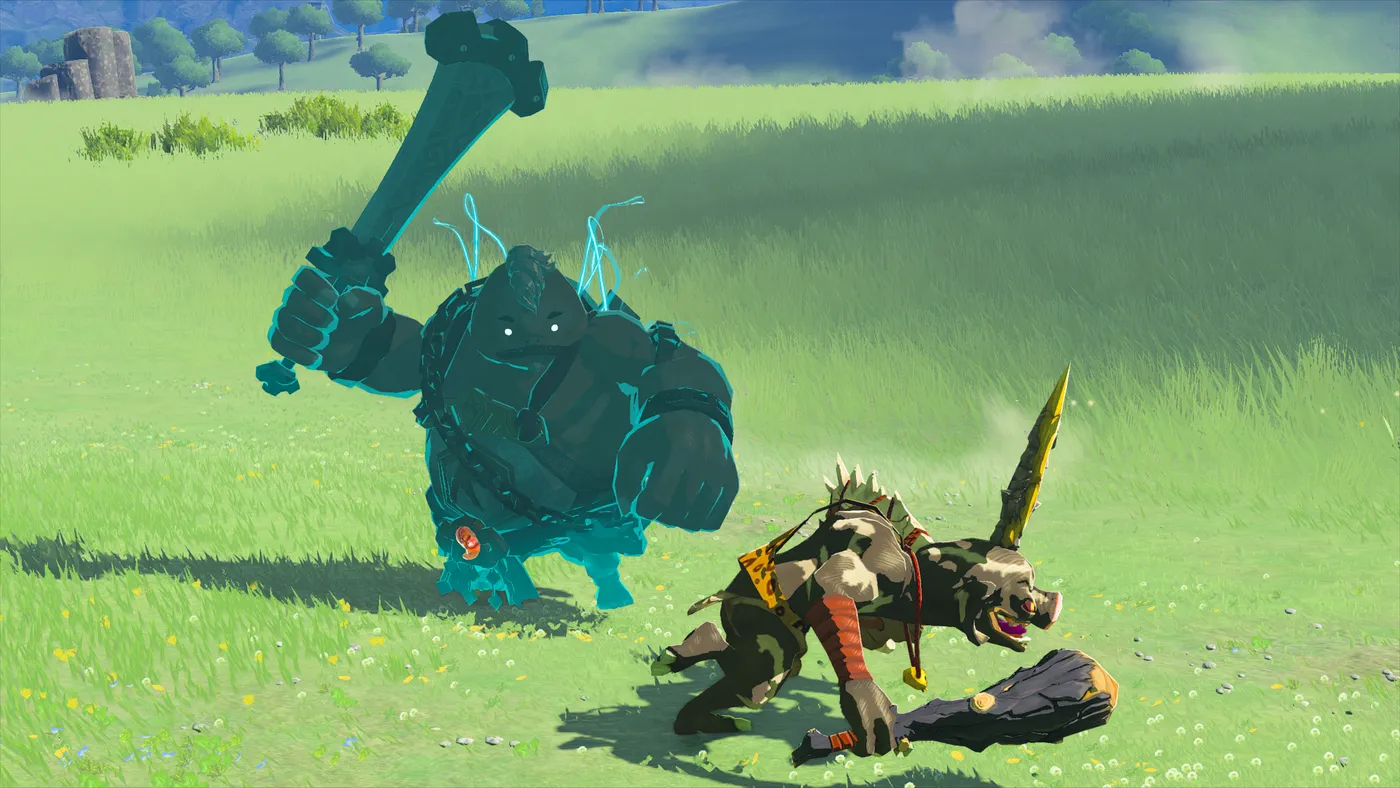
Yunobo's avatar swings a Boulder Breaker in melee for 24 base damage. Interact with him and he curls into an aiming state in front of you, then launches forward in a trail of fire and explodes on the first thing he hits, dealing his current base attack power plus bonus fire damage scaled to the target.
Two mechanical details make him better than he looks:
- His explosion does not take the usual damage reduction against Hard Sediment — the breakable rock blocking cave and well passages all over Hyrule, plus the Zonaite deposits in the Depths. That makes Yunobo a mining tool as much as a weapon.
- While you are aiming him, he blocks some enemy projectiles from the front. A charged Yunobo is a shield with a face.
And then the exception that changes how you drive: if you are travelling fast enough on a vehicle, his avatar automatically enters the aiming state and can be fired with no cooldown at all. The only limiter is how long he takes to get back to the vehicle. A hoverbike with Yunobo aboard is a repeating cannon. The trade-off, which nobody warns you about, is that his avatar physically affects vehicle handling — flying builds that would otherwise track straight will drift with him on board. Trim accordingly, and see the Ultrahand and Zonai device guide for the builds worth putting him on.
Sidon: one blocked hit, then a water cannon
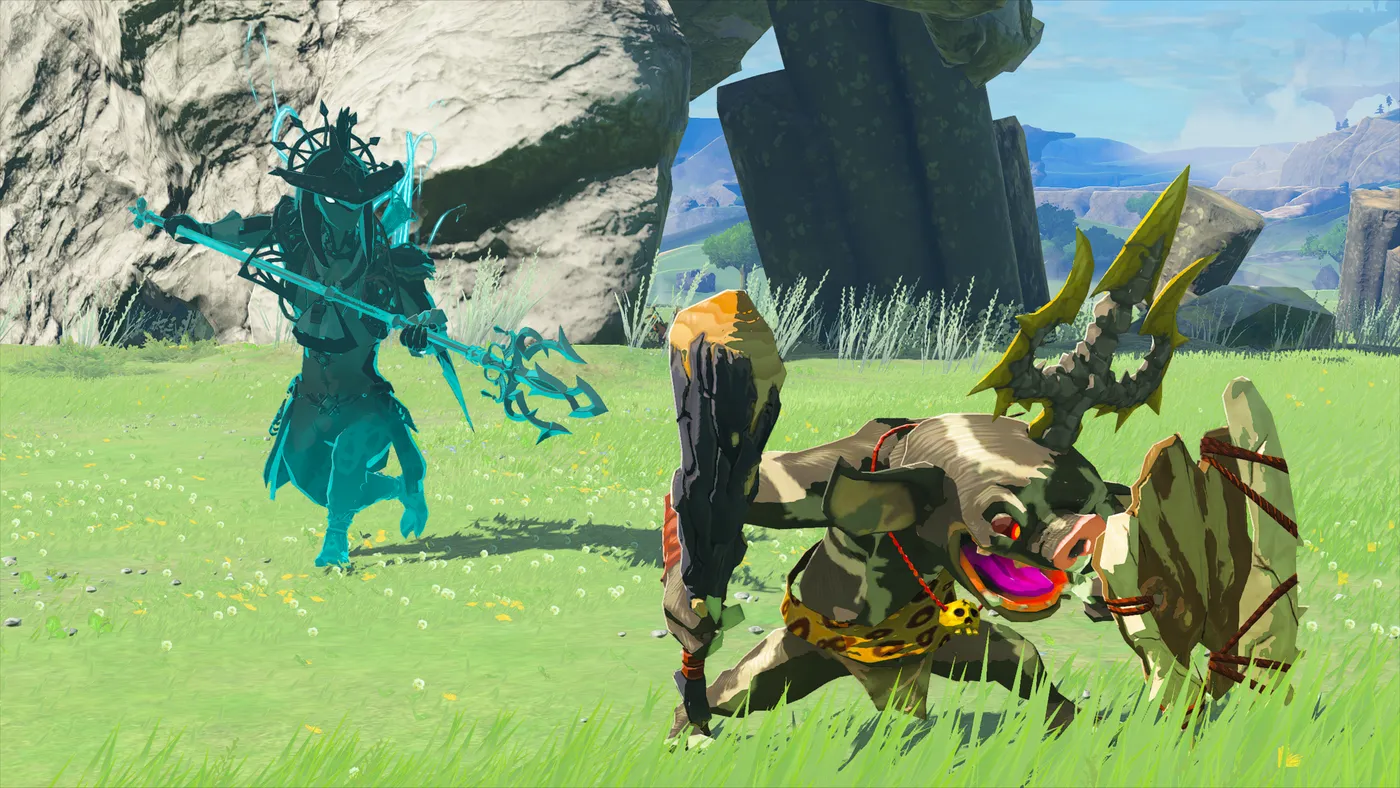
Sidon fights with the Lightscale Trident. His combos apply multipliers of 0.5, 0.34 or 0.27 depending on which string he uses, so any given hit looks weak — the full combo lands at roughly his 20 base attack power in total.
His power wraps you in a bubble of water that absorbs exactly one attack over the next 10 seconds. Cooldown is 10 seconds from the moment the bubble goes up, so with good timing you are almost never without it. What it does not do: protect you from environmental damage. Fall damage goes through. A lightning strike goes through. It is an anti-enemy shield only.
The good part is what happens when you attack before the bubble pops. The water channels into a forward projectile matching the attack power of the weapon in your hands, Attack Up buffs included, and the weapon type shapes it:
| Weapon type | Projectile behavior |
|---|---|
| Spear | Fast and thin |
| One-handed | Moderate speed, moderate width |
| Two-handed | Slow and wide |
So Sidon is a ranged attack that scales with your best melee weapon. Pair him with a big fused two-hander and you are throwing a wall of water that hits as hard as the swing would have. The Fuse guide covers which materials push that number highest.
One effect that is easy to miss: the bubble leaves you wet for a while, and being wet is temporary protection in Extremely Hot Zones and Scorching Climates. Free, repeatable heat resistance in Eldin and the daytime desert. It will not replace proper gear for a long trek — the armor guide has that — but it will get you across a bad stretch.
Riju: the dome, and the 9,999
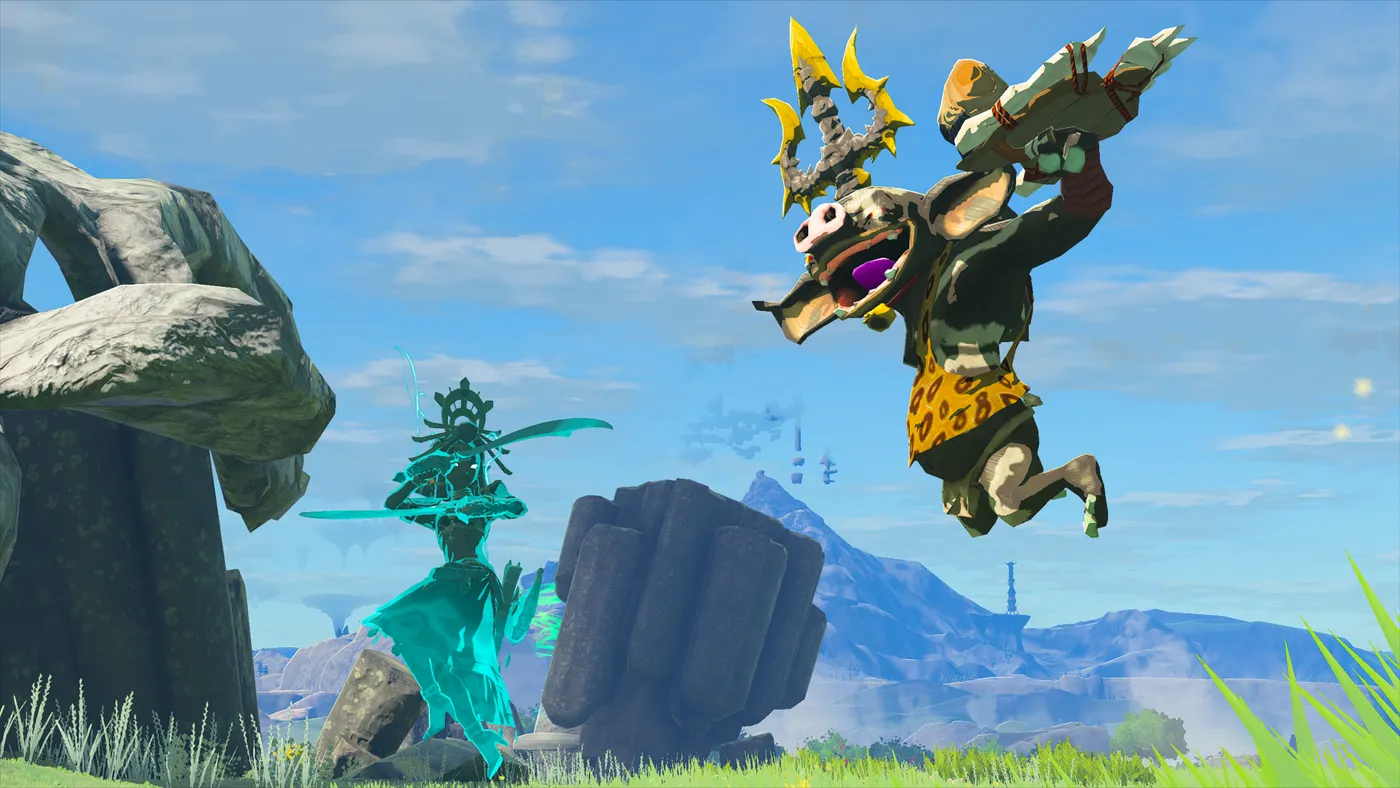
Riju carries a pair of Scimitars of the Seven and swaps between single-sword and dual-sword strings — 17 damage on the dual-sword attacks, 8 on the single.
Her power raises a dome that grows for 20 seconds until it hits maximum size. Fire an arrow anywhere inside it and lightning strikes where the arrow lands. Base payload is 10 explosion damage plus 60 lightning damage. Then the exceptions start, and they are the most extreme numbers attached to any sage:
| Target | What Riju's lightning does |
|---|---|
| Gibdos and Moth Gibdos | 9,999 lightning damage — an instant delete |
| Evermeans | 1,000 explosion damage |
| Queen Gibdo | 150 |
| Octoroks and Pebblits | 100 explosion damage |
| Taluses | 70 to the body |
| Electric Chuchus, Electric Keese, Electric and Thunder Wizzrobes | Zero lightning damage |
| Everything else | 10 explosion + 60 lightning, plus incidental fire and shock |
The 9,999 against Gibdos is not a typo, and it explains why the Gerudo questline hands her to you right as the desert fills with them. Note that the 10-second cooldown and the 20-second growth timer are separate clocks — pop the dome early and let it inflate while you set up.
The detail people get wrong: the lightning strike does not replace your arrow's own damage. Shooting the enemy directly, so the arrow connects and the bolt lands on them, is strictly more damage than aiming at the ground beside them.
Mineru: not an avatar at all
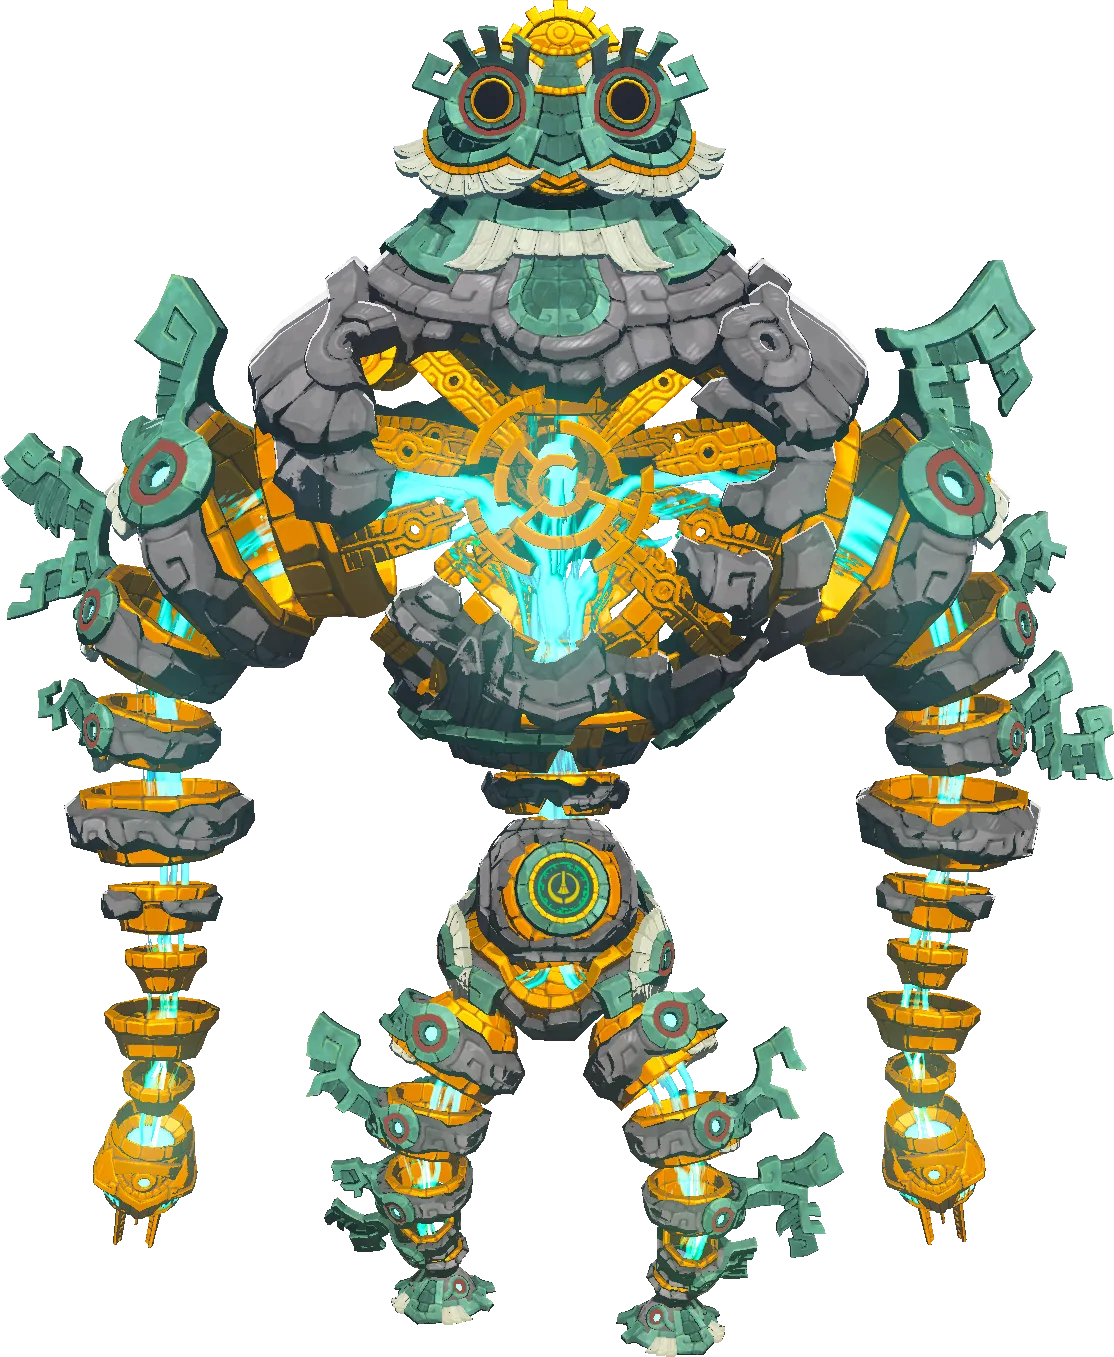
Mineru is the fifth sage and she does not follow you. She is a mech you ride, built out of a Zonai Relic from Dragonhead Island plus four limbs recovered from depots in the Construct Factory beneath Tobio's Hollow Chasm. Summon her and she materializes with the same warp effect as the Purah Pad; teleport while riding and she dematerializes with you.
Her arms hit for 27 base and they never lose durability. What you fuse to them does, and the rules are their own small system:
| Fused to Mineru | Lifespan |
|---|---|
| Weapons | Their own durability, hard-capped at 15 |
| Wooden objects | 5 hits |
| Stone or stone-like objects | 10 hits |
| Metal objects | 15 hits |
| Fragile materials, e.g. a Bird Egg | 1 hit |
| Soft materials, e.g. most ingredients | 5 hits |
| Hard materials, e.g. Monster Horns | 10 hits |
| Zonai devices | 2,000 frames, about 66 seconds — and each hit burns 200, so roughly 10 swings |
Her arms count as two-handed weapons, which produces a genuinely misleading display: the fuse damage shown in your inventory is only 95% of the true added damage. Her back slot counts as a shield, and it is where the movement upgrades go — a Fan boosts her forward, a Rocket boosts her up, a Wing lets her glide and catch updrafts like the paraglider, and a Hover Stone slows her descent.
Two more things worth banking. She walks through gloom without being afflicted, which makes her the safest thing to ride in the Depths. And she only drains your Energy Cell while you are aboard — when Mineru operates the construct on her own, it costs you nothing.
Sage's Will math: 20 chests, five sages, zero spare
Sage's Wills are the upgrade currency, and the accounting is unusually tidy. There are exactly 20 of them in the game, all in treasure chests in the sky, and a Goddess Statue takes four at a time to convert one Vow into a Solemn Vow. Five sages, four wills each, twenty wills total. There is no spare and no wrong choice — collect all 20 and every sage gets upgraded.
They are not all free, though. Eight of the 20 sit behind a fight:
| Guardian | Where |
|---|---|
| King Gleeok | Gerudo Desert Sky, above the West Barrens |
| King Gleeok | Hebra Mountains Sky, west of the West Hebra Sky Archipelago |
| King Gleeok | Necluda Sea Sky, above Eventide Island |
| Flux Construct III | Faron Sky Archipelago, above Lake Hylia |
| Flux Construct III | South Necluda Sky Archipelago, above Tuft Mountain |
| Flux Construct III | West Hyrule Sky Archipelago, above Satori Mountain |
| Flux Construct II | Lanayru Sky Archipelago, southwest of Wellspring Island |
| Flux Construct II | Wellspring Island, west of Igoshon Shrine |
The other twelve are open chests, light-beam gates, or tucked into vine mazes and pools — Dragonhead Island, Starview Island, the Thunderhead Isles, and the Eldin, Sokkala, Lanayru, North Tabantha, South Eldin, South Hebra, South Hyrule, East Gerudo and North Necluda archipelagos.
Three King Gleeoks stand between you and full sage upgrades. If you are not ready for those, take the twelve unguarded wills first — that is three Solemn Vows with change to spare, and you can come back for the rest once your damage catches up.
Divine Helms stack with the Solemn Vow
The second upgrade path is headgear, and it is the one most players never connect to the sages at all. Each of the four regional sages has a Divine Helm hidden in a cave, unlocked as a side quest only after you awaken that sage. Wear it and that sage's avatar visibly puts on its ancient counterpart and hits harder — and the boost stacks with the Solemn Vow.
| Helm | Cave | Effect on Link | Unlocked by |
|---|---|---|---|
| Vah Medoh Divine Helm | North Biron Snowshelf Cave | Cold Resistance | Treasure of the Secret Springs, from Tulin |
| Vah Rudania Divine Helm | Lizard's Burrow | Flame Guard | The Hidden Treasure at Lizard Lakes, from Bludo |
| Vah Ruta Divine Helm | Cave Under Zora's Domain | Swim Speed Up | Secret Treasure under the Great Fish, from Sidon |
| Vah Naboris Divine Helm | West Gerudo Underground Ruins | Shock Resistance | Treasure of the Gerudo Desert, from Riju |
Mineru's equivalent is the Zonaite Helm on Lightcast Island in the Tabantha Frontier Sky, which grants Energy Up on top of buffing her construct.
Here is the full damage picture with both upgrades in play:
| Sage | Base | Solemn Vow or Divine Helm | Both |
|---|---|---|---|
| Tulin | 19 first shot / 7 after | 26 / 9 | 33 / 11 |
| Yunobo | 24 | 35 | 48 |
| Sidon | 20 | 30 | 40 |
| Riju | 17 dual / 8 single | 25 / 12 | 34 / 17 |
| Mineru | 27 | 40 | 53 |
Yunobo doubles. Mineru nearly doubles. That is a lot of free damage riding on four wills and one cave, and since the helms carry elemental resistances you were already wearing something for, the cost is close to zero.
Temple boss HP scales with the order you pick
This is the one the game hides hardest. Three of the four regional bosses gain health as you clear more temples — but only Marbled Gohma steps up at every slot. Mucktorok and Queen Gibdo sit at their floor for both your first and your second temple and start climbing from the third. Colgera does not scale at all — it is one of only two bosses in the game whose health is fixed, sitting at 600 HP with 100 shaved off every time you hit a weak spot. Six clean hits, always, whether it is your first temple or your last.
| Boss (temple) | 1st | 2nd | 3rd | 4th | Last |
|---|---|---|---|---|---|
| Colgera (Wind) | 600 | 600 | 600 | 600 | 600 |
| Marbled Gohma (Fire) | 800 | 1,200 | 1,600 | 2,000 | 2,400 |
| Mucktorok (Water) | 1,300 | 1,300 | 1,625 | 2,000 | 2,275 |
| Queen Gibdo (Lightning) | 2,270 | 2,270 | 2,724 | 3,178 | 3,632 |
Read that table as routing advice. Marbled Gohma triples between first and last. Queen Gibdo starts as the toughest fight in the set and gains another 1,362 HP if you leave her until the end. Colgera is immune to the whole mechanic, which makes the Wind Temple the correct one to save — every hour you delay it costs you nothing.
The aggressive read: Lightning Temple first or second, while Queen Gibdo is still at 2,270, then Fire, Water, Wind. The cautious read is the opposite and is also defensible, because early Link has fewer hearts and worse weapons. Just make the choice knowing it is a choice.
Two footnotes. Skip the temples entirely and all four bosses reappear at Gloom's Lair, during the War in the Depths of Hyrule, in a fixed gauntlet — the Demon King's Army, then Colgera, Marbled Gohma, Mucktorok, Queen Gibdo, and finally the Seized Construct — at their own separate HP values. And beating a boss legitimately unlocks it in the Boss Rematch arenas scattered through the Depths: 12 arenas, three per boss, each first clear paying out a Huge Crystallized Charge.
Where the sages will not follow you
Two hard exclusions and one that is easy to misread, and knowing them prevents a lot of confused menu-mashing:
- Towns and villages. No avatars, no exceptions.
- Stables.
- The final descent — avatars disappear as you near the Forgotten Foundation, then return at Gloom's Lair, where the sages you have awakened join the fight.
Beyond that, everything except Tulin dismisses itself the moment you climb, glide, swim, or otherwise leave solid ground, then reappears when you land. That is not a bug and re-summoning does not help.
Run one or two sages at a time rather than all five. Five avatars milling around a Bokoblin camp means five bodies between you and the one you wanted to bump into, and their auto-attacks will happily aggro a Lynel you were sneaking past. Tulin permanently on, plus whichever of the other four suits the region, is the setup that stops fighting you.
More Hyrule breakdowns sit on the Tears of the Kingdom hub, the Master Sword guide covers the one weapon that outdamages every sage against Ganondorf, and if you want to see how far this system moved from its predecessor, the Divine Beasts guide has the Champion abilities it replaced. Everything else we are playing is on the Mythras blog.
Quick Action Checklist
- Keep Tulin summoned permanently and dismiss the rest. He is the only avatar that survives being airborne, and every extra body is one more thing between you and the sage you meant to bump into.
- Ride Yunobo on vehicles: at speed he auto-aims and fires with no cooldown, and his explosion ignores the Hard Sediment damage reduction.
- Attack while Sidon's bubble is up to convert it into a water projectile matching your weapon's attack power. The bubble also leaves you wet, which is free heat protection.
- Pop Riju's dome early — it needs 20 seconds to reach full size — and shoot enemies directly so the arrow damage stacks on the bolt. Her lightning deals 9,999 to Gibdos and zero to Electric Chuchus, Electric Keese, and Electric or Thunder Wizzrobes.
- Collect all 20 Sage's Wills: four per sage, five sages, no spares and no wrong picks. Eight sit behind three King Gleeoks and five Flux Constructs, so take the twelve free ones first.
- Grab all four Divine Helms plus the Zonaite Helm. They stack with the Solemn Vow and take Yunobo from 24 damage to 48.
- Do the Lightning Temple first or second — Queen Gibdo holds 2,270 HP for both of those slots and climbs to 3,632 if you leave her until last. Marbled Gohma is the one that steps up at every slot, 800 to 2,400. Colgera is locked at 600, so the Wind Temple is the free one to postpone.
Frequently Asked Questions
How do you upgrade the sages in Tears of the Kingdom?
How much damage do the sage avatars do in TOTK?
What are the sage ability cooldowns in Tears of the Kingdom?
Does the order you do the temples in matter in TOTK?
Where are the Sage's Wills in Tears of the Kingdom?
What do the Divine Helms do in TOTK?
Why can I not summon my sages in towns?
Keep Reading
- Zelda Wiki — Sage Avatar behavior, ability cooldowns, and the full attack power tables
- Zelda Wiki — all 20 Sage's Will chests with coordinates and guardians
- Zelda Wiki — Mineru's Construct damage, fuse durability rules, and Zonai device effects
- Zelda Wiki — Tears of the Kingdom Divine Helm locations, effects, and unlock quests
- Zelda Wiki — Queen Gibdo health scaling by temple order and her lightning weakness
- Zelda Wiki — Colgera's fixed 600 HP and its 100-per-hit weak spots
- Zelda Wiki — the twelve Depths Boss Rematch arenas and their rewards
- Zelda Wiki — the War in the Depths of Hyrule at Gloom's Lair, its boss order, and the sages who join it
- Zelda Wiki — Hard Sediment locations and its five variants
Related Guides
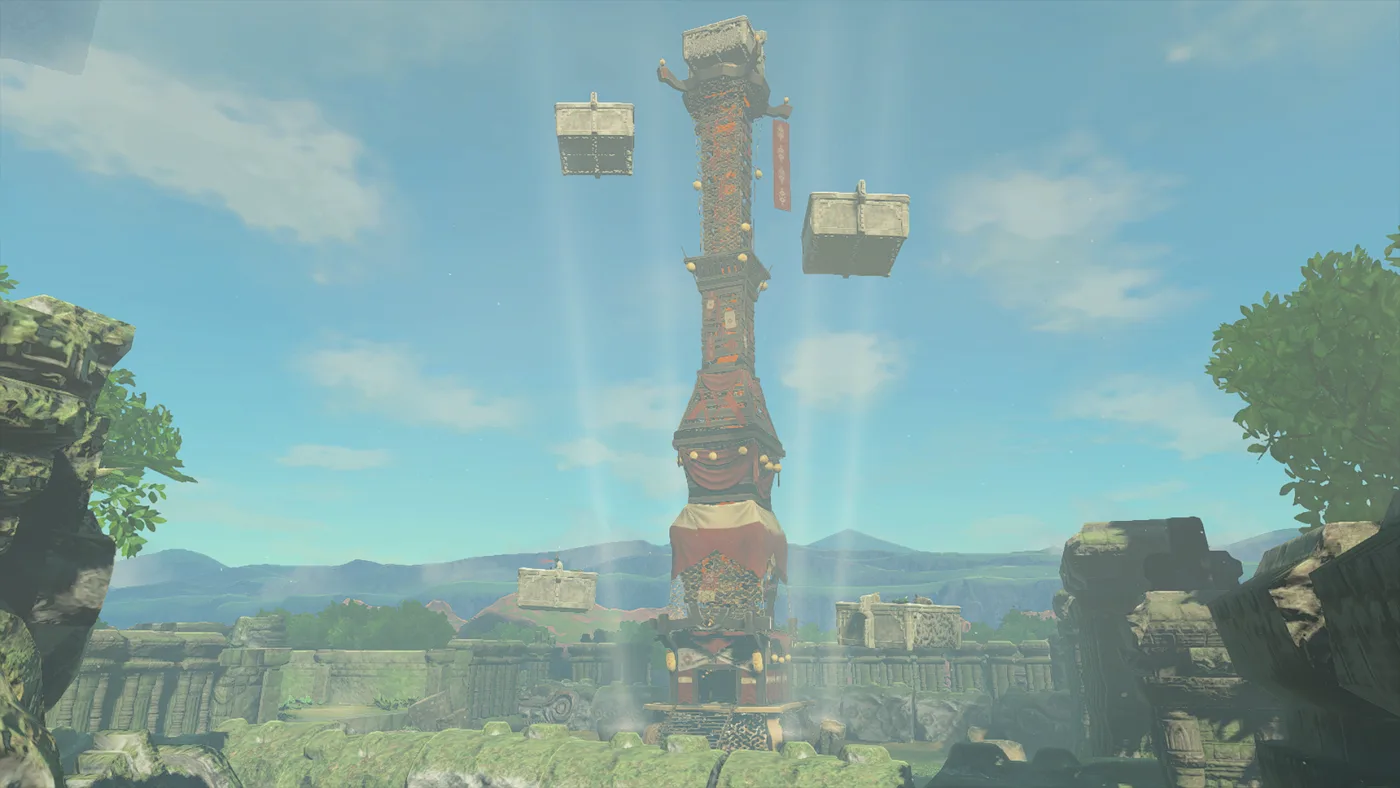
Tears of the Kingdom Skyview Towers: How to Unlock All 15
Ten of Tears of the Kingdom's 15 Skyview Towers have something wrong at the door when you arrive: a stolen terminal, a jammed door, a broken elevator, brambles, sludge, a trapped repairman or a snowdrift. Here is where every tower is, what is wrong with each one, the fix, and what to pack before you go.
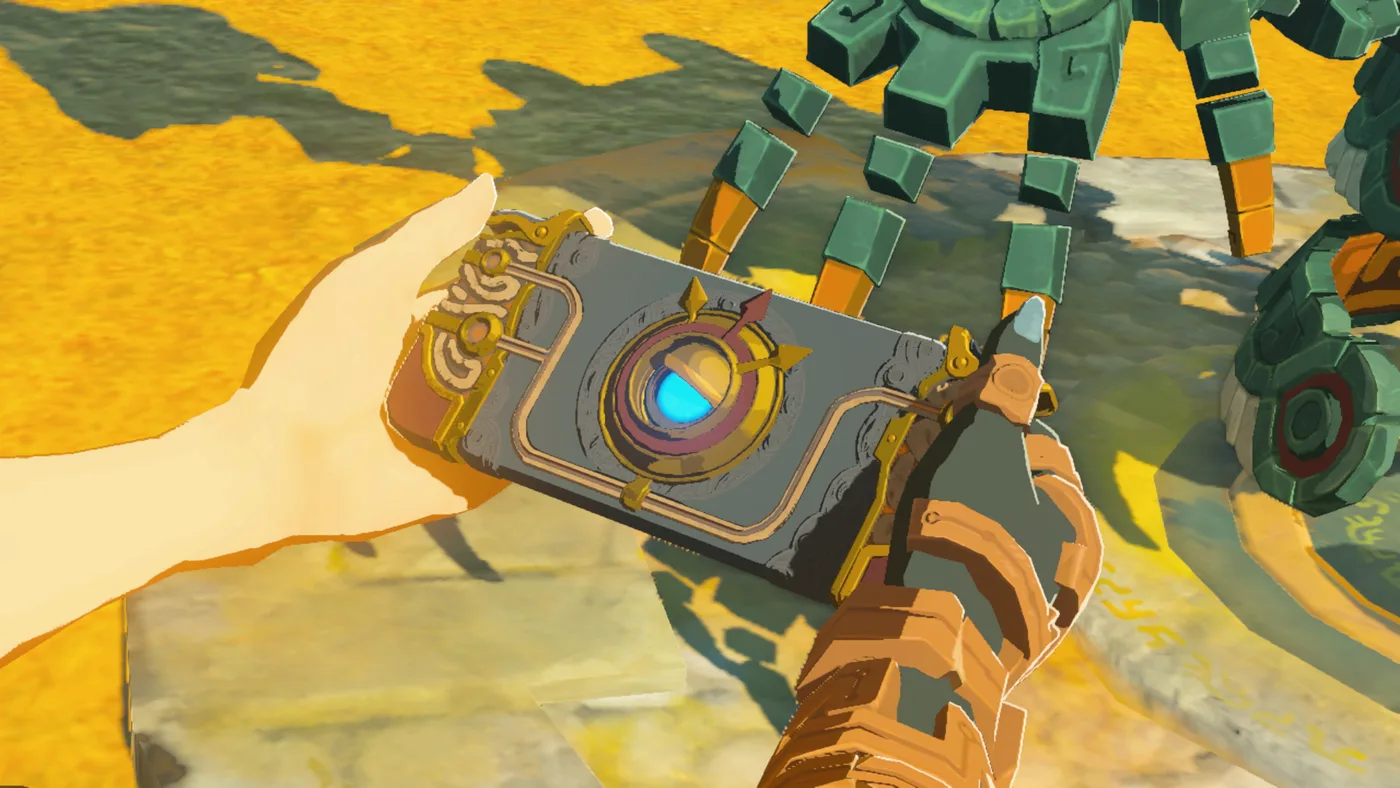
Tears of the Kingdom Purah Pad Upgrades and the Compendium
The Purah Pad you take off a Steward Construct is missing half its features. The Camera and Hyrule Compendium wait on a Main Quest in the Depths, and the Sensor, Sensor +, Hero's Path Mode and three Travel Medallions come one Side Adventure at a time from Robbie. Here is what unlocks each one, what Robbie charges for Compendium pictures, and which boss entries have no rematch, so they are best photographed mid-fight.
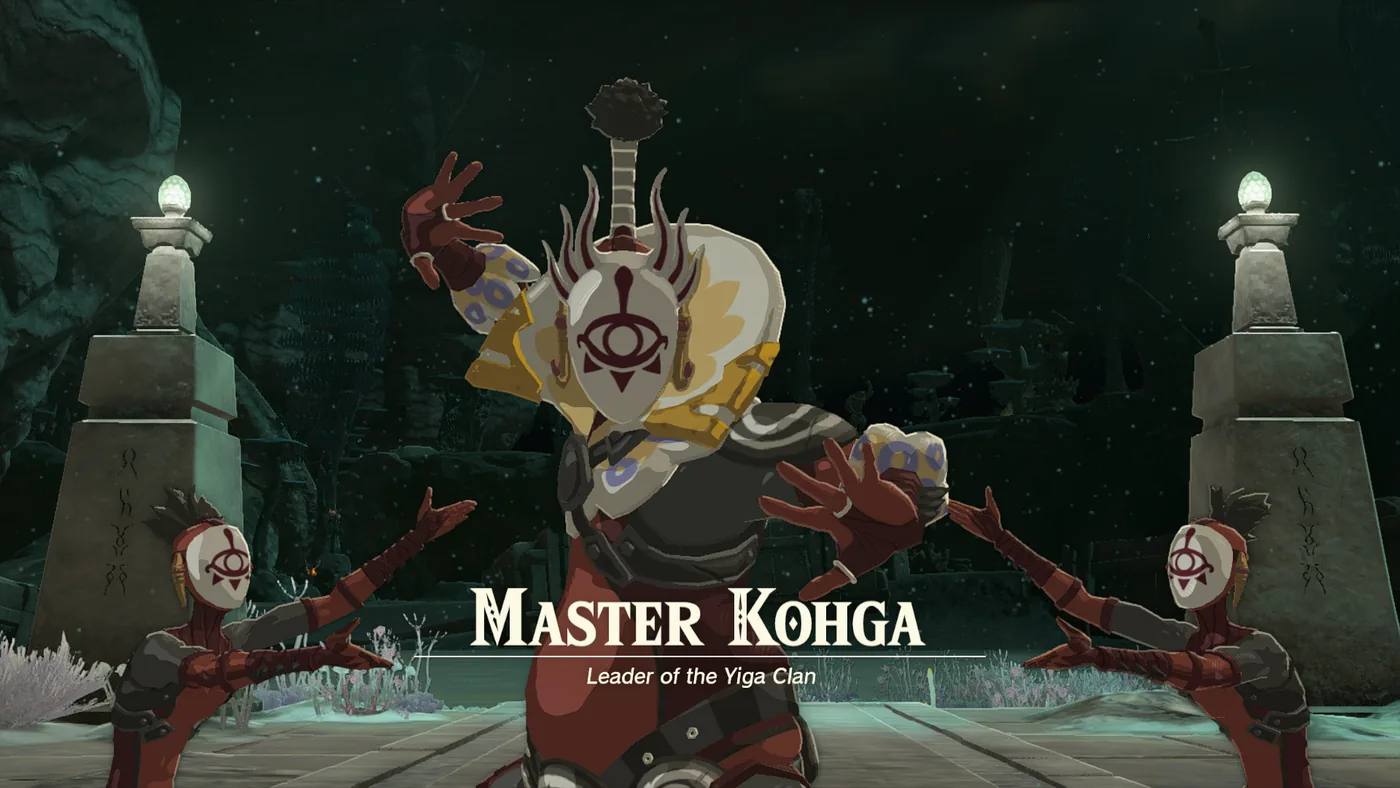
Tears of the Kingdom Master Kohga: All Four Mine Fights
The two researchers who watch you get Autobuild are Yiga, and their boss wants it back. That fight at the Great Abandoned Central Mine is only the first of four. Here is how to reach each Abandoned Mine Master Kohga runs to, how to knock him off each of his four vehicles, and what the whole chase pays.
Tears of the Kingdom Paraglider Fabrics: All 57 Sources
Mineru's Construct amiibo went on sale September 17, 2026, and its one exclusive drop is a paraglider skin. That makes 29 fabrics you can only get from a figure, against 28 you earn by playing. Here is where every one comes from, which figure drops which, and the per-scan odds from Zelda Wiki's datamined tables.
Tears of the Kingdom Beginner Guide: Great Sky Island and Your First 10 Hours
Tears of the Kingdom hands you four abilities in two hours and then refuses to explain how they interact. Here is what the Great Sky Island is actually teaching, what it skips, and the systems that decide whether hour ten feels powerful or exhausting.
Tears of the Kingdom Lynels: All 34 Locations and HP
Breath of the Wild had 22 Lynels. Tears of the Kingdom has 34, and 19 of them are in the Depths, including every Silver Lynel on Thonky's list. There is no Monster Medal for them, so here is the full list by variant, what each one can take, what changed in the fight, and the 111 Lynel parts the Great Fairies will eventually ask you for.