Best Red Cards in Cookie Run: Braverse (Aggro Staples Worth Building Around)
Red is the aggression color, and a Red deck lives or dies on whether its cards close before the opponent stabilizes. Here's how to evaluate Red cards and which ones are worth building around.

Red is the aggression color in Cookie Run: Braverse, and aggression is unforgiving. A Red deck is a stopwatch: it has a limited number of turns to push the opponent's Break Area to a combined Cookie Level of 10 before a slower deck stabilizes and buries you in value. That means every Red card has to earn its slot by answering one question - does this help me end the game faster?
This guide is about how to evaluate Red cards and which ones are worth building around. A heads-up first: Braverse is a young game, and its set codes, card counts, and stats are reported inconsistently across the web, so where a specific card or number matters, we name what's well-established and treat the rest as tentative - confirm it against the official card database before you build around it. The evaluation framework below is the durable part - it'll still be right after the next set drops. If you're brand new, read the five colors explained and deck archetypes first.
What makes a Red card good
Color identity is the lens. Red wants to spend resources the moment it gets them, because Braverse ramps slowly - you only add one Support card per turn, so the deck that's already attacking on turn two or three is genuinely ahead. A Red card is good when it converts a small, early resource investment into board pressure or direct damage. Concretely, the best Red cards tend to do one of these:
- Cost little and hit hard. A cheap Cookie with high attack relative to its cost is the backbone of aggro. You want to be developing a threat every single turn.
- Push extra damage. Cards that add damage, attack twice, or hit through blockers turn a stalled board into lethal.
- Remove blockers cheaply. Aggro hates a wall. Cheap removal that clears a defensive Cookie keeps your clock running.
- Give reach. The single hardest thing for aggro is the last few points of Level when the opponent has stabilized. Cards that close from an empty board are gold.
The aggro test: if a card doesn't make the game end sooner, it probably doesn't belong in a Red deck - no matter how strong it looks in a vacuum.
A Red card that's "fine" in a control shell can be a trap in aggro, because aggro can't afford slow, value-grinding cards. Tempo is the currency.
How to read this list
We're grouping by role, not by raw power, because role is what survives a meta shift. The buckets are: cheap early attackers, mid-curve damage pushers, reach/finishers, and the support (non-Cookie) cards a Red deck actually wants. For each, we name confirmed example Cookies where we can and keep specific card stats and any newer-set additions tentative, since those are worth confirming against the official card database. Treat the named Cookies as anchors of the archetype, not a "run exactly these" decklist.
The cheap early attackers
These are the cards that make Red, Red. The whole point of the color is to have a threat on the table before your opponent is ready, and that starts with low-cost Cookies that hit above their weight.
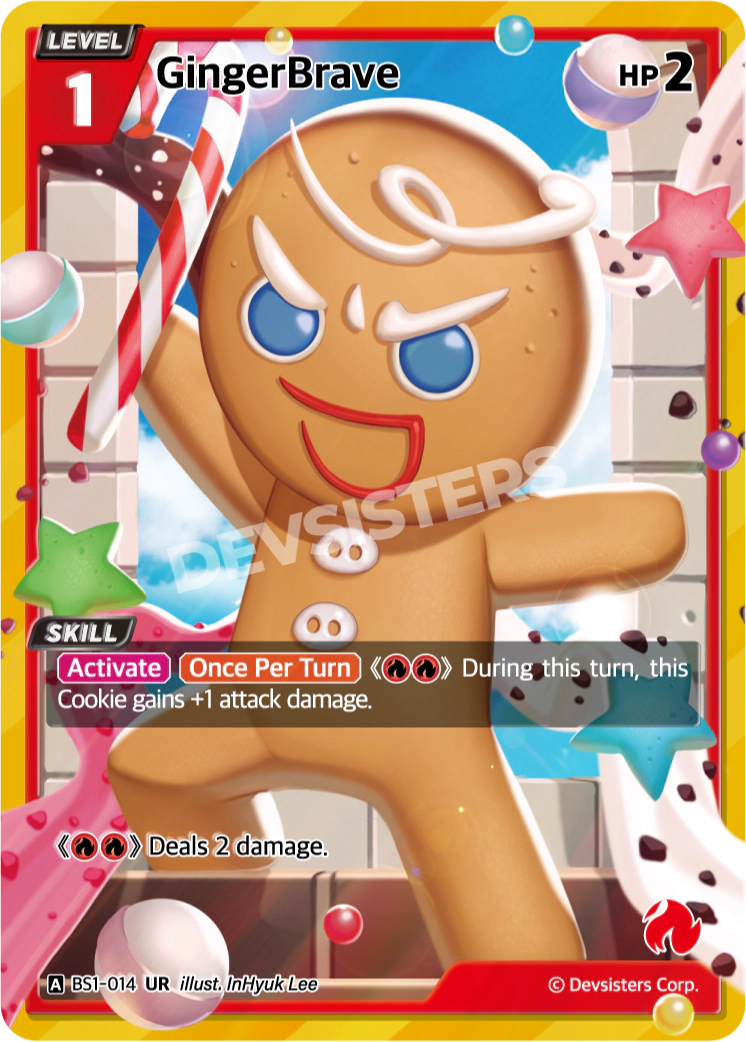
GingerBrave is the confirmed anchor here - a one-cost, 2-HP Red Cookie (BS1-014) that attacks for 2 and can pump itself, the archetypal cheap body Red wants in its opening hand. Chili Pepper Cookie (BS7-013, a Red Arena Cookie from the Arena of Glory booster) and Snapdragon Cookie (BS3-006) fill the same low-curve slot. The role these fill is consistent across every aggro deck: drop a cheap body, start attacking, and force the opponent to react to you instead of executing their own plan.
What you're looking for in this slot, set after set, is the best cost-to-attack ratio you can find, ideally with a relevant keyword or a small on-attack effect. Exact cost and attack values vary by printing, so confirm the current Red one- and two-cost Cookies against the official card database before locking in a list.
A Red deck wants to be developing a threat on turn one or two, every game. If your opening hand can't do that, mulligan it.
The mid-curve damage pushers

By the mid-game, your cheap attackers have either traded away or been answered. The mid-curve is where Red keeps the pressure on with bigger bodies and effects that push extra damage.
Pitaya Dragon Cookie is the confirmed Red Dragon Cookie (BS5-013 from the Operation Timeguard booster, with an earlier printing in Age of Heroes and Kingdoms), and Dragon Cookies generally sit higher on the curve as payoff threats. The mid-curve is also where you want your damage-amplifying effects: cards that let a Cookie attack again, deal damage directly, or punch through a defender. These are the cards that convert a board stall into actual Break Area progress.
Jalapeño Cookie (BS7-018, a Red Arena Cookie from the Arena of Glory booster) is the other shape of this slot: a higher-cost body whose attack swings hard and tacks on extra damage to an opponent's Cookie when another Arena Cookie is alongside it. That's the trade the mid-curve makes - more cost for a swing that actually closes.
The trap to avoid here is over-loading the top of your curve. Red is not a midrange deck wearing a costume - if your three-, four-, and five-cost slots get crowded, you've slowed your own clock. Keep the mid-curve lean and pointed at damage. The current Red mid-curve Cookies and damage-pushing effects are worth confirming against the official card database, and Dragon Cookie rules in particular against the official rulebook.
The reach and finisher cards
This is the slot that wins close games and the one new Red players most often skip. "Reach" means the ability to deal the last few points of damage when the board has stalled out - when your attackers are blocked or traded away and you still need to push the opponent's Break Area over the line to a combined Level of 10.
The best reach cards in any aggro deck are effects that deal damage without needing a Cookie to attack - direct burn, on-play damage, or "deal X damage to a Cookie" Items. They let you close from a position where a pure board-based deck would be stuck. Which current Red cards actually provide direct or reach damage is worth confirming against the official card database before you count on it.
If you've ever lost a Red game where you had the opponent at the brink and just couldn't finish, you needed more reach. Budget two to four slots for it.
The support cards Red actually wants

Red is a Cookie-first color, but the right non-Cookie cards multiply your damage. Here's what to look for among Items, Traps, and Stages:
| Support type | What Red wants from it | Why it matters |
|---|---|---|
| Items | Cheap damage pushes, "attack again," or cheap removal of a blocker | Converts a stalled attack into lethal |
| Traps | Punish the opponent's blocker or defensive play | Keeps your clock running while they react |
| Stages | A persistent damage or attack buff, if cheap enough | Passive value that snowballs your tempo |
The discipline here is the same as everywhere in Red: the support card has to speed up the kill, not just generate value. A card-draw engine that pays off in three turns is a Green or Blue card. A one-cost "deal 2 damage" is a Red card. The specific Red-aligned Items, Traps, and Stages in the current pool are worth confirming against the official card database; see our deck-building basics guide for how support ratios work.
Cards that look good but underperform
A few archetypes of card consistently fool new Red players:
- Big, expensive bombs. A seven-cost monster might win the late game, but Red doesn't want a late game. If you're casting a seven-drop, your aggro plan has already failed.
- Slow value engines. Anything that says "at the start of your turn, draw a card" is a fine card - in the wrong deck. Red's resources are better spent on board.
- Pure defensive tools. Lifegain-equivalents, big blockers, "prevent damage" effects. These are control cards. Red plays the beatdown; it doesn't durdle.
Deckbuilding tip: when in doubt, cut the slow card for a second copy of a cheap attacker. Consistency in your aggro plan beats a powerful card you draw too late to matter.
How many of each to run
A clean Red aggro shell, role by role, looks roughly like this. Treat it as a starting skeleton you tune, not gospel - and remember a legal deck is exactly 60 cards with up to four copies of any card number, at least one Cookie, and up to 16 FLIP cards.
| Role | Rough share of the deck | Notes |
|---|---|---|
| Cheap early attackers | The largest single chunk | This is your engine; don't skimp |
| Mid-curve damage pushers | A moderate block | Lean - enough to keep pressure, not enough to slow down |
| Reach / finishers | A small, deliberate set | The slots that win close games |
| Support (Items/Traps/Stages) | A focused package | Only cards that speed the kill |
| FLIP cards | Up to the 16-card cap | Tune toward early, board-relevant flips |
The 60-card, four-copy, and 16-FLIP figures are corroborated across sources, but the exact deck-construction limits are worth confirming against the official rulebook before a sanctioned event. For the full rules on ratios and curve, see deck-building basics, and for a budget take on the whole thing, our budget deck guide.
Quick Action Checklist
- Lead with cheap attackers. Build your Red deck from the bottom of the curve up - the one- and two-cost Cookies are the engine, not an afterthought.
- Keep the mid-curve lean. Enough big threats to keep pushing, not so many that you slow your own clock.
- Budget two to four reach slots. Direct or non-attack damage is how you close stalled games.
- Only run support that speeds the kill. If a card pays off in three turns, it's not a Red card.
- Cut the slow stuff. When unsure, add a second cheap attacker instead of a flashy expensive card.
- Confirm card names and stats against the official database before locking a list - Braverse data is inconsistent across the web.
- Mulligan hands that can't attack early. A Red opener that does nothing on turn two is a mulligan.
Frequently Asked Questions
What are the best Red cards in Cookie Run: Braverse?
What makes a card good for a Braverse aggro deck?
How many cheap attackers should a Red deck run?
Do Red decks want non-Cookie cards?
What is 'reach' in Braverse and why does Red need it?
Are Dragon Cookies good in Red aggro?
Keep Reading
Related Guides
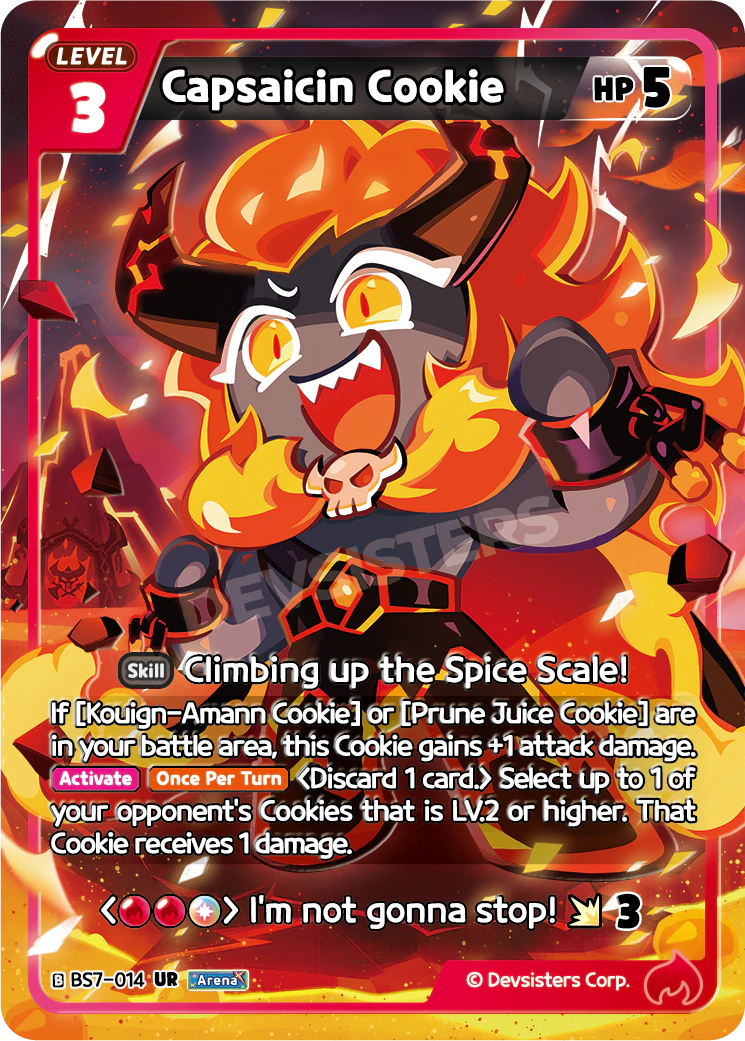
Best Arena Cards in Cookie Run: Braverse, Ranked
Arena is the tribal synergy keyword: the more Arena Cookies you stack on board and the more Arena cards you bury in your trash, the harder every one of them hits. Here are the real Arena cards worth building around, ranked top to bottom.
Best Cookie Run: Braverse Cards for Beginners
You don't need chase rares to play real Braverse. These are the cheap, easy-to-use cards across all five colors that punch above their cost - the staples a new player should actually prioritize.
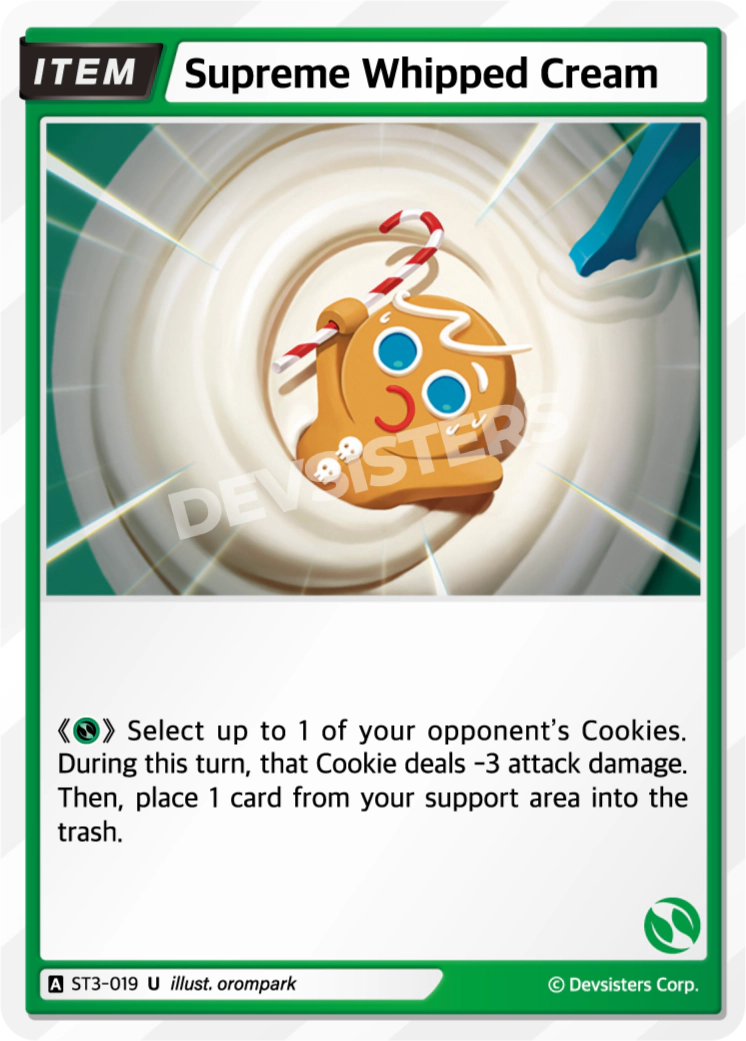
Best Trap Cards in Cookie Run: Braverse, Ranked
Braverse has 120 different Trap cards and 115 of them are Uncommons. There is not a single Ultra Rare Trap in the game. That means the entire interaction layer - the cards that decide close games - is fully available to anyone who owns a starter deck and a fistful of bulk.
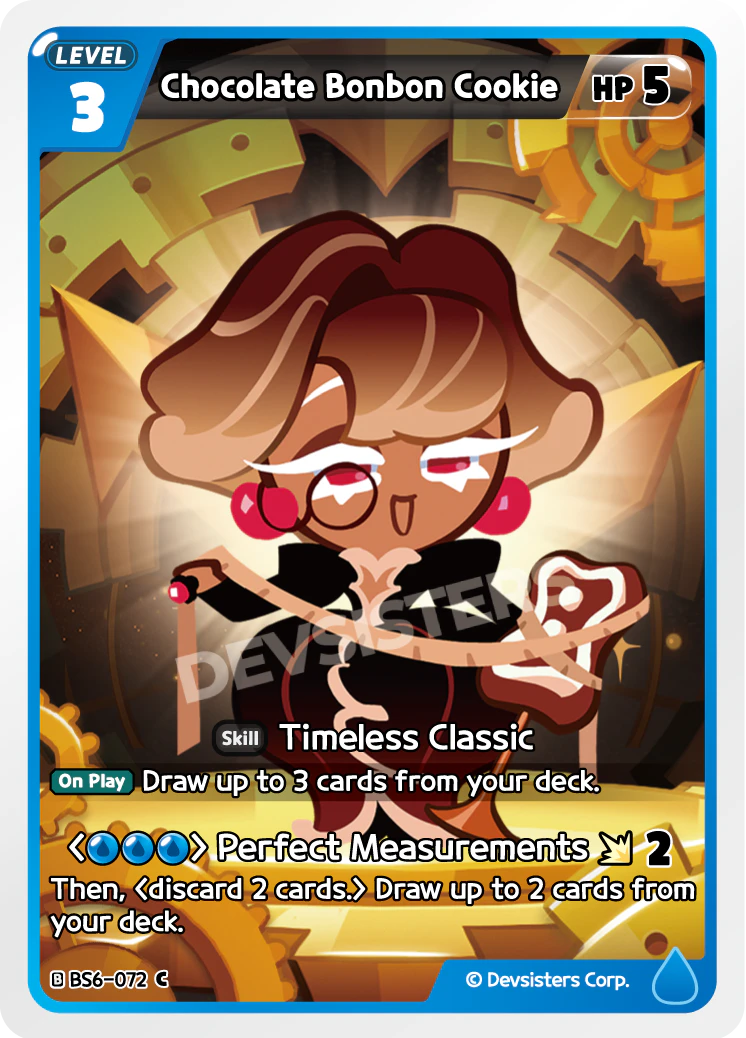
Best Draw and Search Cards in Cookie Run: Braverse
Search the official Braverse database for skills that draw two or more cards and you get 61 hits. Sixty of them charge you something - a discard, a mill, a hand-size cap, a body that has to die first. Exactly one doesn't, and it's a Common. Here's the full draw and search pool, color by color.
How to Play Cookie Run: Braverse - A Complete Beginner Guide
Cookie Run: Braverse is the rare TCG you can teach in a single match. This guide covers everything a first-time player needs: card types, setup, turn structure, how you pay for cards, the FLIP mechanic, and how to win.
Cookie Run: Braverse Meta Tier List — Best Decks & Archetypes Ranked
Which Cookie Run: Braverse decks are actually carrying right now? Here's a meta tier list of the strongest archetypes - the real cards that anchor each one, why they rank where they do, and what's overrated.