Half-Life 2 Nova Prospekt Guide: Bugbait, Turrets, and the Standoff That Ends Runs
Nova Prospekt is where Half-Life 2 stops being a chase. Here is how bugbait actually works, why your antlions go deaf the second a Guard shows up, how to win both turret standoffs in Entanglement, and the reprogrammed-turret habit that can quietly kill your save without ever showing a game over screen.
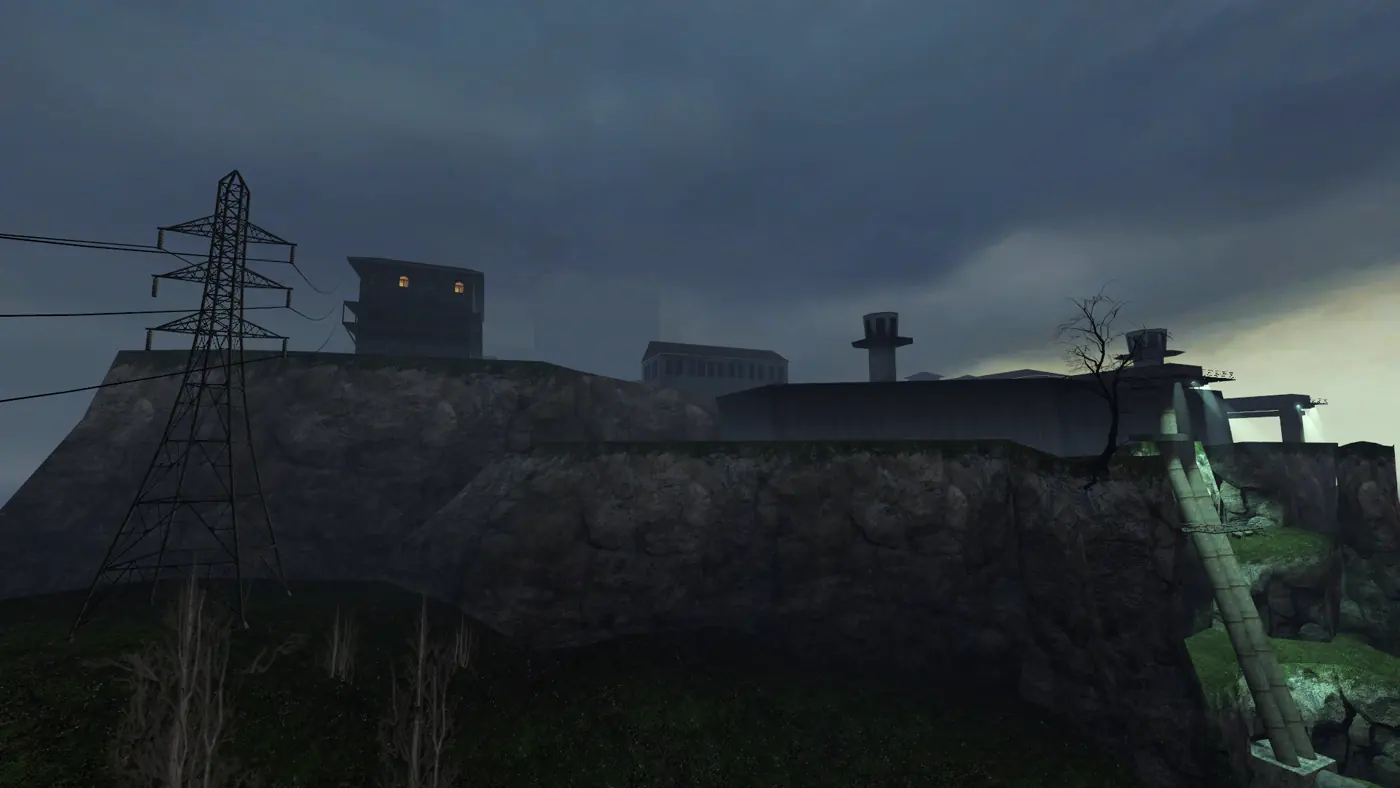
Eight chapters of Half-Life 2 are Gordon Freeman running away from things. Nova Prospekt is where that stops. A Vortigaunt cuts a gland out of the Antlion Guard you just killed, hands it over with the note that "the process is not entirely hygienic," and the whole posture of the game flips. You are no longer escaping a Combine prison. You are attacking one, with an insect army you brought from the beach.
It is also where people get stuck, almost always in the same two rooms: the Antlion Guard in the showers, and the turret standoff deep in the Depot. This covers both, plus what the game never tells you — what bugbait's second button does, why your swarm goes deaf, and the turret habit that can end a playthrough without ever showing a game over screen.
Two chapters, one building
Nova Prospekt is one location split across two chapters: Chapter 9: Nova Prospekt and Chapter 9a: Entanglement. The "9a" is not a typo — Valve numbered it that way instead of promoting Entanglement to Chapter 10, which is the clearest signal in the game that both halves are one continuous assault on the same facility.
The maps run d2_prison_01 through d2_prison_08. The beach approach on d2_coast_12 — bunkers, emplacement guns, and the two courtyard gunships that finish the One Man Army count — is still officially the tail end of Sandtraps, so the chapter card does not drop until you are already inside.
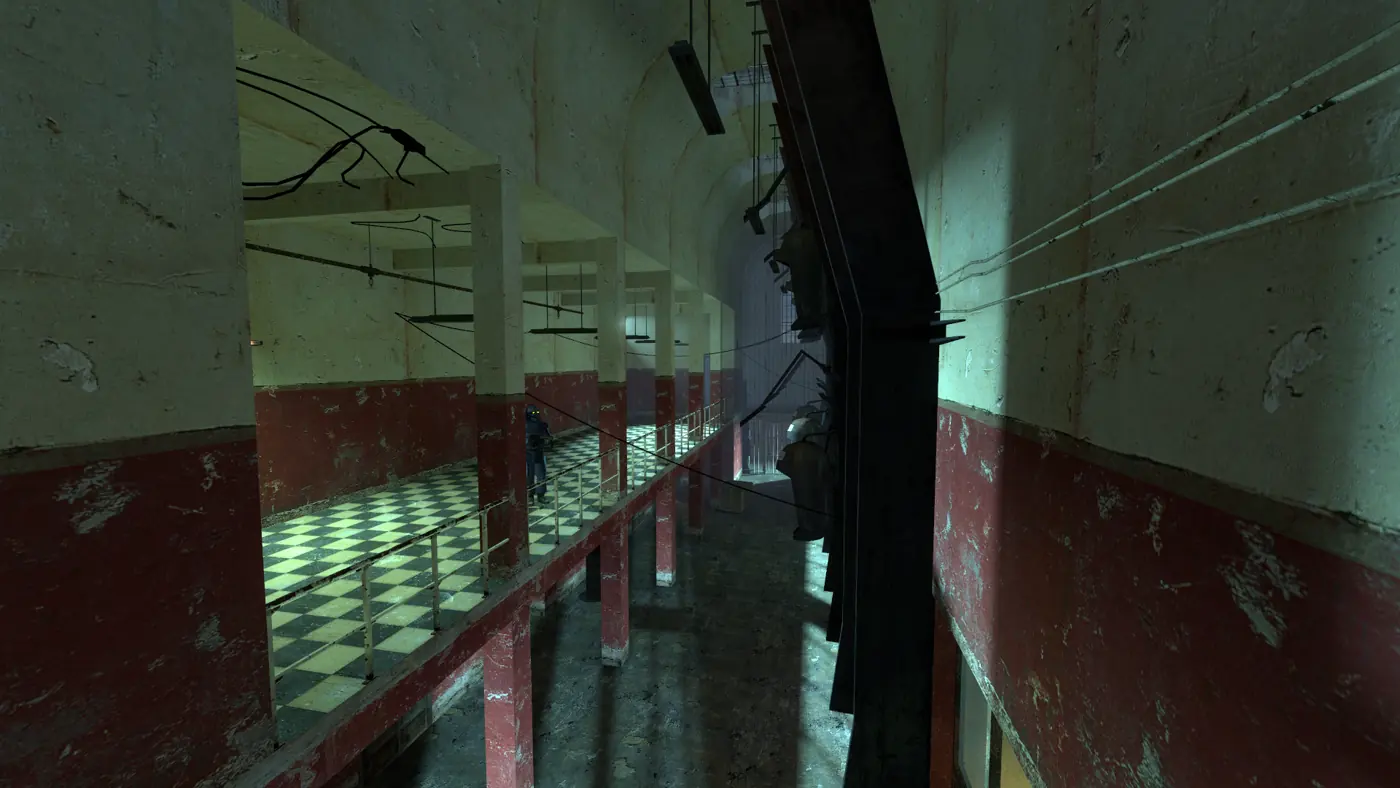
Structurally it is two buildings. The old prison is a Soviet gulag layout — cell blocks A3, A5 and A7, then B4 and B7, joined by flooded maintenance rooms and infested with the barnacles and zombies the Combine stopped caring about. Bolted on top is the Depot, covering blocks C1 through D8. Chapter 9 walks you from A3 out through the laundry, kitchen and cafeteria and ends with Combine mobile walls flattening block C3 in front of you. Chapter 9a is the Depot itself, and your entire toolkit changes at that seam.
Bugbait has two buttons and most players use one
Pheropods — bugbait to the Resistance — are harvested from a dead Antlion Guard, and they work because antlions are blind and identify each other by scent. Carrying one convinces the swarm you are a Guard. That is the whole trick, and it is why regular antlions stop attacking you the moment you have it.
Two inputs, and the second is the one people forget:
- Primary fire throws a pod. It splats and leaves a small pheromone cloud that marks that spot or that target. This is how you point the swarm at a Combine squad, an Emplacement Gun, or a sentry.
- Secondary fire squeezes a pod. That summons four antlions to your position. No throw, no target — just reinforcements, on demand, for free. If you are walking into a cell block cold, squeeze first.
The pods are infinite even though each thrown one is destroyed, so there is no reason to ration them. Two more behaviours worth internalising:
A thrown pod stuns Combine soldiers. The pheromones are a severe irritant; guards flail at the air blindly for a few seconds. That works whether or not any antlions are nearby, which matters enormously later.
A thrown pod redirects automated defences. Lob one in front of an Emplacement Gun or a Combine Sentry Gun and it will shred the antlions swarming the splat instead of you — the cheapest counter in the chapter to the guns that are actually slowing you down.
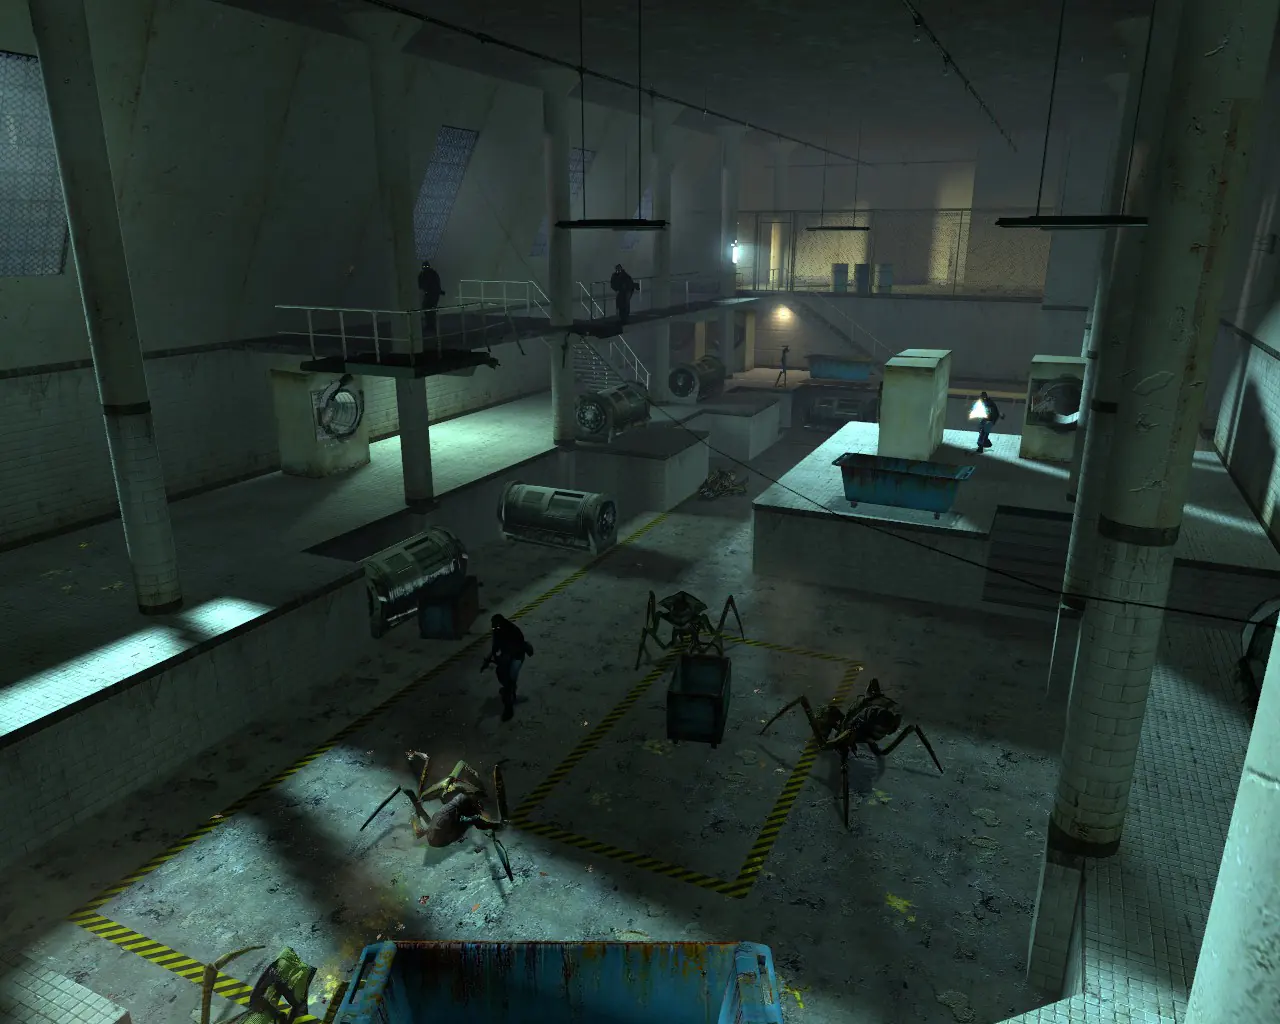
The other reason to lean on the swarm is Bug Hunt (10G): 50 antlion kills across Sandtraps and Nova Prospekt, all in a single playthrough. There are comfortably more than 50 Combine in those chapters, so the only way to fail is by doing too much of the shooting yourself.
For the record, the Prison Guards you are feeding to the swarm are mechanically identical to standard Combine soldiers — same stats, same weapons, different paint. They just reach for shotguns more often, because almost every fight in here is a corridor.
The Antlion Guards are the swarm's off switch
Here is the thing nobody explains, and the reason two fights in this chapter feel like the difficulty fell off a cliff: Antlion Guards ignore bugbait, and while one is alive, every regular antlion near it ignores your bugbait too. A Guard's own pheromones are stronger than a pod's. Your soldiers can be briefly confused by a thrown pod, but they are not taking orders from you until the Guard is dead.
So the moment a Guard walks in, mentally delete your army. There are two of them in the chapter: the first in the showers, the second coming out of cell block C2 into the cafeteria. That second one is worth watching for a beat before you engage, because it will happily ram Prison Guards on its way to you.
The showers fight, and the railing trick
The Guard is a 500-health melee-only tank whose entire offence is its chitinous battering-ram head: a 20-damage charge and a 10-damage upward headbutt that flings you across the room. Melee-only is the whole answer. Stay at range, keep something solid between you and it, and let it commit.
- Bait the charge into a wall. A missed ram stuns it and buys you a free window.
- Use the drums. Explosive barrels are stocked in every arena where you fight a Guard, and the gravity gun does more damage with one of those than your SMG will do all fight. Ordinary physics junk can also stun it.
- Otherwise, high-damage weapons only: crossbow, shotgun, .357, or the SMG's grenade launcher. Chip damage from bullets is how this fight takes six minutes.
- The cheese: in the Nova Prospekt bathroom you can jump onto the catwalk railing rather than over it, then step back to the fence overlooking the room and shoot down from a position the Guard cannot reach.
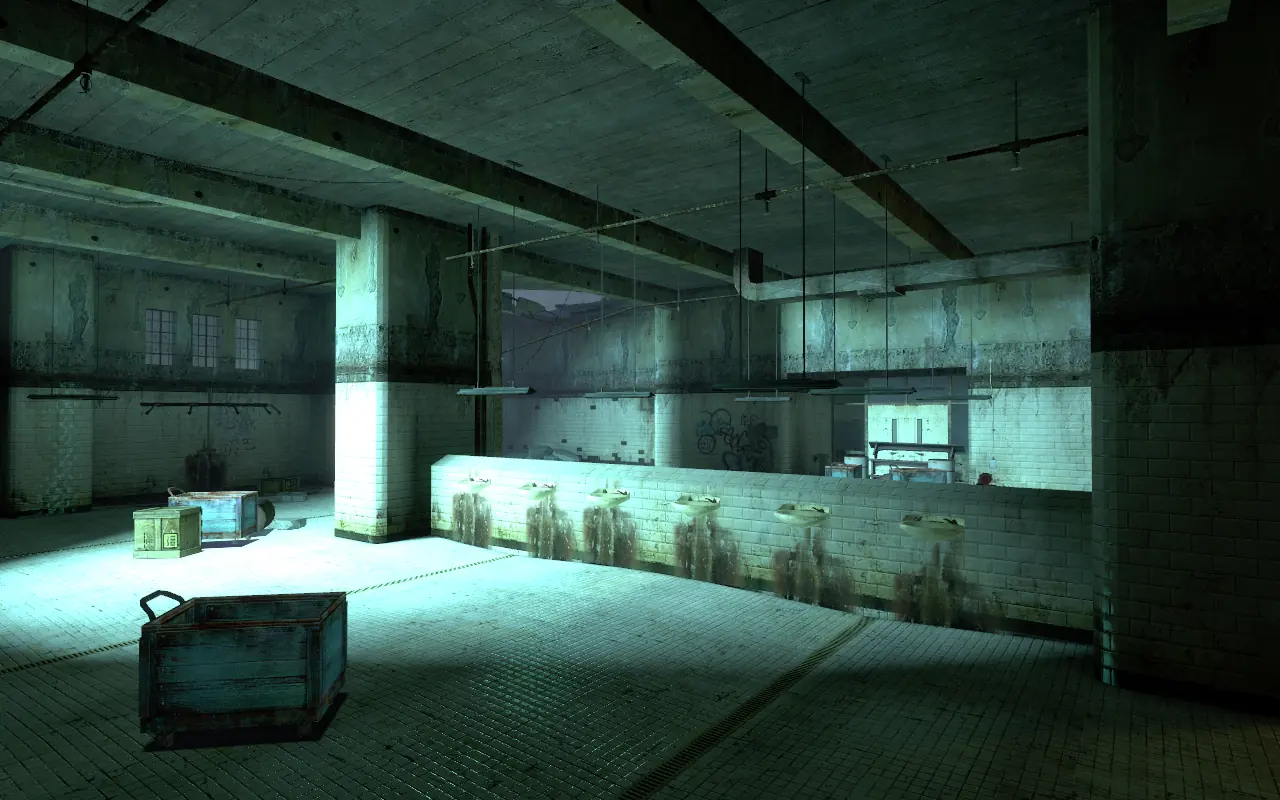
Also worth knowing while you are perched up there: these bathrooms and showers were reused as the basis of Half-Life 2: Deathmatch's map Lockdown.
Sentry guns cannot be destroyed, only tipped over
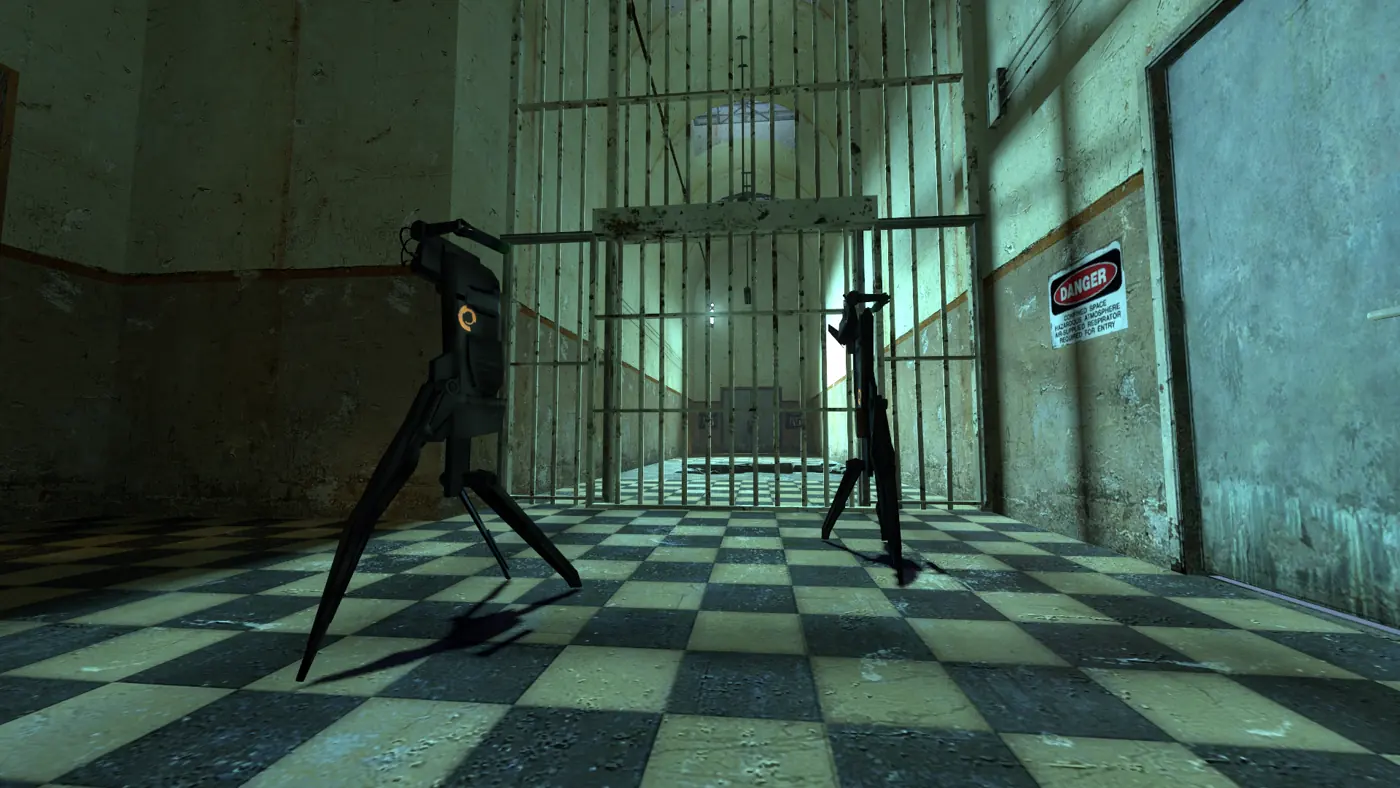
This is the single most useful mechanical fact in the chapter, and the game never says it out loud. The Combine Sentry Gun (npc_turret_floor) cannot be destroyed. You disable it by knocking it over. Per the Prima guide, the unstable tripod base was a manufacturing flaw nobody caught — a very Combine detail.
What that changes:
- From behind or the side, use the gravity gun. Punt it, or pick it up and drop it. Zero ammo. A sentry has a narrow field of view and cannot move, so getting behind one is usually just a matter of a doorway.
- At range, or against sentries backed into a wall, throw a grenade. Frequently takes out two at once.
- Once tipped, it panics. A knocked-over sentry fires wildly and screams its alarm for a few seconds before shutting down. Do not walk in front of it immediately.
- Let the bugs do it. If enough antlions survive the incoming fire, they will knock a sentry over themselves.
Each pulse round only does 3 damage. That sounds trivial until you count the rate of fire — sentries kill you by volume, in a chapter built almost entirely out of chokepoints, which is exactly why they are here.
Both turret standoffs, and the one with an achievement
Once you reach Alyx in the Depot, the sentries switch sides. Her line is the setup for the whole back half of the chapter: "I can reprogram these turrets to attack the enemy. You set them up to defend the control room."
There are two standoffs. The first is that control room, in the D7 block where Alyx pulls up the transmission exposing Judith Mossman as Breen's informant. The second is in cell block D8, and that is the one that pays: Warden Freeman (10G) unlocks for surviving the second turret standoff in Nova Prospekt.
The trick that flips D8 from brutal to routine is that reprogrammed sentries are portable, and you are allowed to bring the leftovers with you. Carry every functioning turret forward into D8 before you trip the fight. Four covering a doorway is a different encounter from two. Two handling notes:
- A friendly sentry rights itself when you pick it up. Hostile ones do not. So when Combine fire knocks yours over mid-fight, the fix is to grab it and set it down again — it comes back online standing.
- Reprogrammed sentries only recognise Gordon and Alyx as friendly. Every other friendly NPC in the game is a valid target to them. Hold that thought.
The turret habit that kills your save
If turrets survive D8, the instinct is to keep hauling them forward into the teleport chamber below. Do not.
Active reprogrammed turrets carried into the teleportation chamber will shoot and kill Eli and Mossman — and because neither death is scripted as a player-fail condition, the game does not show you a game over screen. It just quietly becomes unwinnable, and you find out minutes later when the scene refuses to advance. If you have been quicksaving over one slot, that is your run. Bring turrets to D8; leave them in D8.
What to grab on the way through
Four things worth a detour, all of them easy to walk past:
The G-Man, on d2_prison_02. Near the start of the chapter you flip through a bank of security monitors. On one of them he walks up to a door window, peers through at a lambda cache, and adjusts his tie. One of his best sightings in the game, on a screen you are already looking at — and a target of Eagle Eye, the "find all of the G-Man's appearances" achievement Valve cut before shipping.
Three lambda caches in Nova Prospekt, one in Entanglement. Numbers 31 through 34 of the game's 45:
| Map | Where |
|---|---|
d2_prison_02 | At the room with the two turrets, a lambda beside a door — break the planks over the broken glass |
d2_prison_03 | Past the dead Vortigaunt in the chair, upstairs beyond the tripwire; slide the marked cell door open |
d2_prison_05 | In the laundry room, over the short railing on the right; a poison zombie is waiting nearby |
d2_prison_06 | Right after you and Alyx split up again — on top of the vending machine past the gate she opens |
Flushed (5G). Kill an enemy with a thrown toilet. Nova Prospekt is the intended venue and the porcelain is everywhere.
The interrogation wing in A7. No achievement, no supplies — just an executed Vortigaunt strapped into a torture chair, filed by the Combine as a "political conscript." It is the reason Alyx's line about the place being something much worse than a prison lands.
Entanglement: when the bugs stop coming
The antlions never enter the Depot. The Combine's new section stayed sealed while the old prison was being overrun, so the moment you cross into Chapter 9a your army is gone and bugbait is, in practical terms, retired for the rest of the game.
Except for one thing: the stun still works. A thrown pod blinds a Combine soldier for a few seconds with no antlions within a mile. In a chapter that introduces Combine Elites in person for the first time — 70 health, better accuracy, and a pulse rifle whose secondary-fire energy ball hits for 15 — a free stun on a white-armoured soldier is not nothing. Most players never throw another pod after the cafeteria. Throw them.
The final fight exists because of a plot mechanic, not a difficulty curve: Mossman introduces an error into the teleporter, reroutes herself and Eli to the Citadel, and the machine needs a long charging cycle before it can fire again. Everything the Combine can push into that chamber arrives during the recharge. Play it as a hold — the doorways are the encounter, and sentries covering them are fine here now that Eli and Mossman are gone.
Confirmed versus what the wiki still calls unknown
Nova Prospekt attracts a lot of confident lore that the game does not actually support. Separating them:
Confirmed. It was a gulag before the Combine took it, and it now processes prisoners into Stalkers and Combine soldiers. Mossman leaked uni-dimensional teleportation to the Combine, a technology they previously lacked. She is Breen's informant, and later flips again to reveal herself as a triple agent in his office. The Depot's destruction is the event that triggers the City 17 uprising. And its architecture is literally self-assembling — those Combine mobile walls eating block C3 are the same technology that builds the Nexus and the Citadel.
Documented design intent. Nova Prospekt was modelled on Alcatraz, and the beach-and-courtyard assault was built to feel like the Normandy landings — a detail Valve confirmed in the 20th Anniversary Documentary. The chapter is also enormous by accident: it started as a minor stop en route to the cut Air Exchange chapter, and when Air Exchange died the uprising trigger moved here and the level swelled to fill the hole. The Gunship Bays that once sat between prison and Depot got relocated to the Citadel.
Still open. Whether the Depot teleporter is a genuine prototype or a standard Combine tunnelling teleport is unresolved — the Combine OverWiki says outright that it is unknown. So is why Antlion Guards ignore bugbait; the wiki lists three candidates (they carry pheropods of their own, they are smarter than soldiers, or they simply react badly to an unfamiliar scent in their territory) and declines to pick one. And the popular gloss that "Nova Prospekt" translates to "New Possibilities" is a fan reading, not a Valve statement — headcanon, not lore.
Quick Action Checklist
- Squeeze bugbait (secondary fire) before entering any cell block; it summons four antlions to you for free.
- Throw pods at Emplacement Guns and sentries to redirect their fire, and at soldiers to stun them — the stun works even after the antlions are gone.
- When an Antlion Guard appears, assume your swarm is offline until it dies; Guards override bugbait entirely.
- Fight both Guards at range with the crossbow, shotgun, .357 or explosive drums, and use the bathroom railing perch rather than trading hits.
- Never shoot a sentry gun to death — it cannot die. Punt it with the gravity gun from behind, or grenade it at range.
- Carry every reprogrammed turret you can into cell block D8 before triggering the second standoff; that is the Warden Freeman fight.
- Pick up and re-place friendly turrets that get knocked over — they right themselves automatically when held.
- Do not bring active turrets into the teleport chamber. They will kill Eli and Mossman and softlock the run with no game over screen.
- Sweep four lambda caches on the way through:
d2_prison_02,03,05and06. - Watch the security monitors early on
d2_prison_02for the G-Man adjusting his tie outside a lambda cache.
Frequently Asked Questions
How do you use bugbait in Half-Life 2?
Why do my antlions stop obeying bugbait in Nova Prospekt?
How do you beat the Antlion Guard in the Nova Prospekt showers?
How do you get the Warden Freeman achievement?
Can carrying turrets into the teleport room break Half-Life 2?
How many lambda caches are in Nova Prospekt and Entanglement?
Keep Reading
- Combine OverWiki — Nova Prospekt, cell block layout, Depot, and design history
- Combine OverWiki — Pheropods (bugbait), primary and secondary fire behaviour
- Combine OverWiki — Combine Sentry Gun tactics and reprogrammed turret rules
- Combine OverWiki — Antlion Guard stats, bugbait immunity, and counters
- Combine OverWiki — The Orange Box achievements, including Warden Freeman and Bug Hunt
- Combine OverWiki — every lambda cache location, numbered 1 to 45
Related Guides

Half-Life 2 Episode Three: What Was Built and Why It Died
Valve promised the Half-Life 2 trilogy would end by Christmas 2007. Episode Three never shipped, and neither did the two Ravenholm projects Junction Point and Arkane built for Valve. Here is what each project contained, the code Valve still publishes, and the reasons the developers have given on the record, up to an August 2026 interview.
Half-Life 2 Steam Workshop: Campaigns, Addons, Known Bugs
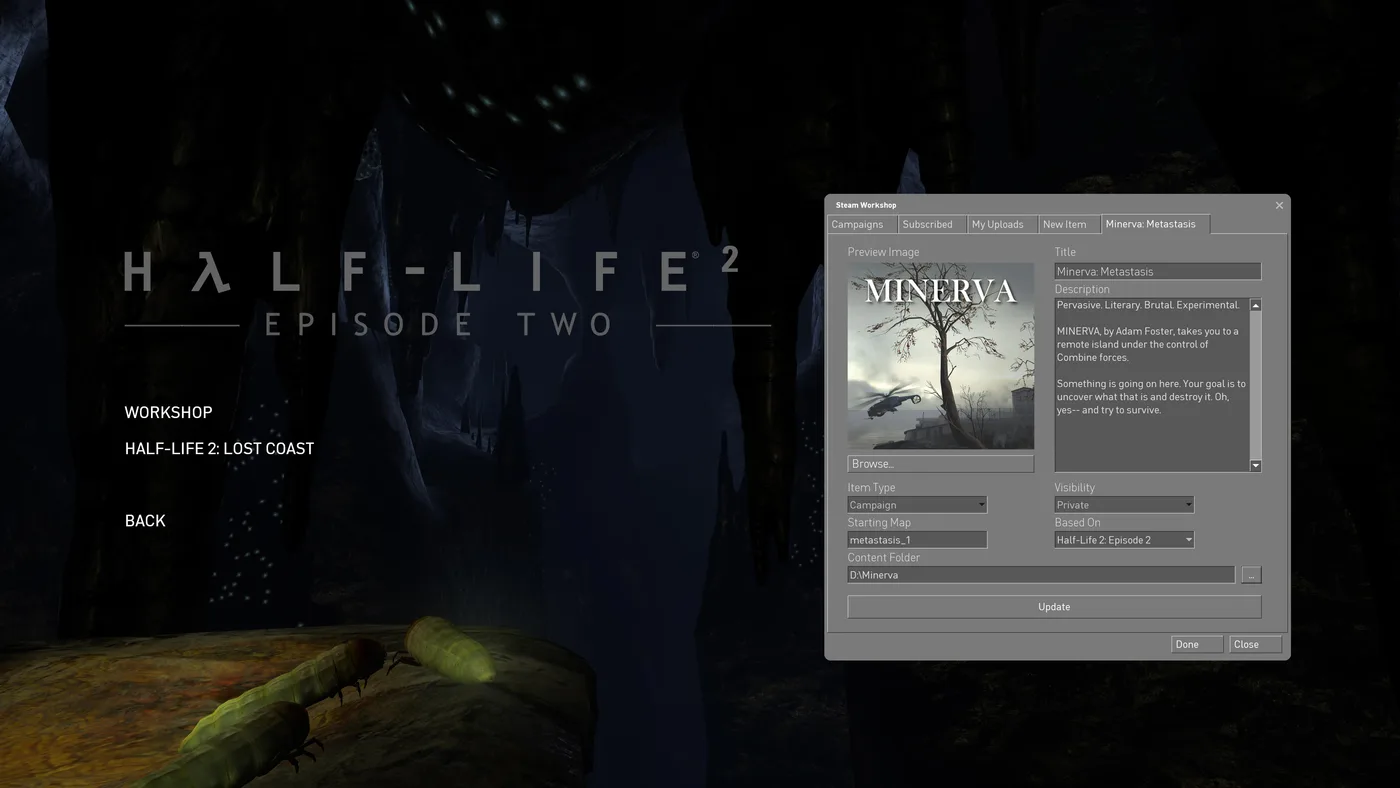
Half-Life 2 has had a Steam Workshop in its Extras menu since November 2024, and it held 12,469 items on October 11, 2026. Here is how Campaign and Content items load differently, how to start a Workshop campaign, what people actually subscribe to, and the bugs still open on Valve's tracker.
Half-Life 2 Episode Achievements: All 36, and the Hard Ones
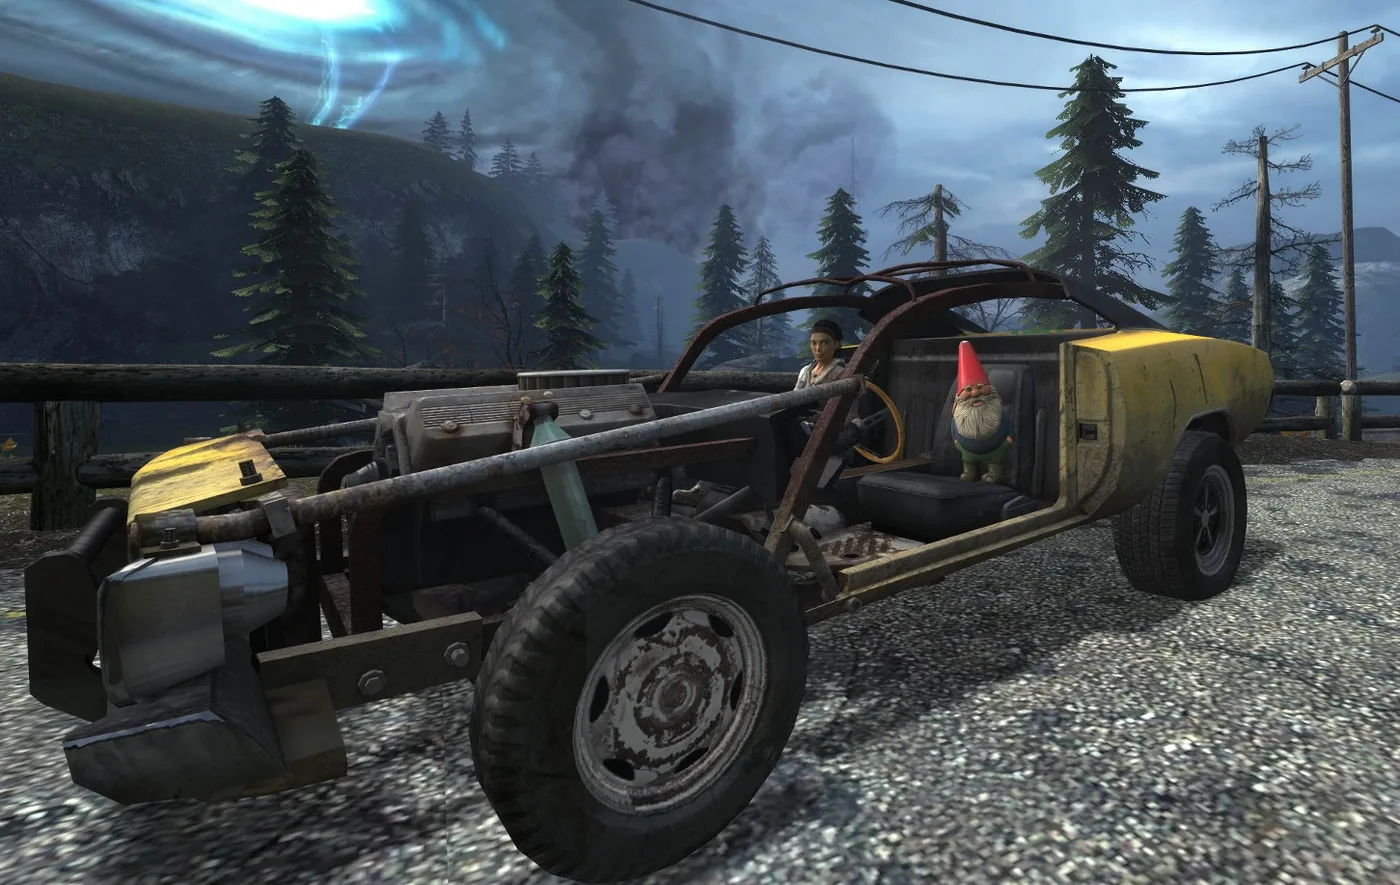
Half-Life 2's Steam page now lists 69 achievements, not 33. The 20th Anniversary Update brought in the Episodes' 36. Here is every one of them, which game each actually counts in, which ones a reload can rescue, and the runs that need planning.
Half-Life 2 G-Man Sightings: Where to Spot Him, Map by Map
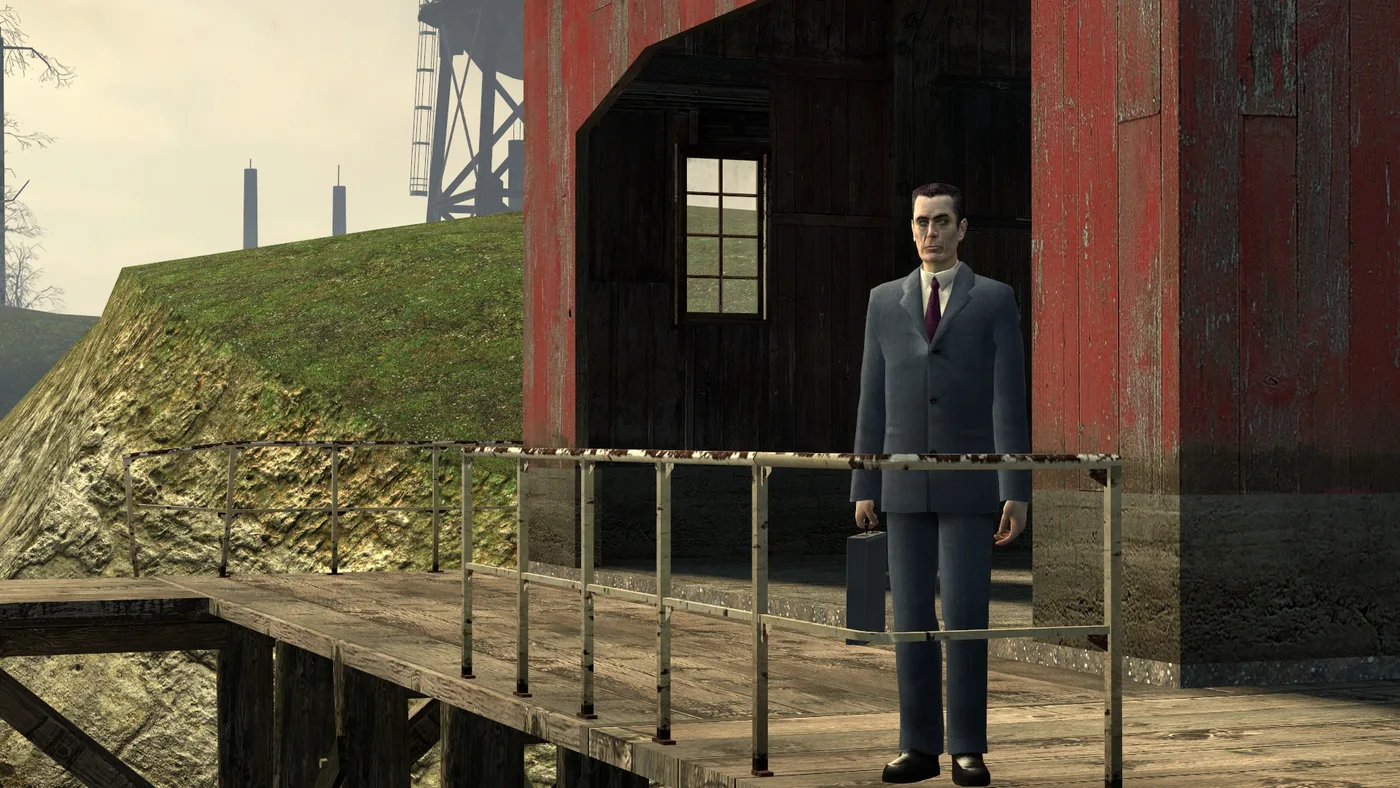
Between the opening monologue and the ending, the G-Man turns up twelve more times in Half-Life 2, mostly at a distance or on a screen. Here is where each one is, by chapter and map, plus the three in Episode Two and the ones Valve cut.
Half-Life 2 Beginner's Guide: Start Strong in City 17
Half-Life 2 never stops to explain itself, which is why new players stall in Ravenholm with no shotgun ammo and no idea the gravity gun was the answer. Here is the chapter map, the systems the game hides, and the mistakes that waste your first playthrough.

Half-Life 2 on Console, Mac and Steam Deck: Every Version
Half-Life 2 has shipped on seven platforms and one arcade cabinet, and only one of those versions still gets patches from Valve. Here is every official port, what each one is missing, and the right way to play it on whatever you own.