Half-Life 2 Uprising Guide: Squad Command and the Nexus
Half-Life 2 hands you a four-man rebel squad in Anticitizen One and never explains the button that commands it. Here is the squad system in full, all eleven lambda caches across the uprising, the Nexus room that can trap your save, and the exact rocket counts for every Strider and gunship.
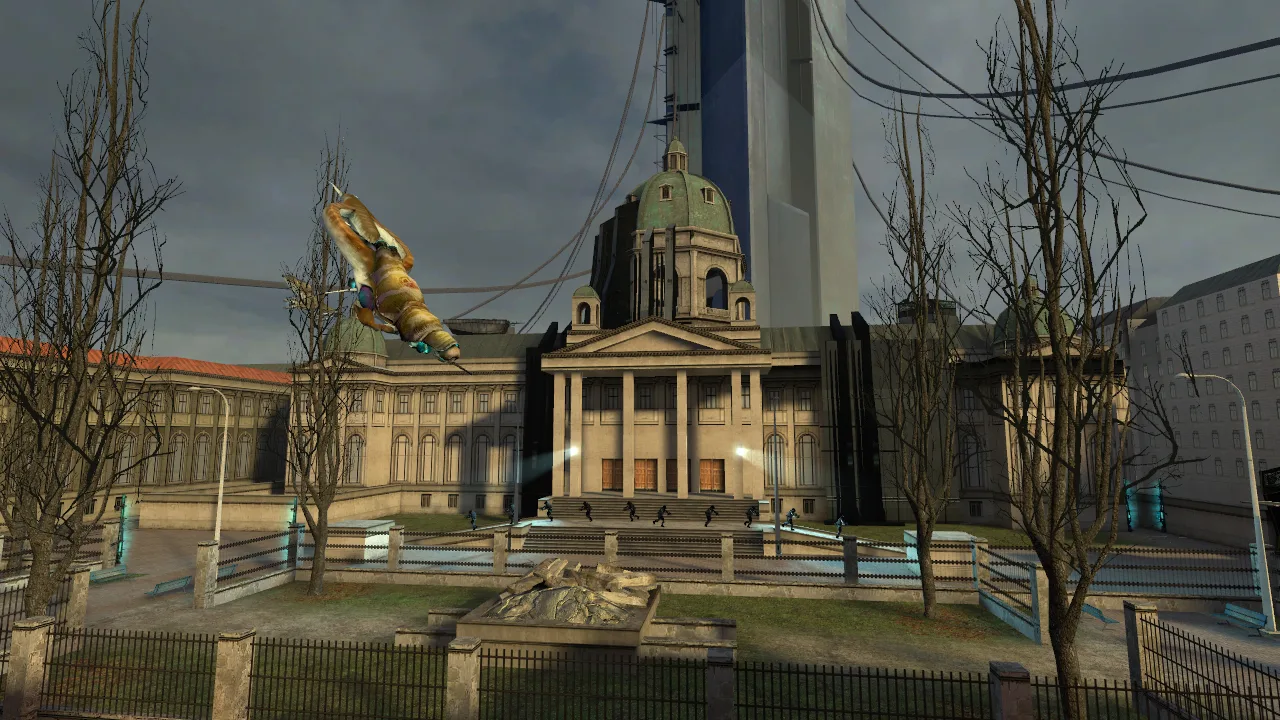
You step out of Kleiner's lab, a citizen in a welding mask says "Doctor Freeman, I'm coming with you," and Half-Life 2 quietly hands you a mechanic it has spent nine chapters not mentioning. You now command a squad. There is a key for it. The game does not tell you what that key is, where it lives in the options menu, or that your rebels will only hold a position for fifteen seconds before they come jogging back.
Most players finish Anticitizen One and "Follow Freeman!" having used their squad as ablative armour. That is a waste, because these two chapters are loaded: eleven of the 45 lambda caches — ten of them in Anticitizen One, which ties Water Hazard for the most in any single chapter — six achievements worth 50 Gamerscore, and a room in the Overwatch Nexus that can leave you permanently stuck with no game over screen.
Here is all of it.
Two chapters, eleven caches, and 50 Gamerscore
Chapter 10 and Chapter 11 are one continuous fight through a City 17 that has been at war for a week while you were stuck in a teleport loop. Six achievements sit in this stretch, worth 50G out of Half-Life 2's 275:
| Achievement | Score | Chapter | Notes |
|---|---|---|---|
| Follow Freeman | 10G | Anticitizen One | Gain command of a squad of rebels; story related |
| Radiation Levels Detected | 5G | Anticitizen One | Get through the toxic tunnel under City 17 |
| Plaza Defender | 10G | Anticitizen One | Survive the generator plaza standoff |
| Counter-Sniper | 5G | "Follow Freeman!" | Kill every sniper in City 17 — missable |
| Fight the Power | 10G | "Follow Freeman!" | Shut down the Suppression Device |
| Giant Killer | 10G | "Follow Freeman!" | Survive the rooftop Strider battle |
Five of those six unlock by simply not dying. Counter-Sniper is the exception and the one people lose, because it is mostly story-driven but one skipped nest voids it for the whole run.
The squad system the game never explains
Four rules cover almost everything.
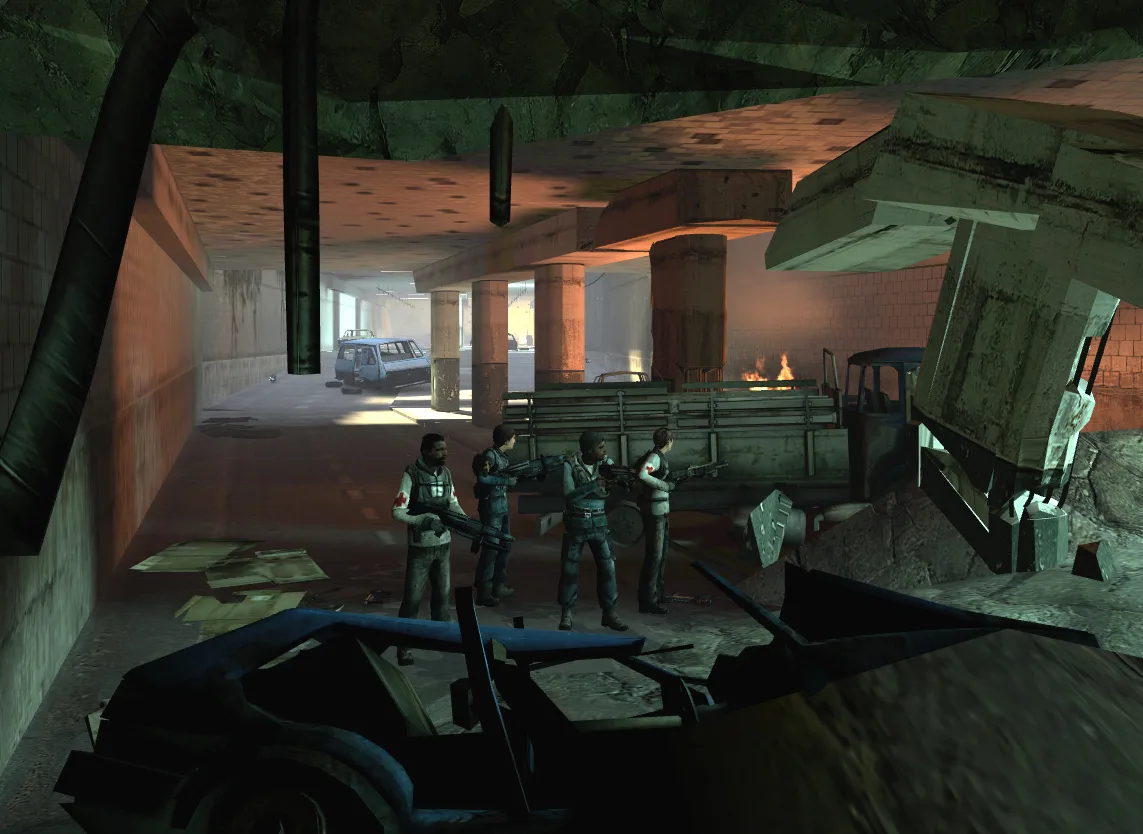
You can hold at most four squad members. If you have fewer, the game keeps spawning replacements at scripted points; once you are at four, the spawning stops. So walking away from a wounded rebel is not the loss it feels like — the game restocks you.
The command key is C by default. It sends the squad to wherever your crosshair is pointing. It lives under Options, Keyboard, Combat, listed as "Send/Recall Squad." Press it twice and they regroup on you.
A sent squad only holds for fifteen seconds. After that they auto-summon back to you, and you cannot walk far without dragging them along either. This is the single most useful thing to know, because it reframes the command from "garrison this rooftop" to "eat the next four seconds of fire from that doorway while I flank." Treat it as a timer, not an order.
You cannot dismiss anyone. Unlike Half-Life, where a guard would stay put forever, Half-Life 2 gives you no way to drop a squad member.
Two smaller details that pay off. The HUD reads SQUAD FOLLOWING whenever they are actually on you — if that text is missing, they are still standing where you sent them. Each member gets an icon: yellow for a standard rebel, yellow with a plus for a medic, and a red one that lingers for five seconds when somebody dies. And friendly fire is disabled outright in Half-Life 2 and both episodes, so you can fire a shotgun through your own squad without consequence. Valve originally built rebels to fight back if you shot them, and cut it.
Alyx and Barney never count toward your four. They follow you through scripted entities, not the squad system, which is why they ignore the C key entirely.
Medics heal, but on a 25-second timer
Some rebels spawn as medics, marked by the plus on their HUD icon. Hold USE on one and the animation looks like a wall-mounted Health Charger, but the resemblance ends there. A medic gives you at most 25 health per use, and that charge refills linearly over 25 seconds — so at ten seconds since his last heal you get roughly ten points, not twenty-five. Below a floor of 10 health he refuses to heal at all, which means both spamming USE and asking for a two-point top-up get you nothing. It is a slow drip, not a refill: don't walk into a Strider fight at 30 health expecting a medic to fix it.
They look after themselves too, and they do it no matter what state you are in. Valve wrote a guard meant to stop a hurt rebel from taking supplies while you are wounded, but it shipped comparing your health to 75% of your own health instead of your maximum, so the condition never fires in play. A damaged squad member standing still will help himself to a nearby medkit or health vial whatever your health bar says. Take the wall chargers and floor pickups before you take damage, because nothing is being held back for you.
Your rebels upgrade their own weapons
Squad members spawn carrying SMGs, and they will trade up on their own. Drop or walk past a shotgun or a pulse rifle and a nearby rebel will pick it up and ditch the SMG. In "Follow Freeman!" they will do the same thing with RPGs, which is exactly why the Strider fights feel survivable — leave spare launchers lying near your squad and you get free rocket support.
What they cannot use: the .357 Magnum and the crossbow. They also carry no grenades and never melee anything. Plan around that. A squad in a tight corridor against Combine Elites has no answer to anything that closes the distance.
The two moments the game takes your squad away
Both are scripted and both are permanent. The first is in Anticitizen One, after Alyx is captured: when you drop down from the broken bridge, your citizens stop following and are killed by the Combine. Nothing saves them, so spend them freely on the run-up rather than nursing a full four through it.
The second is at the end of the Strider fights in "Follow Freeman!" — when you drop into the bombed-out building, you lose the entire squad. Two more rebels join briefly after that, then you meet Barney and Dog and the squad system is done.
Between those wipes you fight alone for a stretch. Recruiting restarts when a rebel tells you snipers have Barney pinned down in a warehouse, and from there the game spawns replacements noticeably faster.
Ten lambda caches hide in Anticitizen One
Caches 35 through 44 are all in Chapter 10, and cache 45 — the last in the game — is in "Follow Freeman!". That is eleven of 45 in two chapters. Anticitizen One's ten ties Water Hazard for the most in any single chapter, though as a two-chapter run it is beaten by Route Kanal's 7 plus Water Hazard's 10 back in the canals. Usefully, Lambda Locator (15G) does not require them all in one playthrough, so a cleanup pass is legitimate.
| Cache | Map | Where |
|---|---|---|
| 35 | d3_c17_02 | Straight out of Kleiner's lab, on the left — crate up onto the dumpster |
| 36 | d3_c17_04 | Courtyard after the hopper mines; move the metal sheet behind the barrel by the red shack |
| 37 | d3_c17_05 | Tunnel where turrets watch a hole in the wall; take the stairs, gravity gun it through the blocked gate |
| 38 | d3_c17_06a | Second segment of the manhack underpass — past the rubble wall, turn back toward the fire |
| 39 | d3_c17_06b | By the raised bridge between two buildings, near the first rooftop entrance |
| 40 | d3_c17_06b | Lowest floor of the zombie-infested building, behind a fence, gravity gun only |
| 41 | d3_c17_08 | After the plaza standoff, the room with the bottomless pit — ladder to the lowest platform |
| 42 | d3_c17_08 | Sewer area: drop down, take the left passage, ignore the ladder, hole in the wall |
| 43 | d3_c17_08 | Stand at 42 and look right — climb over the capped metal pipes |
| 44 | d3_c17_08 | The big lift room; skirt the red corrugated building on the narrow ledge instead of dropping |
| 45 | d3_c17_12b | Deep in "Follow Freeman!", top level past the Strider tunnel ambush, by the rocket supply crate |
Note how many sit on d3_c17_08. Four of them. If you are sweeping for Lambda Locator and only have time for one map, make it that one.
Snipers, and the three things that actually kill them
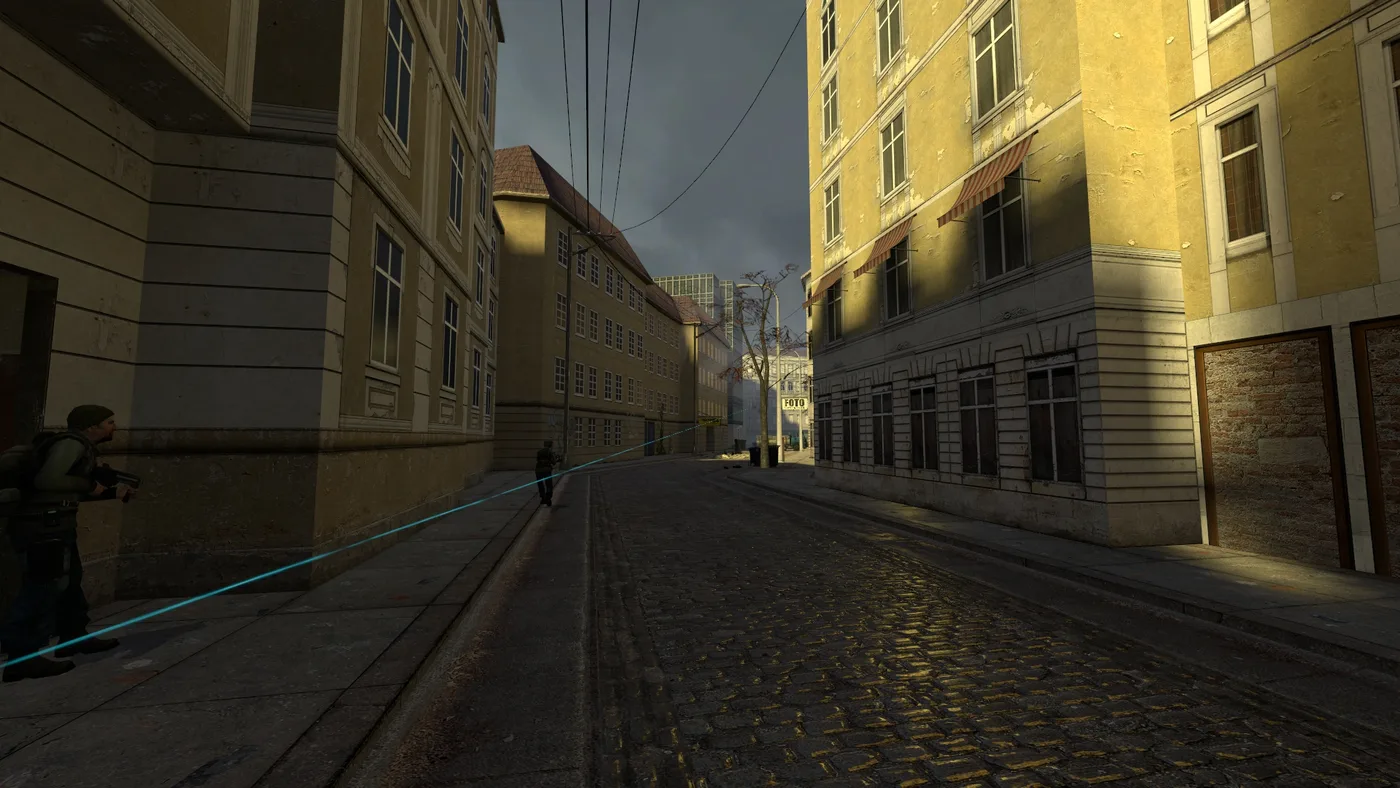
Combine Snipers have 10 health, which is nothing — the problem is you cannot reach them. They fire from fortified nests that shrug off ordinary gunfire, and the entity is effectively immune to small arms. Only explosives count.
Their rifle fires roughly once every three to five seconds and kills virtually anything in one shot: rebels, zombies, headcrabs. Your HEV suit is the only reason you survive at all, and on Hard an unarmoured target goes down in two or three hits. The rounds travel slowly compared to bullets, so at long range you genuinely can sidestep them once you have seen the blue targeting laser.
Three counters, in order of reliability:
- A hand grenade into the window. The intended solution, and what Counter-Sniper is built around.
- The SMG's secondary fire. Its grenade launcher does the same job from further out with a flatter arc.
- An RPG rocket. The laser guidance means you can curve a rocket into a nest without ever standing in the sniper's line — the safest option once you have the launcher.
There is a fourth for the desperate: catch a grenade in the gravity gun and launch it, which extends your throwing range considerably.
Never take cover behind wooden crates or explosive barrels near a sniper. They deliberately shoot breakable cover to strip it away and detonate flammable barrels to finish the job. Concrete only.
Snipers shoot anything that moves and is not Combine, birds included. If you hear a shot and nothing hit you, a crow just died for the empire.
Inside the Nexus: turrets you cannot shoot
The Overwatch Nexus was a bank before the Seven Hour War. The Combine took it, made it their command centre for City 17, and defended it with three things that all punish reflexive shooting: Barricades, Combine Ground Turrets (npc_turret_ground), and Ceiling Turrets (npc_turret_ceiling).
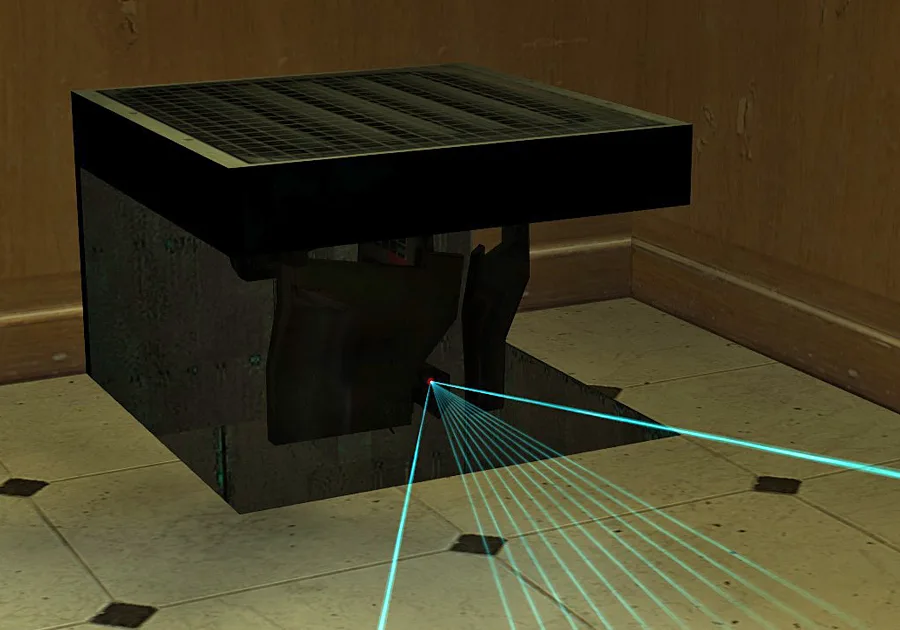
Ground turrets are built into the floor. They stay hidden until you break one of the blue laser tripwires covering a doorway, then rise and start scanning. Each pulse round only does 3 damage, but the rate of fire is high enough that a full HEV charge does not last long in the open.
Four ways through them:
- Roll a grenade into the cavity underneath. This is the only thing that disables one. Shooting is pure ammunition waste.
- Come in from the side. Their coverage is limited to the cone of the blue scanner field in front of them, so an angled grenade roll keeps you out of it.
- Get off the floor. They cannot detect a target who is not standing on the ground — stand on top of an already-deployed turret and the others lose you.
- Sprint past and wait. If nothing is detected for a while they retract and the tripwires come back. Park your squad out of sight, or they will keep the turrets awake.
The tripwire room that traps your save
Barney's line — "Wow. With that much security, there must be something good in there." — is bait, and it is the most dangerous sentence in the chapter.
Six Ceiling Turrets sit dormant in one laser-tripwire room in the Nexus, and they are the only ceiling turrets in the entire game. They carry 1000 health, which makes them functionally indestructible. Cross the tripwires and the doors seal behind you while all six deploy. The Combine OverWiki is blunt about what happens next: the game becomes impossible, and no failure message appears and no autoload triggers. You are simply stuck in a sealed room until you die or reload manually.
If you quicksave over a single slot, that is a real risk. Save before the trip-mine room, and treat the "something good in there" as flavour, not a hint.
Fight the Power: killing the Suppression Device
Bolted to the Nexus roof is the Suppression Device — func_tankmortar, a mortar that fires concentrated Dark Energy straight up and drops it back down on the Resistance below. Anything within a 3 to 5 metre radius of the impact is disintegrated.
It is indestructible, and your squad may waste ammunition trying (Barney, notably, never does). The only way through is the achievement's own description: shut it down by disabling its generators, which means fighting through the Nexus to the Combine power generators — including three Energy Ball-powered ones — and killing the building's power.
Until then, two survival facts:
- It telegraphs. Before firing, the device warms up and the target patch of ground glows yellow-blue. If you are standing on a glow, move.
- It leads its shots. Aim is computed from your current speed, so it fires where you are going to be. Changing direction beats running faster.
Disabling it also opens the gates around the Nexus and lets Resistance reinforcements flood in, which is the moment the Battle of City 17 turns.
Giant Killer: rockets, Striders, and gunships
The last stretch of "Follow Freeman!" is an RPG chapter, and the RPG has an ammunition cap of three rockets. Whenever you see a green infinite supply crate of rockets, read it as a warning: Valve stocks those immediately before something enormous.
The numbers you actually need:
| Target | Easy | Normal | Hard |
|---|---|---|---|
| Strider (RPG hits) | 5 | 7 | 7 |
| Strider (energy ball hits) | 6 | 10 | 14 |
| Gunship (RPG hits) | 3 | 5 | 7 |
Note the Strider line: Normal and Hard both take seven rockets. Playing on Hard costs you nothing on Striders, which is a genuinely useful thing to know before you pick a difficulty.
Striders are immune to small arms. Their particle cannon does roughly 20-30 damage per shot and fires bursts of about a dozen, but it is deliberately programmed to miss with the first few rounds before landing the last few — that opening miss is your window to reach cover, by design. The warp cannon slung under the abdomen is the one that kills you: a thin blue laser and a shimmer around the barrel precede the discharge, and the splash vaporizes anything near the impact.
Hiding is less useful than it looks, too. In urban fights Shield Scanners spot for Striders, feeding them sightlines the Synth itself does not have. Kill the scanners or keep moving.
Gunships need a different technique entirely. They prioritise incoming missiles over every other target, which came out of a playtest bug Valve liked enough to keep. Two consequences: guide your rocket in loops and hit the gunship from behind rather than flying straight at it, and, if you are cornered, fire a rocket purely as a decoy while you resupply. Any explosive damages them — SMG grenades, frags, barrels — for a fixed slice of health each: 34% on Easy, 21% on Normal, 15% on Hard.
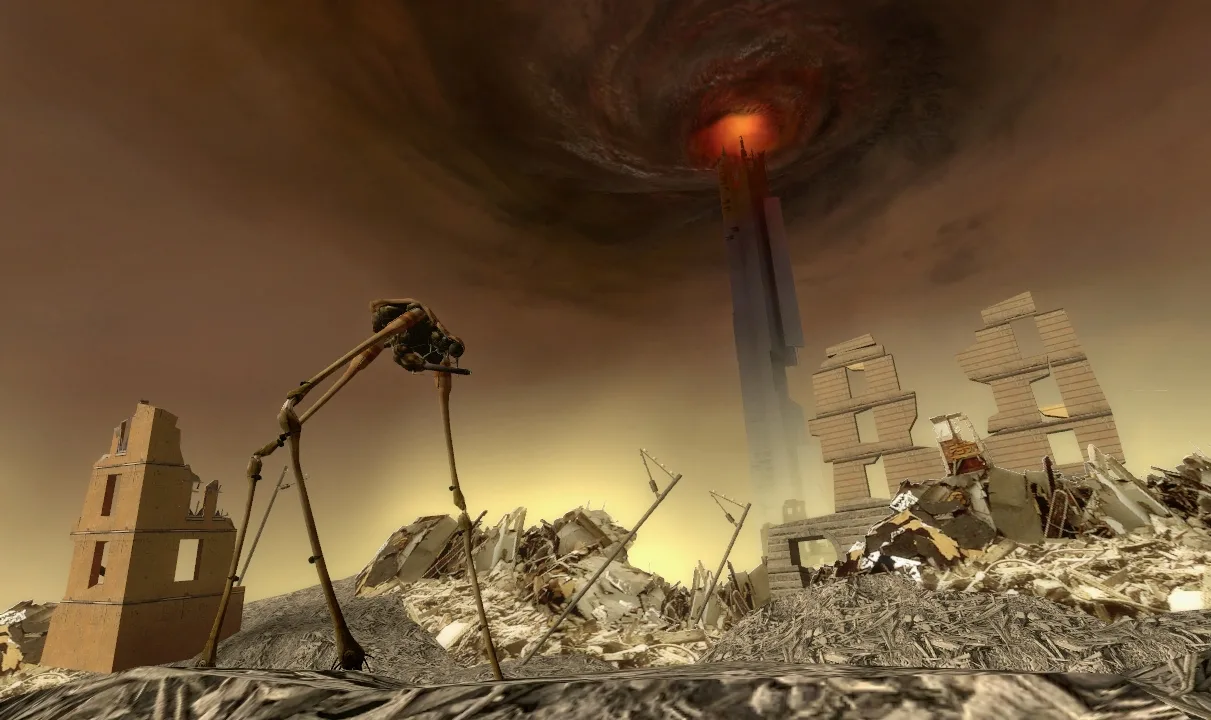
What one week of uprising did to City 17
A few details that reward looking up from the fight.
The Nexus is the Parliament of Serbia. Valve modelled it on the House of the National Assembly in Belgrade, and several of the building's model files still contain the word "parliament." Inside the dome the inscription reads Per ardua ad astra nemine contradicente — "through struggle to the stars, without dissent." The first half is the Royal Air Force motto; the Combine added the rest.
The walls moved while you were gone. Combine Smart Barriers have visibly advanced outward from the Citadel between your arrival in City 17 and your return from Nova Prospekt a week later — the uprising made the Combine accelerate them. Dog ends the chapter by lifting a section of one to expose an old sewer tunnel, which is your way to the Citadel's foot.
Dog spends the whole uprising off-leash. He opens a Barricade gate for you at the start of Anticitizen One after throwing a wrecked car at a Combine squad and brawling an APC, then jumps a Combine Dropship and gets carried off. He turns up again near the end of "Follow Freeman!", knocking over a column topped with a horse statue. Barney's read is that Dog already knows Alyx is in the Citadel and nothing is going to redirect him.
One developer oversight to spot. The Nexus exterior is fortified with Combine walls in every map it appears in except d3_c17_12, where it is inexplicably pristine.
Quick Action Checklist
- Confirm your squad key first: Options, Keyboard, Combat, "Send/Recall Squad" — C by default, and a sent squad only holds for fifteen seconds.
- Hold USE on a medic for up to 25 health on a 25-second recharge — a drip, not a refill — and drop spare shotguns, pulse rifles and RPGs near your squad so they upgrade themselves.
- Spend your squad freely before the broken-bridge drop and the bombed-building drop; both wipe it regardless.
- Sweep
d3_c17_08carefully — four of the game's last eleven lambda caches are on that one map. - Kill every sniper with grenades, SMG secondary fire or a guided rocket; one miss voids Counter-Sniper for the entire run.
- Never shoot a ground turret. Roll a grenade into the cavity beneath it, and quicksave to a fresh slot before the Nexus trip-mine room.
- Budget seven rockets per Strider on Normal and Hard alike, and loop rockets behind gunships instead of flying them straight in.
Frequently Asked Questions
How do you command rebels in Half-Life 2?
What is the Follow Freeman achievement in Half-Life 2?
How do you kill Combine snipers in Half-Life 2?
How many rockets does it take to kill a Strider in Half-Life 2?
Can you get stuck in the Overwatch Nexus turret room?
How do you shut down the Suppression Device in Half-Life 2?
How many lambda caches are in Anticitizen One and Follow Freeman?
Keep Reading
- Half-Life Wiki — Squad Following: four-member cap, C key, 15-second hold, medic and HUD behaviour
- Combine OverWiki — Overwatch Nexus maps, defences, and Parliament of Serbia inspiration
- Combine OverWiki — Combine Sniper health, behaviour, and explosive counters
- Combine OverWiki — Strider RPG and energy ball hit counts per difficulty, citing the Valve Developer Community
- Combine OverWiki — every lambda cache location, numbered 1 to 45, grouped by chapter
- Valve, source-sdk-2013 npc_citizen17.cpp — sk_citizen_heal_player 25, 25-second linear recharge, 10-health minimum, and the ShouldLookForHealthItem health comparison
Related Guides
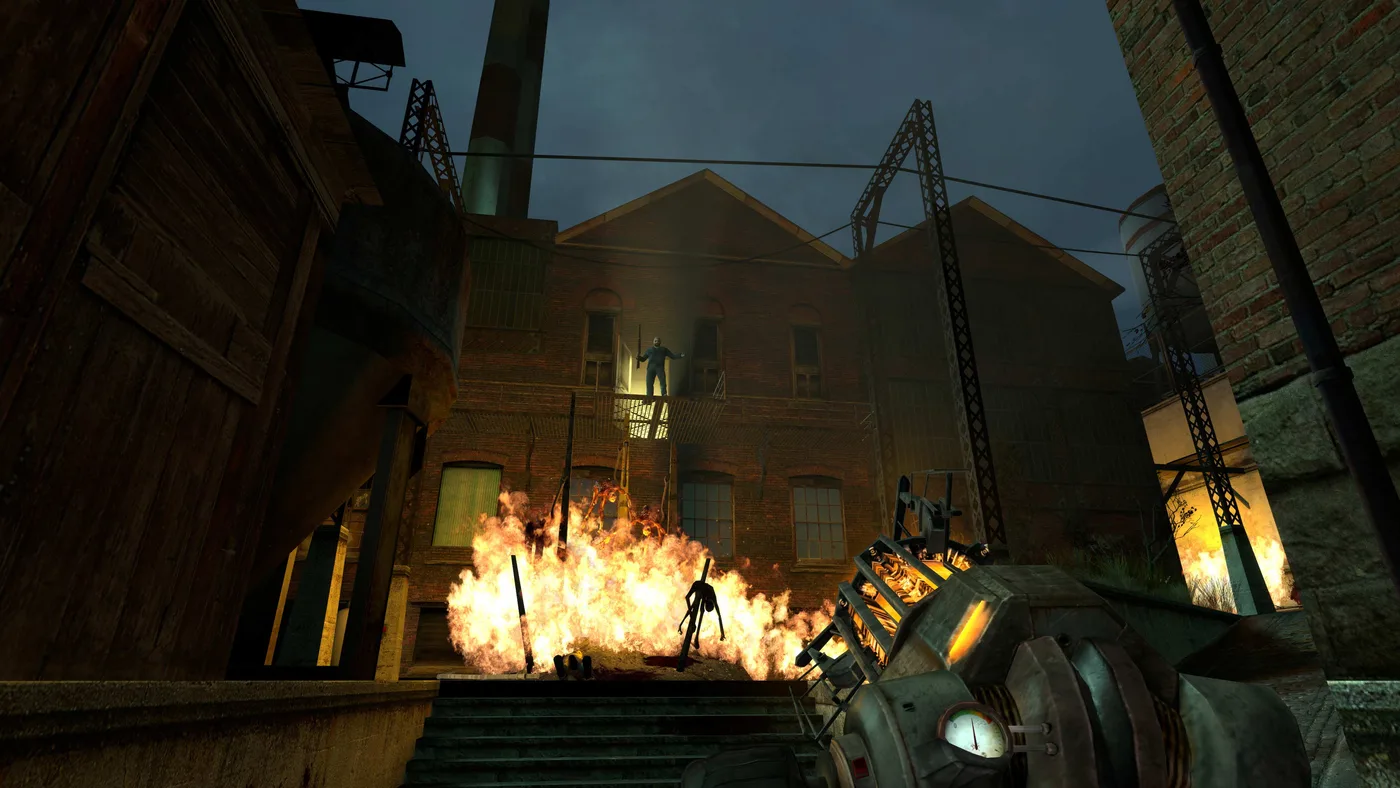
Half-Life 2 Graphics Settings: What the New Options Do
Valve's 20th Anniversary Update put bicubic lightmap filtering behind Shader Detail's Very High setting, added a Classic Effects toggle that only works in the base game, and moved HDR to the main Video tab. What each Half-Life 2 video option does now, what to set it to, the launch options worth knowing, and the graphics bugs still open on Valve's tracker.

Half-Life 2 Episode Three: What Was Built and Why It Died
Valve promised the Half-Life 2 trilogy would end by Christmas 2007. Episode Three never shipped, and neither did the two Ravenholm projects Junction Point and Arkane built for Valve. Here is what each project contained, the code Valve still publishes, and the reasons the developers have given on the record, up to an August 2026 interview.
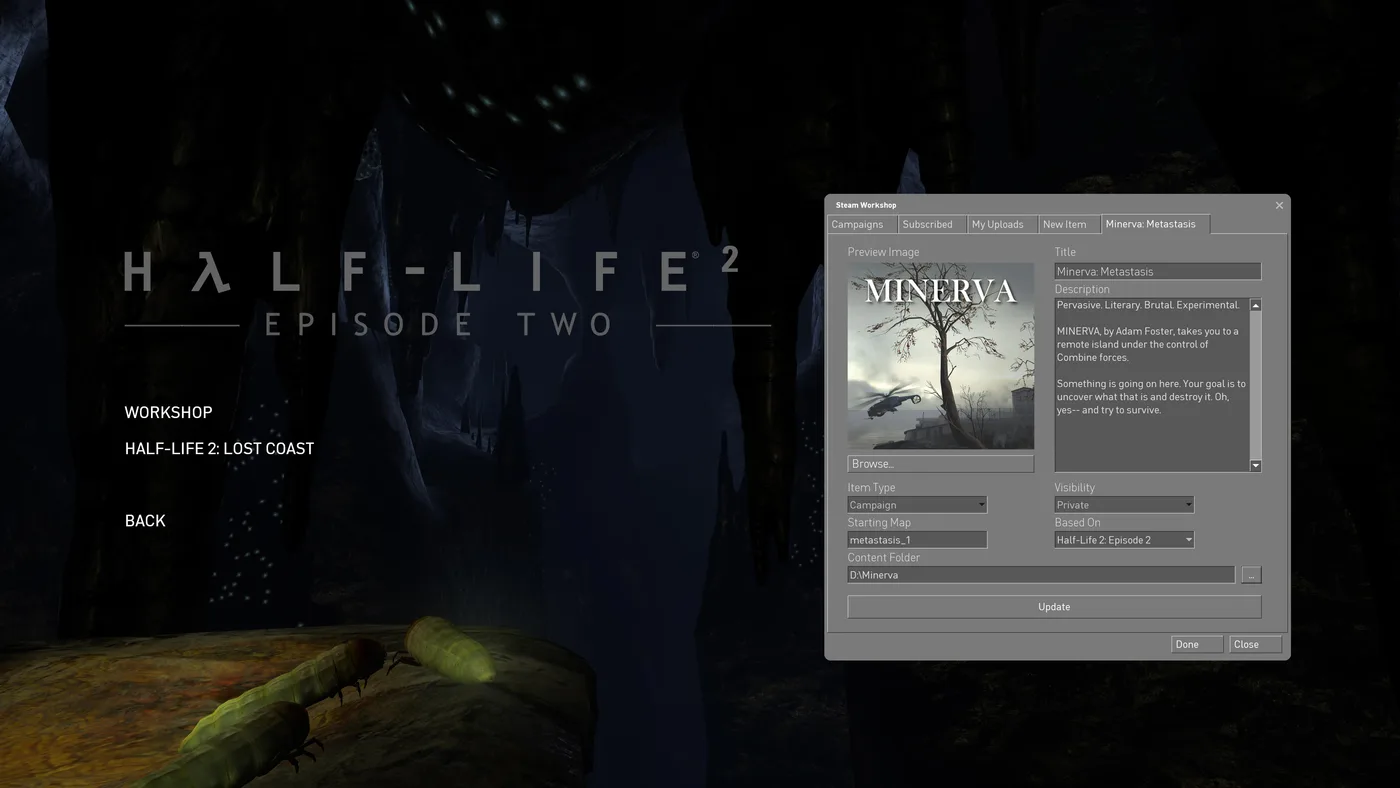
Half-Life 2 Steam Workshop: Campaigns, Addons, Known Bugs
Half-Life 2 has had a Steam Workshop in its Extras menu since November 2024, and it held 12,469 items on October 11, 2026. Here is how Campaign and Content items load differently, how to start a Workshop campaign, what people actually subscribe to, and the bugs still open on Valve's tracker.
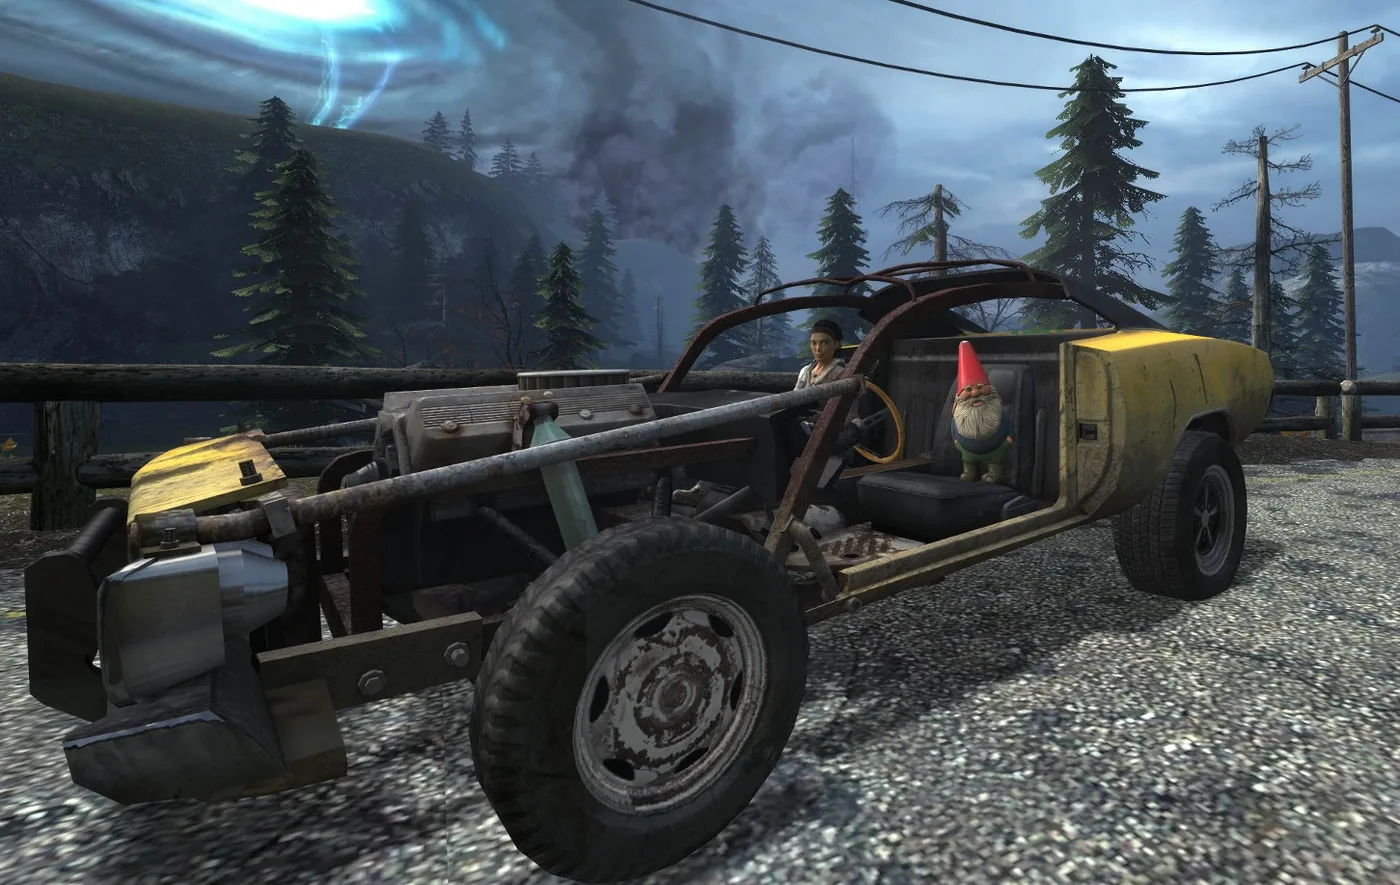
Half-Life 2 Episode Achievements: All 36, and the Hard Ones
Half-Life 2's Steam page now lists 69 achievements, not 33. The 20th Anniversary Update brought in the Episodes' 36. Here is every one of them, which game each actually counts in, which ones a reload can rescue, and the runs that need planning.
Half-Life 2 Beginner's Guide: Start Strong in City 17
Half-Life 2 never stops to explain itself, which is why new players stall in Ravenholm with no shotgun ammo and no idea the gravity gun was the answer. Here is the chapter map, the systems the game hides, and the mistakes that waste your first playthrough.
Half-Life 2 G-Man Sightings: Where to Spot Him, Map by Map
Between the opening monologue and the ending, the G-Man turns up twelve more times in Half-Life 2, mostly at a distance or on a screen. Here is where each one is, by chapter and map, plus the three in Episode Two and the ones Valve cut.