PUBG Zone Prediction Guide: Reading the Circle
You can't predict where the PUBG circle lands. But you can play the odds, read the terrain, and rotate before it forces you. Here's the difference between guessing the zone and beating it.
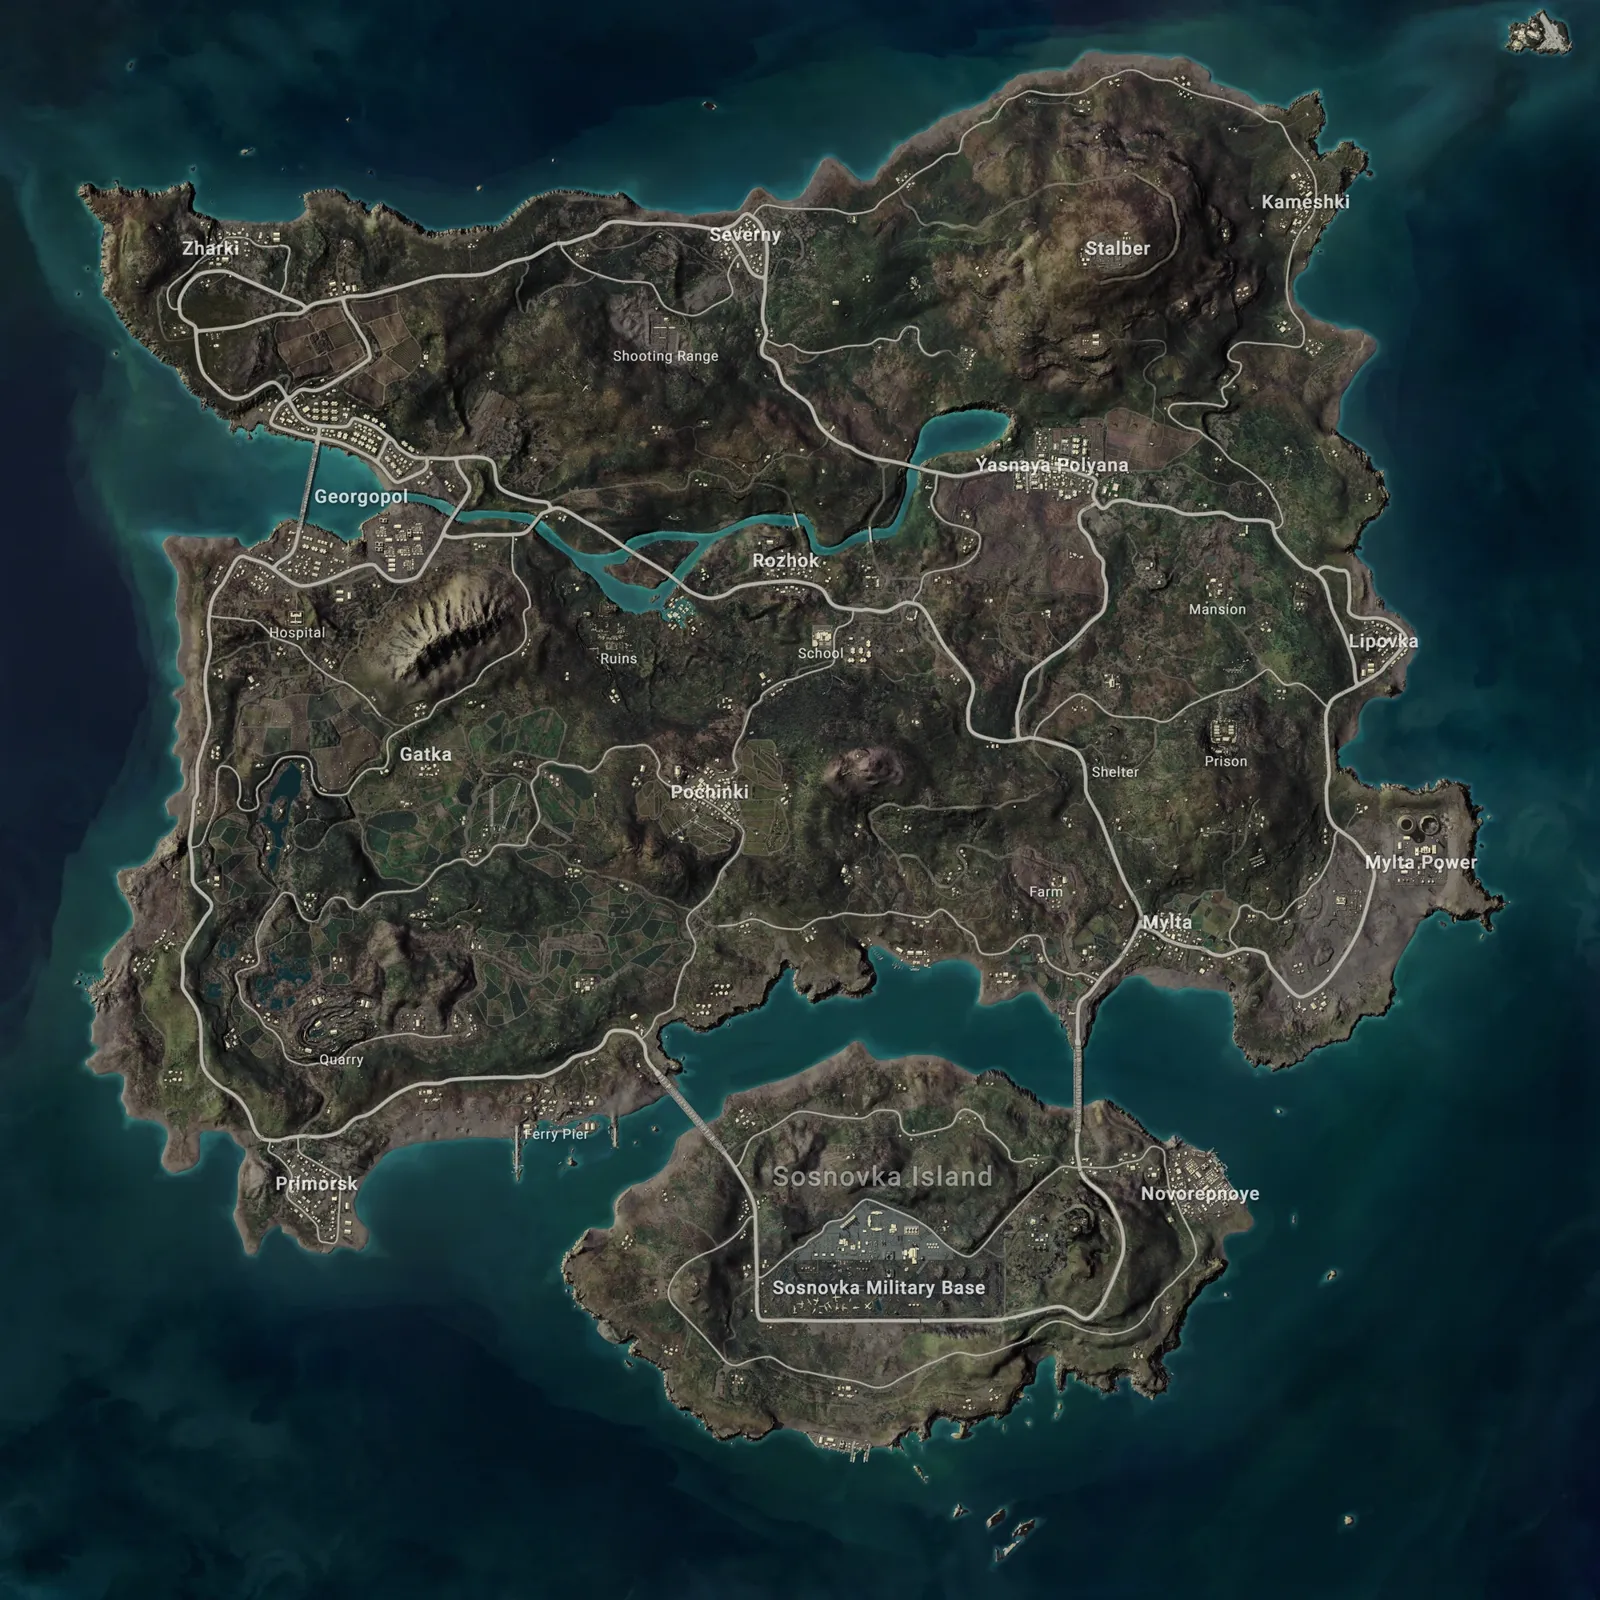
Let's kill the myth in the first sentence: you cannot predict exactly where the next PUBG circle will land. Anyone selling you a system that says otherwise is guessing with extra confidence. PUBG's play zone is placed randomly every phase, and no amount of "the circle always pulls north on Erangel" folk wisdom changes the math.
But here's the part that actually wins games. The randomness is bounded. The next zone isn't free to appear anywhere on the map — it's locked inside the current one, and it's roughly half the size. That constraint is enormous, and once you understand it you stop trying to predict the exact center and start playing the odds like a poker player who knows the deck. You don't need to know the river card. You need to be in a position where most rivers still pay you.
This guide is about that shift: from guessing the zone to beating it. We're talking PC and console PUBG: Battlegrounds here, not Mobile.
Can you actually predict the PUBG circle?
No, and yes. No, you can't call the precise center of the next play zone — it's genuinely randomized each phase. Yes, you can predict the range of possibilities, which is what good players actually do. The white circle you see on the map before it shrinks is the real answer, and it appears with enough lead time to react. Everything before that white circle draws is probability, not prophecy.
So "zone prediction" is really two skills stacked together. The first is understanding the constraint that limits where the next circle can go. The second is positioning inside that constraint so that whichever way the RNG rolls, you're not the one sprinting across open ground with a lethal blue wall chewing your back. Master both and you'll look like you can read the future. You can't. You just stopped standing in the worst spots.
How PUBG's play zone actually works
The play zone — everyone calls it "the circle" — is the shrinking safe area you have to stay inside. Step outside and you take damage every single second from the blue zone. That damage is the entire engine of the match: it squeezes 100 players into a smaller and smaller box until someone's the last one standing.
Here's the sequence each phase. Before the blue zone moves, the game draws a white circle on your map marking the next safe area. After a delay, the blue wall starts closing in at a constant rate until it meets that white circle. Then there's a pause, and the cycle repeats with a new, smaller white circle.
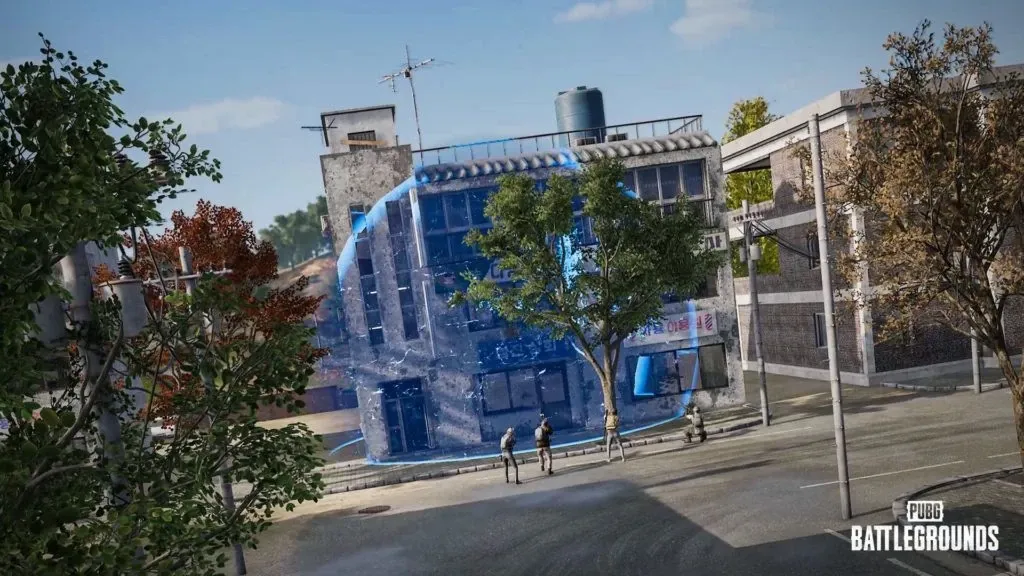
A few facts worth burning into memory, using PC reference timings (exact values shift by map and patch, so treat them as ballpark):
- The first circle appears roughly two minutes after the plane, and the opening phase gives you the longest grace period — several minutes before the first shrink. Early game is slow. Late game is not.
- Each new white circle is about half the diameter of the current one. The map halves, then halves again, then again.
- There are eight phases. There's no ninth — the eighth circle just closes down to nothing.
- Blue zone damage ramps every phase, and it also scales with how far outside the zone you are. Early circles barely tick — you can facetank them and heal through it. Late circles delete you in seconds.
- Around the sixth circle is the last point where you can realistically take blue-zone damage and still heal-and-run into safety. After that, being caught out is usually a death sentence.
If you want the deeper mechanical breakdown of surviving the wall itself, our blue zone rotation guide goes phase by phase. This guide is about the layer above it: where to be before the wall ever becomes your problem.
The rule that matters: the next circle is bounded
This is the single most useful thing to understand about zones, so read it twice. The next white circle is always placed inside the current play zone, and it's roughly half the size. That means its center can slide anywhere from dead-center out toward the current edge — as long as the smaller circle still fits inside the current boundary.
Work through what that implies:
- If you're standing at the exact center of the current zone, the next circle can pull in any direction, but you're never more than a short jog from the new safe area. Whatever the RNG does, your rotation is cheap.
- If you're camped on the far edge, you're rolling dice. Maybe the next circle keeps your side — great, you barely move. Or it yanks to the opposite side and you now have to cross the entire zone, in the open, with everyone who's already centered watching the exposed lanes.
That's the whole game of zones in one idea. Dead center is not guaranteed safe — people repeat that like gospel and it's wrong, because the circle can shift far enough that even a central position ends up near the new edge. But center is statistically the cheapest place to be, because it minimizes your worst-case rotation. You're trading a small chance of a short move for a near-zero chance of a catastrophic one.
Read the terrain, not the RNG
Since you can't out-guess the random number generator, stop trying. Read the terrain instead, because terrain is fixed and terrain is what actually kills you during rotations.
When a new white circle draws, don't just ask "am I inside it?" Ask "what's the path into it, and what's in it?" A circle that lands on an open field with one hill is a completely different problem than one that lands on a town. Before you move, clock three things:
- High ground inside the new zone. Whoever holds the hills controls the sightlines. If there's a dominant ridge or compound in the next circle, getting there first is worth more than shaving thirty seconds off your rotation.
- Cover along your path. The rotation itself is where you're vulnerable. Trace a route that hops tree line to rock to building, not one that strolls across the widest open lane on the map.
- Choke points other players must cross. Bridges, mountain passes, and the gaps between compounds are where third-parties feast. If your route funnels through one, expect company. Our third-party survival guide covers how to not be the sandwich.
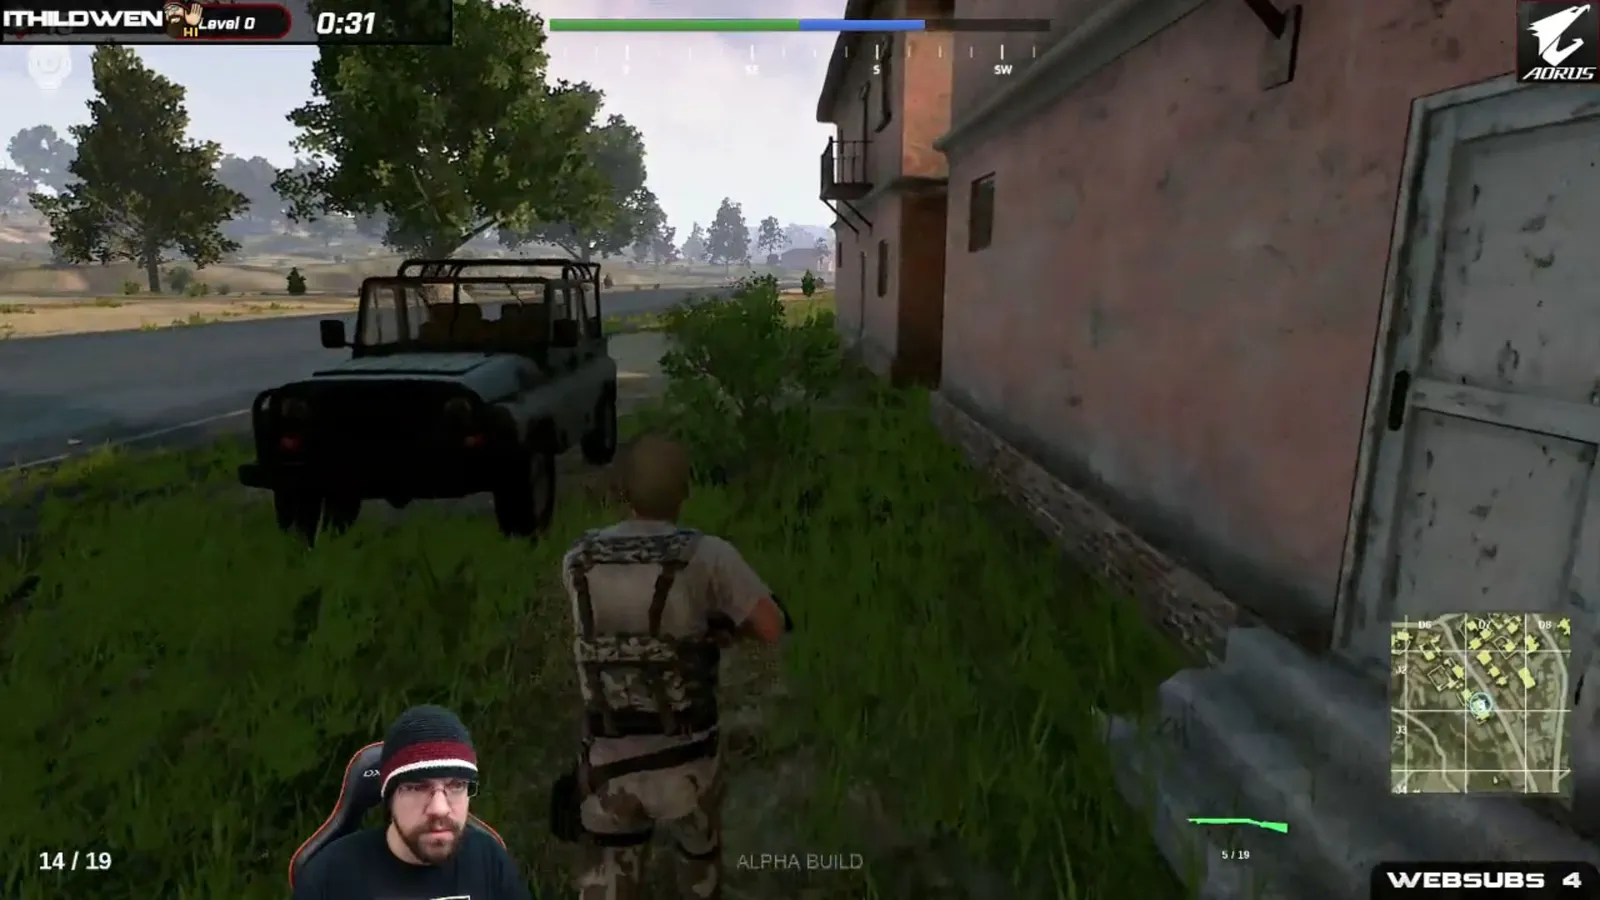
Terrain reading is also why map knowledge is non-negotiable. You can't plan a rotation across ground you've never learned. If your mental map of Erangel or Miramar is fuzzy, our ranked maps breakdown is the place to start filling in the gaps.
Early circles vs late circles
The right zone strategy flips completely depending on which phase you're in, and lumping them together is how newer players get it wrong.
Early circles (1–3) are huge and slow. The blue zone barely hurts, and you have minutes to move. This is the phase to prioritize loot and position over the circle itself. Don't panic-rotate the second the white circle draws — you can afford to finish a fight, kit your gun, and take a relaxed path. Because the circle is so big, being on the "wrong" edge early isn't a crisis; the next few circles will likely re-center you anyway.
Mid circles (4–5) are the transition. The zone is small enough that your position genuinely matters, damage is starting to sting, and other squads are compressing into your space. This is where you commit to a side of the zone and start thinking about which buildings and hills you want to hold, not just pass through.
Late circles (6–8) are a knife fight in a phone booth. The zone is tiny, the blue wall is lethal, and there's nowhere to hide. Prediction stops mattering because everyone can see the whole safe area — now it's pure positioning and nerve. For the endgame specifically, our endgame circle strategy breaks down holding cover and timing the final closes.
The takeaway: play the circle loosely when it's big and forgiving, tighten up hard when it shrinks. Treating a first circle like a final circle wastes energy; treating a final circle like a first circle gets you killed.
Center vs edge: the debate that won't die
Every PUBG player eventually argues about this, so let's settle it with reasoning instead of vibes. There's no universally correct answer — it depends on your playstyle and the phase — but there is a correct framework.
Playing center minimizes your rotation risk. You're rarely forced into a long, exposed run, and you can react to wherever the next circle pulls. The cost: the center is crowded. Everyone else who played it safe is in there with you, so you'll take more fights and you're exposed from more angles. Center suits players who are confident in gunfights and want consistent, low-variance games.
Playing the edge — hugging the blue zone and letting it protect your back — means nobody can third-party you from behind, and you only have to watch one direction. The cost is the one we already covered: if the circle yanks away, you're the player making the nightmare rotation. Edge play rewards patience and punishes greed. It pairs beautifully with a vehicle stashed nearby, because a car turns a death-sentence rotation into a quick drive. Our best PUBG vehicles guide ranks what to grab for exactly this.
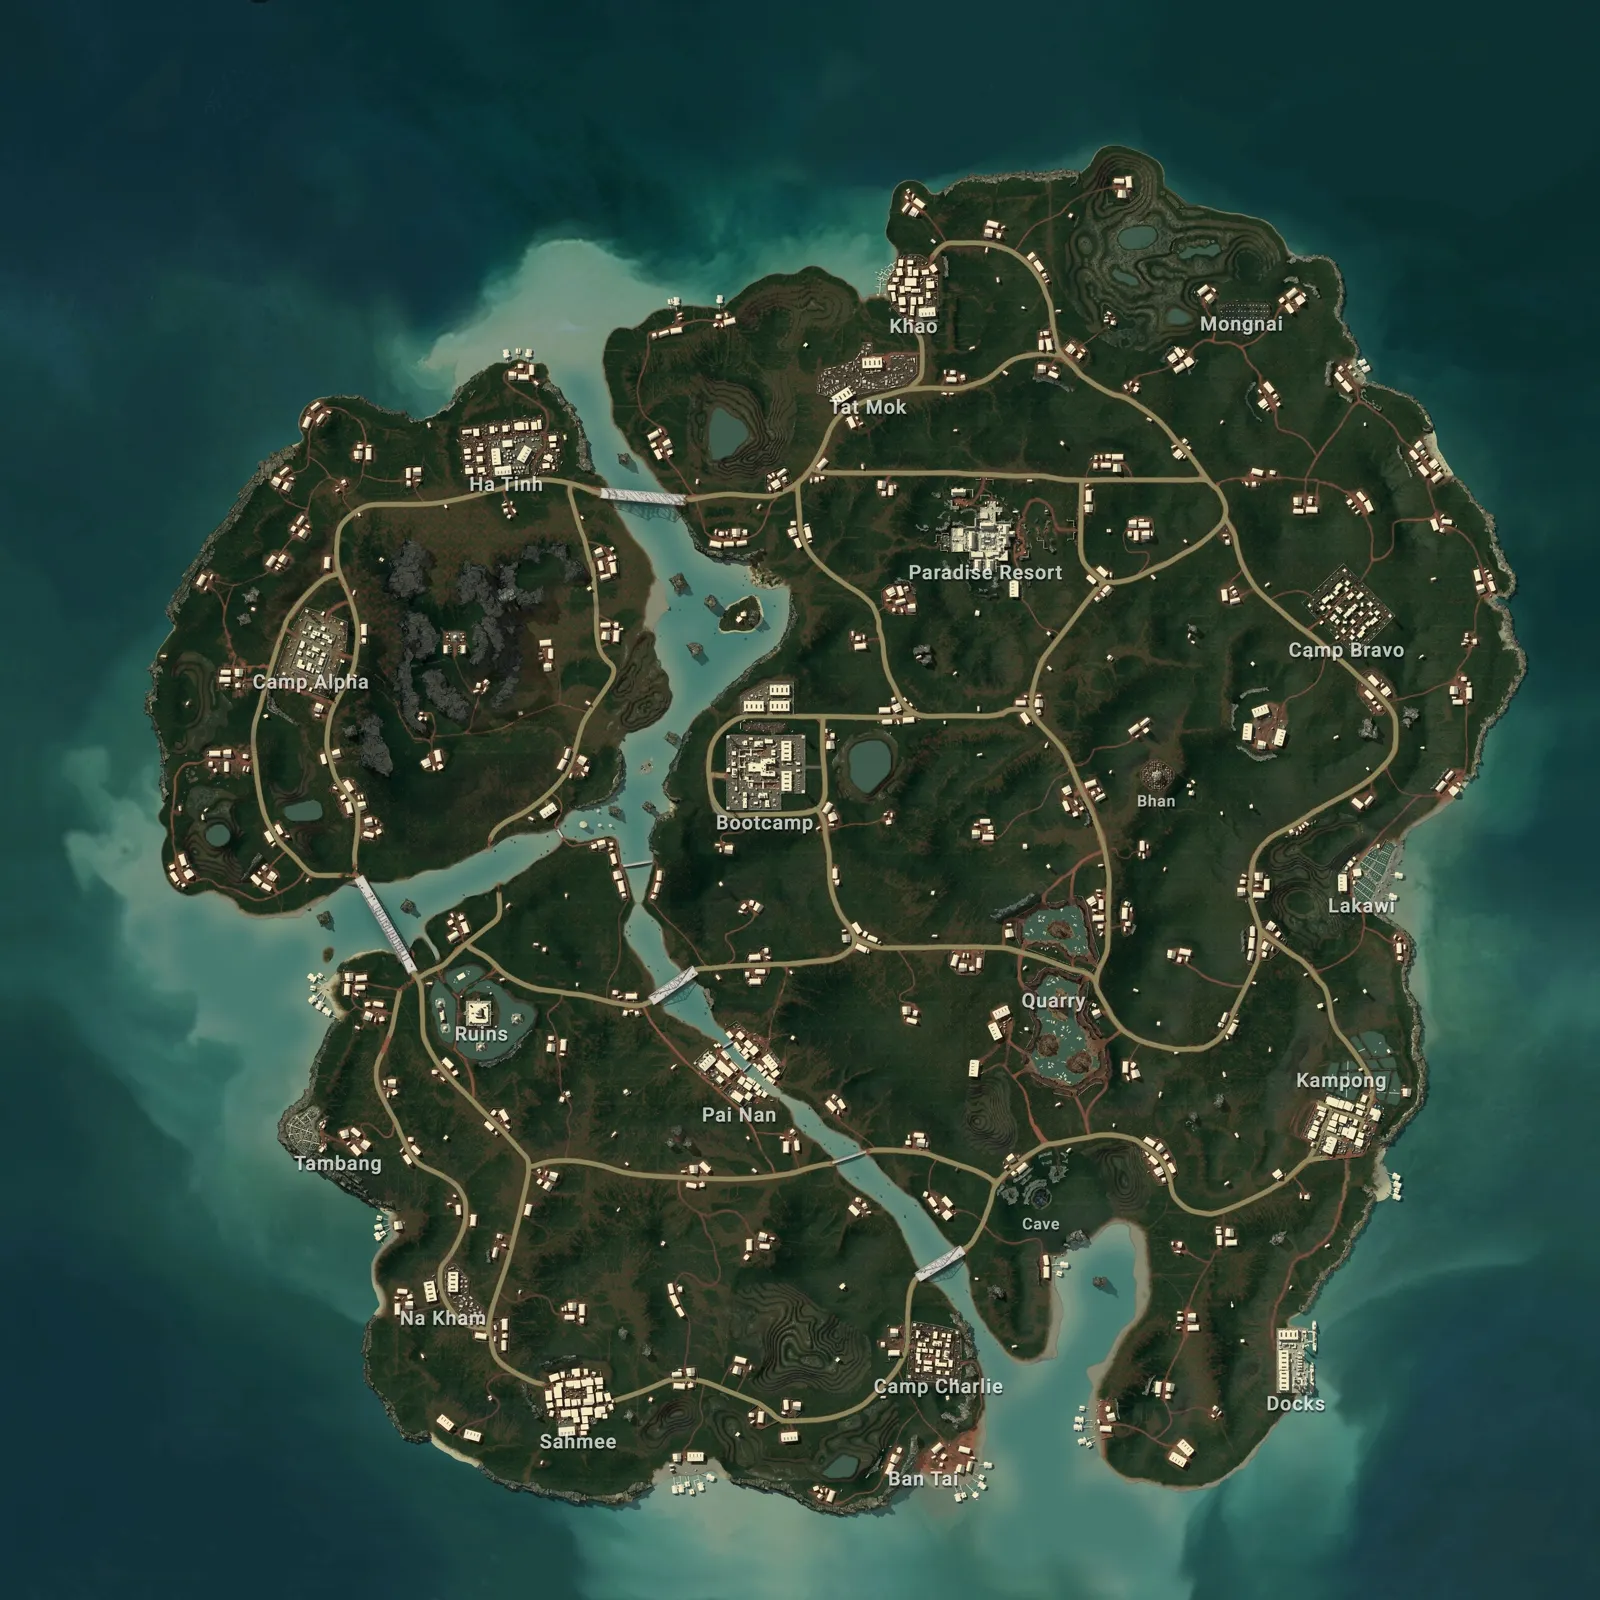
The honest answer most high-level players land on: play slightly inside the edge, leaning toward center. You get most of the edge's back-protection while keeping your rotations short. It's the boring middle ground, and it's boring because it works.
Rotation timing: move before you're forced
The most common way good aimers still lose is bad rotation timing. They wait until the blue zone is already ticking on them, then sprint into the open alongside every other latecomer — straight into the guns of the squads that moved early and are now holding the good ground.
The fix is a mindset: rotate to the next zone before the current one forces you. When the white circle draws and you're on the wrong side, don't finish looting that last building. Leave. Early rotators arrive to empty high ground and set up. Late rotators arrive to entrenched enemies and a shrinking window. The map is the same; the outcome is night and day.
There's nuance, of course. Moving too early means crossing ground while the zone is still huge and you might be re-rotated next phase anyway — wasted risk. The sweet spot is reading the white circle, deciding your destination immediately, and timing your departure so you arrive ahead of the pack but not so early you eat an avoidable fight. Combine this with clean movement and cover discipline — our movement and positioning guide drills the mechanics of actually surviving the run.
And always have a plan B. If your intended path gets contested, know your fallback route before you're mid-field with no options. The players who look unkillable aren't predicting the circle — they've just already decided what they'll do for the next two circles, whichever way it rolls.
Zone mistakes that get you killed
The fastest way to improve is to stop doing the obvious things wrong:
- Waiting for the blue zone to push you. By the time it's ticking, you're rotating with the crowd into prepared guns. Move on the white circle, not the wall.
- Treating dead center as invincible. It's the lowest-risk spot, not a safe zone. You can absolutely end up near the edge of the next circle from a central position.
- Ignoring the terrain in the new zone. Being "inside the circle" on low, open ground while an enemy squad holds the ridge is barely better than being outside it.
- Over-rotating early. Panicking across open fields in circle two, when the zone is enormous and forgiving, just exposes you for no reason.
- No vehicle when you need one. On big maps, edge play without a car nearby is a bet you'll eventually lose to a bad pull.
- Tunnel-visioning the circle and forgetting other players. The zone doesn't kill you in the midgame — the squad watching your rotation lane does.
Fix those six and your placement climbs before your aim ever improves. Zones are a positioning problem, not a shooting one.
Quick Action Checklist
- Accept you can't predict the exact center — play the bounded odds instead
- Remember the next circle is always inside the current one and roughly half the size
- Favor slightly-inside-the-edge, leaning center, for the best risk-reward
- When the white circle draws, decide your destination and path immediately
- Rotate before the blue zone forces you — arrive ahead of the pack
- Read terrain first: high ground, cover along the path, choke points to avoid
- Play early circles loose, tighten up hard from circle four onward
- Keep a vehicle in reach if you're going to hug the edge
- Always have a plan-B rotation route before you commit
Frequently Asked Questions
Can you predict the next circle in PUBG?
Where does the PUBG circle spawn?
Is it better to play center or edge of the zone in PUBG?
When should I rotate to the next circle in PUBG?
How much damage does the blue zone do in PUBG?
How many circles are there in a PUBG match?
Why do I keep dying to rotations in PUBG?
Keep Reading
Related Guides
PUBG Recall Guide: Blue Chips and Towers
A dead teammate in PUBG isn't a dead teammate. Grab the Blue Chip out of their deathbox, register it at a tower, and they parachute back in. Here's the full Recall system — flight timings, phase cutoffs, what you come back with, and how to deny the enemy the same favour.
PUBG Mid-Game Guide: Own Phases 2 Through 5
You survived the drop and you'll survive the final ten — but the match is decided in the messy middle, phases two through five, where most players just react to the blue and hope. Here's how to turn the mid-game into a lead instead of a coin flip.
PUBG Duo Strategy Guide: How to Actually Win as Two
Duos is the least forgiving mode in PUBG and nobody talks about it that way. You get exactly one teammate, which means you get exactly one mistake — and the moment you're both down, the game ends instantly with no third player to clean up. Here's how two players actually win.
PUBG Bridge Crossing Guide: Beat the Camp or Take the Water
The bridge camper is the most hated player in PUBG and also one of the most correct. A bridge is a chokepoint with no cover and exactly two exits, which makes it the best free-kill spot on Erangel. Here's how to get across one alive — and how to be the guy holding it.
Best Weapons in PUBG: Tier List
Every PUBG tier list is out of date the moment a balance patch drops. So here's the list, ranked by role, plus the durable logic to re-tier any gun yourself when the next patch shakes things up.
Best PUBG Loadouts & Attachments
A naked M416 and a fully kitted M416 are basically two different guns. Here's how to build the strongest two-gun loadouts in PUBG and the attachment priority that turns loot into recoil control.