Roblox Camera Manipulation Guide: Scriptable Cameras, CFrame, and FOV
A custom camera is the difference between a game that feels like a template and one that feels made. Here's how the Roblox camera actually works — CameraType.Scriptable, CurrentCamera.CFrame, FieldOfView, and the render-step loop that keeps it from stuttering — plus the traps that make camera scripts fight the default controller.
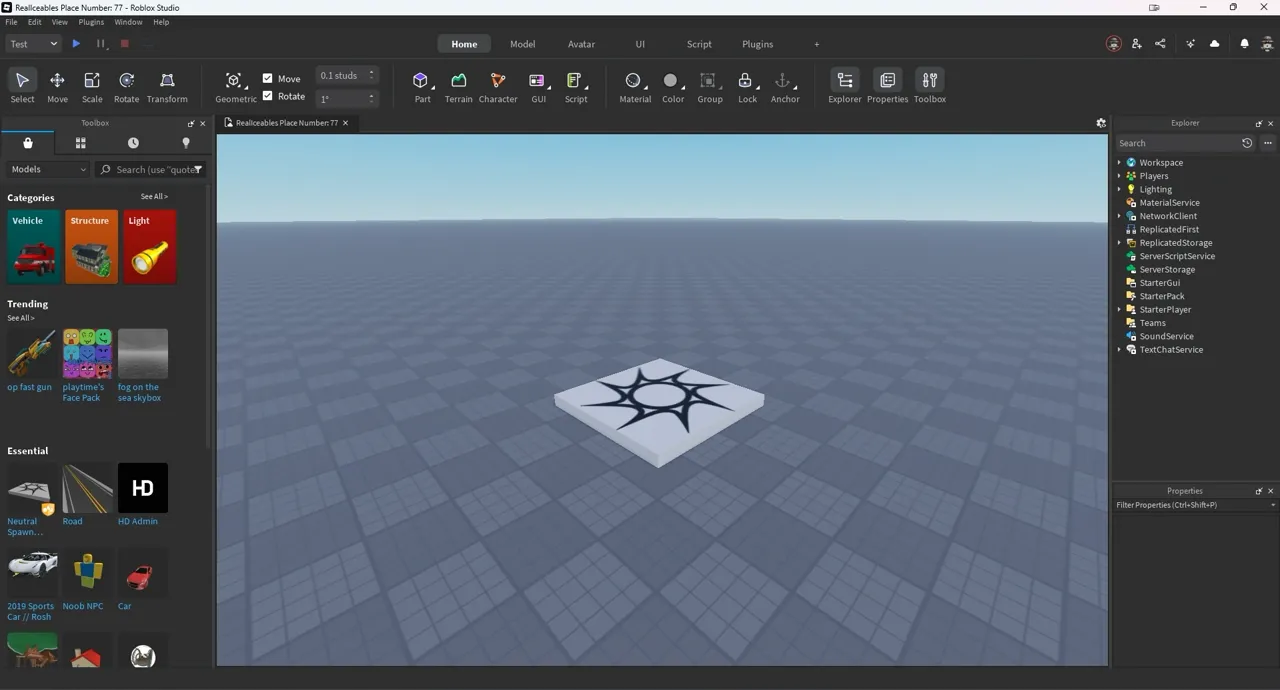
Play two Roblox games back to back and the one that feels expensive almost always has a camera doing something the default one won't. A locked top-down angle for a tower defense map. A slow orbit around a character in a menu. A punch-in on a cutscene. That over-the-shoulder framing every shooter uses. None of it is the camera you get for free, and all of it is a few dozen lines of Luau.
The catch is that the Roblox camera fights you until you tell it to stop. The default controller is constantly writing to the camera every frame, so if you set a position once and walk away, the built-in code overwrites you on the very next render. Getting this right is less about fancy math and more about understanding who owns the camera and when.
Why the default camera isn't enough
Out of the box, every player gets a camera in Custom mode that follows their character, orbits with the mouse, and zooms with the scroll wheel. It's genuinely good — for a generic third-person game. The moment you want anything specific, you hit its edges: you can't lock the angle, you can't cleanly detach it from the character, and you can't script a move without the follow logic yanking it back.
The whole game of camera scripting is one decision: are you tweaking the default camera (adjusting FOV, nudging the subject) or taking it over entirely (writing the CFrame yourself)? Those are two different modes, and picking the wrong one is where most camera bugs start.
One more thing that trips people up before they write a single line: camera code is client-side, always. Each player has their own camera that only exists on their machine. A Script on the server can't touch it in any meaningful way — you need a LocalScript, ideally in StarterPlayerScripts or StarterCharacterScripts. If your camera script "does nothing," check that it's a LocalScript in the right place before you debug anything else.
The camera object: CurrentCamera
There is exactly one camera you care about, and you reach it like this:
local camera = workspace.CurrentCamera
workspace.CurrentCamera is the active camera for the local player. Don't create a new Camera instance and parent it somewhere — that's a common misread of the docs. The engine hands you one; you configure the one you're given. Its most important members:
| Member | Type | What it does |
|---|---|---|
CFrame | CFrame | Position and orientation of the camera in world space |
Focus | CFrame | The point the camera is looking toward (used for some effects and level-of-detail) |
CameraType | Enum.CameraType | Which built-in behavior mode is active |
CameraSubject | Instance | What the camera follows in the non-scriptable modes (usually the Humanoid) |
FieldOfView | number | Vertical FOV in degrees |
ViewportSize | Vector2 | Screen size in pixels — handy for aiming and UI math |
The one you'll write to constantly is CFrame. The one that decides whether writing to it sticks is CameraType.
CameraType and the Scriptable switch
Enum.CameraType has eight values — Fixed, Attach, Watch, Track, Follow, Custom, Scriptable, and Orbital — and honestly you'll use two of them: Custom (the default follow camera) and Scriptable.
Scriptable is the magic word. It tells the engine: stop driving this camera, I've got it. Until you set it, every CFrame you assign gets stomped by the default controller on the next frame.
local camera = workspace.CurrentCamera
camera.CameraType = Enum.CameraType.Scriptable
camera.CFrame = CFrame.new(Vector3.new(0, 50, 0), Vector3.new(0, 0, 0))
Now that position holds, because nothing else is writing to the camera. The other six modes are situational: Watch keeps the CameraSubject centered while the player controls position, Attach rigidly bolts the camera to the subject, Track follows without rotating, and Orbital circles overhead. They're occasionally the fastest way to a specific feel, but for anything custom you'll reach for Scriptable and do the work yourself.
The golden rule: the instant you're done with a scripted camera, set CameraType back to Custom or the player is stuck staring wherever you left them.
Moving the camera with CFrame
Everything positional is a CFrame. A CFrame bundles a position and a rotation into one value, and the camera looks down its own negative-Z axis. You almost never build that rotation by hand — you use CFrame.lookAt:
local camera = workspace.CurrentCamera
camera.CameraType = Enum.CameraType.Scriptable

local cameraPos = Vector3.new(0, 20, 30)
local lookTarget = Vector3.new(0, 5, 0)

camera.CFrame = CFrame.lookAt(cameraPos, lookTarget)
CFrame.lookAt(from, to) places the camera at from and points it at to. That's 90% of camera framing right there. Want an over-the-shoulder rig? Offset from up and to the side of the character and aim to slightly ahead of them. Want a fixed isometric angle for a strategy map? Hard-code both vectors relative to the board.
To orbit a point — the classic menu or character-select spin — walk an angle each frame and rebuild the position with trig:
local center = Vector3.new(0, 5, 0)
local radius, height = 25, 8
local angle = 0

-- inside a loop, incrementing angle:
local x = center.X + math.cos(angle) * radius
local z = center.Z + math.sin(angle) * radius
local pos = Vector3.new(x, center.Y + height, z)
camera.CFrame = CFrame.lookAt(pos, center)
If you want the camera to ride a moving part instead — a rollercoaster car, a spectator drone — multiply the part's CFrame by a local offset: camera.CFrame = part.CFrame * CFrame.new(0, 3, 8). That keeps the camera glued to the part in the part's own orientation, which is exactly what you want on anything that turns.
FieldOfView, the cheapest feel upgrade
FieldOfView is the vertical viewing angle in degrees, and Roblox clamps it between 1 and 120. The default is 70. This single number does more for game feel than most people expect:
- Lower FOV (around 40-55) zooms in, flattens perspective, and reads as calm, cinematic, or sniper-scoped.
- Higher FOV (90-110) widens the view, exaggerates speed, and reads as fast, chaotic, or intense.
The trick everyone loves is animating it. Punch the FOV up a few degrees when a player sprints or dashes and the world visibly rushes past — a free sense of speed with zero particle work. Tween it down when they aim a weapon and you've built a scope. You don't set it in a hard jump; you ease it, which is exactly what Roblox's TweenService animation system is for:
local TweenService = game:GetService("TweenService")
local camera = workspace.CurrentCamera
local info = TweenInfo.new(0.25, Enum.EasingStyle.Quad, Enum.EasingDirection.Out)

TweenService:Create(camera, info, { FieldOfView = 55 }):Play() -- aim down sights
Because FieldOfView is a plain number property on the camera, TweenService animates it directly — no render loop required. This works whether the camera is Custom or Scriptable, so you can add scope-zoom to the default follow camera without taking it over at all.
Smooth cameras with BindToRenderStep
Setting the CFrame once is fine for a static shot. But a camera that follows something has to update every single frame, and where you put that update matters. Drop it in a plain loop or a Heartbeat connection and you get jitter, because the camera renders at a different point in the frame than your code runs.
The right home is RunService:BindToRenderStep, which lets you schedule your update relative to when the engine renders the camera:
local RunService = game:GetService("RunService")
local camera = workspace.CurrentCamera
camera.CameraType = Enum.CameraType.Scriptable

local player = game.Players.LocalPlayer

RunService:BindToRenderStep("CustomCamera", Enum.RenderPriority.Camera.Value, function()
	local character = player.Character
	local root = character and character:FindFirstChild("HumanoidRootPart")
	if not root then return end

	local goal = root.CFrame * CFrame.new(0, 4, 12) -- behind and above
	camera.CFrame = camera.CFrame:Lerp(goal, 0.15)  -- ease toward it
end)
Two things make this smooth. First, Enum.RenderPriority.Camera.Value (which is 200) schedules your code at the same stage the engine handles the camera, so your write lands in sync with rendering. Bind at Camera.Value + 1 if you specifically want to run after the default camera has done its thing. Second, CFrame:Lerp(goal, alpha) doesn't snap the camera to the target — it moves a fraction of the way there each frame, which turns a rigid follow into a soft, weighty drift. Smaller alpha means a lazier, floatier camera; larger means a tighter one.
When you tear a bound camera down, call RunService:UnbindFromRenderStep("CustomCamera") with the same name string, or it keeps running forever in the background. Guarding the character lookup matters too — if you're new to why FindFirstChild and event connections behave the way they do, the Lua scripting basics guide covers the fundamentals this leans on.
Building a cutscene
A cutscene is just a sequence of camera CFrames the game moves through while the player watches. The clean way is to store keyframe CFrames — often as invisible parts you position in Studio — and tween the camera between them.
local TweenService = game:GetService("TweenService")
local camera = workspace.CurrentCamera

local function playShot(fromPart, toPart, duration)
	camera.CameraType = Enum.CameraType.Scriptable
	camera.CFrame = fromPart.CFrame
	local info = TweenInfo.new(duration, Enum.EasingStyle.Sine, Enum.EasingDirection.InOut)
	local tween = TweenService:Create(camera, info, { CFrame = toPart.CFrame })
	tween:Play()
	tween.Completed:Wait()
end

playShot(workspace.CamStart, workspace.CamEnd, 4)
camera.CameraType = Enum.CameraType.Custom -- hand control back at the end
Positioning parts in the viewport and reading their CFrame beats hand-typing coordinates every time — you can see the framing. For a multi-shot cutscene, chain several playShot calls, each waiting on Completed. If you want the camera to glide along a curve rather than a straight line between two points, that's a Bezier interpolation, but a series of short straight tweens with Sine easing looks great and is far simpler to author. Pair the sequence with a fade or letterbox from the UI design basics guide and it reads as genuinely cinematic.
Trigger cutscenes from the server when they're story beats everyone should see at the same moment, but remember the actual camera move runs client-side — the server fires a RemoteEvent, and each client's LocalScript plays the shot. The server never touches the camera itself.
Giving control back
This is the step people forget, and it's the one players notice. After any scripted camera moment, you have to restore normal control:
camera.CameraType = Enum.CameraType.Custom
camera.CameraSubject = player.Character:FindFirstChildOfClass("Humanoid")
Setting CameraType back to Custom re-enables the default follow controller. Resetting CameraSubject to the player's Humanoid makes sure it follows the right character — this matters after respawns, because a fresh character means a fresh Humanoid, and a camera still pointed at the old one will sit motionless. If your game "loses" the camera after death, this line is almost always the fix.
The mistakes that break camera scripts
1. Forgetting CameraType.Scriptable. You set the CFrame, it flickers for one frame, then snaps back to following the character. The default controller is overwriting you. Set Scriptable first, every time you take over.
2. Running camera code on the server. A Script in ServerScriptService cannot control a player's camera — cameras are per-client. Use a LocalScript in StarterPlayerScripts or StarterCharacterScripts.
3. Never handing control back. You play a cutscene and leave CameraType on Scriptable, so the player is frozen looking at nothing. Always restore Custom when the moment ends.
4. Updating the camera in the wrong loop. A follow camera driven from Heartbeat or a raw while loop jitters because it's out of sync with rendering. Use BindToRenderStep at Enum.RenderPriority.Camera.Value.
5. Snapping instead of easing. Assigning the target CFrame directly every frame gives a rigid, robotic follow. Wrap it in CFrame:Lerp (for position/rotation) or tween FieldOfView so movement has weight. The eased version costs one extra line and looks ten times better.
6. Losing the camera after respawn. A new character brings a new Humanoid. If you cached the old camera subject or left the type on Scriptable, reset both when the character respawns. Listen to Player.CharacterAdded and re-apply your camera setup there.
Want to see camera work carrying whole genres? The framing in our best Roblox FPS games roundup is doing exactly this — scriptable cameras, FOV tricks, and render-step follow — and getting comfortable in Roblox Studio is the prerequisite for building any of it.
Quick Action Checklist
- Reach the camera with
workspace.CurrentCamera— never create a new Camera instance - Run all camera code in a
LocalScript, not a serverScript - Set
CameraType = Enum.CameraType.Scriptablebefore writing the CFrame yourself - Frame shots with
CFrame.lookAt(fromPosition, targetPosition) - Glue the camera to a moving part with
part.CFrame * CFrame.new(offset) - Tween
FieldOfView(clamped 1-120) for sprint punch and aim-down-sights zoom - Drive follow cameras in
BindToRenderStepatEnum.RenderPriority.Camera.Value - Ease with
CFrame:Lerp(goal, alpha)instead of snapping every frame - Build cutscenes by tweening between keyframe part CFrames and waiting on
Completed - Always restore
CameraType = Customand resetCameraSubjectwhen you're done
Frequently Asked Questions
How do I control the camera in Roblox?
Why does my Roblox camera keep snapping back?
Can camera scripts run on the server in Roblox?
How do I change the field of view in Roblox?
How do I make a smooth follow camera in Roblox?
How do I make a cutscene camera in Roblox?
What is CFrame.lookAt used for in camera scripts?
How do I give camera control back to the player?
Keep Reading
Related Guides

Roblox BadgeService Guide: Award, Check, Debug
Call AwardBadgeAsync on a player who isn't currently in your server and it fails one of five documented requirements — silently, the same way it fails for a disabled badge or a place outside the badge's own experience. Here is every BadgeService method, which four are dead, the rate limit two of them share despite a 10x difference in batch size, and the deprecated check that Roblox says will now always return true.
Roblox Luau Type Checking: nocheck, nonstrict, strict
Roblox says every script used to default to no typechecking. That is no longer how it works: a Workspace property now sets the default mode, projects using only nocheck and nonstrict were moved to the New Type Solver automatically, and strict mode projects were not. Here is what each mode reports, what the new solver changed, and the annotation syntax that covers most code.
Roblox Text Filtering: FilterStringAsync Done Right
Chat is filtered for you. Pet names, sign text, shop names and anything you pull off an external API are not — and Roblox documents that it takes games down until filtering is added. Here is the actual API, the getter that is now dead, and the pattern that ships.
Roblox Terrain Editor: Build a World in Minutes
Terrain is the fastest way to turn an empty baseplate into somewhere worth standing. Generate makes a mountain range in one click, the brush tools carve it into a level, and none of it requires a single mesh.
Best Roblox Games to Play in 2026
Roblox's front page is engagement bait. This is the filtered version: the games with real, sustained player counts and actual staying power, sorted by what you're in the mood for.
How to Get Robux Safely (Legit Ways + Scams to Avoid)
There is no free Robux generator. There never was. Here are the actual legit ways to get Robux without overpaying, the earning methods that really work, and the scams that exist purely to steal your account.