Roblox UI Design Basics: ScreenGui, Frames & UDim2
Your game can have perfect scripts and still feel broken if the menu is squished off the edge of a phone screen. This is how Roblox UI actually works: ScreenGui containers, the four GuiObjects you'll use constantly, and the UDim2 + AnchorPoint combo that separates a clean interface from a pixel-nudged mess.
You can write flawless server code, nail your DataStore saves, and still ship a game that feels amateur the second a player on a phone opens your shop and the "Buy" button is halfway off the screen. UI is where a shocking number of otherwise-solid Roblox games fall apart — not because the concepts are hard, but because two properties (UDim2 and AnchorPoint) work in a way that isn't obvious, and beginners fight them by nudging pixels until it "looks right" on their own monitor. It looks right on exactly one screen and broken on every other.
This guide fixes that. By the end you'll know where UI actually lives, the handful of objects you'll build everything from, and the positioning system that makes a menu land in the same spot on a phone, a tablet, and a 4K monitor without you touching it. If you've already got Studio basics down and can write a first Luau script, you're ready.
Why UI is the part beginners fumble
Here's the trap. You insert a Frame, drag it to the middle of your screen in Studio, drag a button into the corner, and press Play. On your machine it's perfect. Then a friend opens it on their phone and the whole layout is shoved into the top-left, elements overlapping, half of it cut off. What happened?
You positioned everything in pixels, and pixels are not the same on every device. A layout tuned for a 1920-wide monitor means nothing on a 720-wide phone. Roblox gives you a system built specifically to solve this — you just have to use the relative half of it instead of the absolute half. Once that clicks, most UI pain disappears. So let's build the mental model in the right order: container first, objects second, positioning third.
ScreenGui: where every interface lives
Every piece of on-screen 2D interface in a Roblox game lives inside a ScreenGui. Per the official docs, a ScreenGui is the "primary container of on-screen 2D user interface elements" — it's the storage object that holds your frames, labels, and buttons and draws them flat on the player's screen, on top of the 3D world.
The critical rule: a ScreenGui only renders if it's parented to a player's PlayerGui. You don't put it there directly. Instead you put it in StarterGui, and Roblox clones it into each player's PlayerGui when they join and their character first spawns. Think of StarterGui as the template and PlayerGui as the live copy each player is actually looking at.
There's a second container family worth knowing exists: SurfaceGui and BillboardGui hold UI that lives in the 3D world — a screen on a wall, a health bar floating over an enemy's head. Same GuiObjects inside, different container. For menus, HUDs, and shops, ScreenGui is what you want, so that's the focus here.
StarterGui vs PlayerGui: the copy you actually see
This distinction causes real bugs, so pin it down now. When you build UI in Studio, you're editing StarterGui — the master template. At runtime, that gets copied into every player's PlayerGui. If you want to change a player's UI while the game is running from a script, you edit their PlayerGui copy, not StarterGui (editing StarterGui mid-game only affects players who respawn after the change).
One property that bites people: a ScreenGui's ResetOnSpawn. By default a ScreenGui resets — gets wiped and re-cloned from StarterGui — every time the player respawns. For a HUD that should persist across deaths (a coin counter, a quest tracker), set ResetOnSpawn to false so it survives respawns instead of flickering back to its starting state.
The four GuiObjects you'll use constantly
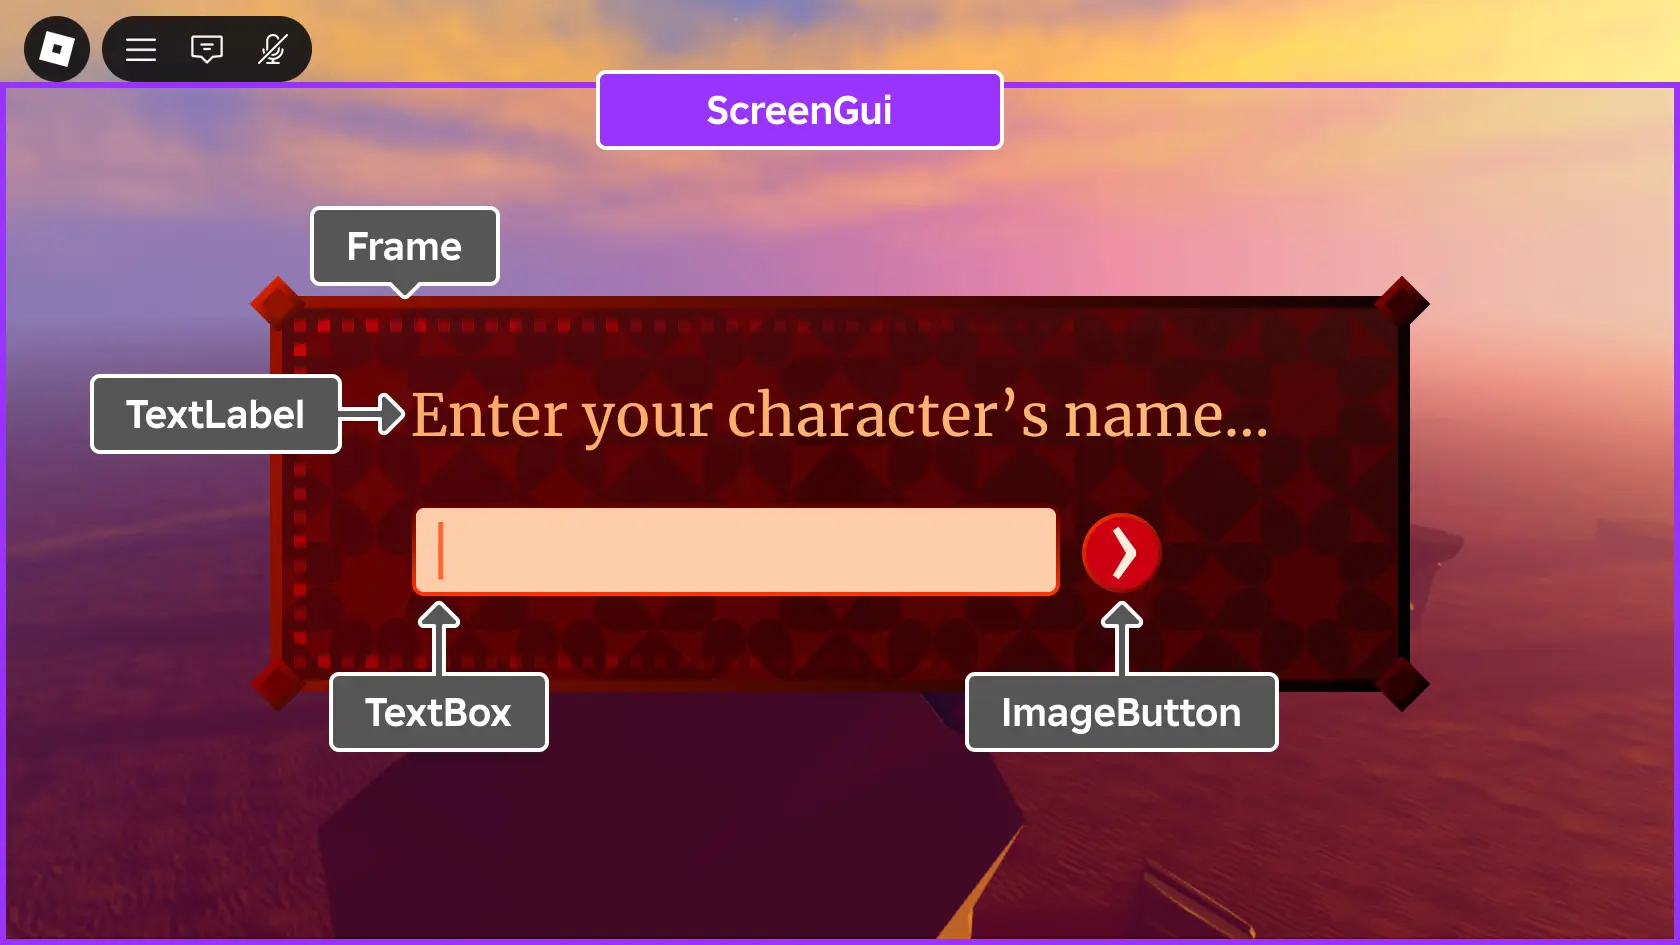
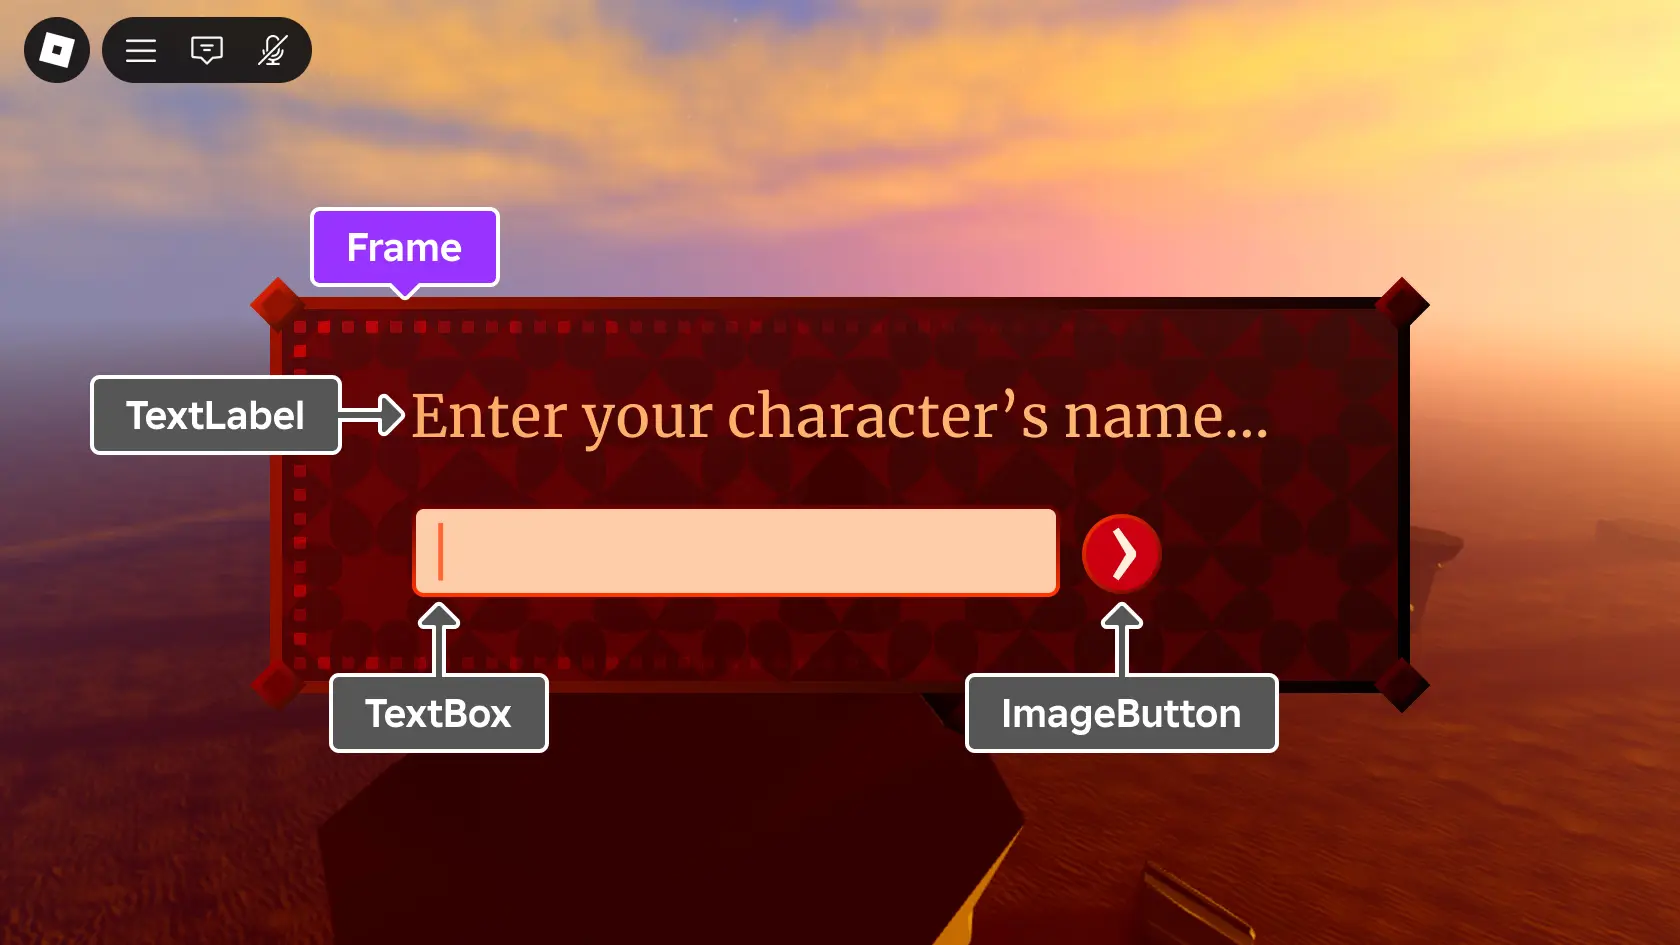
Almost everything you build is one of four object types. The docs group them as frames, labels, buttons, and text input, and you'll reach for these constantly:
| Object | What it does |
|---|---|
| Frame | A container. Holds and groups other UI objects — move the frame, everything inside moves with it. Your panels, windows, and backgrounds. |
| TextLabel / ImageLabel | Display-only text or an image. No interaction — a title, a coin count, an icon. |
| TextButton / ImageButton | The interactive ones. Users click or tap them to trigger an action. |
| TextBox | Lets the player type input — a search bar, a name field, a chat entry. |
The workflow is almost always the same: a Frame is the panel, labels show information inside it, buttons let the player do something, and a TextBox collects any typing. You group related pieces into a Frame so they move and scale as a unit. Get comfortable nesting — a shop is a Frame (the window) holding more Frames (each item card) holding labels and buttons.
UDim2: Scale and Offset, and why it matters
Now the part that actually matters. Both Position and Size on every GuiObject are a special type called UDim2, and this is the single most important thing to understand about Roblox UI.
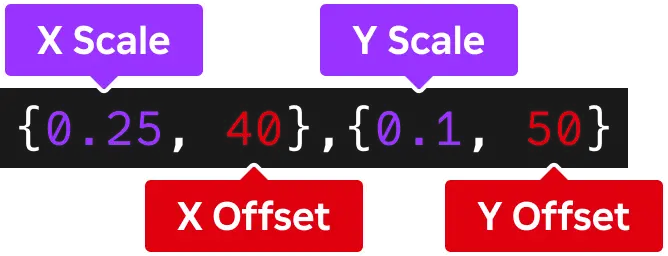
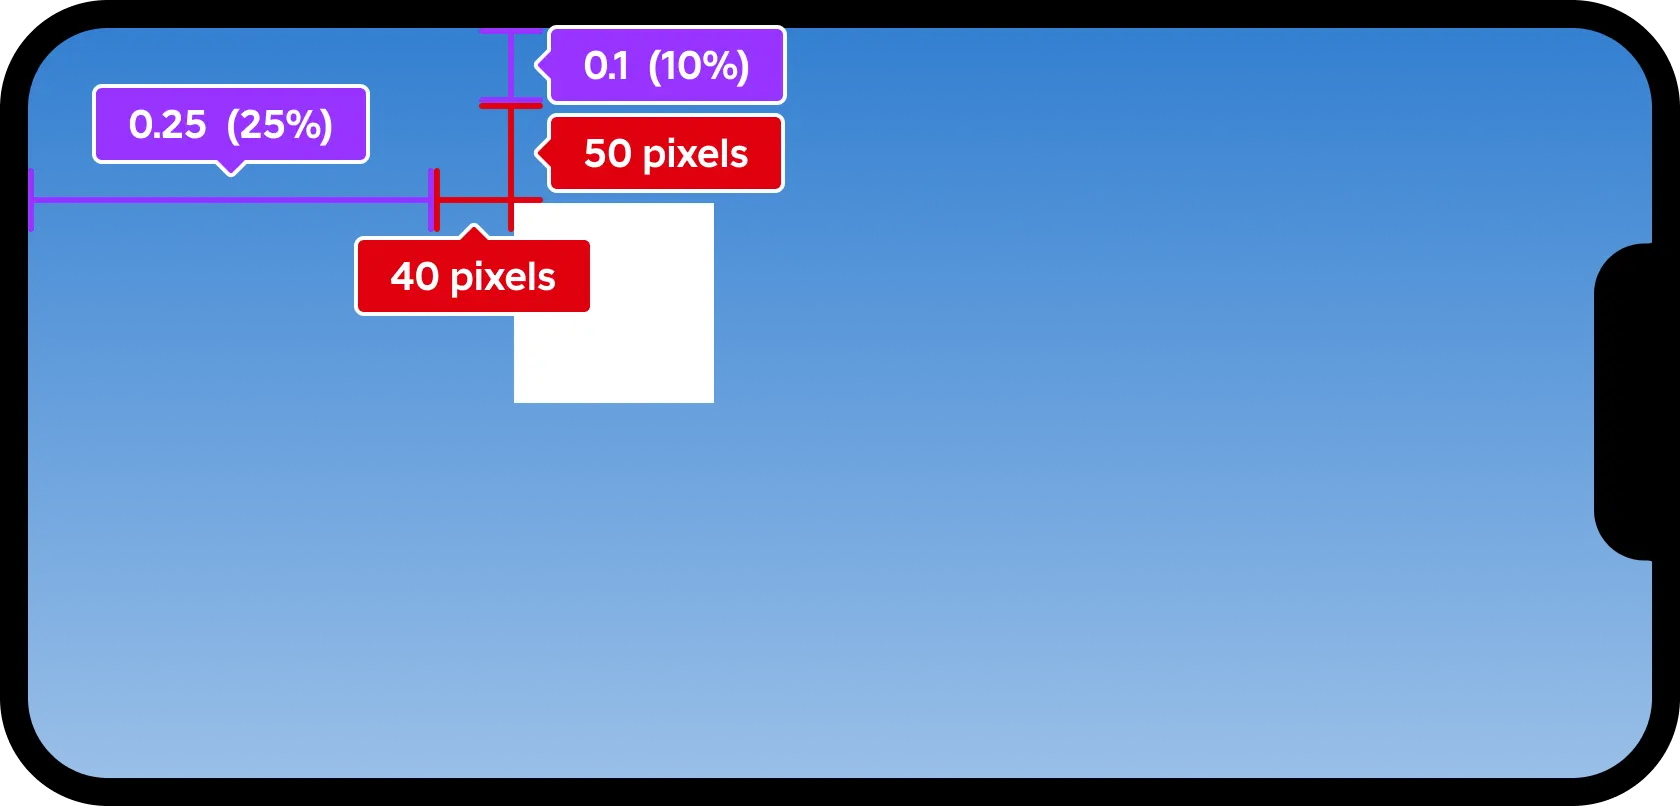
A UDim2 has two axes — X (horizontal) and Y (vertical) — and each axis carries two numbers: a Scale and an Offset. Straight from the docs: Scale values represent a percentage of the container's size along that axis, and Offset values represent a number of pixels, with the two added together. The constructor takes them in this order:
-- UDim2.new(scaleX, offsetX, scaleY, offsetY)
frame.Position = UDim2.new(0.5, 0, 0.5, 0)   -- 50% across, 50% down, no pixel offset
frame.Size     = UDim2.new(0.4, 0, 0.3, 0)    -- 40% of parent wide, 30% tall
Read UDim2.new(0.5, 0, 0.5, 0) as: "put me at 50% of the parent's width plus 0 pixels, and 50% of the parent's height plus 0 pixels." Because it's a percentage of the parent, that position stays at the middle whether the parent is a phone screen or a monitor. That's the whole trick. There are two shorthand constructors worth knowing: UDim2.fromScale(0.5, 0.5) for pure percentage, and UDim2.fromOffset(200, 100) for pure pixels.
Scale for responsive, Offset for fixed
So when do you use which? Simple heuristic:
- Scale (the 0-to-1 percentage) is your default for anything that should adapt to screen size — position of a menu, size of a panel, spacing that should feel proportional. This is what keeps your UI usable across devices.
- Offset (pixels) is for things that should stay a constant real-world size no matter the screen — a 2-pixel border, a fixed 4-pixel gap, a small icon you never want to shrink.
The beginner mistake is building an entire layout in Offset because dragging things in Studio quietly writes pixel values. Then it only works on your monitor. Flip your instinct: reach for Scale first, drop to Offset only for the little fixed details. You can mix them on the same axis — UDim2.new(0.5, 10, 0, 0) means "halfway across, then nudge 10 pixels right" — which is handy for fine adjustments on top of a responsive base.
AnchorPoint: the property that fixes your centering
Here's the puzzle that stumps everyone once: you set a Frame's Position to UDim2.fromScale(0.5, 0.5) expecting it dead-center, and instead its top-left corner sits at the center, so the whole box hangs down and to the right. Frustrating, and the fix is one property.
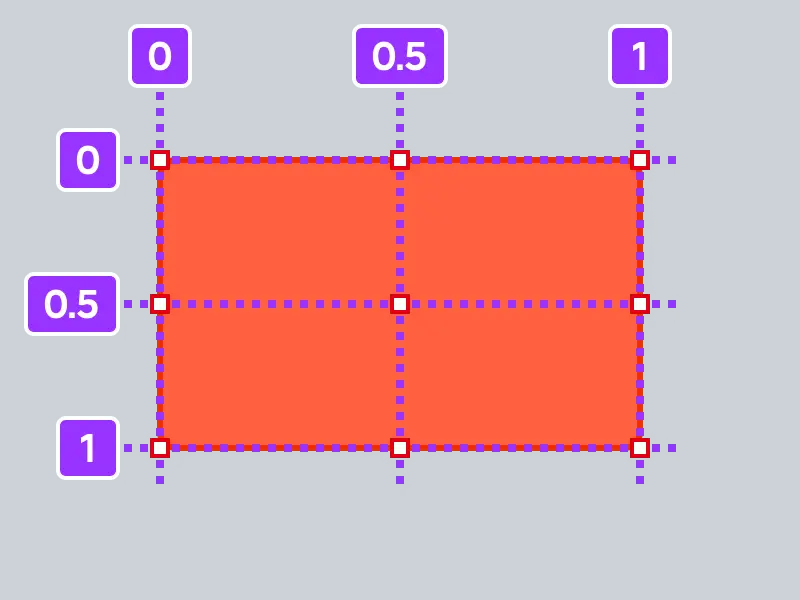
AnchorPoint defines the origin point on the object itself that Position and Size are measured from. It's a Vector2 with values from 0 to 1, relative to the object's own size. The default is (0, 0) — the top-left corner — which is exactly why your "centered" frame isn't centered. Set AnchorPoint to (0.5, 0.5) and now the object's middle is the origin point:
frame.AnchorPoint = Vector2.new(0.5, 0.5)      -- origin is the frame's own center
frame.Position    = UDim2.fromScale(0.5, 0.5)  -- now genuinely centered
The rule of thumb: the AnchorPoint value and the Scale position should usually match for clean alignment. Pinning something to the bottom-right corner of the screen? AnchorPoint (1, 1), Position UDim2.fromScale(1, 1). Top-right HUD element? AnchorPoint (1, 0), Position UDim2.fromScale(1, 0). Match the anchor to the corner you're pinning to and elements stop drifting off-screen at the edges.
Layering with ZIndex
When two GuiObjects overlap, which one wins? ZIndex decides the render order. Higher ZIndex draws on top of lower. By default, the ZIndexBehavior on a container like ScreenGui renders children above their parents, and each child's ZIndex sorts it against its siblings.
You'll care about this the moment you build a popup. A confirmation dialog needs to sit above the rest of the HUD, so you bump its ZIndex up so nothing behind it bleeds through. A dimmed background overlay behind the popup gets a ZIndex between the HUD and the dialog. Most of the time you can ignore ZIndex entirely and let sibling order handle it — but when something is stubbornly rendering behind something else, ZIndex is the first property to check.
Building your first button, step by step
Enough theory — build a working button. In the Explorer:
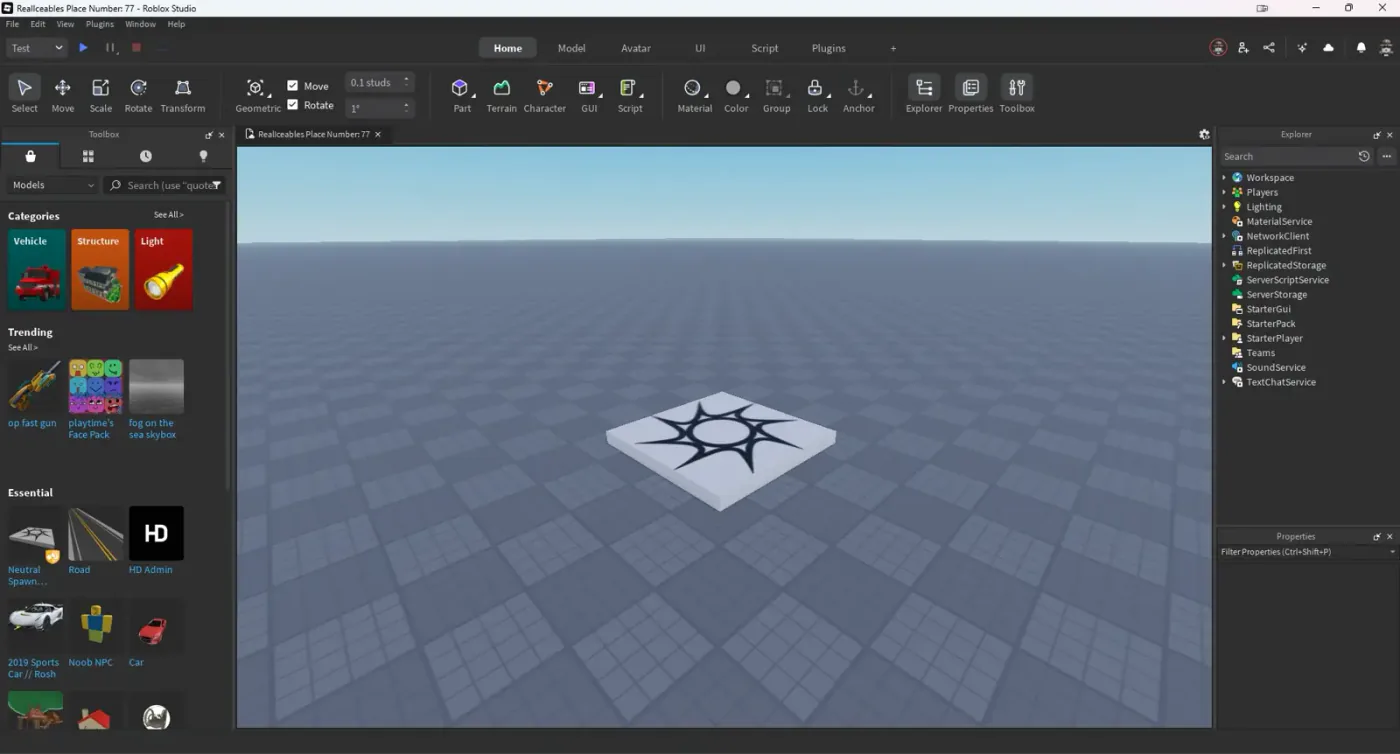
- Insert a ScreenGui into StarterGui (hover StarterGui, click the +).
- Insert a TextButton into that ScreenGui.
- Select the button and, in Properties, set AnchorPoint to
0.5, 0.5and Position to{0.5, 0}, {0.5, 0}(that's Studio's notation for Scale 0.5 / Offset 0 on each axis). It's now centered. - Set Size to something like
{0.2, 0}, {0.08, 0}— 20% of the screen wide, 8% tall — and type a label into the Text property.
Now make it do something. Insert a LocalScript into the TextButton and use the Activated event, which fires whether the player clicks with a mouse or taps on a touchscreen — one handler covers every platform:
local button = script.Parent  -- the TextButton this LocalScript lives in

button.Activated:Connect(function()
	print("Button was pressed!")
	button.Text = "Clicked!"
end)
Press Play and click it — the output prints and the label changes. That's the entire loop: build the object in StarterGui, position it with Scale + AnchorPoint, and wire behavior with Activated. When that button needs to affect the actual game — grant an item, spend currency, open a door — it can't just do it locally, because a LocalScript can't be trusted with real game state. That's where a RemoteEvent carries the request to the server, and the server validates it. UI is the front door; the server is the bouncer.
Making it work on every screen
Scale and AnchorPoint get you most of the way, but a few extra tools finish the job of a genuinely responsive interface:
- Layout objects. Instead of hand-placing every item, drop a
UIListLayoutorUIGridLayoutinto a Frame and it arranges the children for you automatically — perfect for inventory grids and menus where the item count changes. - Constraints. A
UIAspectRatioConstraintlocks a Frame to a fixed width-to-height ratio so it doesn't stretch into a weird rectangle on ultra-wide screens. AUITextSizeConstraintkeeps text from ballooning or vanishing. - TextScaled. Set a TextLabel or TextButton's
TextScaledto true and the text auto-sizes to fill its box — far more reliable across devices than a hardcoded font size. - Polish objects.
UICornerrounds corners,UIStrokeadds an outline,UIPaddingadds internal spacing. Small touches, big difference in whether your UI looks intentional.
Test on more than your monitor. Studio's Device Emulator (the phone icon in the toolbar) lets you preview your layout as a phone or tablet without leaving Studio — flip through a couple of device presets before you ship and you'll catch the off-screen-button disasters before your players do.
From here, UI is just repetition and taste. Once you can place a responsive panel and wire a button, you can build a full shop, an inventory, a settings menu — the pieces are identical, just more of them. If you're assembling a whole game around this, the how-to-make-a-Roblox-game walkthrough shows where UI fits in the bigger build, and a shop UI naturally leads into game passes and developer products once you're ready to sell something. New to the platform overall? The beginner's guide to Roblox covers the ground underneath all of this.
Quick Action Checklist
Ship UI that works on every device instead of just your monitor:
- Put every on-screen interface inside a ScreenGui, and parent that ScreenGui to StarterGui so it clones into each player's PlayerGui
- For a HUD that should survive death, set the ScreenGui's
ResetOnSpawnto false - Build from the four basics: Frame (container), label (display), button (action), TextBox (input) — nest related pieces in Frames
- Position and size with UDim2 — default to Scale (percentage of parent) so layouts adapt; use Offset (pixels) only for fixed details like borders
- Fix centering with AnchorPoint — set it to
(0.5, 0.5)and match the anchor value to whatever corner you're pinning to - Use ZIndex to push popups and dialogs above the rest of the UI
- Wire buttons with the
Activatedevent so one handler works for both mouse and touch - Route any button that changes real game state through a RemoteEvent to a server that validates it
- Add
UIListLayout/UIGridLayout,UIAspectRatioConstraint, andTextScaledfor responsiveness, then preview in the Device Emulator before shipping
Frequently Asked Questions
What is a ScreenGui in Roblox and where do I put it?
What is UDim2 in Roblox UI?
Why is my Roblox UI not centered even though I set Position to 0.5, 0.5?
What is the difference between Scale and Offset in Roblox?
How do I make a Roblox button run code when clicked?
Keep Reading
Related Guides
Roblox Early Testers and the New Publish Flow: What Changed
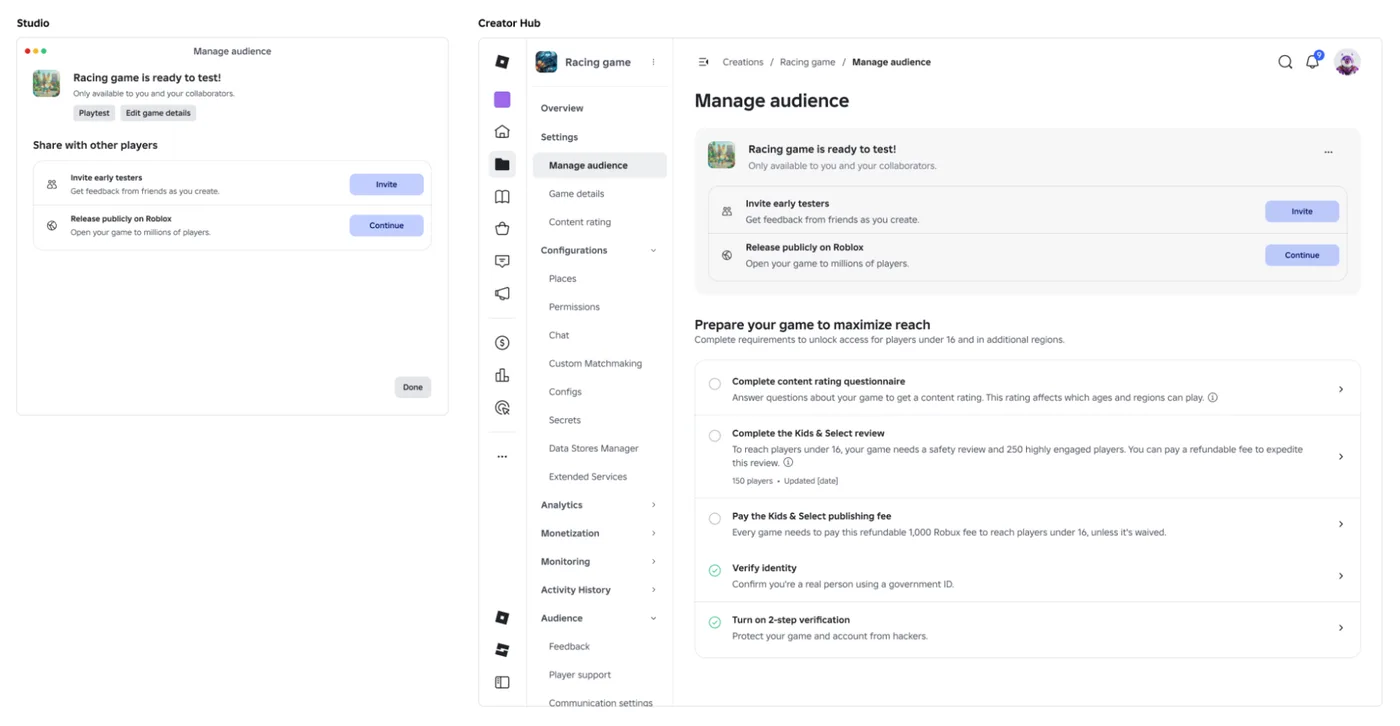
Since October 12, 2026, you can let up to 10 friends play your unreleased, unrated Roblox game, and Roblox is rolling out a path that lets a game with no age-restricted content reach age-checked players 16 and older by answering one question instead of the full questionnaire. Here is who can be an early tester, what replaced the Private and Limited audience settings, what the one question actually covers, and what still takes the long road to players under 16.
Roblox BadgeService Guide: Award, Check, Debug
Call AwardBadgeAsync on a player who isn't currently in your server and it fails one of five documented requirements — silently, the same way it fails for a disabled badge or a place outside the badge's own experience. Here is every BadgeService method, which four are dead, the rate limit two of them share despite a 10x difference in batch size, and the deprecated check that Roblox says will now always return true.
Roblox Luau Type Checking: nocheck, nonstrict, strict
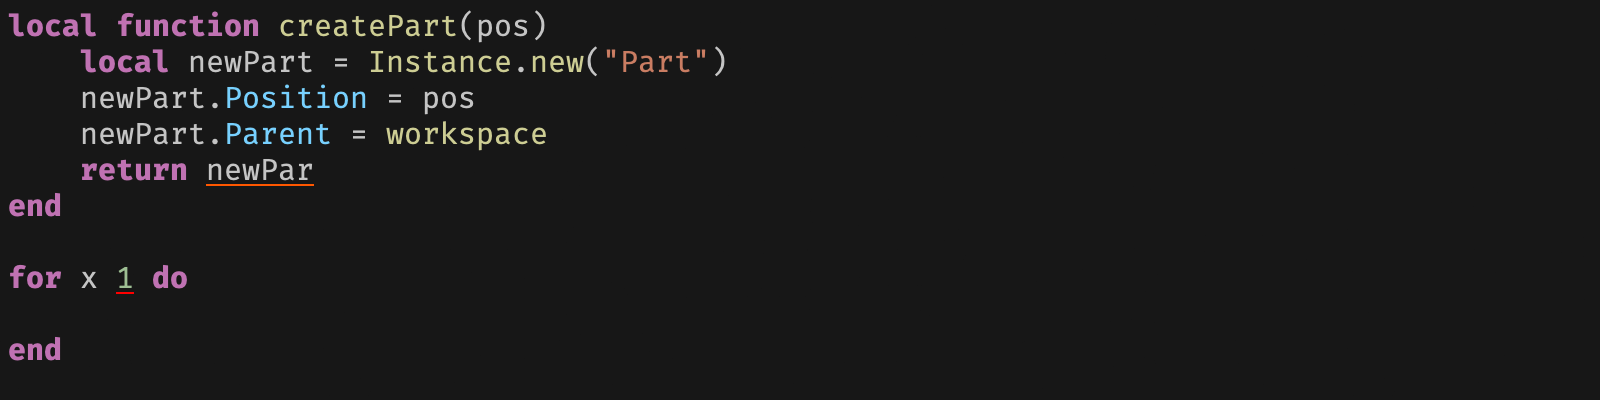
Roblox says every script used to default to no typechecking. That is no longer how it works: a Workspace property now sets the default mode, projects using only nocheck and nonstrict were moved to the New Type Solver automatically, and strict mode projects were not. Here is what each mode reports, what the new solver changed, and the annotation syntax that covers most code.
Roblox Text Filtering: FilterStringAsync Done Right
Chat is filtered for you. Pet names, sign text, shop names and anything you pull off an external API are not — and Roblox documents that it takes games down until filtering is added. Here is the actual API, the getter that is now dead, and the pattern that ships.
Best Roblox Games to Play in 2026
Roblox's front page is engagement bait. This is the filtered version: the games with real, sustained player counts and actual staying power, sorted by what you're in the mood for.
How to Get Robux Safely (Legit Ways + Scams to Avoid)
There is no free Robux generator. There never was. Here are the actual legit ways to get Robux without overpaying, the earning methods that really work, and the scams that exist purely to steal your account.