Roblox Raycasting Guide: Hitscan Guns, Ground Checks, and RaycastParams
Raycasting is the single most reusable tool in Roblox scripting. Guns, ground checks, lasers, interaction prompts, line-of-sight AI, wall detection — all the same function. Here's how workspace:Raycast actually works, how to filter it so your gun stops shooting the player holding it, and the mistakes that make rays silently miss.
Every serious Roblox game is held together by rays. The gun that fires the instant you click, the character that knows it's standing on ice, the NPC that stops chasing you when you duck behind a wall, the laser trap in an obby, the "press E" prompt that only appears when you're actually looking at the door — all of it is one function called with slightly different arguments.
That function is workspace:Raycast, and it replaced the old Ray.new / FindPartOnRay family years ago. If a tutorial you're following still uses workspace:FindPartOnRayWithIgnoreList, close the tab. It's deprecated, it's slower, and it will teach you habits you'll have to unlearn. Here's the modern version, end to end.
What a raycast actually is
A raycast fires an invisible line segment from a point, in a direction, for a set distance, and reports back the first thing it hit. Not everything along the way — the first thing. That's it. That's the whole concept.
Three inputs define it:
| Input | Type | What it means |
|---|---|---|
| Origin | Vector3 | The world position the ray starts from |
| Direction | Vector3 | Which way it points — and how far it travels |
| Params | RaycastParams | What it's allowed to hit (optional but you always want it) |
The part beginners miss constantly: direction encodes the distance. A direction of Vector3.new(0, -1, 0) casts down exactly one stud. If you want a 300-stud ray, you take a unit direction and multiply it: direction.Unit * 300. There is no separate "length" argument. Half the "my raycast doesn't work" posts on the DevForum are somebody casting a unit vector and wondering why nothing five studs away registers.
If any of the Luau syntax below looks unfamiliar, back up and run through Lua scripting basics first — raycasting assumes you're comfortable with variables, functions, and connecting events.
The one function you need: workspace:Raycast
local origin = Vector3.new(0, 10, 0)
local direction = Vector3.new(0, -1, 0) * 50 -- 50 studs straight down

local result = workspace:Raycast(origin, direction)

if result then
	print("Hit:", result.Instance.Name, "at", result.Position)
else
	print("Hit nothing within 50 studs")
end
workspace:Raycast() returns a RaycastResult if it hit something, and nil if it didn't. That nil is not an edge case — it's the normal outcome of shooting at the sky. Every raycast you ever write needs an if result then guard, or you'll be indexing nil and blowing up your script the first time a player aims upward.
A raycast is cheap. Roblox's engine is built to do a lot of them. Casting a handful every frame for a character controller is completely normal; casting a thousand every frame in a loop is not. Between those extremes you have plenty of room.
RaycastParams and the filter that saves your game
Fire a ray out of a player's gun with no params and it hits the player's own arm. Every time. RaycastParams is how you tell the engine what to ignore.
local params = RaycastParams.new()
params.FilterDescendantsInstances = { character }
params.FilterType = Enum.RaycastFilterType.Exclude
params.IgnoreWater = true

local result = workspace:Raycast(origin, direction, params)
The two properties that matter:
FilterDescendantsInstances— a table of instances. The ray applies your rule to those instances and everything inside them, which is why passing the whole character model works instead of listing every limb.FilterType— eitherEnum.RaycastFilterType.Exclude(ignore everything in that list) orEnum.RaycastFilterType.Include(hit only things in that list). These were renamed from Blacklist/Whitelist; if you see the old names in a tutorial, it's out of date.
Include is underrated. If you're building a ground check and you only care about a folder called "Terrain" or "Map", using Include with that folder is faster and far more predictable than trying to enumerate everything you don't want.
Two more params worth knowing:
IgnoreWater— set ittrueand the ray passes through Terrain water. Essential for a swimming or fishing system where you don't want the surface eating your shots.RespectCanCollide— defaults tofalse, which surprises people. By default a raycast will happily hit a part withCanCollideoff. Set ittrueand non-collidable parts become invisible to the ray.
Build your RaycastParams once and reuse it, updating
FilterDescendantsInstanceswhen the target set changes. Creating a fresh RaycastParams object inside a per-frame loop is the kind of small waste that adds up when sixty players are all firing.
There's also a per-part opt-out: setting a BasePart's CanQuery property to false makes it invisible to raycasts and spatial queries entirely, regardless of your filter. That's the clean way to handle decorative parts, hitbox helpers, and visual effects that should never block a shot — flip CanQuery off at build time and you never have to filter them at runtime.
Keeping your filter logic in one shared place instead of duplicating it in every weapon script is exactly the job ModuleScripts exist for.
Reading the RaycastResult
When the ray hits, you get an object with five useful fields:
| Property | Type | What you use it for |
|---|---|---|
Instance | BasePart or Terrain | What got hit — check its parent for a Humanoid |
Position | Vector3 | Exact world point of impact — spawn effects here |
Normal | Vector3 | The surface direction — orient bullet holes and decals with it |
Material | Enum.Material | Footstep sounds, impact particles, terrain type |
Distance | number | How far the hit was — damage falloff, range gating |
Normal is the one people ignore and then wonder why their bullet decals float sideways. It's a unit vector pointing straight out of the surface you hit. To stick a decal flat against a wall:
local decal = Instance.new("Part")
decal.Size = Vector3.new(0.6, 0.6, 0.05)
decal.Anchored = true
decal.CanCollide = false
decal.CanQuery = false
decal.CFrame = CFrame.lookAt(result.Position, result.Position + result.Normal)
decal.Parent = workspace
Material gives you texture-aware feedback almost for free — one lookup table mapping Enum.Material.Grass, Enum.Material.Metal, and friends to sounds, and suddenly your footsteps and impacts sell the world. Pair it with the techniques in the sound and music guide and you've got a system most games skip.
Building a hitscan gun the right way
Hitscan means the shot lands instantly rather than simulating a travelling projectile. It's a raycast plus damage.
The critical architecture point: the client fires, the server decides. A LocalScript computes where the player aimed and tells the server; the server re-runs the raycast and applies damage. If the client sends damage directly, you've built an exploiter's playground.
-- Server-side handler (inside a Script)
local Players = game:GetService("Players")
local ReplicatedStorage = game:GetService("ReplicatedStorage")
local fireEvent = ReplicatedStorage:WaitForChild("FireWeapon")

local MAX_RANGE = 300
local DAMAGE = 25

fireEvent.OnServerEvent:Connect(function(player, aimPoint)
	local character = player.Character
	if not character then return end
	local muzzle = character:FindFirstChild("HumanoidRootPart")
	if not muzzle then return end

	local origin = muzzle.Position
	local direction = (aimPoint - origin).Unit * MAX_RANGE

	local params = RaycastParams.new()
	params.FilterDescendantsInstances = { character }
	params.FilterType = Enum.RaycastFilterType.Exclude

	local result = workspace:Raycast(origin, direction, params)
	if not result then return end

	local hitModel = result.Instance:FindFirstAncestorOfClass("Model")
	local humanoid = hitModel and hitModel:FindFirstChildOfClass("Humanoid")
	if humanoid and humanoid.Health > 0 then
		humanoid:TakeDamage(DAMAGE)
	end
end)
Three things that script does on purpose:
- Recomputes origin from the server's copy of the character, so a client can't claim it shot from across the map.
- Uses
FindFirstAncestorOfClass("Model")instead ofresult.Instance.Parent, because accessories and welded hats sit deeper in the hierarchy than one level. - Uses
humanoid:TakeDamage()rather than subtracting fromHealthdirectly, so ForceField protection is respected.
You should still sanity-check the client's aimPoint — clamp the distance between origin and aim point to your weapon's range before trusting it. The pattern for wiring the client-to-server call is covered properly in the RemoteEvents guide; do not skip that part, because a badly-secured remote is how games get ruined.
Raycasting from the camera and the mouse
For a first-person or over-the-shoulder shooter you don't cast from the character — you cast from the camera through the crosshair.
-- LocalScript
local camera = workspace.CurrentCamera
local viewportSize = camera.ViewportSize

local screenRay = camera:ViewportPointToRay(viewportSize.X / 2, viewportSize.Y / 2)

local params = RaycastParams.new()
params.FilterDescendantsInstances = { game.Players.LocalPlayer.Character }
params.FilterType = Enum.RaycastFilterType.Exclude

local result = workspace:Raycast(screenRay.Origin, screenRay.Direction * 500, params)
local aimPoint = result and result.Position or (screenRay.Origin + screenRay.Direction * 500)
Camera:ViewportPointToRay(x, y) hands you a Ray with a .Origin and a unit .Direction — multiply that direction to set your range. Camera:ScreenPointToRay does the same thing but accounts for GUI inset, which matters when you're converting from mouse coordinates rather than raw viewport coordinates.
Note the fallback in that last line. When the ray hits nothing, you still want an aim point — the far end of the ray — otherwise your gun does nothing when the player shoots at open sky, which feels broken even though technically nothing was hit.
Ground checks, ledges, and line of sight
Combat is the flashy use. The quiet ones show up in every genre:
- Ground detection. Cast down 3-4 studs from the character's root. A hit means grounded;
nilmeans airborne. Readresult.Materialin the same call and you get surface-specific footsteps for free. - Ledge detection for NPCs. Cast down from a point slightly ahead of the NPC. No hit means a drop-off is coming, so turn. Combine it with a forward ray for wall detection and you've got a patroller that doesn't walk off roofs — a nice complement to proper pathfinding for the cases where a full path is overkill.
- Line of sight. Cast from the NPC's head to the player's head, excluding both characters. If the ray hits anything, a wall is between them, so break aggro. This single check turns dumb chase AI into something that feels like stealth.
- Interaction prompts. Cast a short ray from the camera each frame and show a prompt only when
result.Instancehas a tag or attribute you care about. It's how you stop players opening doors through walls. - Placement systems. Cast from the mouse to the ground and snap a model to
result.Position, orienting it withresult.Normalso it sits flush on slopes. Every tycoon and base-builder does this.
Shapecasts, when a line isn't enough
A ray is infinitely thin, which makes it great at precision and terrible at approximating anything with volume. A grenade, a shoulder-check, a fat projectile — those want a shapecast: the same query, but sweeping a solid shape along the path.
-- Sweep a 4x4x4 box forward 60 studs
local result = workspace:Blockcast(
	CFrame.new(origin),
	Vector3.new(4, 4, 4),
	direction.Unit * 60,
	params
)
The family is workspace:Blockcast (a box), workspace:Spherecast (a sphere), and workspace:Shapecast (uses an existing part's shape). They take the same RaycastParams and return the same RaycastResult, so everything you learned above transfers directly.
For "what's inside this area right now" rather than "what's along this path", you want the spatial queries instead: workspace:GetPartBoundsInBox, workspace:GetPartBoundsInRadius, and workspace:GetPartsInPart. Explosion radii and trigger zones belong there, not in a raycast.
The five mistakes that break raycasts
1. Forgetting the direction is the distance. Vector3.new(0, 0, -1) casts one stud. Multiply your unit vector by the range you actually want. This is the number one cause of "my raycast returns nil for no reason."
2. Not filtering out the shooter. Your gun hits your own torso, damage never reaches the target, and the ray reports a distance of about zero. Always pass the character in FilterDescendantsInstances with Exclude.
3. Assuming a result exists. result.Position on a nil result throws an error and kills the rest of the function. Guard every single call.
4. Casting from inside geometry. If your muzzle attachment sits a hair inside the gun model, and the gun isn't filtered out, the ray hits the gun instantly. Filter the tool along with the character, or start the ray just outside it.
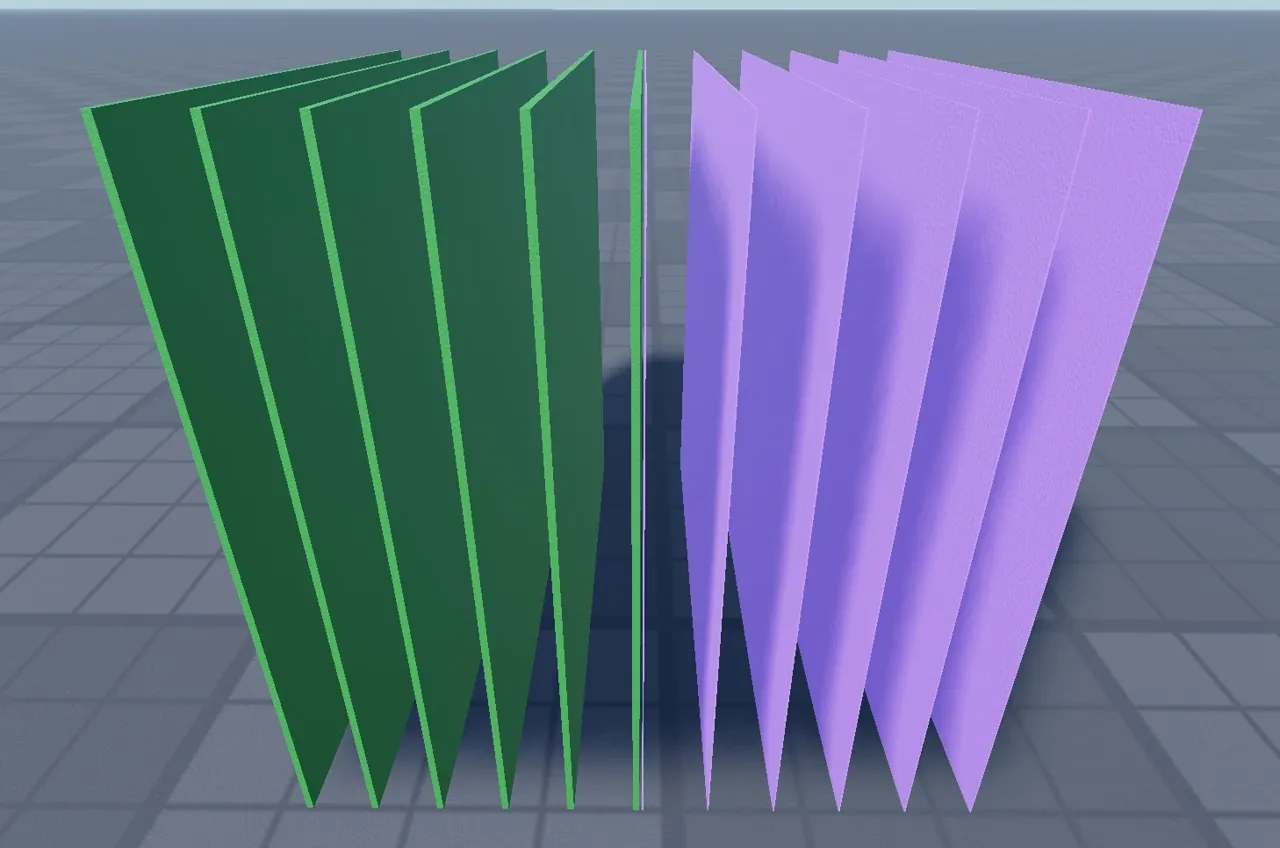
5. Expecting a ray to notice thin or fast-moving geometry it never crosses. A ray only reports what its line segment intersects. A 0.05-stud-thick part that the segment misses by a hair is simply not hit, and a target moving fast between frames can slip past a once-per-frame cast entirely. When precision matters more than the volume, add a second offset ray or switch to a shapecast.
A sixth honorable mention: raycasts ignore anything with CanQuery set to false, and by default they do hit parts with CanCollide off. If a ray is passing through something it should hit, check CanQuery before you rewrite your filter. If it's stopping on something invisible, check for a leftover hitbox part.
Want to see what all this looks like at scale? The genre leaders in our best Roblox FPS games roundup are essentially elaborate raycast systems with art on top, and getting comfortable in Roblox Studio is the prerequisite for building any of it.
Quick Action Checklist
- Use
workspace:Raycast(origin, direction, params)— never the deprecatedFindPartOnRayfamily - Multiply your unit direction by the range you want; direction is distance
- Create RaycastParams once, reuse it, and update the filter list instead of rebuilding
- Exclude the shooter's character and tool from every combat ray
- Guard every result with
if result thenbefore reading its properties - Use
result.Normalto orient decals andresult.Materialfor surface-aware audio - Fire on the client, validate and re-cast on the server, damage with
humanoid:TakeDamage() - Set
CanQuery = falseon decorative parts and effects so they never block a shot - Reach for
Blockcast/Spherecastwhen the thing you're simulating has volume - Visualize a ray with a thin anchored part while debugging — seeing it beats guessing
Frequently Asked Questions
How do I raycast in Roblox?
Why does my Roblox raycast return nil?
What is RaycastParams used for?
Why is my gun shooting the player who fired it?
Should raycasts run on the client or the server?
What is the difference between a raycast and a shapecast?
How do I make bullet holes face the right way?
Are Roblox raycasts expensive for performance?
Keep Reading
Related Guides
Roblox BadgeService Guide: Award, Check, Debug
Call AwardBadgeAsync on a player who isn't currently in your server and it fails one of five documented requirements — silently, the same way it fails for a disabled badge or a place outside the badge's own experience. Here is every BadgeService method, which four are dead, the rate limit two of them share despite a 10x difference in batch size, and the deprecated check that Roblox says will now always return true.
Roblox Luau Type Checking: nocheck, nonstrict, strict
Roblox says every script used to default to no typechecking. That is no longer how it works: a Workspace property now sets the default mode, projects using only nocheck and nonstrict were moved to the New Type Solver automatically, and strict mode projects were not. Here is what each mode reports, what the new solver changed, and the annotation syntax that covers most code.
Roblox Text Filtering: FilterStringAsync Done Right
Chat is filtered for you. Pet names, sign text, shop names and anything you pull off an external API are not — and Roblox documents that it takes games down until filtering is added. Here is the actual API, the getter that is now dead, and the pattern that ships.
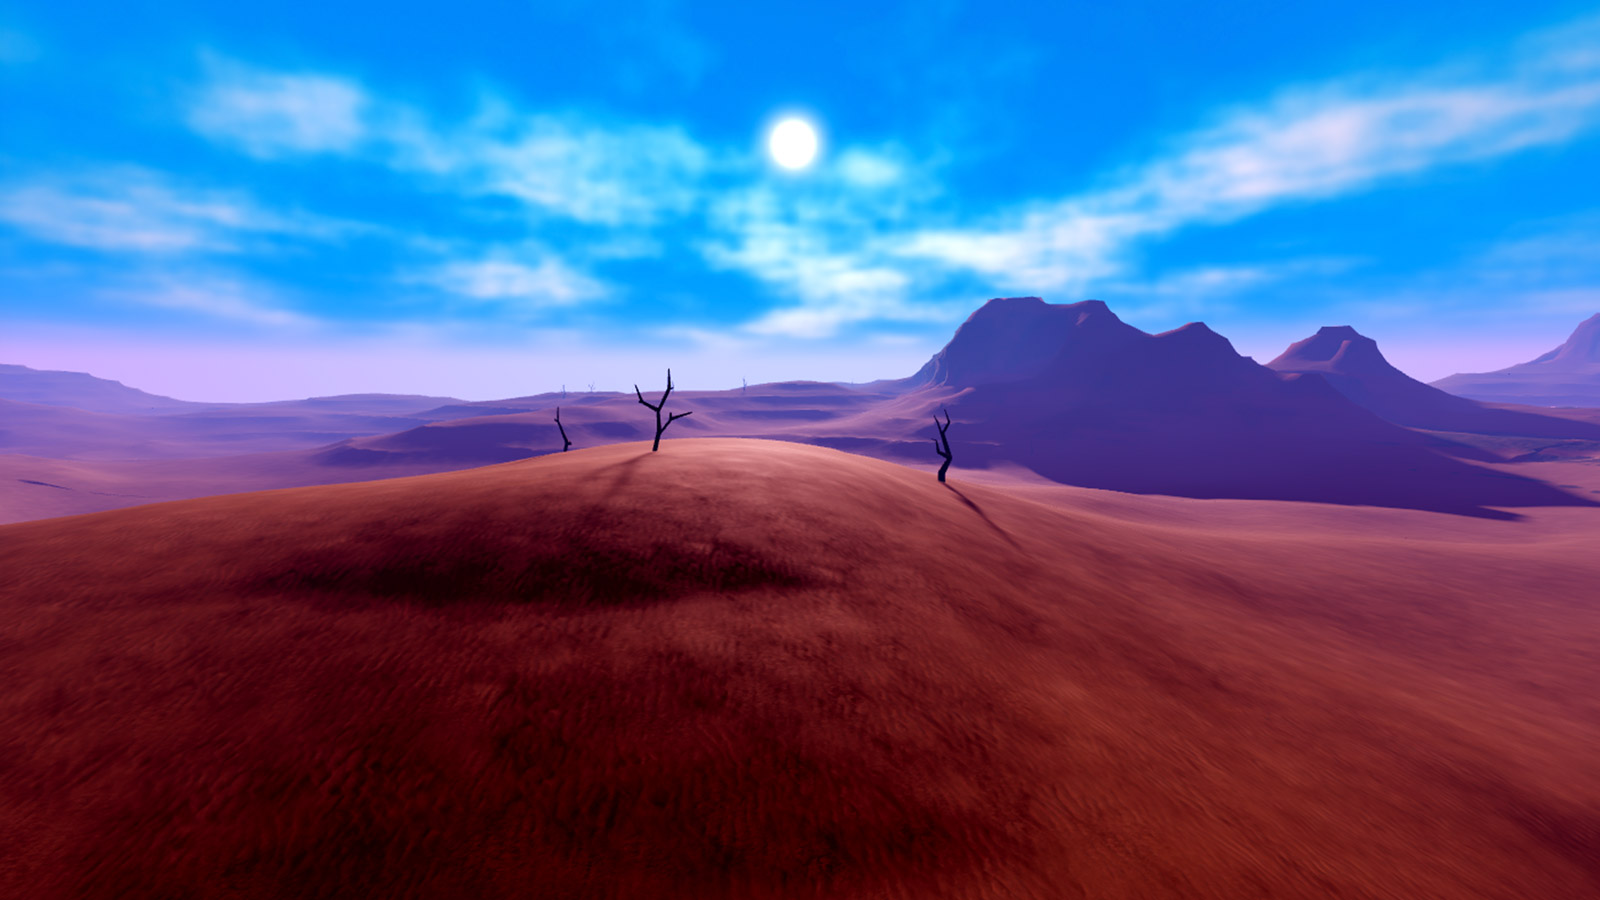
Roblox Terrain Editor: Build a World in Minutes
Terrain is the fastest way to turn an empty baseplate into somewhere worth standing. Generate makes a mountain range in one click, the brush tools carve it into a level, and none of it requires a single mesh.
Best Roblox Games to Play in 2026
Roblox's front page is engagement bait. This is the filtered version: the games with real, sustained player counts and actual staying power, sorted by what you're in the mood for.
How to Get Robux Safely (Legit Ways + Scams to Avoid)
There is no free Robux generator. There never was. Here are the actual legit ways to get Robux without overpaying, the earning methods that really work, and the scams that exist purely to steal your account.