Roblox Game Passes vs Developer Products: A Creator Setup Guide
One of these you buy once and own forever; the other you can buy a hundred times in an afternoon. Pick the wrong one and you either leave money on the table or accidentally build a subscription. Here's exactly how to create both, prompt the purchase, and — the part everyone botches — grant repeatable buys server-side without double-paying your players.
You can lose a real chunk of your game's lifetime revenue with one wrong toggle in a menu, and most new Roblox developers do it without ever noticing. They wrap a repeatable purchase — a currency refill, a revive, a booster — in a Game Pass, because a Game Pass was the first monetization thing they learned. A Game Pass sells to each player exactly once. So the whale who would have happily bought fifty revives buys one perk, and forty-nine sales evaporate into a design mistake.
That's the whole reason this guide exists. Game Passes and developer products look almost identical in the Creator Hub — same icon uploader, same price box, same Robux — but they are built for opposite jobs, and the scripting behind them is completely different. One is tracked by Roblox forever; the other you have to grant yourself, correctly, or you'll either double-charge players or fail to give them what they paid for. Let's set up both properly.
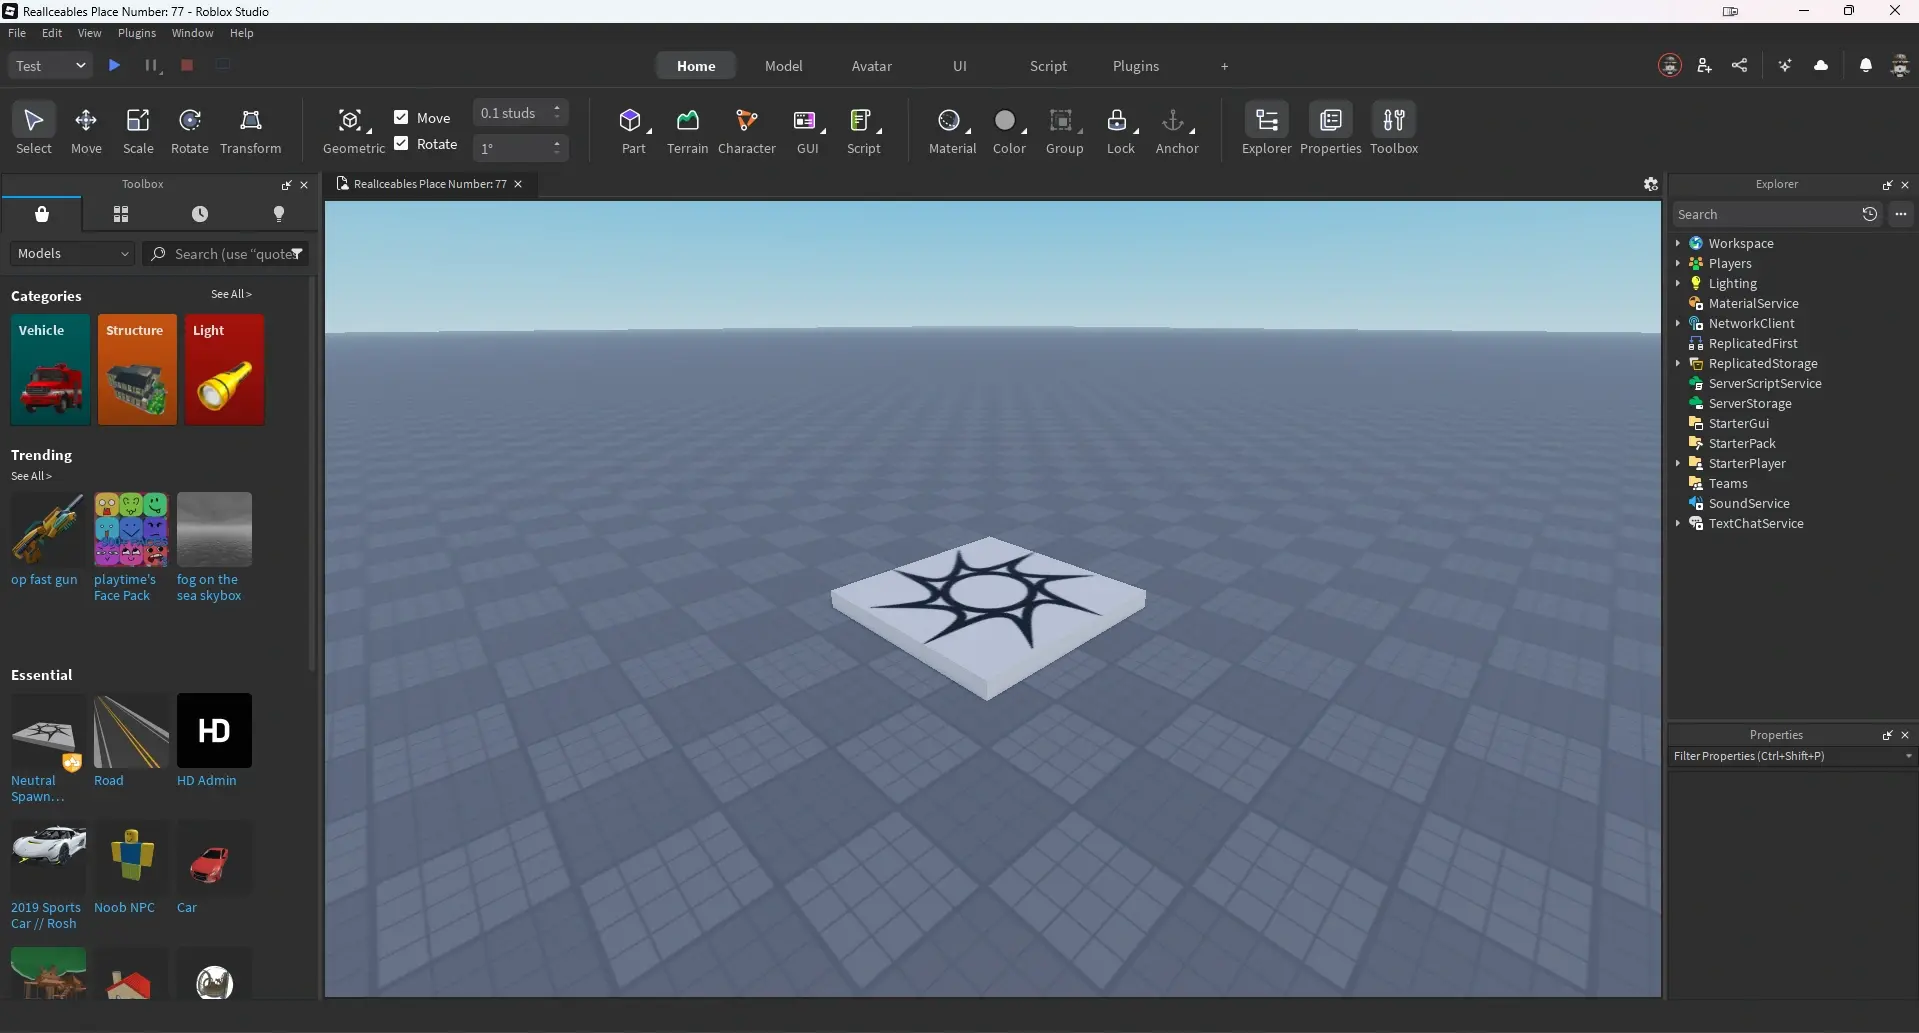
If you haven't published a place yet, do that first — you can't attach monetization to a game that doesn't exist on Roblox. Our Roblox Studio basics walkthrough gets you from a blank baseplate to a published experience, and how to make a Roblox game covers the full loop if you're starting from zero.
The one decision that defines your store
Before you touch a single menu, answer one question about every single thing you want to sell: can a player plausibly want to buy this more than once?
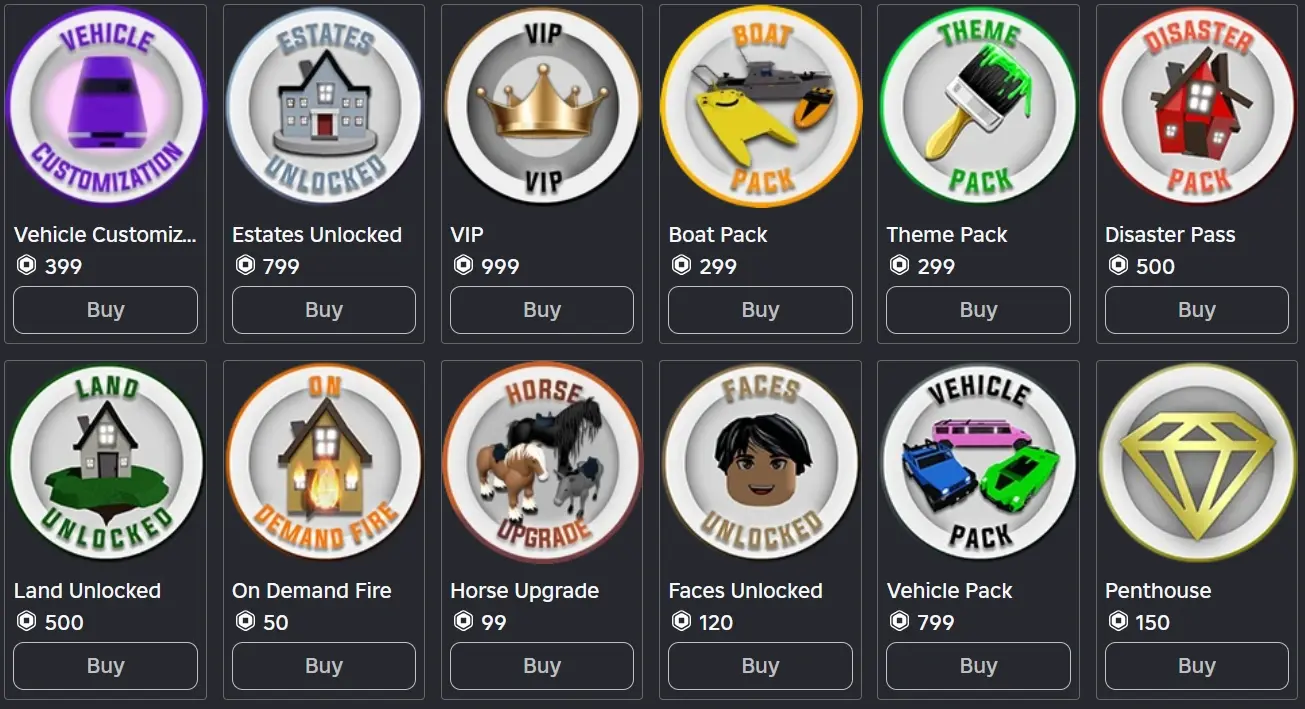
If the answer is no — it's a permanent unlock, a one-and-done perk, a status thing they own forever — it's a Game Pass. VIP access, a permanent 2x-walkspeed boost, a golden nametag, a skip-the-tutorial unlock. Buy once, own forever, done.
If the answer is yes — they'll come back and buy it again — it's a developer product. In-game coins, a revive after they die, a stack of consumables, a temporary boost that expires. These are the purchases that actually scale, because the same happy player can buy them over and over.
That's the entire framework. Get it right and everything downstream — the scripting, the pricing, the testing — falls into place. Get it wrong and no amount of clever code fixes the fact that you capped your best customers at one sale.
Game Pass vs developer product at a glance
| Game Pass | Developer product | |
|---|---|---|
| Buy frequency | Once per account | Unlimited, repeatable |
| Best for | VIP, permanent perks, cosmetics | Currency, revives, consumables |
| Ownership tracked by | Roblox, automatically | Your script, per transaction |
| Prompt method | PromptGamePassPurchase | PromptProductPurchase |
| Grant logic | Check ownership on join | ProcessReceipt callback |
| Managed under | Monetization then Passes | Monetization then Developer Products |
The two rows that matter most are the ones about ownership and grant logic. A Game Pass is a possession — Roblox remembers that the player owns pass ID 12345 forever, and you just ask "do they own it?" whenever you need to know. A developer product is an event — a one-time transaction that fires, you react to it once, and Roblox does not remember anything about it afterward. That difference is why the developer-product side needs a lot more care.
Creating a Game Pass
Game Passes are the easier of the two, and as of now they're free to create — you don't spend Robux to publish one. Here's the full path.
Step 1: make the pass in the Creator Hub
Head to the Creator Hub dashboard (the Creations area), open your experience, and go to Monetization, then Passes. Click Create a Pass. Upload an icon — Roblox wants a square image up to 512 by 512 pixels, and the display is circular, so keep the important art centered. Give it a name and a description that says exactly what the player gets, then create it.
Once it exists, open its settings, flip the Item for Sale toggle on, and set a price. The allowed range is enormous — anywhere from 1 to 1,000,000,000 Robux — but that's a ceiling, not a suggestion. We'll talk real pricing later. Last thing: grab the pass ID. Hover the pass, open the three-dot menu, and copy the asset ID. That number is what your scripts reference, so paste it somewhere safe.
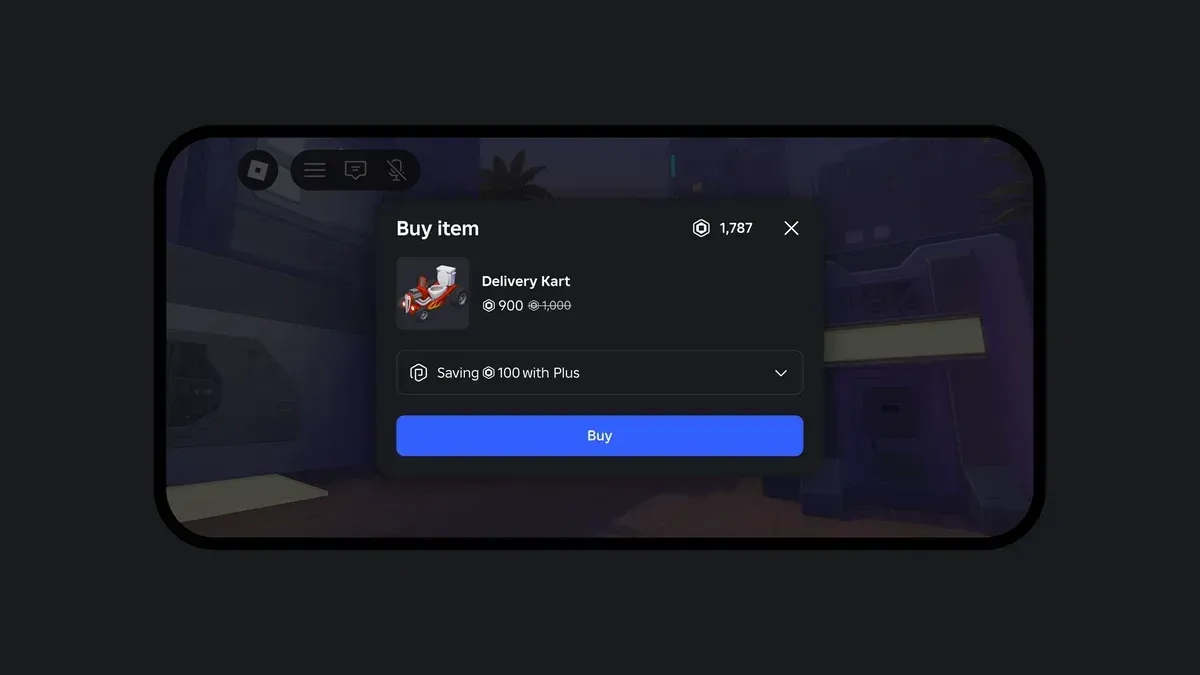
Step 2: prompt the purchase
To actually sell the pass in-game, you fire a prompt. This runs through MarketplaceService, Roblox's built-in service for every in-experience transaction. From a LocalScript on the client, call PromptGamePassPurchase, passing it the player and your pass ID. Roblox pops the official purchase dialog. If the player already owns the pass, the prompt is smart enough not to charge them again — it just won't show a redundant buy screen.
A clean pattern is to also call GetProductInfo first, with the pass ID and Enum.InfoType.GamePass, so you can show the live name, price, and whether it's currently for sale before you prompt. Never hardcode the price into your UI text; pull it from GetProductInfo so it stays accurate if you change it later.
Step 3: check ownership server-side
This is the part people skip, and it's the part that matters. Ownership checks belong on the server, not the client. A LocalScript runs on the player's own machine, and a determined exploiter can lie to it. If your VIP door checks ownership in a LocalScript, someone will walk through it without paying.
Do it in a Script in ServerScriptService instead. Call UserOwnsGamePassAsync with the player's user ID and the pass ID; it returns true or false. Run that check when the player joins, and again whenever the perk actually matters — opening the VIP door, applying the speed boost, showing the golden nametag. Because it makes a web request, wrap it so a failed call doesn't crash your game; if the check errors, treat the player as not owning it rather than accidentally handing out the perk for free.
There's also a PromptGamePassPurchaseFinished event you can listen to, which fires with the player, the pass ID, and whether the purchase succeeded — handy for granting the perk the instant someone buys mid-session instead of making them rejoin. If any of the scripting terms here are new, our Roblox Lua scripting basics guide covers services, events, and client-versus-server before you wire up money.
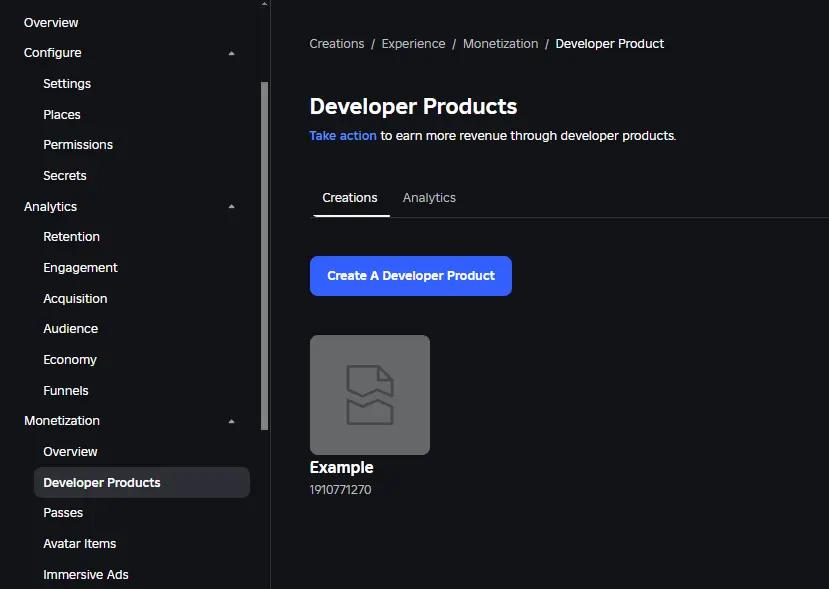
Creating a developer product
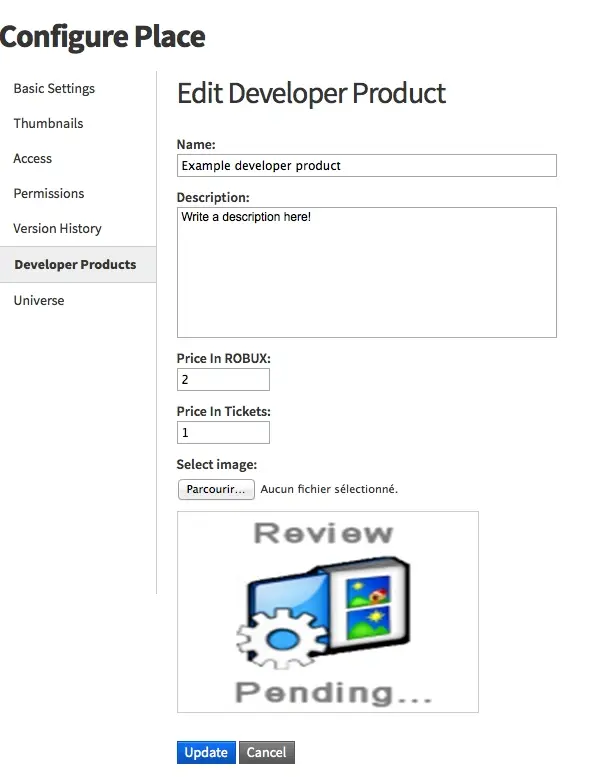
Developer products start the same way — Creator Hub, your experience, Monetization, then Developer Products, then Create a Developer Product. Same 512-by-512 icon, same name and description, same 1-to-1-billion price range. Create it, then copy its product ID. So far, identical to a pass.
The prompt is nearly identical too: from a LocalScript, call PromptProductPurchase with the player and the product ID, and again it's good practice to check GetProductInfo with Enum.InfoType.Product first to confirm it's for sale. That's where the similarity ends. Because a developer product is repeatable, Roblox does not remember that anyone bought it. It hands you the transaction exactly once and expects you to do something with it. That "something" lives in one specific place.
The ProcessReceipt callback, where it all lives
Every developer product purchase in your entire game funnels through a single function: MarketplaceService.ProcessReceipt. You set it once, in a Script in ServerScriptService, and Roblox calls it every time a purchase needs to be granted. You do not get one per product — it's one callback for all of them, and you branch inside it based on which product ID came through.
When a purchase happens, Roblox calls your ProcessReceipt with a receipt table. The three fields you care about are PlayerId (who bought it), ProductId (what they bought), and PurchaseId (a unique ID for this exact transaction). Your job inside the callback: figure out which product it was, find the player, grant the reward — add the coins, give the revive, whatever the product is — and then return a decision.
Here's the critical bit. You return Enum.ProductPurchaseDecision.PurchaseGranted only after you've successfully handed over the goods. That return value is you telling Roblox "I've got it, you can finalize the charge." If something goes wrong — the player left, your data save failed, anything — you return Enum.ProductPurchaseDecision.NotProcessedYet instead, and Roblox will call ProcessReceipt again for that same purchase later (often on the player's next join). It keeps retrying until you confirm PurchaseGranted, which is Roblox's way of making sure a player who paid always eventually gets their stuff.
The double-grant trap
Now the flip side of that retry behavior, and the single most important thing in this whole guide: Roblox can call ProcessReceipt more than once for the same purchase. Network hiccups, server restarts, the retry logic itself — the same PurchaseId can come through twice. If your callback naively grants coins every time it fires, a player who buys 100 coins once can end up with 200, or 300, and now your economy leaks.
The fix is idempotency, which is a fancy word for "granting the same purchase twice has the same result as granting it once." You do it by remembering every PurchaseId you've already fulfilled. Before granting, check whether you've seen this PurchaseId; if you have, skip the grant and just return PurchaseGranted again. If you haven't, grant it, record the PurchaseId, then return PurchaseGranted. Store that record in a DataStore so it survives server restarts — a purchase completed on one server needs to be remembered on the next.
This is exactly why the ProcessReceipt handler and your saving system are joined at the hip. Our Roblox DataStore saving guide covers the persistence side properly, including the ordered-save and error-handling patterns you want wrapping anything that touches real purchases. Do not ship a developer product without a working save layer behind it — an unsaved grant is a support ticket waiting to happen.
Pricing and what you actually keep
A quick reality check before you set prices, because the number a player pays is not the number you receive. Roblox takes a cut of every transaction to run the servers, payments, moderation, and discovery — and on the Marketplace, the developer's share works out to roughly 30% of what's spent. So a 100-Robux purchase nets you somewhere in the neighborhood of 30 earned Robux, and that earned Robux is what eventually converts to real money through DevEx.
That two-layer haircut — the platform cut, then the DevEx conversion — is the whole reason you model revenue on what you keep, never on gross Robux. The full breakdown, including the DevEx rate and cash-out minimum, lives in our Roblox DevEx and monetization guide. For setting prices in practice: lead with developer products for anything repeatable, because that's where scaling revenue comes from, and price them so a casual player doesn't flinch. Gouging tanks retention, and on Roblox retention is the algorithm — a game people keep playing gets pushed to more players, which is worth far more than squeezing an extra 50 Robux out of the ones you have. Confirm the current fee split and any changes on Roblox's official Creator docs before you build a spreadsheet on it.
Testing before you charge real Robux
Do not learn that your ProcessReceipt double-grants by watching it happen to real players. Test it in Studio first. When you play-test an experience you own, developer product purchases run in a test mode — you can trigger the prompt and walk your grant logic without actually spending Robux, so you can confirm the right reward lands and, crucially, that buying twice gives the right amount and not double.
Deliberately try to break it. Buy the same product rapidly. Force a failure — leave mid-purchase, or simulate a save error — and confirm you return NotProcessedYet and that the player gets their reward on the retry instead of losing money. Check that a Game Pass perk actually gates on the server by testing with an account that doesn't own it. The purchases that survive you actively trying to exploit them are the ones that survive real players trying to. Once you're confident, publish, and only then flip the for-sale toggles on. When you're ready to see how the earning side pays out end to end, the DevEx guide closes the loop, and how to get Robux safely is the one to hand players who ask how to actually buy what you're selling.
Quick Action Checklist
- Sort every item first: buy-once means Game Pass, buy-again means developer product. Get this right before you build anything.
- Publish your place before adding monetization — you can't attach a pass or product to an unpublished game.
- Create passes and products under Monetization in the Creator Hub, upload a 512-by-512 icon, set a price, and copy the asset/product ID.
- Prompt purchases with PromptGamePassPurchase or PromptProductPurchase from a LocalScript, pulling live info from GetProductInfo.
- Check Game Pass ownership on the server with UserOwnsGamePassAsync — never trust a client-side check for anything that gates a perk.
- Handle developer products in one ProcessReceipt callback in ServerScriptService; return PurchaseGranted only after the reward lands, NotProcessedYet if anything fails.
- Make grants idempotent by recording each PurchaseId in a DataStore so retries never double-pay a player.
- Test in Studio and actively try to break your grant logic before you ever flip the for-sale toggle on.
- Price on what you keep — roughly 30% of gross after the platform cut — and lead with repeatable products for revenue that scales.
Frequently Asked Questions
Keep Reading
Related Guides
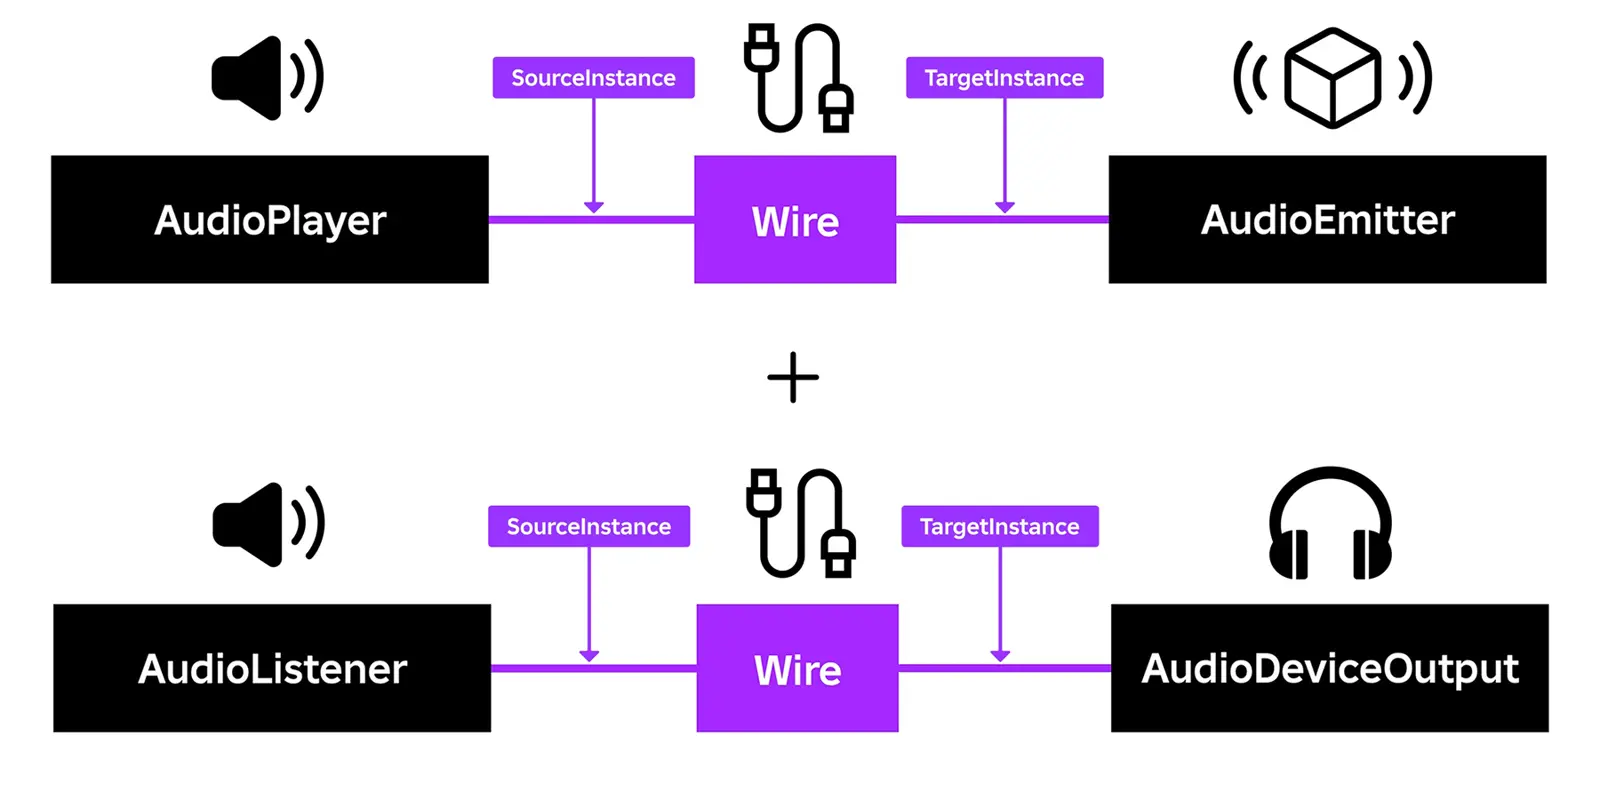
Roblox Sound & Music Guide: Audio That Sounds Professional
Audio is the fastest way to make a Roblox game feel finished and the fastest way to make it feel cheap. Here is the full stack: where to parent a Sound, how rolloff actually works, how to mix with SoundGroups, and what the modular AudioPlayer objects change.
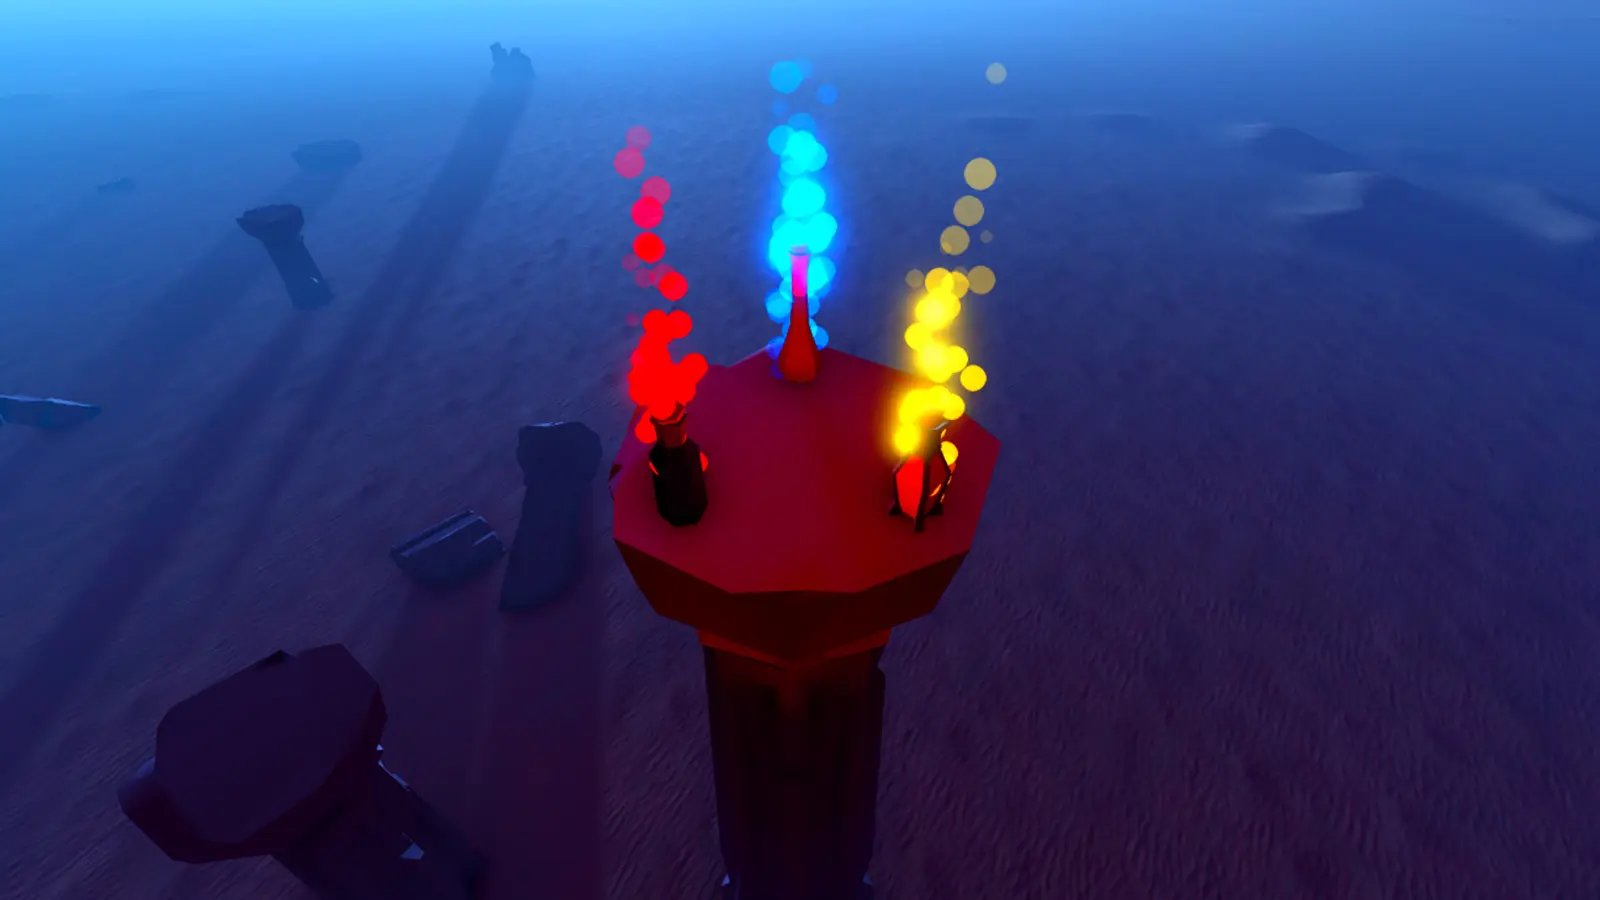
Roblox Particle Effects Guide: Emitters, Beams & Trails
A game without particles reads as unfinished no matter how good the build is. ParticleEmitter, Beam, and Trail are the three effect classes that add fire, magic, dust, and speed lines — and none of them need a single line of code to start.

Roblox PathfindingService: NPCs That Actually Navigate
Every bad Roblox NPC has the same tell: it walks straight at you until a wall stops it, then vibrates. PathfindingService fixes that in four steps — CreatePath, ComputeAsync, GetWaypoints, MoveTo — and the agent parameters are where the whole thing lives or dies.

Roblox Lighting & Atmosphere: Make Your Game Look Good
The gap between a gray-box prototype and a game that looks shippable is mostly the Lighting service. ClockTime, Atmosphere haze, and a two-effect post-processing stack will do more for your game in ten minutes than a week of extra building.
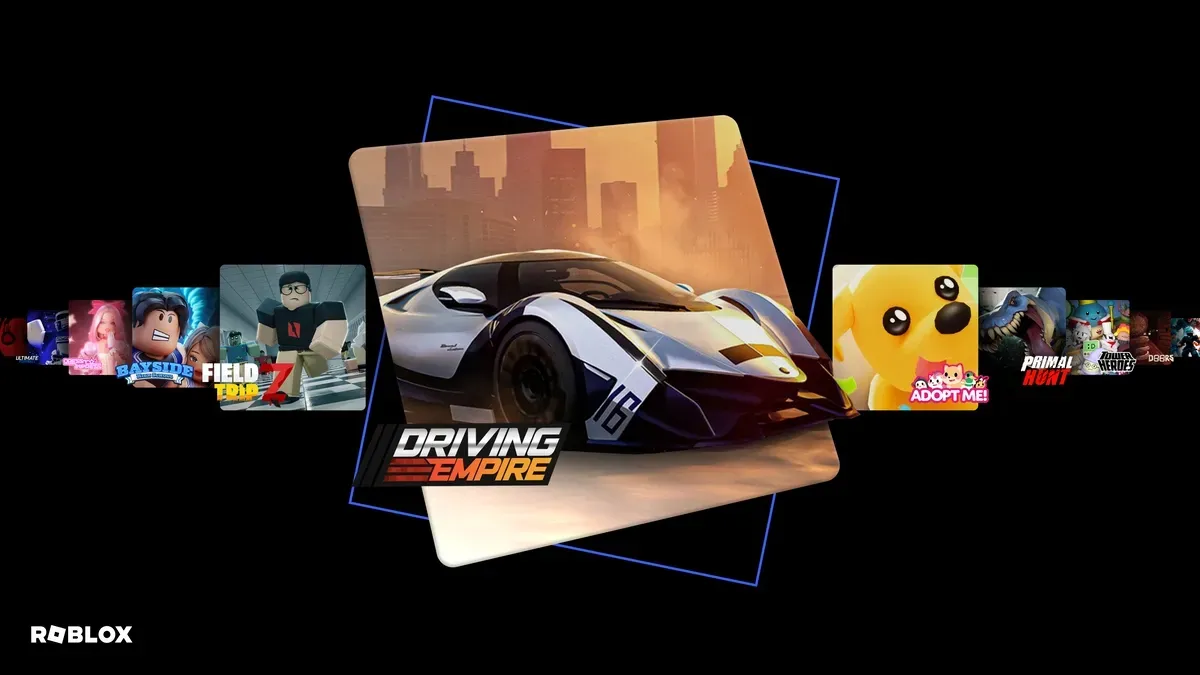
Best Roblox Games to Play in 2026
Roblox's front page is engagement bait. This is the filtered version: the games with real, sustained player counts and actual staying power, sorted by what you're in the mood for.
How to Get Robux Safely (Legit Ways + Scams to Avoid)
There is no free Robux generator. There never was. Here are the actual legit ways to get Robux without overpaying, the earning methods that really work, and the scams that exist purely to steal your account.