Roblox Lighting & Atmosphere: Make Your Game Look Good
The gap between a gray-box prototype and a game that looks shippable is mostly the Lighting service. ClockTime, Atmosphere haze, and a two-effect post-processing stack will do more for your game in ten minutes than a week of extra building.
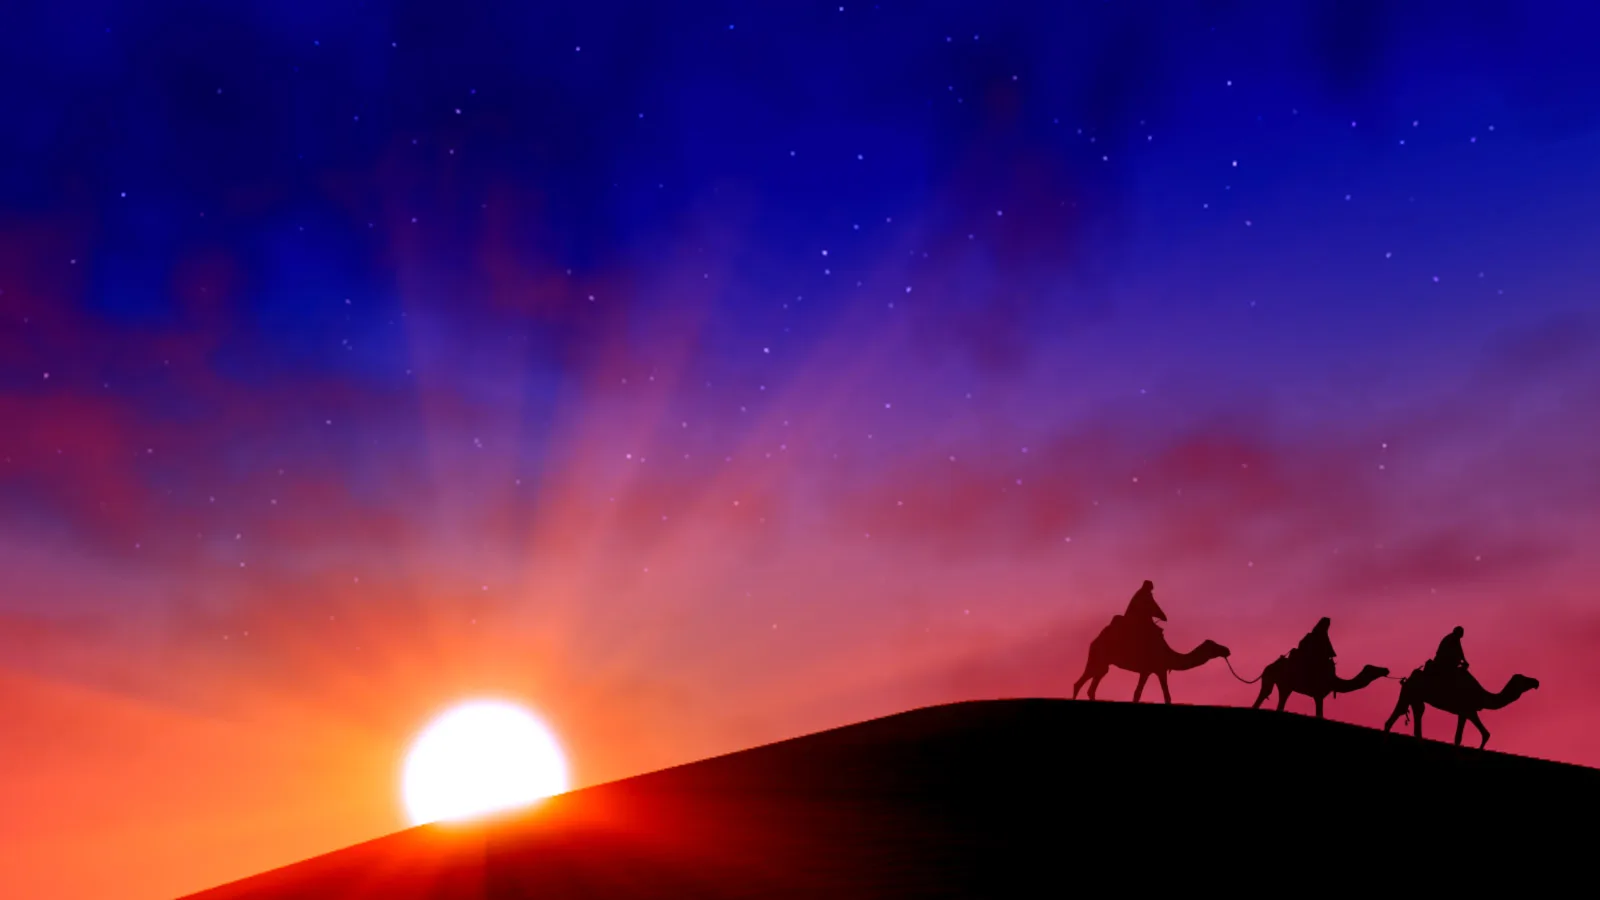
Load your work-in-progress game next to any front-page experience and the gap that stings isn't the build quality — it's that theirs looks lit and yours looks like noon in a parking lot. Here's the uncomfortable truth: most of that gap has nothing to do with modeling skill. It's maybe ten properties on the Lighting service, one Atmosphere object, and two or three post-processing effects, and every one of them is free, built into the engine, and adjustable in the Properties panel without writing a line of code.
Default Roblox lighting is deliberately neutral: sun overhead, flat white light, zero haze, zero grading. Neutral is great for building and terrible for shipping. This guide walks the entire visual stack — the Lighting service's property groups, the Atmosphere object, and all six post-processing effects — with the actual property names and behaviors verified against the official Creator Documentation. If you can find your way around Studio, you can do everything here this afternoon.
Lighting is the cheapest graphics upgrade you're not using
Think about what a mood actually costs in other disciplines. Better models? Hours per asset. Custom textures? A whole skill tree. Lighting? You click the Lighting service in the Explorer and drag some sliders while looking at the viewport. The feedback loop is instant and the blast radius is your entire game — every part, every terrain cell, every player character inherits the change simultaneously.
That leverage is why lighting-first polish is standard practice in big-budget studios, and why the best horror games on the platform are, mechanically speaking, often simpler than a tycoon — their entire threat is manufactured by darkness, fog, and a flashlight cone. The mood is the content. You don't need to be making horror to steal the technique.
One mindset shift before the properties: stop thinking "realistic" and start thinking "legible." Good game lighting makes the important thing readable — the path, the exit, the item — and lets everything else fall away. Every property below is a tool for that job.
The Lighting service: five property groups
The official docs sort the Lighting service's properties into five categories: Color, Intensity, Shadows, Appearance, and Environment. You'll touch all five, so here's the tour in the order that actually matters.
Time of day and the sun
ClockTime and TimeOfDay are the same dial with two labels — ClockTime is a number from 0 through 24, TimeOfDay is a 24-hour string, and changing one updates the other. This is the single highest-impact property in the entire engine. The default midday sun is the most boring lighting angle that exists; drag ClockTime to roughly 6.3 or 17 and you get golden hour — long shadows, warm tones, instant drama.
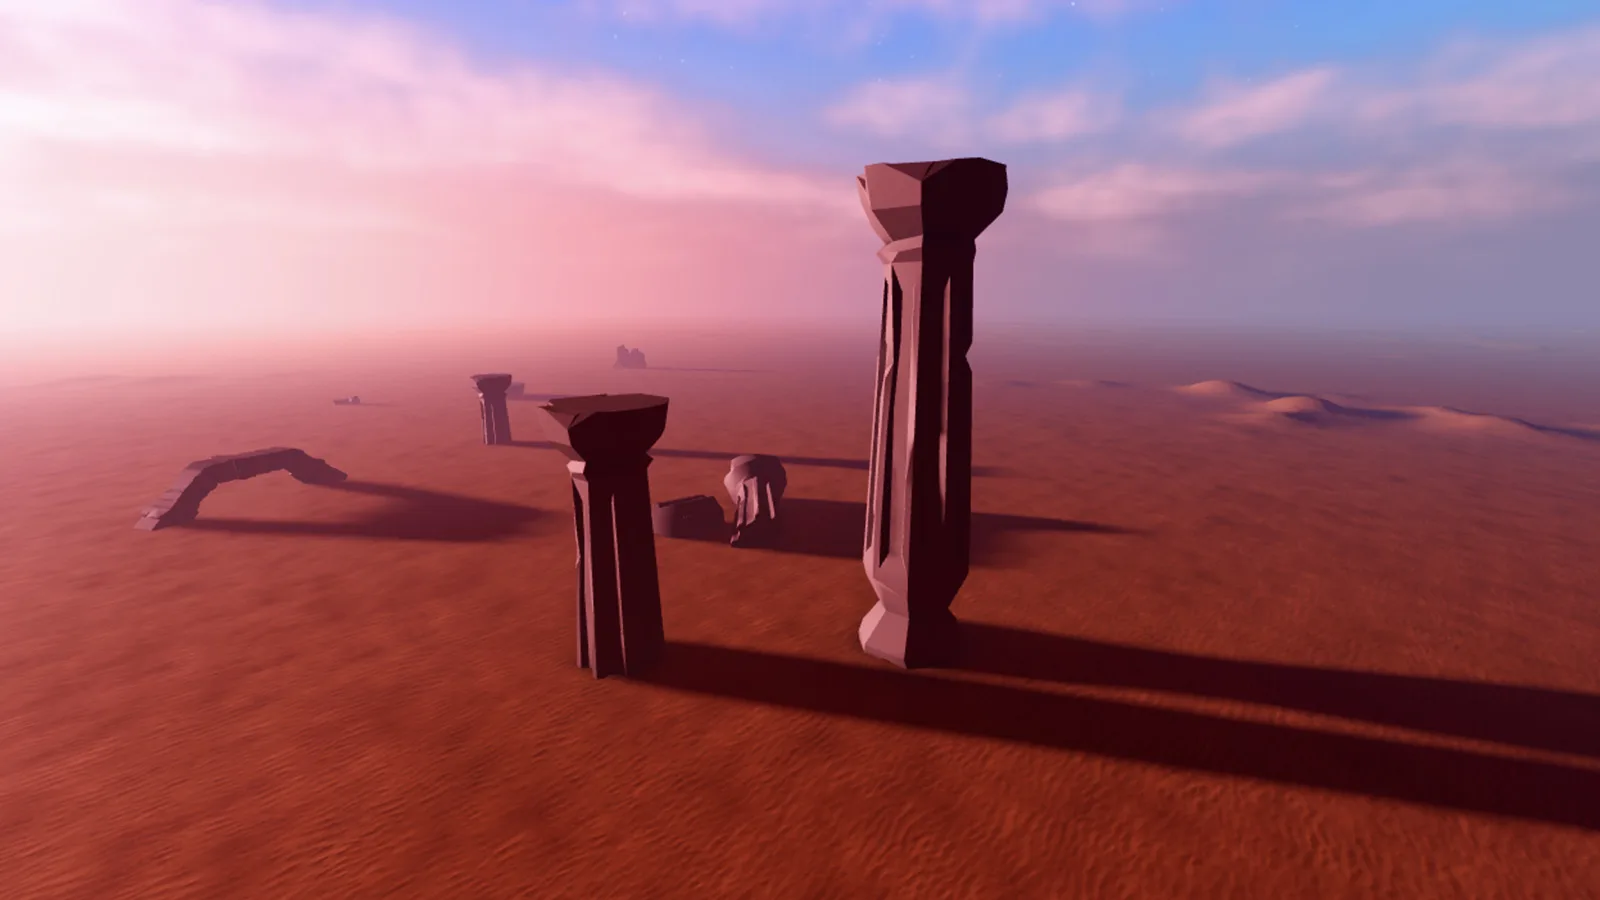
Two details the docs are explicit about. First, time does not advance on its own during a game — ClockTime sits wherever you left it unless a script moves it. A day/night cycle is about five lines:
local Lighting = game:GetService("Lighting")

while true do
	Lighting.ClockTime = (Lighting.ClockTime + 0.1) % 24
	task.wait(1)
end
Second, GeographicLatitude changes where the sun and moon sit in the sky without touching ClockTime. If your golden-hour sun is blowing out the wrong side of your map, rotate the whole celestial arrangement with latitude instead of rebuilding the map. (If loops and services are new to you, the Luau scripting basics guide covers everything in that snippet.)
Color properties: Ambient, OutdoorAmbient, ColorShift
Four properties tint the world, and they're scoped differently:
- Ambient applies a hue to the entire game — indoors and out. It's the "color of the darkness," and it's your main lever for interiors.
- OutdoorAmbient tints only outdoor areas, which is how you simulate real ambient light changing across the day — warm pink-orange for early morning, cool blue-purple for late evening — without contaminating your interiors.
- ColorShift_Top tints surfaces facing the sun or moon; ColorShift_Bottom tints surfaces facing away from it. These are subtle, but a warm ColorShift_Top with a cool ColorShift_Bottom is the classic cinematic warm-light/cool-shadow split, and it makes everything read as more three-dimensional.
The trap with Ambient is cranking it up to "fix" a dark scene. Raising Ambient floods shadows with flat light and kills contrast — the scene gets brighter and worse at the same time. If the scene is too dark, fix the sun angle or exposure first and treat Ambient as a tint, not a floodlight.
Brightness, exposure, and shadows
Brightness sets the intensity of illumination — higher values increase the contrast between lit areas and shadow, which reads as bright sunshine and warmer weather. ExposureCompensation is the camera-side sibling: it controls how much light reaches the camera, where negative values behave like under-exposure in photography and positive values like over-exposure. The distinction matters — Brightness changes the light in the world, exposure changes how the camera sees it. Moody night scenes usually want exposure pulled down slightly rather than every light dimmed by hand.
On shadows: GlobalShadows turns shadow rendering on (leave it on; a shadowless world looks like 2010), and ShadowSoftness blurs shadow edges on a 0-to-1 scale — 0 is razor-edged, 1 is soft. Per the docs, ShadowSoftness only works when LightingStyle is set to Realistic. LightingStyle itself is the big appearance switch: Realistic gives you the most advanced lighting and shadows the engine can deliver, while Soft produces a flat, retro-Roblox look with softer lights and shadows. Unless you're deliberately chasing a nostalgia aesthetic, Realistic is the answer.
There's also a quiet quality-of-life flag here: PrioritizeLightingQuality. When a player's device scales rendering quality down, true keeps advanced shadows and high-quality shaders alive at closer distances, while false protects view distance instead. If lighting is central to your game's identity — and after this guide it should be — the docs say to set it to true.
Environment reflections
Two scales control how much the environment itself contributes light: EnvironmentDiffuseScale (ambient light derived from surroundings) and EnvironmentSpecularScale (reflected highlights). The one-line takeaway from the docs: push EnvironmentSpecularScale toward 1 and smooth objects reflect the environment properly — it's the difference between metal that looks like metal and metal that looks like gray plastic. Both near 1 is the modern-rendering look; both at 0 is flat and dated.
Atmosphere: the fog that isn't fog
The Atmosphere object lives inside the Lighting service and simulates sunlight scattering through air particles. If you've been faking depth with classic fog, this is its smarter replacement, and its six properties are worth knowing individually:
- Density controls how many particles are in the air — higher density increasingly obscures objects and terrain. Even 0.3 gives distant geometry a soft falloff that reads as scale. (Density affects objects and terrain directly; your skybox visibility changes too, since you view it through them.)
- Offset controls how light transmits between the camera and the sky. Increase it and the horizon silhouettes against the sky; decrease it and distant objects blend into the sky for that seamless open-world look. The docs warn to balance Offset against Density — too low and the skybox shows through your terrain, too high and distant objects stay unnaturally crisp.
- Haze creates a visible haze above the horizon and into the distance, and it's the property that turns "fog" into "weather."
- Color tints the atmosphere — smoky gray for a polluted alien planet, cold blue for somber, and it's most visible when Haze is high.
- Glare puts an atmospheric glare around the sun — but per the docs it does nothing unless Haze is above 0.
- Decay sets the hue the atmosphere falls off to away from the sun, and it requires both Haze and Glare above 0 to show up.
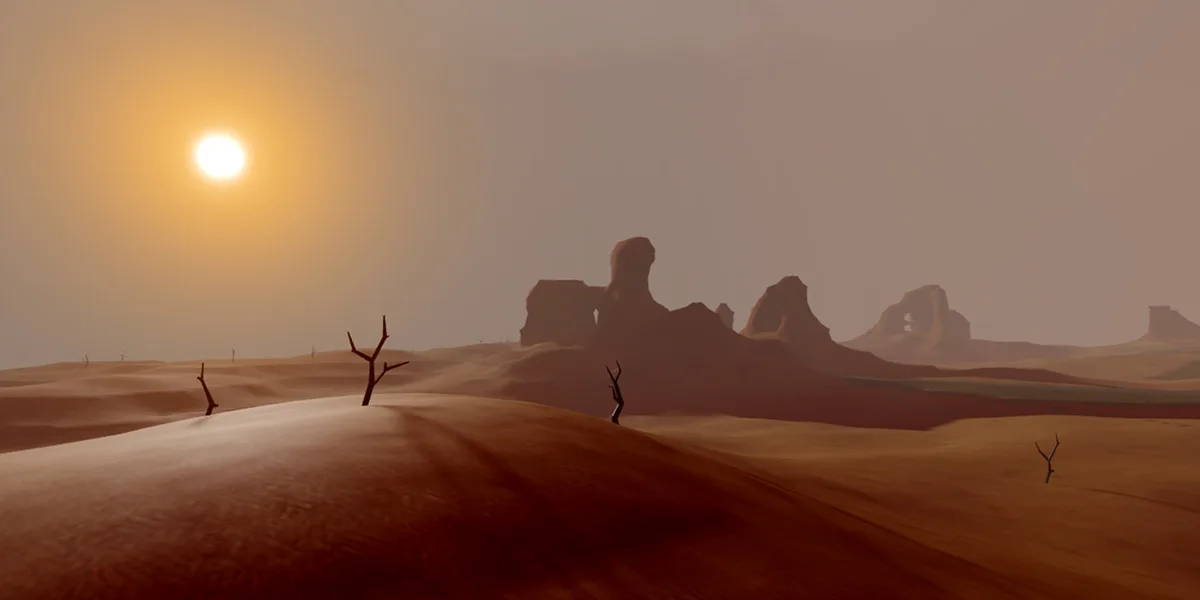
The dependency chain is the thing everyone misses: Glare needs Haze, and Decay needs Haze and Glare. If you're cranking Decay and seeing nothing, that's why — it's not broken, it's layered. A sunset that actually glows is a stack: warm Color, moderate Density, Haze around 2, Glare up, and a red-orange Decay so the sky cools off opposite the sun.
Post-processing effects: the final coat
Post-processing effects are filters applied after the 3D scene renders — the same concept as a color grade on film footage. Roblox ships exactly six: BloomEffect, BlurEffect, ColorCorrectionEffect, DepthOfFieldEffect, SunRaysEffect, and ColorGradingEffect. You insert them as children of either the Lighting service or the Camera, and the parent choice is functional, not cosmetic: effects under Lighting render for every player in the game, while effects under the Camera apply to that player only. The docs' own example is the right instinct — a menu-open blur belongs on the Camera, sun rays belong on Lighting.
One Studio gotcha before you judge your results: depending on your settings, some effects may not appear in the editor at all. Open Studio Settings → Rendering → Editor Quality Level and set it to the highest level, or you'll be tuning bloom you literally cannot see.
Bloom, blur, and depth of field
BloomEffect exaggerates lights by simulating a camera pointed at something bright — at high values, light-colored parts visibly glow. It's the effect that makes neon signage, lava, and magic actually radiate instead of just being a bright texture.
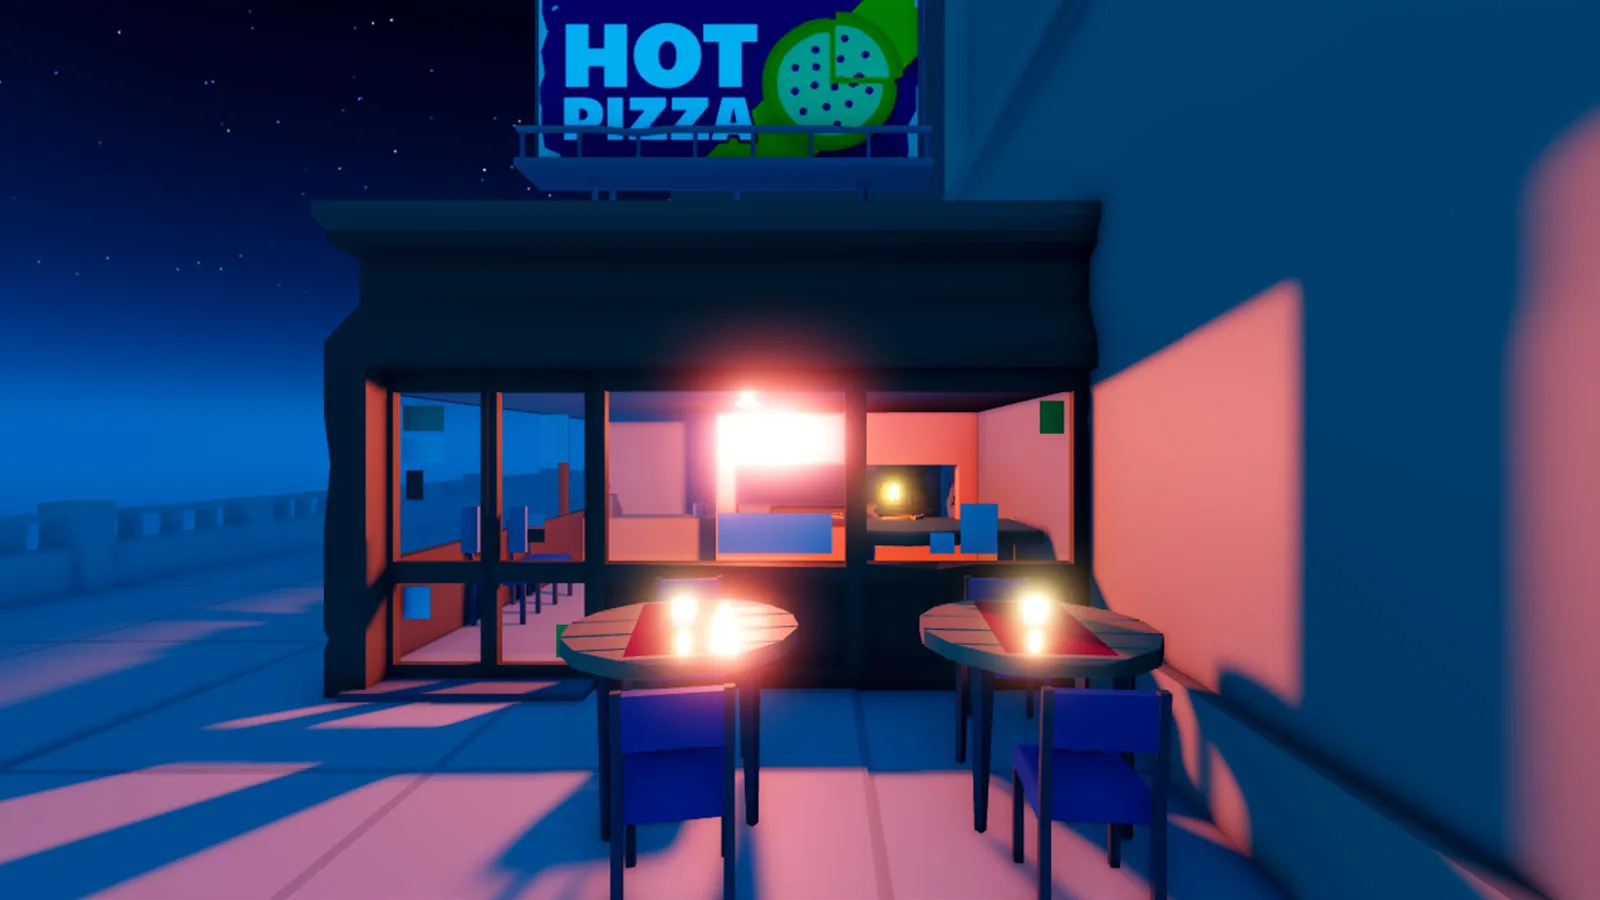
BlurEffect applies a Gaussian blur to the whole 3D view. On its own that sounds useless; parented to the Camera and toggled when a menu opens, it's the cleanest focus trick in the engine — the world melts back, the UI reads instantly. Tween the blur's Size property in and out with TweenService instead of snapping it, and it feels like a shipped console game.
DepthOfFieldEffect is the selective version: it blurs whatever isn't in focus, which you can use to soften distant objects or pull the player's eye to a specific thing — the docs suggest a shop item, which is exactly the kind of place it earns its keep.
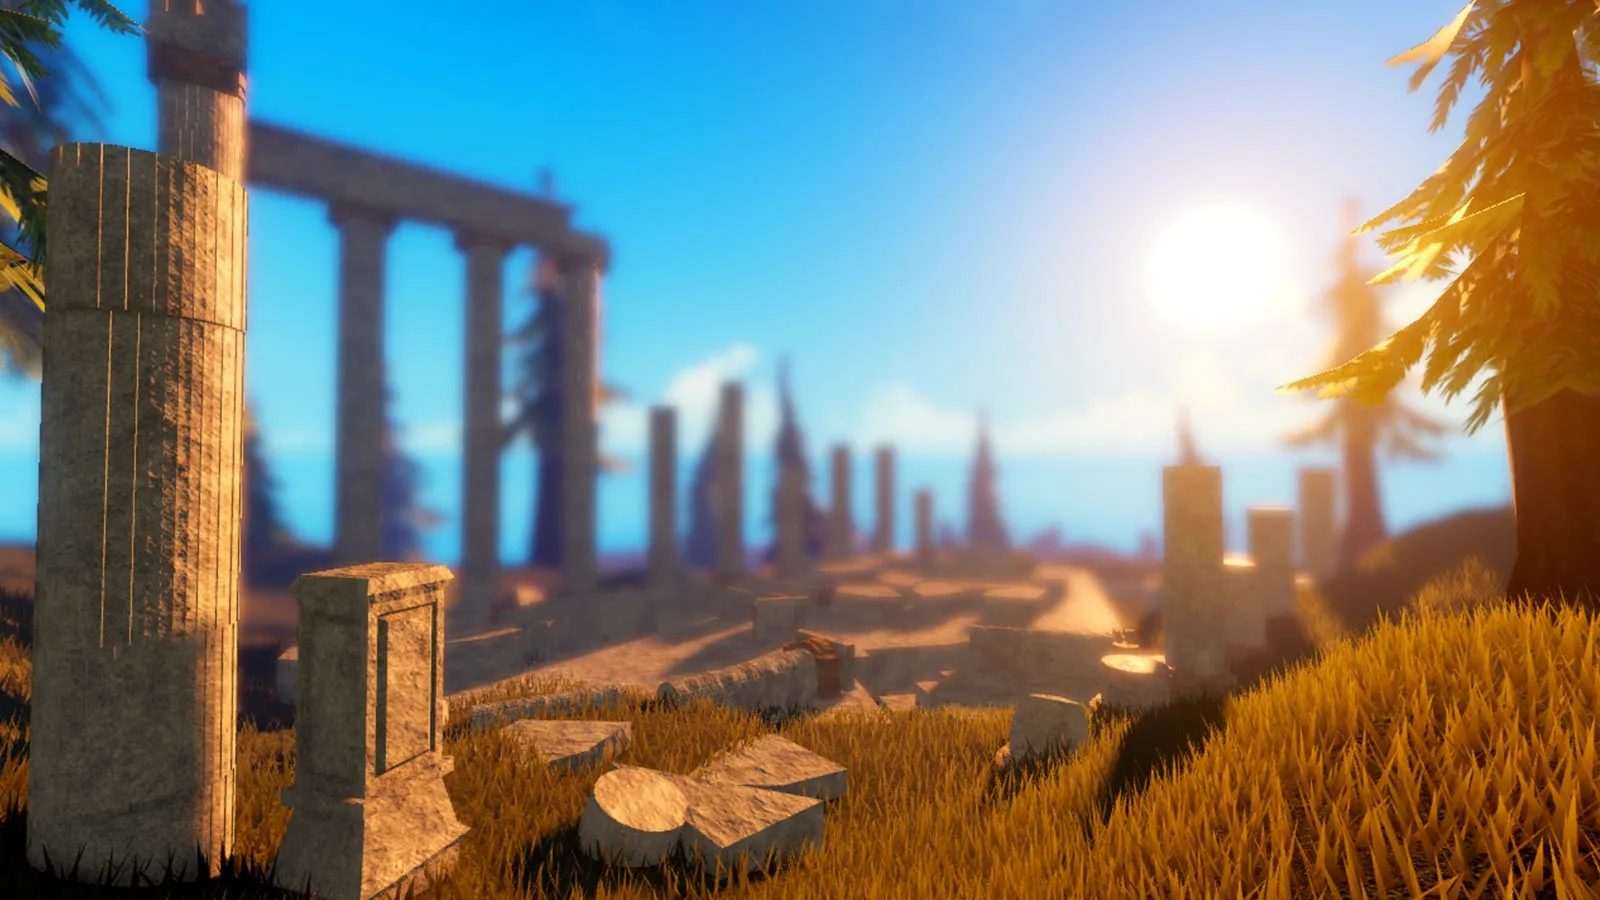
SunRaysEffect rounds out the light-driven effects: a halo of rays around the sun that tracks ClockTime, with objects between the camera and the sun shaping the rays. Combined with a golden-hour ClockTime and some Atmosphere haze, it's most of a "cinematic" screenshot right there.
Color correction and color grading
ColorCorrectionEffect is four dials — Brightness, Contrast, Saturation, and TintColor — and it's the workhorse of the six. A touch more contrast and a slight tint will unify a scene's palette faster than repainting parts ever could. It's also a gameplay tool: the docs call out tinting the screen red at low health, and desaturating toward gray on death is the same one-property trick.
ColorGradingEffect is newer and operates a level deeper, controlling how the renderer's color values map to your screen via its TonemapperPreset property. Two presets exist: Default, the post-2019 look with vivid colors and high contrast, and Retro, which imitates pre-2019 Roblox — less saturation, less contrast. The docs even give the full nostalgia recipe: Retro preset plus every light's brightness capped at 1.0. If you're building anything that trades on classic-Roblox energy, that's a two-minute time machine.
Recipes: three moods in five minutes
Property lists are reference material; here's how they combine. Numbers are starting points to tune by eye, not gospel:
- Golden hour adventure: ClockTime 17, Atmosphere with Density around 0.3 and Haze around 2, Glare up with a warm Decay, SunRaysEffect on Lighting, mild Bloom. This is the "trailer screenshot" stack.
- Horror night: ClockTime 0, ExposureCompensation slightly negative, Ambient a very dark blue instead of black (pure black reads as a rendering bug, not dread), GlobalShadows on, Atmosphere Density high enough to swallow the far end of every corridor, ColorCorrection with lowered Saturation.
- Retro sandbox: LightingStyle Soft, ColorGradingEffect set to Retro, light brightnesses capped at 1.0, no Atmosphere object at all. Deliberately flat, instantly nostalgic.
Build the stack in this order every time: sun position first, then Atmosphere, then post-processing last. Grading a scene before the sun is right is sanding before you've cut the board.
Performance and platform reality check
Everything in this guide runs on the standard rendering pipeline, but effects are not free, and your player base is heavily phones. Three habits keep you honest. First, test with Studio's Editor Quality Level at both extremes — your lighting should degrade gracefully, and PrioritizeLightingQuality decides what degrades first. Second, remember that lower-end devices may simplify or skip expensive effects entirely, so never gate gameplay-critical information behind a post-processing effect — if the only signal that a player is poisoned is a green ColorCorrection tint, a chunk of your audience plays poisoned and blind. Third, tune on the darkest screen you can find; Studio on a bright desktop monitor lies to you about how readable your night scene is.
None of this replaces good building — but it multiplies it. The same map, re-lit with intent, is a different game. If you're following the broader how to make a Roblox game arc, lighting is the highest-return afternoon in the entire schedule.
Quick Action Checklist
- Move ClockTime off noon — 6.3 or 17 for golden hour — and script the cycle only if day/night is actually a mechanic
- Set LightingStyle to Realistic, keep GlobalShadows on, and tune ShadowSoftness (it only works under Realistic)
- Treat Ambient as a tint, not a floodlight; use OutdoorAmbient for time-of-day color and the ColorShift pair for warm-light/cool-shadow contrast
- Use ExposureCompensation for camera-side brightness and push EnvironmentSpecularScale toward 1 so metal reflects
- Add an Atmosphere object: Density for depth, Offset balanced against it, and remember Glare needs Haze — and Decay needs both
- Parent global effects (SunRays, world grading) to Lighting and per-player effects (menu blur, hurt tint) to the Camera
- Max out Studio's Editor Quality Level before judging any post-processing effect
- Set PrioritizeLightingQuality to true if lighting carries your game's identity
- Never make a post-processing effect the only signal for gameplay-critical information
- Light first, Atmosphere second, grade last — and re-check the result on a dim screen
Frequently Asked Questions
How do I change the time of day in Roblox Studio?
What does the Atmosphere object do in Roblox?
What are the six post-processing effects in Roblox?
Why can I not see post-processing effects in Roblox Studio?
How do I make my Roblox game look like old classic Roblox?
Keep Reading
Related Guides
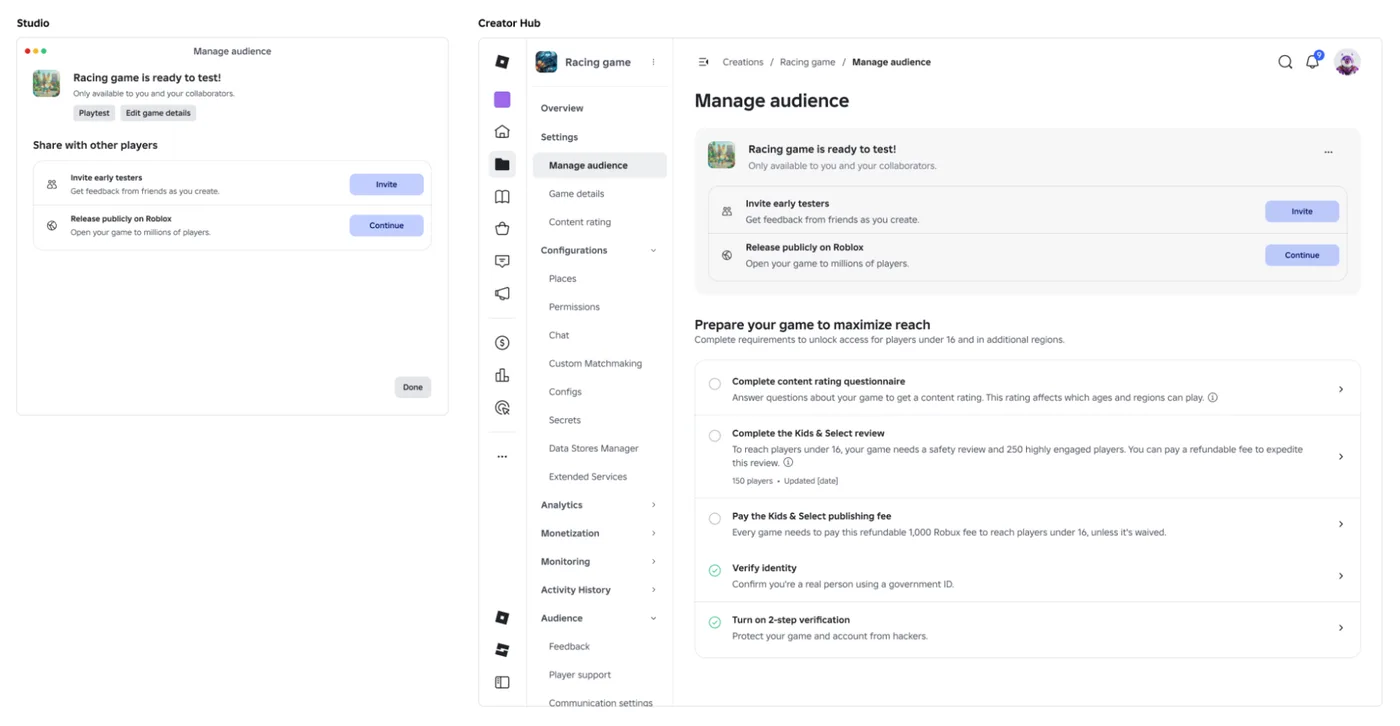
Roblox Early Testers and the New Publish Flow: What Changed
Since October 12, 2026, you can let up to 10 friends play your unreleased, unrated Roblox game, and Roblox is rolling out a path that lets a game with no age-restricted content reach age-checked players 16 and older by answering one question instead of the full questionnaire. Here is who can be an early tester, what replaced the Private and Limited audience settings, what the one question actually covers, and what still takes the long road to players under 16.

Roblox BadgeService Guide: Award, Check, Debug
Call AwardBadgeAsync on a player who isn't currently in your server and it fails one of five documented requirements — silently, the same way it fails for a disabled badge or a place outside the badge's own experience. Here is every BadgeService method, which four are dead, the rate limit two of them share despite a 10x difference in batch size, and the deprecated check that Roblox says will now always return true.
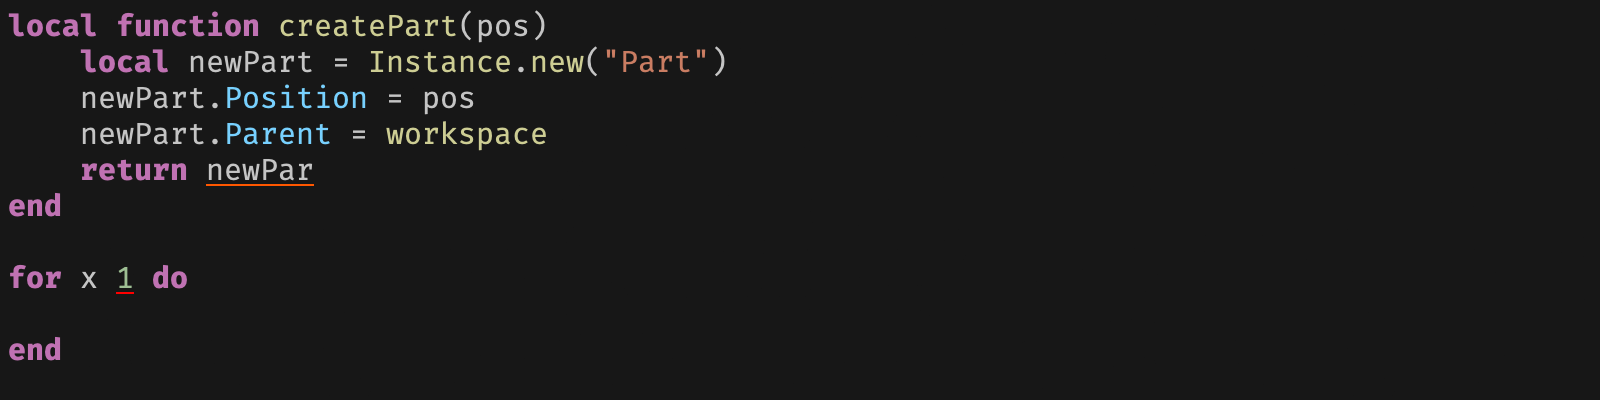
Roblox Luau Type Checking: nocheck, nonstrict, strict
Roblox says every script used to default to no typechecking. That is no longer how it works: a Workspace property now sets the default mode, projects using only nocheck and nonstrict were moved to the New Type Solver automatically, and strict mode projects were not. Here is what each mode reports, what the new solver changed, and the annotation syntax that covers most code.
Roblox Text Filtering: FilterStringAsync Done Right
Chat is filtered for you. Pet names, sign text, shop names and anything you pull off an external API are not — and Roblox documents that it takes games down until filtering is added. Here is the actual API, the getter that is now dead, and the pattern that ships.
Best Roblox Games to Play in 2026
Roblox's front page is engagement bait. This is the filtered version: the games with real, sustained player counts and actual staying power, sorted by what you're in the mood for.
How to Get Robux Safely (Legit Ways + Scams to Avoid)
There is no free Robux generator. There never was. Here are the actual legit ways to get Robux without overpaying, the earning methods that really work, and the scams that exist purely to steal your account.