Roblox PathfindingService: NPCs That Actually Navigate
Every bad Roblox NPC has the same tell: it walks straight at you until a wall stops it, then vibrates. PathfindingService fixes that in four steps — CreatePath, ComputeAsync, GetWaypoints, MoveTo — and the agent parameters are where the whole thing lives or dies.
Every bad Roblox NPC has the same tell. It spots you, turns, walks directly at you, hits a crate, and then stands there vibrating against the corner like a Roomba having a crisis. Meanwhile the zombie in a front-page horror game rounds the crate, takes the doorway, and is standing behind you before you've decided which way to run. That difference isn't better AI. It's about forty lines of Luau built on PathfindingService, and most of the quality lives in one table you pass to one function.
Here's the claim I'll back up for the rest of this guide: the default agent is a 2-stud-wide, 5-stud-tall character that jumps but refuses to climb, and if you never touch those numbers, your NPC will confidently try to squeeze through gaps its own body doesn't fit in. The parameters are the whole ballgame. Everything else is plumbing.
Why your NPC walks into a wall
Humanoid:MoveTo() is not navigation. It's a command that says "aim at this point and hold W." There's no awareness of geometry between here and there. That's fine in an open field and useless anywhere with a wall, which is every real map.
PathfindingService does the part MoveTo can't: it computes a route — a list of positions that provably connects A to B across walkable ground — and hands it to you. You still drive the character with MoveTo, but now you're feeding it a breadcrumb trail instead of a straight line.
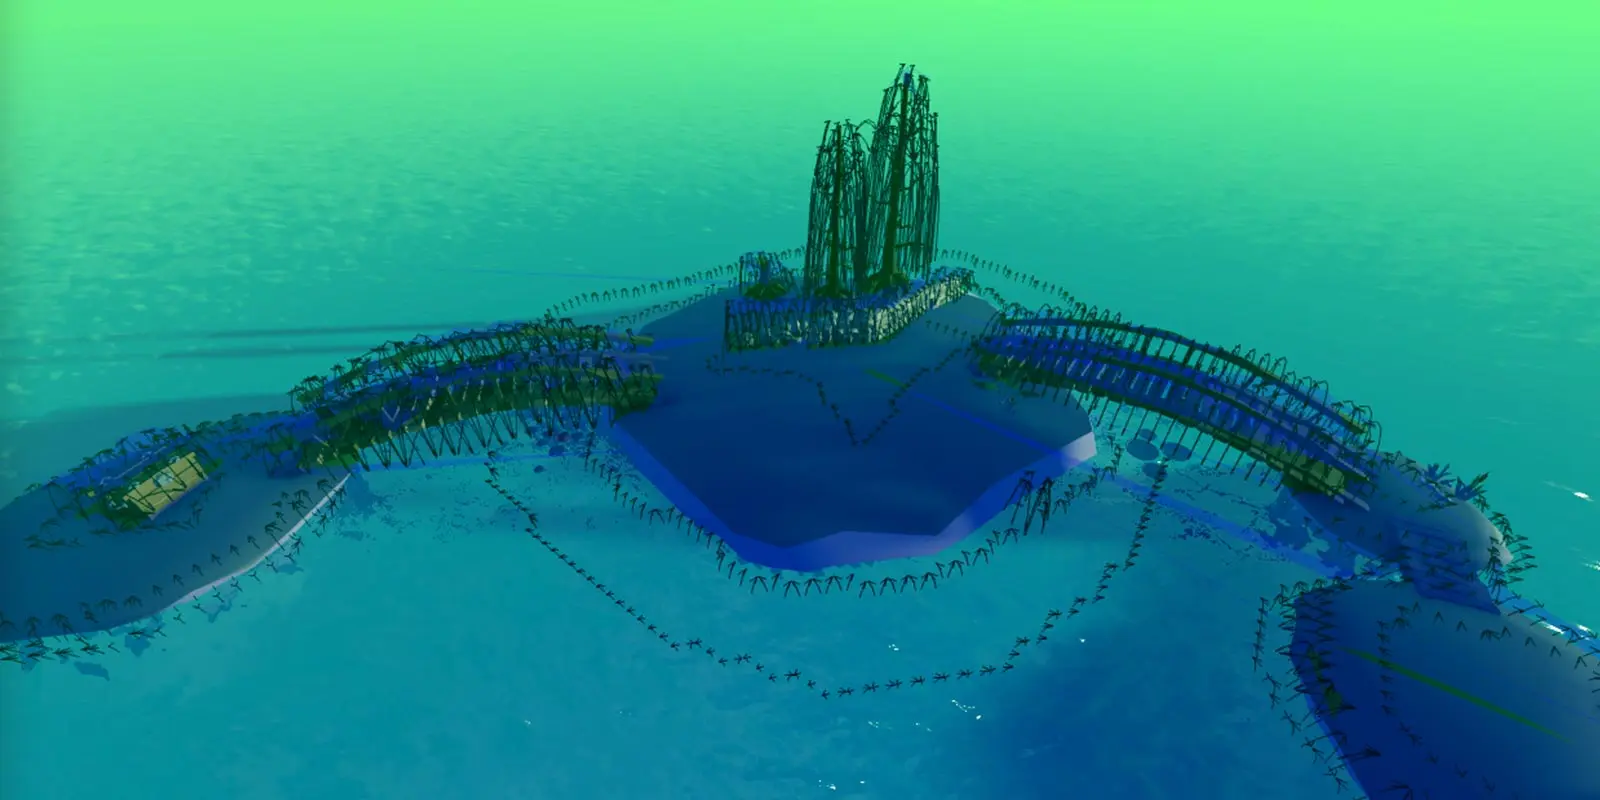
The engine builds this from a navigation mesh it maintains for your world. You can see it: in Studio, open the Visualization Options button in the upper-right of the 3D viewport and enable the navigation mesh overlay. Colored regions are where characters can walk or swim, and the small arrows mark where the pathfinder expects a jump.
That overlay is the hero image at the top of this guide — turn it on before you debug anything. Ninety percent of "pathfinding is broken" reports are actually "there is no mesh where I assumed there was one" — an unanchored part, a gap under a staircase, a floor that's decorative rather than collidable. The overlay tells you in two seconds what an hour of print statements won't. If Studio's viewport is still unfamiliar territory, start with Studio basics and come back.
The four-step path: Create, Compute, Read, Move
The full loop is four calls, and they always go in this order.
One: create the path object. Call PathfindingService:CreatePath() and pass a table of agent parameters. This describes the body that will walk the route. You typically create one path object and reuse it rather than making a new one every time.
Two: compute it. Call path:ComputeAsync(startPosition, endPosition) with two Vector3s — usually the character's PrimaryPart position and the destination. It's asynchronous and it can throw, so the docs wrap it in pcall. Do that. A failed compute inside an unprotected call takes your whole script down.
Three: check status, then read the waypoints. Confirm path.Status equals Enum.PathStatus.Success before you trust anything. Then path:GetWaypoints() returns the route as an ordered array from start to finish.
Four: walk it. Loop through the waypoints and MoveTo() each one in turn, waiting on MoveToFinished between each.
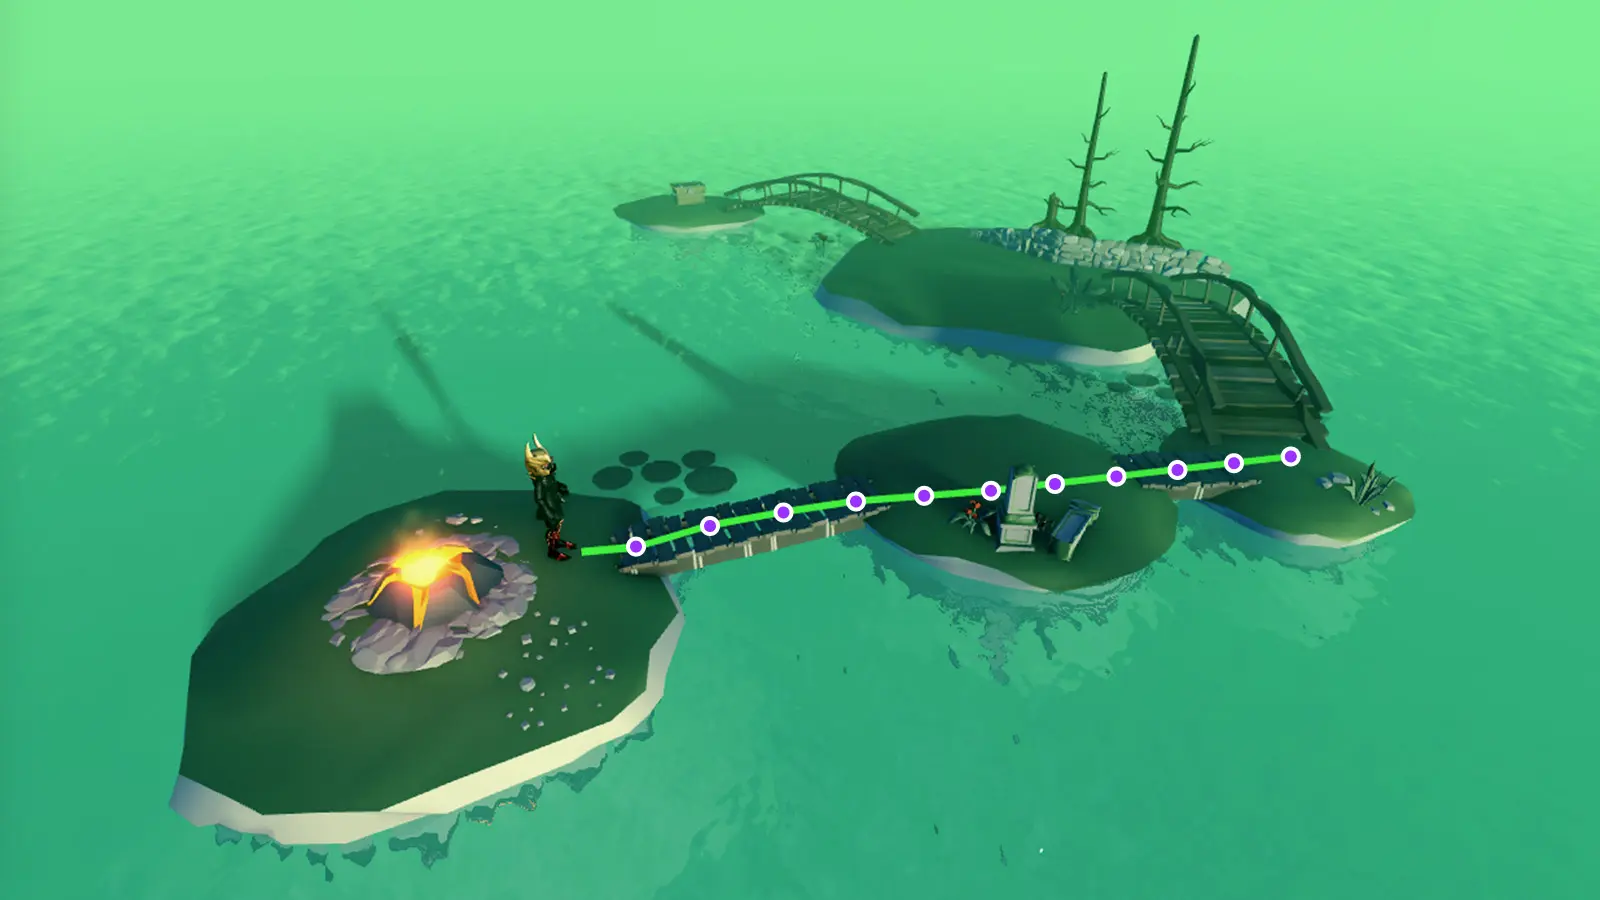
Each waypoint is a PathWaypoint with three things worth knowing: a Position (Vector3), an Action (an Enum.PathWaypointAction), and a Label (a string). The Action enum has exactly three values — Walk (0), Jump (1), and Custom (2). That Jump value matters: the pathfinder tells you where to jump, but it does not jump for you. If you ignore the Action, your NPC will walk into the base of every ledge on the route and stall. Setting humanoid.Jump = true when the waypoint's Action is Enum.PathWaypointAction.Jump is the one-line fix people spend a weekend not finding.
Agent parameters are the whole game
This is the table you pass to CreatePath(), and every field has a documented default. Know them, because the defaults are opinionated.
AgentRadius and AgentHeight
AgentRadius defaults to 2 studs and sets the minimum separation from obstacles. AgentHeight defaults to 5 studs — empty space shorter than this, like the space under a staircase, gets marked non-traversable.
These two exist because the pathfinder plans for a cylinder, not for your actual model. Ship a chunky boss NPC on the default radius of 2 and it'll route through a gap narrow enough for a normal avatar, then grind its shoulders against the frame forever. Measure your model and set the radius to match. Conversely, an oversized AgentHeight quietly deletes every low tunnel from the mesh and you'll get a NoPath on a route you can walk yourself in Studio.
AgentCanJump and AgentCanClimb
AgentCanJump defaults to true. AgentCanClimb defaults to false, and it controls whether the agent will climb TrussParts. Turn climbing on and climbable segments arrive with a waypoint Label of Climb; the docs note a climbable path costs 1 by default, same as ordinary ground.
Flipping AgentCanJump to false is the standard move for a wheeled or ground-bound NPC, and it's also the fastest way to make a path fail: if the only route to the destination requires a jump, an agent that can't jump gets no path at all. That's not a bug, that's the parameter doing its job.
WaypointSpacing
WaypointSpacing defaults to 4 and controls the distance between intermediate waypoints. Lower it for tighter, more faithful cornering at the cost of more MoveTo calls; raise it for fewer, coarser steps. There's one special value worth remembering: set it to math.huge and you get no intermediate waypoints at all — just the essential turns. That's a legitimate optimization when you have many NPCs and don't need precise cornering.
Walking the waypoints without the 8-second trap
Here's the gotcha that eats beginners alive, straight out of the Humanoid documentation: MoveTo times out after 8 seconds if the humanoid hasn't reached its goal. The timeout exists deliberately so humanoids don't hang forever waiting on a MoveToFinished that will never fire — but it means a slow NPC on a long leg silently stops walking and fires MoveToFinished with reached as false.
The documented workaround is to call MoveTo() again at a repeated interval so the timeout keeps resetting — Roblox's own sample refreshes every 6 seconds, comfortably inside the window. With default WaypointSpacing of 4 studs you'll basically never hit this, since each hop is short. Crank the spacing up or slow your WalkSpeed down and it becomes very real.
Two more details from the same page. MoveTo counts as arrived using roughly a 1-stud threshold, to absorb differences in walk speed and frame rate — don't write your own equality check against the exact position. And MoveTo also ends early if a script changes WalkToPoint, WalkToPart, the RootPart's CFrame, or calls Move() with a new direction. If something else in your codebase nudges the character, your path-follower will drop its leg and you'll blame the pathfinder.
Run this on the server for anything gameplay-authoritative. An NPC whose position is decided by the client is an NPC exploiters get to drive. If you need client-side smoothing on top, that's a job for TweenService and a RemoteEvent, not for relocating the AI.
Material costs make paths look smart
By default ComputeAsync() returns the shortest path, with a mild preference against jumps. Shortest is not smartest. Shortest is why your NPC wades straight through the swamp instead of taking the bridge fifteen studs to the left.
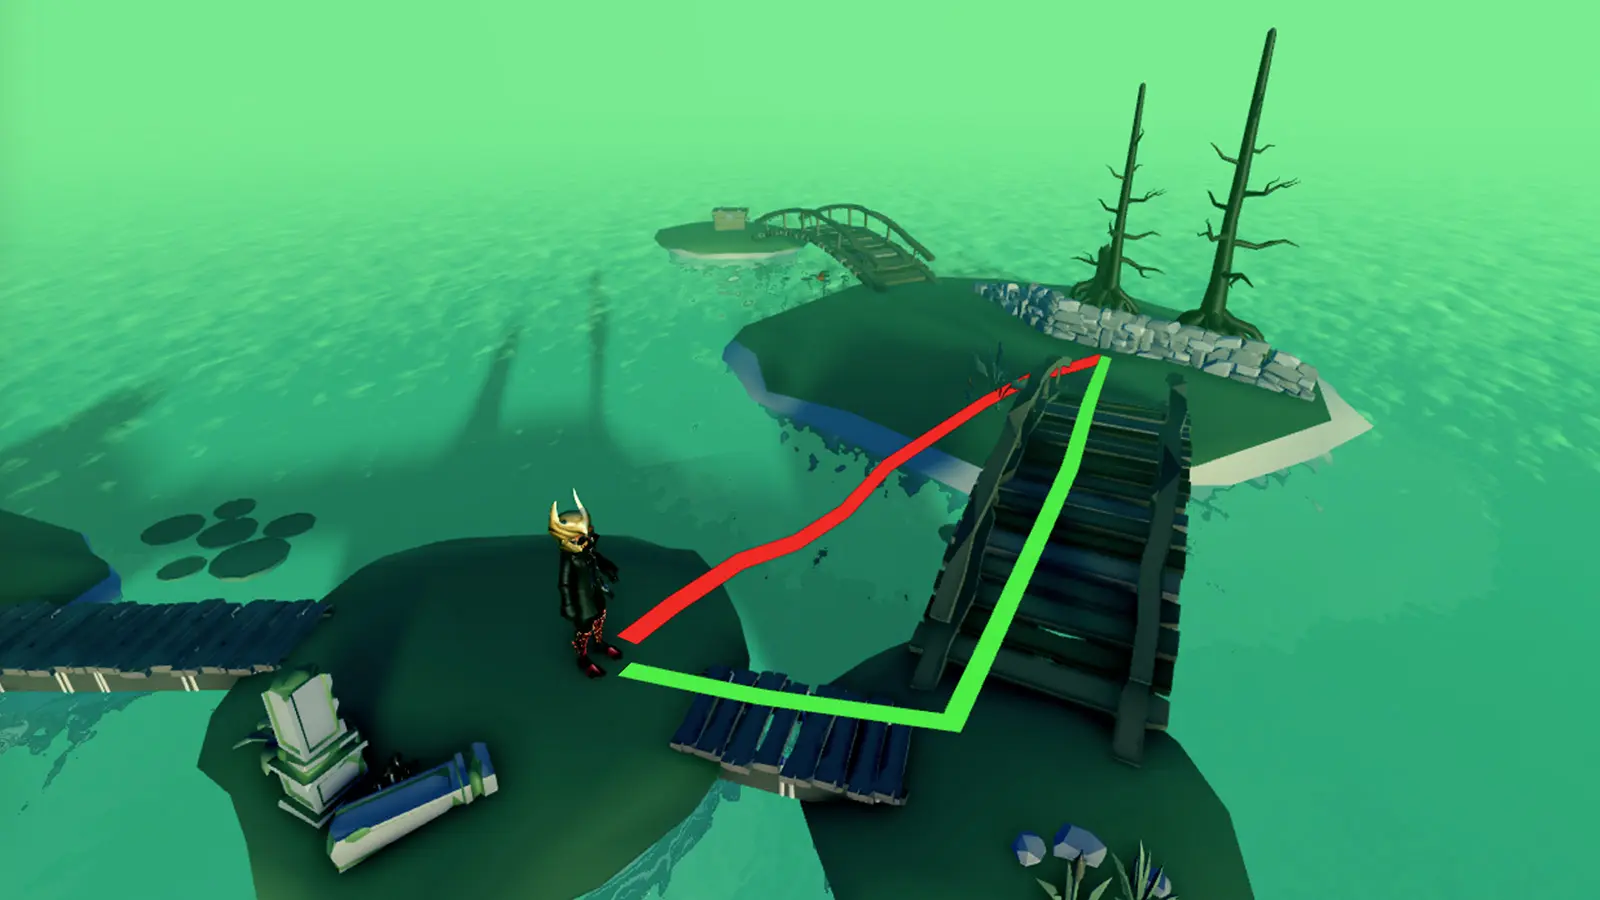
The fix is the Costs table in CreatePath(). Every material has a default cost of 1, and you raise the cost of materials you'd rather the agent avoid. The docs' own example assigns Water = 20, CrackedLava = 100, Slate = 20. Higher cost doesn't ban a material — it makes the pathfinder route around it unless the detour is more expensive than going through.
Two edges to know. Set a material to math.huge and it becomes flatly non-traversable. And for a "last resort" material, the docs recommend a high-but-finite value like 100 or 1000, noting there's no engine-enforced upper cap below math.huge — so the agent will only cross it when every alternative costs more. That distinction is the difference between "avoids the lava" and "would rather stand still forever than touch lava."
Pathfinding modifiers: danger zones and doors
Costs handle materials. PathfindingModifiers handle regions and objects, and they're the tool most people don't know exists.
The workflow: create an anchored part covering the region, drop a PathfindingModifier inside it, give the modifier a Label — the docs use DangerZone — and then include a matching DangerZone key in your Costs table. Now a geyser, a lava vent, or a sniper sightline has a routing cost even though it isn't a material. Set it to math.huge and the region becomes a no-go.
The modifier's other property runs the opposite direction. PassThrough tells the pathfinder to ignore a physical obstacle when routing. The canonical use is a door: physically it's a wall, so the navigation mesh refuses to route through it and your zombie takes the long way around the building. Wrap the door in an anchored part with a PassThrough modifier and the path goes straight through the doorway — you just have to script the door actually opening when the NPC arrives.
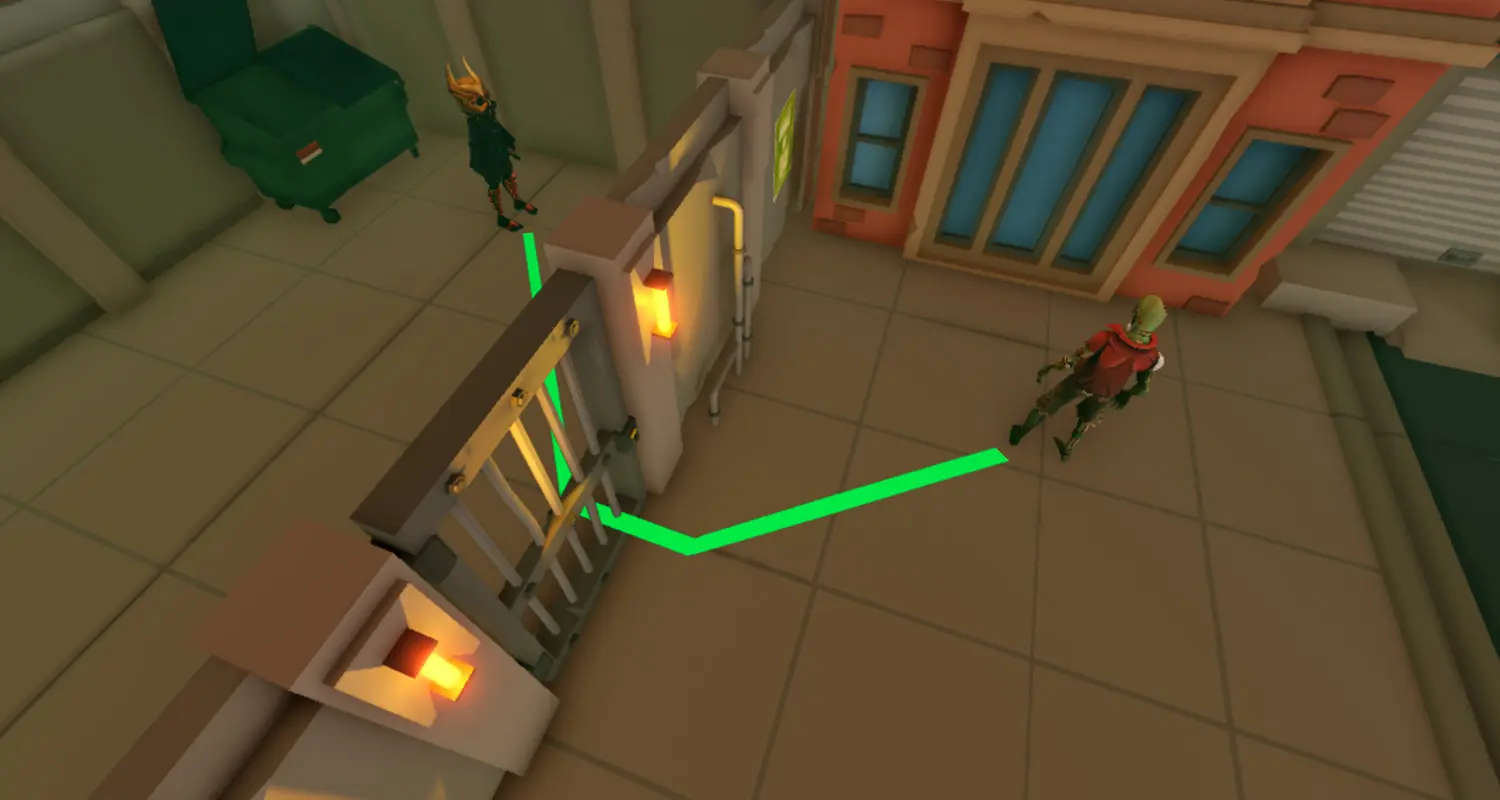
This is the single highest-leverage trick for horror and chase games. It's the mechanical reason the good ones feel like they're hunting you — worth studying in the best Roblox horror games before you build your own.
PathfindingLinks for boats, ziplines, and teleports
Some routes aren't walking. A chasm with a boat, a zipline, a teleport pad — the mesh has no way to express "get in the thing and ride it." That's what PathfindingLink is for.
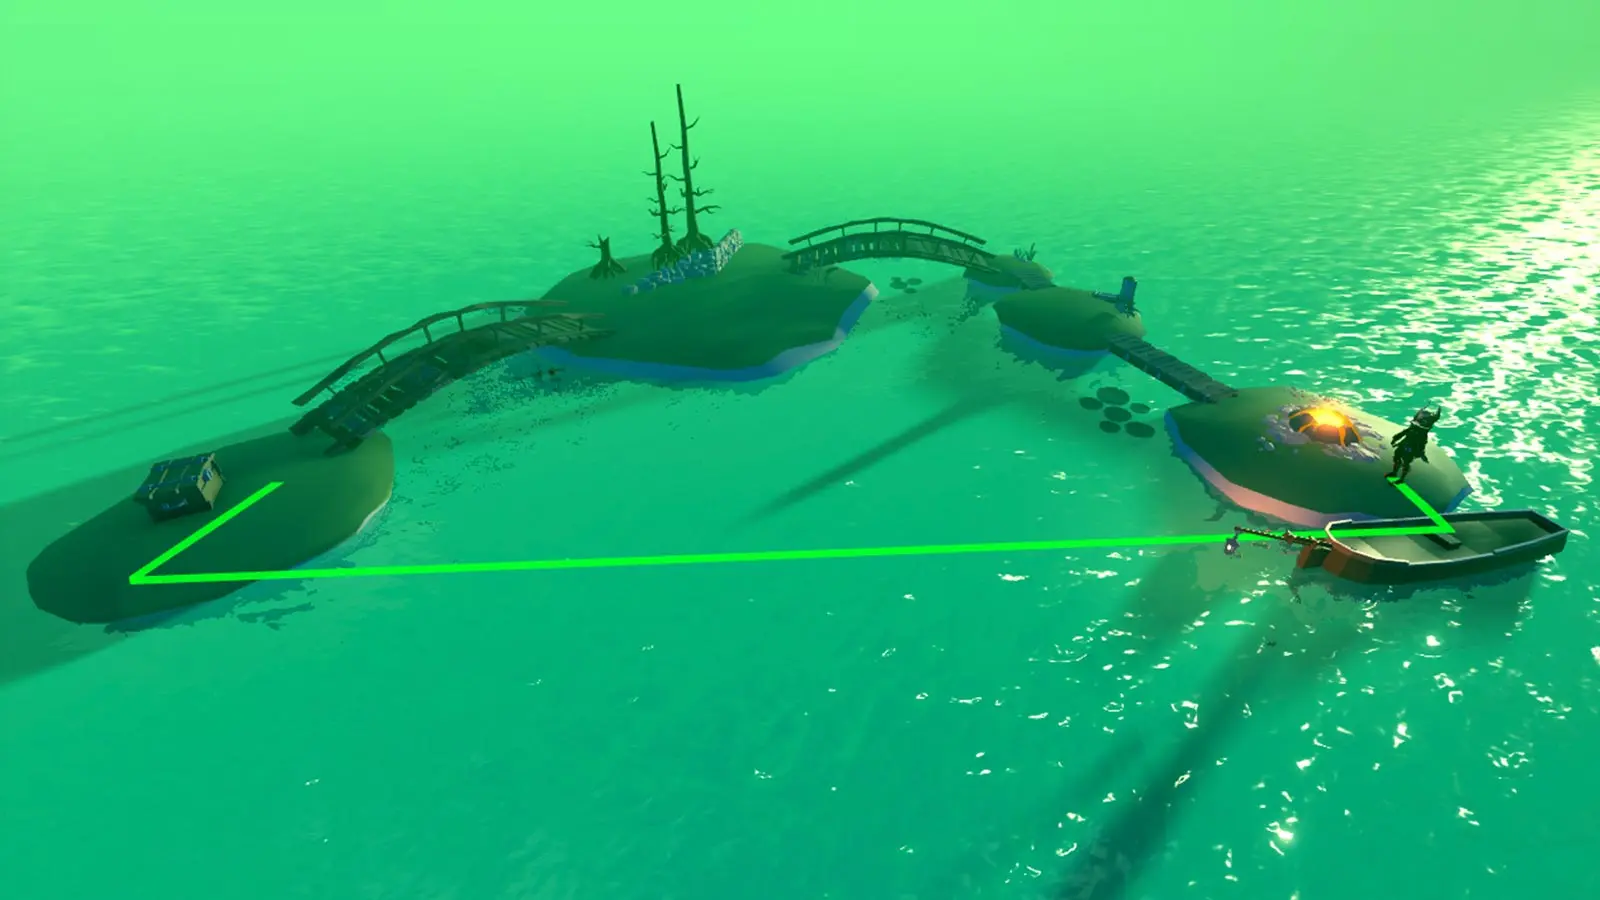
You create two Attachments — the docs' example puts one on a boat seat and one on the landing point — assign them to the link's Attachment0 and Attachment1, and give the link a Label like UseBoat. Add UseBoat to your Costs table and the pathfinder will consider that hop as a real option. The docs pair UseBoat = 2 with Water = 20, which makes riding the boat clearly cheaper than swimming.
The link gets the agent routed there; you write the code for what happens. Watch the waypoint Label as you walk the path, and when it matches UseBoat, run your boat logic instead of a plain MoveTo. That Label field on PathWaypoint finally earns its keep here.
Handling blocked paths mid-run
A path is a snapshot. Roblox worlds move — crates fall, floors collapse, players build. Connect path.Blocked and you get a blockedWaypointIndex when the route breaks.
The important subtlety, and the docs call it out explicitly: paths can get blocked behind the agent. Rubble falling on a corridor you already cleared doesn't mean you should stop and recompute. Guard with a check that the blocked waypoint index is greater than or equal to your current target index, so you only recompute when the obstruction is genuinely ahead. Then disconnect the connection, reset your waypoint tracking, and recompute — otherwise you stack duplicate handlers and recompute storms.
When ComputeAsync fails and why
When path.Status isn't Success, it's almost always NoPath. Of the six Enum.PathStatus values, only two remain active — Success (0) and NoPath (5); the other four are deprecated. So the status won't diagnose it for you. The documented causes:
- Path request too long. Direct line-of-sight distance from start to finish must not exceed 3,000 studs.
- Node budget exhausted. A computation may blow past 20,000 nodes well before the 3,000-stud cap, especially in vast open worlds or complex mazes.
- Incompatible agent parameters. The classic: the destination is only reachable by jumping but
AgentCanJumpis false, orAgentHeightexceeds the clearance on every route. - Vertical limits. Waypoints with a bottom global Y below -65,536 studs or above 65,536 studs are ignored.
For long-haul travel, the answer isn't fighting the cap — it's chaining. Compute to an intermediate landmark, then recompute from there. And when you truly can't get a path, fail gracefully: have the NPC idle, patrol, or teleport off-screen. Do not let it grind into a wall. That's where we started.
Get this loop right and you're past the hardest part of NPC work. The rest — aggro ranges, state machines, animation — is comparatively easy, and it's the natural next step once you've built your first game. If the Luau in here felt slippery, the scripting basics guide is the prerequisite.
Quick Action Checklist
- Enable the navigation mesh overlay via Visualization Options before debugging anything — most "broken pathfinding" is missing mesh
- Reuse one path object from
CreatePath(); don't create a new one per request - Always wrap
ComputeAsync()inpcalland checkpath.Status == Enum.PathStatus.Successbefore reading waypoints - Set
AgentRadius(default 2) andAgentHeight(default 5) to match your actual model, not a default avatar - Handle
Enum.PathWaypointAction.Jumpby settinghumanoid.Jump = true— the pathfinder marks jumps, it doesn't perform them - Respect the 8-second MoveTo timeout: refresh
MoveTo()on an interval (the docs' sample uses 6 seconds) for long or slow legs - Use the
Coststable to raise material costs above the default of 1;math.hugemakes a material non-traversable - Use PathfindingModifiers with labels for danger zones, and
PassThroughto route NPCs through doors - Guard
path.Blockedwith a "blocked index is ahead of me" check so rubble behind the agent doesn't trigger a recompute - Respect the hard limits — 3,000 studs line-of-sight, 20,000 nodes — and chain through intermediate landmarks for long routes
- Run pathfinding on the server for anything gameplay-authoritative
Frequently Asked Questions
What is PathfindingService in Roblox?
What are the default agent parameters for Roblox CreatePath?
Why does my Roblox NPC stop walking partway along the path?
How do I make a Roblox NPC avoid water or lava?
Why does Roblox pathfinding fail with NoPath?
Keep Reading
Related Guides
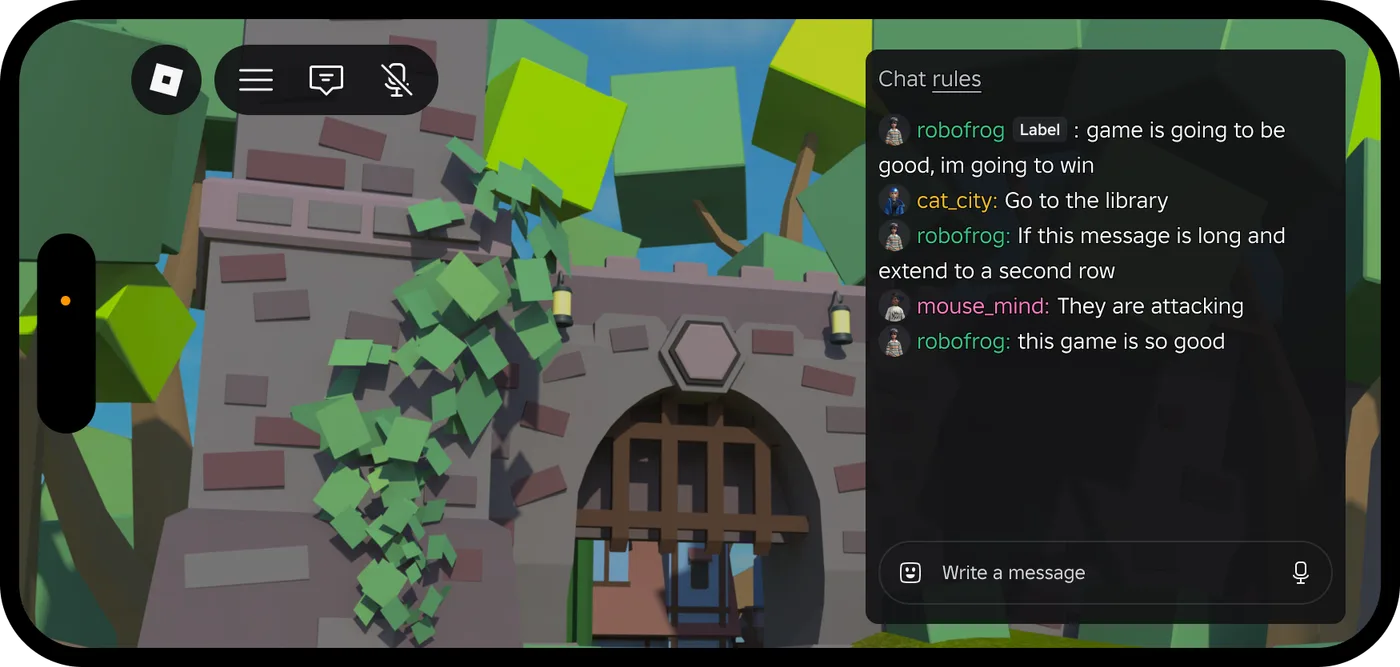
Roblox Platform-Integrated Chat: Migrate Your Custom Chat
On October 21, 2026, Roblox announced that chat message text will stop being readable from game code. It is opt-in today, the default from February 2027 and required from May 2027. Here is what stops working, the replacement for each custom chat feature, which one has no replacement yet, and how to test it in Studio now.
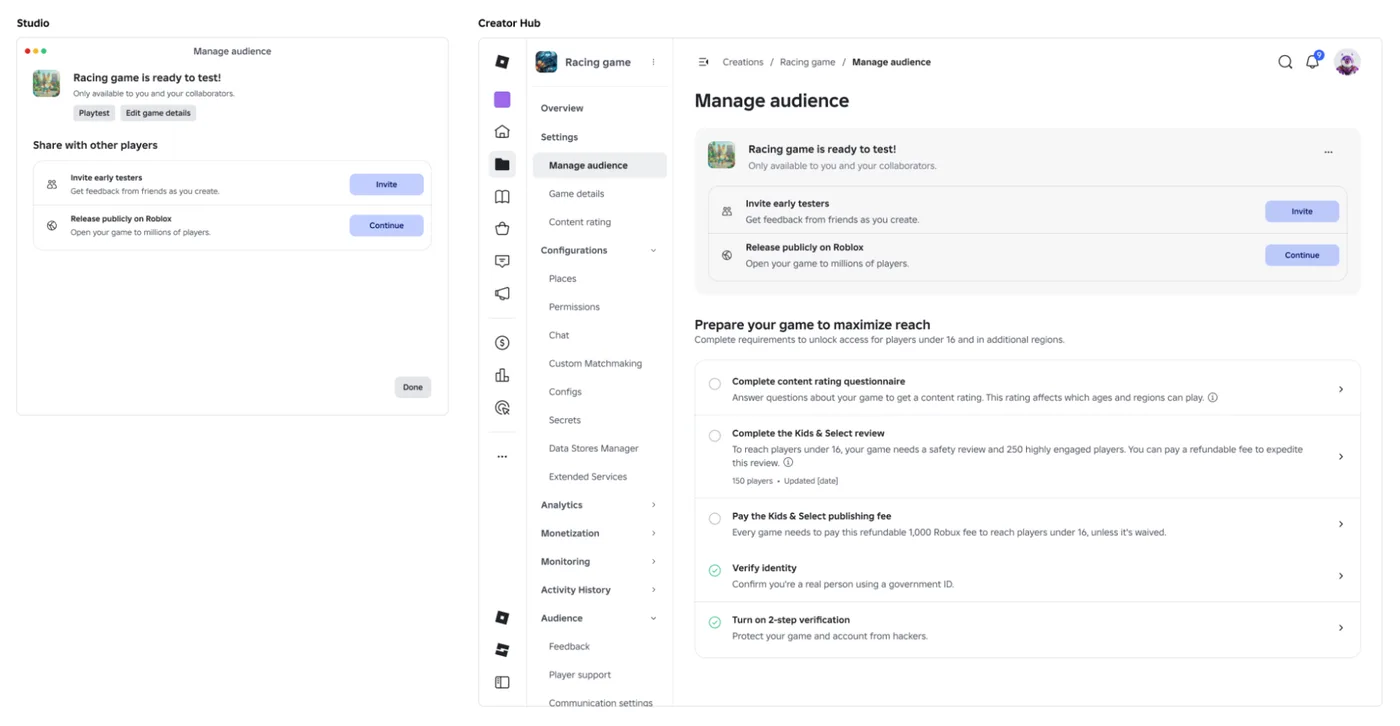
Roblox Early Testers and the New Publish Flow: What Changed
Since October 12, 2026, you can let up to 10 friends play your unreleased, unrated Roblox game, and Roblox is rolling out a path that lets a game with no age-restricted content reach age-checked players 16 and older by answering one question instead of the full questionnaire. Here is who can be an early tester, what replaced the Private and Limited audience settings, what the one question actually covers, and what still takes the long road to players under 16.

Roblox BadgeService Guide: Award, Check, Debug
Call AwardBadgeAsync on a player who isn't currently in your server and it fails one of five documented requirements — silently, the same way it fails for a disabled badge or a place outside the badge's own experience. Here is every BadgeService method, which four are dead, the rate limit two of them share despite a 10x difference in batch size, and the deprecated check that Roblox says will now always return true.
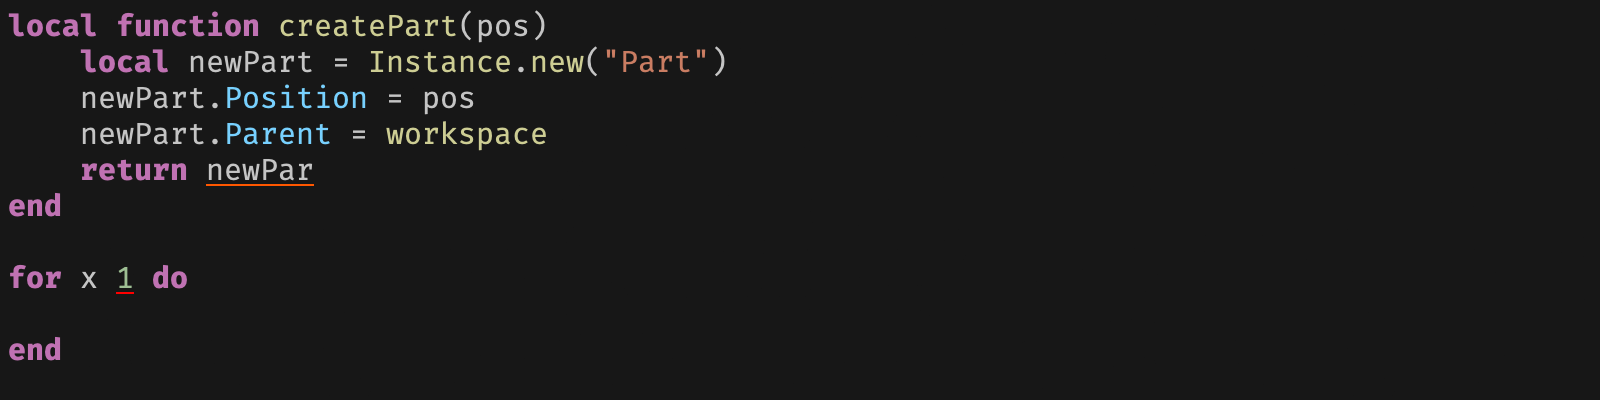
Roblox Luau Type Checking: nocheck, nonstrict, strict
Roblox says every script used to default to no typechecking. That is no longer how it works: a Workspace property now sets the default mode, projects using only nocheck and nonstrict were moved to the New Type Solver automatically, and strict mode projects were not. Here is what each mode reports, what the new solver changed, and the annotation syntax that covers most code.

Best Roblox Games to Play in 2026
Roblox's front page is engagement bait. This is the filtered version: the games with real, sustained player counts and actual staying power, sorted by what you're in the mood for.
How to Get Robux Safely (Legit Ways + Scams to Avoid)
There is no free Robux generator. There never was. Here are the actual legit ways to get Robux without overpaying, the earning methods that really work, and the scams that exist purely to steal your account.