Roblox ProximityPrompt Guide: Setup, Style, Limits
Put three doors in a row, tag each with a ProximityPrompt bound to E, and only one shows a prompt at a time — not a bug, a property called Exclusivity that ships on a default almost nobody reads. Here is every ProximityPrompt and ProximityPromptService property, its actual default value, and the two events whose names quietly change depending on where you connect them.
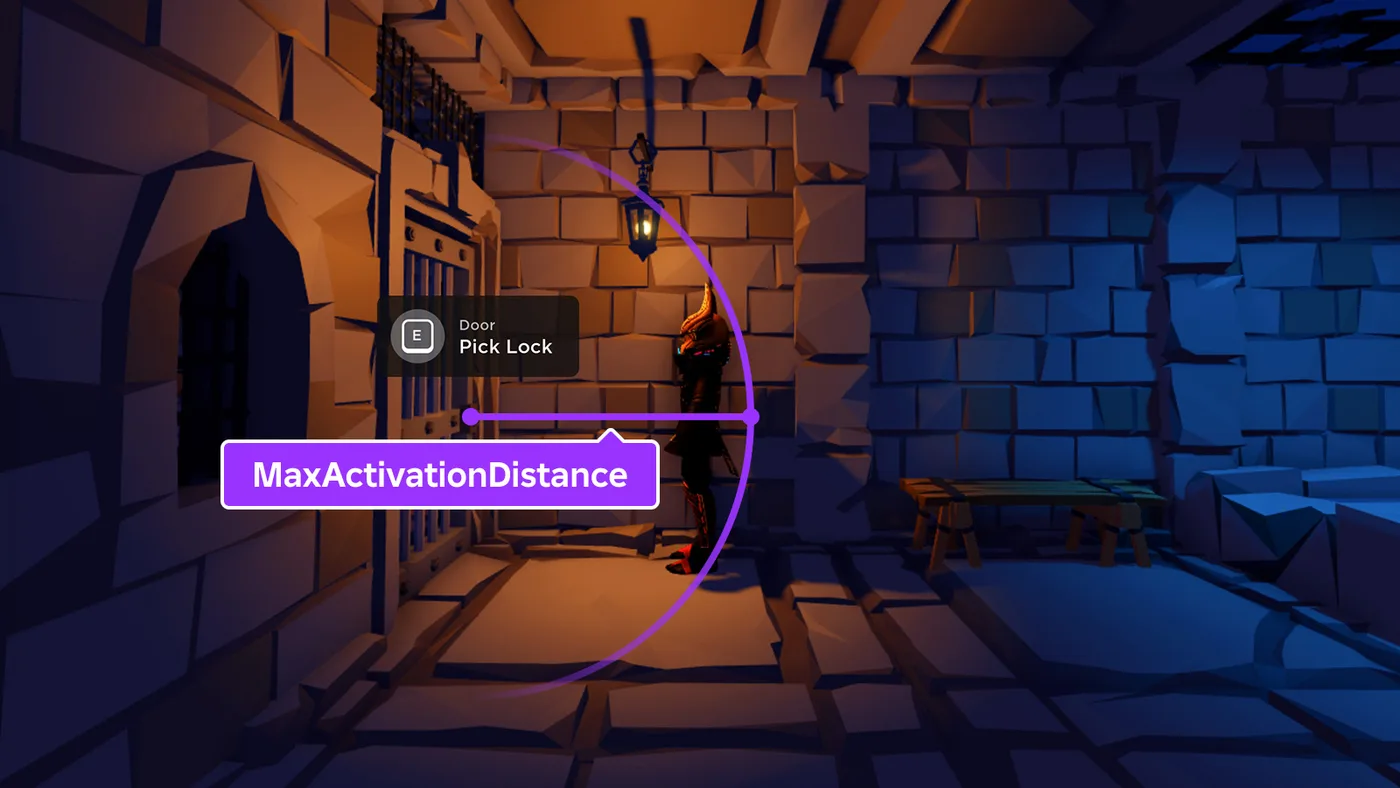
Put three doors in a row, drop a ProximityPrompt on each bound to the same keyboard key, and stand where all three are in range. Only one shows an on-screen prompt. That is not a bug and it is not related to instance streaming — it is Exclusivity, a property that ships with a default almost nobody sets on purpose, because the object works fine without ever touching it.
That is the whole appeal of ProximityPrompt: doors, chests, vending machines, quest-givers, light switches — you drag one onto a part and it works with zero scripting. Which is also why so much of its behaviour ships on defaults nobody has read. The streaming guide mentions in passing that "Touched events, ProximityPrompts, DragDetectors and ClickDetectors do not operate for a client that doesn't have the part," and that is the only place ProximityPrompt appears anywhere in this vertical's dev-guide catalogue. Here is the class itself — every property, its real default value, the three Exclusivity modes, how to swap in your own UI, and the two events whose names quietly change depending on whether you connect them on the prompt or on the service.
Where a prompt comes from
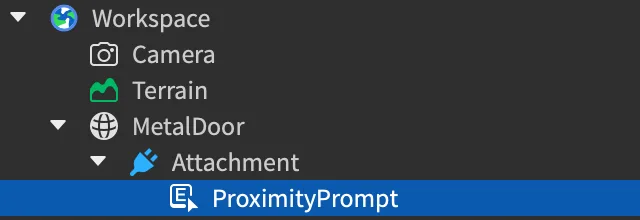
A ProximityPrompt has to be parented to a BasePart, an Attachment, or a Model — and for a Model, specifically one with its PrimaryPart set, or the prompt has nothing to measure distance from and won't work. Roblox's UI documentation describes the class as letting you "prompt players to interact with an object in the 3D world, such as opening a door or picking up an item." In Studio, hover the target in the Explorer, click the insert button, and choose ProximityPrompt from the contextual menu.
Parenting to an Attachment rather than the part directly is the more common real-world choice, because it lets you place the interaction point anywhere relative to the object — Roblox's own tutorial uses this to put a prison-door prompt "in front of the door's key hole" instead of at the door's geometric center.
The three things a prompt communicates
Roblox's documentation frames the built-in UI as needing to say three things: "the object that a user can interact with," "the action that triggers when they interact with the proximity prompt," and "the key that a user must press or hold." Four properties carry that:
| Property | Type | Default | What it shows |
|---|---|---|---|
ObjectText | string | "" (empty) | Optional name for the thing being interacted with |
ActionText | string | "Interact" | The verb shown to the player |
KeyboardKeyCode | Enum.KeyCode | E | The key a keyboard/mouse player presses |
GamepadKeyCode | Enum.KeyCode | ButtonX | The button a gamepad player presses |
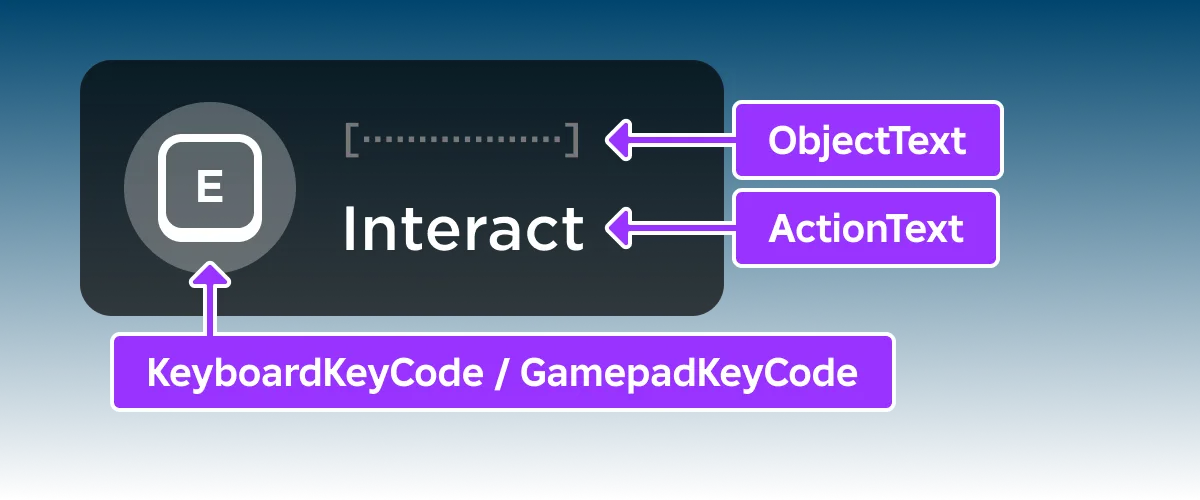
Roblox's own tutorial example sets ObjectText to "Door" and ActionText to "Pick Lock" on a prison-door prompt — the default ActionText of "Interact" is generic on purpose, meant to be overwritten the moment the prompt means something specific. Touch and mobile players see neither key label; they get a tappable prompt instead, covered under ClickablePrompt below.
Visibility: activation distance and the indicator nobody turns on
Three properties decide when a prompt is visible at all: MaxActivationDistance, RequiresLineOfSight, and Exclusivity (its own section, next).
MaxActivationDistance defaults to 10 — the property "define[s] the range from around the ProximityPrompt object that activates the visibility of the proximity prompt. Once a user's character enters that range, the proximity prompt becomes visible." Roblox's tutorial nudges it down to 4 studs for a lock a player has to be standing right next to, calling the default "the setting that works well in most cases" for anything less deliberately tight.
RequiresLineOfSight defaults to true, and the docs are specific about what "line of sight" means here — it checks from the camera, not the character: the property "activates the visibility of the proximity prompt when there's a clear path from the camera to the ProximityPrompt object." A prompt behind a wall the camera can see around a corner will not show, even if the character is close enough by MaxActivationDistance alone.
The property almost nobody touches is MaxIndicatorDistance, which defaults to 0 — and at 0 it is not "unlimited," it is off. It controls a second, lighter-weight UI element: a distance hint shown "while the player is farther than MaxActivationDistance but no farther than MaxIndicatorDistance, hinting that an interaction is nearby before the prompt itself becomes active." Set it above 0 and players get a subtle marker for interactables before they are close enough to trigger them — useful for treasure or objectives in an open level. Leave it at the default and that entire feature is invisible, on every prompt in the game, until someone opts a prompt in.
Exclusivity: what happens when prompts overlap
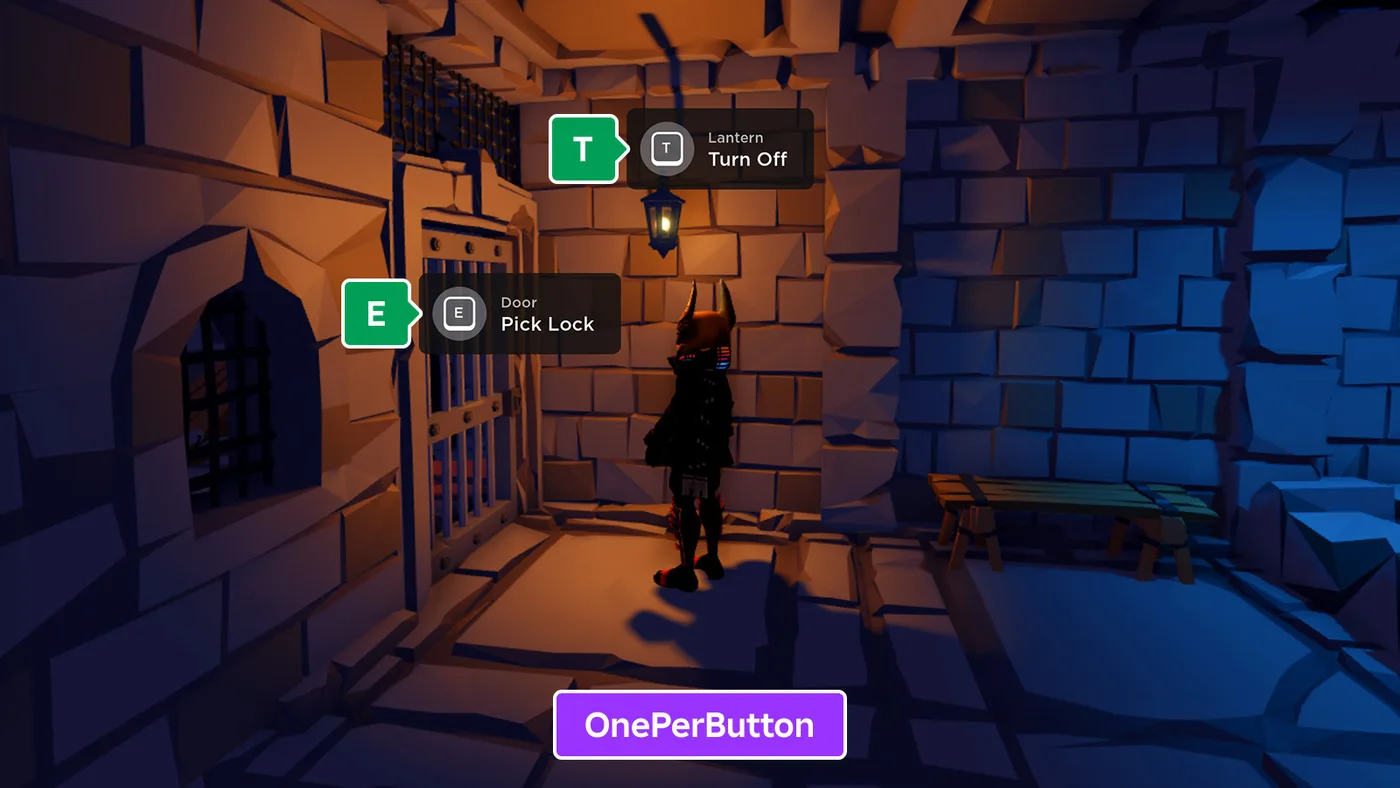
If a player's character is in range of more than one prompt at once, Exclusivity — an Enum.ProximityPromptExclusivity on each prompt — decides which one, if any, actually shows.
| Mode | Default? | Behaviour |
|---|---|---|
OnePerButton | Yes | "Only one proximity prompt is visible per input keycode. If multiple in-range proximity prompts use different keycodes, they are all visible. However, if multiple in-range proximity prompts use the same keycode, only one proximity prompt is visible at any given time, depending on the camera's view direction." |
OneGlobally | No | "If multiple proximity prompts are set to this exclusivity, only one prompt is visible at any given time, regardless of the character's proximity or the prompt's keycode. The camera's view direction determines which proximity prompt is visible, useful for minimizing prompt distraction when there are several in an area." |
AlwaysShow | No | "Proximity prompts are always visible when in range, assuming no other factors prevent them from being visible. Be cautious when using this setup, as all visible prompts using the same keycode will trigger on a player's input of that keycode." |
OnePerButton is the default, which is exactly the three-doors behaviour from the opening: three prompts all on KeyboardKeyCode = E are competing for one visible slot, and the camera decides the winner. AlwaysShow inverts the risk entirely — the docs' own warning is specific: with two AlwaysShow prompts sharing a keycode in range at once, one keypress fires both.
Interactivity: hold duration and ClickablePrompt
HoldDuration defaults to 0, meaning the action fires the instant the key is pressed: the property "determines how many seconds a user has to press a key before the proximity prompt's action triggers. If this property has a value of 0, the proximity prompt's action triggers immediately." A locked door worth picking gets a non-zero value; a light switch usually does not.
ClickablePrompt defaults to true, and it stacks with the key rather than replacing it: "When set to true, a user can interact with the proximity prompt by directly clicking the proximity prompt or by pressing the specified key. When set to false, a user can only interact with the proximity prompt by pressing the specified key." One mobile-specific override sits inside that: "if a user is using a phone or a tablet, they can always interact with the proximity prompt by directly clicking the proximity prompt regardless of the ClickablePrompt property's value." Setting ClickablePrompt to false removes the click-to-trigger option for desktop, never for touch.
Every property and its actual default
Roblox's own class reference pages state each property's type but not its default value — the reference table for ProximityPrompt lists MaxActivationDistance as a float with no default column at all. The default values below come from robloxapi.github.io, a long-running community mirror of the engine's own reflection metadata, checked directly against its underlying HTML rather than taken secondhand.
| Property | Type | Default |
|---|---|---|
ActionText | string | "Interact" |
ObjectText | string | "" (empty) |
AutoLocalize | bool | true |
KeyboardKeyCode | Enum.KeyCode | E |
GamepadKeyCode | Enum.KeyCode | ButtonX |
MaxActivationDistance | float | 10 |
MaxIndicatorDistance | float | 0 (indicator disabled) |
RequiresLineOfSight | bool | true |
Exclusivity | Enum.ProximityPromptExclusivity | OnePerButton |
HoldDuration | float | 0 |
ClickablePrompt | bool | true |
Style | Enum.ProximityPromptStyle | Default |
UIOffset | Vector2 | (0, 0) |
Enabled | bool | true |
RootLocalizationTable is the fifteenth property, used only when you hand the prompt its own LocalizationTable for ObjectText/ActionText translation — it is out of scope here and carries no meaningful default to report.
Scripting it: per-prompt or through the service
Every prompt fires its events two ways: directly on the ProximityPrompt instance, or centrally through ProximityPromptService. Roblox's tutorial recommends the second for anything beyond a single object: "The best way to detect prompt events is through Class.ProximityPromptService — this lets you detect events centrally without attaching a script to each prompt object."
local ProximityPromptService = game:GetService("ProximityPromptService")

local function onPromptTriggered(promptObject, player)
	if promptObject.Name == "ChestPrompt" then
		print(player.Name, "opened", promptObject.Parent.Name)
	end
end

local function onPromptHoldBegan(promptObject, player)
	-- non-zero HoldDuration prompts fire this before Triggered
end

local function onPromptHoldEnded(promptObject, player)
end

ProximityPromptService.PromptTriggered:Connect(onPromptTriggered)
ProximityPromptService.PromptButtonHoldBegan:Connect(onPromptHoldBegan)
ProximityPromptService.PromptButtonHoldEnded:Connect(onPromptHoldEnded)
The docs are explicit about the ordering for prompts with a HoldDuration above zero: PromptTriggered fires "after the duration," and PromptButtonHoldBegan/PromptButtonHoldEnded bracket the hold itself. Route the promptObject argument to a lookup table (or a CollectionService tag on the parent) instead of branching on name strings once you have more than a handful of prompts — one PromptTriggered connection scales to the whole game.
Style.Custom: building your own prompt UI
Set Style to Enum.ProximityPromptStyle.Custom and Roblox stops drawing anything for that prompt — the enum's own description is direct about the trade: Default "renders the built-in Roblox CoreScript UI," while Custom "suppress[es] the built-in UI and take[s] full control of prompt rendering." You are then responsible for showing and hiding your own interface, using the same events, connected in a LocalScript:
local prompt = workspace.Vault.Attachment.ProximityPrompt
prompt.Style = Enum.ProximityPromptStyle.Custom

prompt.PromptShown:Connect(function(inputType)
	-- inputType is Enum.ProximityPromptInputType: Keyboard, Gamepad or Touch
	-- build/show your custom prompt UI here
end)

prompt.PromptHidden:Connect(function()
	-- tear it down
end)

prompt.PromptButtonHoldBegan:Connect(function(playerWhoTriggered)
	-- start your own hold-progress animation
end)
If your custom UI adds its own on-screen button — a mobile-only interact icon that is not the prompt's default click target, say — ProximityPrompt exposes exactly two methods for driving the hold state manually: InputHoldBegin(), which "signals that the user began pressing the prompt button," and its counterpart InputHoldEnd(), which "signals that the user ended pressing the prompt GUI button." Call the first on your button's press event and the second on release, and the same HoldDuration timing and PromptButtonHoldBegan/Ended events fire as if the player had held the real key.
The service's own caps
Three settings live on ProximityPromptService itself, applying game-wide rather than per-prompt:
| Property | Type | Default | What it caps |
|---|---|---|---|
Enabled | bool | true | Setting it false hides every prompt in the experience at once |
MaxPromptsVisible | int | 16 | The maximum number of full prompts shown to a player simultaneously |
MaxIndicatorsVisible | int | 16, clamped to [0, 64] | The maximum number of MaxIndicatorDistance hint markers shown at once |
MaxIndicatorsVisible has no visible effect by itself, for the same reason covered above: indicators are opt-in per prompt through MaxIndicatorDistance, and that defaults to 0. Raising the service cap does nothing until at least one prompt turns its own indicator on.
Triggered vs PromptTriggered: the one name that changes
Connect events on the instance and on the service and every pair keeps the same name — PromptShown/PromptHidden, IndicatorShown/IndicatorHidden, PromptButtonHoldBegan/PromptButtonHoldEnded — with one exception. The class reference lists the prompt-level pair as Triggered and TriggerEnded; the service-level pair for the same moments is PromptTriggered and PromptTriggerEnded. Nowhere else does the "Prompt" prefix appear or disappear between the two objects — it is worth knowing before autocomplete leads you to type ProximityPromptService.Triggered, which does not exist.
Quick Action Checklist
- Parent
ProximityPromptto aBasePart, or — for precise placement — anAttachment; aModelworks too, but only if itsPrimaryPartis set. MaxActivationDistancedefaults to 10 studs; tighten it for small or deliberately fiddly objects, not by habit.RequiresLineOfSightchecks from the camera, not the character — defaults totrue.- Leave
ExclusivityonOnePerButtonunless you have a specific reason forOneGloballyorAlwaysShow— and never share a keycode across twoAlwaysShowprompts. MaxIndicatorDistanceis 0 (off) by default; set it above 0 per prompt to get the pre-activation distance hint, and rememberProximityPromptService.MaxIndicatorsVisiblecaps how many show at once.- Connect through
ProximityPromptServicefor anything beyond one object — onePromptTriggeredlistener replaces a script per prompt. - Set
Style = Enum.ProximityPromptStyle.Customto take over rendering, and driveInputHoldBegin()/InputHoldEnd()manually if your own UI adds an interact button. - Remember the one name that changes:
Triggered/TriggerEndedon the prompt becomePromptTriggered/PromptTriggerEndedon the service. ClickablePrompt = falseonly blocks desktop clicking — touch players can always tap the prompt.ProximityPromptService.MaxPromptsVisiblecaps full prompts at 16 by default; a level with more than 16 interactables in range at once will hide the overflow.
Frequently Asked Questions
Why do only some of my Roblox proximity prompts show up when I approach several at once?
What is the default MaxActivationDistance for a Roblox ProximityPrompt?
How do I build a custom UI for a Roblox ProximityPrompt instead of the default one?
What is the difference between ProximityPrompt.Triggered and ProximityPromptService.PromptTriggered?
Why isn't my Roblox ProximityPrompt's distance indicator showing up?
How many Roblox ProximityPrompts can be visible on screen at once?
Keep Reading
- Roblox Creator Documentation — Proximity prompts (official)
- Roblox Creator Documentation — Proximity prompts tutorial (official)
- Roblox Creator Documentation — ProximityPrompt class reference (official)
- Roblox Creator Documentation — ProximityPromptService class reference (official)
- Roblox Creator Documentation — ProximityPromptStyle enum reference (official)
- Roblox Creator Documentation — ProximityPromptExclusivity enum reference (official)
- Roblox API Reference (robloxapi.github.io) — ProximityPrompt property defaults, community-maintained engine reflection mirror
- Roblox API Reference (robloxapi.github.io) — ProximityPromptService property defaults, community-maintained engine reflection mirror
Related Guides
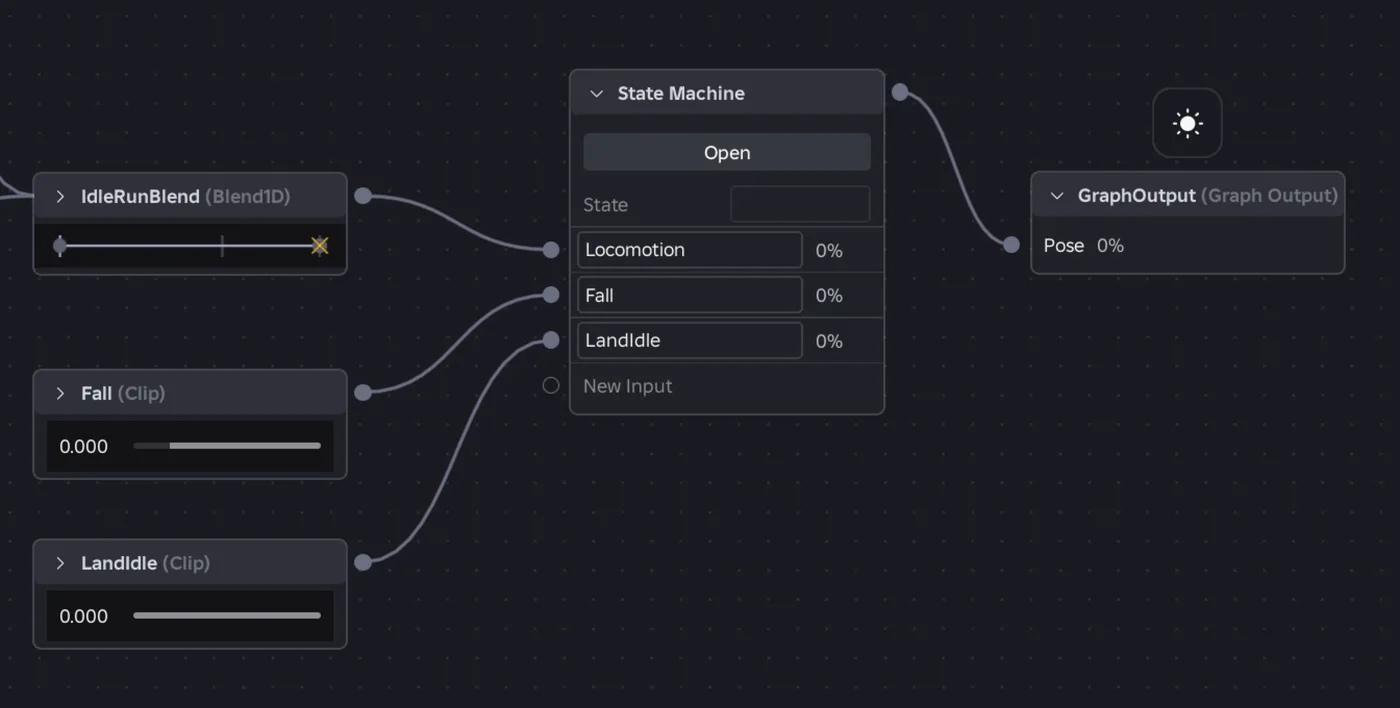
Roblox Animation Graph Editor: Blends and State Machines
Animation graphs left beta on July 15, 2026, and on October 8 Roblox added State Machine nodes and Expressions as a Studio beta. Here is how a graph loads like any animation, what each of the 15 node types does, how SetParameter drives it, what the beta features can't do in a live game yet, and who runs the graph under each authority mode.
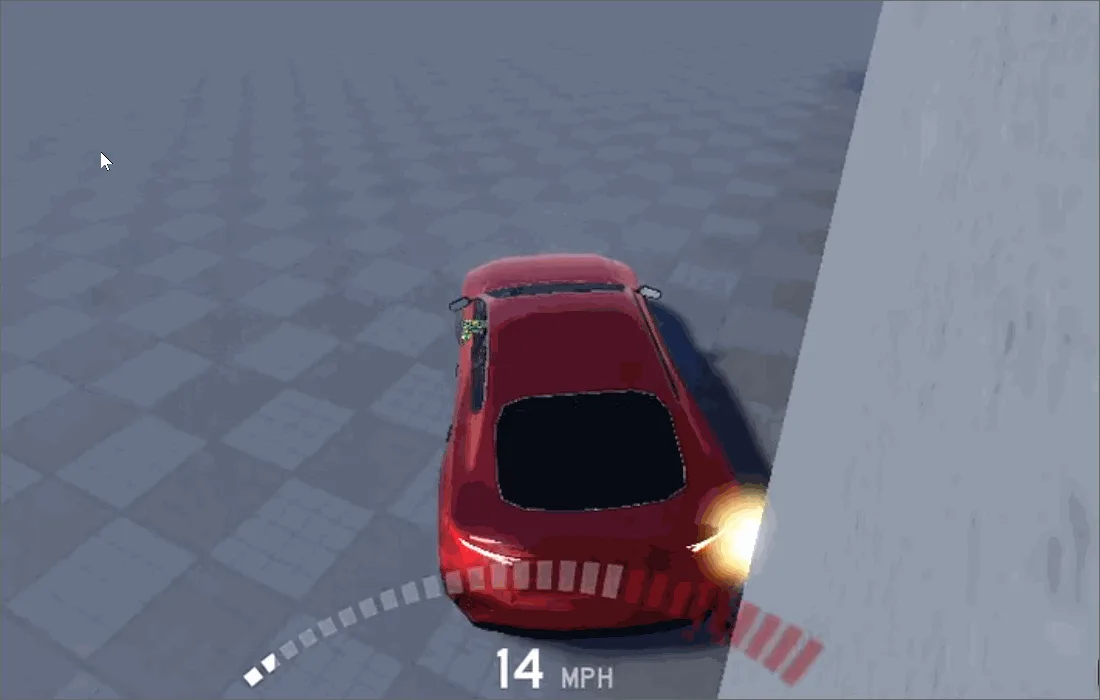
Roblox Collision Summaries: Impact Speed, Point and Normal
Touched tells you what your part hit. BindToCollisionSummaries, live since October 6, 2026, tells you where, from which direction and how hard. Here are the seven fields, why one bump arrives as several summaries, the Normal field Roblox's own pages describe two ways, and the network-ownership rule that decides which machine sees a summary at all.
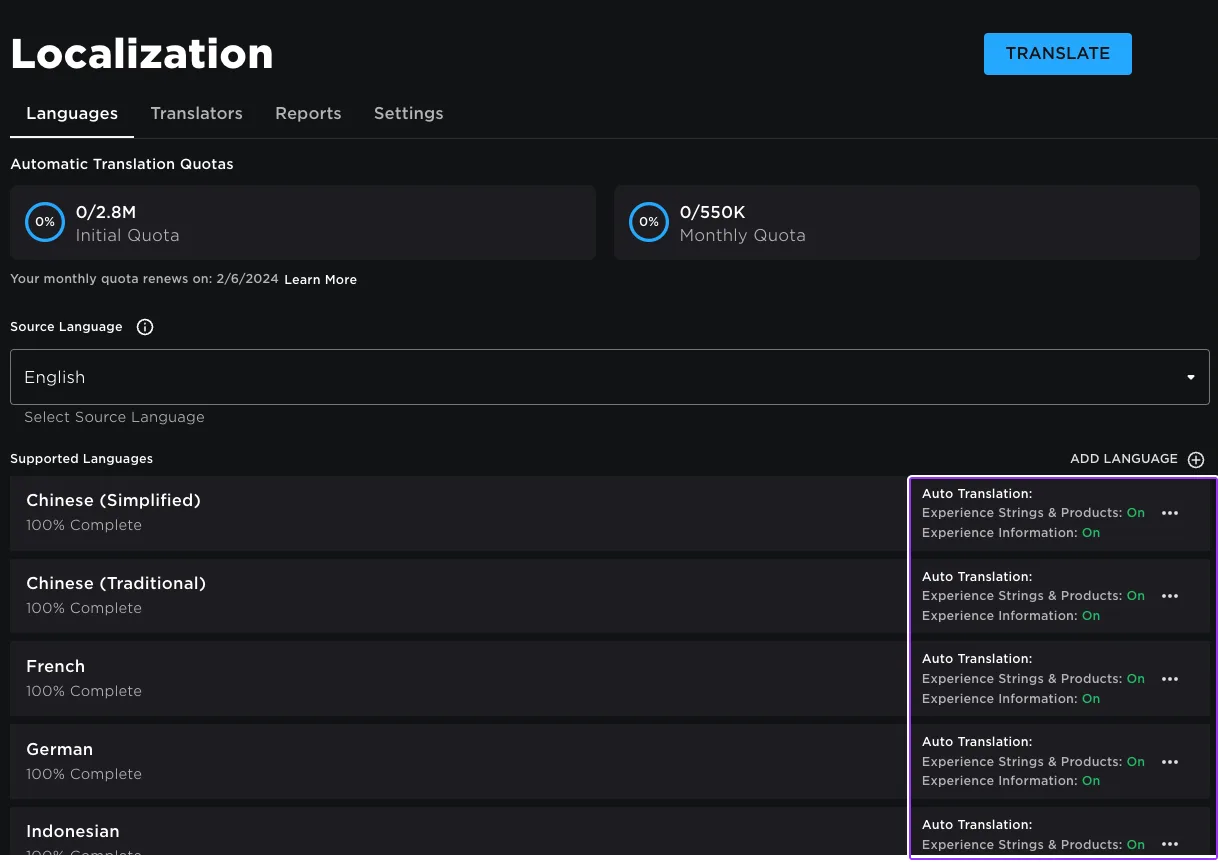
Roblox Localization: How to Translate Your Game
Since June 2026, any player can switch on Automatic Translations and read your game through Roblox's machine translator, whether or not you ever opened the Localization page. Here is what gets translated, how to stop it on text that should stay put, the five kinds of text automatic capture never sees, and the Translator and real-time APIs that cover the rest.
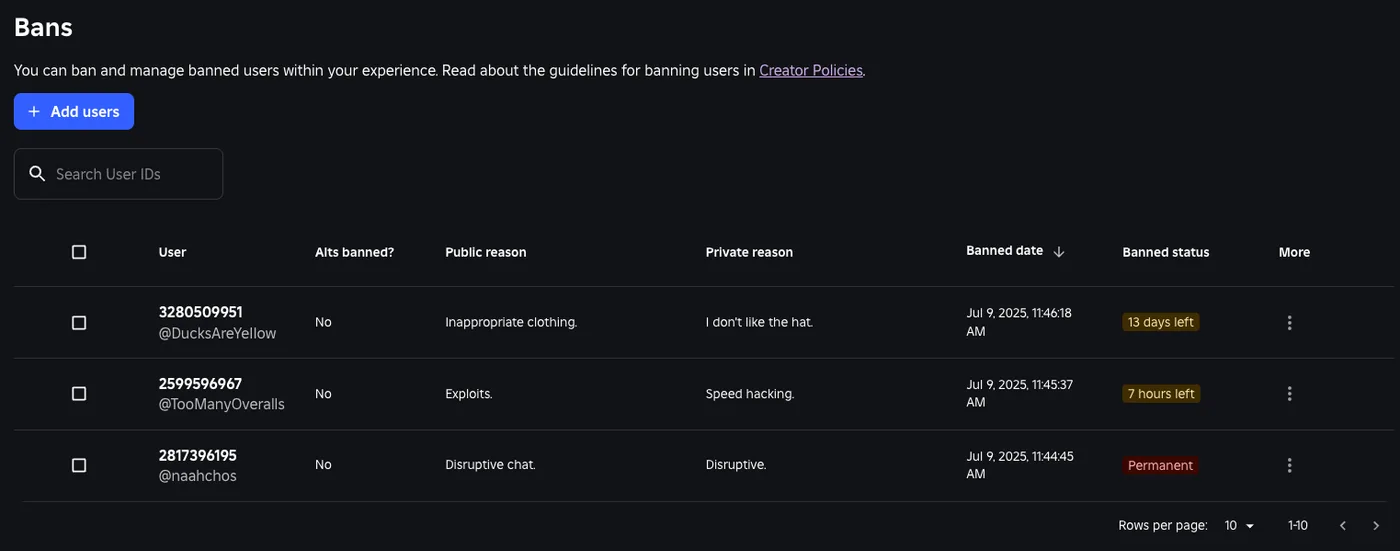
Roblox Ban API: BanAsync, Alt Accounts, Device Blocks
Player:Kick() drops someone from one server. Players:BanAsync() evicts them from every server, keeps them out for as long as you say, and bans their suspected alts by default. Here is every field in the config table, the scope rule that decides whether your unban does anything, the 24-hour device block only one unban path can lift, and why GetBanHistoryAsync fails in Studio.
Best Roblox Games to Play in 2026
Roblox's front page is engagement bait. This is the filtered version: the games with real, sustained player counts and actual staying power, sorted by what you're in the mood for.
How to Get Robux Safely (Legit Ways + Scams to Avoid)
There is no free Robux generator. There never was. Here are the actual legit ways to get Robux without overpaying, the earning methods that really work, and the scams that exist purely to steal your account.