Tetris 99 Strategy Guide: Badges, Targeting, and Winning the 99
Tetris 99 is not a speed contest with 98 strangers. It is an economy — badges are the currency, targeting is the market, and the players who win are the ones who understand both while everyone else just stacks. Here is how the mode actually works.
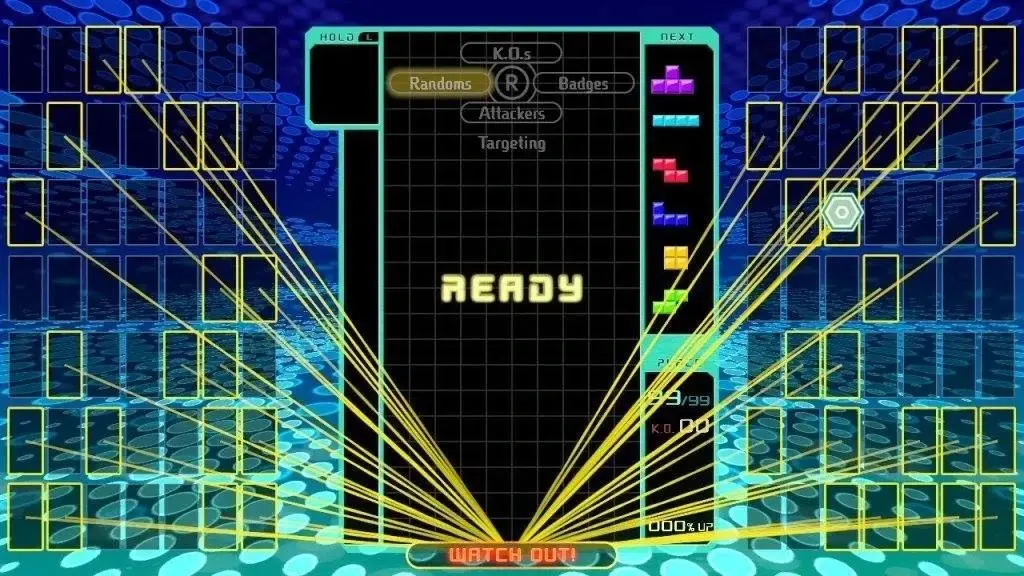
You can be a genuinely fast Tetris player, put up a clean board, and still get knocked out of Tetris 99 in the top 40 by someone with worse fundamentals than you. That is not bad luck. It means you were playing marathon while they were playing the mode.
Tetris 99 launched February 13, 2019 as a free Nintendo Switch Online perk, and it did something no mainline Tetris had done before: it turned line-clearing into a 99-player battle royale. The tetromino physics are standard Guideline — Super Rotation System, hold, a 7-bag randomizer, the works — so all your normal skill carries over. But bolted on top is a whole second game about who you hit, when, and how hard. Ignore that layer and you are leaving most of your attack power on the table.
Why Tetris 99 is not just fast Tetris
The core loop is familiar: clear lines, send garbage, be the last board standing. What changes everything is that you are not fighting one opponent, you are fighting 98, and you only ever attack a subset of them at a time. The garbage you send is split among your current targets, the garbage you receive stacks up in a queue with a delay, and the entire lobby's speed and threat level climbs as players die.
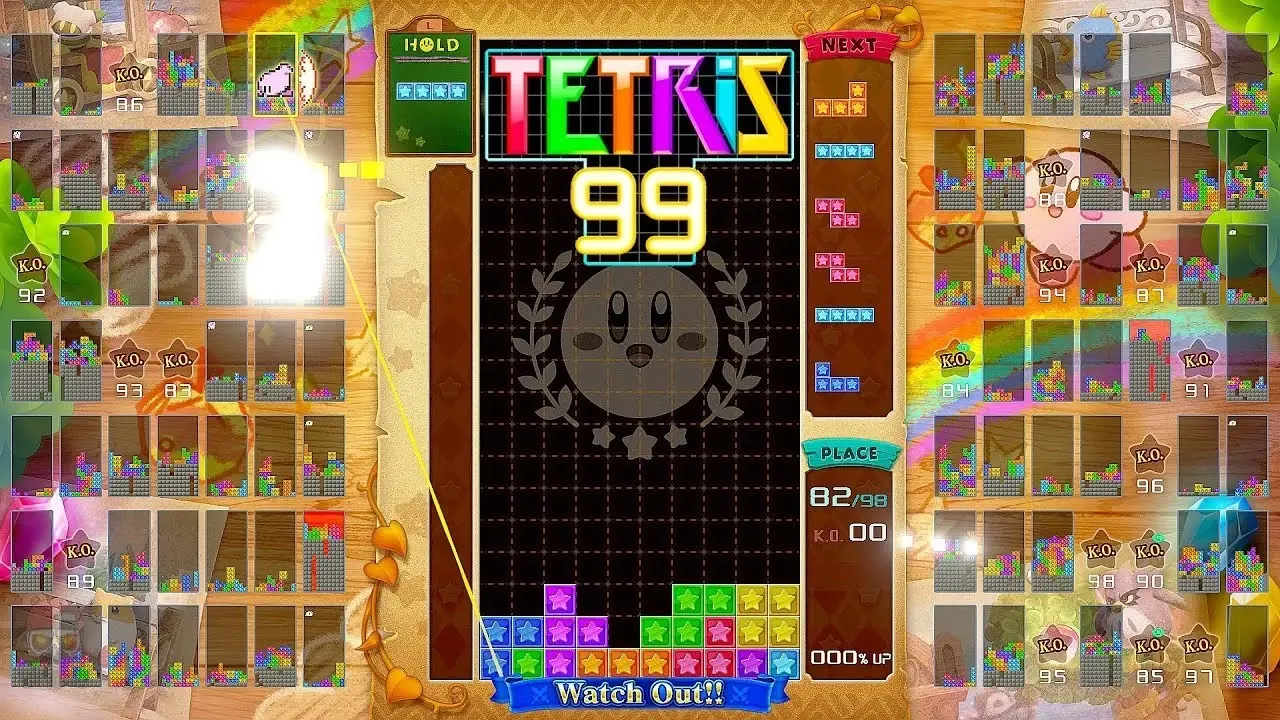
So the questions that decide the match are not really "how fast can I place pieces." They are:
- Who am I sending my garbage to, and is that a target worth hitting?
- How much is each line clear actually worth right now, given my badge count and how many people are hitting me?
- Can I neutralise incoming garbage before it lands instead of eating it?
Your stacking still has to be clean — everything in our stacking fundamentals guide applies here, because a board full of holes dies in versus even faster than it does in sprint. But clean stacking is the price of admission, not the win condition. The win condition is understanding badges.
Badges are the whole economy
Every time you knock a player out, you earn a badge. Knock out a player who was carrying badges and you inherit all of theirs on top of your own. That is the key detail: badges snowball. Late in a match, a single KO on a decorated player can hand you a fistful at once.
Badges are not a cosmetic scoreboard. They are a flat attack multiplier on everything you send, and the tiers are steep:
- 2 badges gets you to +25% attack (1.25x damage).
- 6 badges gets you to +50% (1.5x).
- 14 badges gets you to +75% (1.75x).
- 30 badges gets you the cap, +100% (2x damage).
Read those thresholds again. Each tier costs roughly double the badges of the one before it, so the first bump is cheap and the last one is a mountain. A player sitting at +100% is sending literally twice the garbage per clear as a fresh player throwing the identical piece. When you watch a top-tier account win the 99, that multiplier is doing a lot of the work — their line clears simply hit harder than yours.
The multiplier is applied after the base attack and then rounded down, so the practical takeaway is: get to two badges as fast as you reasonably can, because that first 25% is the best return on investment in the game. After that, badges mostly accrue naturally from KOs — you do not need to hunt tier four, you need to survive long enough that the KOs come to you.
The four targeting modes, ranked
You are always aiming at someone. Tetris 99 gives you four automatic targeting modes plus manual control, toggled with the right stick, and picking the right one for the moment is the single most impactful decision most players never think about.
- Attackers — targets everyone currently sending garbage at you (their boards get linked to yours with a yellow line). This is the best defensive mode and, most of the time, your default. When people gang up on you, you fire straight back at them, which both defends and, as we will see, exploits the multiple-attackers bonus.
- Badges — targets whoever is carrying the most badges. Weak early, strong late: it is how you go badge-hunting to force a tier up, and it lets you delete a snowballing rival before they delete you.
- KOs — targets whoever is closest to topping out. Great for vulturing finishing blows off boards that are already buried. The catch: it walks you straight into anyone running the KO-bait strategy (more on that in a second), so it can quietly turn you into someone else's badge farm.
- Randoms — the default the game hands you, and the least useful. It spreads your attack across the lobby with no logic. Change it off Randoms in your first few seconds; treating that as a habit is one of the fastest ways to climb.
Manual targeting exists, but it demands so much screen-watching that most players cannot spare the attention mid-stack. Save it for specific reads — a rival you personally want dead — not general play. If you want your clears to actually convert into garbage, first make sure you are getting the most out of each one: our scoring and attack guide breaks down which clears send how many lines before badges even enter the picture.
The multiple-attackers bonus and the KO-bait trap
Here is the mechanic that separates people who know Tetris 99 from people who merely play it well.
When multiple opponents are targeting you at once, every line clear you make gets a flat bonus of extra garbage lines, scaled to how many people are hitting you — and that bonus also gets multiplied by your badge boost. In plain terms: the more players pile onto you, the harder each of your own clears punches back.
This inverts a rule you thought was ironclad. Normally a Single sends nothing. But under heavy fire, the flat multiple-attackers bonus can make a Single one of the strongest attacks in the game measured in lines-sent-per-line-cleared. That is the engine behind the KO-bait strategy:
- Stack deliberately high, leaving a single column open — often near the middle.
- Let your board climb until you look nearly dead. Players running the KOs targeting mode see a board near the top and swarm you.
- Now that six-plus opponents are linked to you, start clearing Singles into that open column without downstacking.
With six attackers on you, each Single can send nine-plus lines. Pair that with the Attackers targeting mode so all that garbage flies back into the exact people who came to finish you, and you can rack up a pile of KOs — and inherit a pile of badges — from a board that looked like a corpse. It is high-risk, because you are genuinely one bad piece from dying, but it is the highest-ceiling play in the mode and the reason blindly running KOs against a high stack is a trap.
Garbage, cancelling, and the insertion clock
Garbage you receive does not hit instantly. It lands in a pending queue on the side of your board and sits there on a timer before it inserts. This delay is your defensive window, and it shrinks as the lobby thins out — you get roughly two and a half seconds of grace early, dropping to about a second and a half once you are in the top 50, and only about half a second in the top 10. Late-game garbage is brutal precisely because you barely get time to answer it.
Two hard limits shape every exchange:
- You can hold at most 12 pending lines in your queue at once; anything beyond that is discarded.
- You can send at most 20 lines from a single clear; the rest is lost.
The crucial defensive rule: incoming garbage gets cancelled by your own attacks before any of it is sent onward. If garbage is pending and you clear lines, your attack eats the queue first and only the surplus goes out. Even better, garbage will not enter your field at all as long as you clear at least one line with every piece — that is why long combos are a survival tool in versus, not just an attack. A player who keeps clearing simply does not get buried.
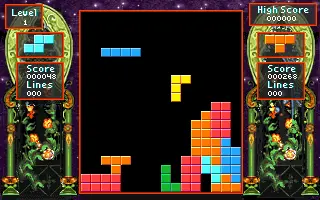
This is also why converting your board into big, efficient attacks matters more than raw APM. A well-timed T-spin or a Perfect Clear both cancel a large chunk of pending garbage and reverse the pressure in one move. The base garbage table in Tetris 99 is the standard Guideline one, so those techniques send exactly what you would expect — with the badge multiplier stacked on top.
The speed ramp starts at the 50th KO
Tetris 99 does not speed up on a clock the way marathon does. The lobby holds at level 1 — a comfortable 60 frames per line — all the way until the 50th player has been knocked out. That is the game telling you something: the first half of the field is not a speed test. It is a survival-and-positioning phase where you have time to think.
Once that 50th KO lands, a shared timer starts and gravity begins climbing on a schedule, ratcheting up until it maxes out at level 11, where pieces effectively fall a row every frame. The back half of the match gets genuinely fast, the garbage delay is at its shortest, and mistakes are unforgiving. Everything you did in the calm early game — banking badges, keeping a clean board, not eating garbage — is what buys you the stability to survive the sprint at the end.
The strategic read: do not burn yourself out fighting during the level-1 phase. Stack clean, grab your cheap early badges, and stay healthy. Save your risk budget for when the speed ramp actually threatens you.
A stage-by-stage gameplan
Putting it together, here is how a climb to #1 actually flows:
- Top 99 to 50 (level 1, slow): Immediately switch off Randoms. Run Attackers as your default. Stack clean, no holes, keep a well open. Cash in a couple of easy KOs on weak boards to hit two badges and lock in that +25%. Do not overextend — surviving is the job.
- Top 50 to 20 (speed ramping): Garbage delay is shrinking. Keep combos and clears flowing to cancel incoming pressure. This is where you decide whether to play safe or set up a KO-bait board if you are comfortable with the risk. Consider flipping to Badges targeting to knock out a snowballing rival before they become the lobby's problem.
- Top 20 to 10: Threat is high, delay is short. Prioritise not dying over greedy attacks. Bank whatever badges have come your way; a mid-tier badge count now translates every clear into real damage.
- Top 10 to 1 (level 11, brutal): Half-second garbage delay, maximum gravity. Clean, fast placement wins. Use Attackers to punish anyone hitting you, lean on your badge multiplier, and if you can survive one more topout than the other person, the win is yours.
None of this replaces mechanical skill — you still need the finesse to place pieces without wasted inputs when the speed cranks up. But mechanics plus badge awareness plus the right targeting mode is the combination that turns "top 30 every game" into wins. You can find the rest of our coverage on the Tetris hub.
Quick Action Checklist
- Switch off Randoms in your first few seconds — run Attackers as your default targeting.
- Rush your first two badges for the cheap +25% attack, then let KOs feed the rest.
- Remember badges snowball: KO a badge-carrier and you inherit their whole stash.
- Keep at least one line clearing per piece to stop garbage from ever entering your field.
- Let your attacks cancel pending garbage before you worry about sending anything outward.
- Do not blindly run KOs targeting into a tall stack — that is bait, and you are the meal.
- If you commit to KO-bait, pair it with Attackers so the garbage flies back at your swarm.
- Treat the 50th KO as the real start of the speed test; bank badges and health before it.
- Never carry a hole into the top 10 — the half-second garbage delay will not forgive it.
- Survive one more topout than the other player; that, not APM, is how the 99 is won.
Frequently Asked Questions
How do badges work in Tetris 99?
Which targeting mode should I use in Tetris 99?
What is the KO-bait strategy?
Why does garbage not hit me immediately in Tetris 99?
When does Tetris 99 speed up?
How many garbage lines can I send or receive at once?
Does my normal Tetris skill transfer to Tetris 99?
Keep Reading
Related Guides
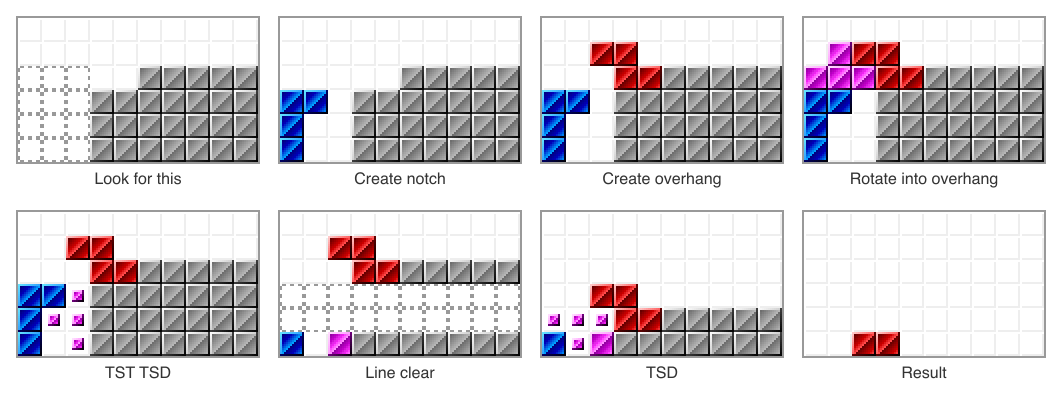
Tetris Mid-Game T-Spins: STSD, Imperial Cross, Kaidan
Once the opener is spent, the board decides your T-spins. Hard Drop files 63 pages of mid-game T-spin setups; this guide covers three families: lend your well to a T-spin, stack two TSD slots, or kick a T two rows deeper to save a bad board.
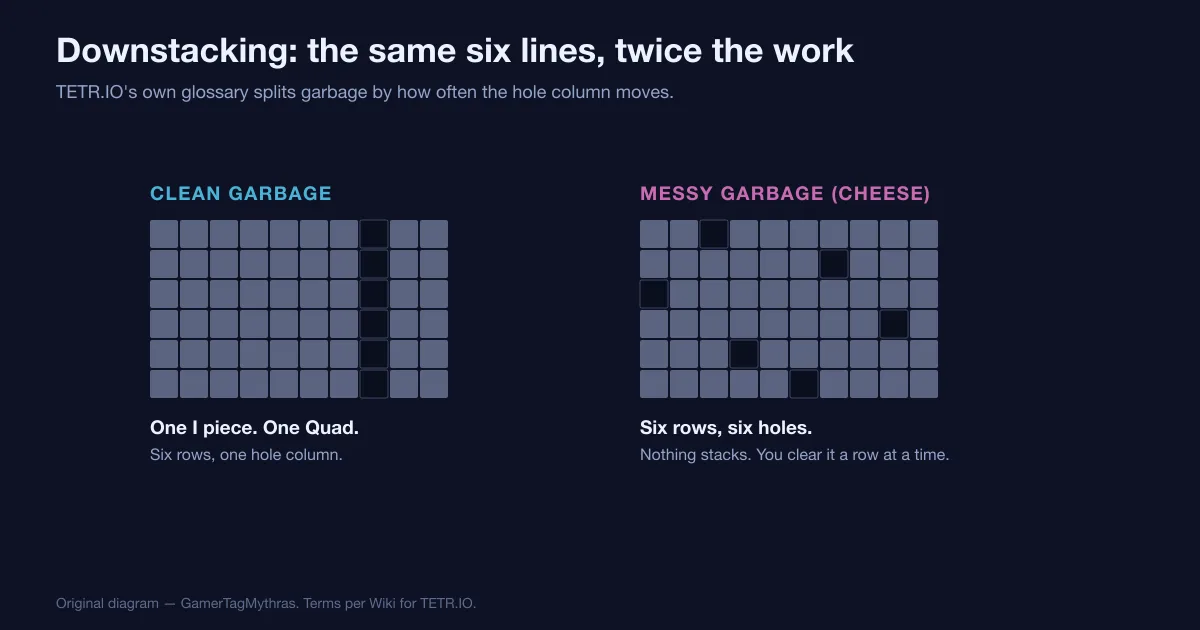
Tetris Downstacking: How to Dig Out of Garbage
Garbage is not one obstacle, it is two. Where the hole column sits from row to row decides whether six lines cost you one piece or six, and TETR.IO scores the lines you dig out at exactly the same rate as the lines you send.
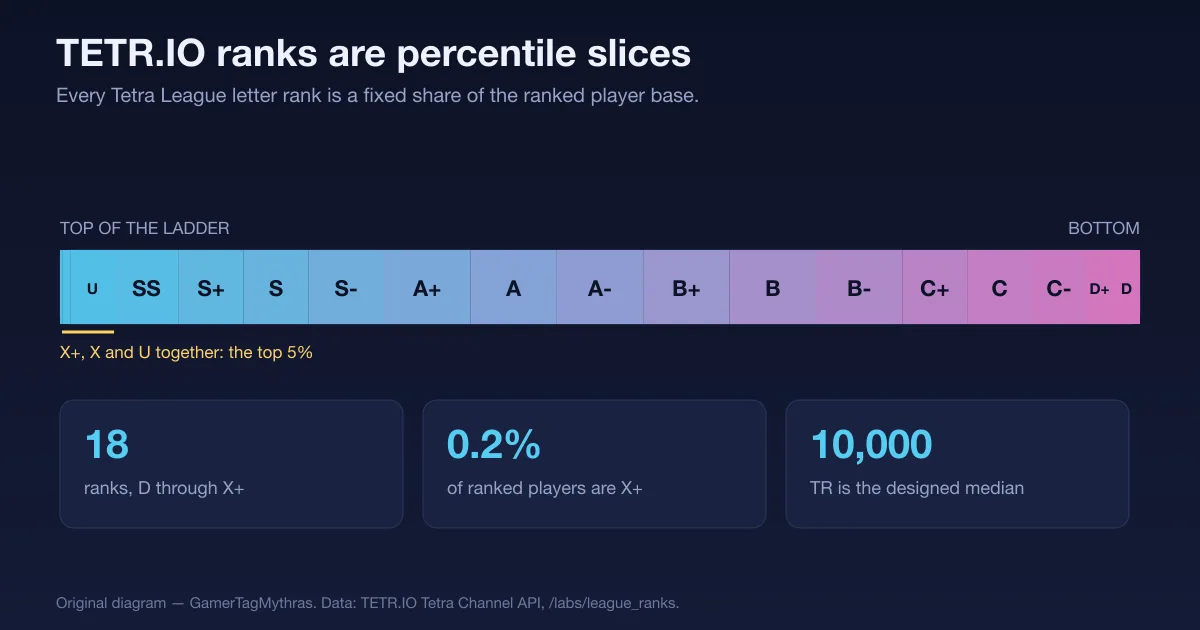
TETR.IO Ranks Explained: TR, Percentiles and Cutoffs
A Tetra League letter is not a skill score, it is a slice of the leaderboard — and TETR.IO publishes exactly how big each slice is, what TR it currently costs, and how fast the people inside it play.
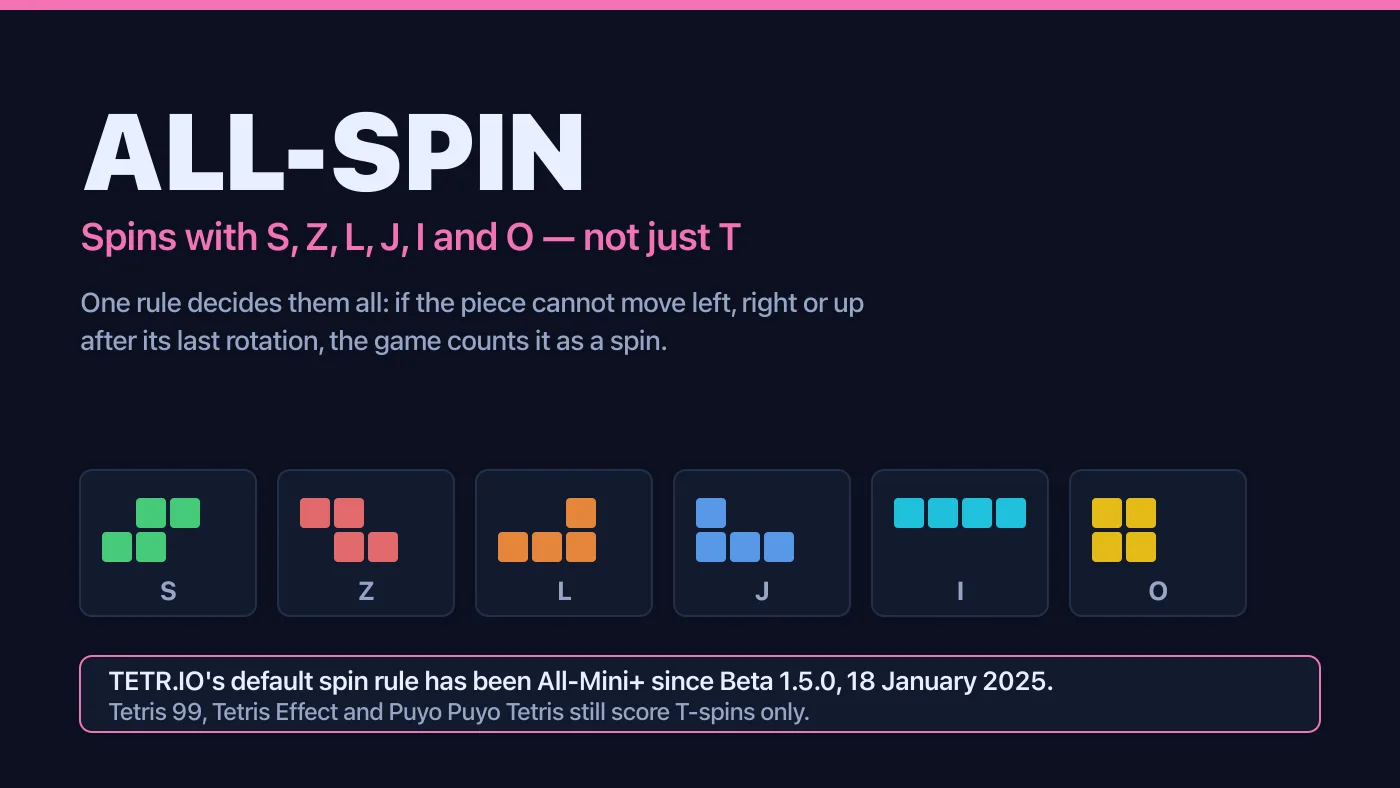
Tetris All-Spin Explained: S, Z, L, J and I Spins
A Z piece rotated into a slot nothing else reaches is either a scored spin or an ordinary Double, and which one it is has nothing to do with you. It is a setting, and most Tetris games have it switched off.

Tetris Stacking Fundamentals: Build a Board That Wins
Most players do not lose to speed. They lose to a board they built themselves three minutes earlier. Here is how stacking actually works in modern Guideline Tetris, and the habits that stop you from burying your own well.
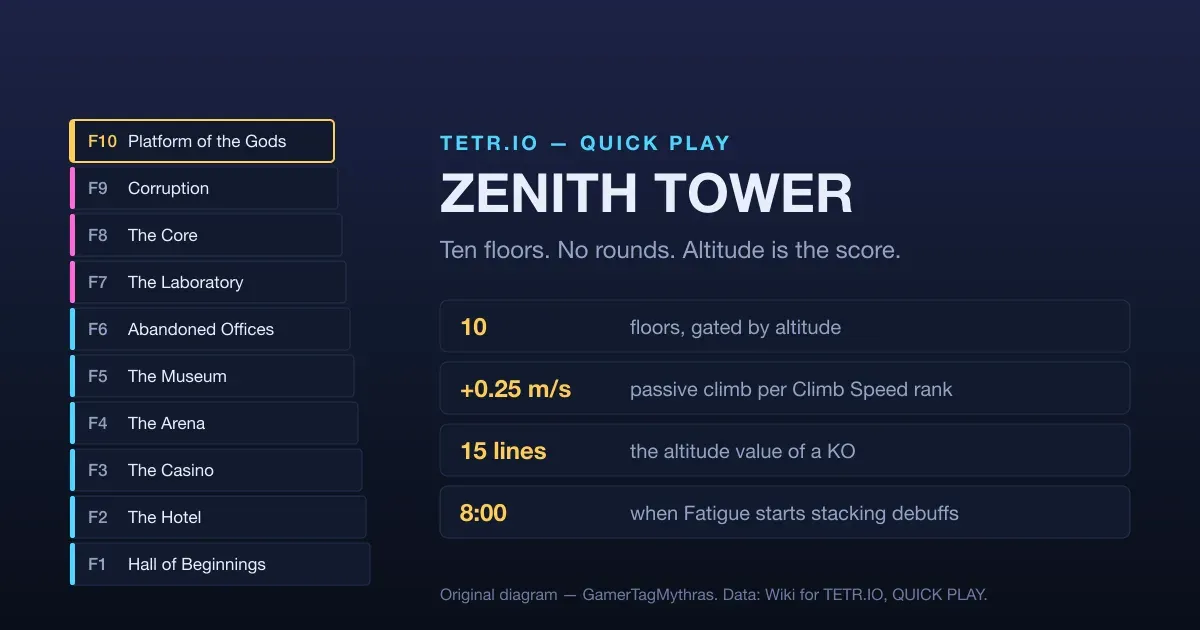
TETR.IO Quick Play Explained: The Zenith Tower, Climb Speed, and HYPERSPEED
Quick Play looks like a battle royale and scores like a speedrun. There is no round to win and nobody to outlast — only altitude, and altitude is bought mostly with the lines you send at other people.